How To Change Your Windshield Wiper Blades: A Helpful Guide
In this car maintenance guide, we will walk you through the process of changing your car’s windshield wiper blades. Properly functioning wiper blades are essential for maintaining clear visibility while driving in adverse weather conditions, making it a crucial maintenance task for any vehicle owner. Whether you’re a seasoned car enthusiast or a novice DIYer, this step-by-step guide will equip you with the knowledge and confidence to tackle this simple yet essential task.
Understanding the Importance of Wiper Blades
Your vehicle’s windshield wiper blades play a pivotal role in ensuring clear visibility during rain, snow, or dust storms. Over time, wiper blades wear out, leading to streaking, skipping, or smearing, which can compromise your safety on the road. Also, you can find various types of wiper blades that match the driving seasons and driving conditions, making it a must to replace your set at least twice a year.
Identifying the Right Wiper Blade Size
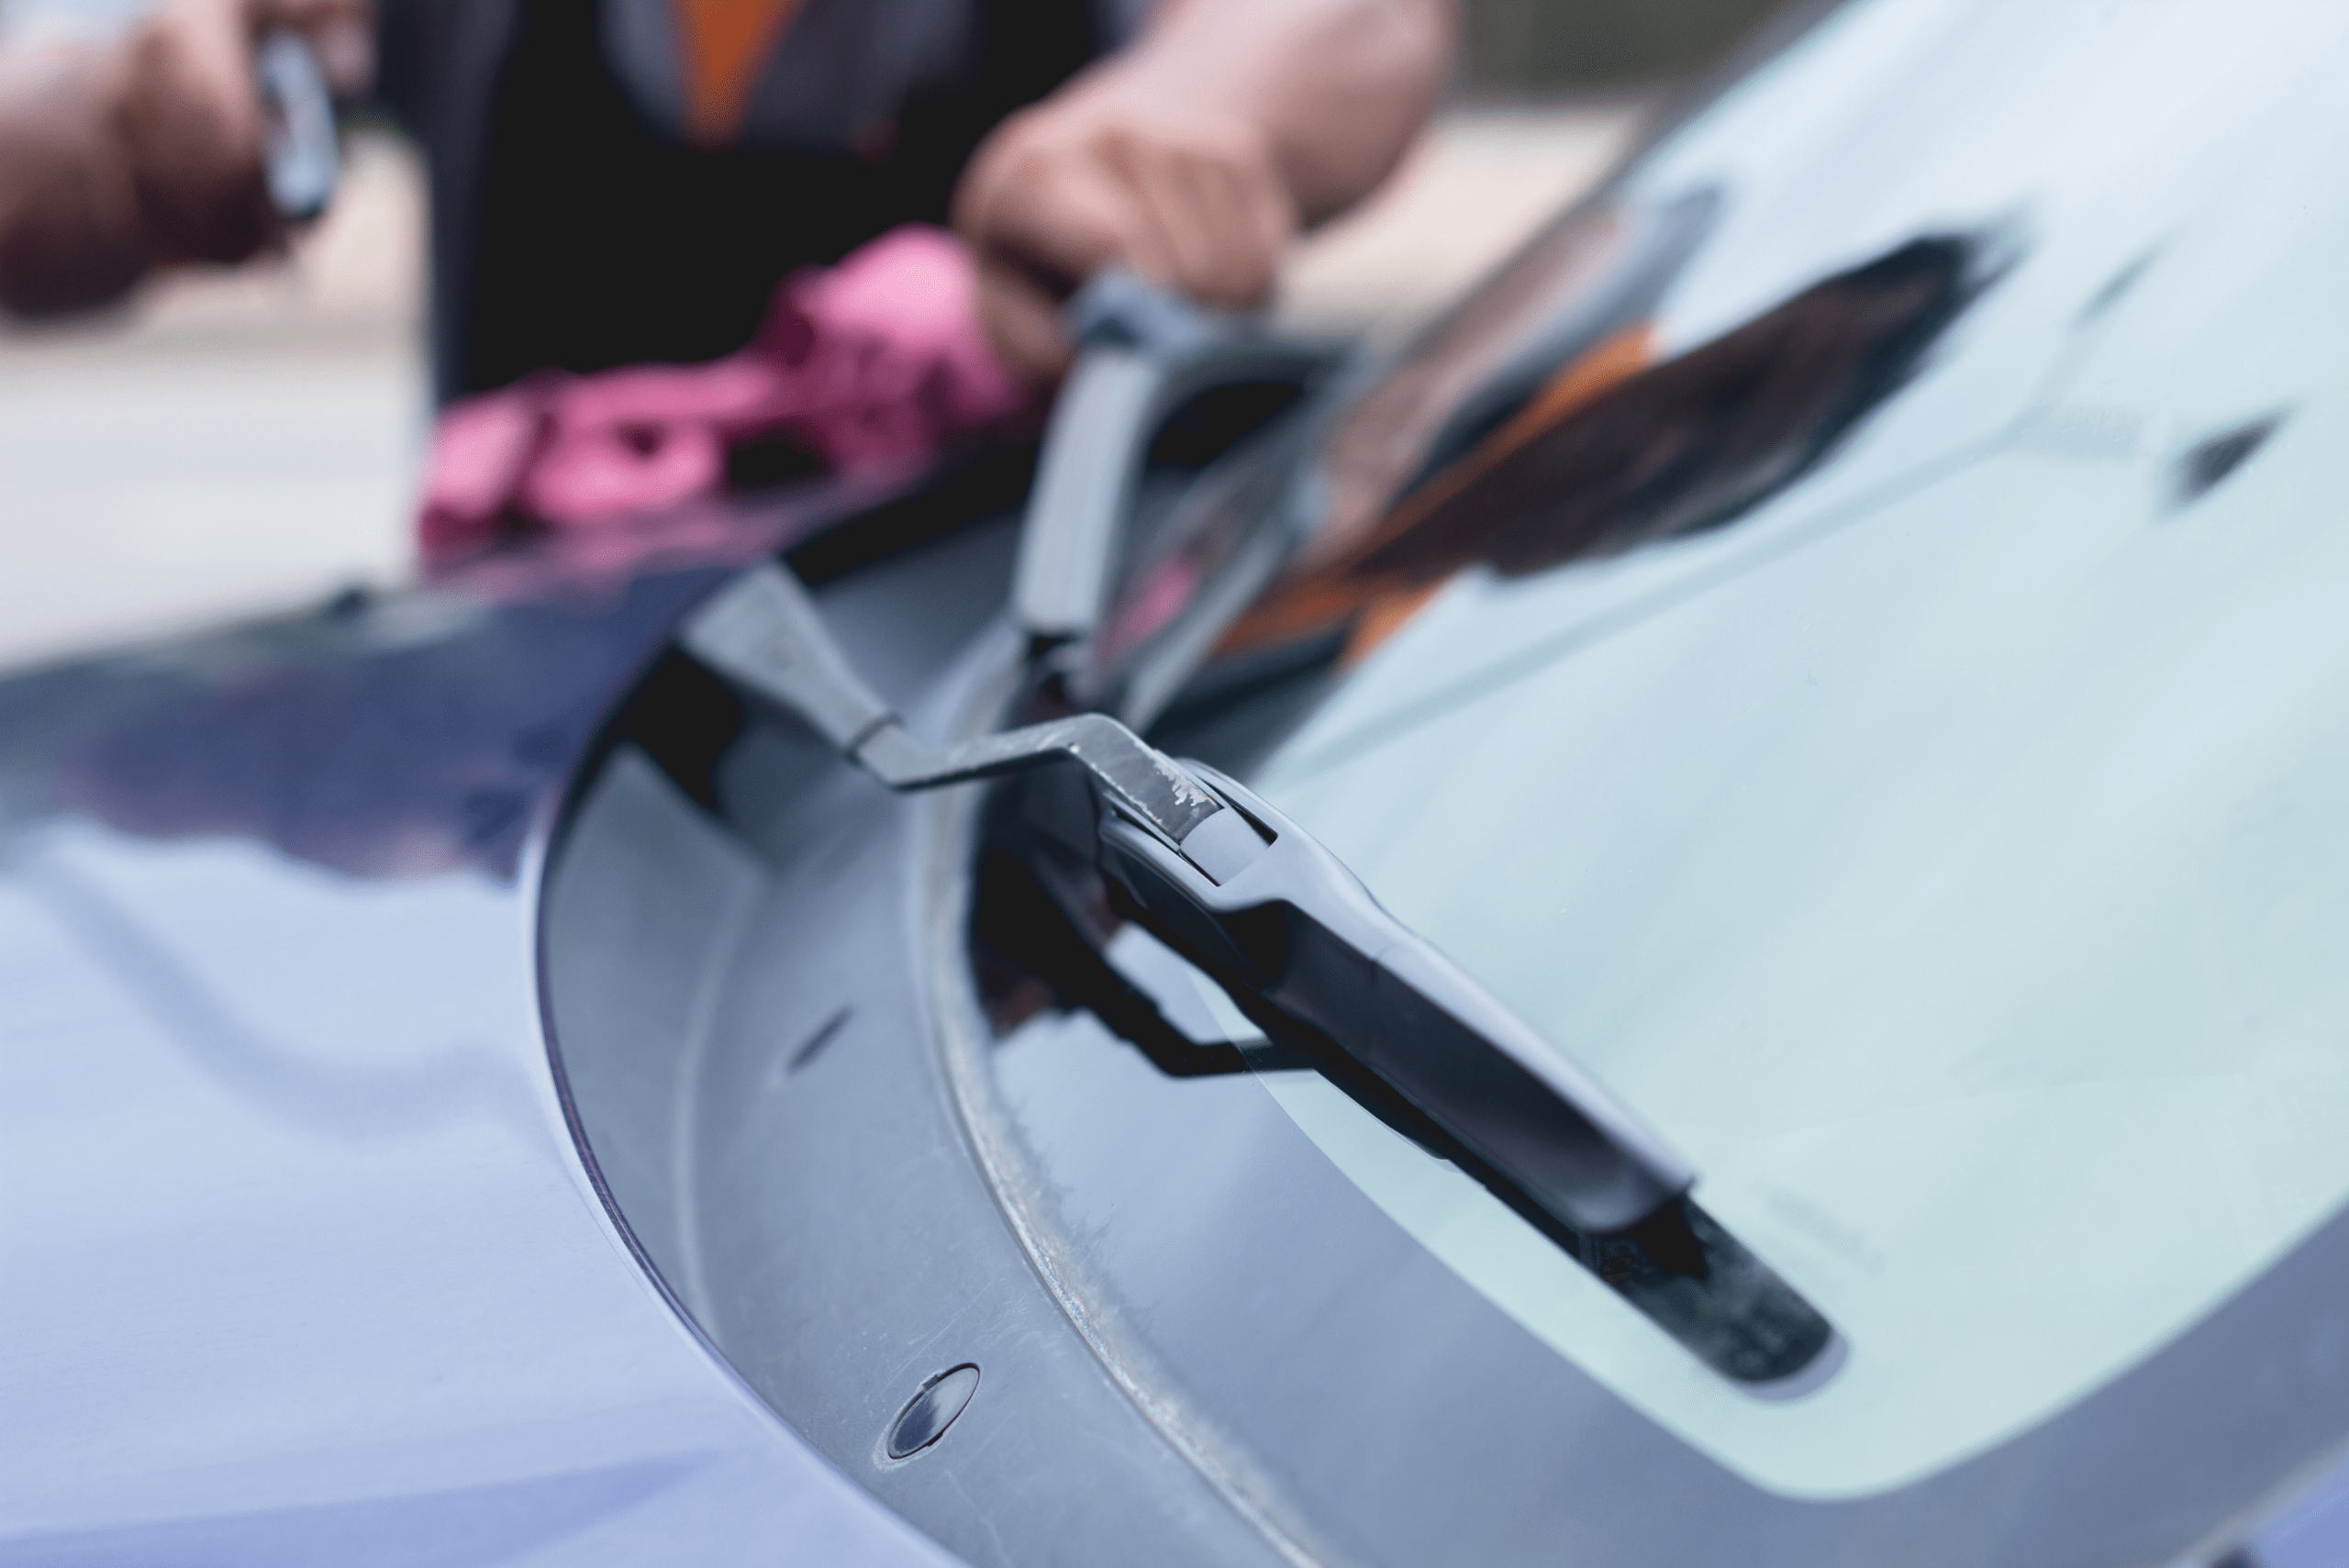
Before diving into the replacement process, it’s crucial to identify the correct wiper blade size for your vehicle. This can typically be found in your car’s owner’s manual or by consulting a reliable automotive parts store. However, you can also utilize online wiper blade size finders such as Amazon’s, among many others. Using the wrong size can lead to inefficient wiping and potential damage to your windshield.
Removing the Old Wiper Blades
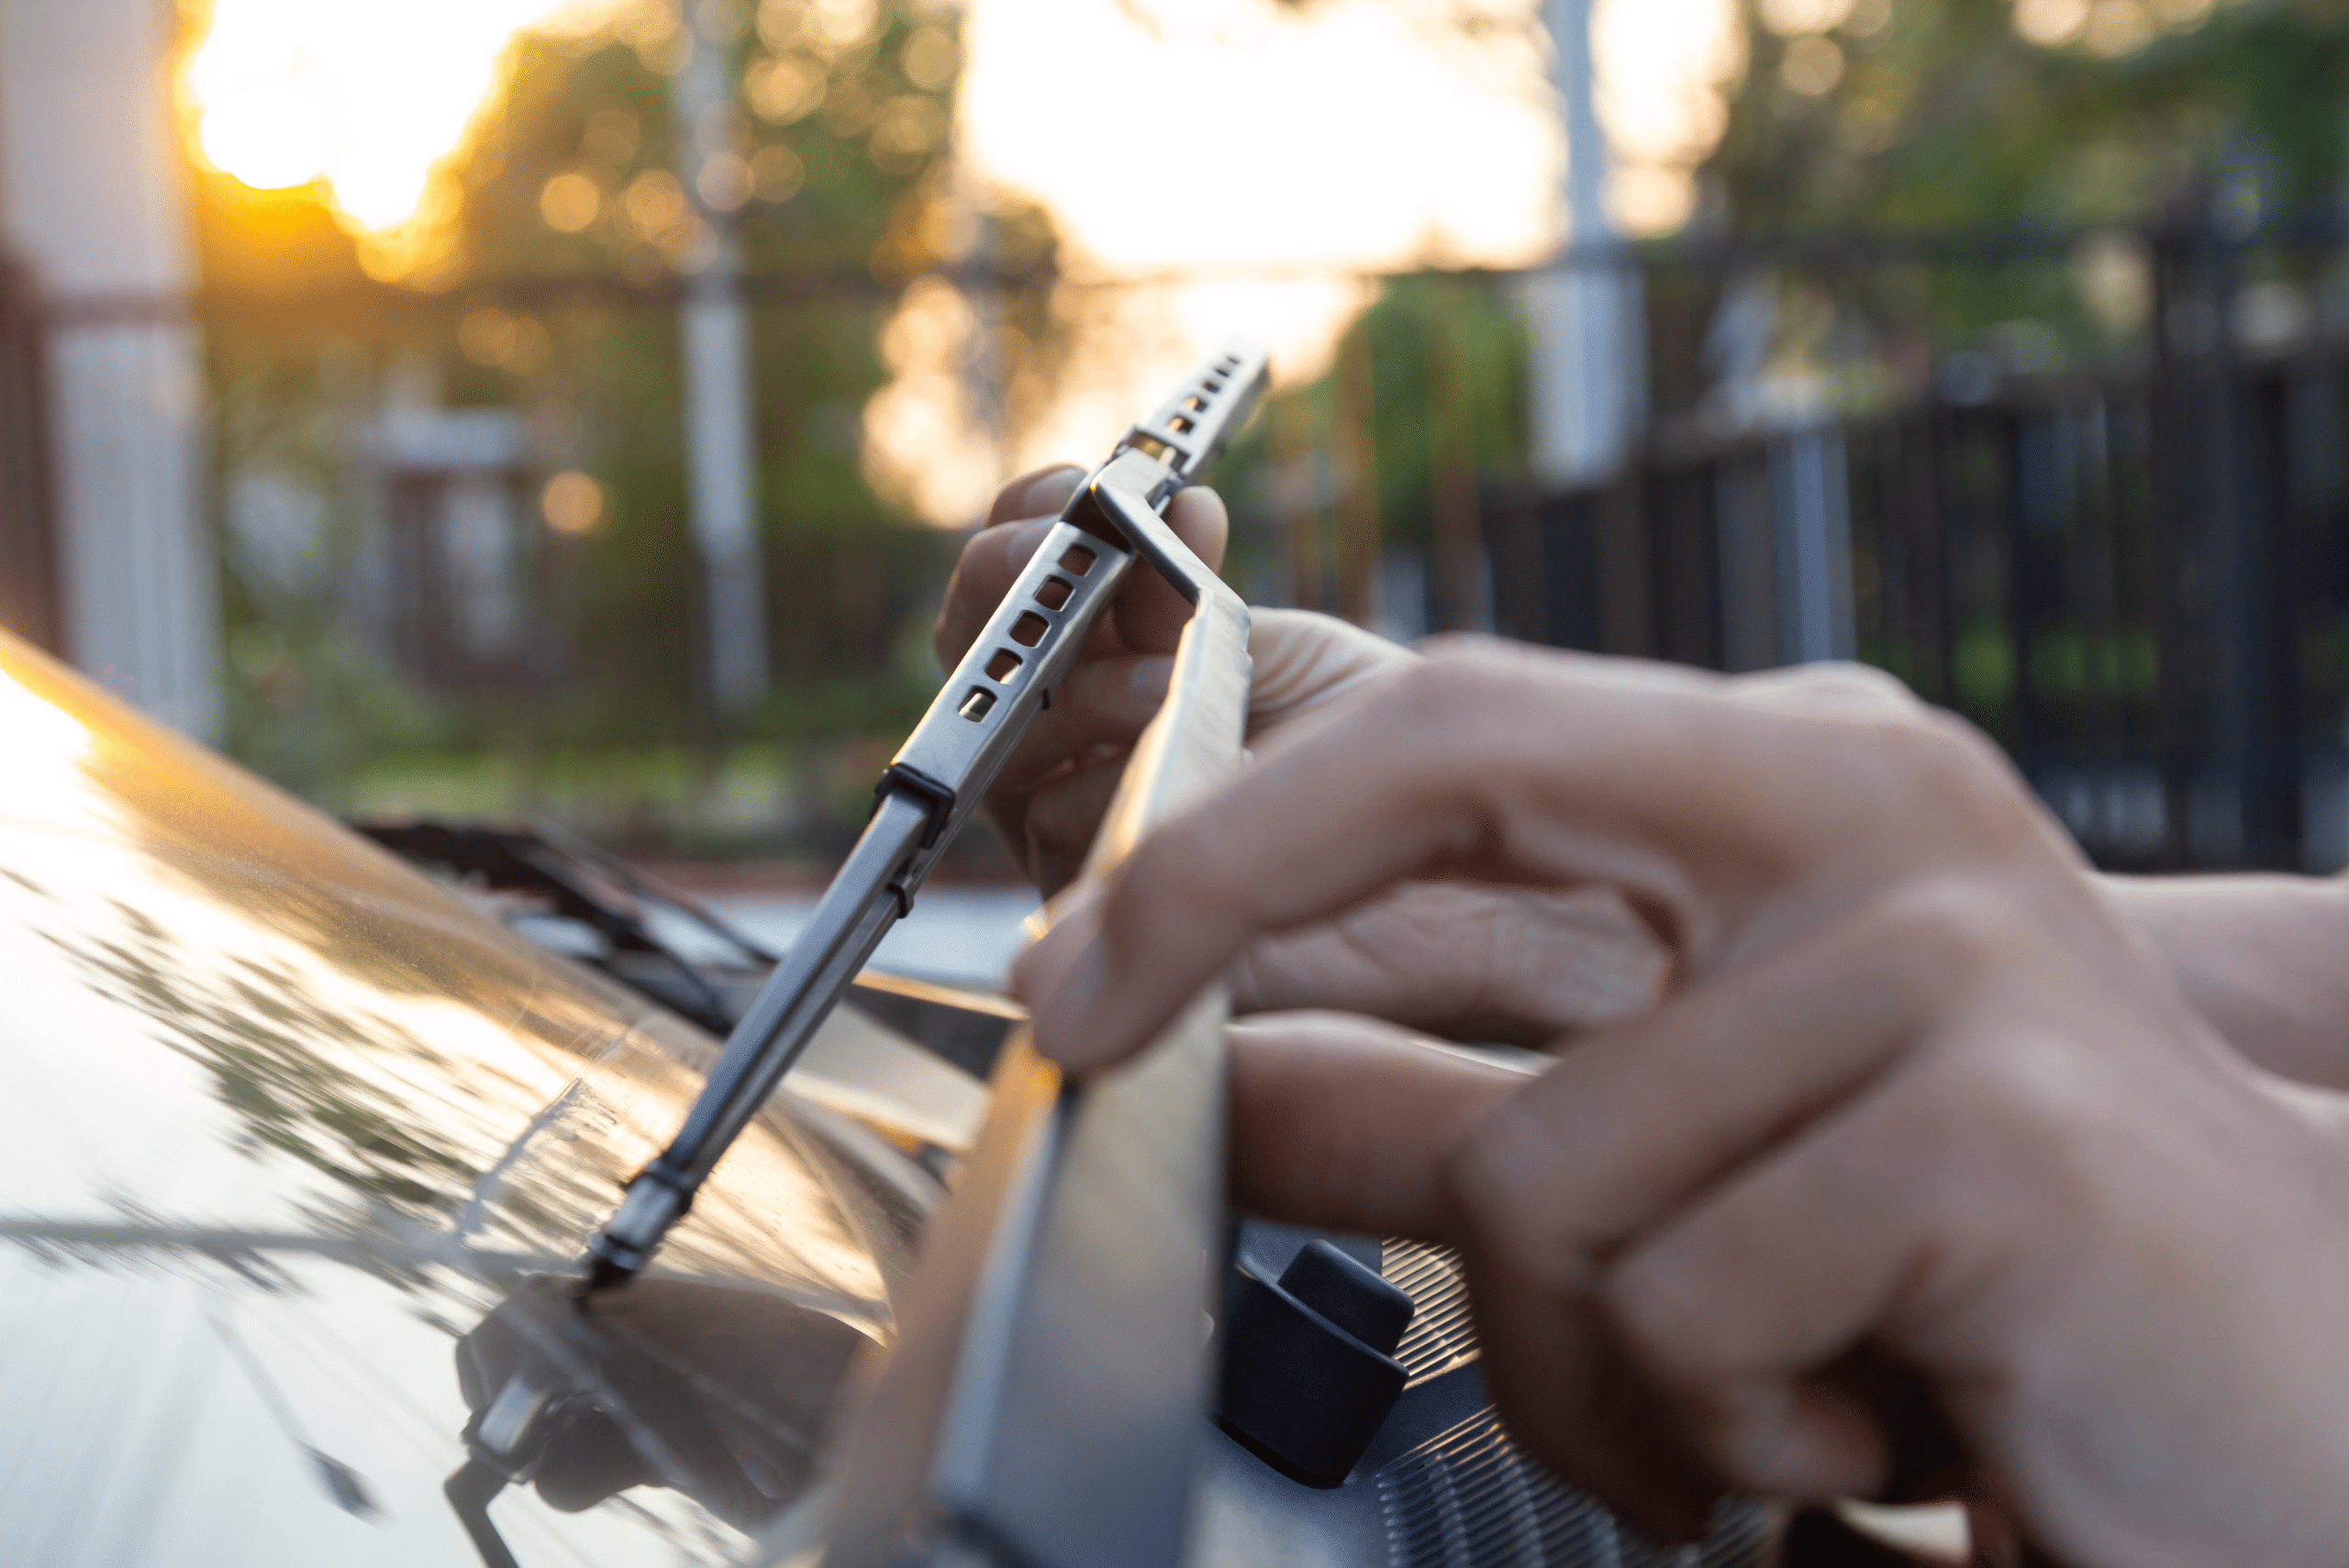
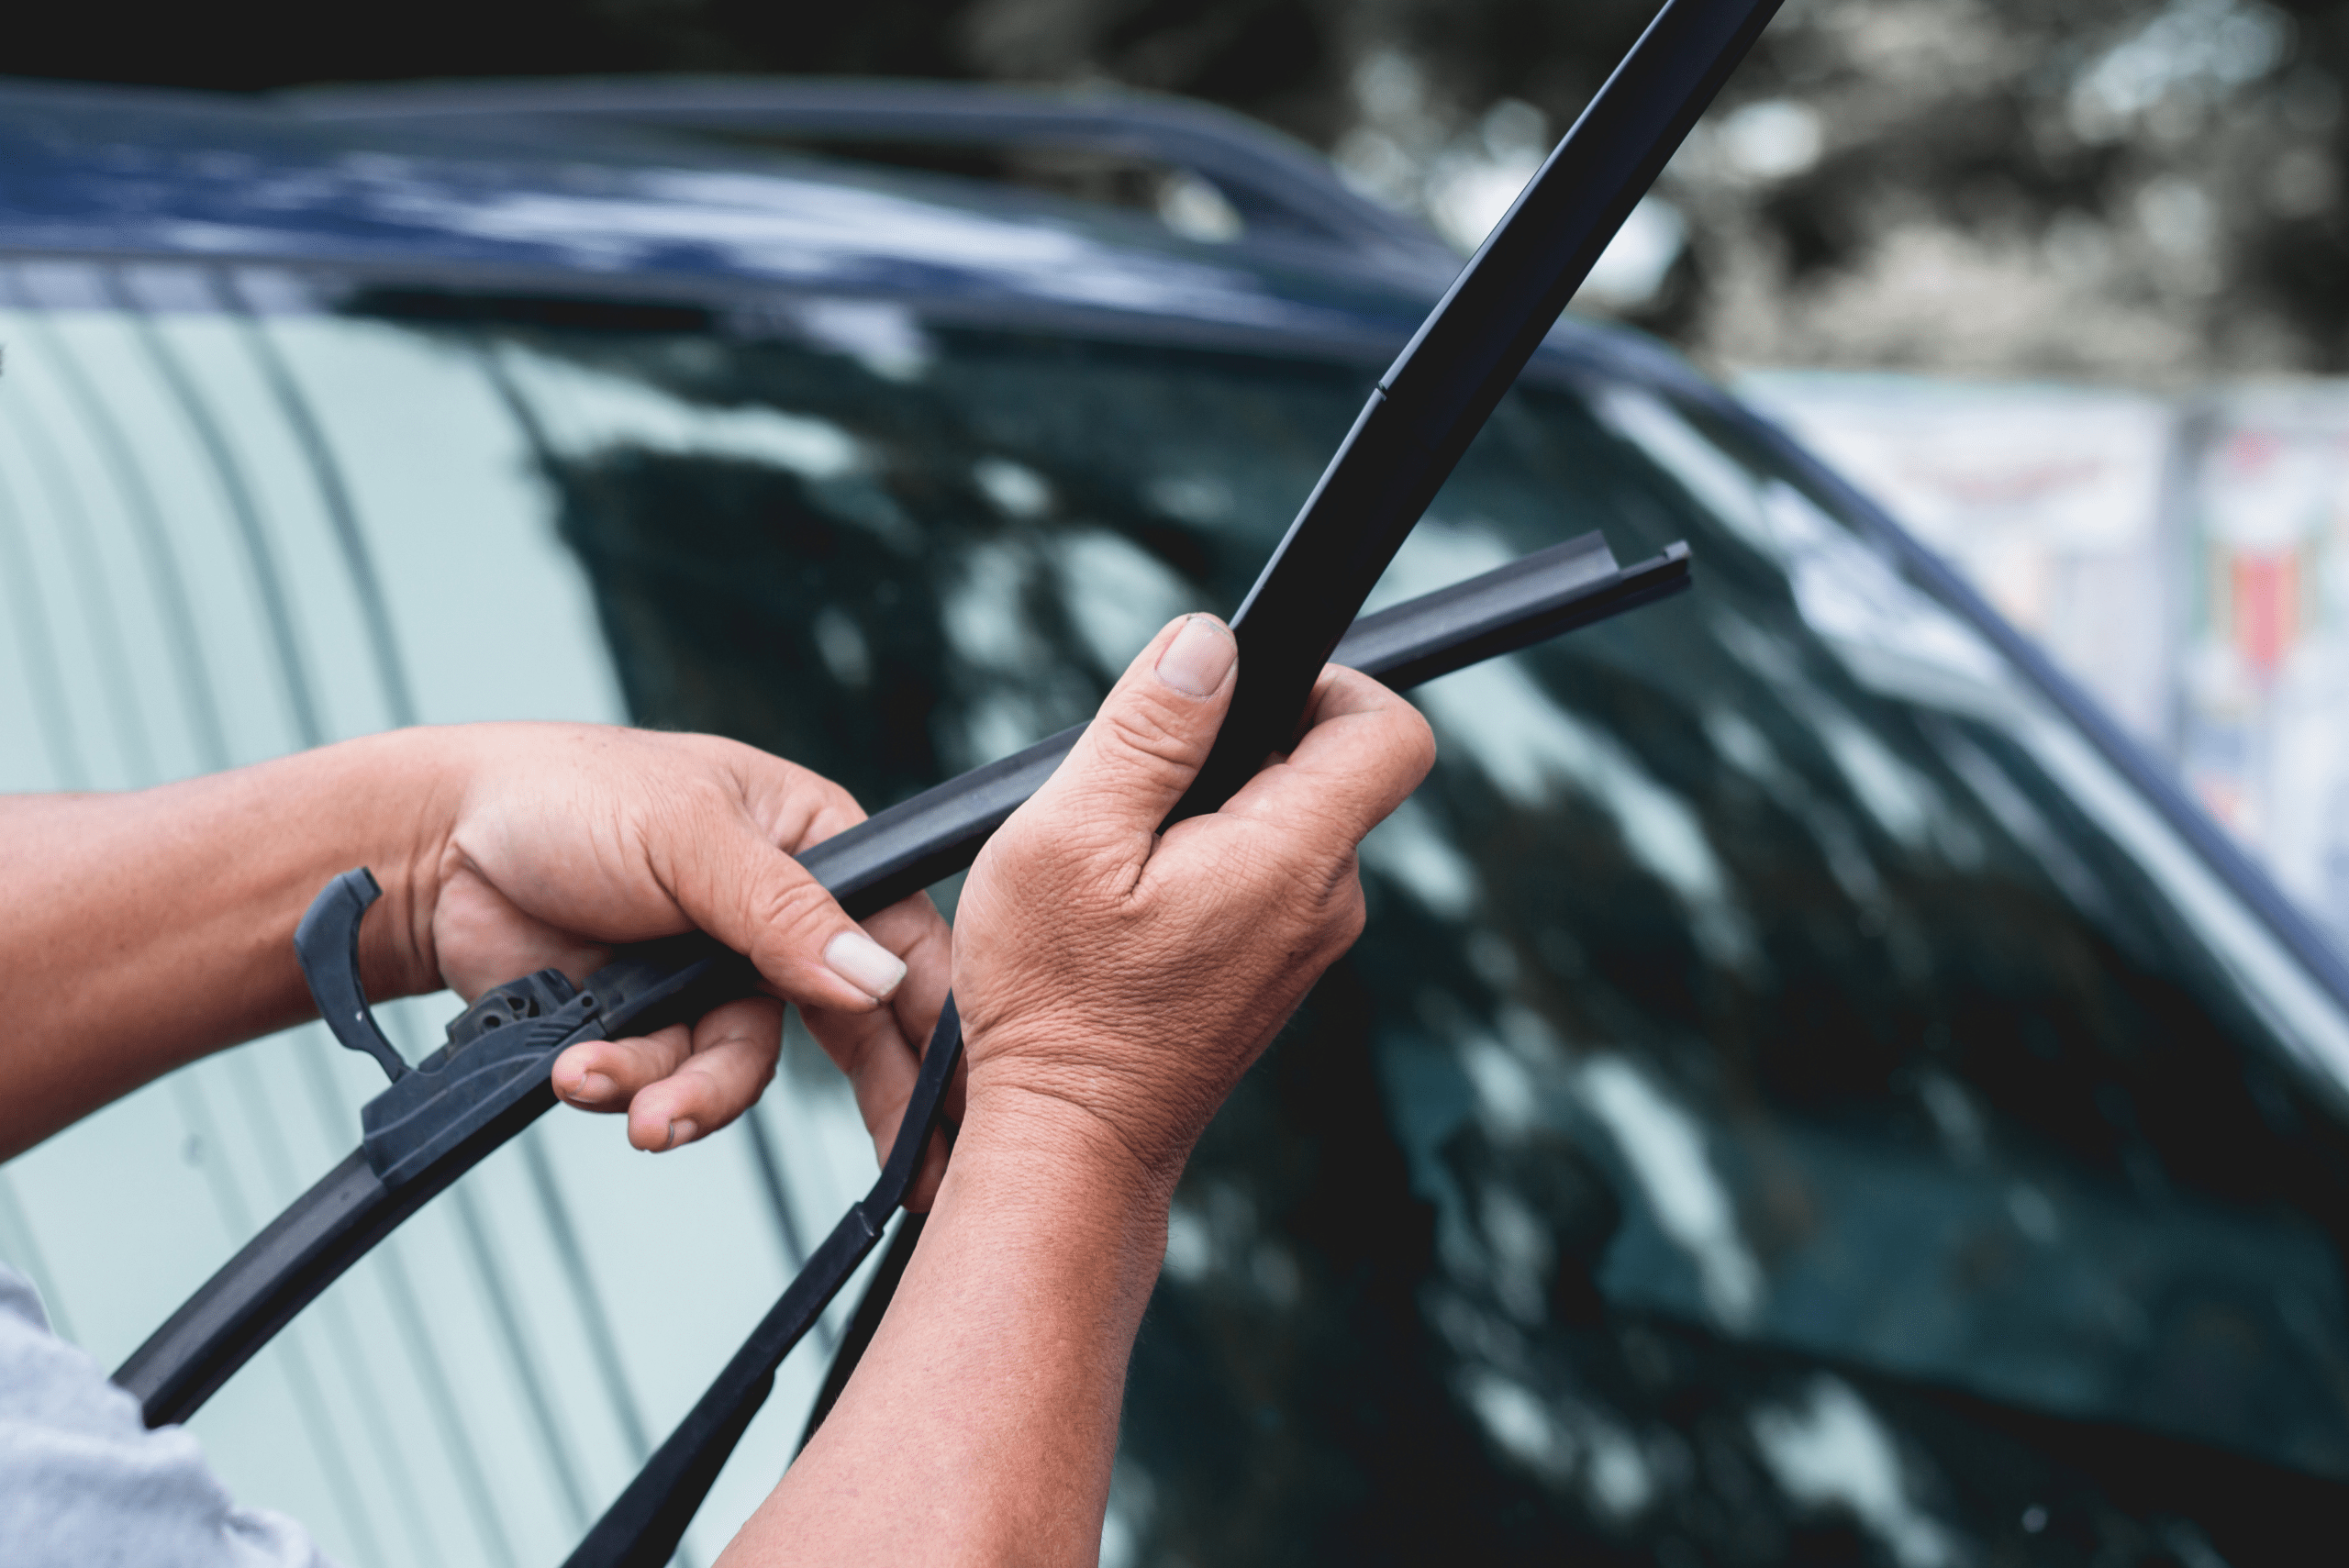
Start by lifting the wiper arm away from the windshield and locate the release tab on the wiper blade. Depending on the type of wiper blade assembly, you may need to press a tab or squeeze a locking mechanism to release the old blade. Carefully remove the old blade and take note of how it was attached for future reference.
Installing the New Wiper Blades

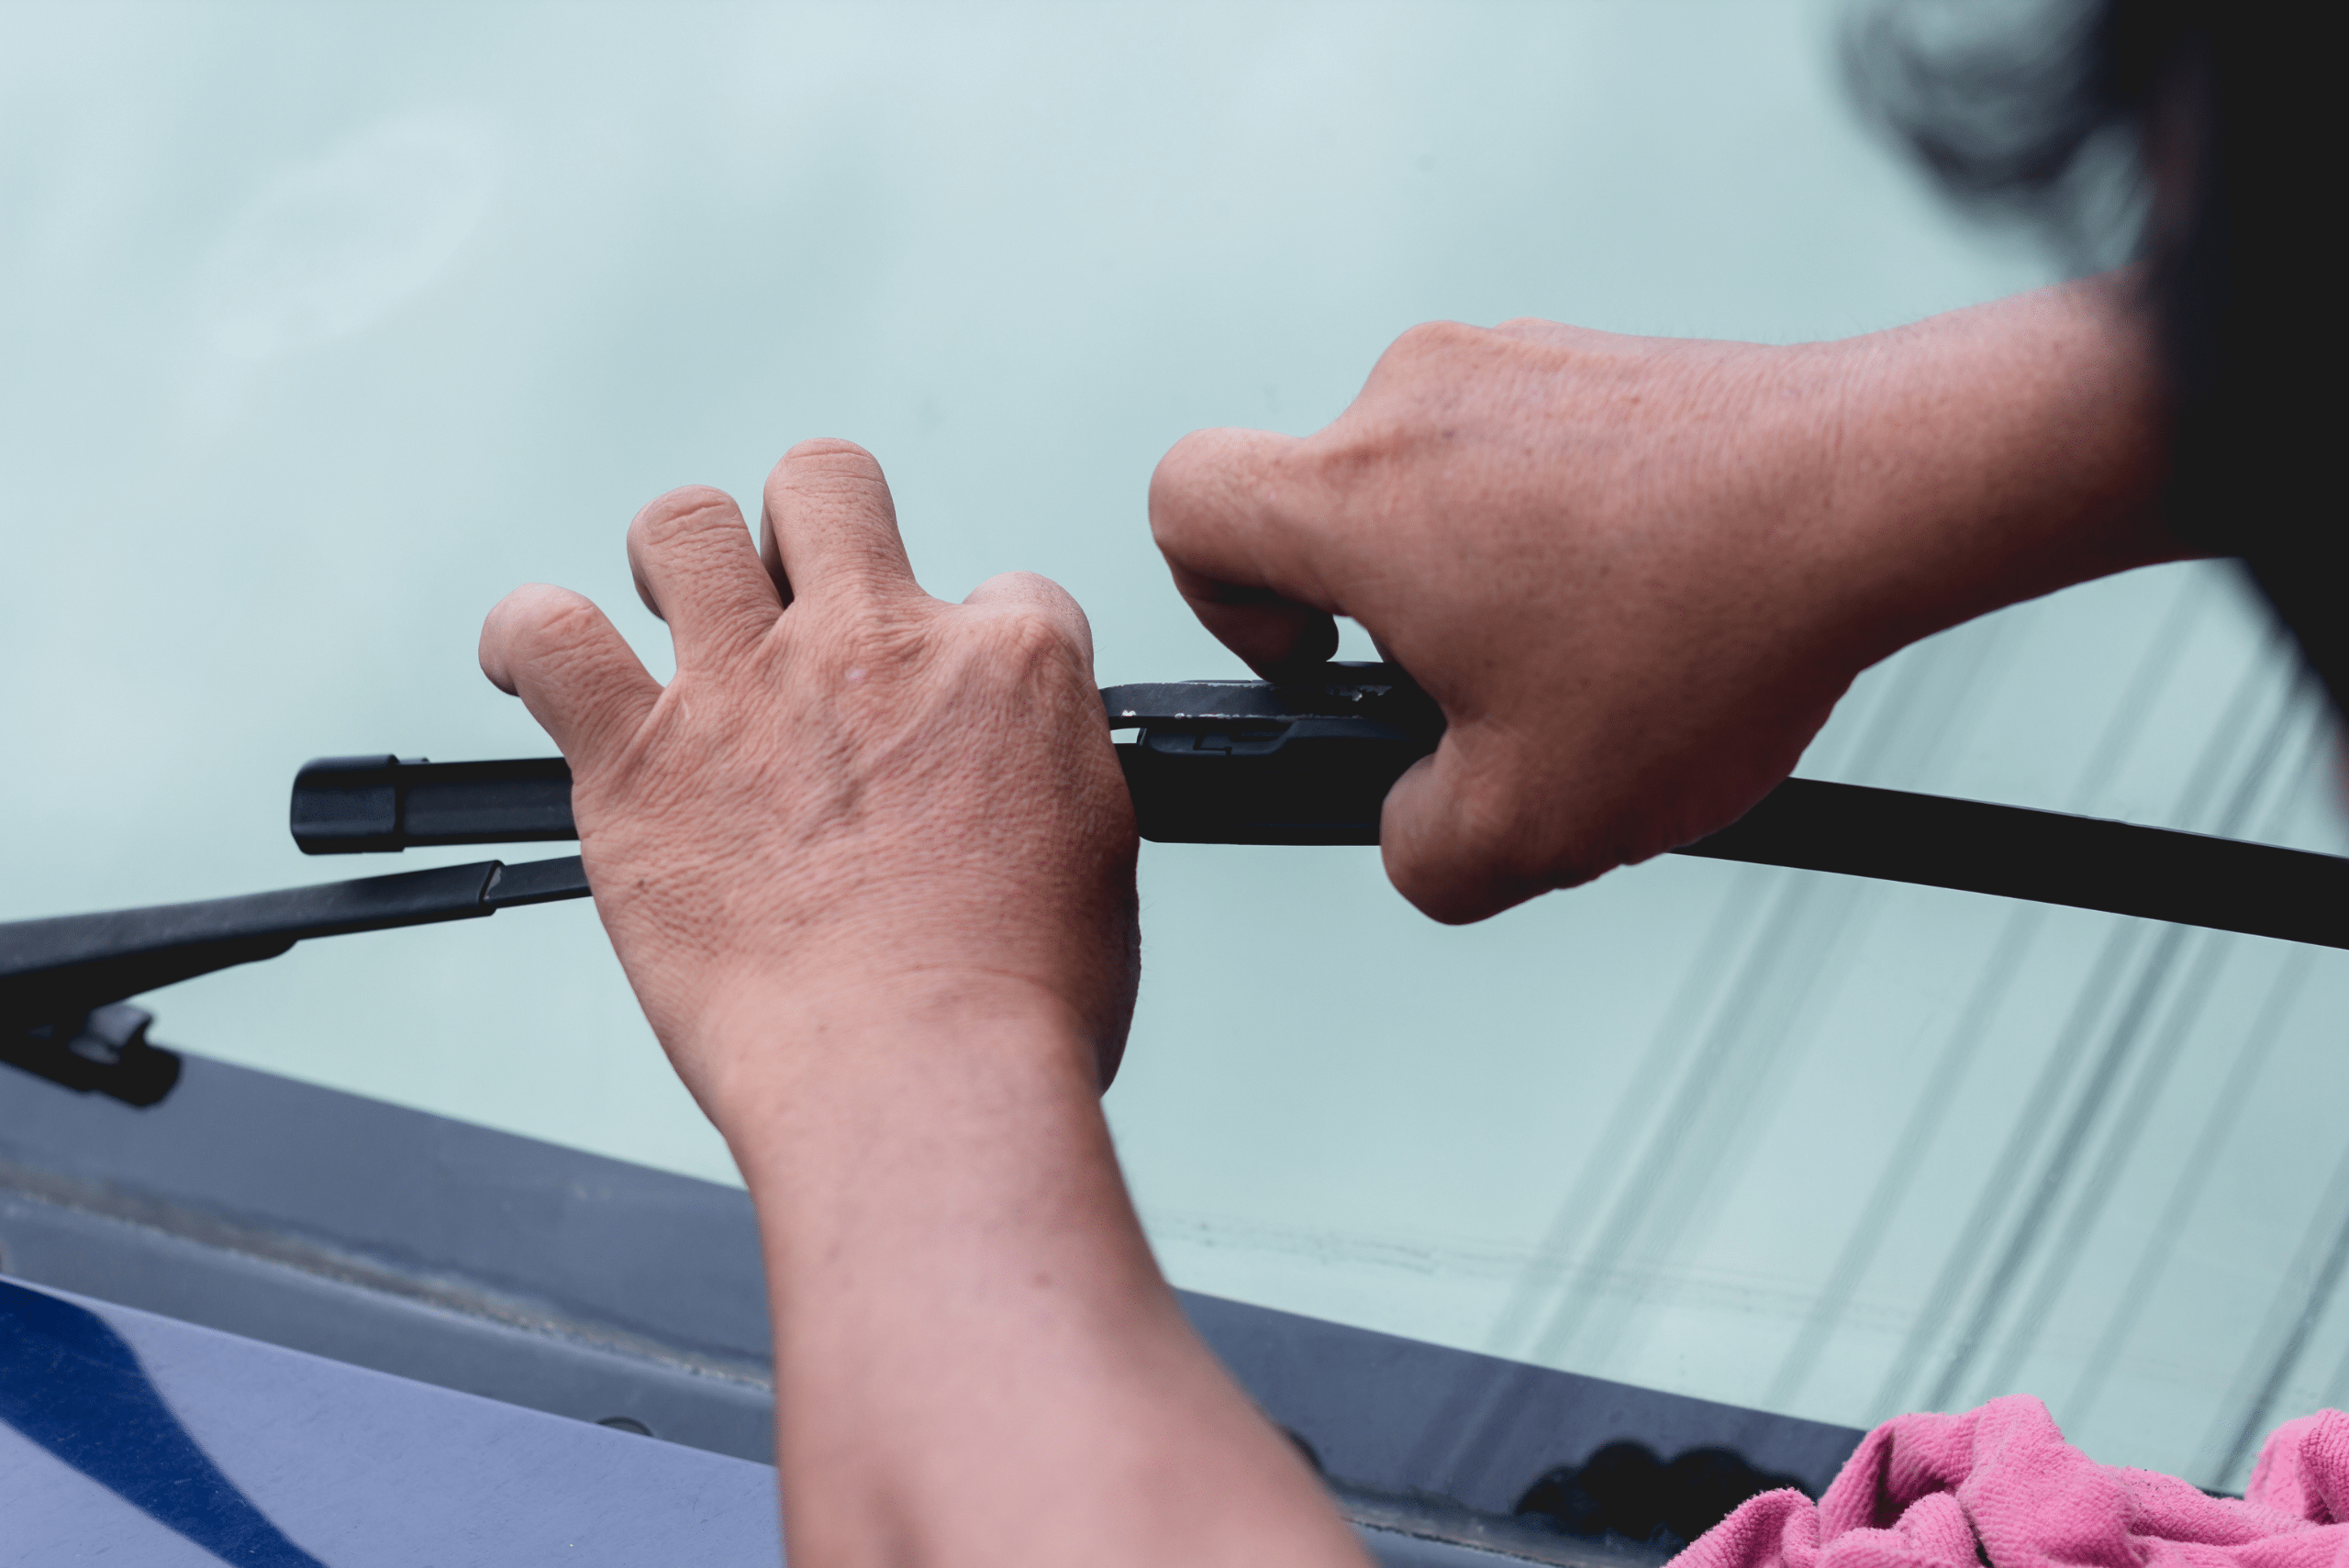
Carefully unpack the new wiper blades and ensure they match the correct size and type for your vehicle. Align the new blade with the wiper arm and follow the manufacturer’s instructions for securing it in place. Double-check that the new blades are securely attached to prevent any mishaps while driving.
Testing the New Wiper Blades
After installing the new wiper blades, it’s essential to test their functionality before hitting the road. Spray windshield washer fluid and activate the wipers to ensure smooth and uniform wiping across the entire windshield. Make any necessary adjustments to the blade alignment if needed. If your wipers are not contacting the windshield fully, you should check for rust and lubricate the wiper arm hinges and/or the spring behind it.

Tips for Extending Wiper Blade Lifespan
To maximize the lifespan of your new wiper blades, consider a few simple maintenance tips. Regularly clean your windshield to remove dirt and debris that can accelerate blade wear. Additionally, avoid using your wipers on a dry or icy windshield, as this can cause premature damage to the blades. Lastly, you will want to lift up your windshield wipers during winter when parked and you should get winter-specific blades for maximum longevity.

Common Mistakes to Avoid
When changing your wiper blades, it’s important to avoid common mistakes that could lead to subpar performance or potential damage. These may include forcing the wiper arm beyond its normal range of motion, using incorrect blade sizes, or neglecting to properly secure the new blades. Another mistake that many make is forgetting the plastic protective covers on the rubber part of the wiper blade, causing insufficient wiper blade performance and possible scratches to the windshield.
Understanding the significance of well-maintained wiper blades, identifying the right size, and following the correct installation process are all key components of successful wiper blade replacement. By avoiding common mistakes and seeking professional assistance when needed, you can ensure that your vehicle’s wiper blades are in optimal condition, providing clear visibility and safety on the road.


