How To Change A Light Fixture
Changing a light fixture can seem intimidating if you’re not the most experienced DIY-er, but it’s a task many homeowners can handle on their own. There’s still some effort involved, sure, but with how much a new light fixture can transform a room, it’s well worth it. With the right preparation, some basic tools, and a little patience, you can safely replace an old fixture with something brand new.
Turn Off the Power
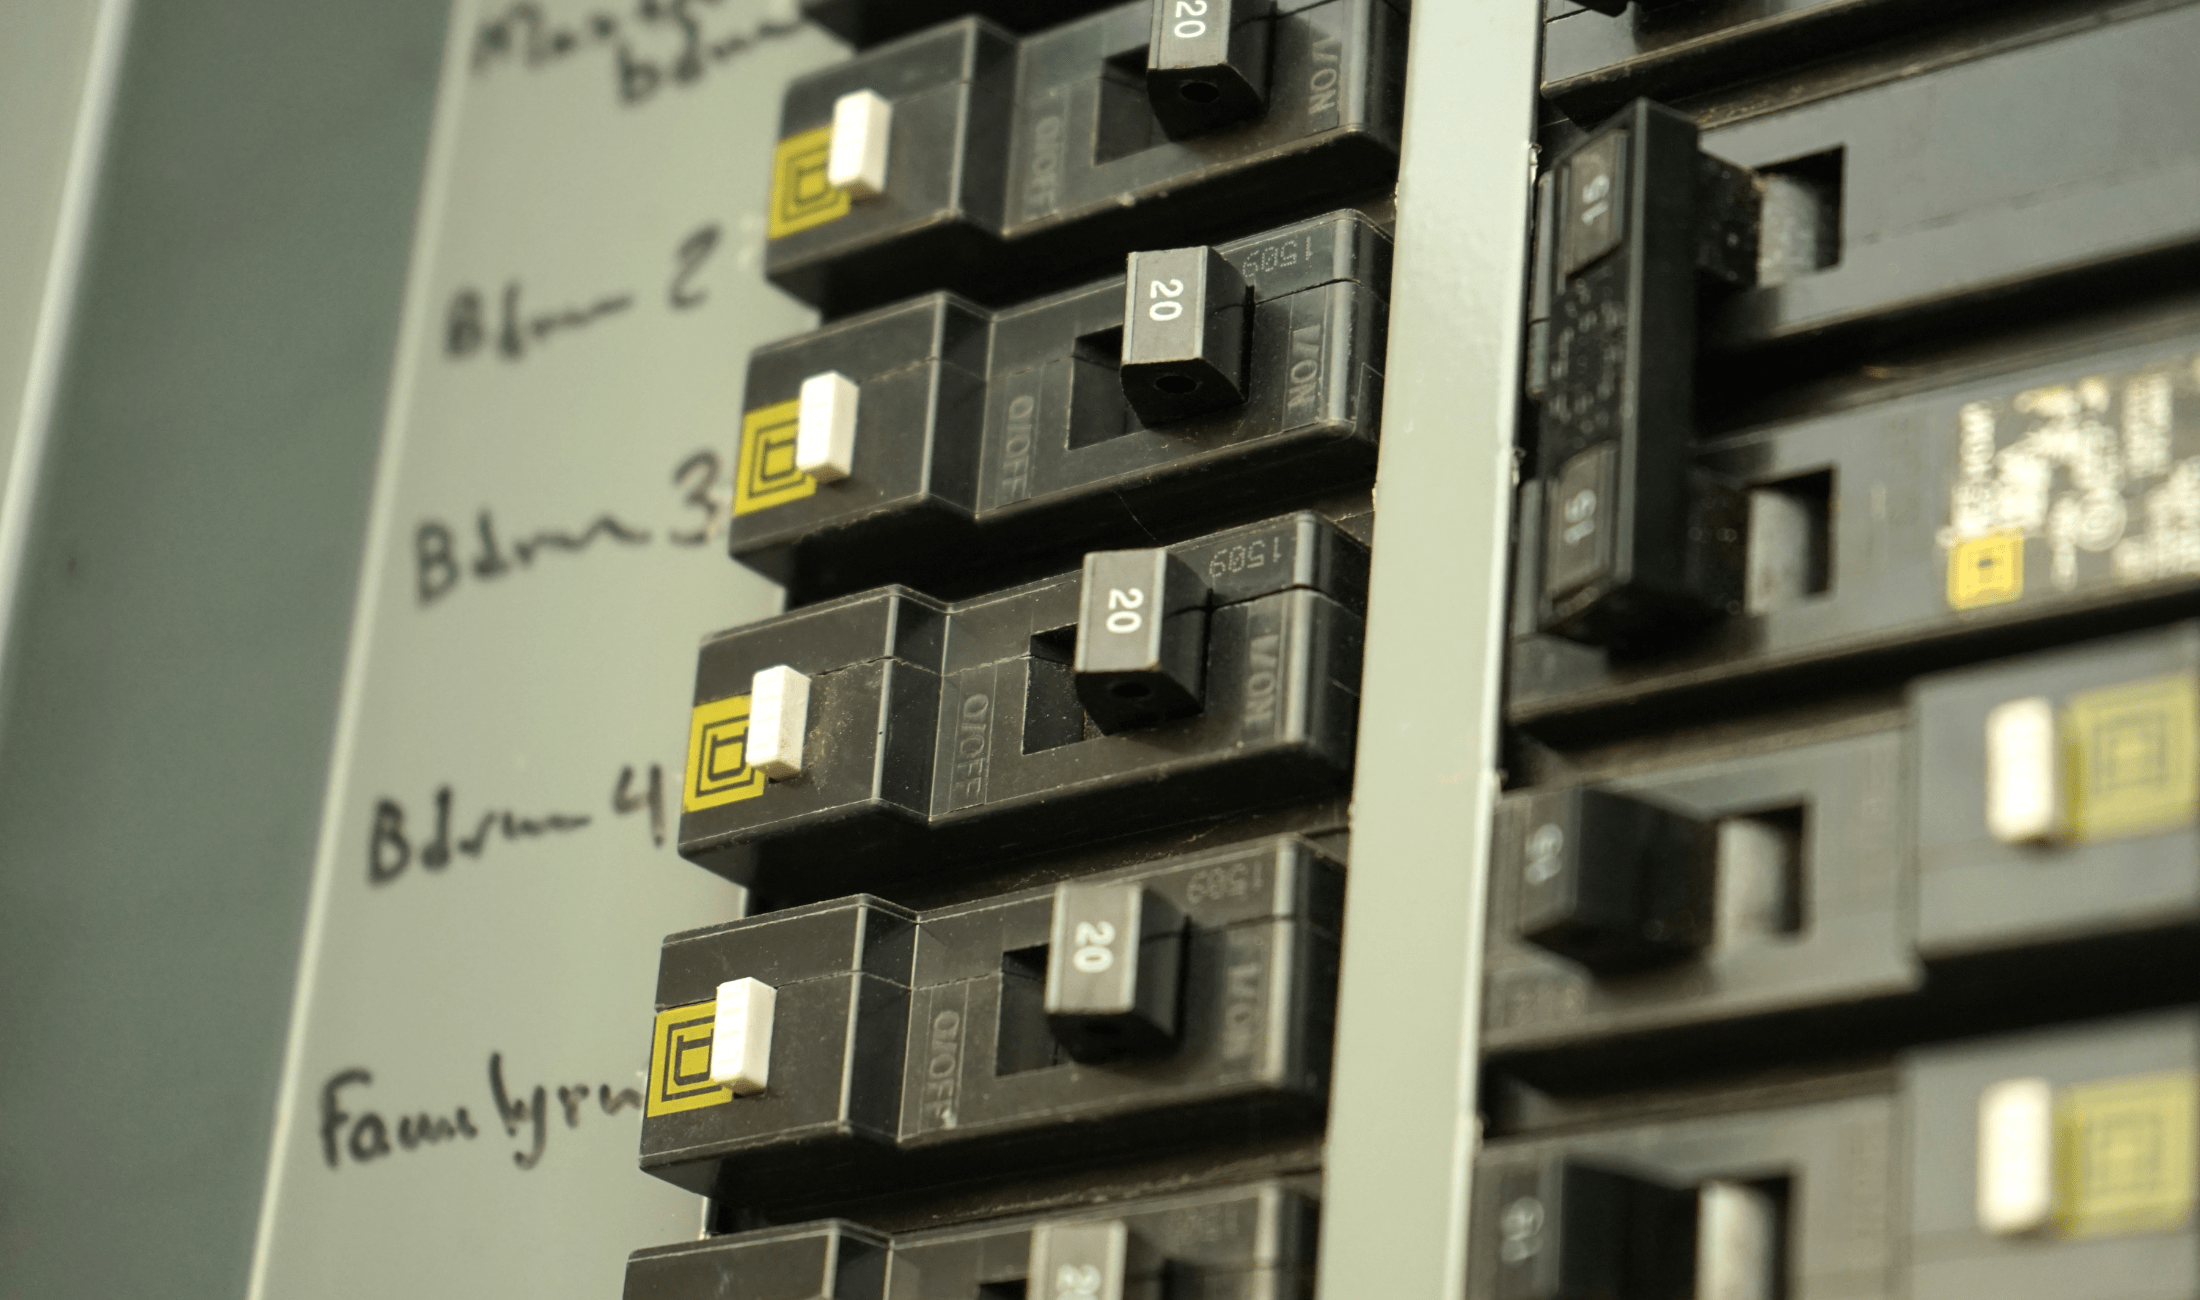
Before anything else, cut the power at the breaker box. Flipping the wall switch isn’t enough because wires can still carry electricity. Double-check by turning the switch on and off after shutting the breaker. Use a non-contact voltage tester if you have one to be absolutely sure. This step might feel obvious, but it’s the most important for your safety. Never start loosening screws or wires until you are certain the power is off.
Remove the Old Fixture
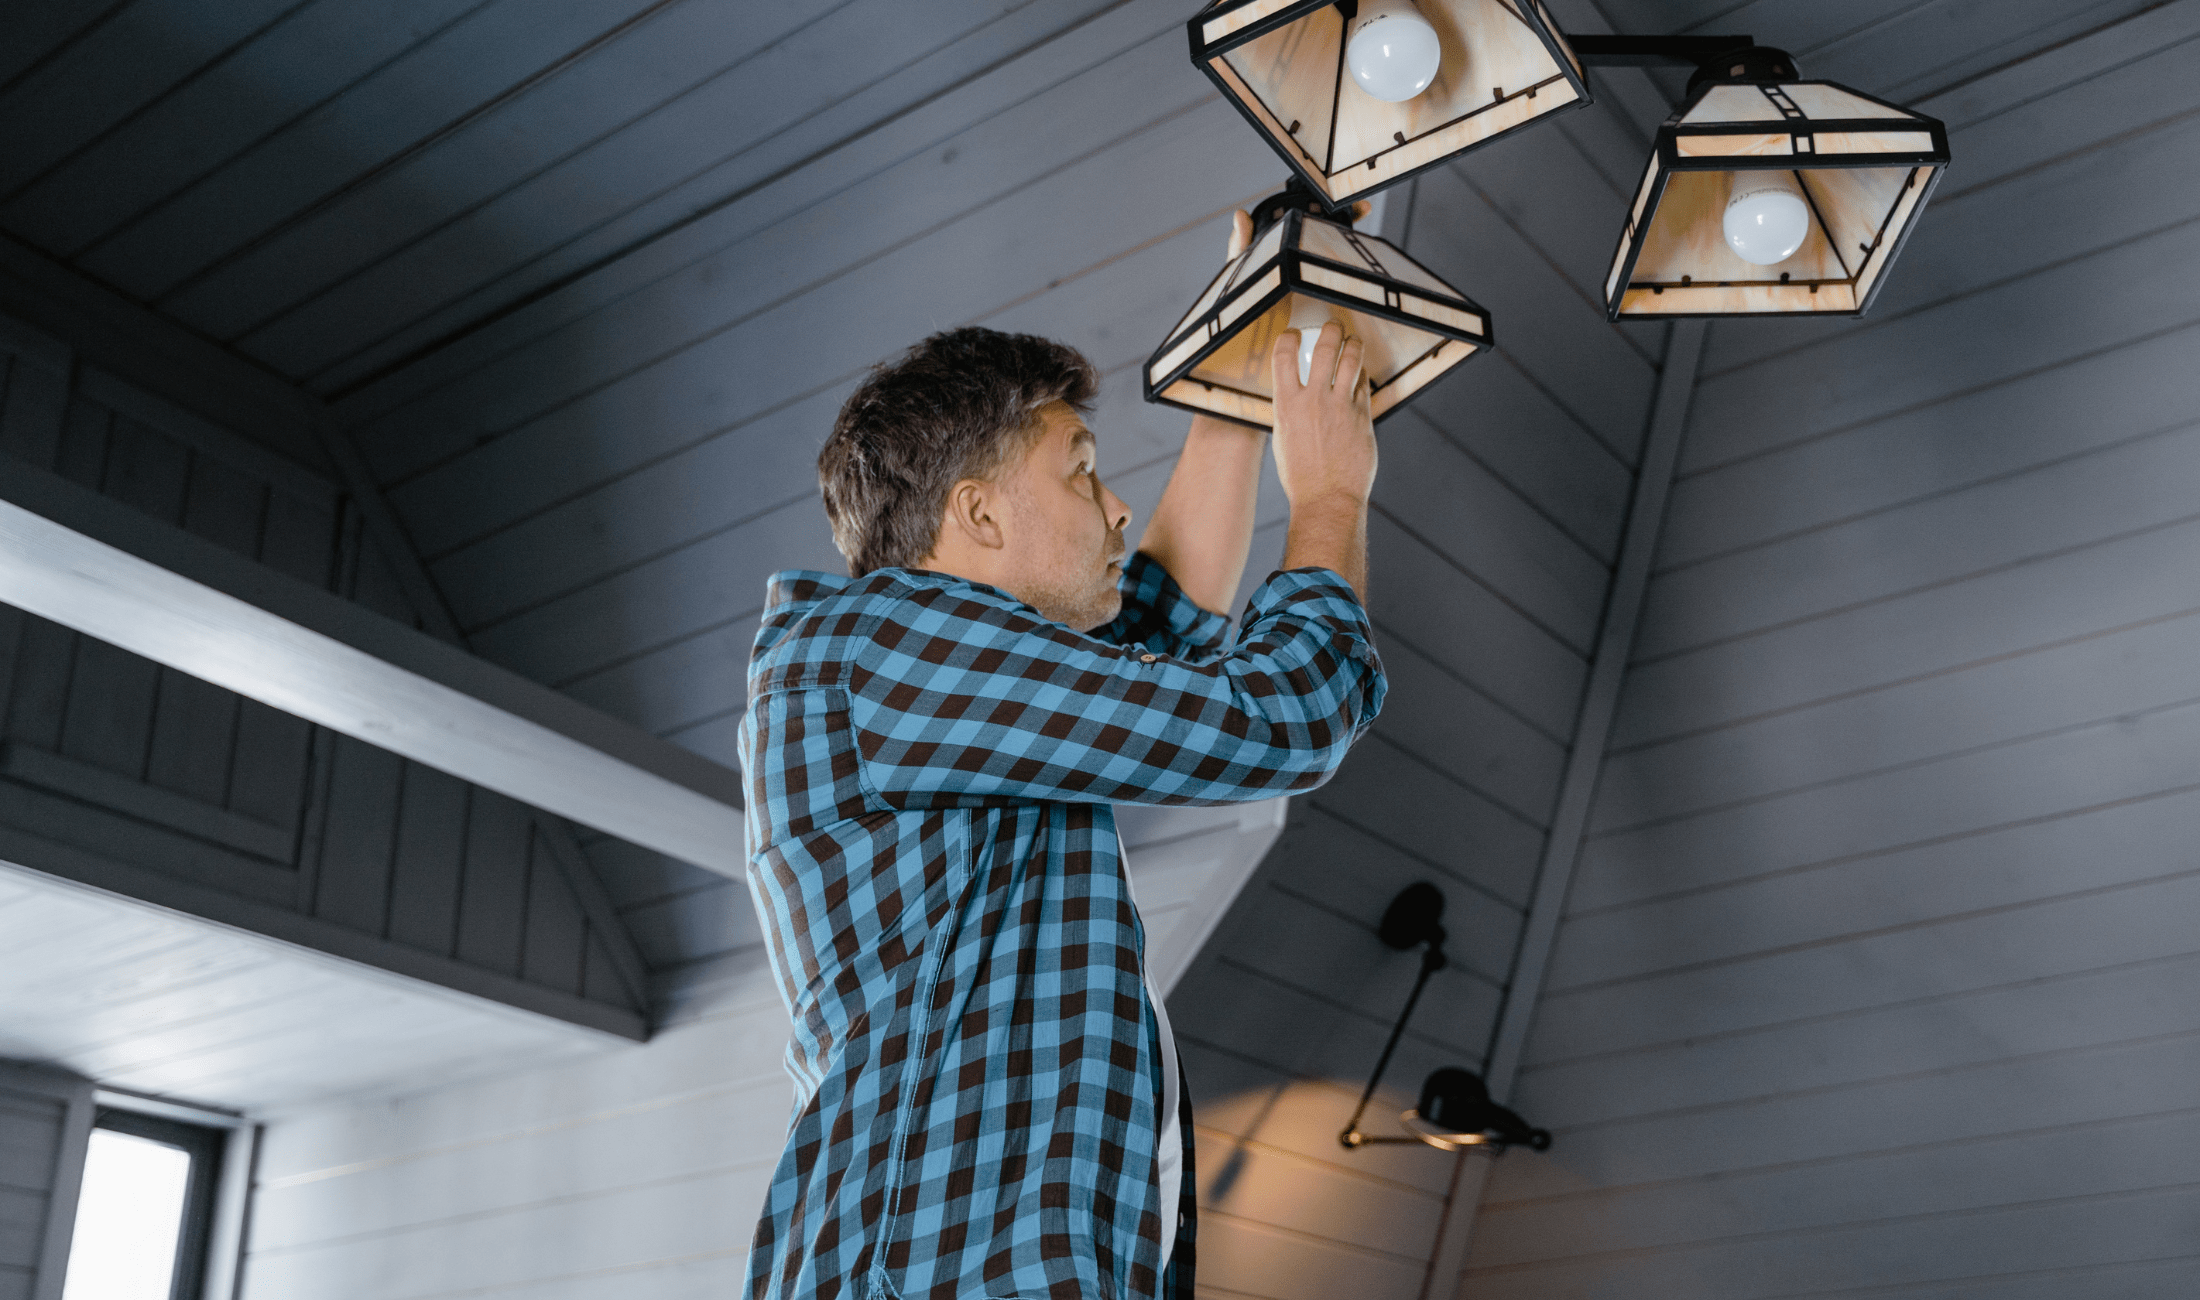
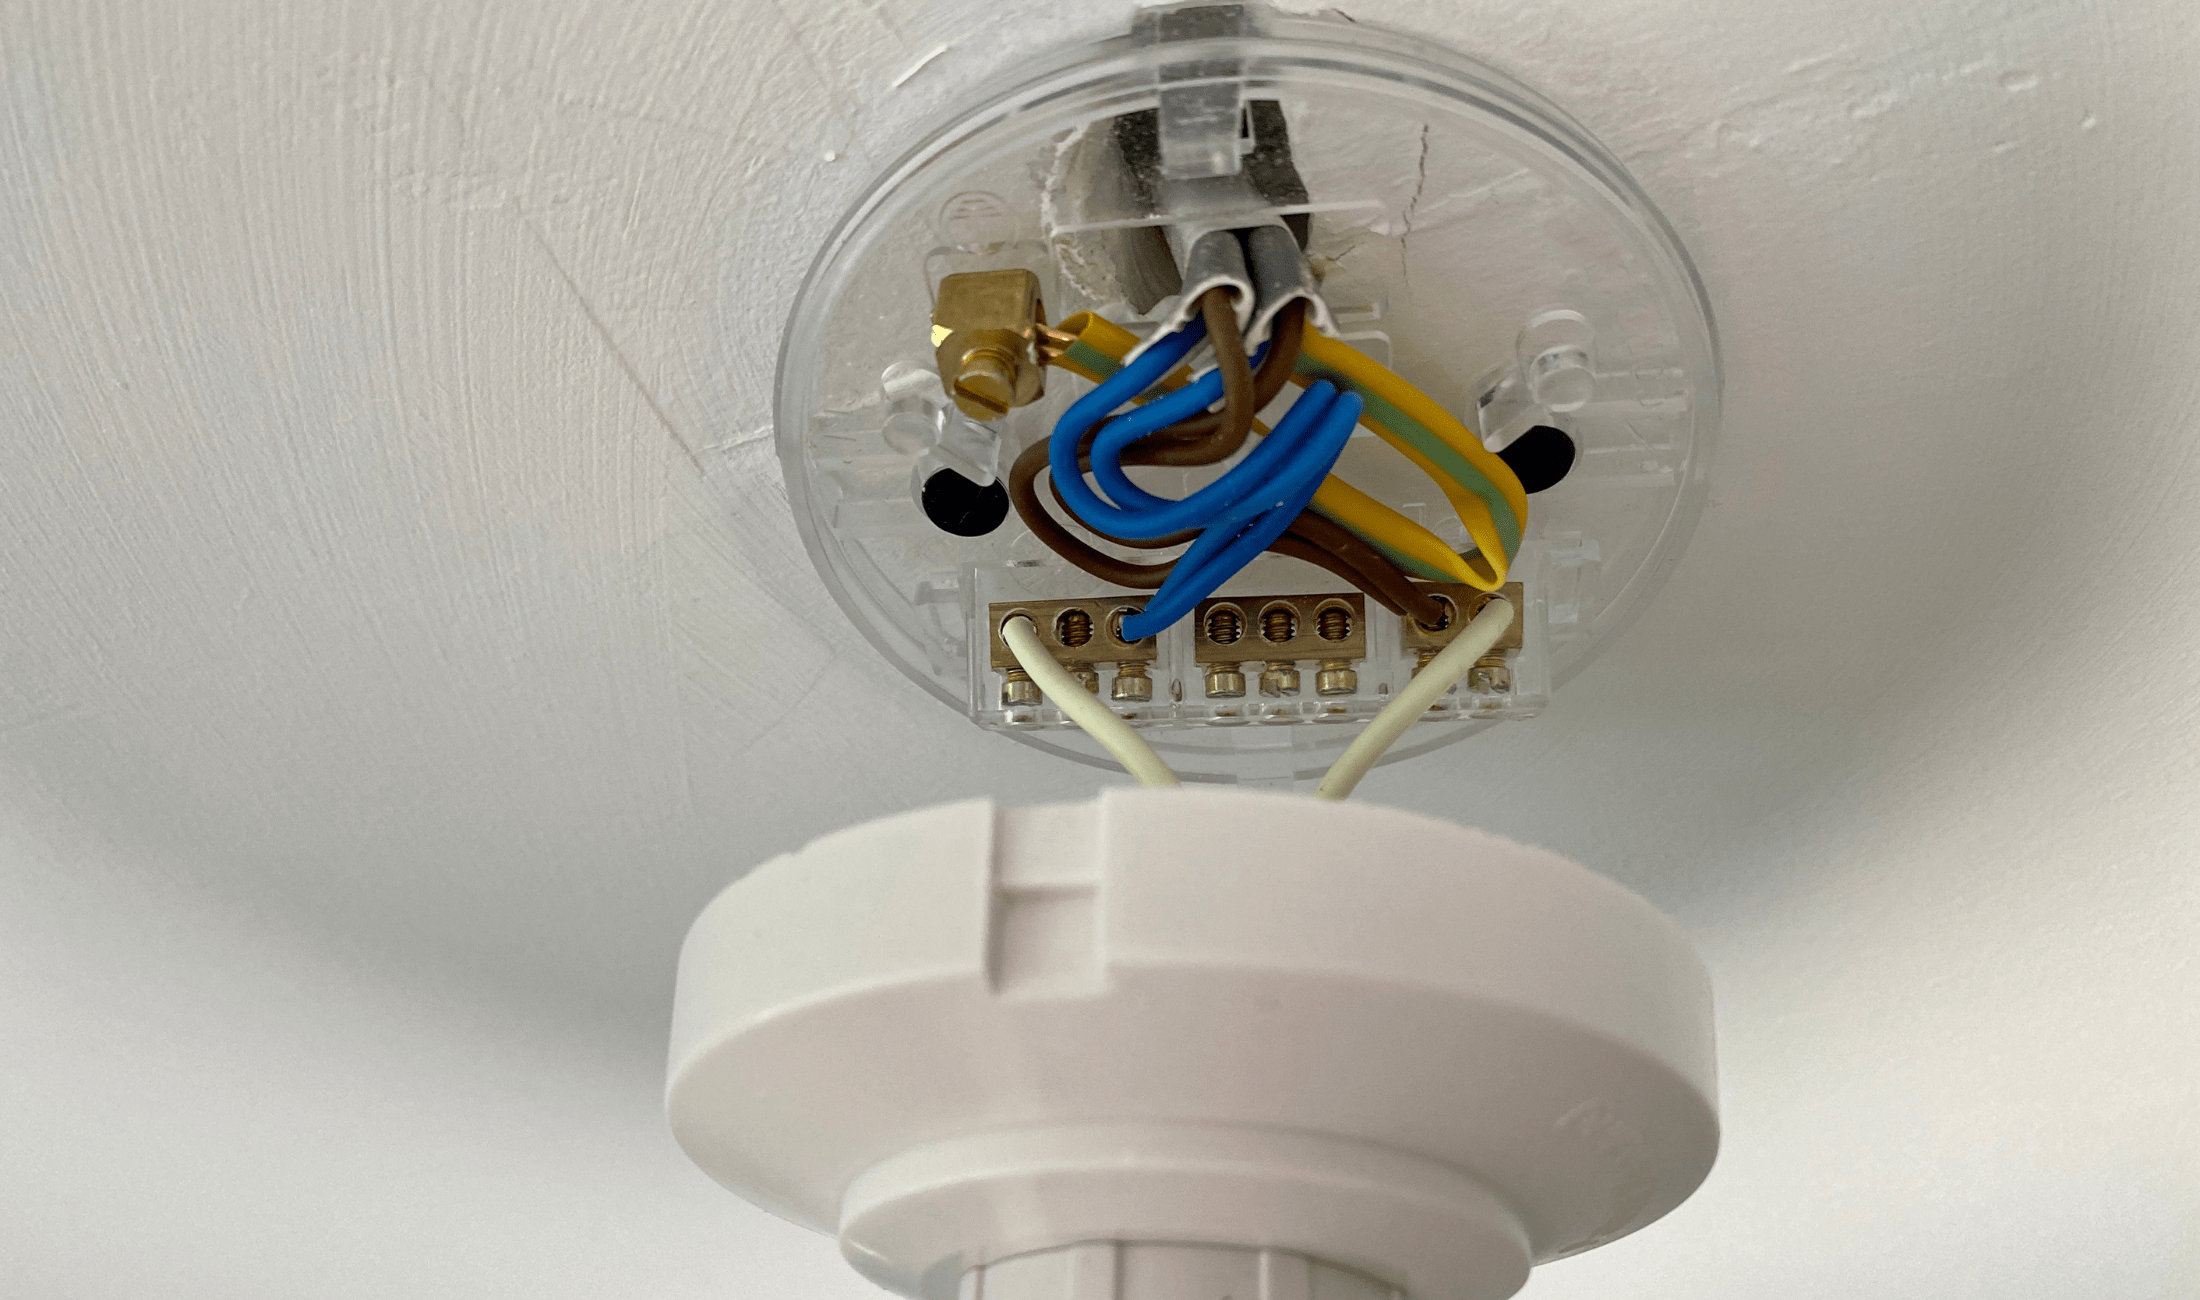
Once the power is off, take down the existing light. Unscrew the canopy, then support the fixture with one hand as you disconnect the wires. It helps to have a second person nearby if the fixture is heavy. Make note of how the wires were connected because you’ll repeat this setup with the new light. Take a photo if you can, as a reference. When the fixture is free, set it aside and make sure the electrical box is secure.
Inspect the Electrical Box
Not every light box can handle every fixture. Check that the box is rated for the weight of the light you’re installing. Ceiling fans, for example, require special support. If the box looks loose or damaged, it should be replaced before you continue. This is also a good time to check for frayed wiring that needs fixed. Taking the time to make sure everything’s safe now will help prevent an accident later on.
Connect the Wires
Match the wires from the new fixture with those in the box. Usually, black connects to black, white to white, and green or bare copper connects to the ground wire or screw. Twist them together with wire connectors, making sure each one is tight and secure. Tuck the wires carefully into the box so nothing is pinched. This step can feel a little technical, but it’s not complicated. Take your time and you’ll be alright.
Secure the Fixture
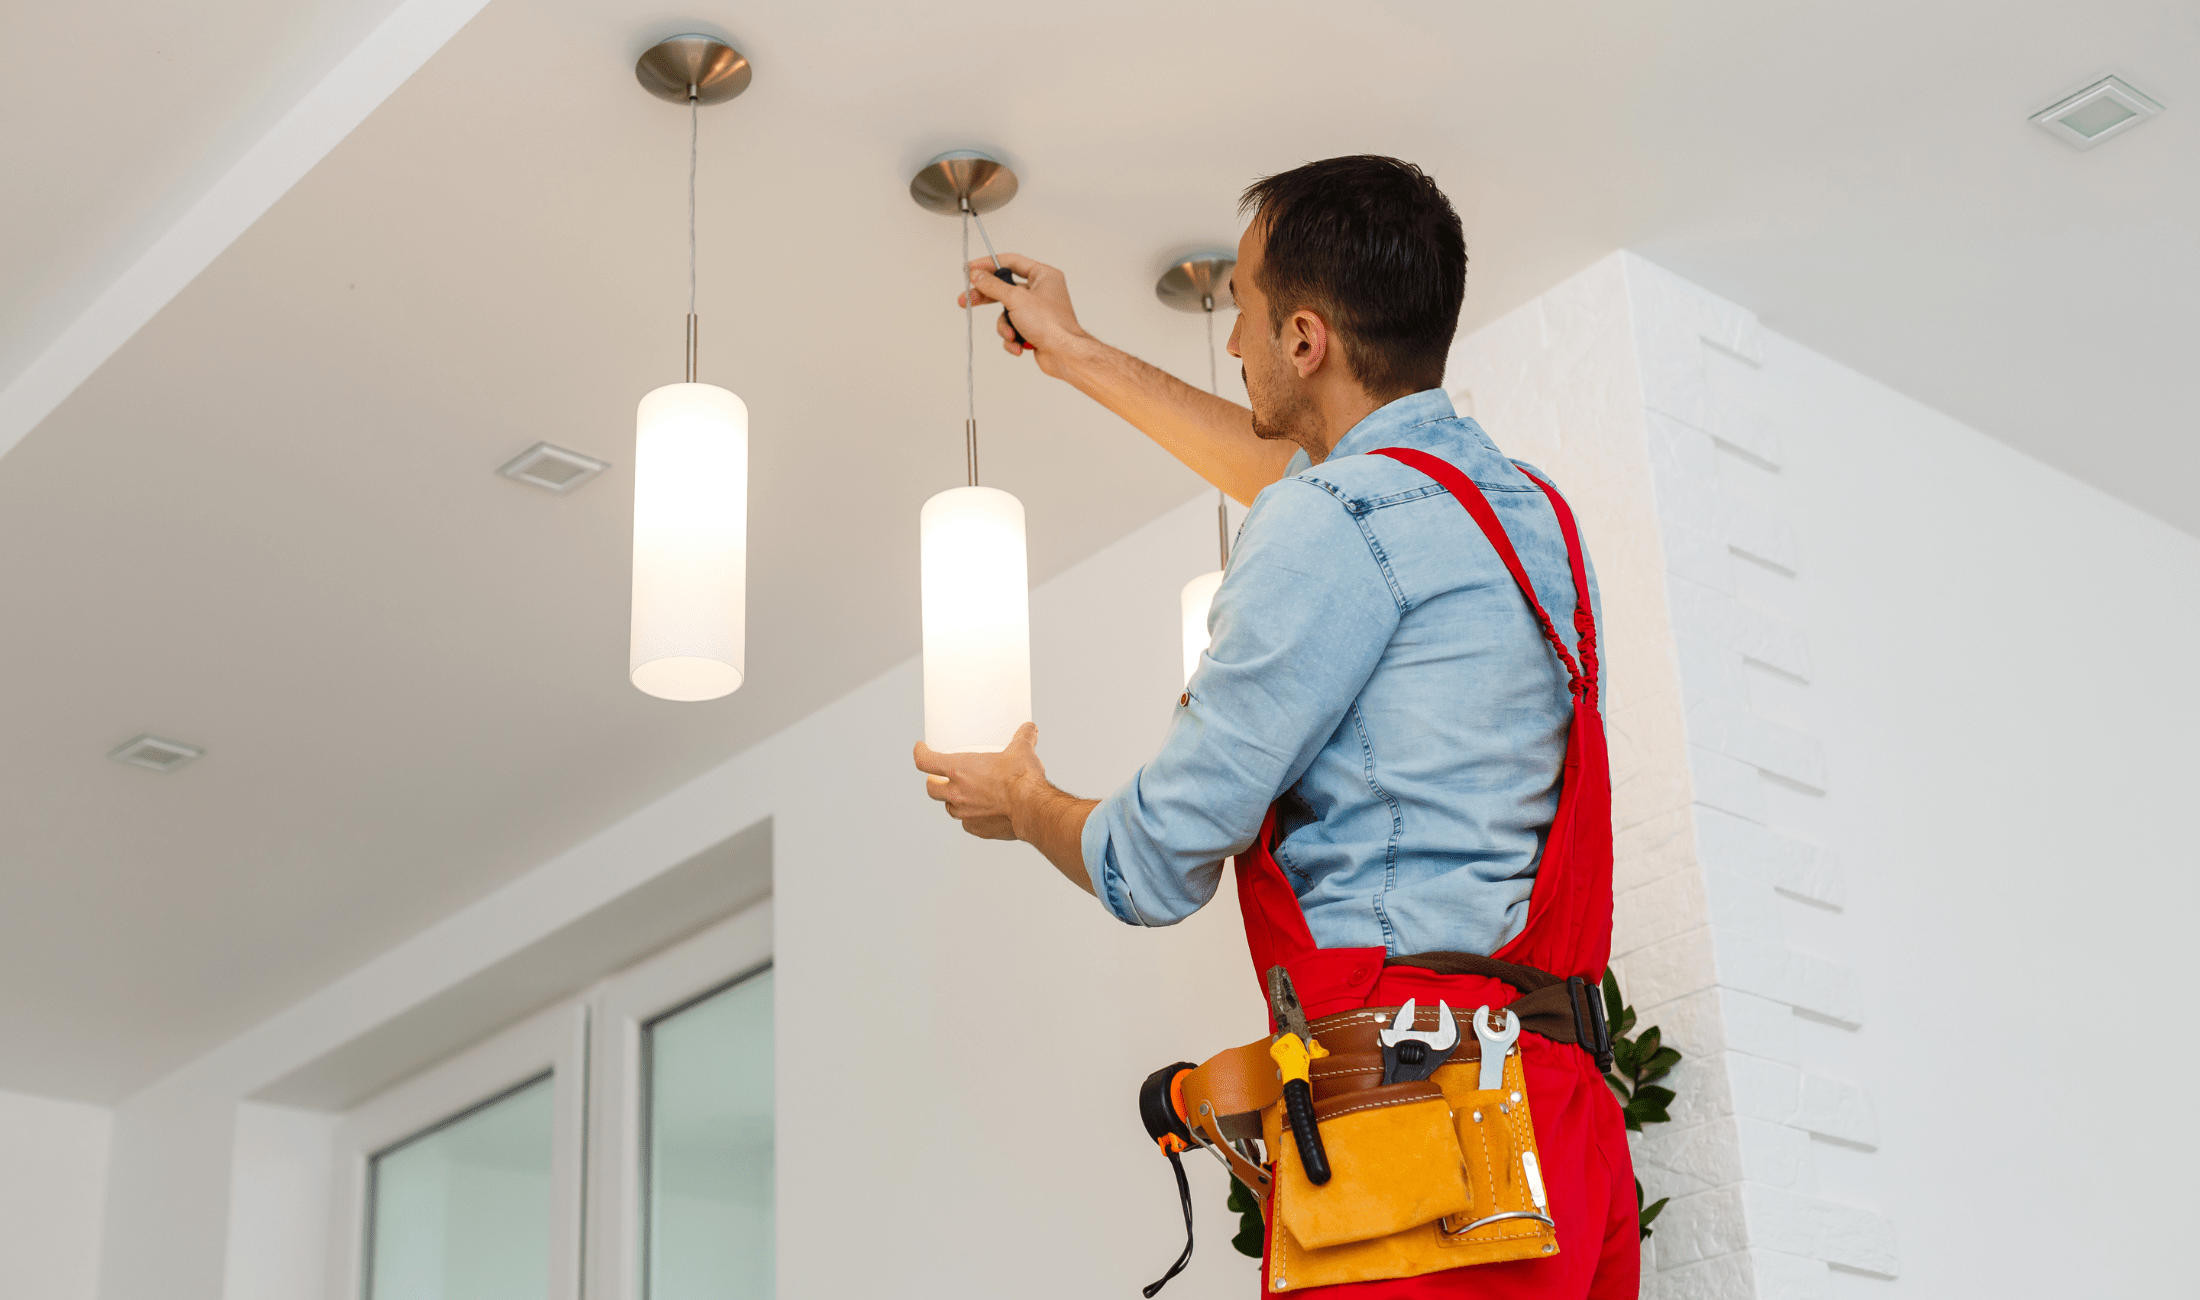
With the wires in place, mount the fixture to the box. Depending on the design, you may need to attach a mounting bracket first. Make sure all screws are snug, but avoid over-tightening as this can crack the fixture or strip the hardware. Once the base is secure, install the shade, glass, or other decorative parts. A level finish makes a big difference, so take your time to align everything properly before moving on to the bulbs.
Install Bulbs and Restore Power
After the fixture is firmly in place, add the recommended bulbs. Always check the maximum wattage listed on the fixture and stay within that limit. Too much heat from the wrong bulb type can damage wiring or fry the fixture. Once the bulbs are in, restore power at the breaker and test your new light. If it works as expected, your project is complete. Take a step back and appreciate the work you’ve done!
Related Articles
- 6 Tips For Cleaning Your Ceiling Fan (The Right Way)
- What Does It Mean If You See A Green Porch Light?
- Home Lighting Options That Don’t Require Plugs Or Wiring
Replacing a light fixture is one of those projects that makes a visible difference in a home without requiring any advanced skills. As long as you take safety seriously and follow each step, it’s a simple, practical job that brings new life into a room. If at any point you feel unsure, calling in an electrician is always a good choice. Otherwise, enjoy the satisfaction of a job well done!


