How To Build Your Own DIY Lawn Sprinkler System
A healthy, green lawn can significantly enhance your home’s curb appeal, but maintaining it can be a challenge. Installing a lawn sprinkler system is an effective way to ensure your lawn gets the right amount of water.
If you’re a DIY enthusiast looking for a new project, building your own sprinkler system can be both rewarding and cost-effective. This step-by-step guide will walk you through the process of creating a DIY lawn sprinkler system that will keep your yard looking its best.
Materials You’ll Need:
- Garden hose
- PVC pipes and fittings
- Sprinkler heads
- Hose connectors
- Pipe cutter
- Teflon tape
- PVC cement
- Timer (optional)
- Shovel or trenching tool
Step-by-Step DIY Sprinkler System Build Instructions
Building your very own sprinkler system is a DIY project that will yield outstanding results for your lawn. It doesn’t take much to make your own setup and it will give you endless possibilities for customization, ensuring your lawn’s watering needs are met. Here are the steps to follow to begin your build:
Step 1: Plan Your Layout

Before you start digging, plan out the layout of your sprinkler system. Consider the size and shape of your lawn, and decide where you want the sprinkler heads to be placed for optimal coverage. Mark the spots with flags or stakes.
Step 2: Gather Materials

Once you have your layout planned, gather all the necessary materials. You can find PVC pipes, fittings, and sprinkler heads at your local hardware store. Make sure to get a pipe cutter and PVC cement for assembling the pipes.
Step 3: Dig Trenches
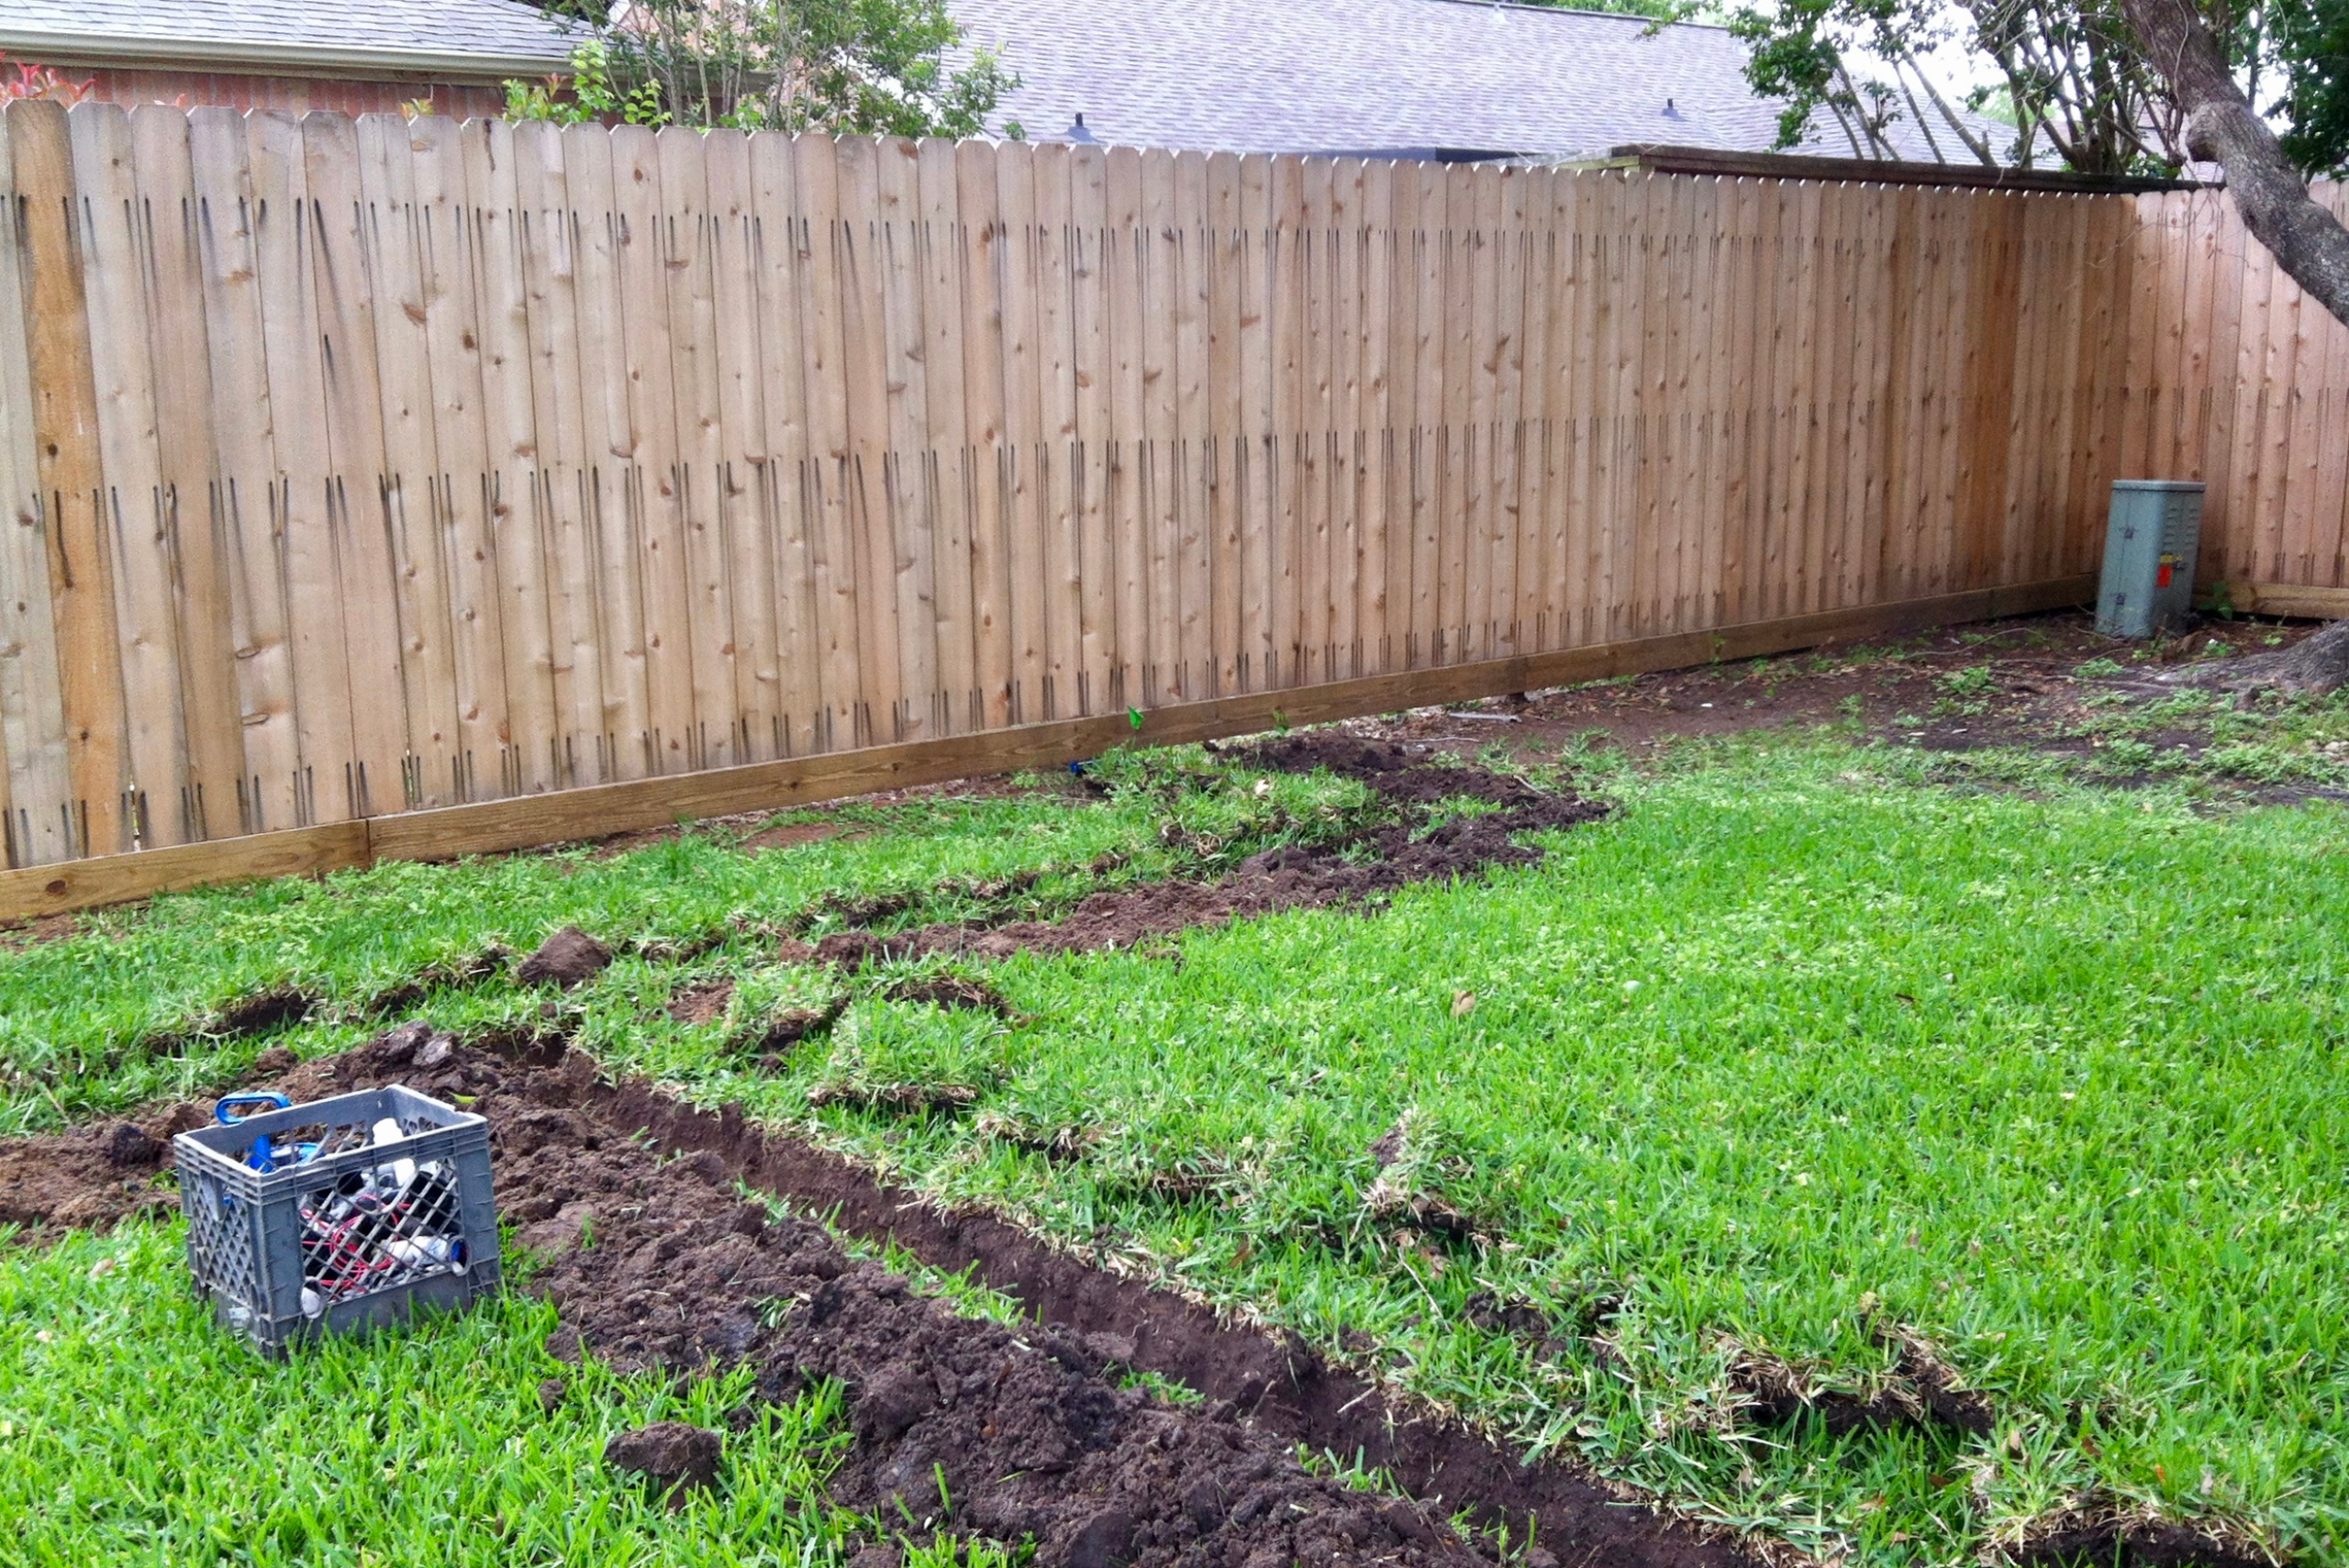
Use a shovel or trenching tool to dig trenches where the pipes will be laid. The trenches should be about 6-8 inches deep to protect the pipes from damage. Make sure the trenches follow the layout you planned.
Step 4: Assemble the Pipes
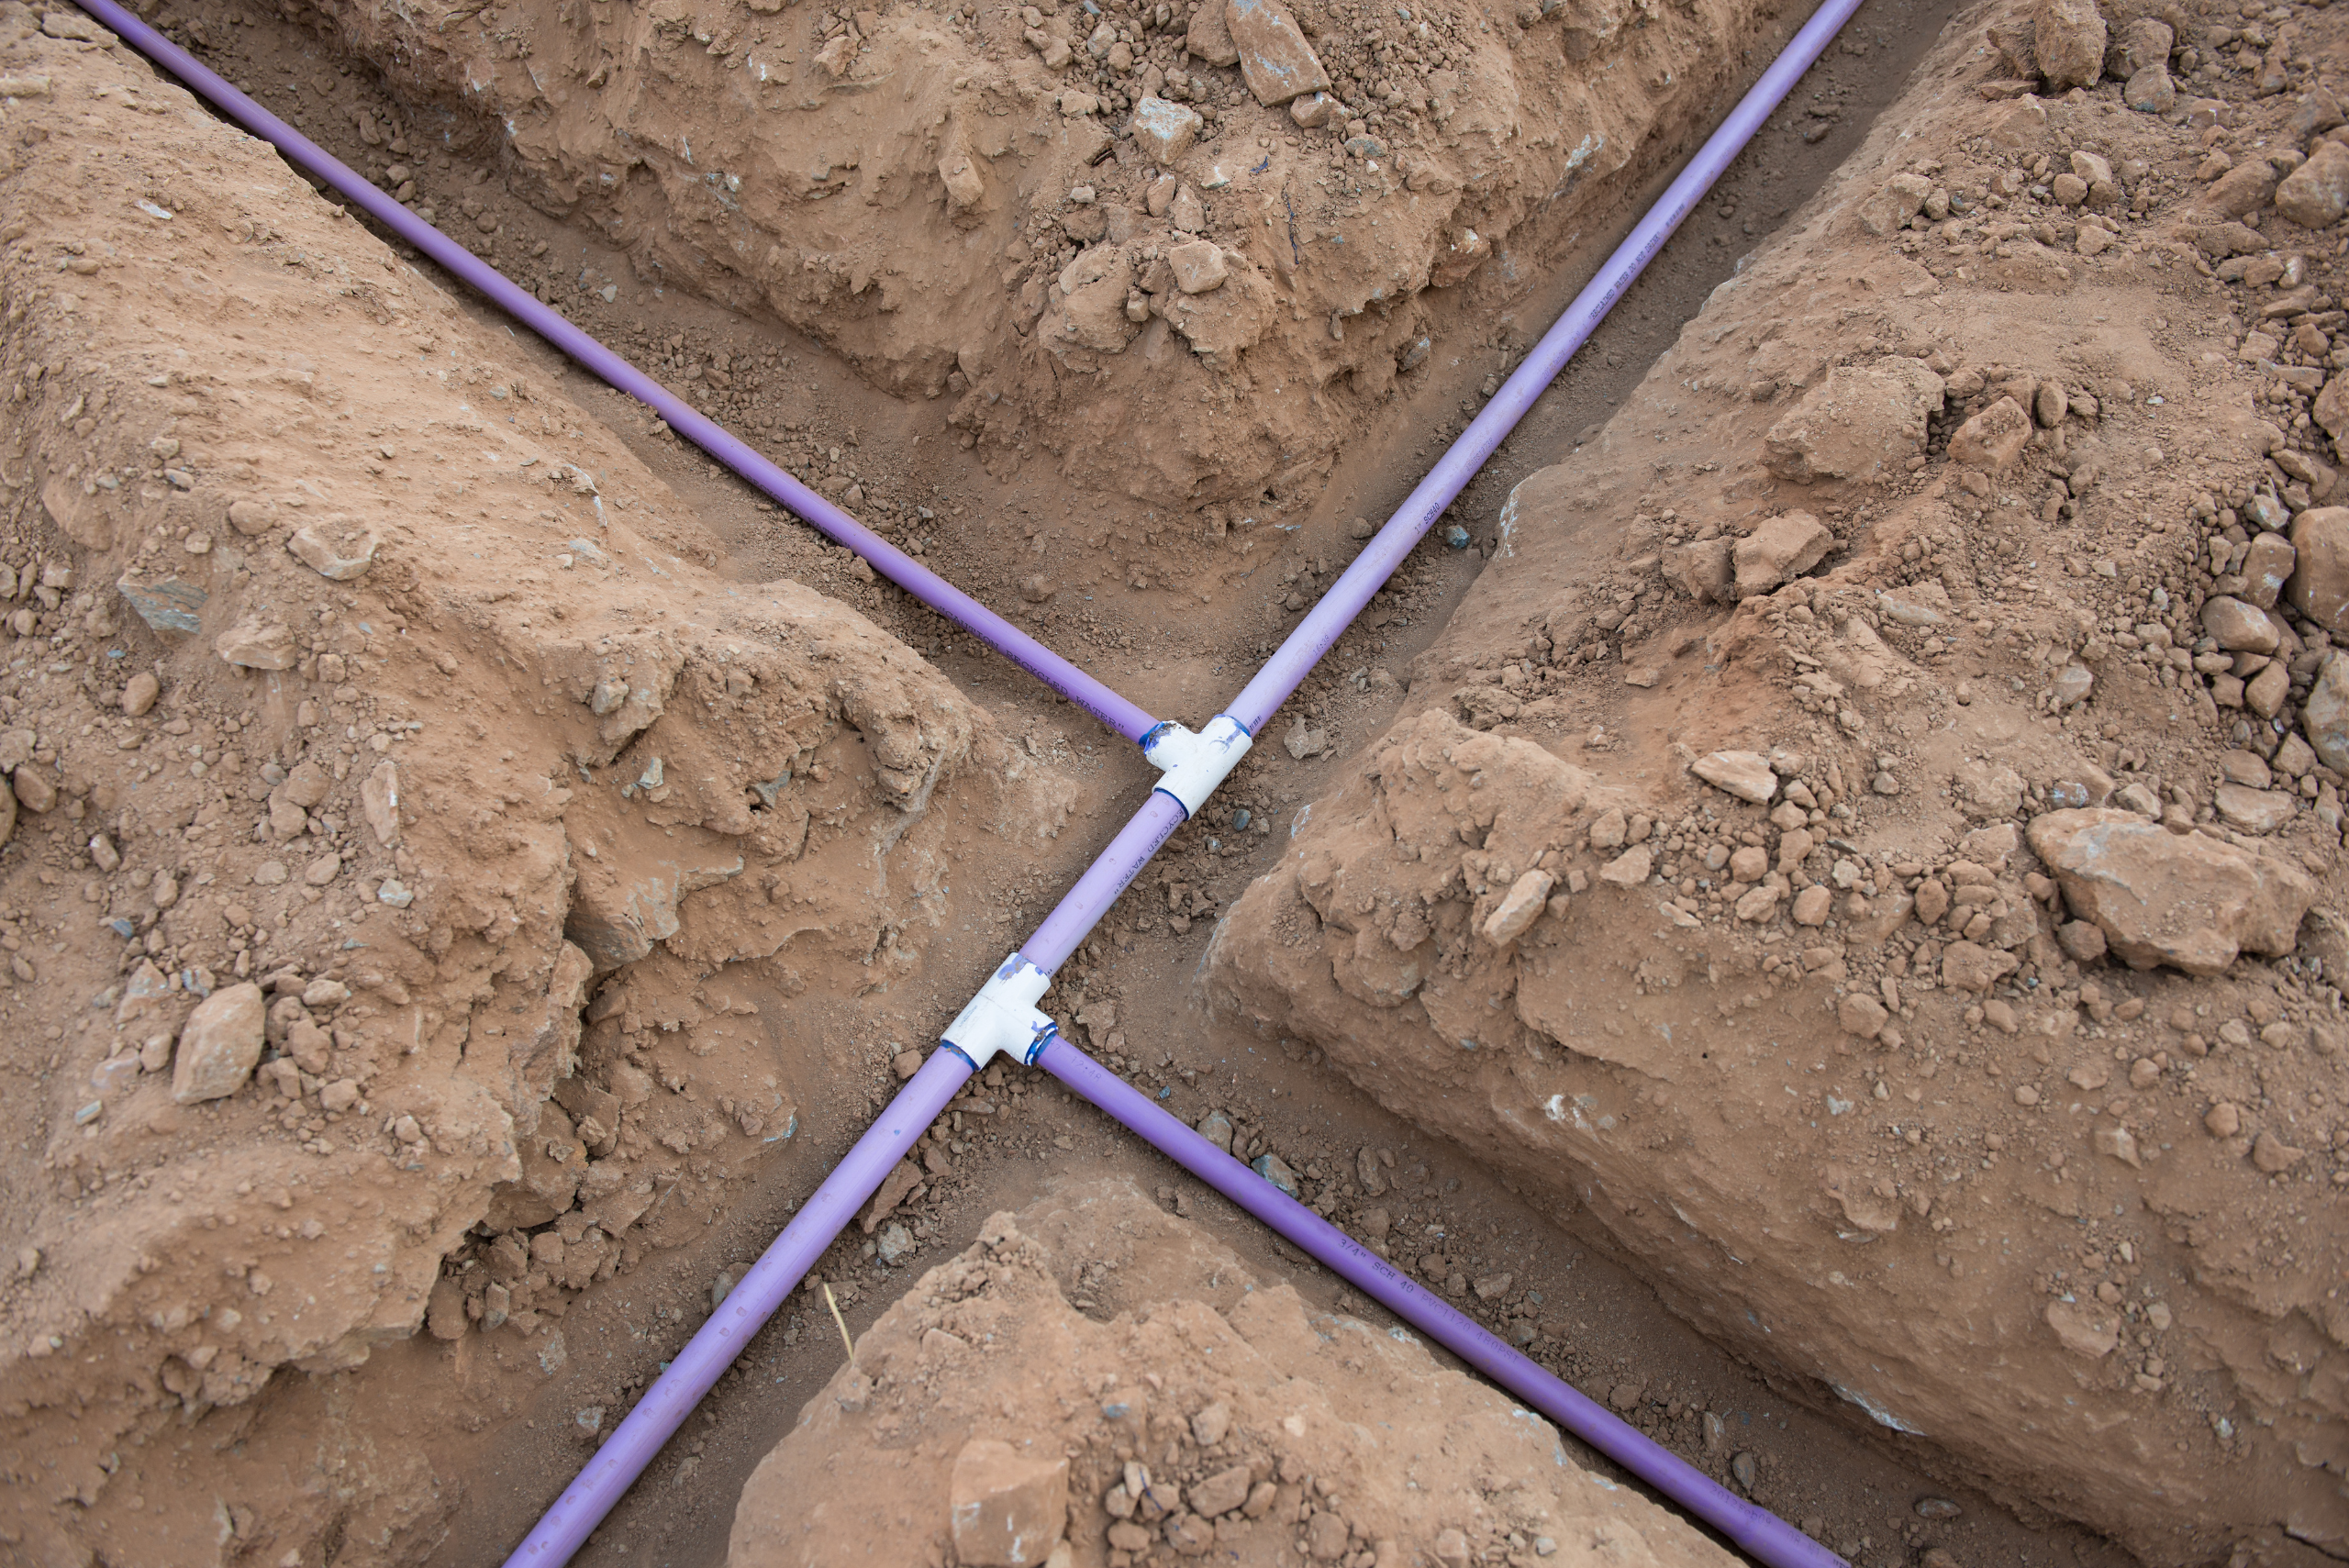
Cut the PVC pipes to the appropriate lengths using the pipe cutter. Assemble the pipes and fittings, applying PVC cement to ensure a secure connection. Attach the sprinkler heads to the pipes, making sure they are positioned according to your layout.
Step 5: Connect to Water Source
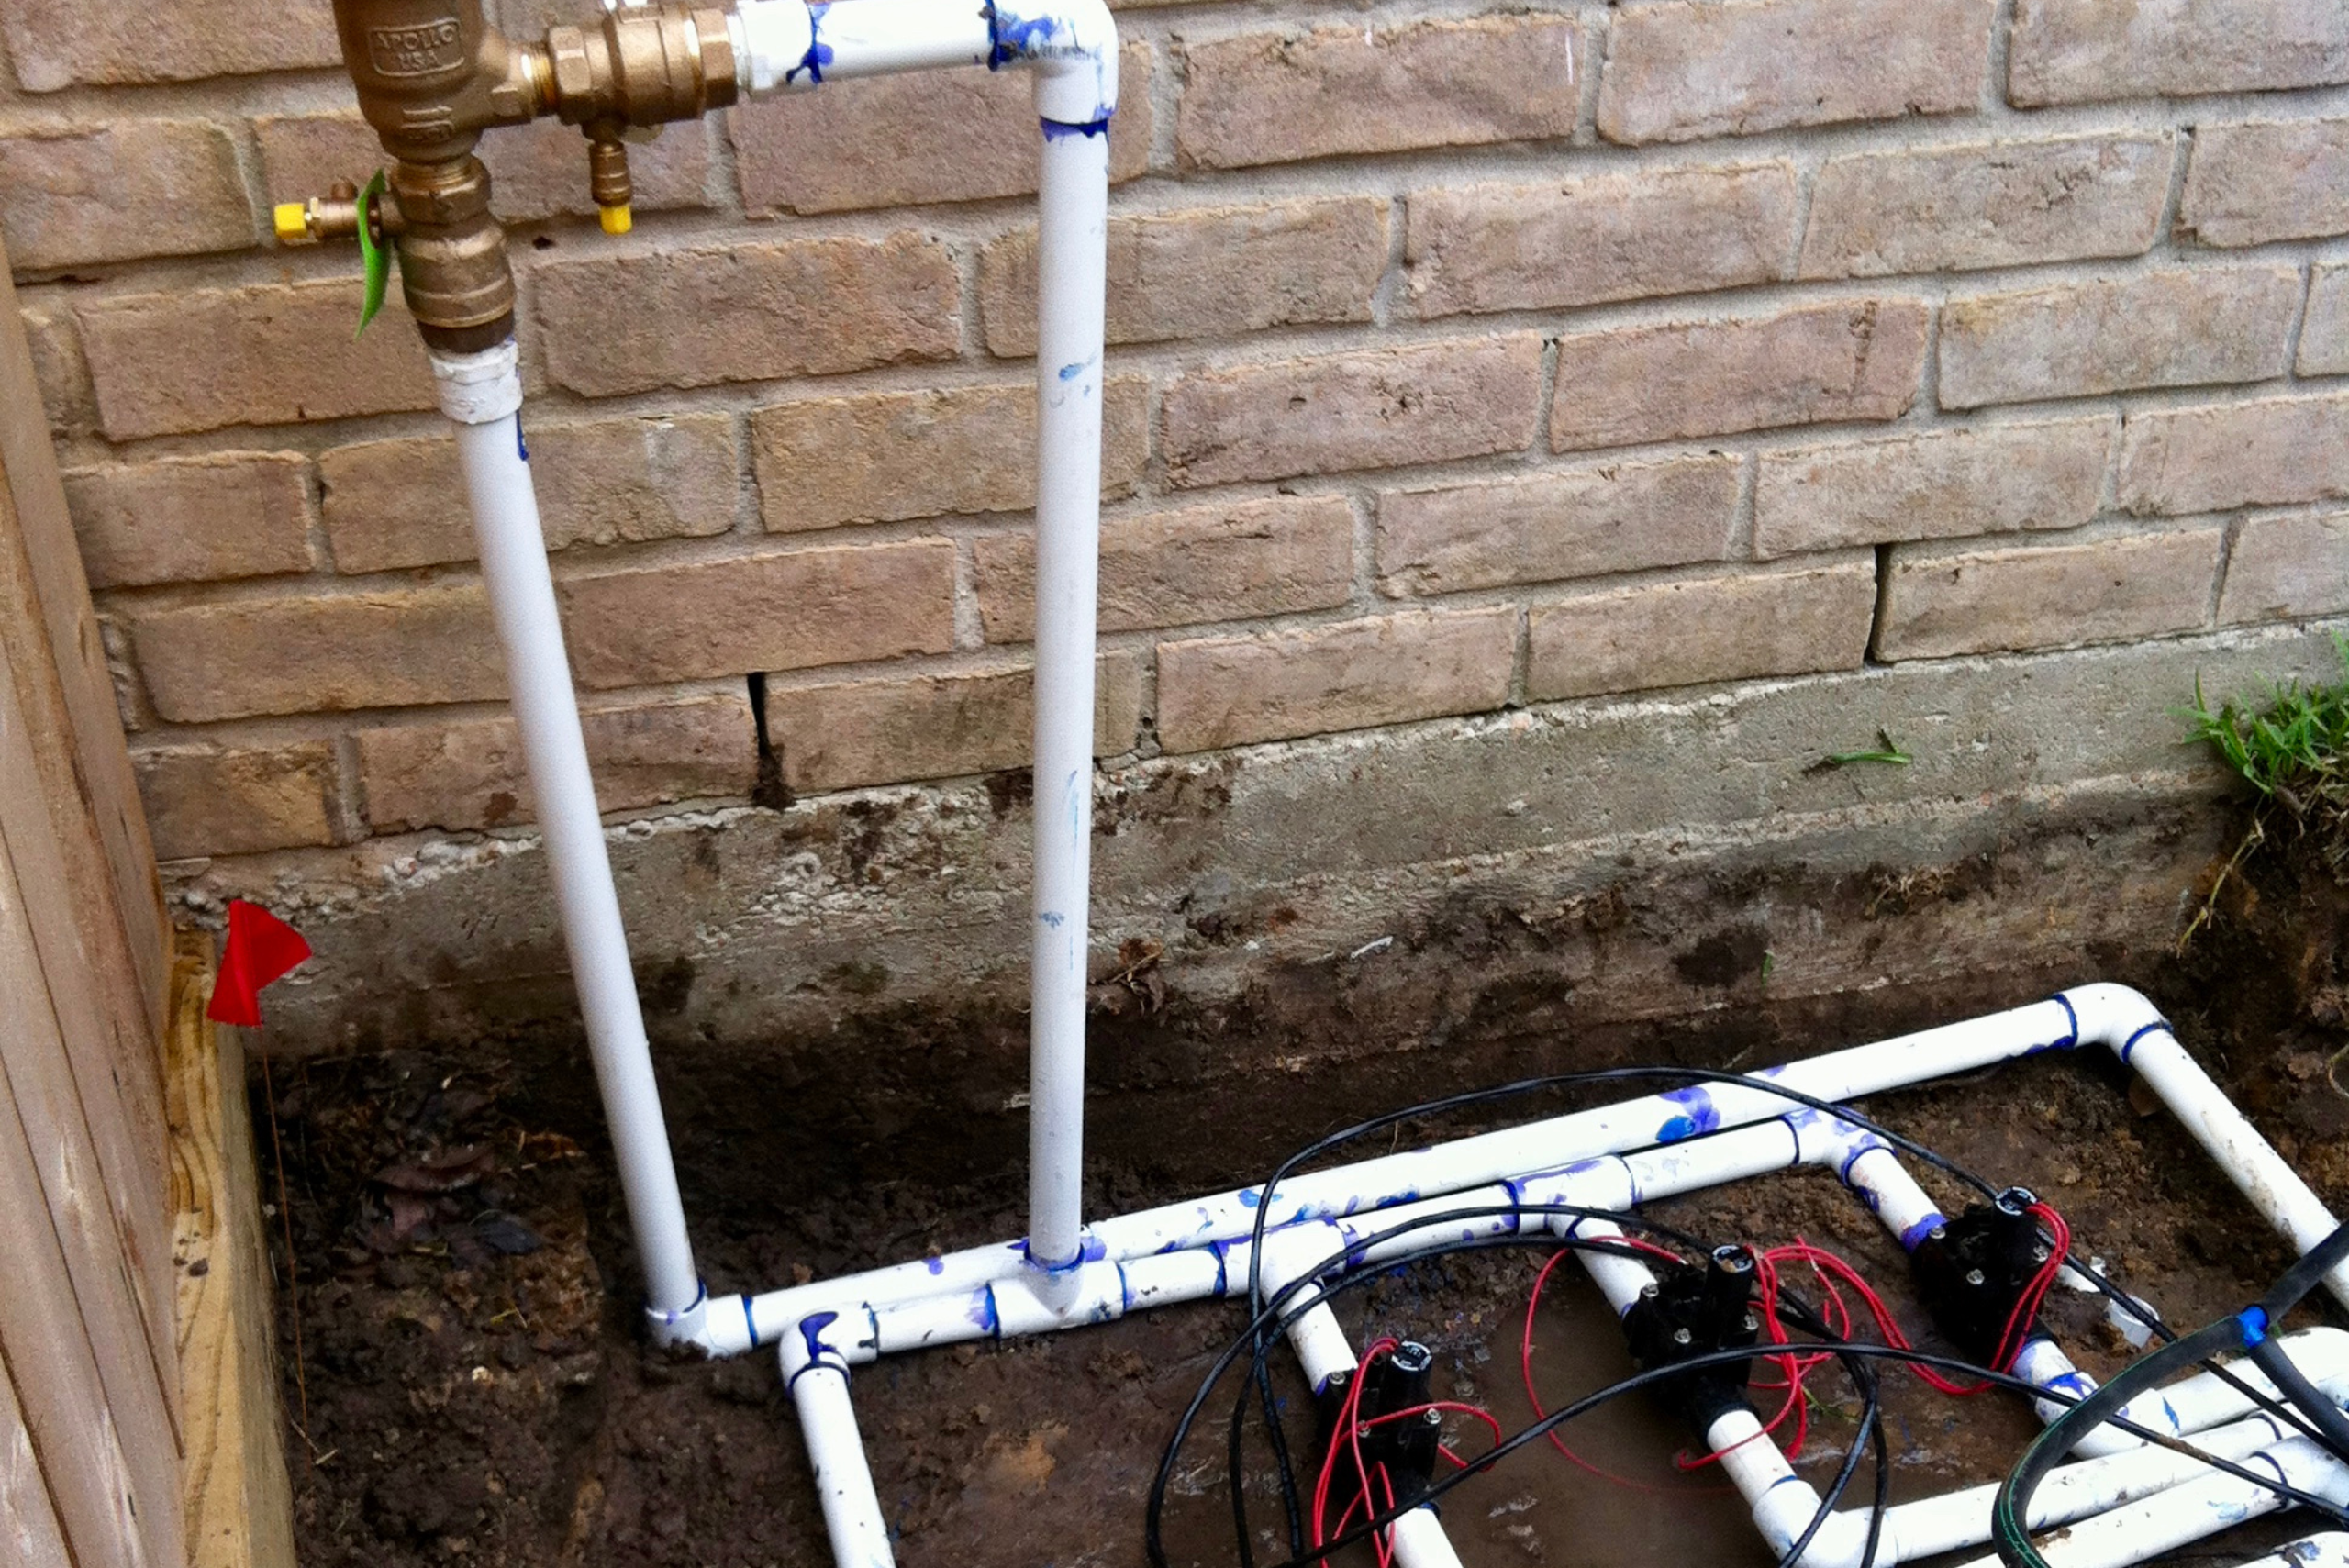
Connect the main line of your sprinkler system to a water source, such as an outdoor faucet. Use a hose connector to attach the PVC pipe to the garden hose. Wrap Teflon tape around the threads to prevent leaks.
Step 6: Install a Timer (Optional)
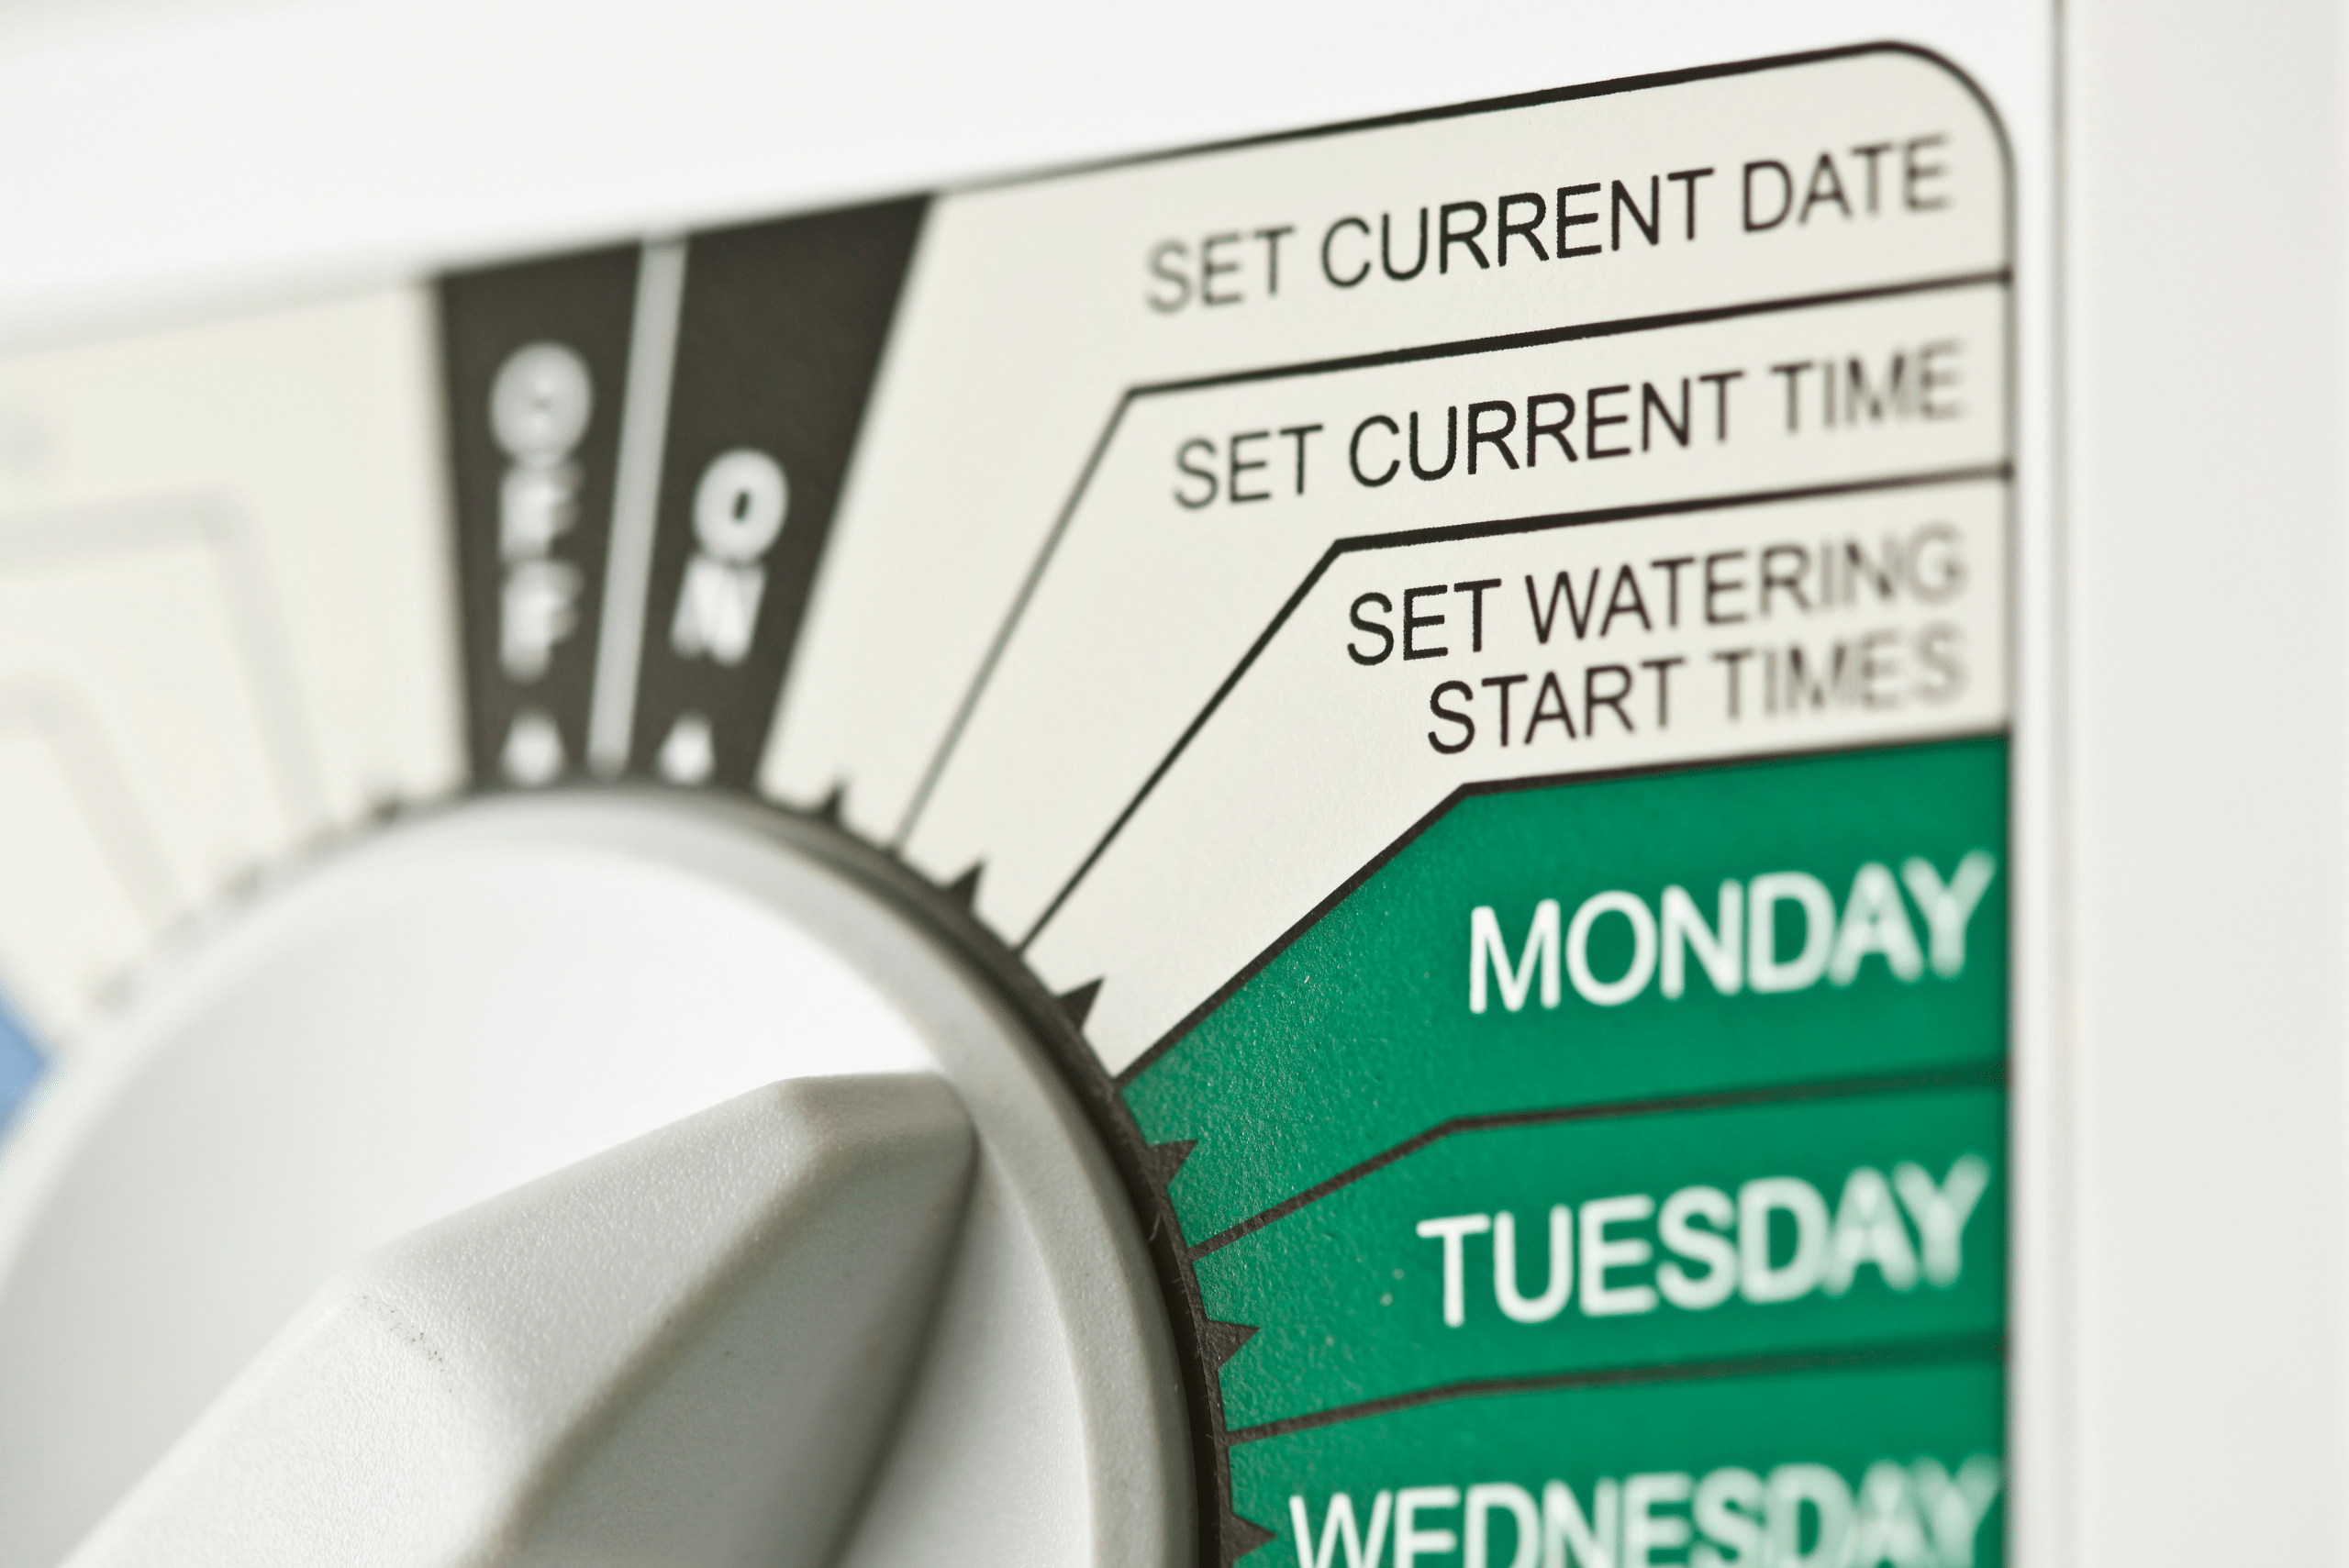
To make your sprinkler system even more convenient, consider installing a timer. This will allow you to set specific watering times, ensuring your lawn gets watered consistently. Attach the timer to the faucet and connect the hose to it.
Step 7: Test and Adjust
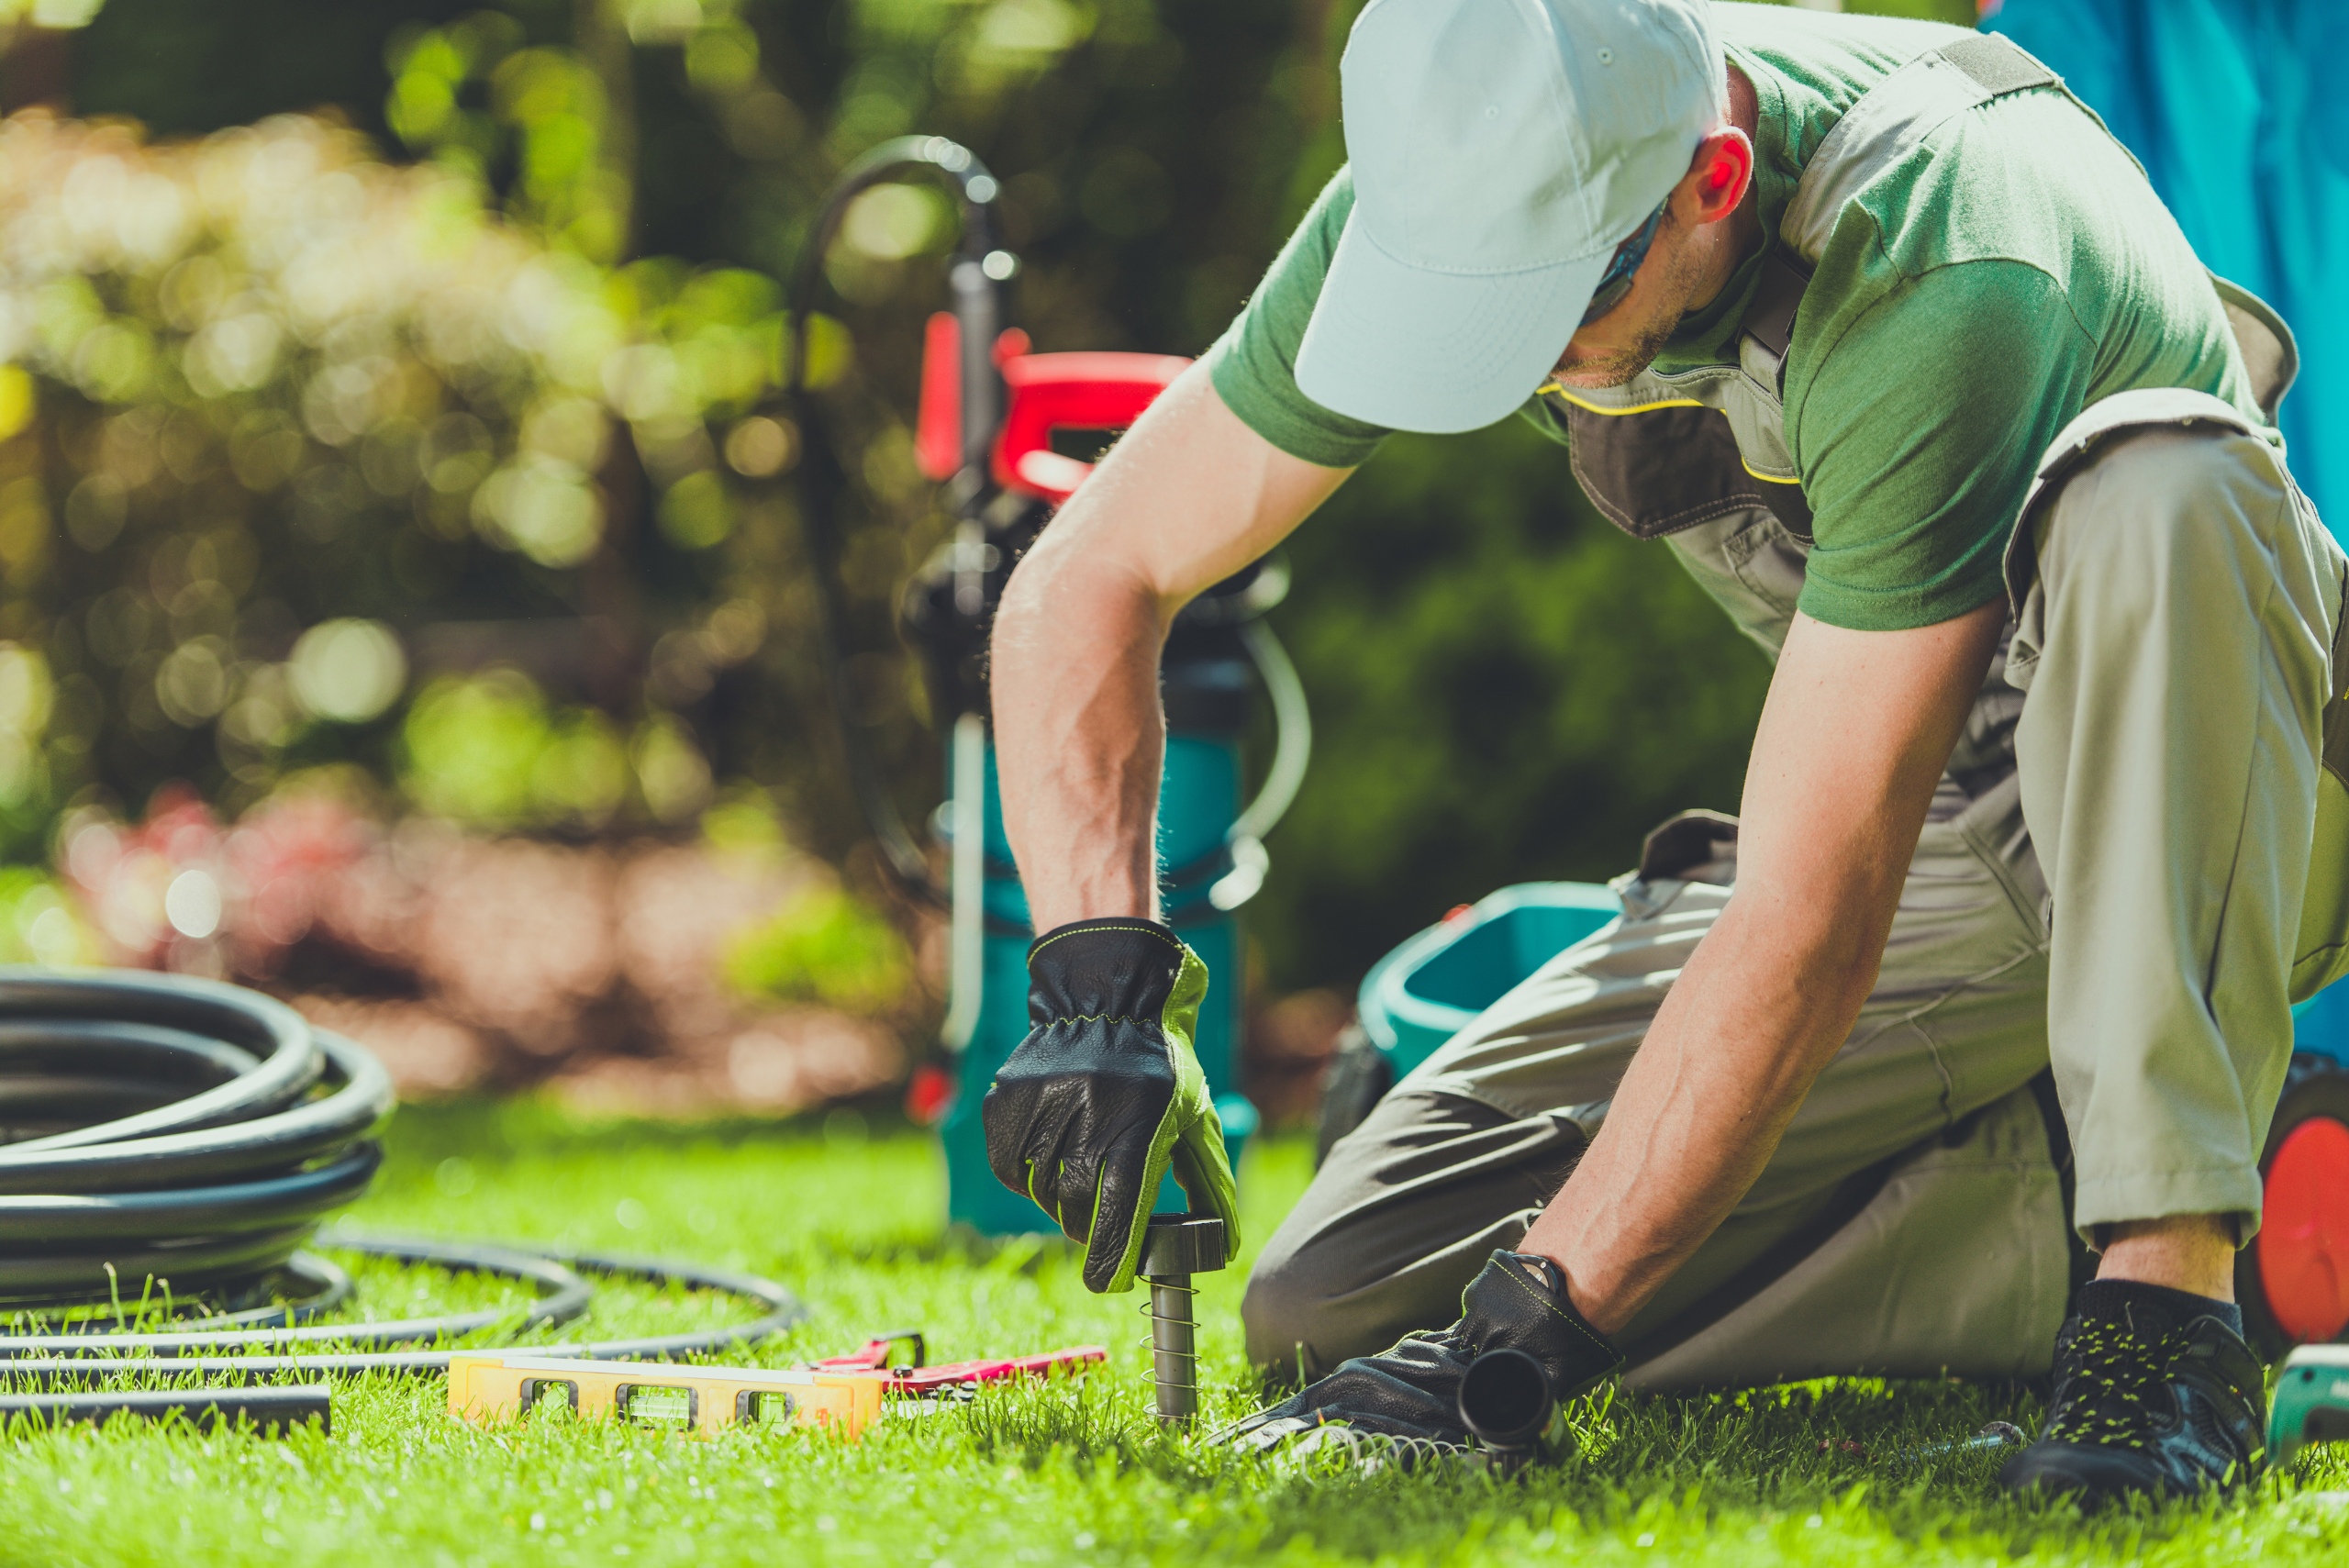
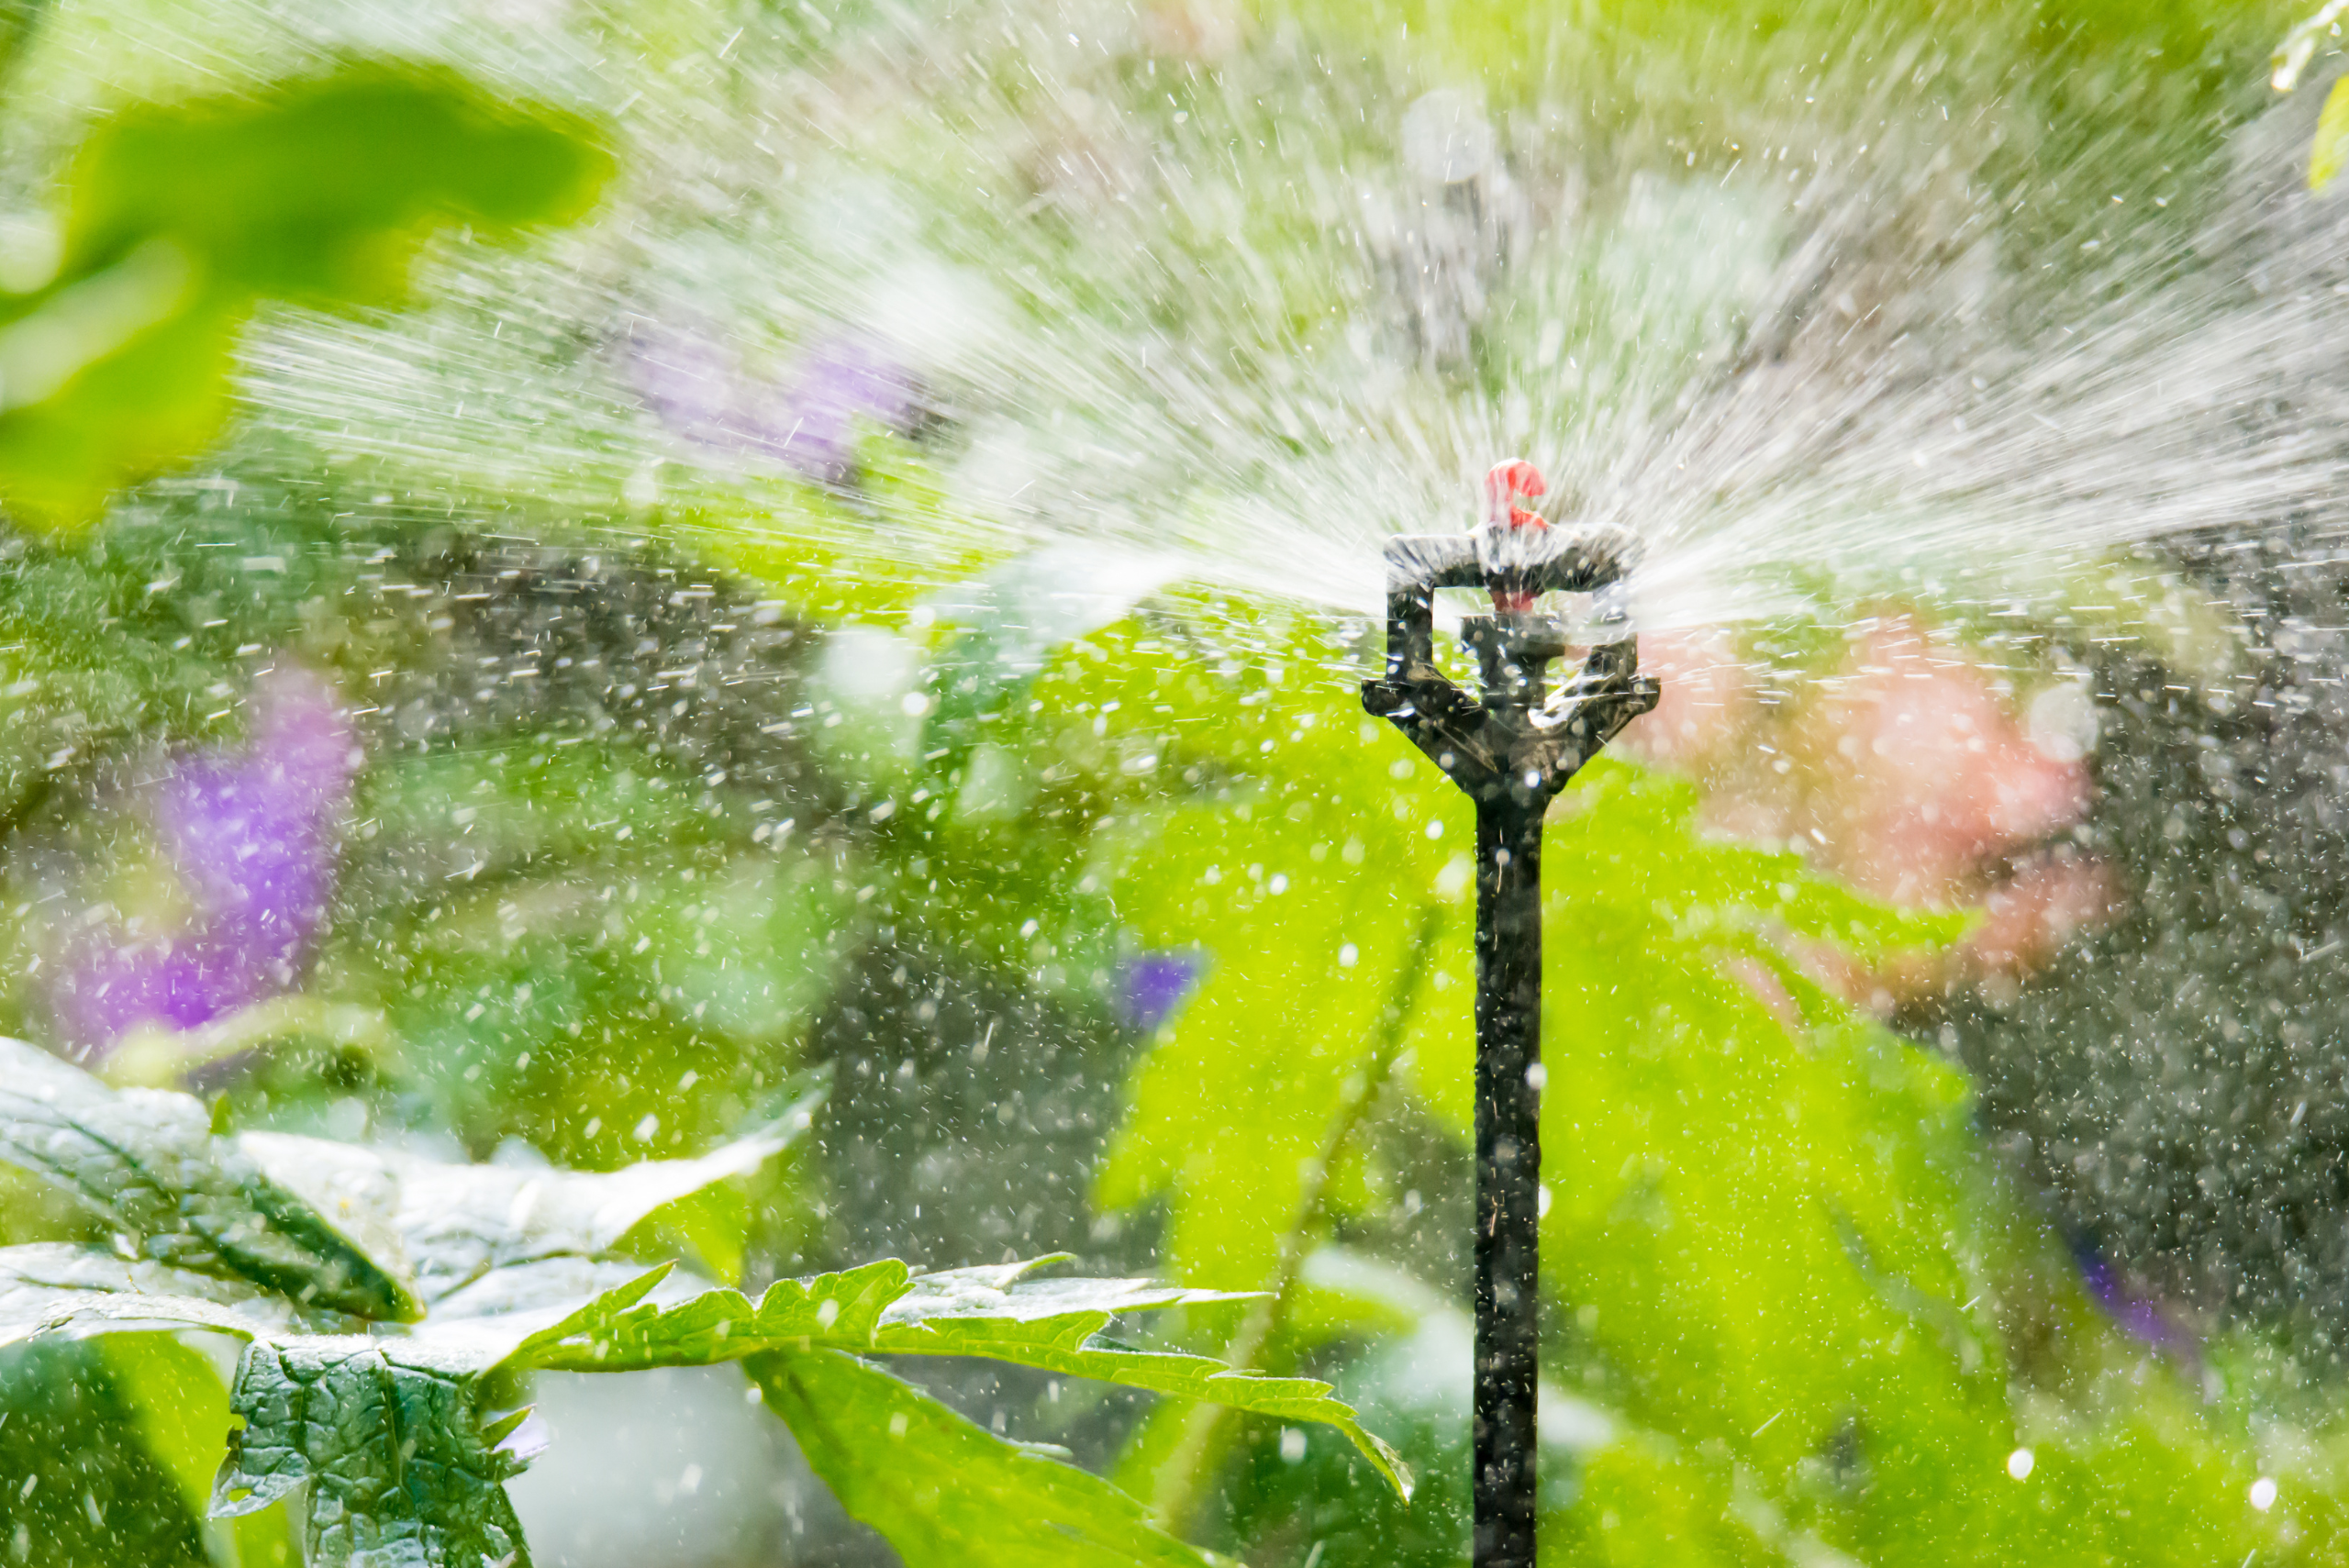
Turn on the water to test your sprinkler system. Check each sprinkler head to ensure they are functioning properly and covering the intended areas. Adjust the heads as needed to achieve optimal coverage.
Step 8: Bury the Pipes
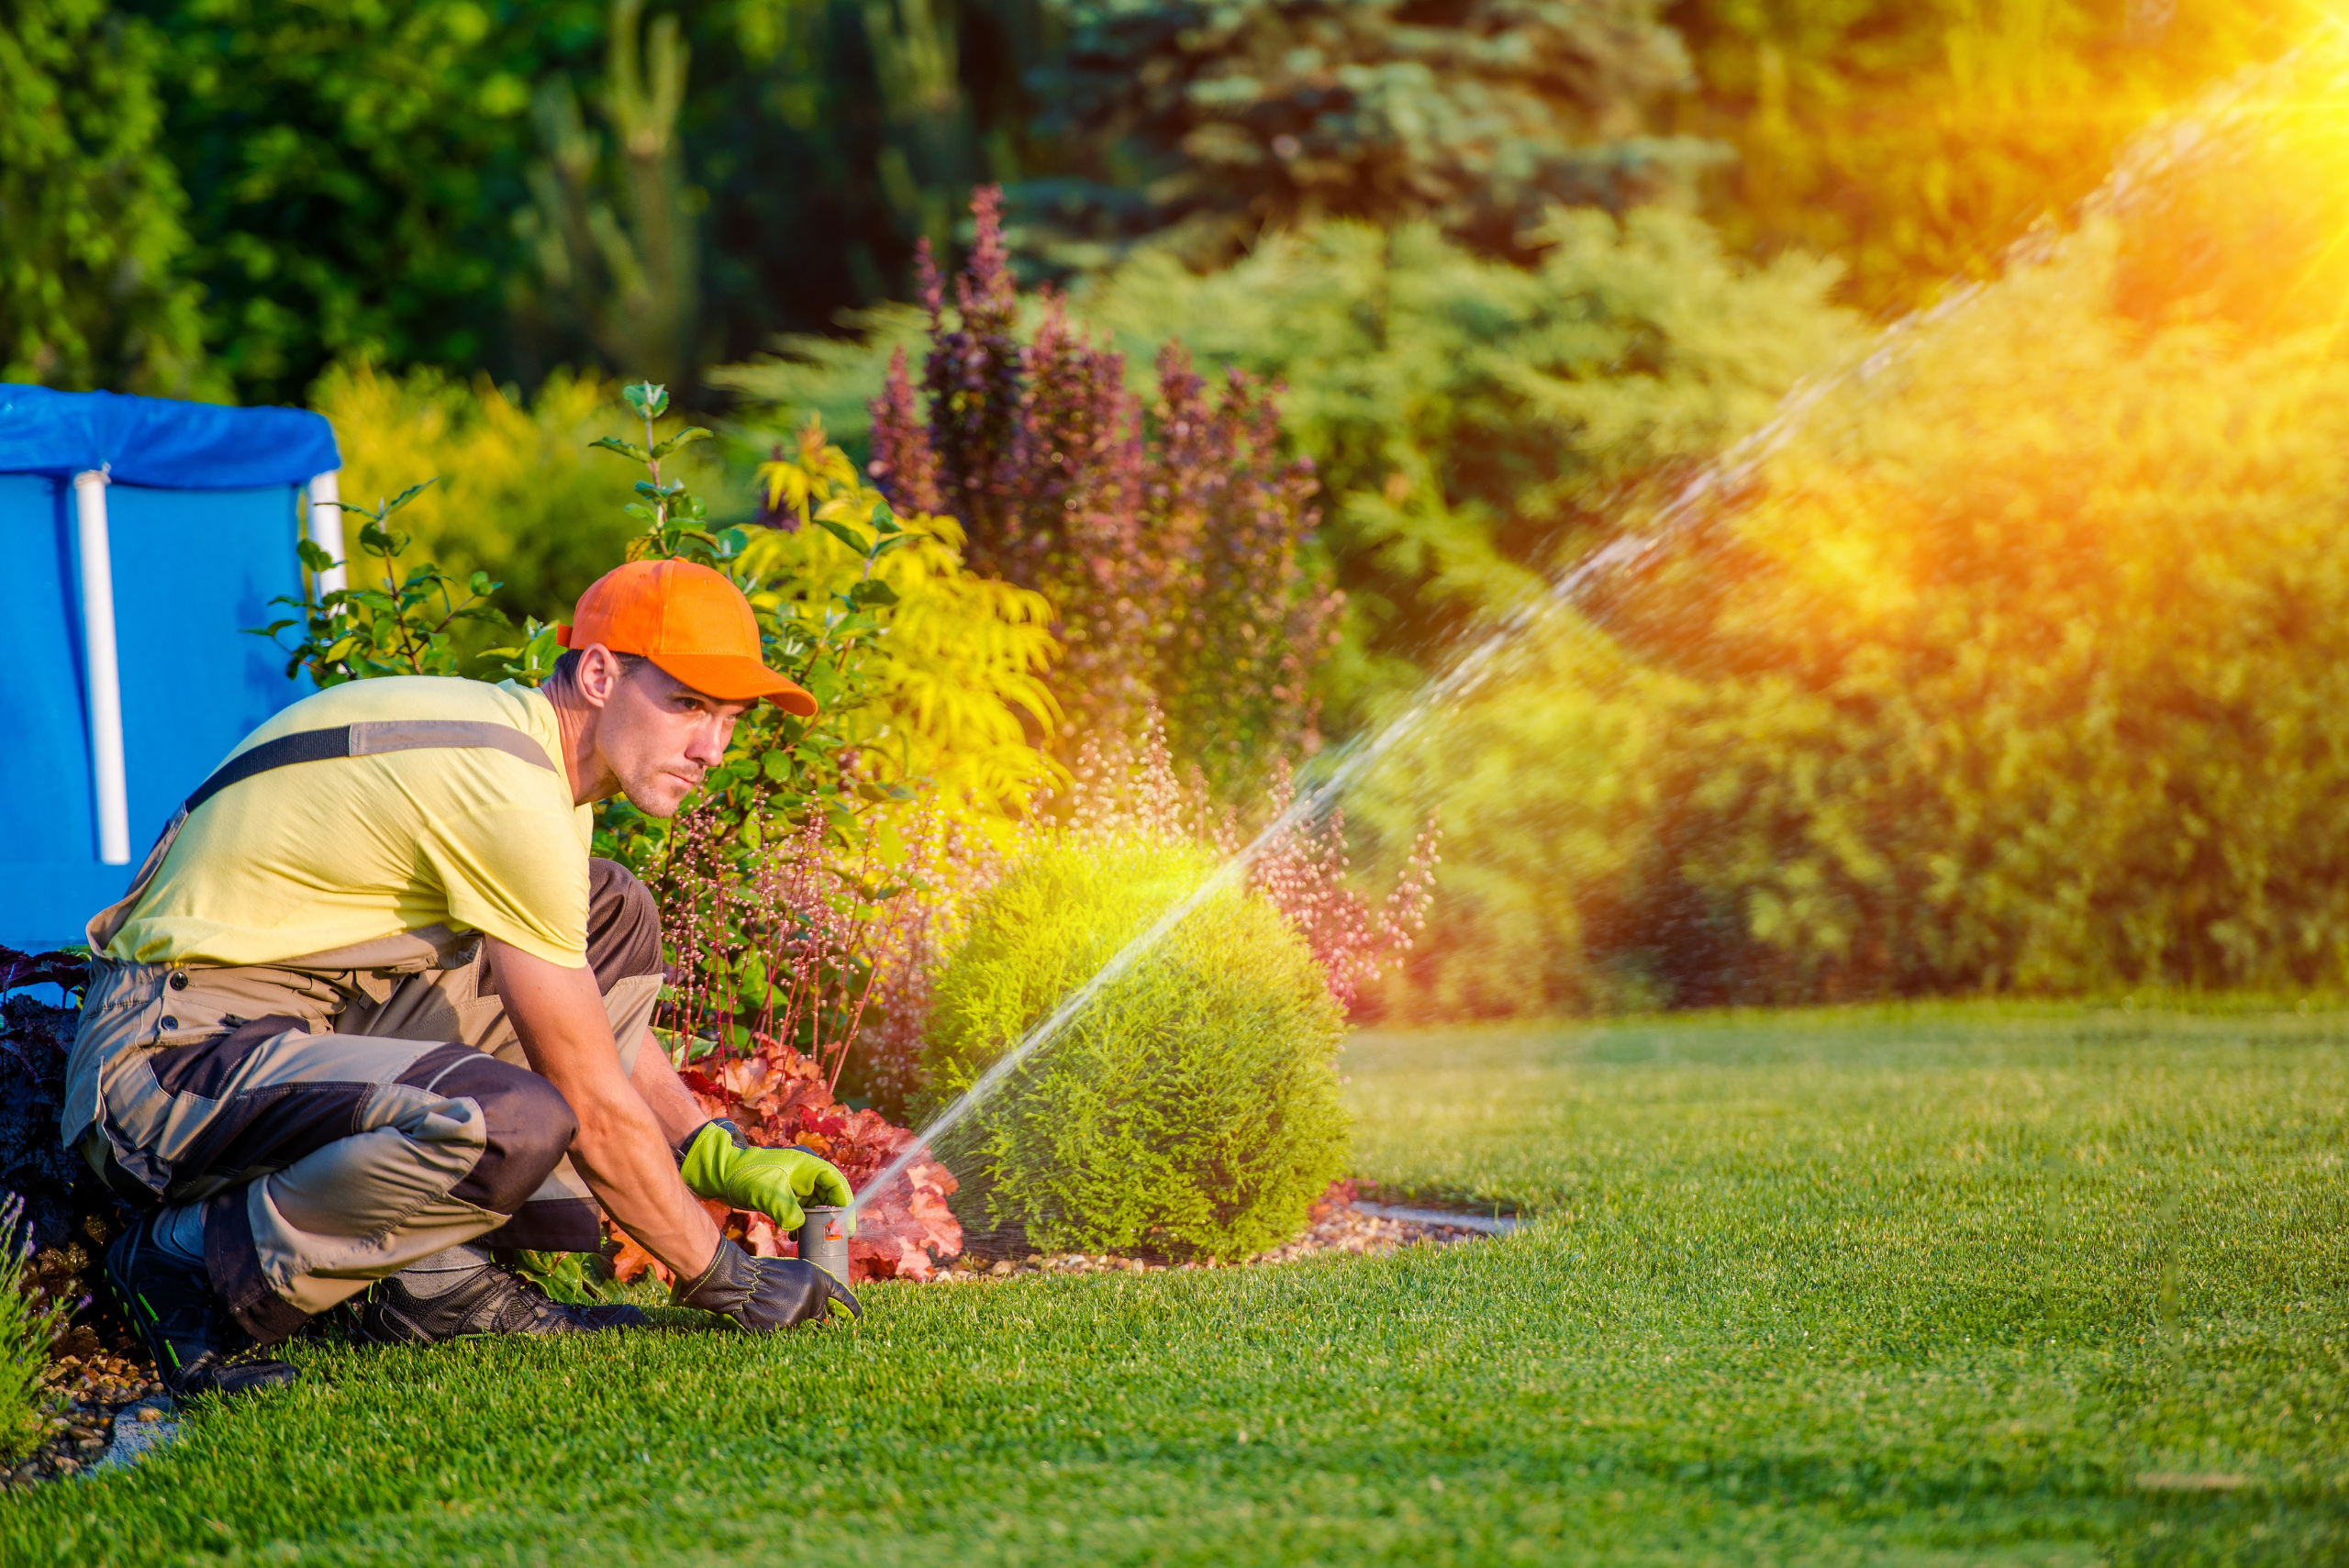
Once you are satisfied with the performance of your sprinkler system, carefully bury the pipes in the trenches. Make sure the sprinkler heads are level with the ground to avoid damage from lawnmowers or foot traffic.
Related Articles
- How to Aerate Your Lawn to Achieve a Healthier Yard
- How to Fix A Broken Sprinkler Head
- How to Reseed Your Lawn Like a Pro in Just a Few Easy Steps
Building your own DIY lawn sprinkler system is a practical and satisfying project that can save you money and keep your lawn looking lush and green. With a little planning and effort, you can enjoy the benefits of a professionally installed system at a fraction of the cost. Happy watering!
Ready to start your next project? Join our DIY community to receive tool tips, how-to guides, and exclusive creative insights. Subscribe to the ManMadeDIY newsletter now!


