How MDF is Made & Tips For Working With It
Discover the process behind Medium Density Fiberboard (MDF) production and gain valuable insights into working with this versatile material. In this guide, we’ll unravel the process of how MDF is made, and provide you with essential tips and techniques for seamless handling.
Whether you’re a DIY enthusiast or a professional craftsman, understanding the intricacies of MDF can enhance your woodworking skills and elevate your projects to new heights. Dive into the world of MDF production and get hands-on tips for your projects
What Does the MDF Manufacturing Process Look Like?
There are five steps (generally speaking) to the average MDF manufacturing process. There are the debarking and chipping, chip water, defibrillator, mat formation, and storage processes. Each of which contributes to the final product.
Debarking and Chipping
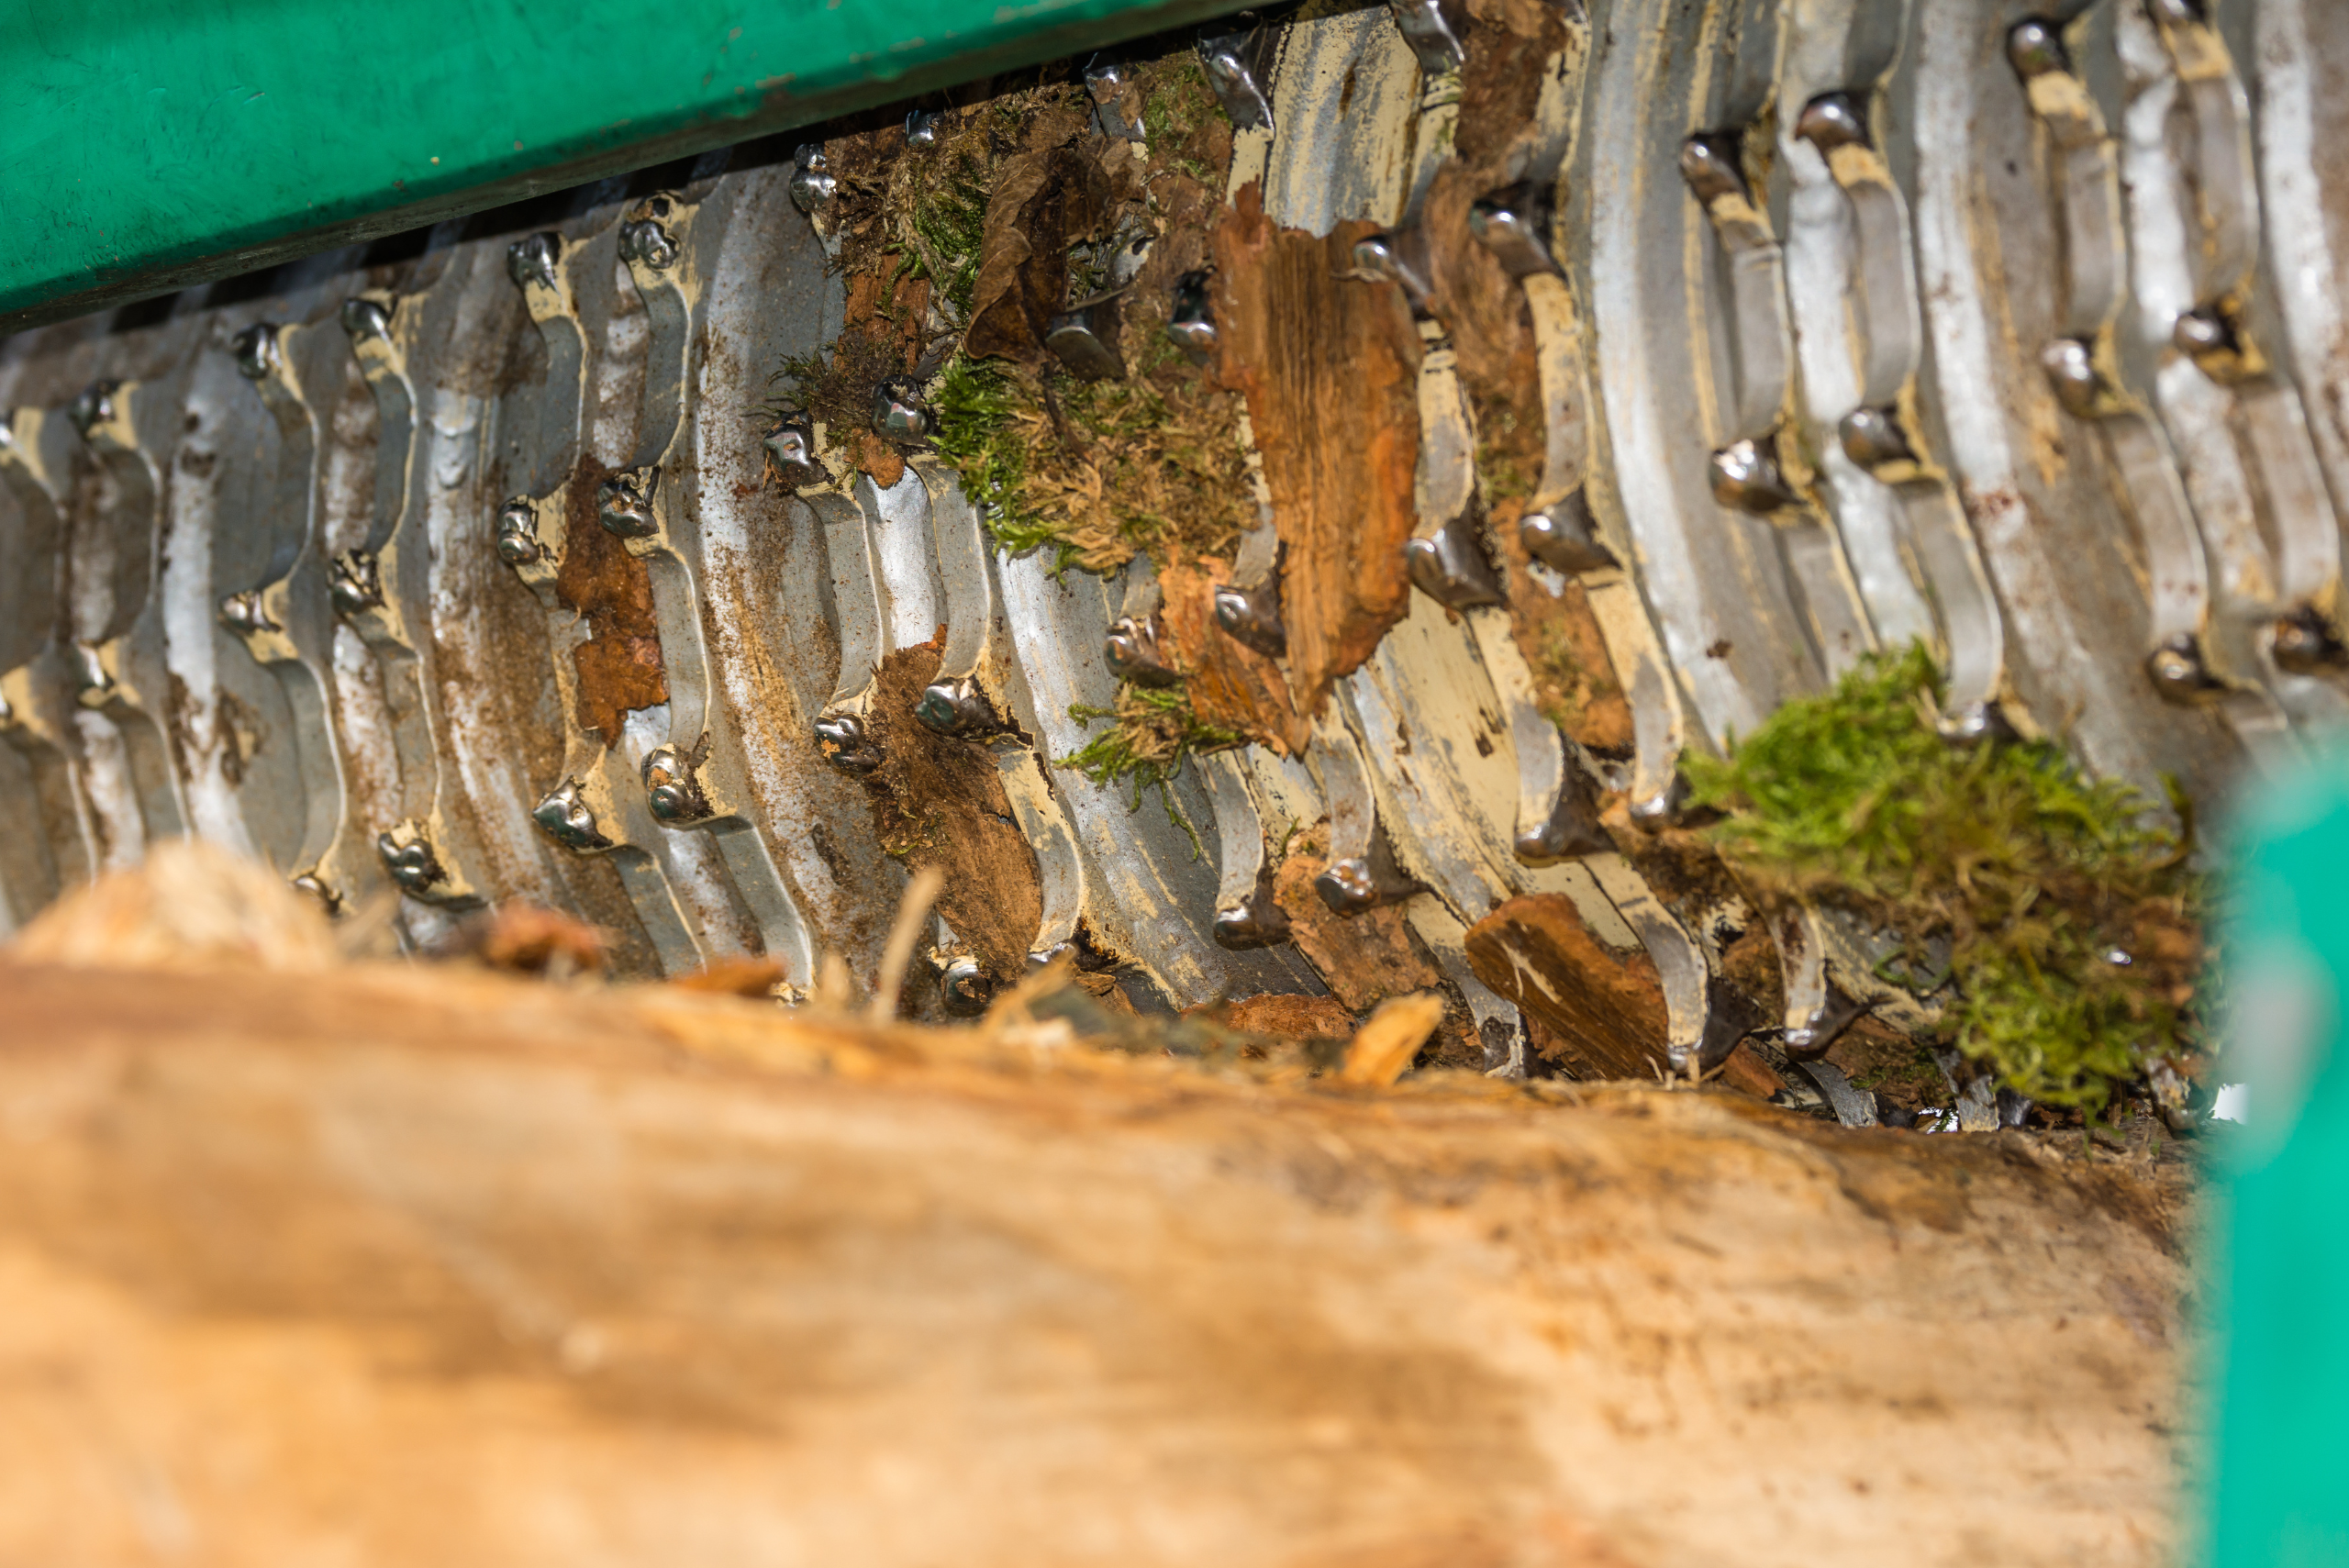
The beginning process in manufacturing MDF boards is the debarking process. Softwood bark (generally eucalyptus) can be used as it is, but the final product will do much better if the bark from that log has been removed.
There are two reasons for this: organic waste and grit are reduced, and it helps to enable rapid drainage of the water within. All of which can provide a better surface finish overall. When the bark is removed, the log is stripped and chipped. This is to evenly mold the chips, so if some are too large, they can be re-chipped or re-purposed.
Chip Water
When the chips have been processed, it is time to wash them and check for any damage. The process is meant to remove things like dirt, dust, bits of bark, and any other residuals that may have remained following the debarking and chipping process.
Defibrillation
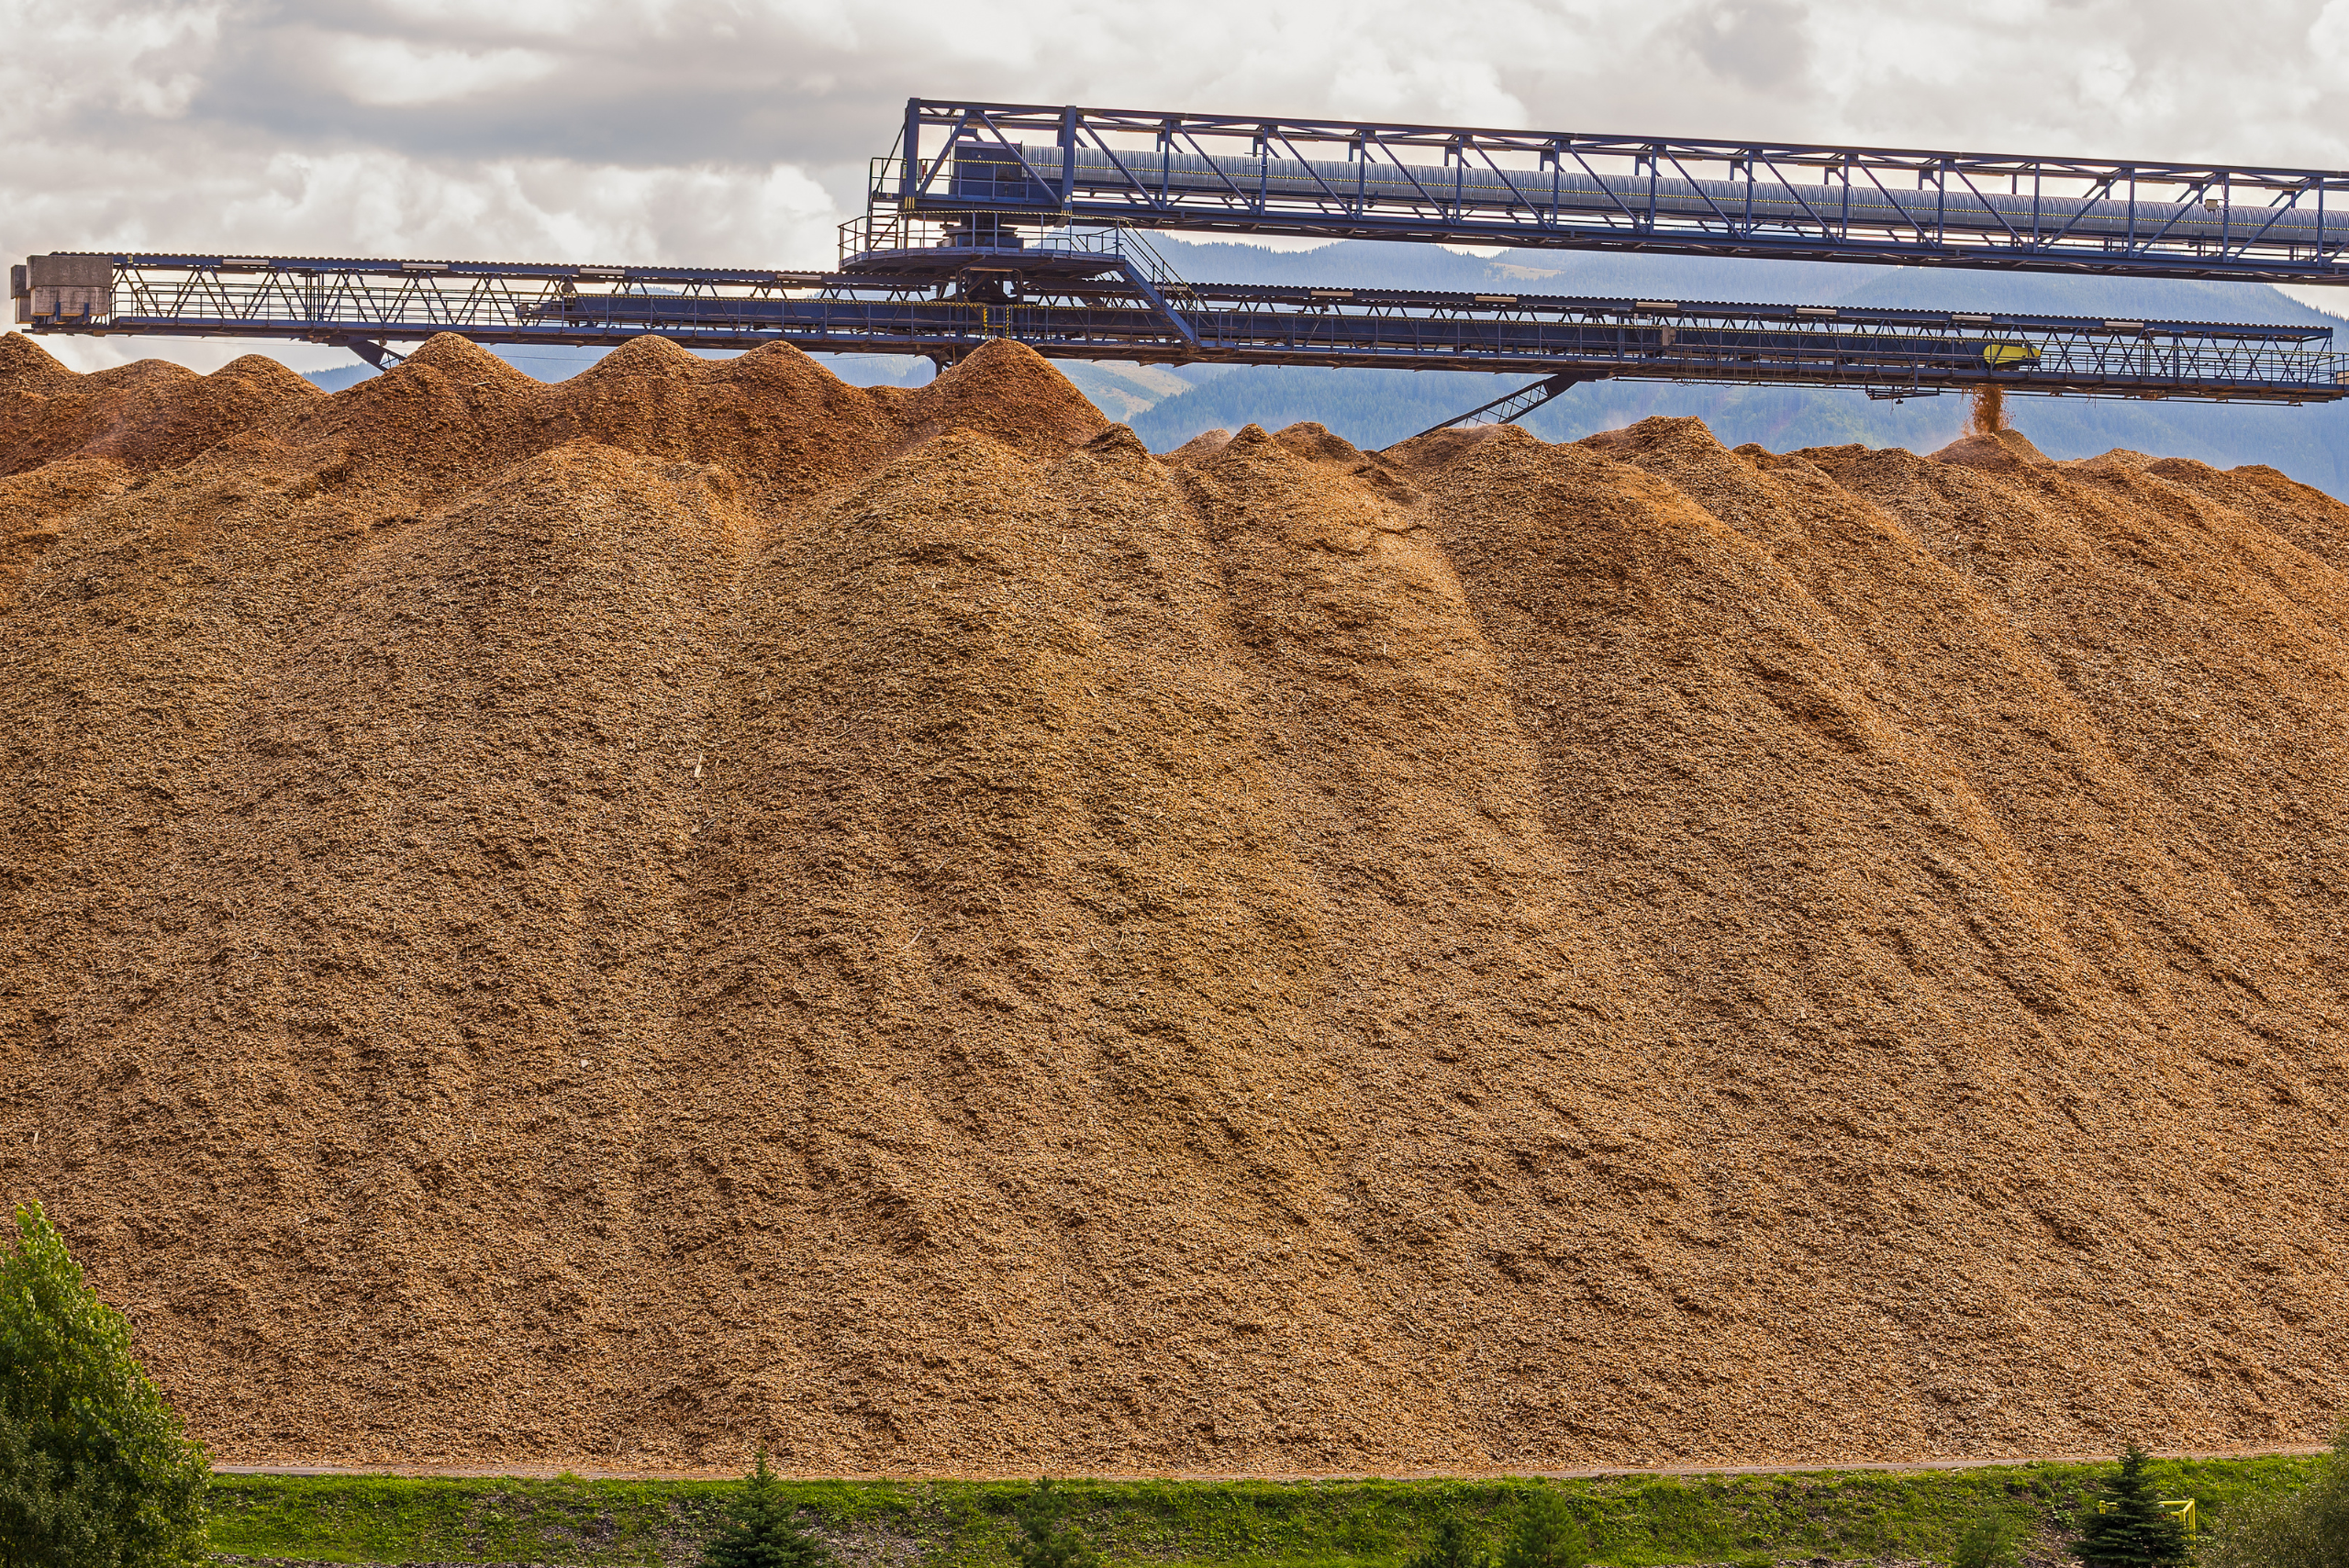
The chips are then coated using molten paraffin wax, which glues the chips together. The chips are then dried, using a heated air dryer to bring out any of the defective fibers within.
From there, they are fed into a defibrillator for a few minutes at a time under high temperatures, where they are ultimately ground in order to create a pulp. From the defibrillator is the entry of pulp in blowing, where the chips are then blended in with a resin.
Finally, the wax is used to improve moisture resistance while the resin is meant to stop clumping from happening, but it also becomes the primary binding agent. It then goes through the dryer so that it can dry out rapidly.
Mat Formation
The dry fibers go through the mat-forming system. At this stage, they drop onto a belt, transforming into a straight mat thanks to the support of distribution arms. The mat is then taken through a series of rollers, giving them the desired thickness.
Perimeter trimming saws then bring the board down to the desired size while the chipped fiber is the vacuumed up and recycled. The boards then go through a hot press to better bind all of the fibers within; each press can handle 10 mats at a time to a specific thickness.
The boards are then weighed, chilled, and loaded to a platform where they are cut to necessary size.
Storage
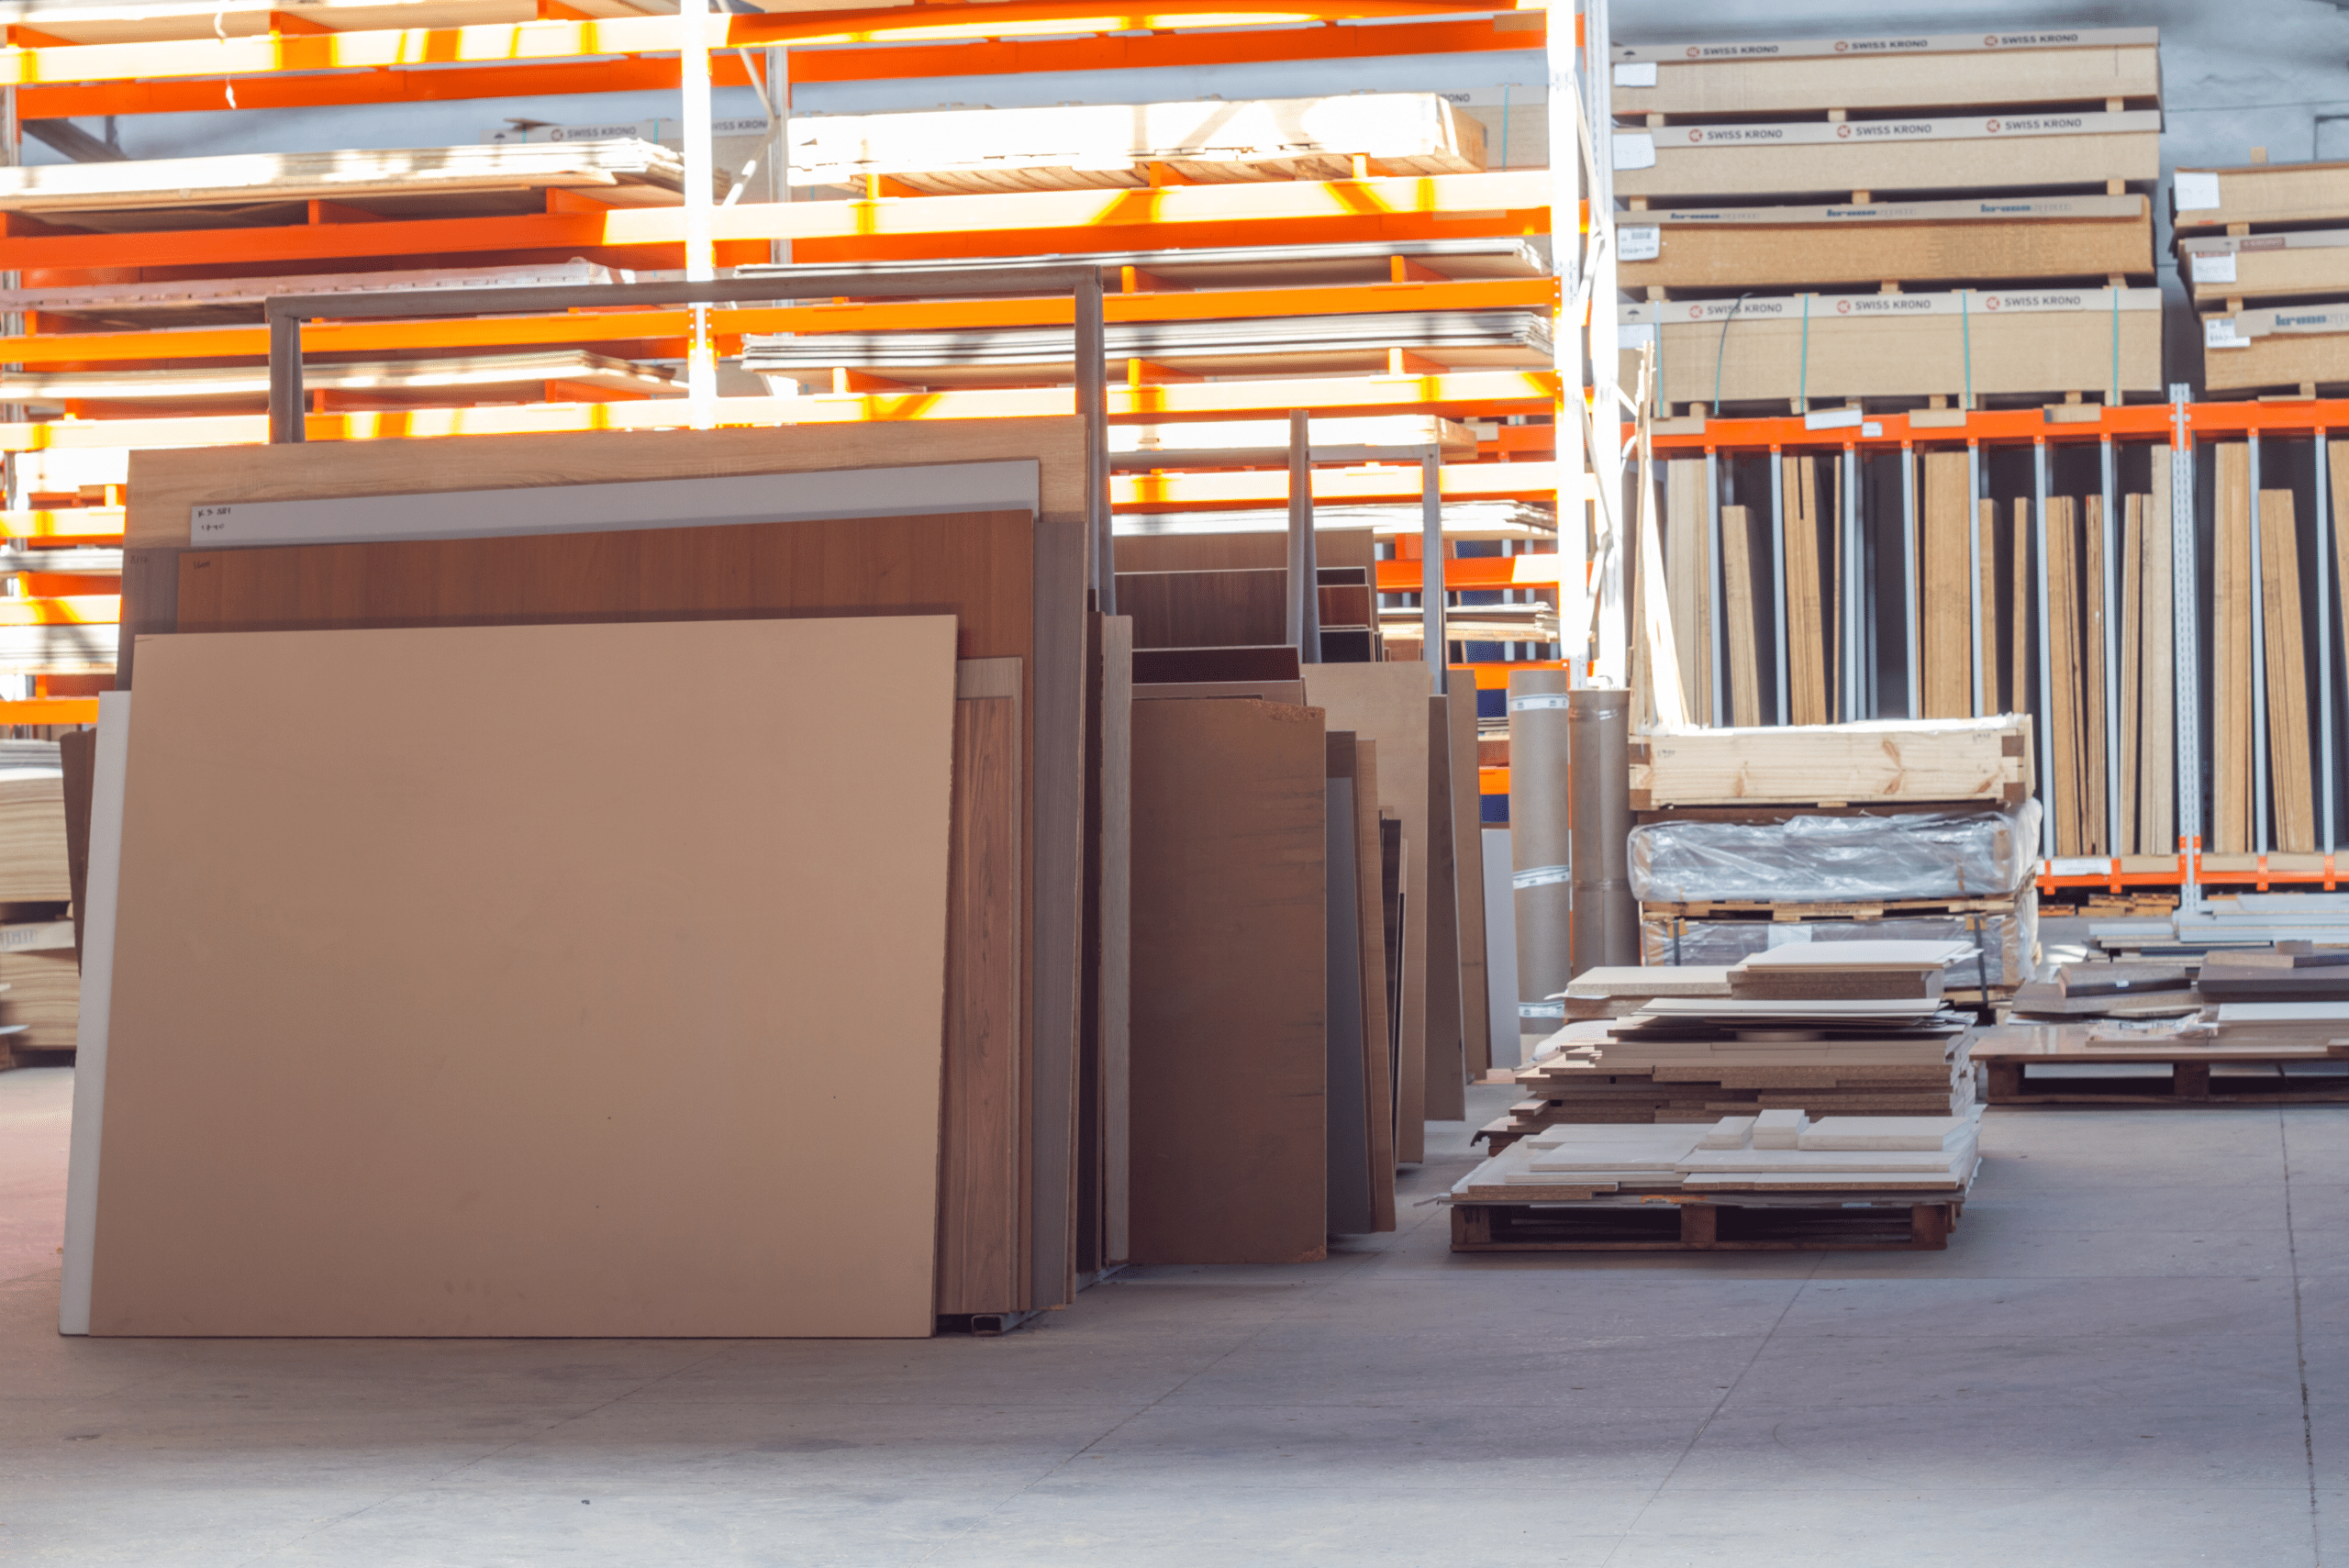
MDF boards are then loaded into a warehouse. From there, they can be loaded into trucks and then sold in certain quantities at various retailor locations across the nation.
How to Cut MDF Board
MDF is quite versatile in any use, particularly in DIY applications. But one of the most important things about using MDF board in DIY projects is being able to cut it effectively and safely. Here is what you need to know about cutting MDF boards the right way.
Staying Safe

There are a few things that you need to do when cutting MDF board in order to stay safe. For starters, wear long sleeves and thick gloves. This will help to provide a little bit of extra protection in the event that debris flies off while cutting. Of course, make sure that you keep your hands away from the saw blade because the gloves will only offer so much protection.
It is also important that you wear a dust mask and protective goggles when you cut MDF board. The reason is that cutting MDF results in a ton of dust particles being shot into the air. A high-quality dust mask, as well as safety goggles, should be sufficient to keep that dust out of your eyes and lungs. The ingredients are not naturally dangerous, but the size of them can lead to irritation in your throat and eyes.
Finally, always make your cuts in an area that is open and clear. MDF board produces so much in the way of dust, which means it is smarter to make your cuts in an open area (a garage being the primary option). Should you not have a clear, open space, then make sure that you have any doors or windows opened in the space that you work in so that the dust has a place where it can exit.
You can also put a fan in the room to help blow the dust outdoors. Just make sure that you cover anything that you don’t want covered in dust with a plastic sheet.
Curved Cuts
Making curved cuts can seem quite a bit more complicated than making straight cuts. But the difference isn’t as big as you think it is. Here are the steps that you need to make curved cuts on MDF board pieces.
A Jigsaw
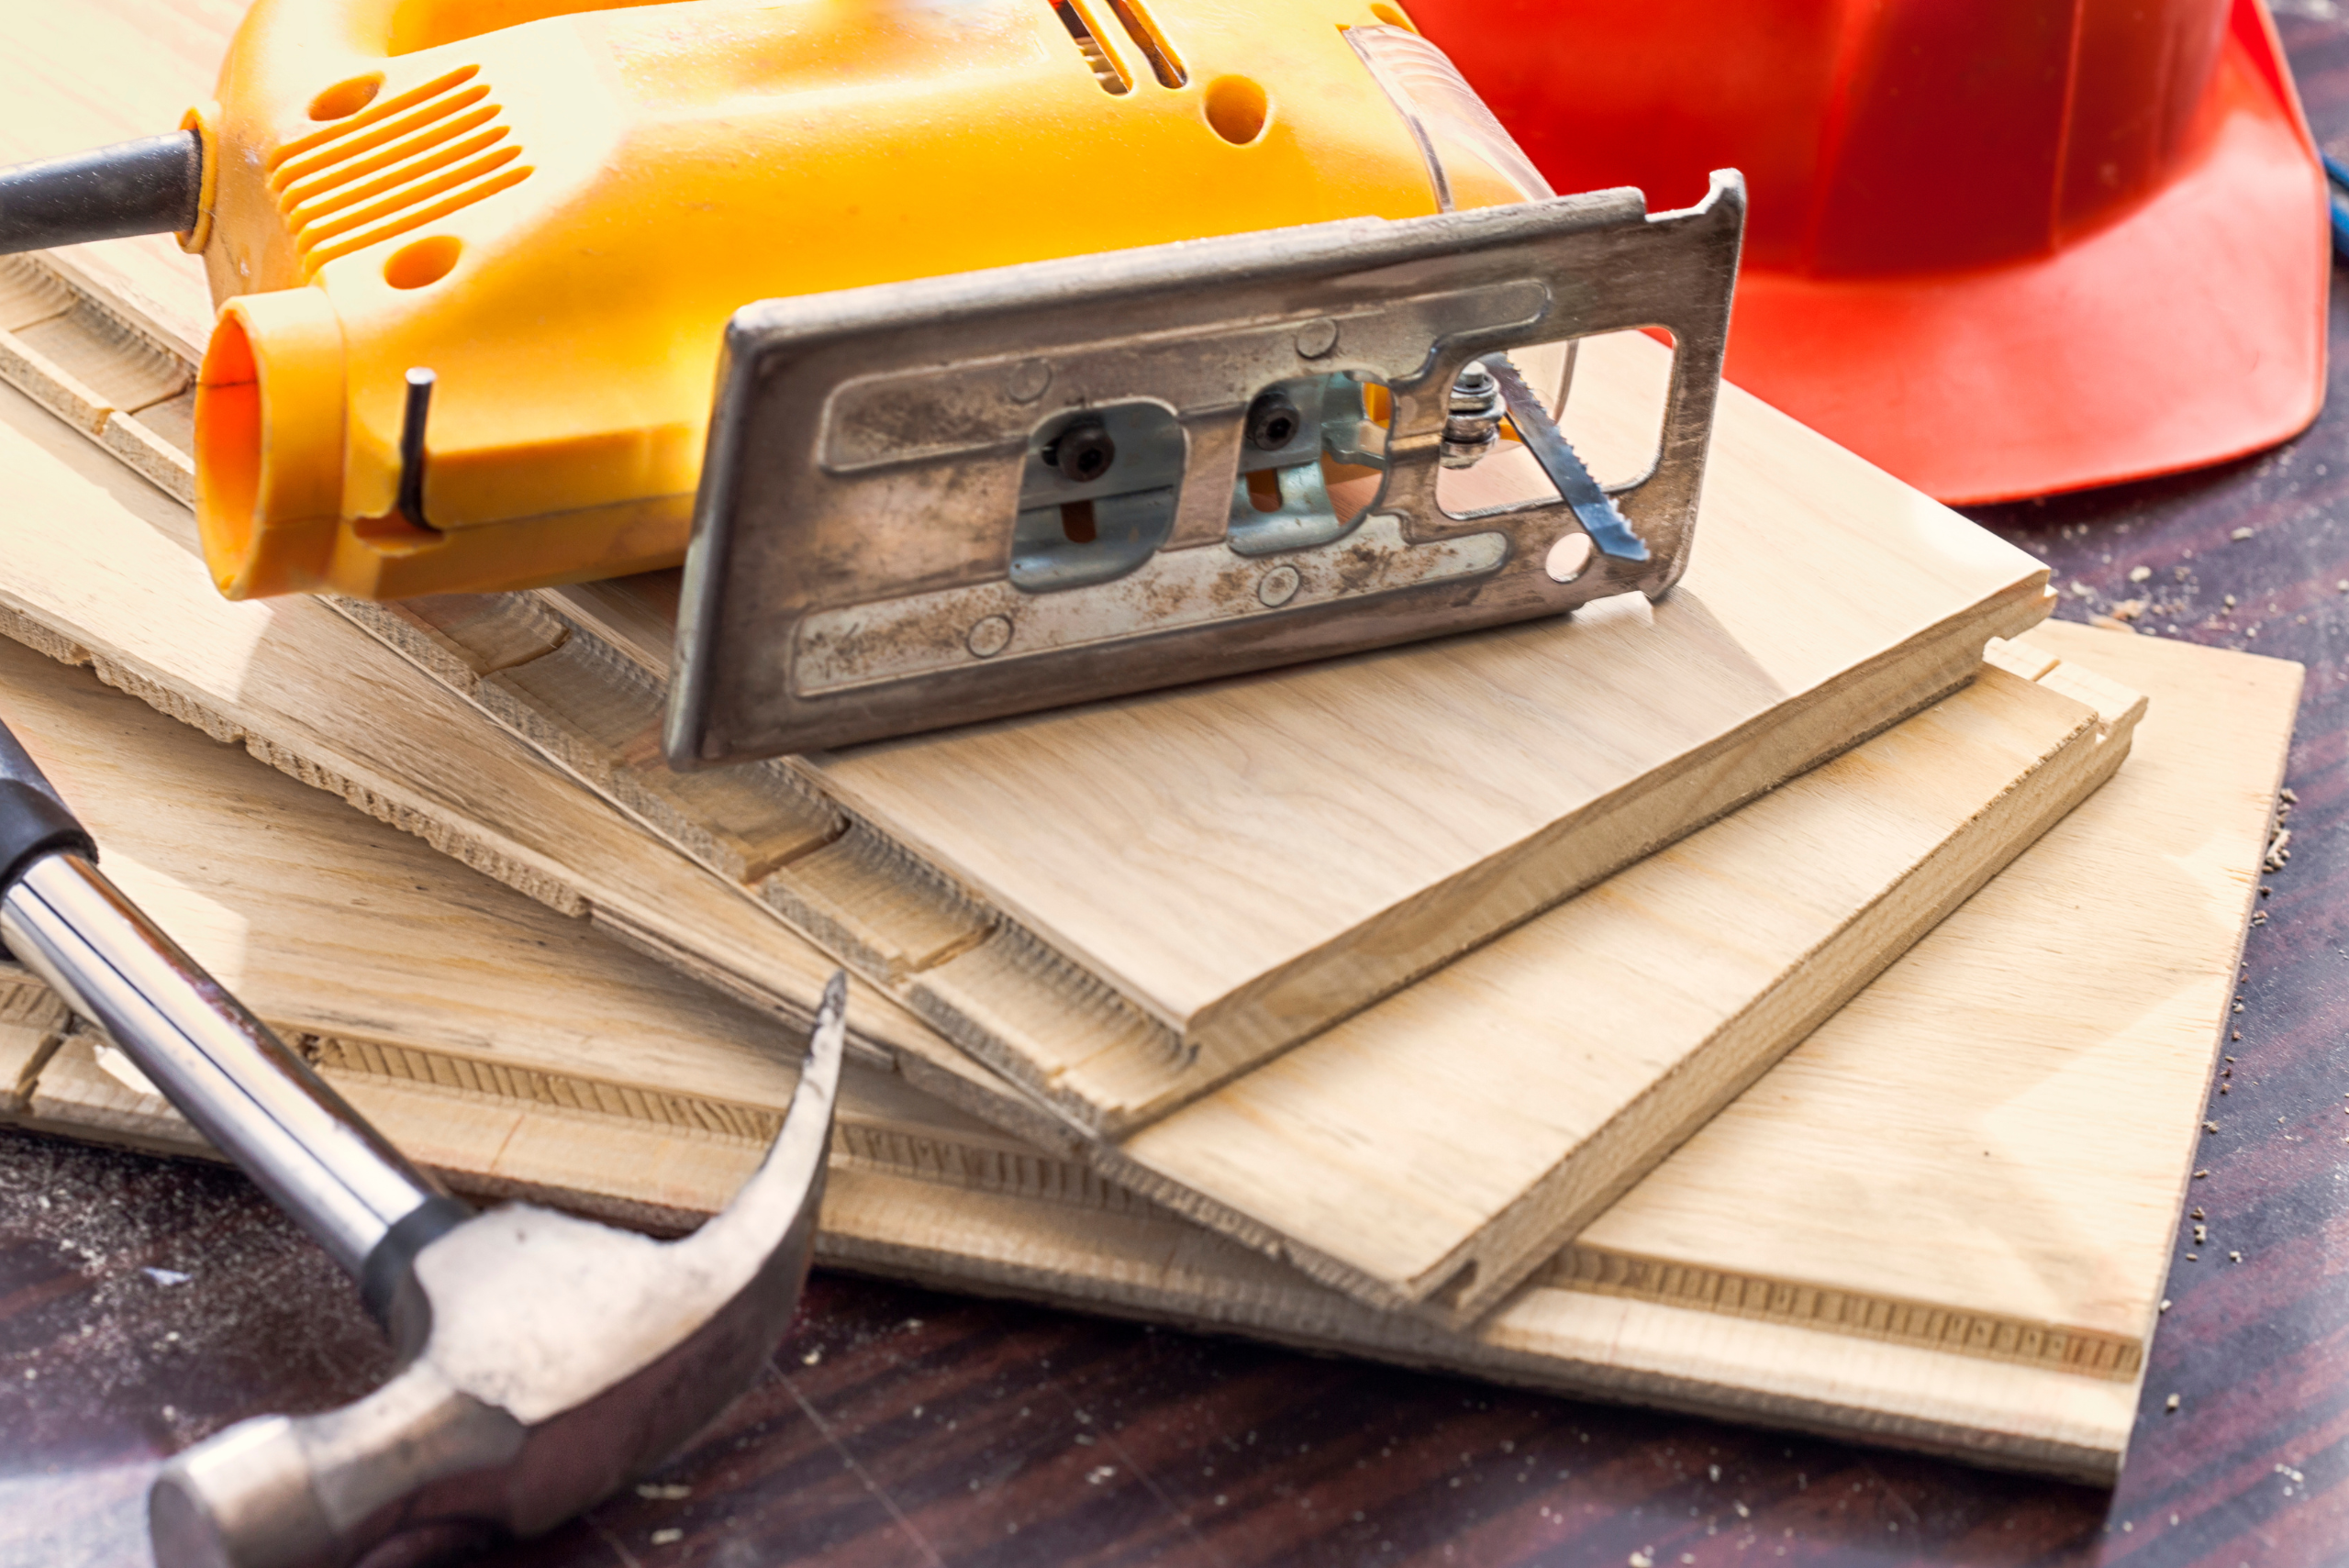
For straight cuts, you would require a circular saw. But for curved cuts, you need a jigsaw or any other tool that’s similar. You will also need a bi-metal blade, spotting it inside the clamping device on your saw.
If you want the best possible results, finding a blade that has a lot of small teeth and is thinner in composition can be most beneficial. This is known as a T-shank blade. Some of the better-quality blades run between $100 and $200 at most home improvement stores. Just make sure that you keep the saw unplugged or off when you are setting the blade.
Secure the Area
Whether you are making a curved cut or a straight cut, it is vital to have a work surface that remains flat and steady. Any inconsistencies can lead to inconsistencies in your cut. Set the MDF board onto a work table or saw horses for the greatest stability.
Leave the edge that you want to cut hanging over and then clamp around the perimeters of the MDF board in order to keep it from moving around at all. Should you be looking to make a cut in the middle of the board, then make sure that you have each end of the board secured, typically on a sawhorse.
Making the Line
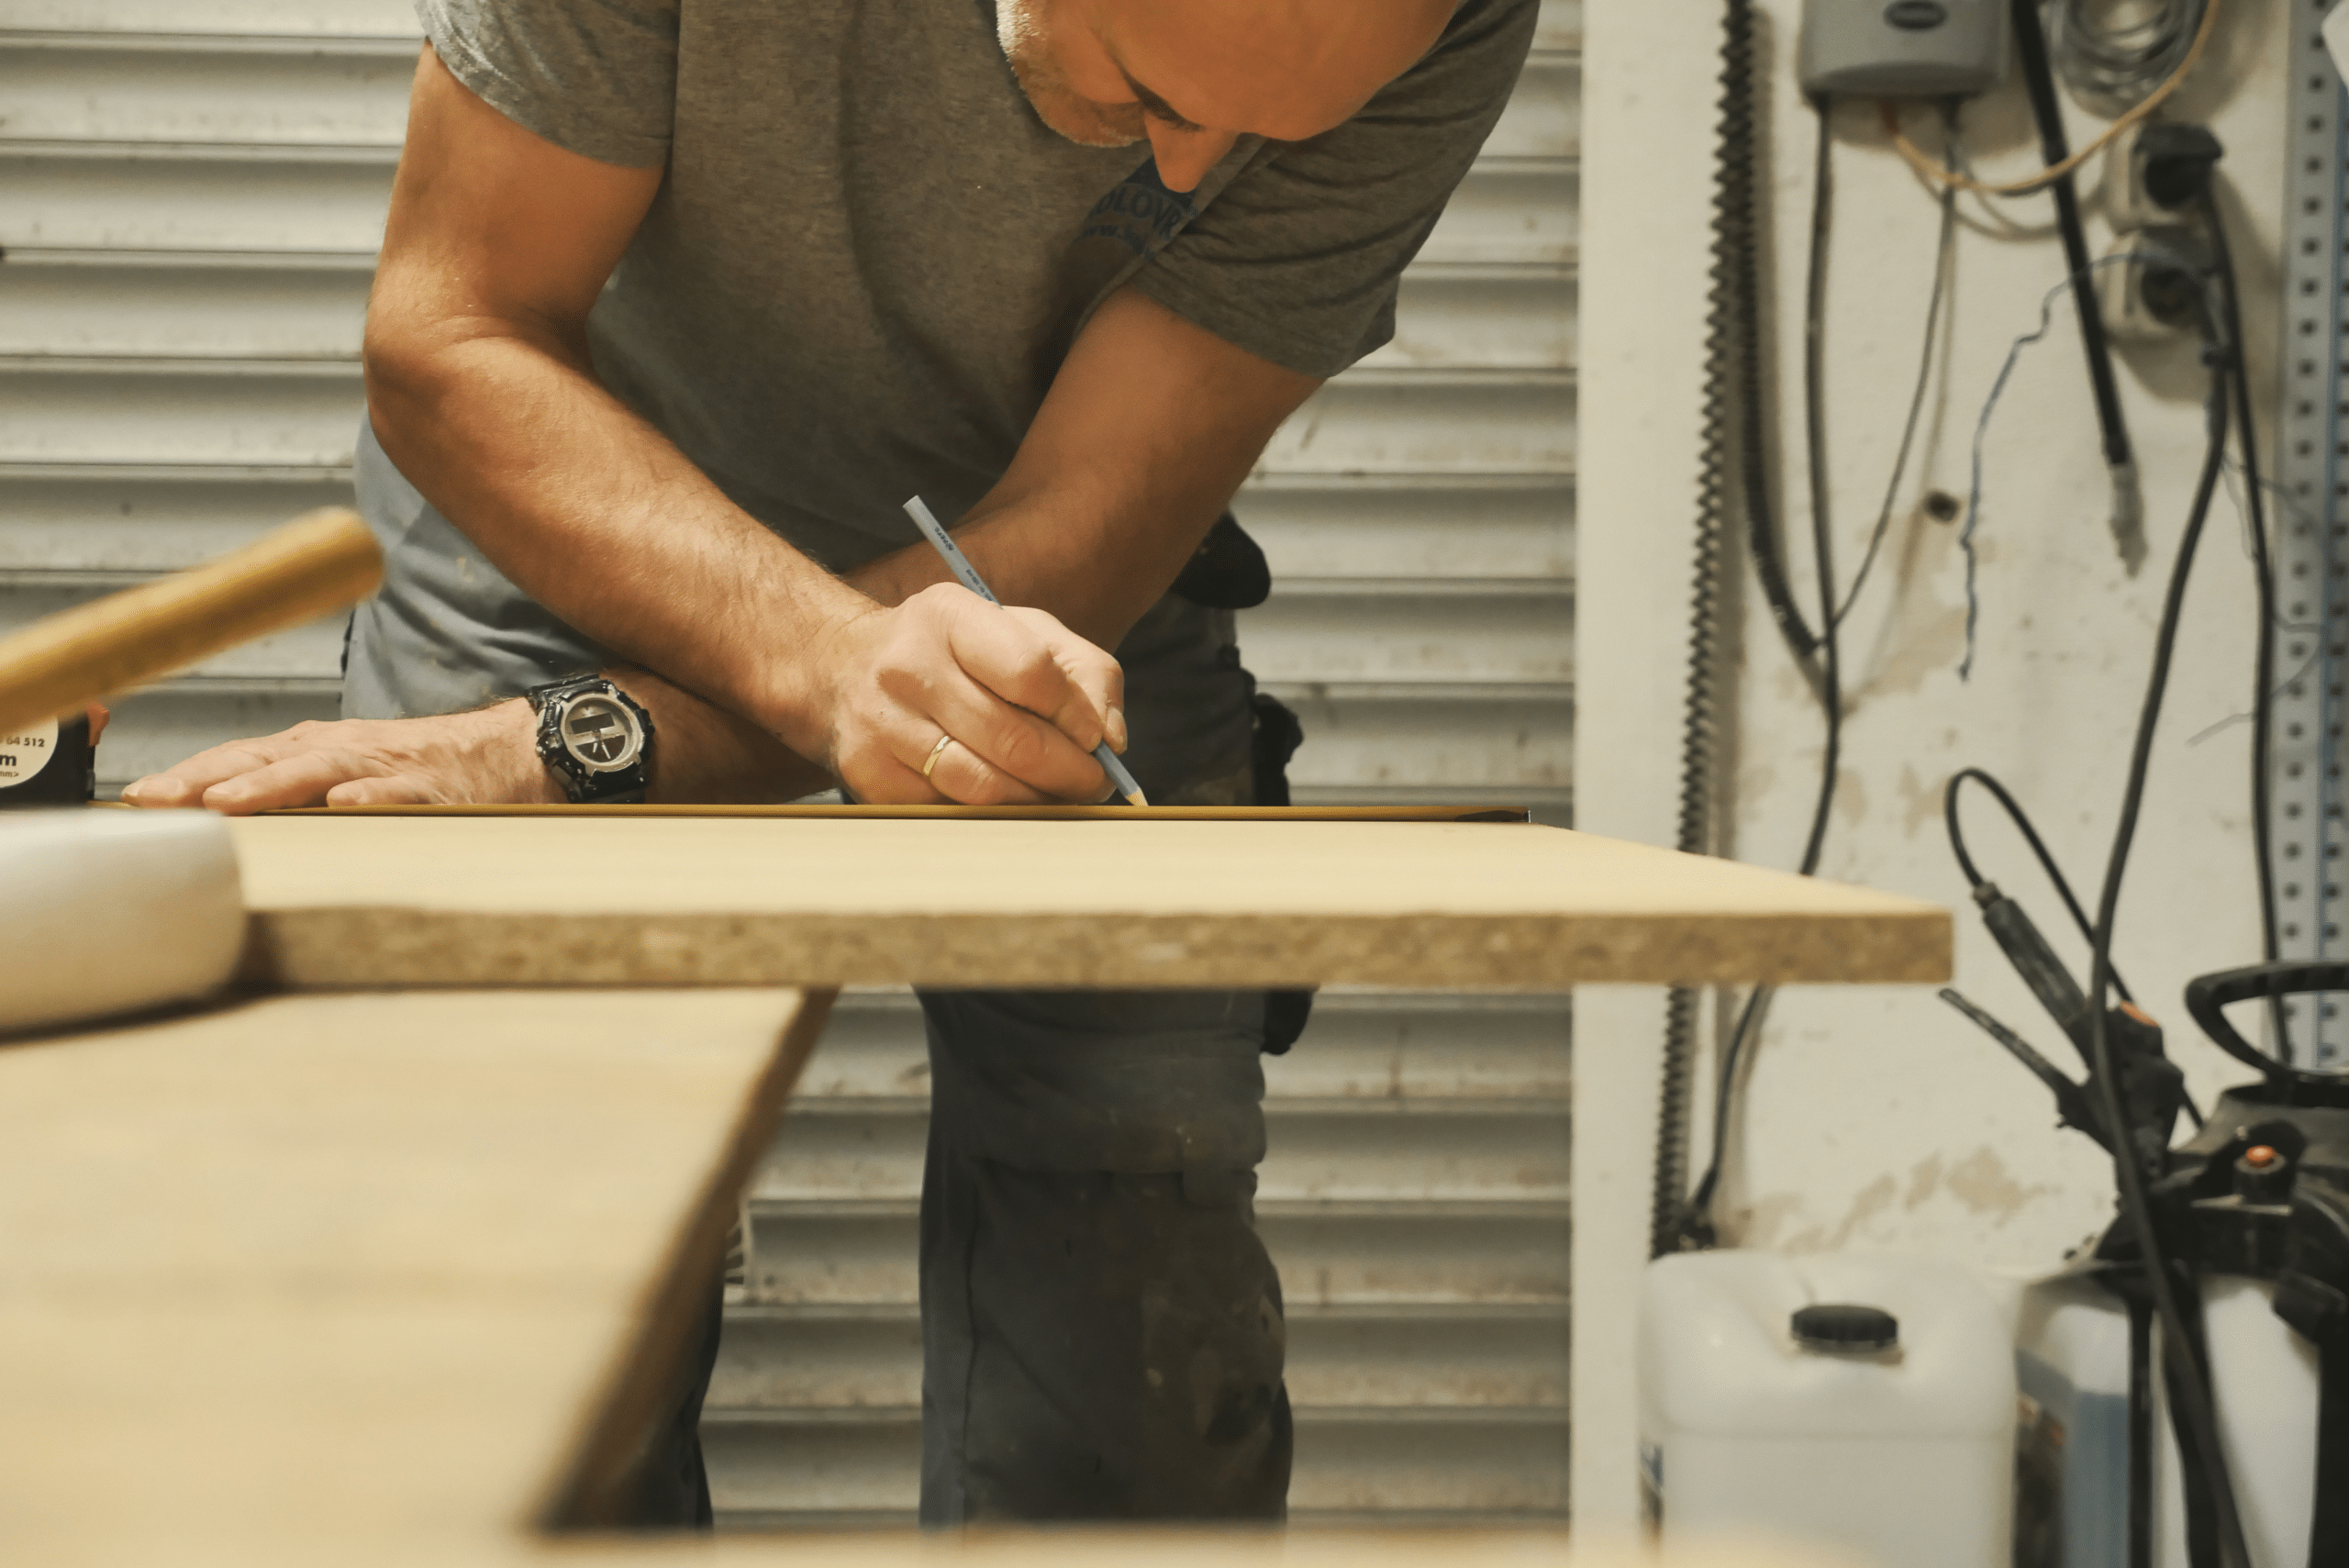
Mark your cuts with a pencil, keeping them large enough to be visible. Line up your blade with the marked line, turning the saw on and then easing into the wood. Because MDF board is quite dense, you will need to move slowly, gently pushing each step of the way.
The goal here is to have as accurate a line as possible. When you can trace your radius effectively, it means getting the most accurate cut possible. Quick movements or reverberation from the saw can result in uneven cuts.
Straight Cuts
One of the most valuable skills that you can learn as a DIYer is being able to make a straight cut. And since MDF board is so popular in DIY projects, making a straight cut is vital for most of the projects that you are going to be taking on.
Blade Type
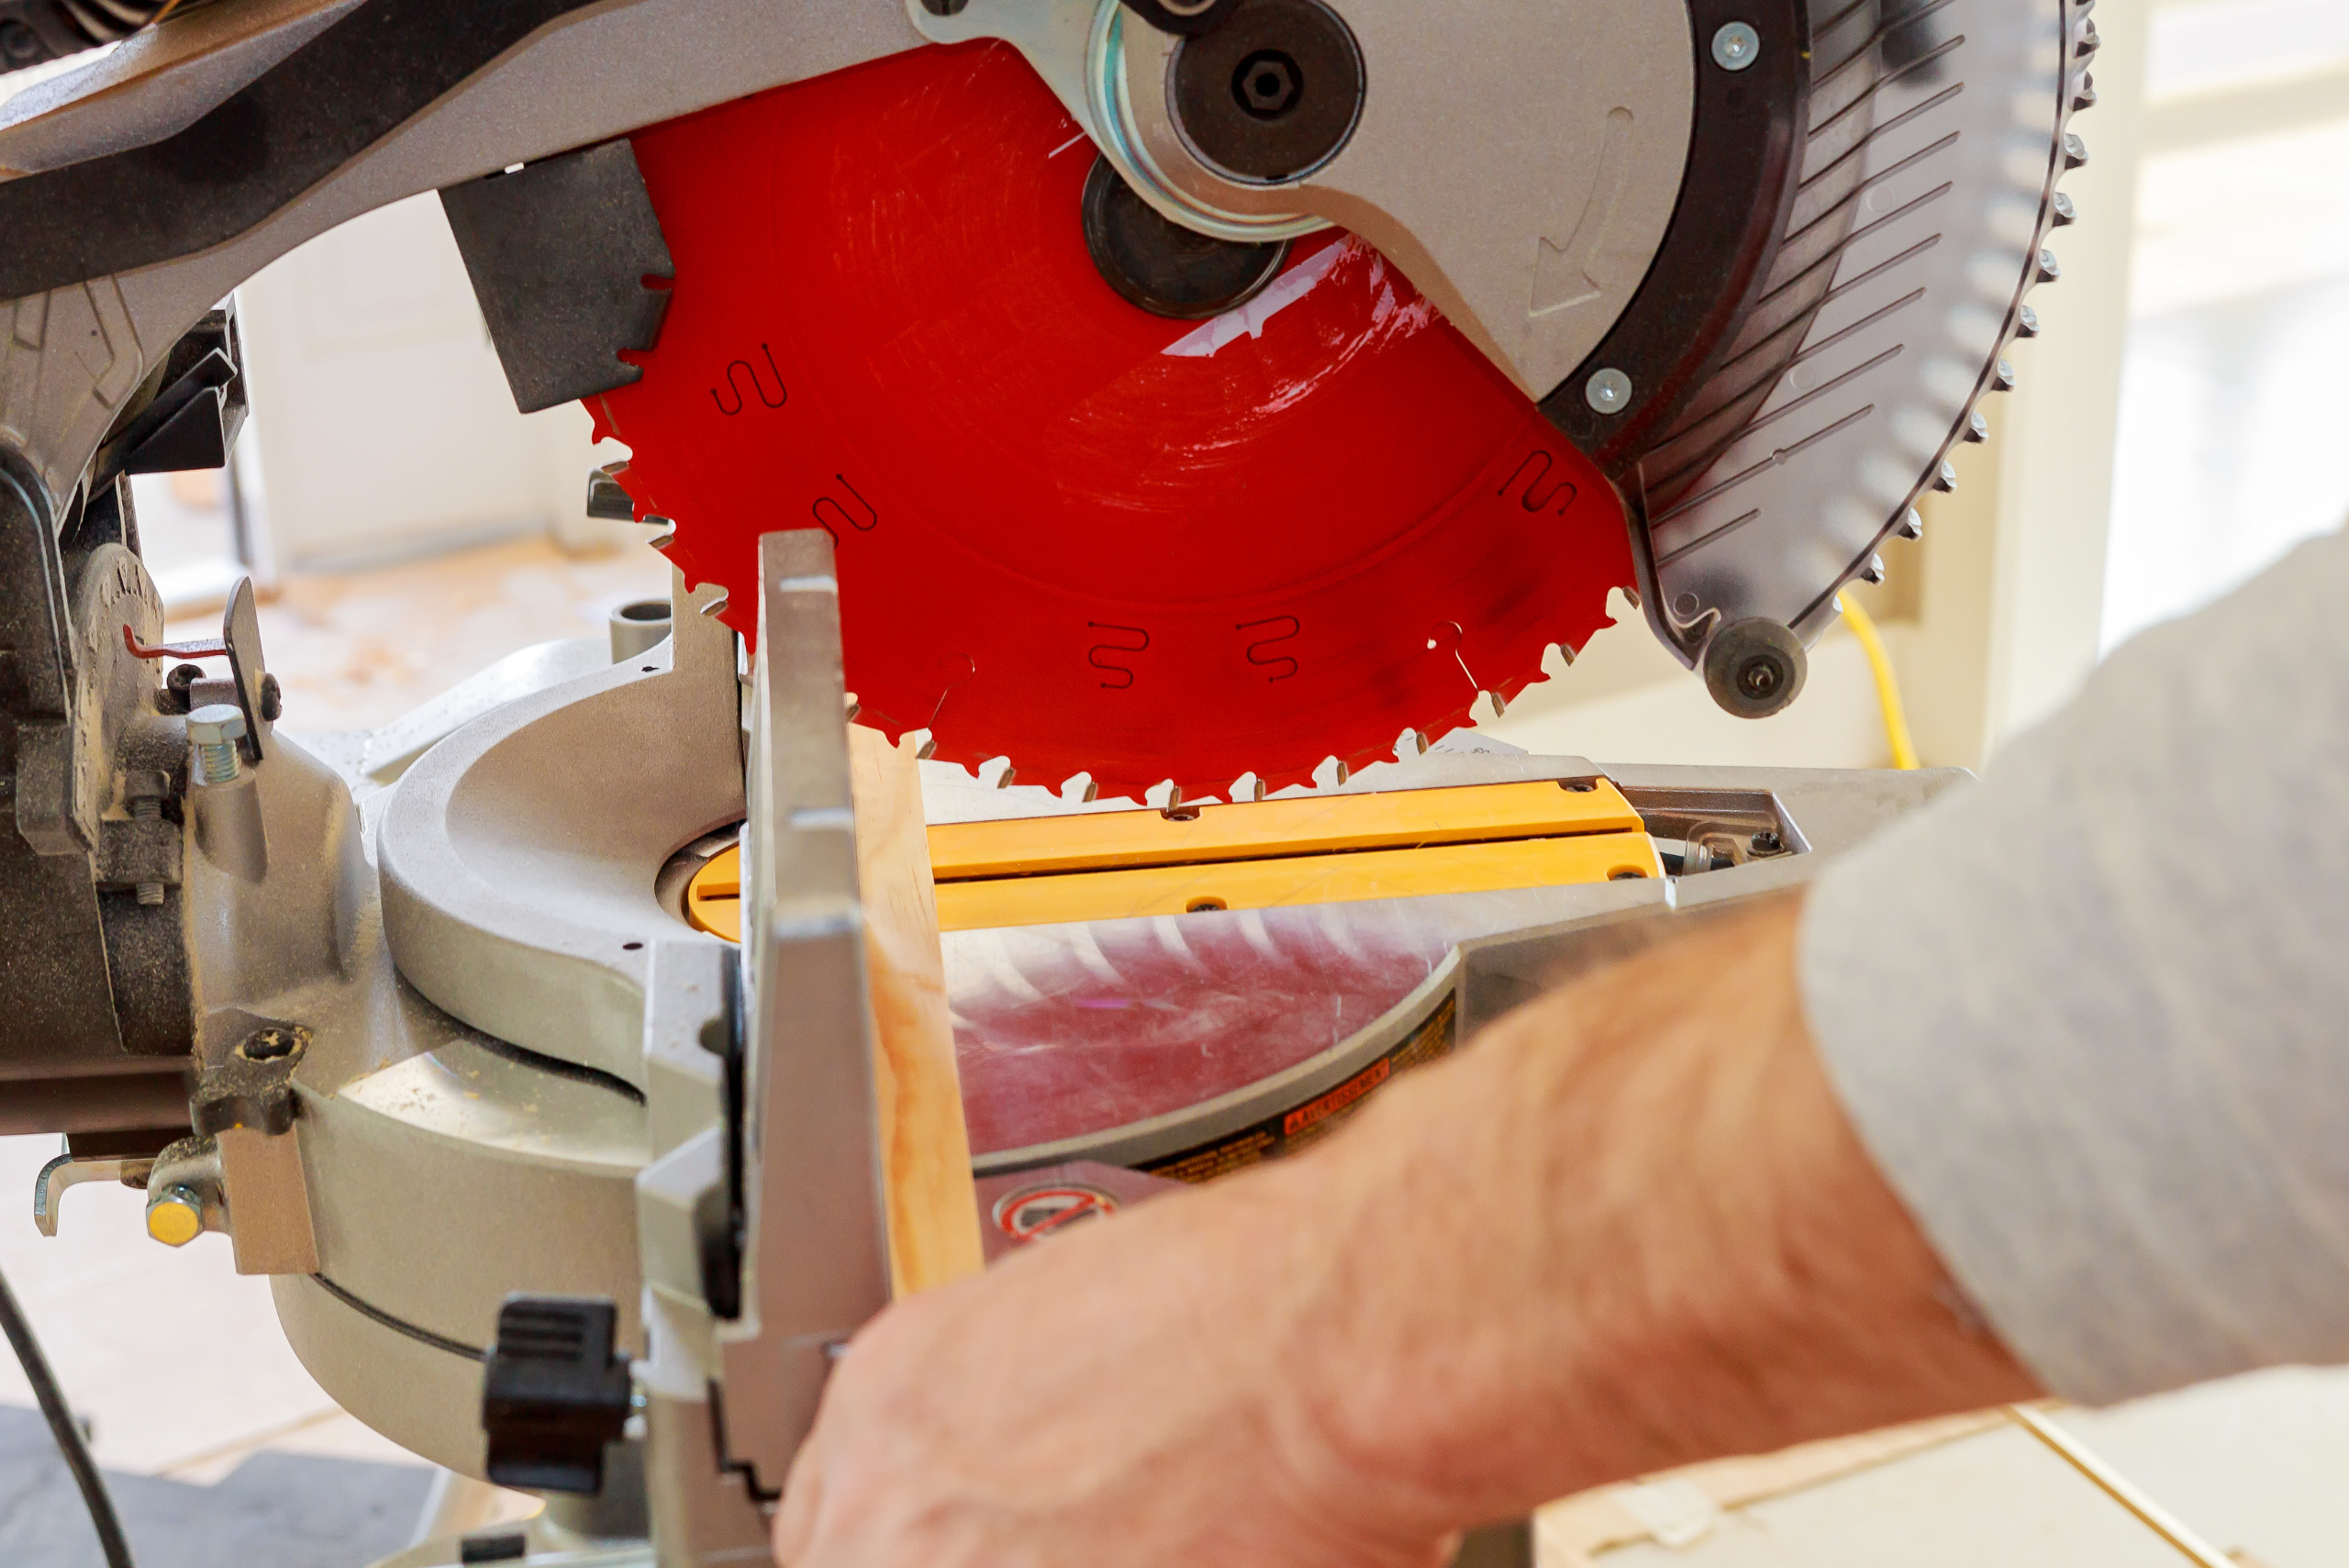
The first thing you need is a circular saw that has a trimming speed ranging between 3,000 and 3,350 meters per second (which is roughly 9,800 and 11,000 ft/s). Make sure that you also get a blade that has a minimum of 60 teeth and a width of roughly 14 inches. If you want greater strength, then go with a carbide tipped blade.
You will find that your local home improvement store has a wide array of options. Some of the high-end blades can run in the $100-$300 range depending on the manufacturer and material in which the blade is constructed. And before you establish your blade’s position, make sure the power is off to avoid any unwanted accidents.
Blade Depth
When you have the right type of blade, it is time to achieve the proper depth to make your cut. Make sure that you position the saw so that the bottom part of the blade is settled flush up against the side of the MDF board piece.
When you feel good about the positioning, make sure to relieve the bottom lever or knob of the saw, carefully dragging the blade until the tip is just below the fiberboard plank. With the blade right in the proper position, you will need to tighten the lever or knob.
In order to assure a proper cut, make sure that you try to position it so that the tip sits anywhere between 1/8” and ¼” below the MDF board plank.
Steady Surface
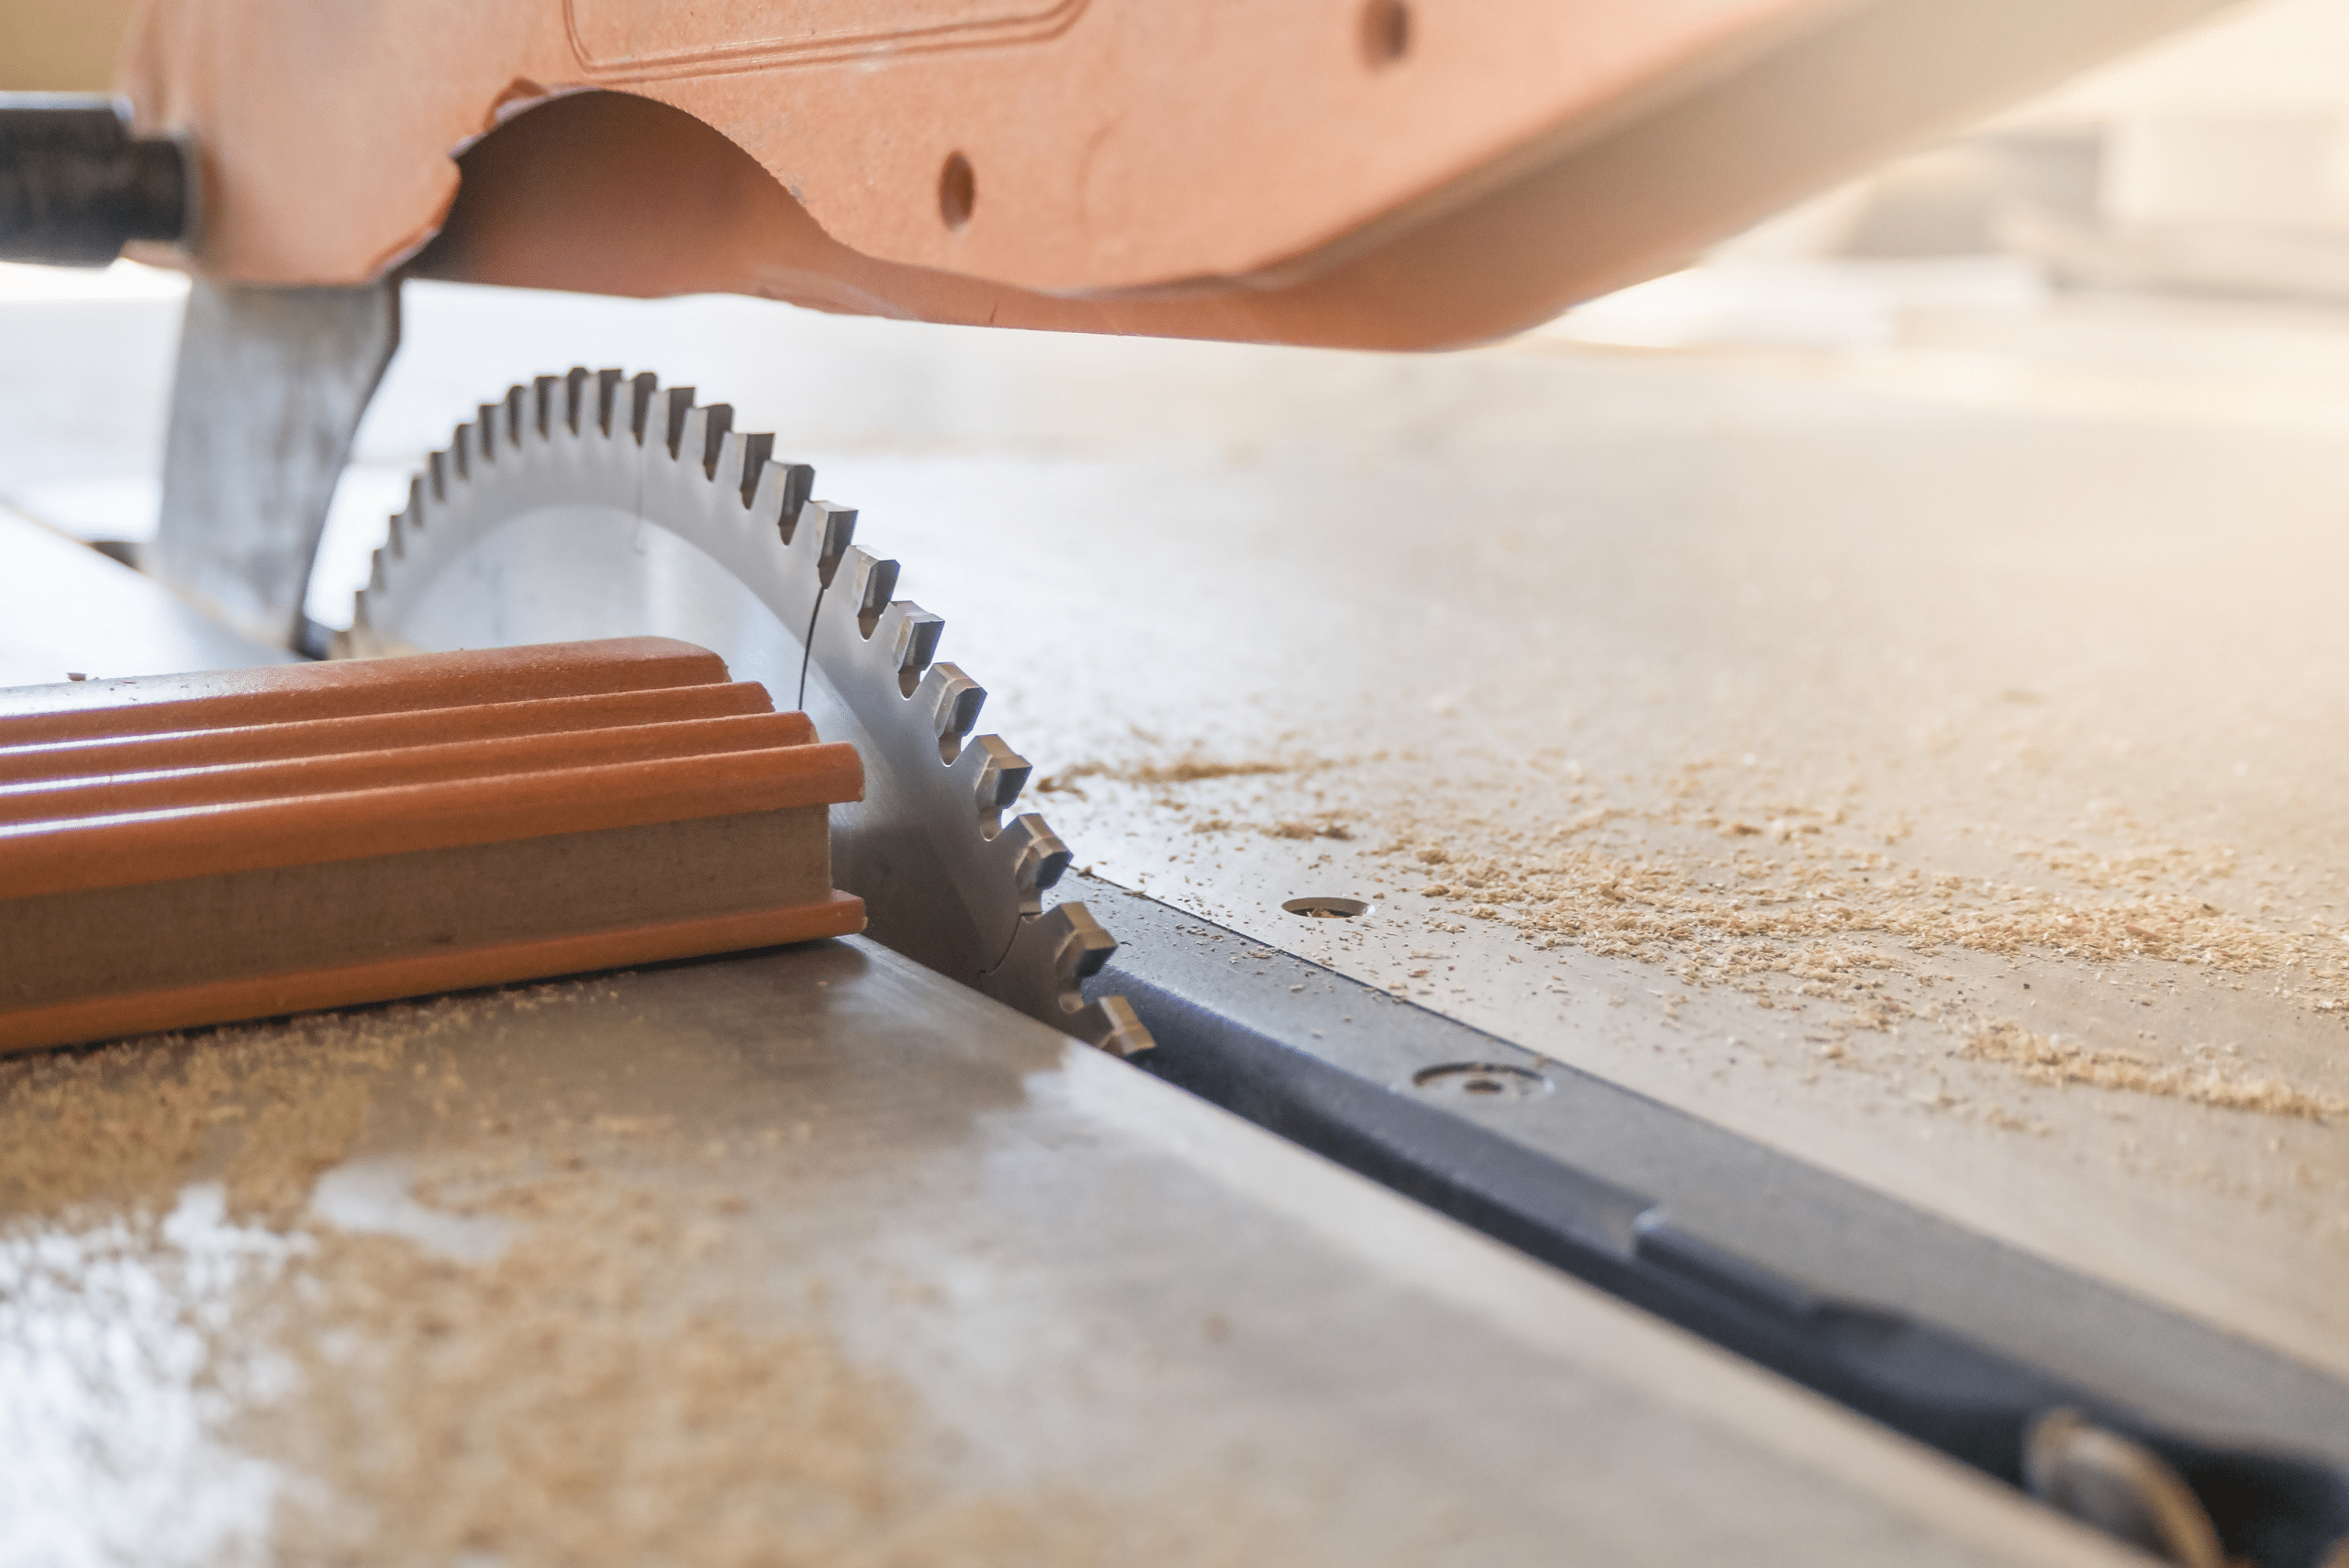
Another majorly important aspect to making the right cut is to ensure that you are working on a large, flat surface. If you cut in the middle of the plank, make sure that you spot each end on a sawhorse.
Make sure that the part you want to cut is hanging over the perimeter of your flat surface, locking it into place using heavy-duty clamps. This will ensure that no part of your piece moves without you knowing about it.
Prep Your Line
A pencil and measuring tape will become regular tools in your woodworking career. Make sure that you create a line at the top of your MDF board piece. This should indicate the point where you want to make your cut.
You can only cut through the wood once, so make sure that you measure twice. Be certain that the alignment is proper with either an L-square or a basic level. Should you be using a pencil, make sure that the line is visible when you make your cut.
Making the Cut
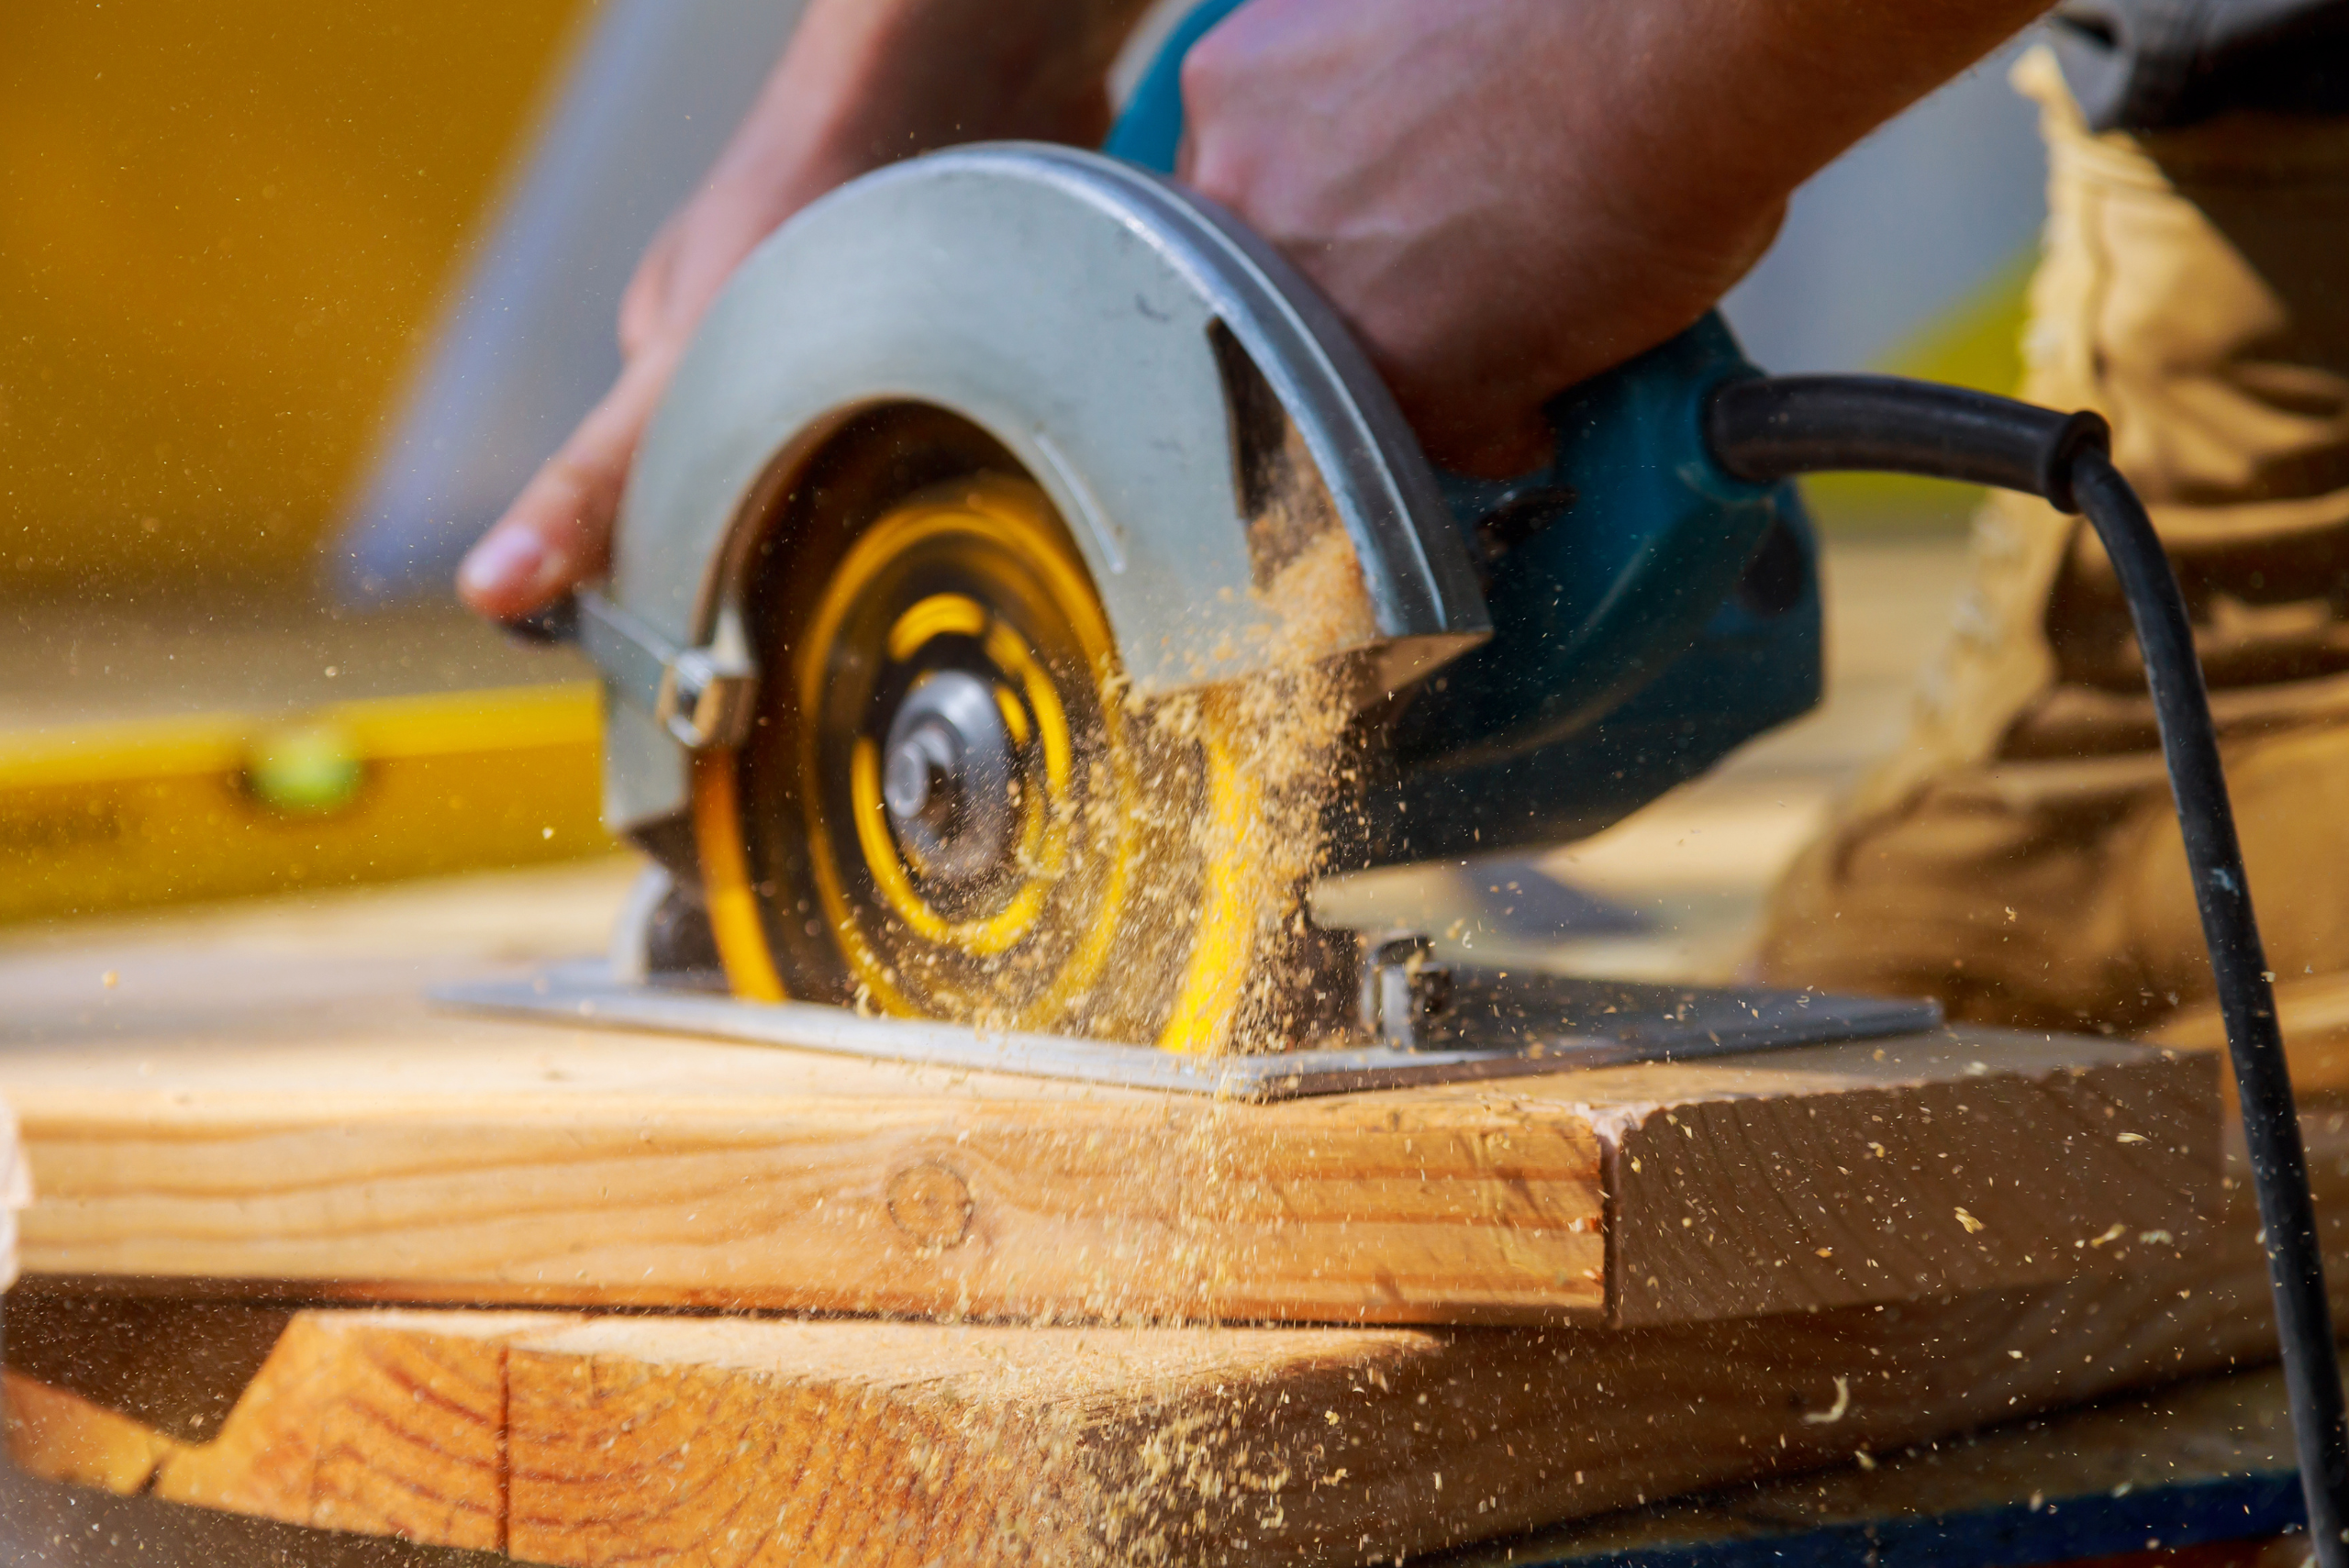
Now it is time to make the cut. Line up the front of the circular saw at the start of your marked line. Turn the saw on, gently pushing it into your MDF board. Just make sure that you do your best to carry the saw so that it remains steady and moving forward at a consistent rate.
There is a chance that you will notice a kick or jitter. Should that happen, turn the saw off for a minute or so to give it a rest. Turn it back on and try again, guiding as smoothly, slowly, and effectively as you can.
With MDF board being a wonderful material that offers many great characteristics, you will find many different uses for it that will not only save you time but also money during your projects. Choosing MDF is also a great way to enjoy DIY-friendly projects since it’s fairly easy to work with, giving you consistent results when cutting or customizing to fit your specific application.


