This post is part of our Submit a Project Series, where our MMDIYers and renovation experts (or amateurs) get the recognition they deserve. Have a project you’re particularly proud of? We at ManMadeDIY want to see it! Click HERE or use the ‘Submit Your Project’ button on our home page to share your latest creations or renovations with us.
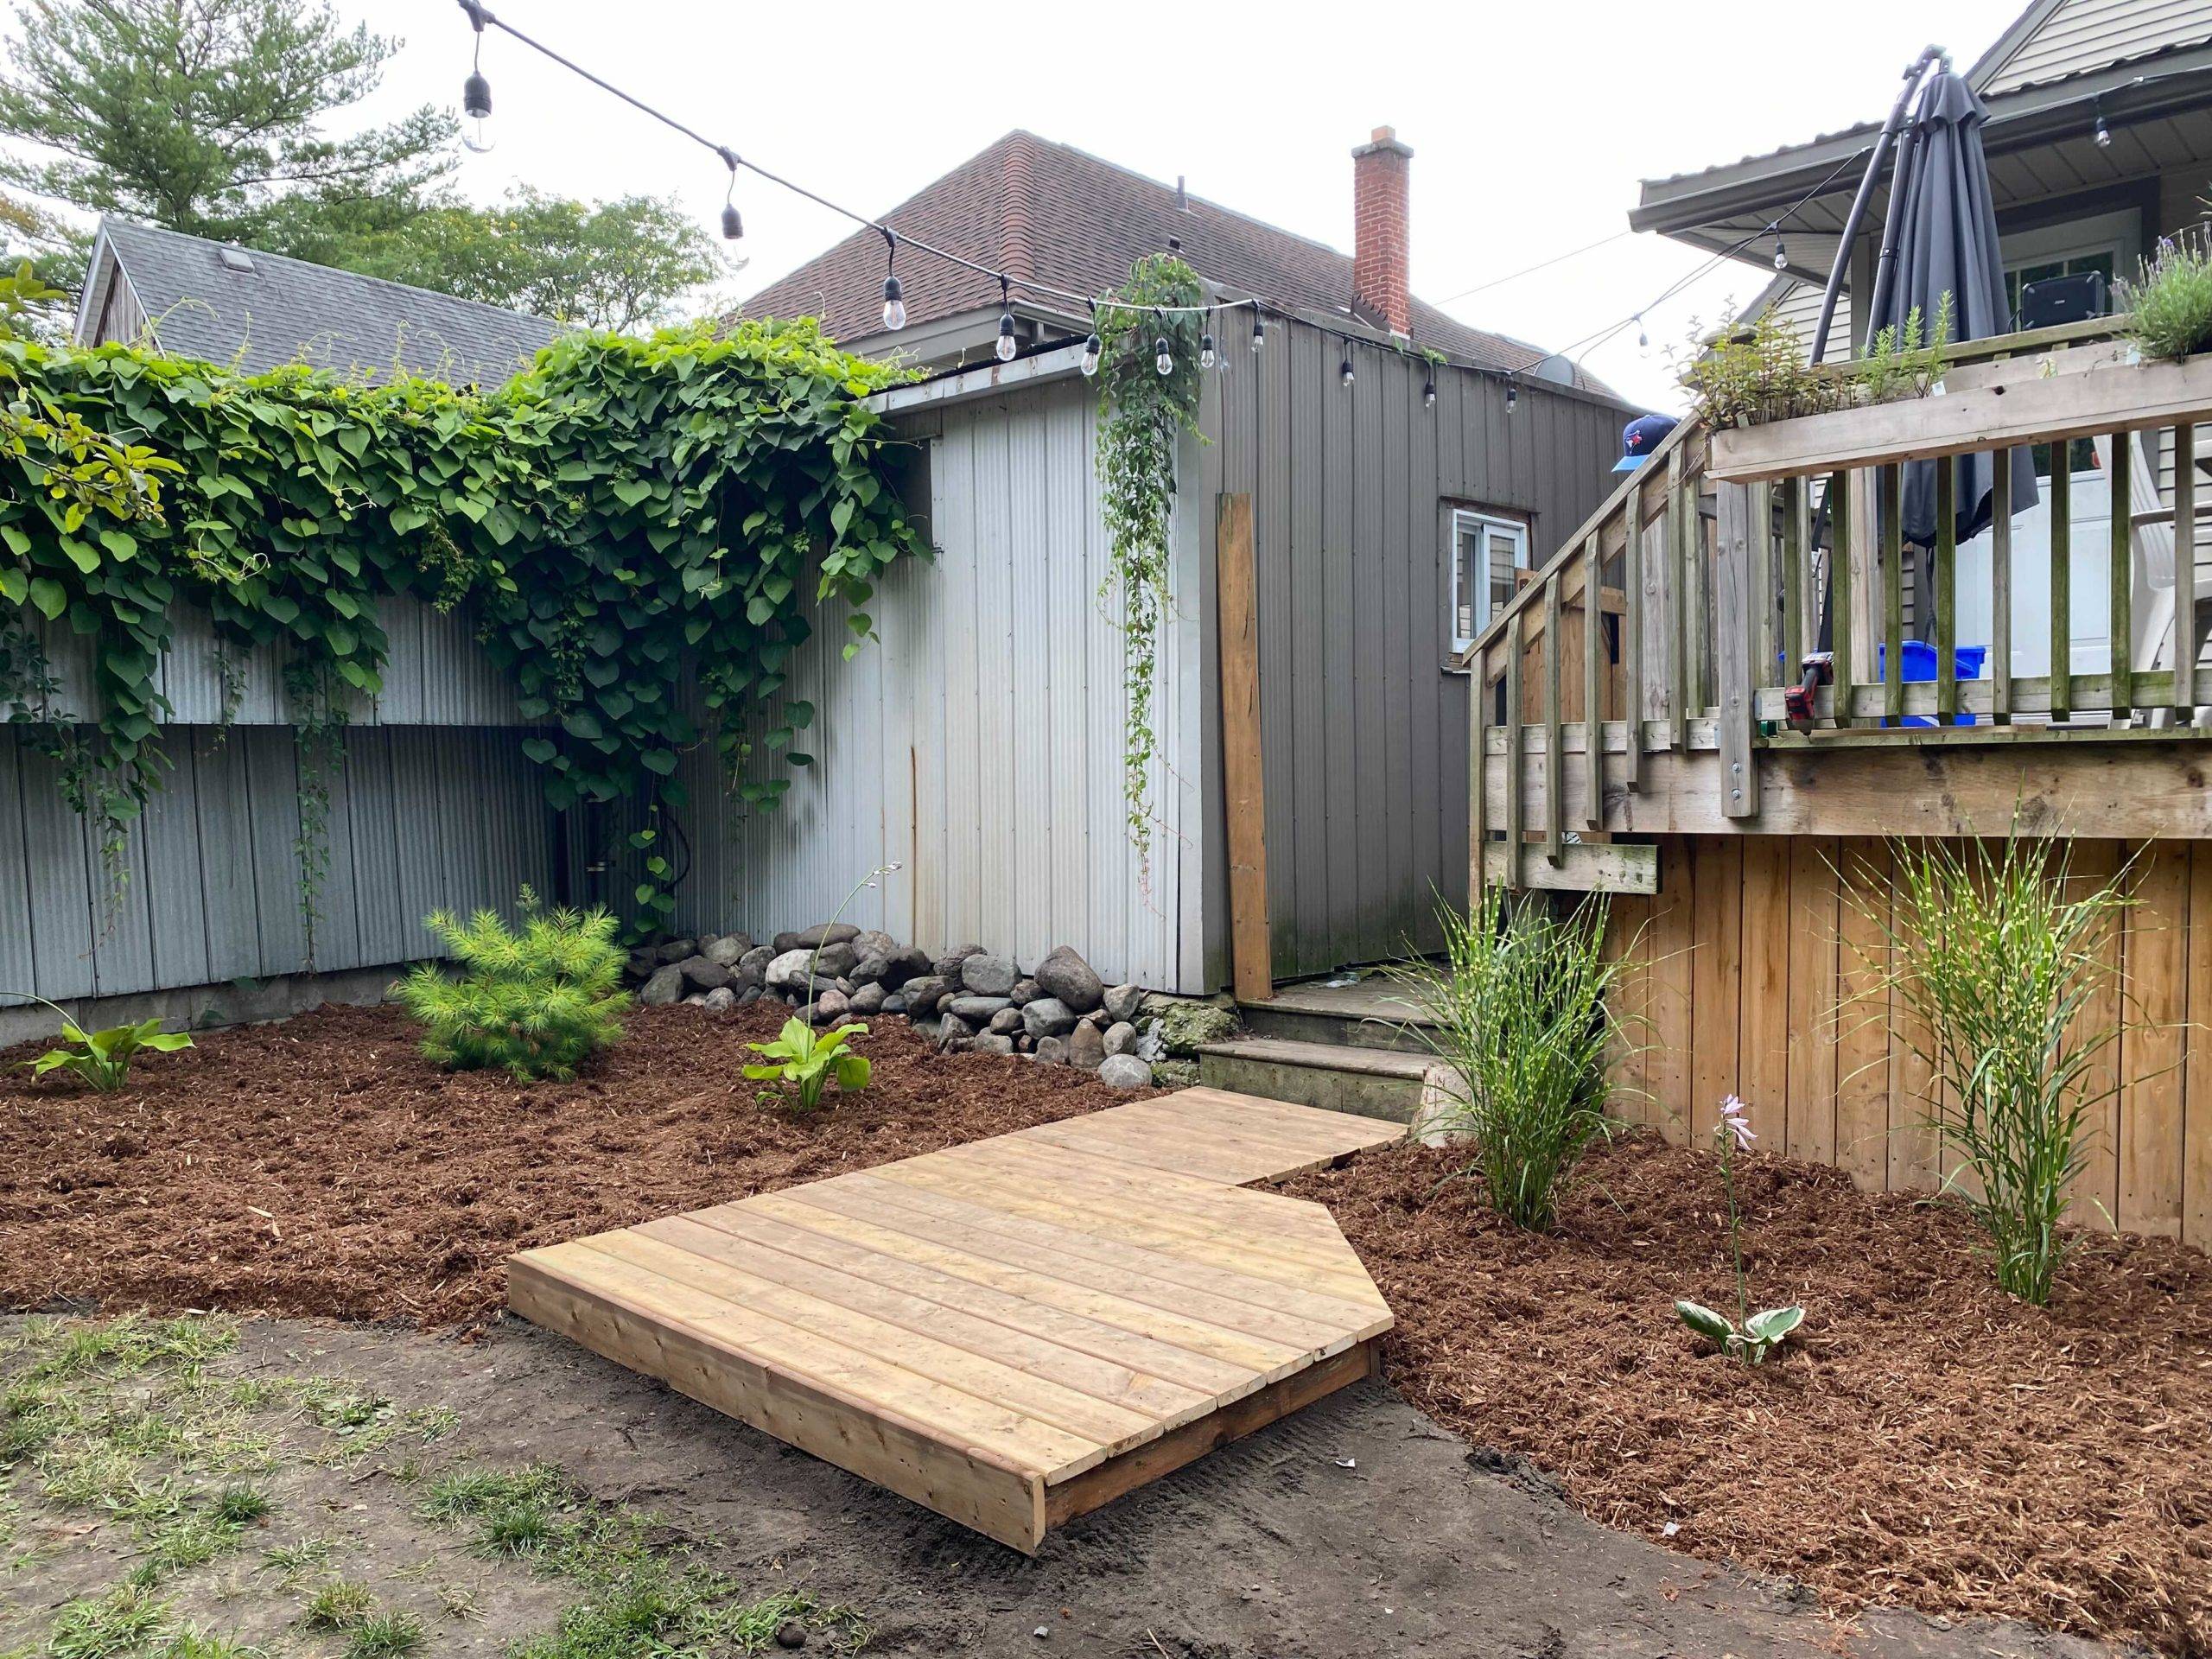
For today we have a submission from Mike W, who recently created a garden boardwalk in his backyard.
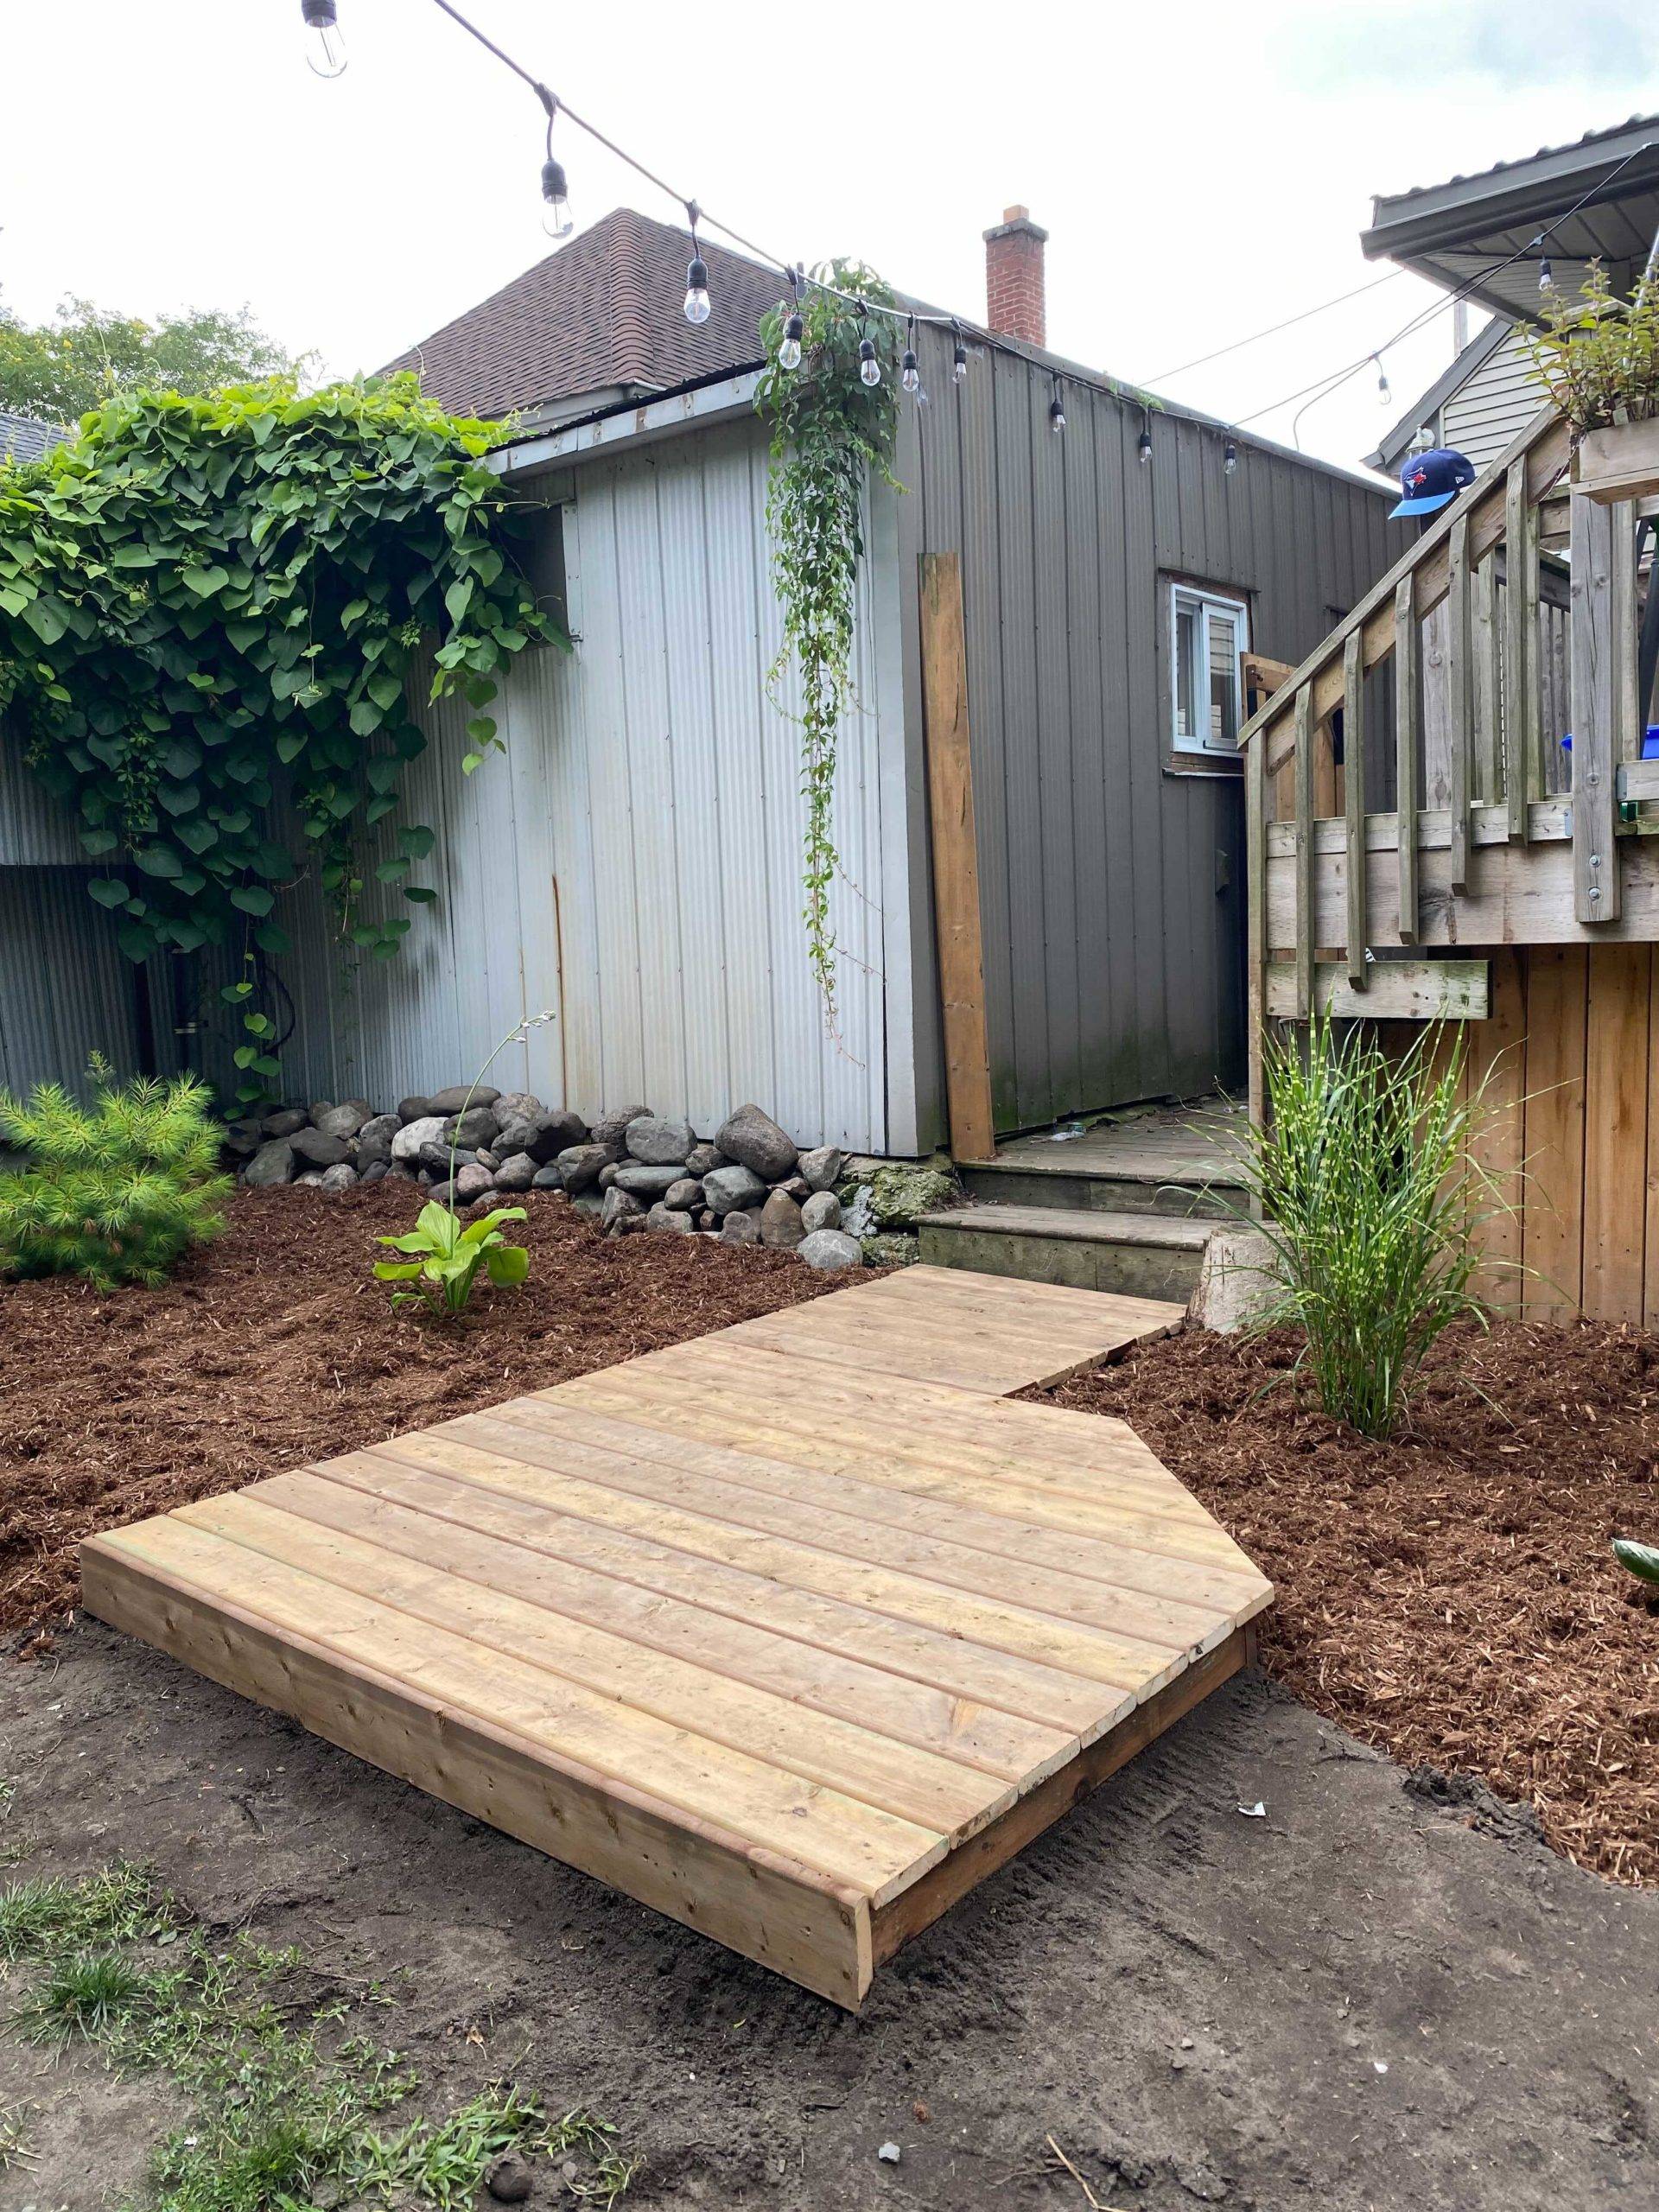
“The path between our deck and yard goes through our garden and the house originally just had a stepping stone walkway. The stepping stones were inconvenient and made it hard to walk down barefoot without getting your feet covered in dirt from the garden. Extending the deck into a garden boardwalk was the solution. I wanted to make a boardwalk that didn’t need full framing which made it an easy project to complete over the course of a weekend.” – Mike W.
Check out how Mike made his boardwalk—and how you can make one too!
Supplies Used:
- 4x4s – for the base
- 5/16ths deck boards – for the surface
- Wood screws
- Level
- Impact driver
- Circular saw
- Landscape Fabric
- Pea gravel
Step One:
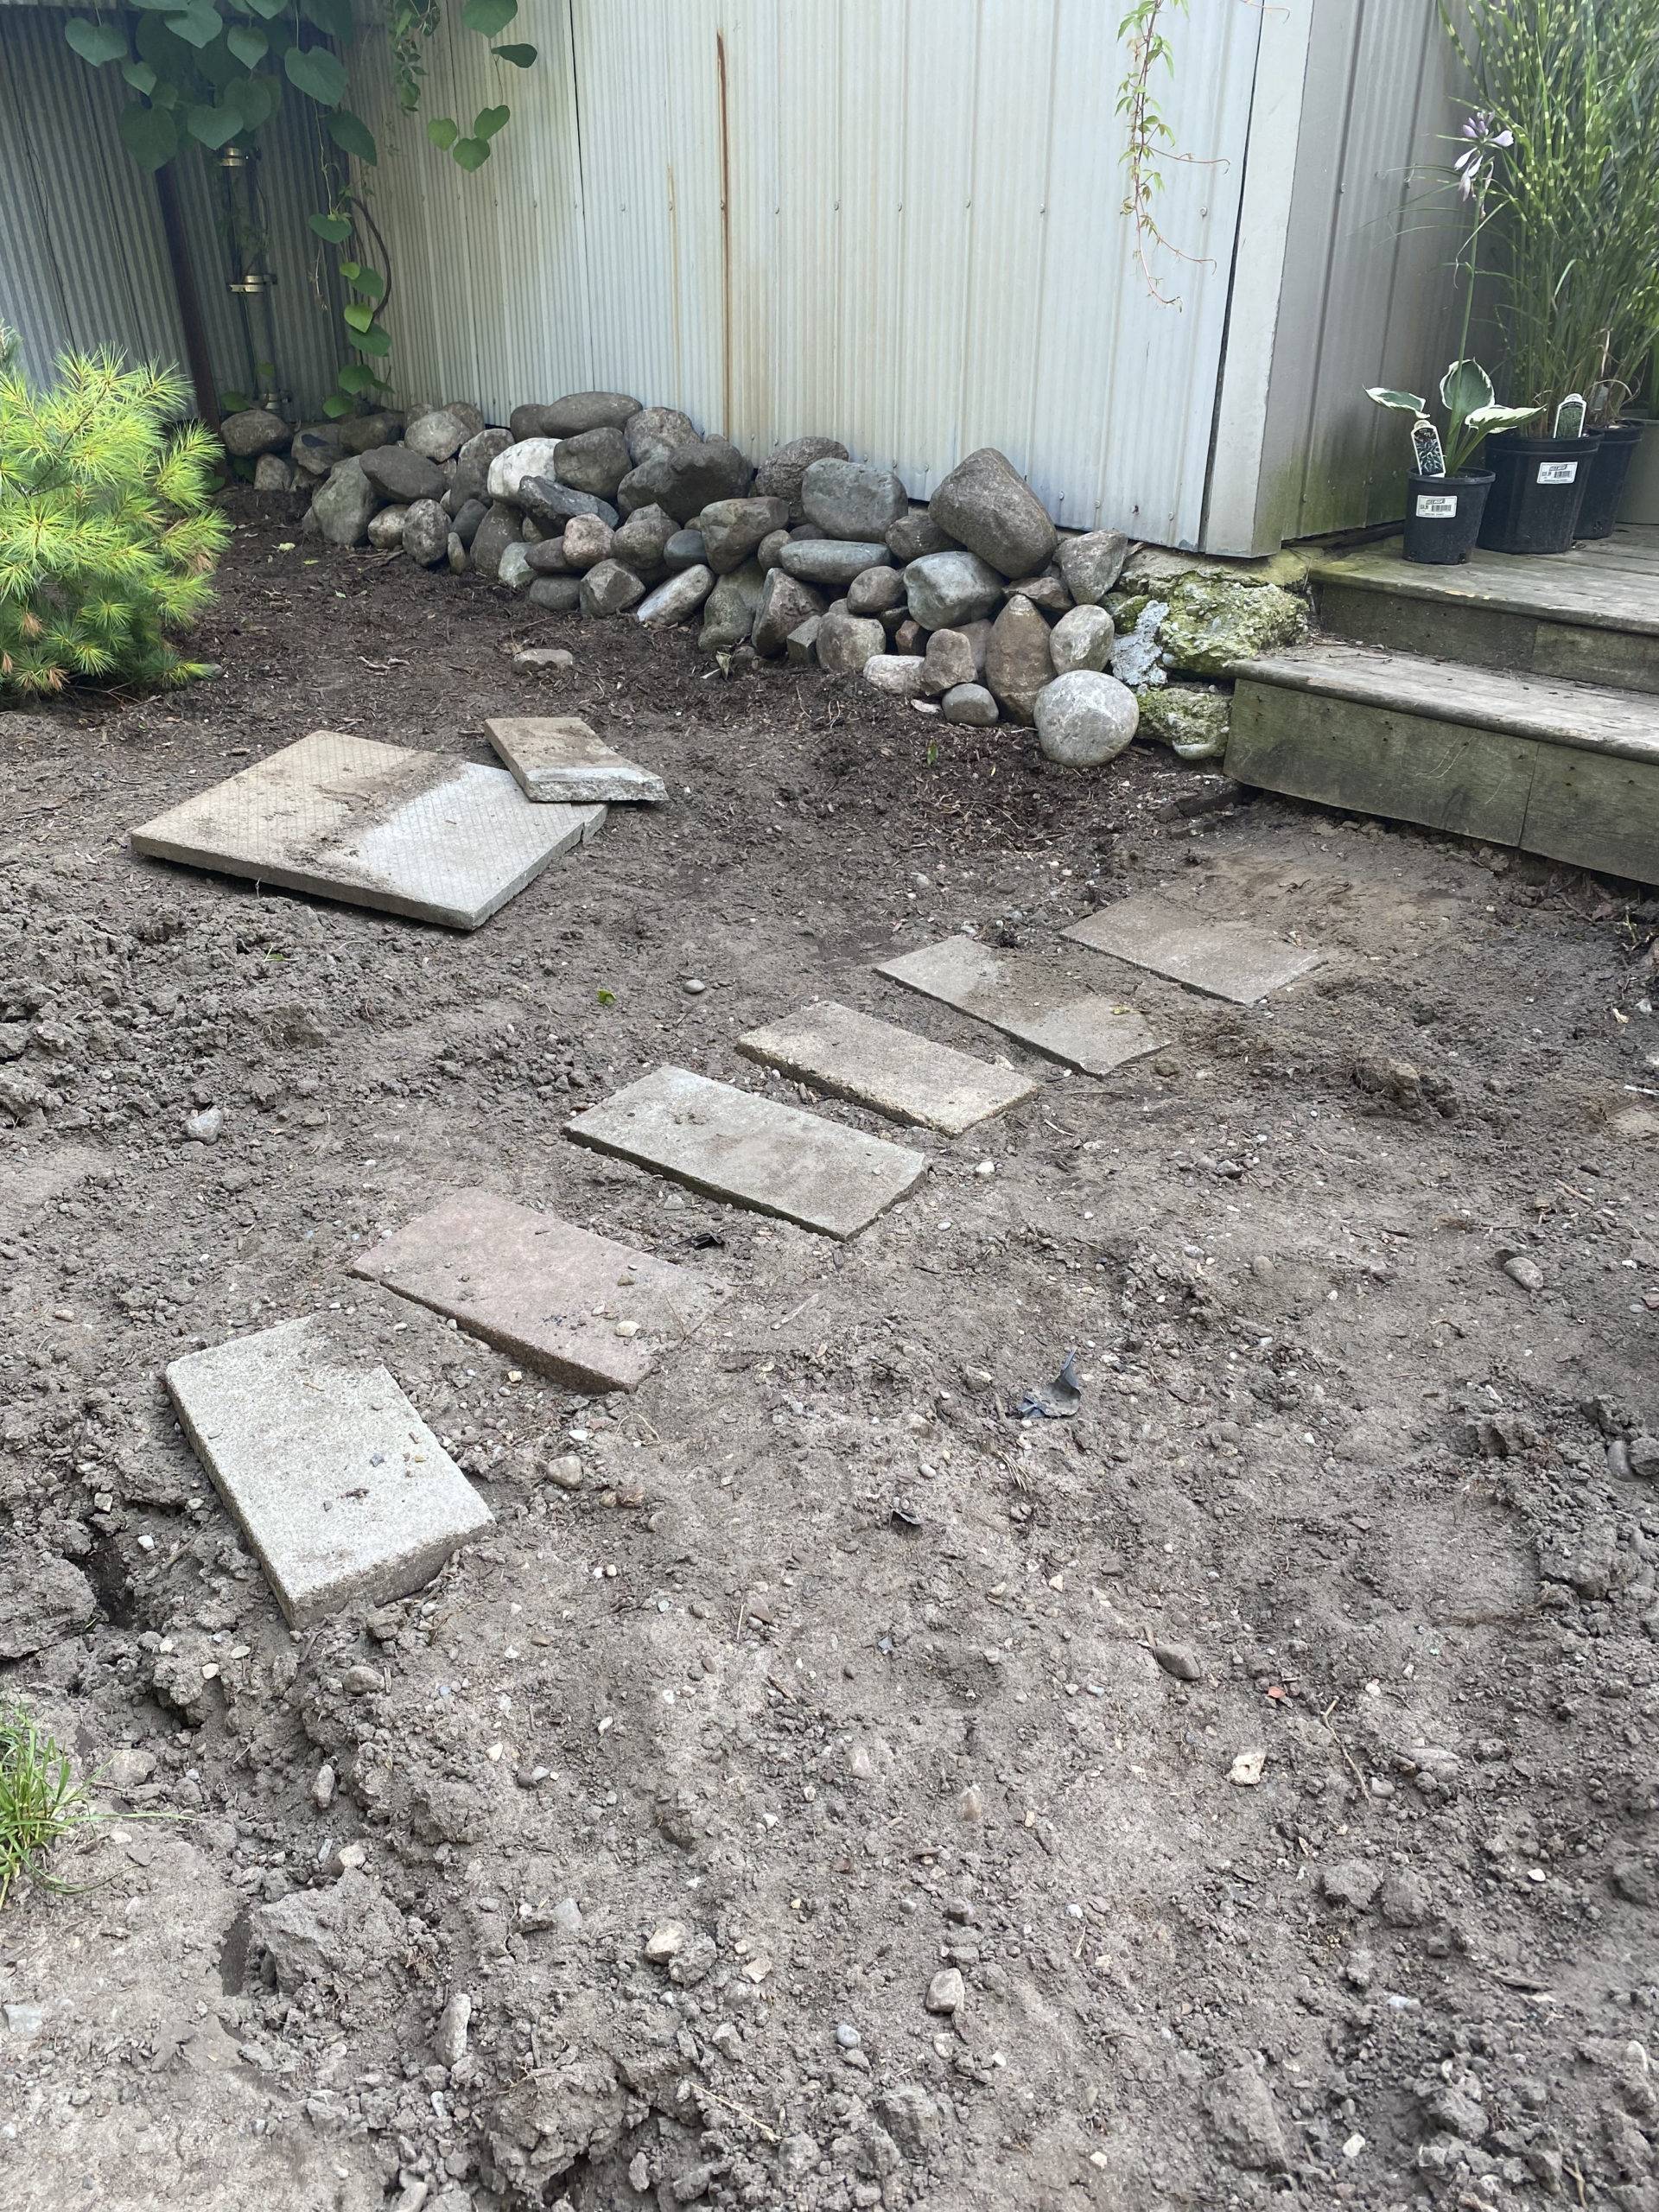
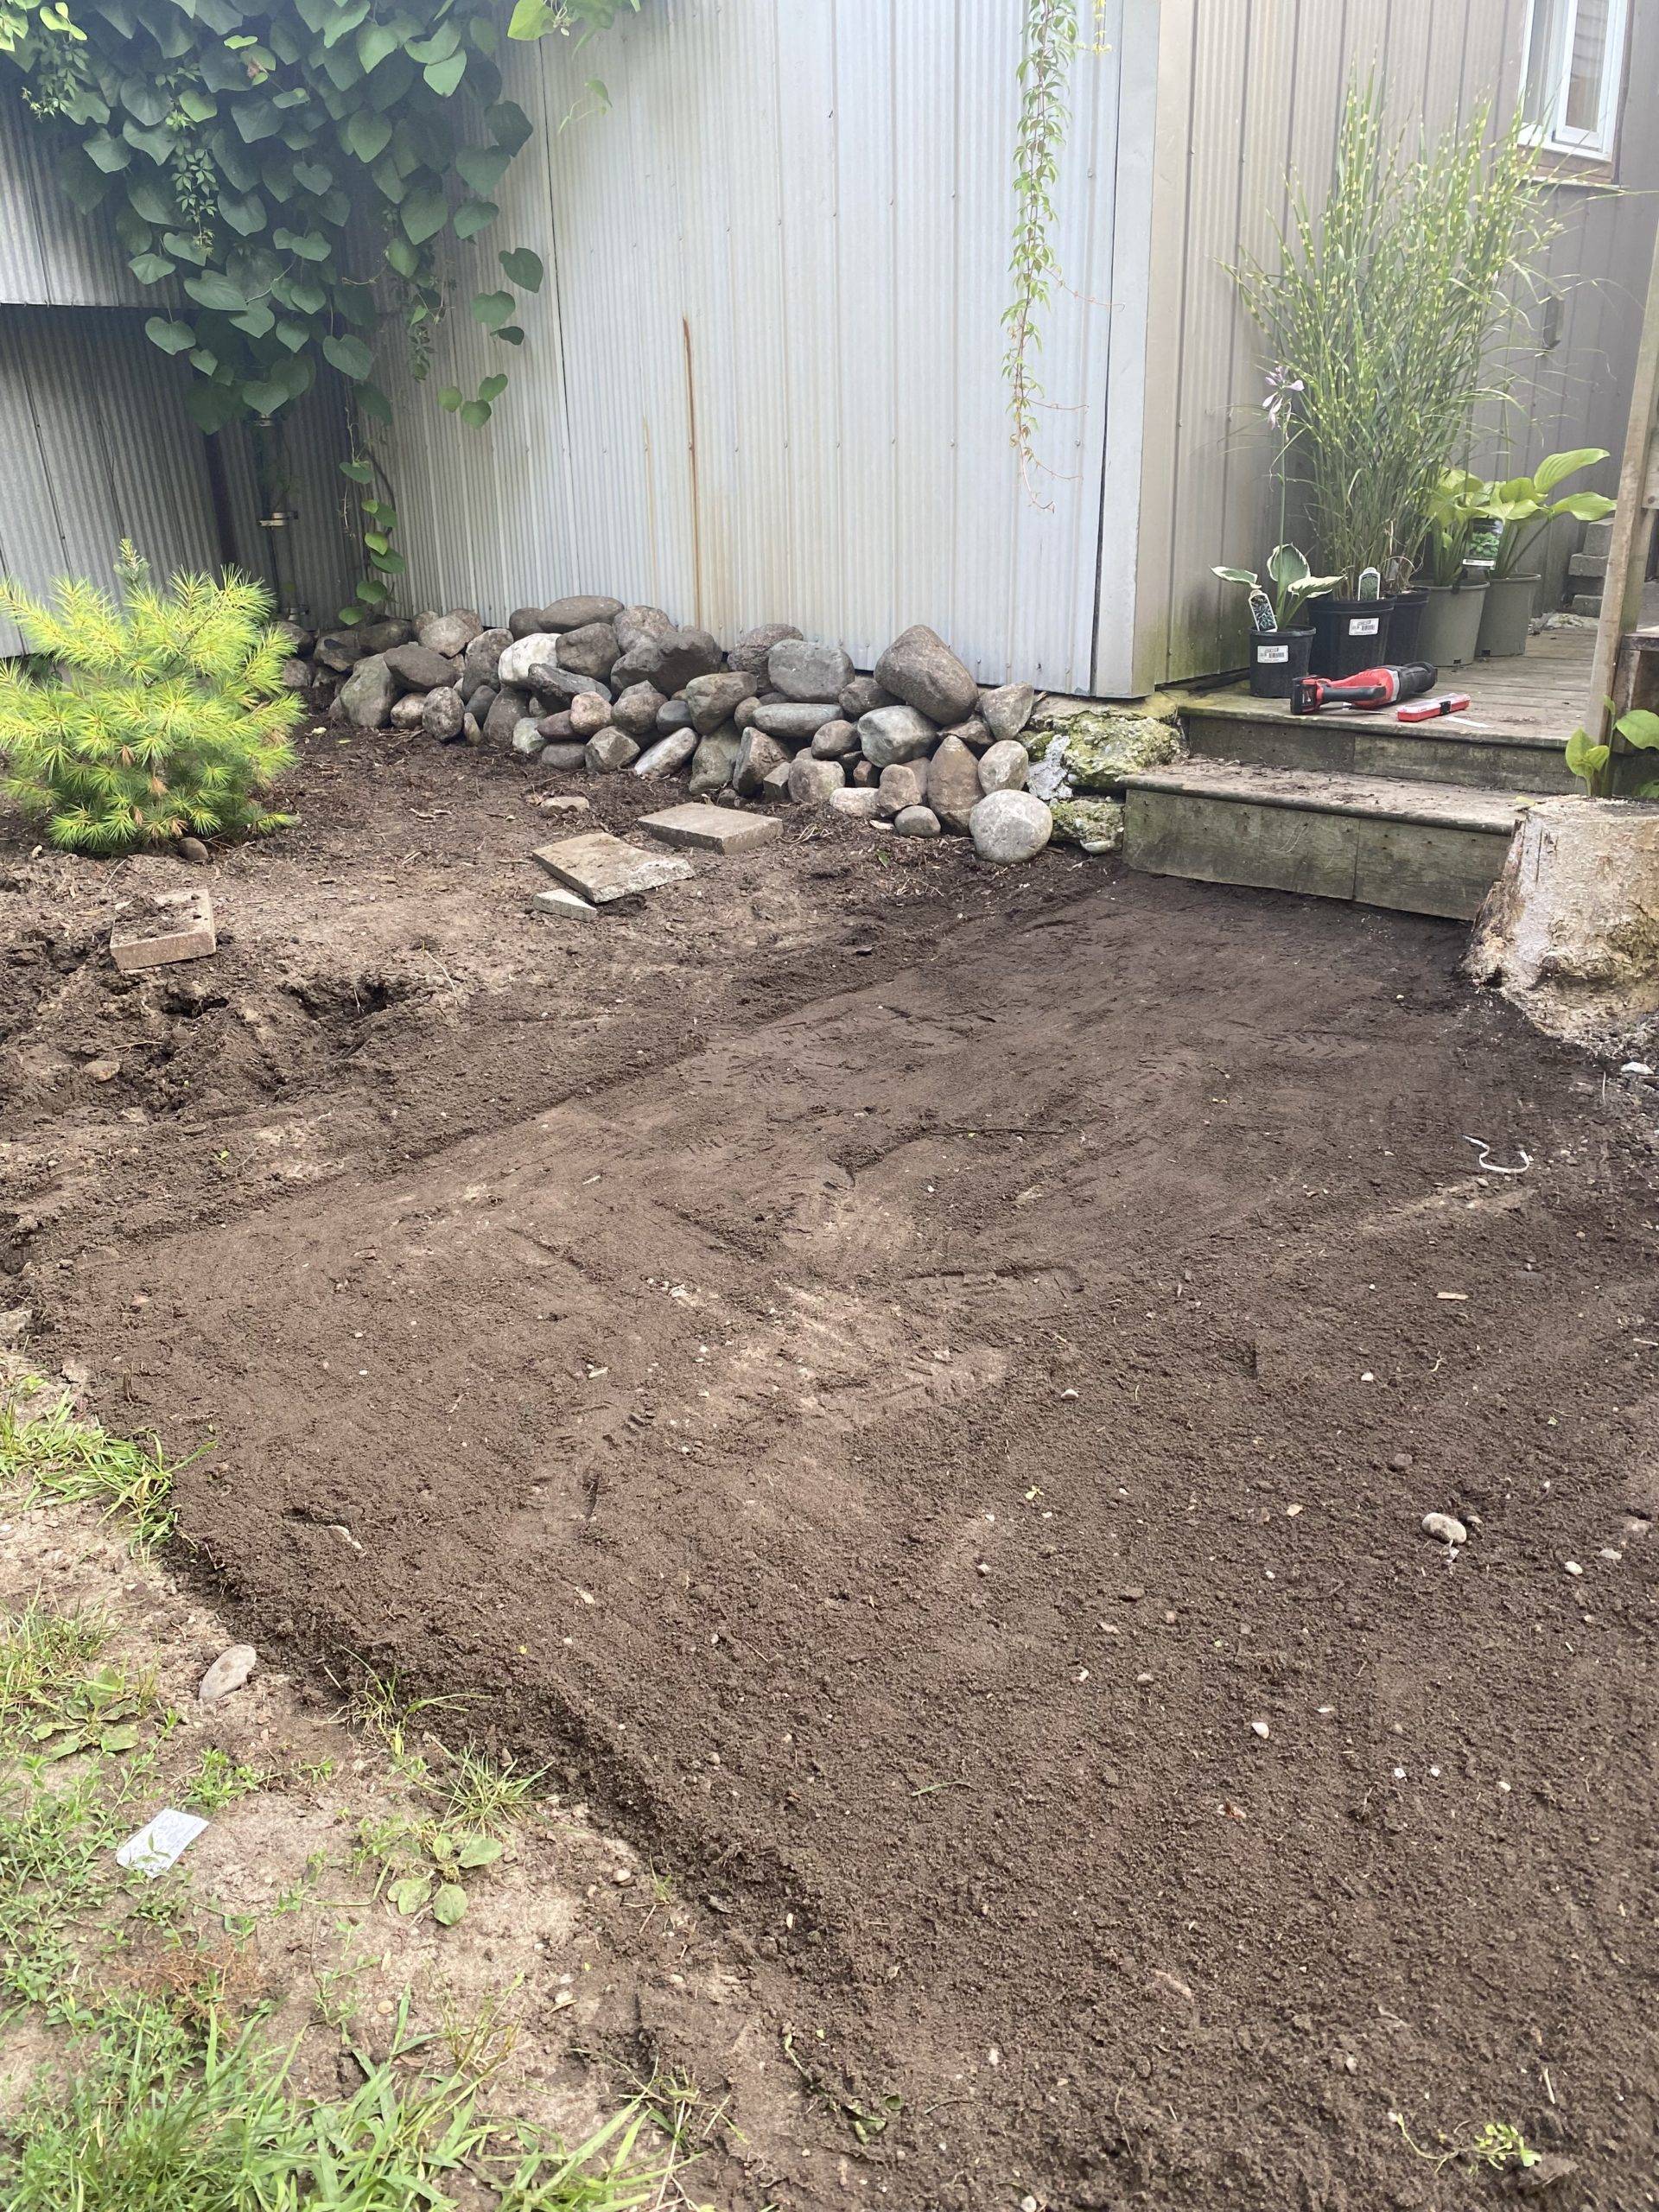
The first step to any successful project is having a clean workspace! All the stones in the area were removed, and the ground was leveled out. We leveled it out by transferring some dirt to other areas of the backyard until the area was flat.
The area before it was leveled out had old stones and uneven ground that was difficult to walk on. Photo by: Mike W
To level out the ground, some dirt had to be transferred to other areas of the yard. Photo by: Mike W
Step Two:
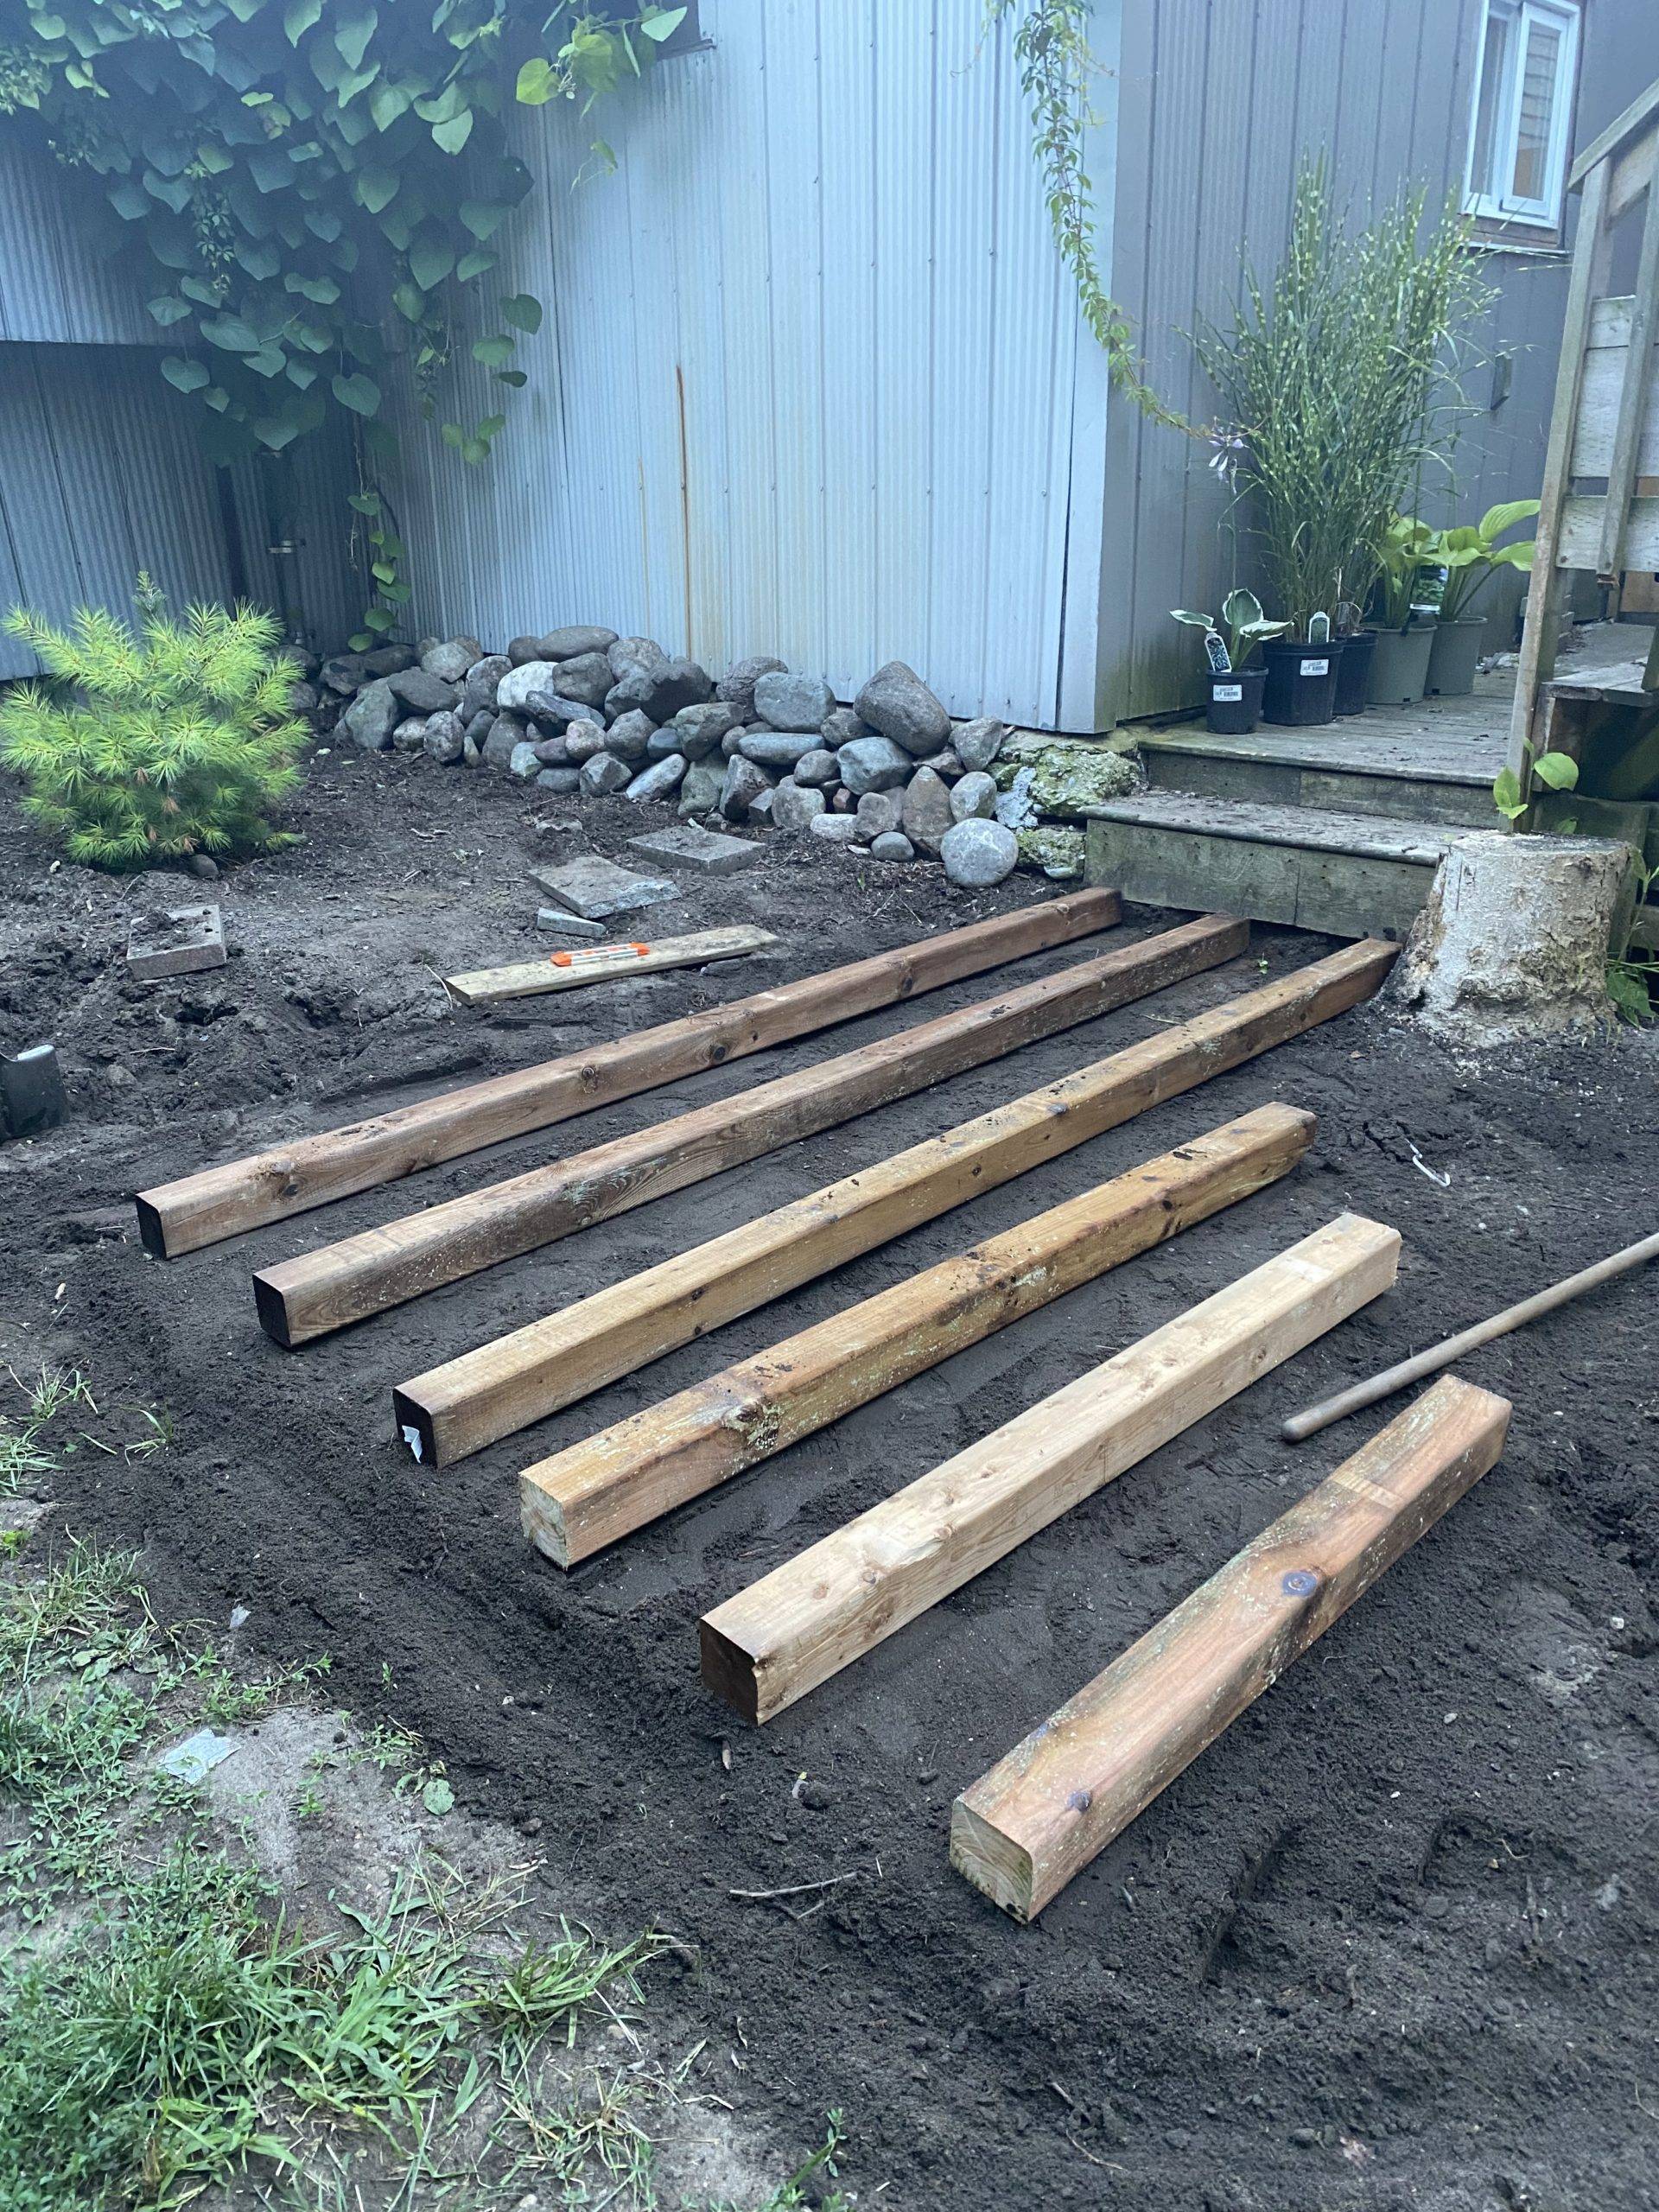
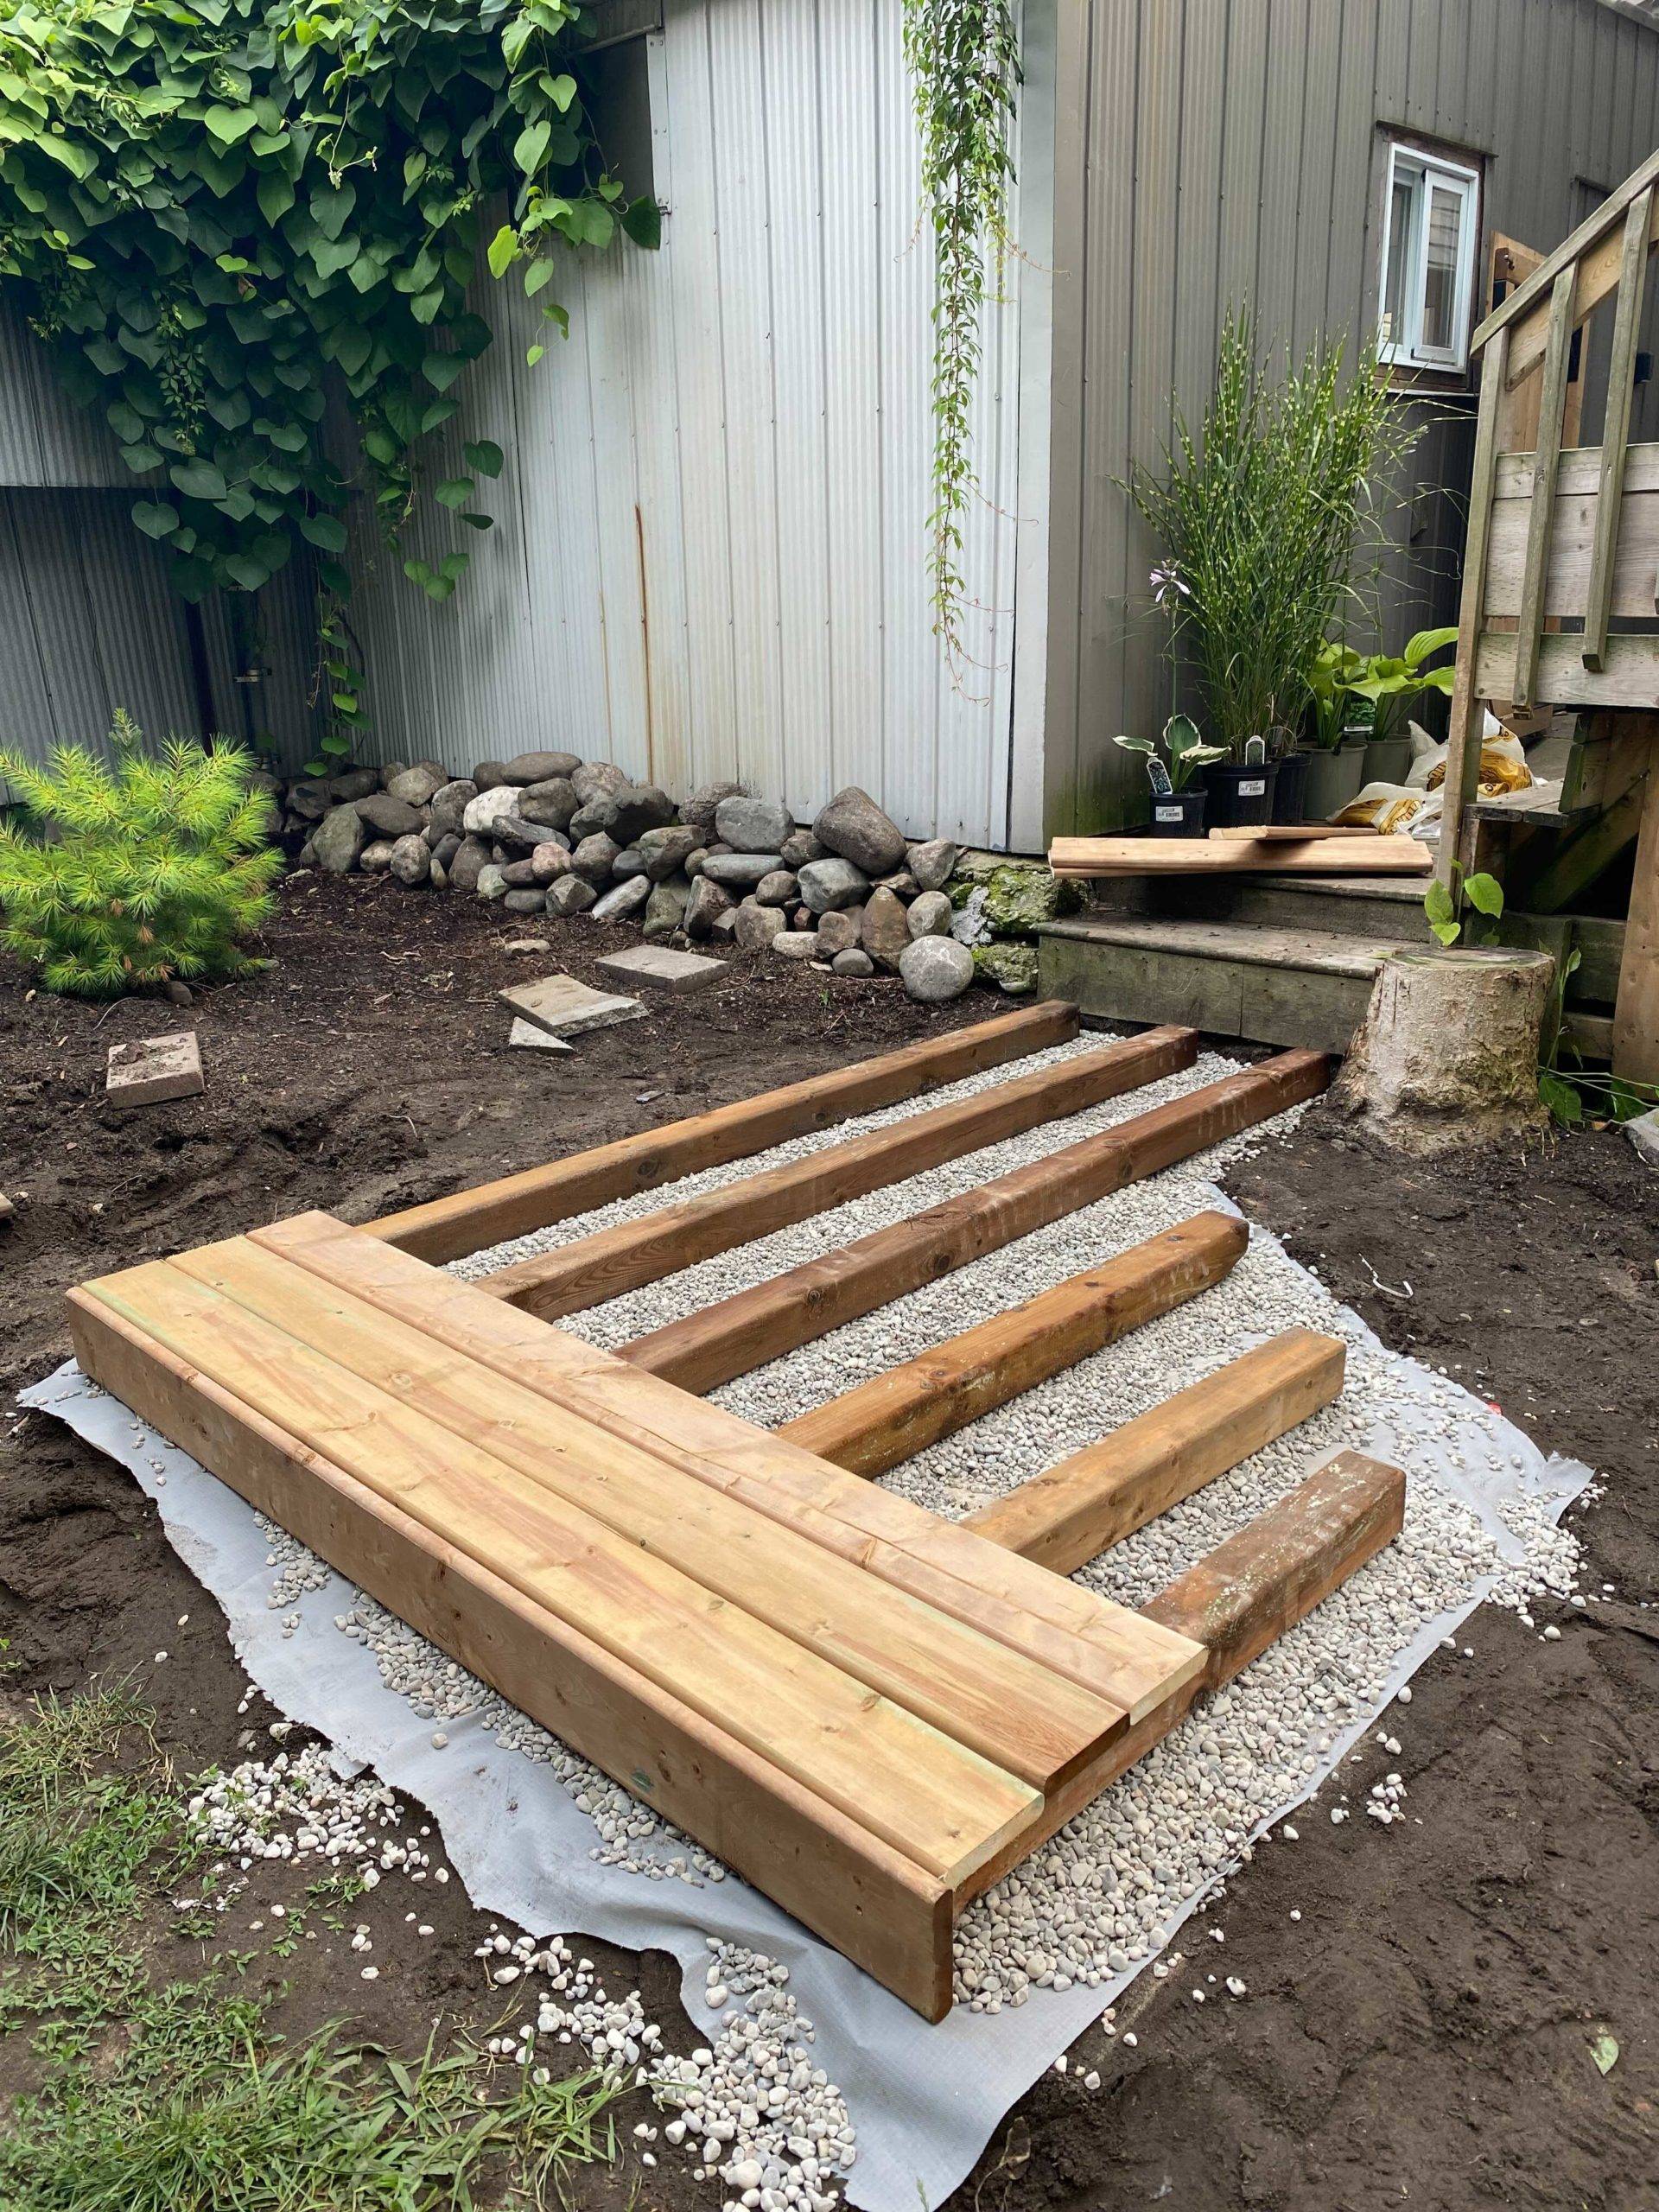
As part of the planning process, we laid out the 4x4s to understand the shape the boardwalk would be.
Mapping out the boardwalk shape with 4x4s. Photo by: Mike W
Step Three:
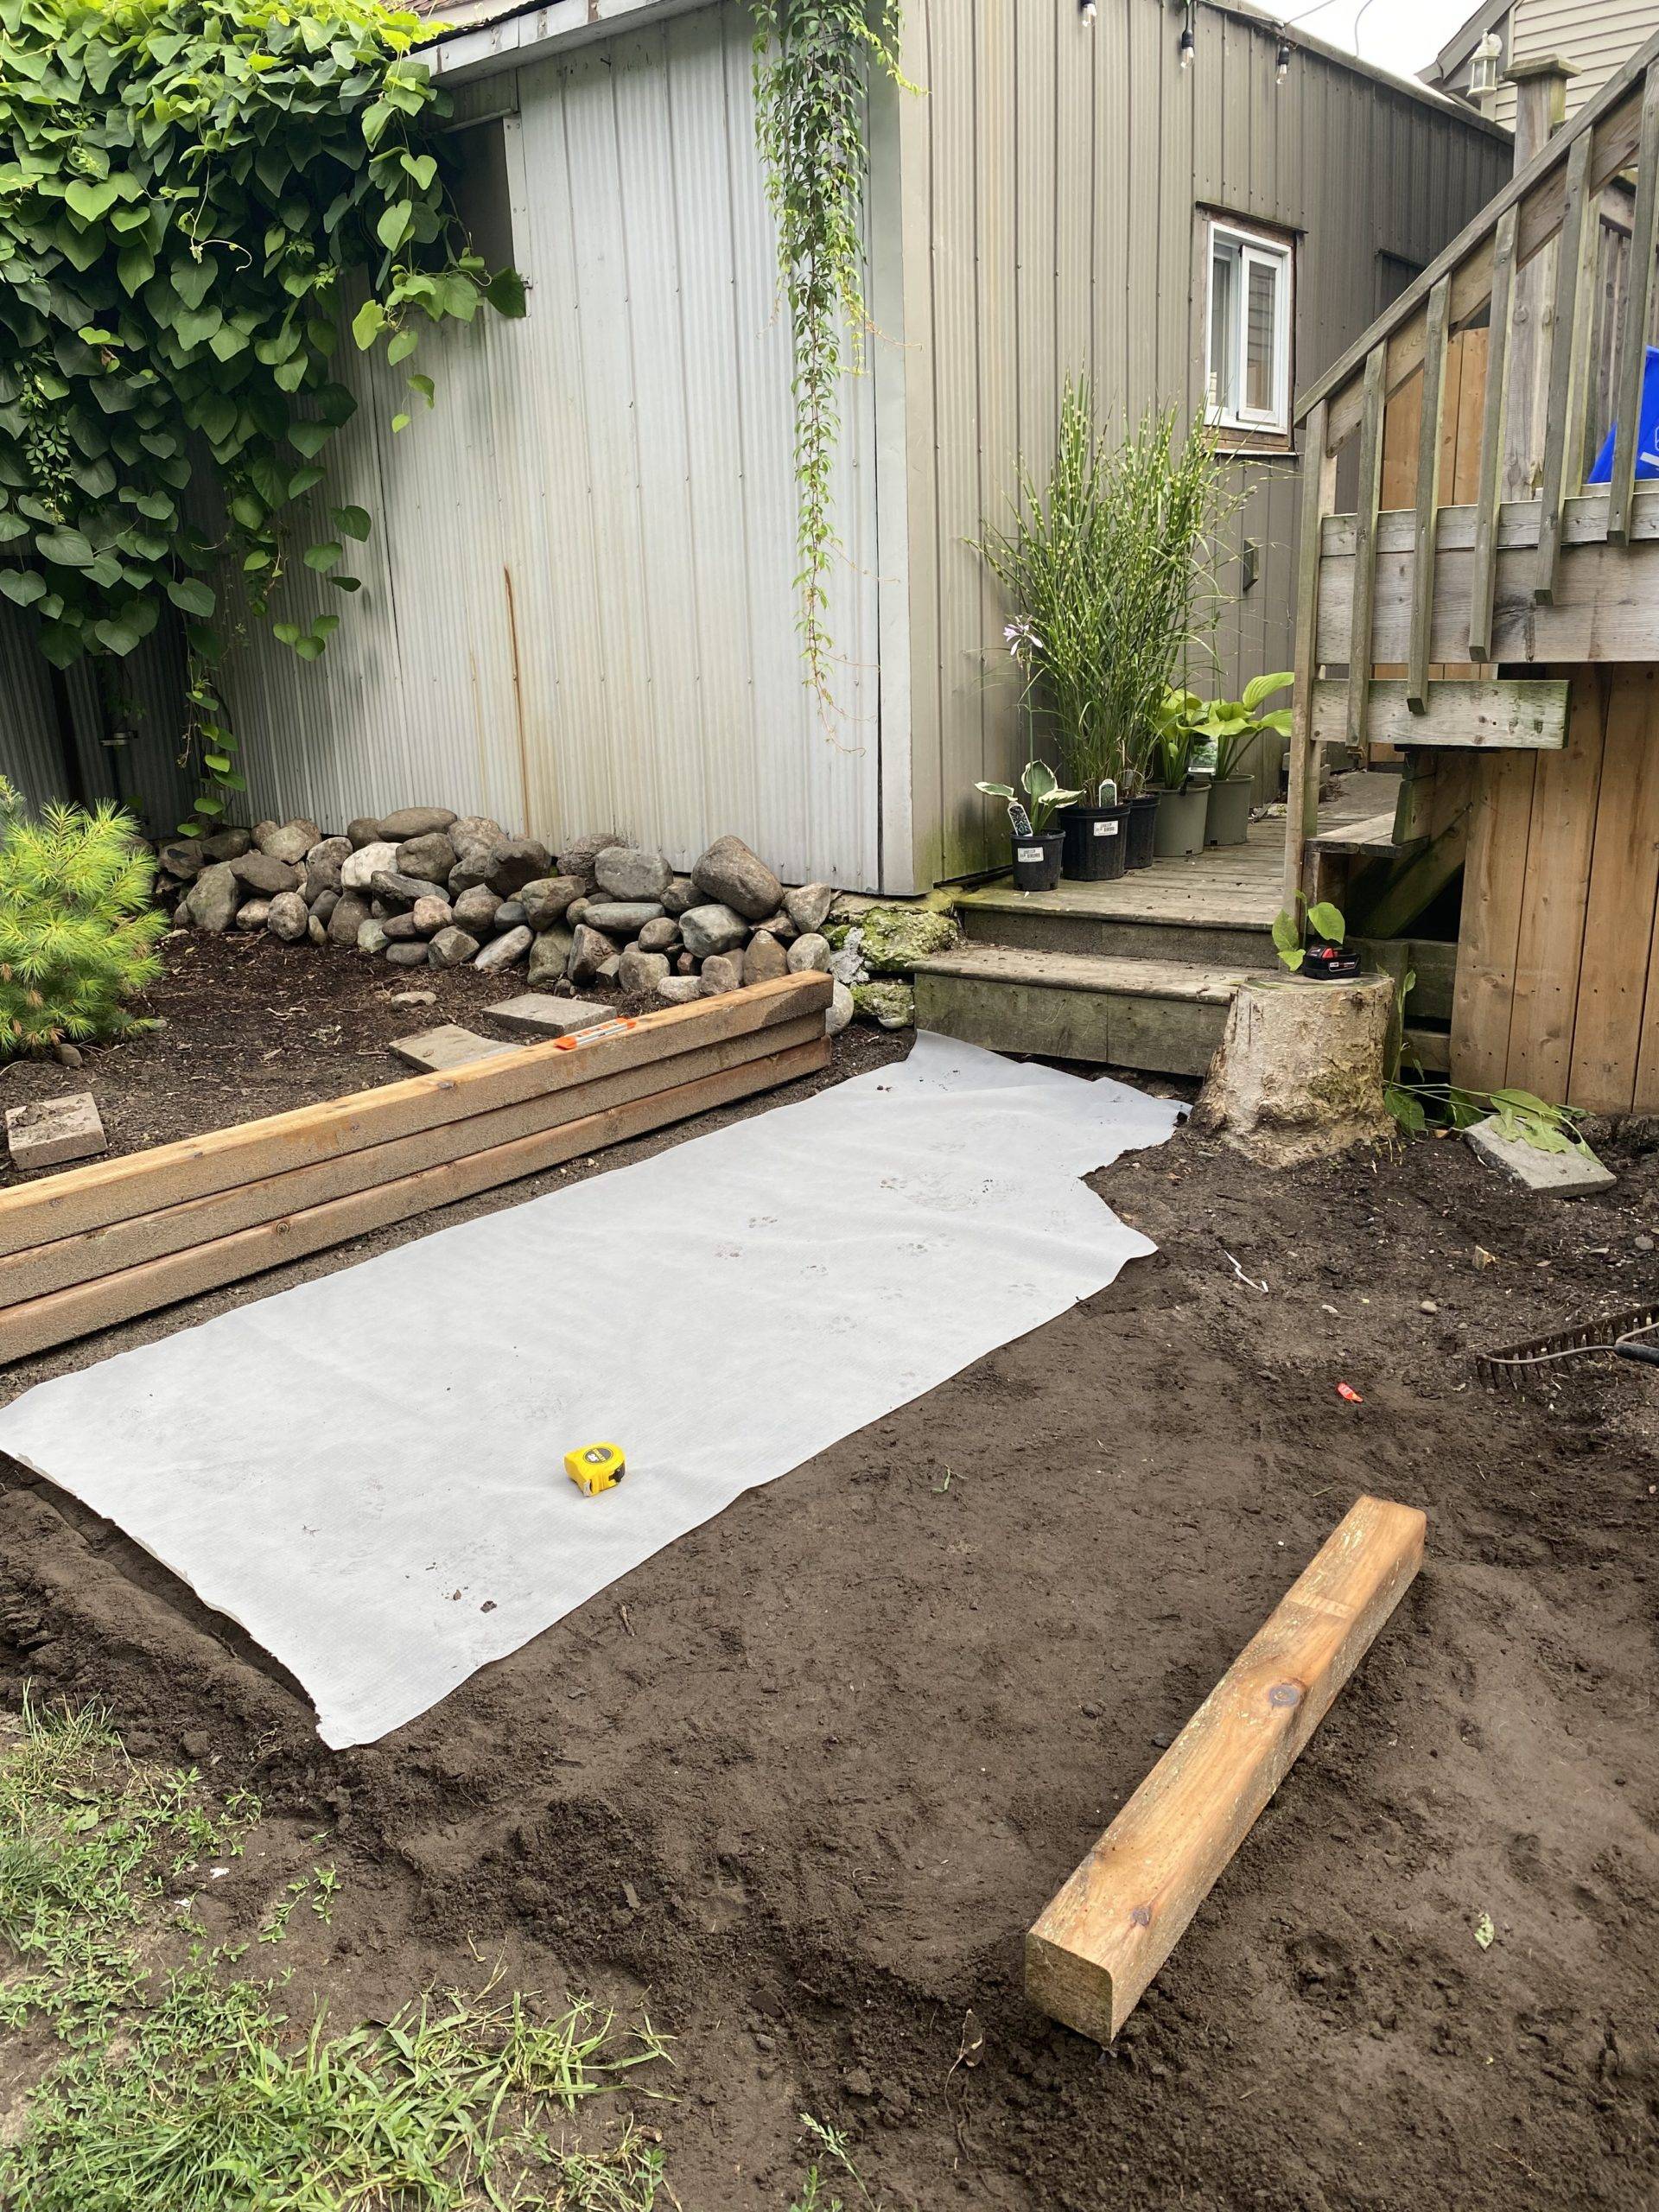
Once the shape was decided, I measured and cut the landscape fabric to fit the area.
Landscape fabric was cut to fit underneath the boardwalk. Photo by: Mike W
Step Four:
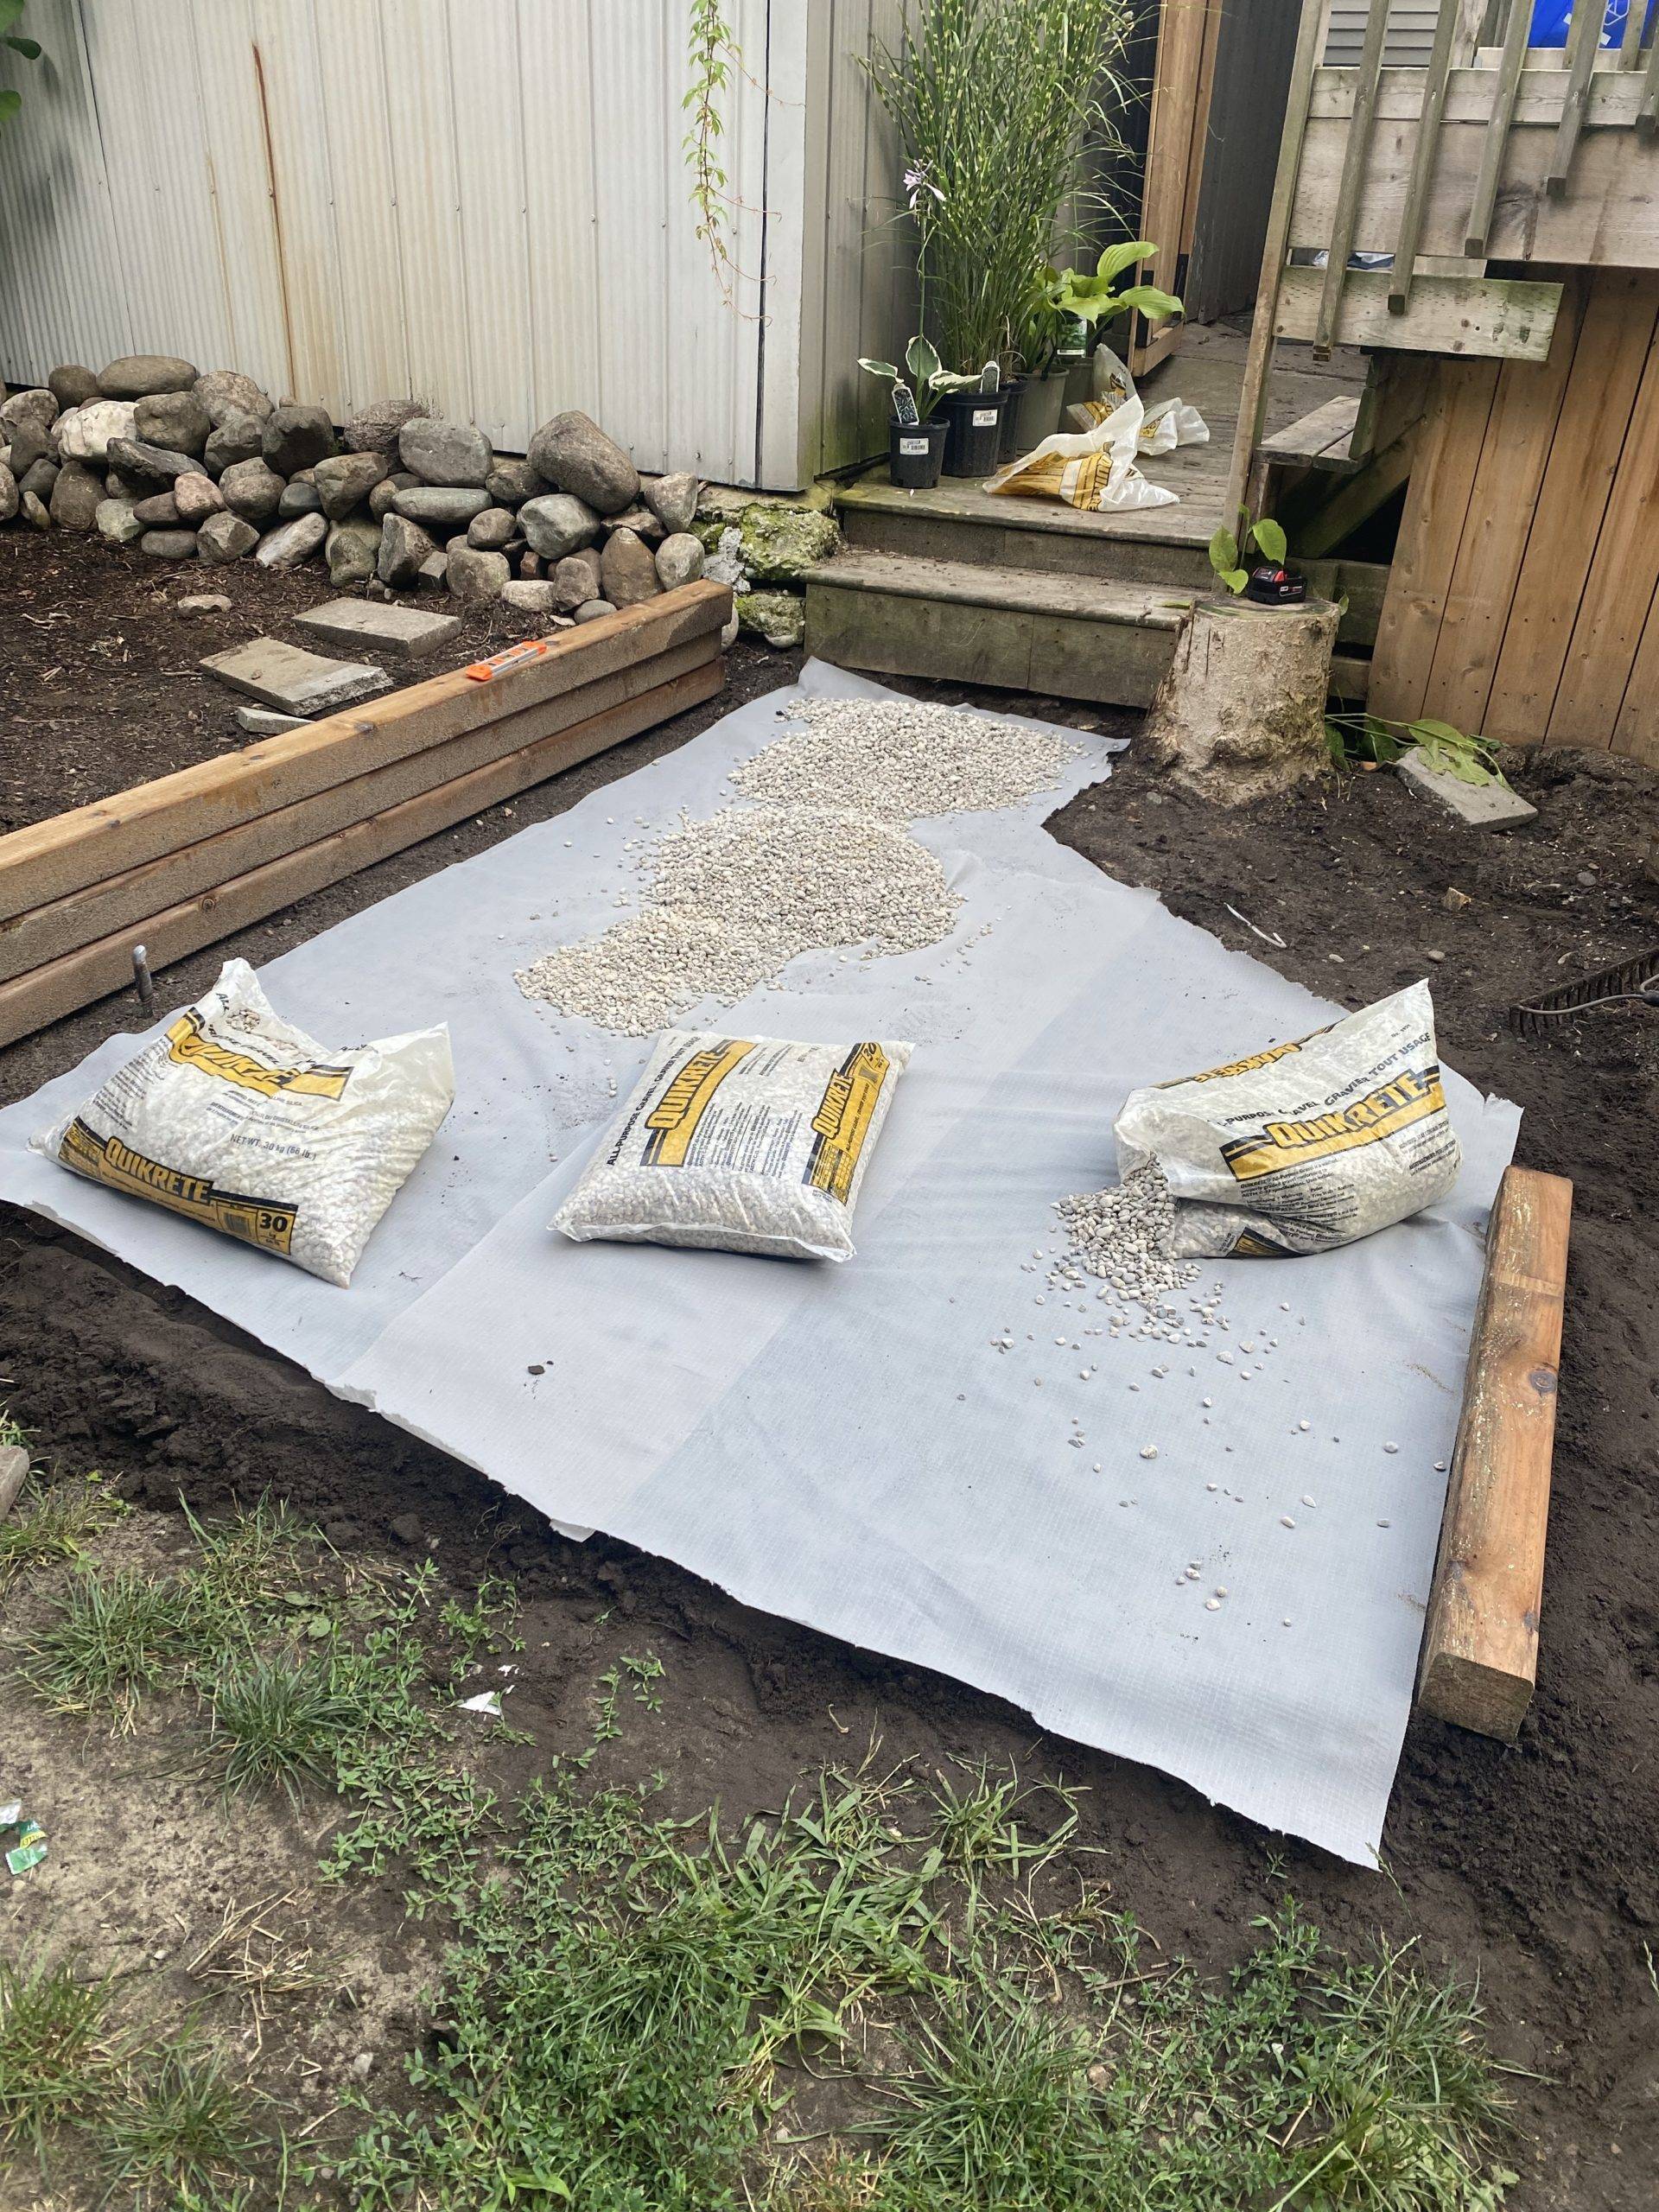
The landscape fabric was then covered with pea gravel. We did this so the 4x4s could sit right on top but still have drainage, preventing them from rotting quickly.
Pea gravel topped the landscape fabric to provide drainage. Photo by: Mike W
Step Five:
After the pea gravel, I laid the 4x4s back down. During this step, we also leveled everything out again to make sure the finished boardwalk would be flat.
Step Six:
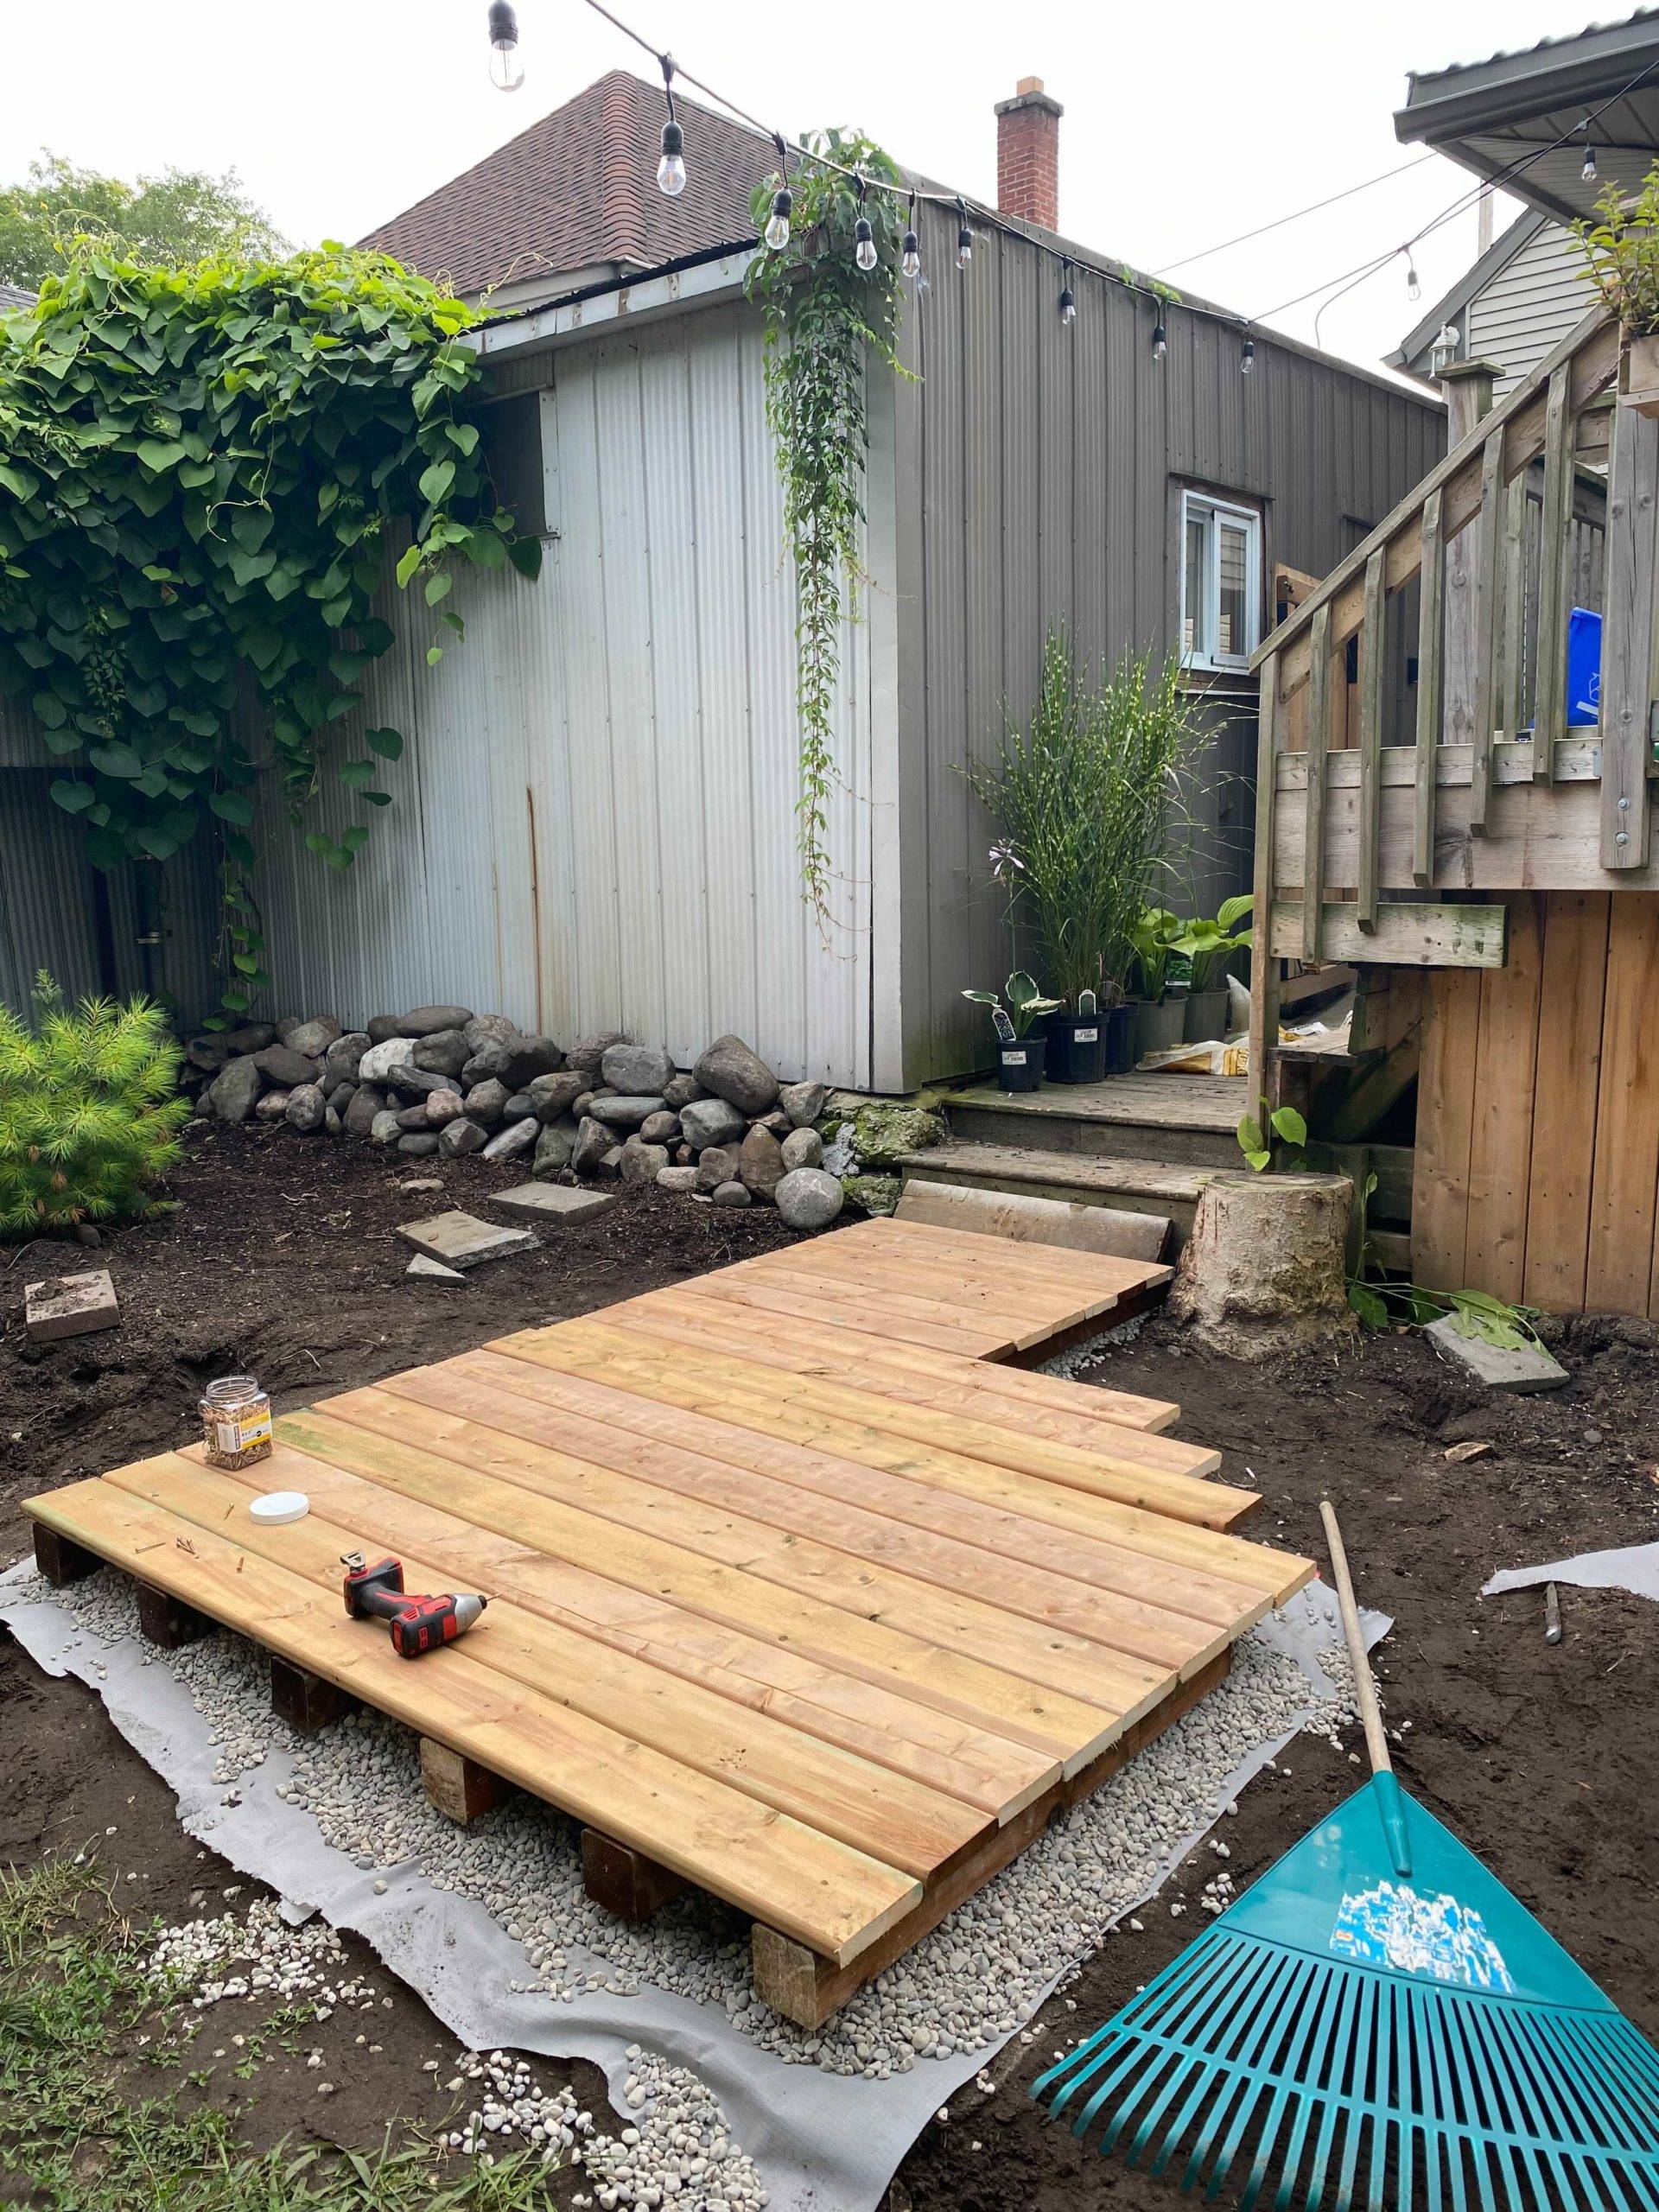
We attached one of the deck boards to the foot of the boardwalk, then started adding deck boards (5/4 x 6 x 16). In between each, we used a smaller board to level and used a nail to place between each board so there was drainage space.
1×1 deck boards make up the surface of the boardwalk. Photo by: Mike W
Step Seven:
We secured the boards with wood screws using an impact driver. For each time a deck board crossed over a 4×4, we used two wood screws.
Step Eight:
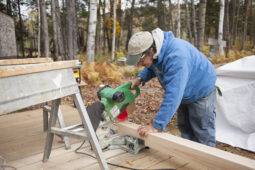
With all the boards placed and secured, I used a circular saw to trim the edge, to create a smooth line.
All the boards were secured with wood screws. Photo by: Mike W
Step Nine:
Once the boardwalk is complete, all that was left to do was tidy up. We trimmed up any excess landscape fabric that was visible around the area, and removed loose pea gravel.
Step Ten:
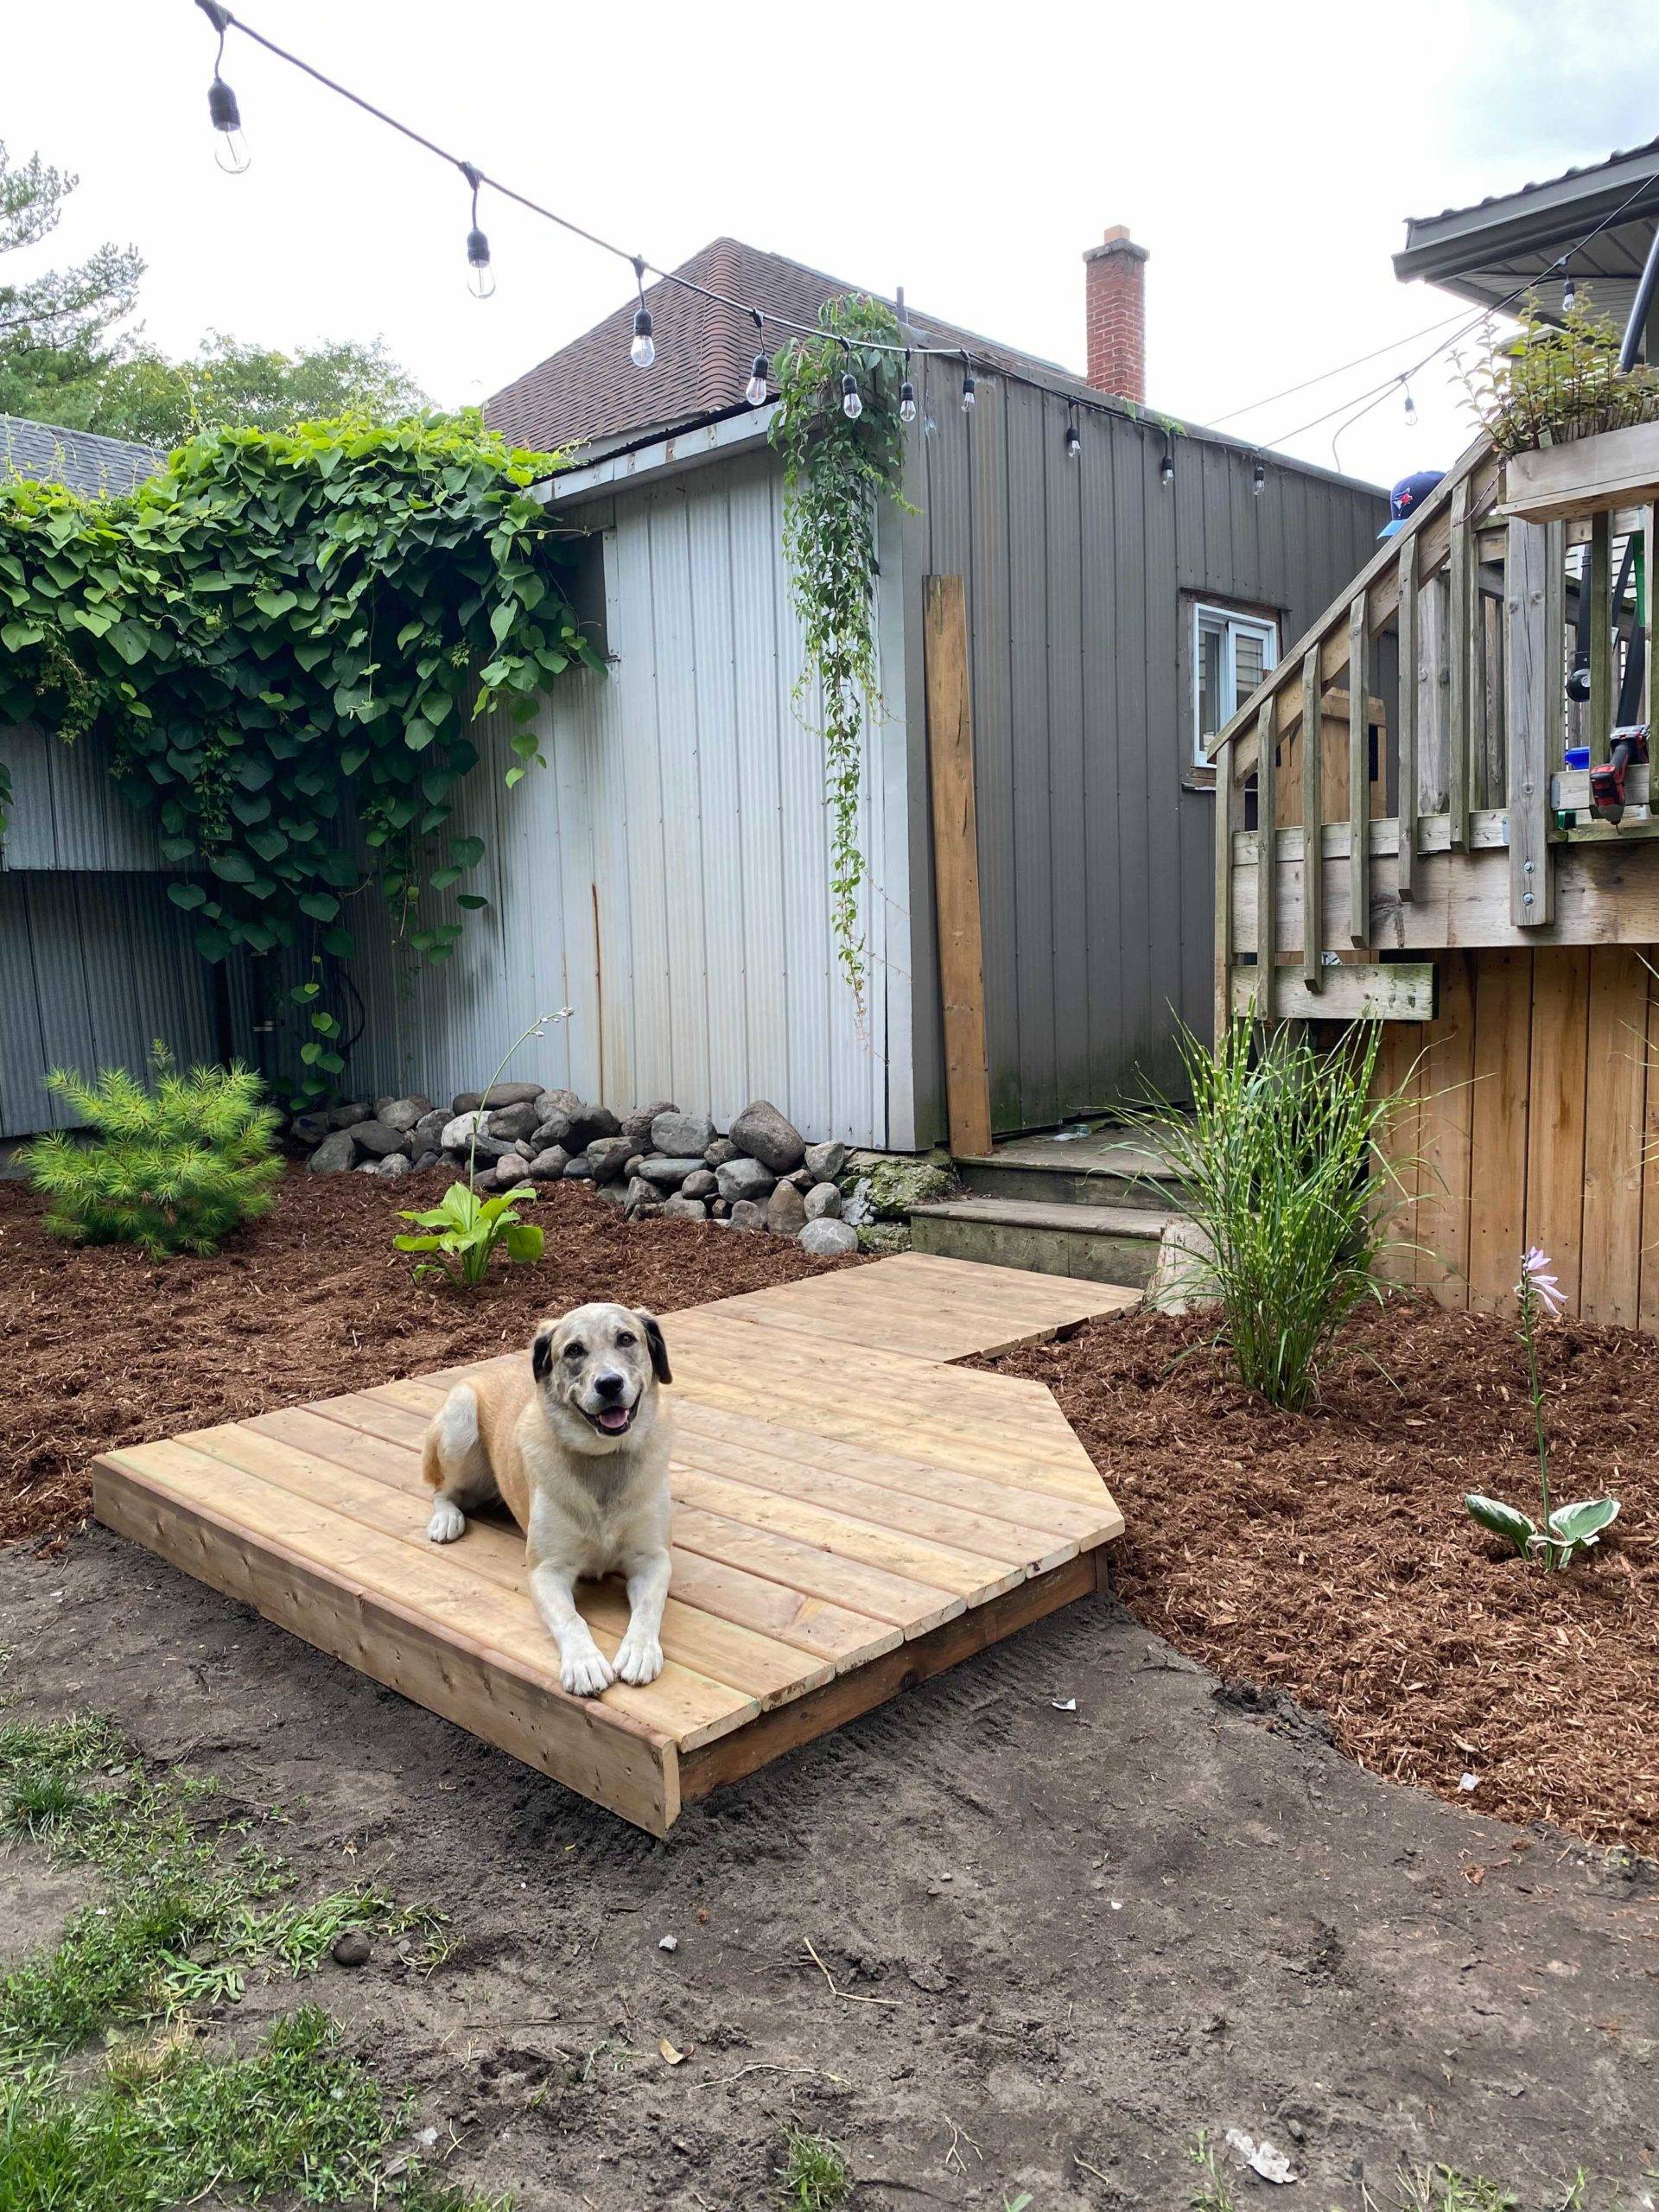
The final step was to add plants to the surrounding garden beds, and of course, a cute dog.
King Theo enjoying his new garden boardwalk. Photo by: Mike W
