Tips and Techniques for Mastering DIY Electrolysis Rust Removal
In the world of DIY and restoration, finding effective methods to bring old tools and metal objects back to life is a constant quest. Among the various techniques available, electrolysis rust removal stands out as a particularly efficient and environmentally friendly approach. This method not only clears away rust but does so without the harsh chemicals often found in traditional rust removers. Let’s dive into how you can harness the power of electrolysis to rejuvenate your metal treasures.
The Science Behind Electrolysis Rust Removal – How It Works and Why It’s Effective
Electrolysis rust removal is a process that uses electrical current to convert rust (iron oxide) back into pure iron, which adheres back to the metal object being treated. This fascinating chemical reaction involves setting up an electrolytic cell where the rusty metal acts as the anode and a sacrificial electrode serves as the cathode.

When a mild solution of sodium carbonate (washing soda) in water is used as an electrolyte, and a battery charger introduces a low-voltage current, the rust is transformed. The process not only removes rust effectively but also prevents further corrosion by passivating the metal, making it more resistant to future oxidation.
Setting Up Your Electrolysis System at Home – A Step-by-Step Guide
To get started with electrolysis rust removal at home, you’ll need a few basic supplies: a plastic container large enough to hold the rusty item, a sacrificial electrode (like an old piece of steel), washing soda, water, and a battery charger.
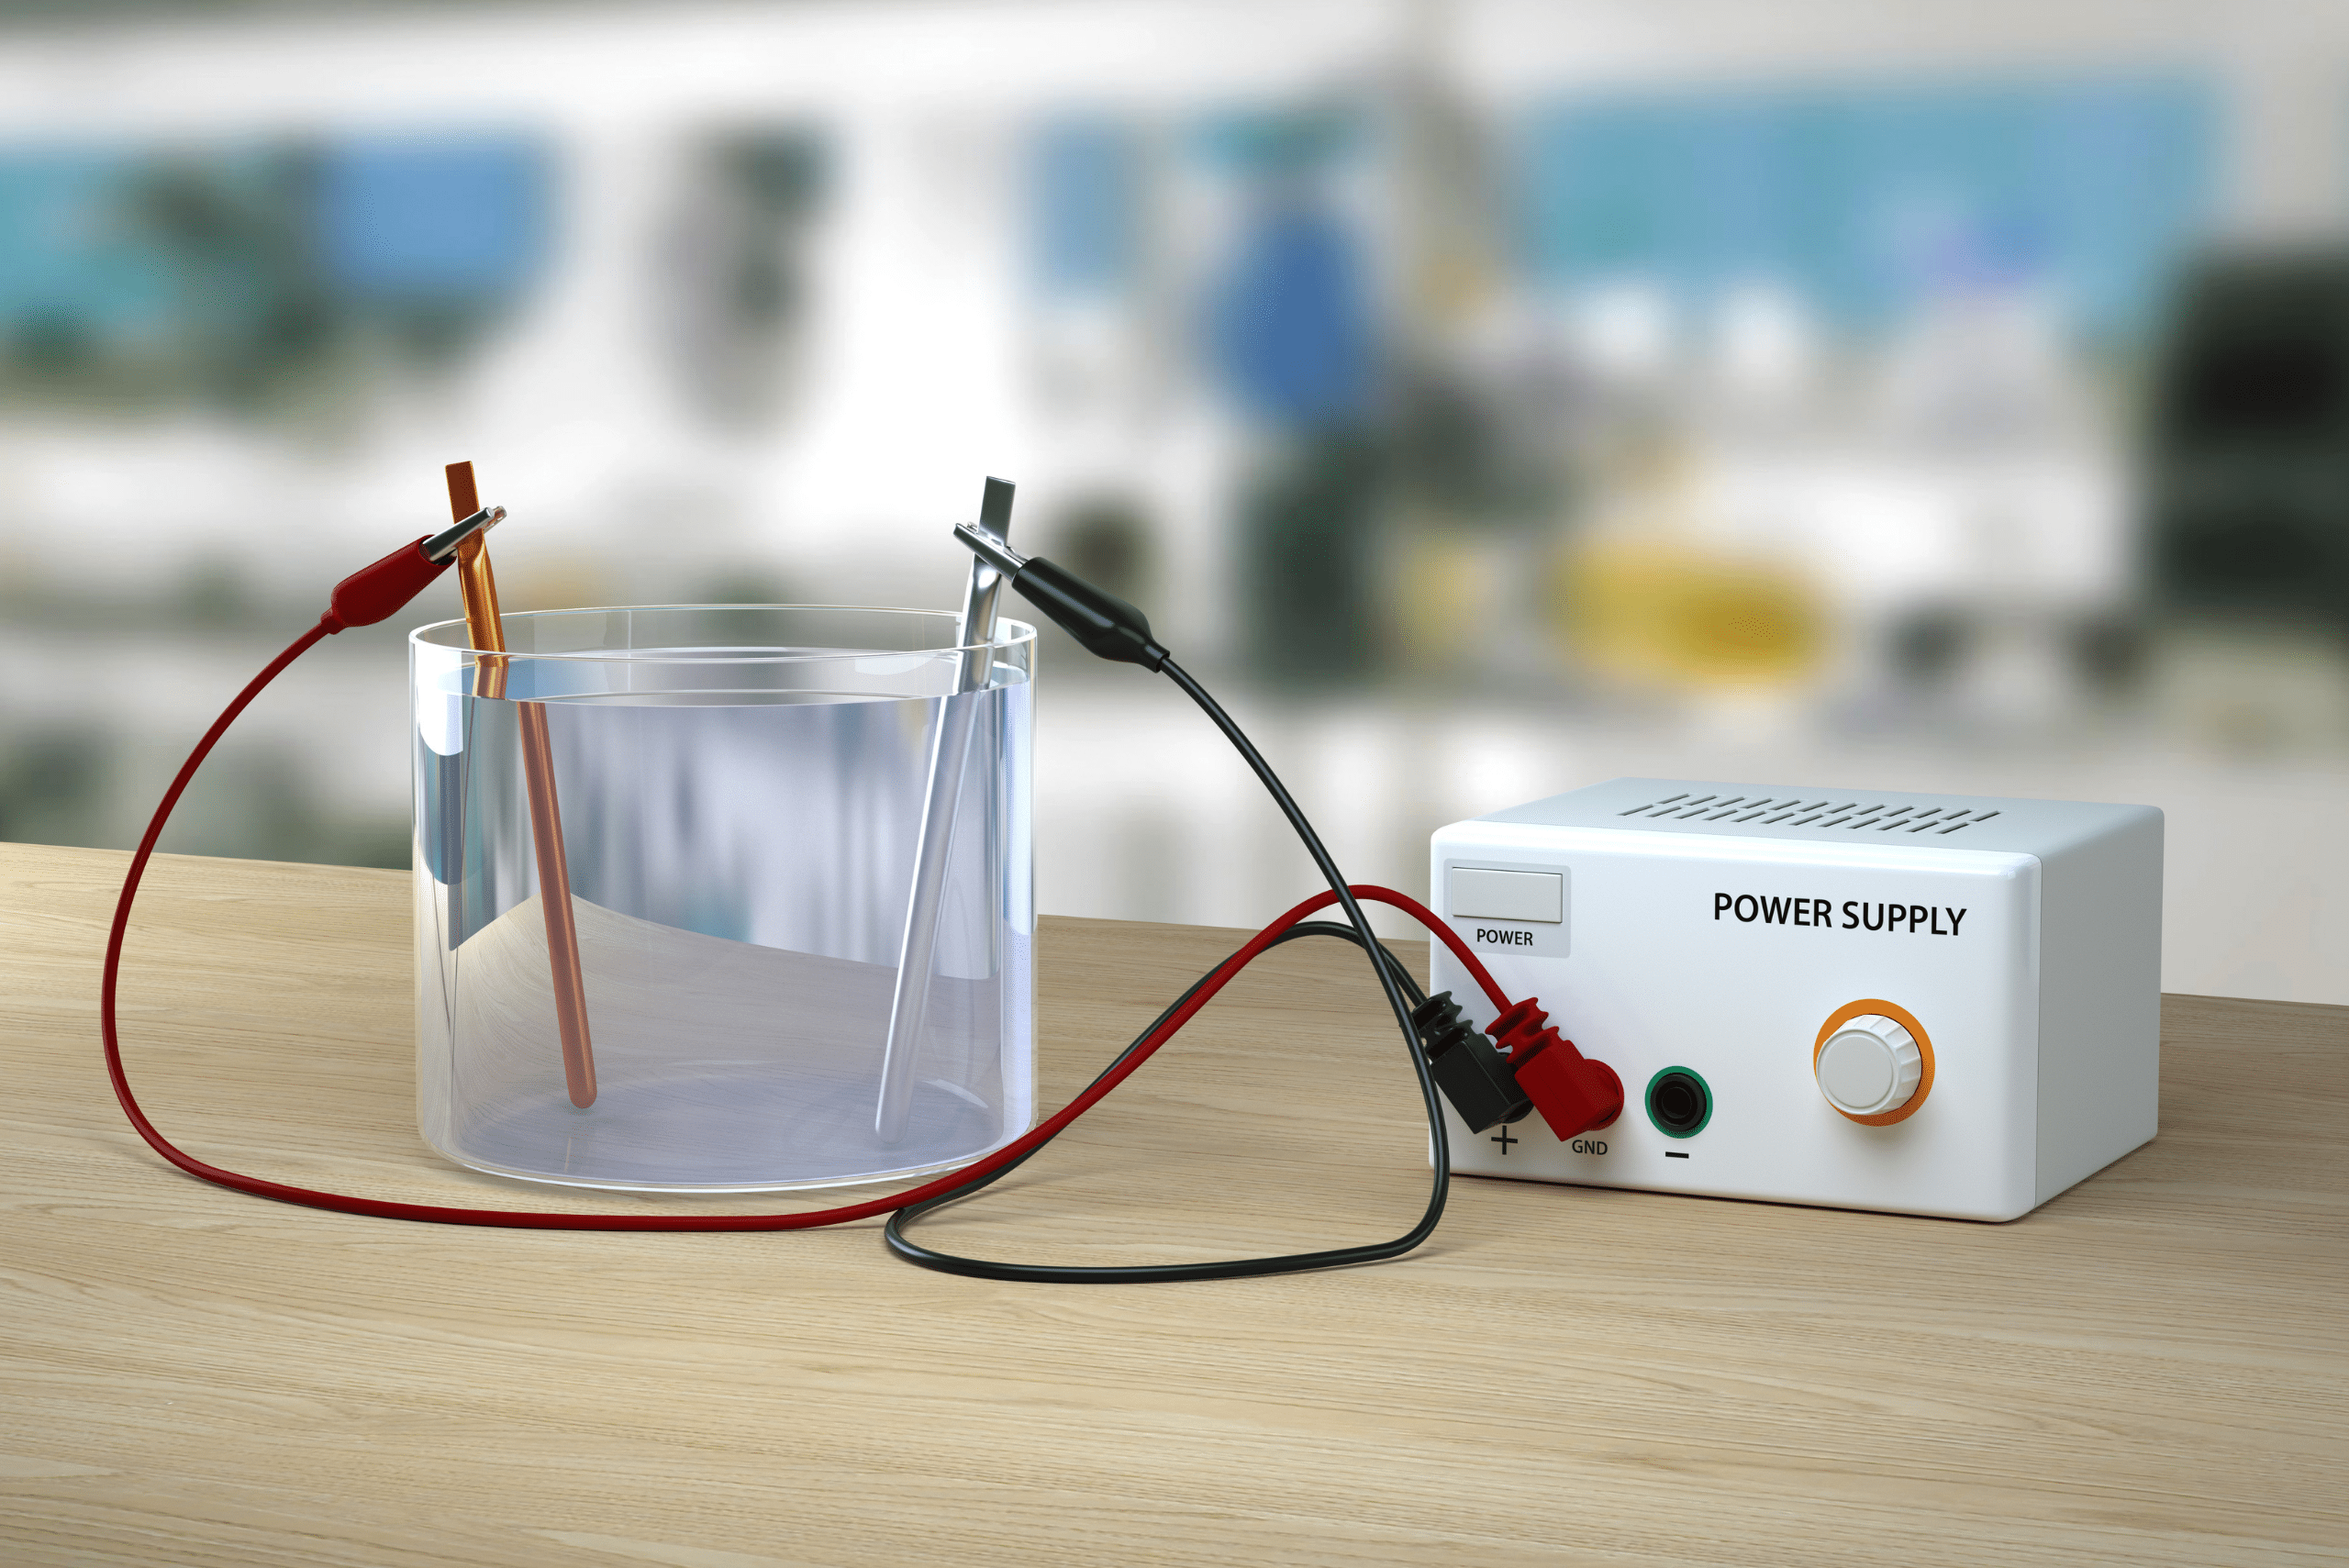
- Begin by mixing a tablespoon of washing soda per gallon of water in the container.
- Attach the negative lead of the battery charger to the rusty item and the positive lead to the sacrificial electrode.
- Ensure that the metal item and the electrode do not touch, then submerge both in the solution and turn on the charger.
- The process can take a few hours to a full day, depending on the extent of rust.
Safety Measures and Troubleshooting Tips for Effective Rust Removal
While electrolysis is a safer alternative to chemical rust removers, it’s important to take certain precautions. Always work in a well-ventilated area, as the process can produce small amounts of hydrogen gas.
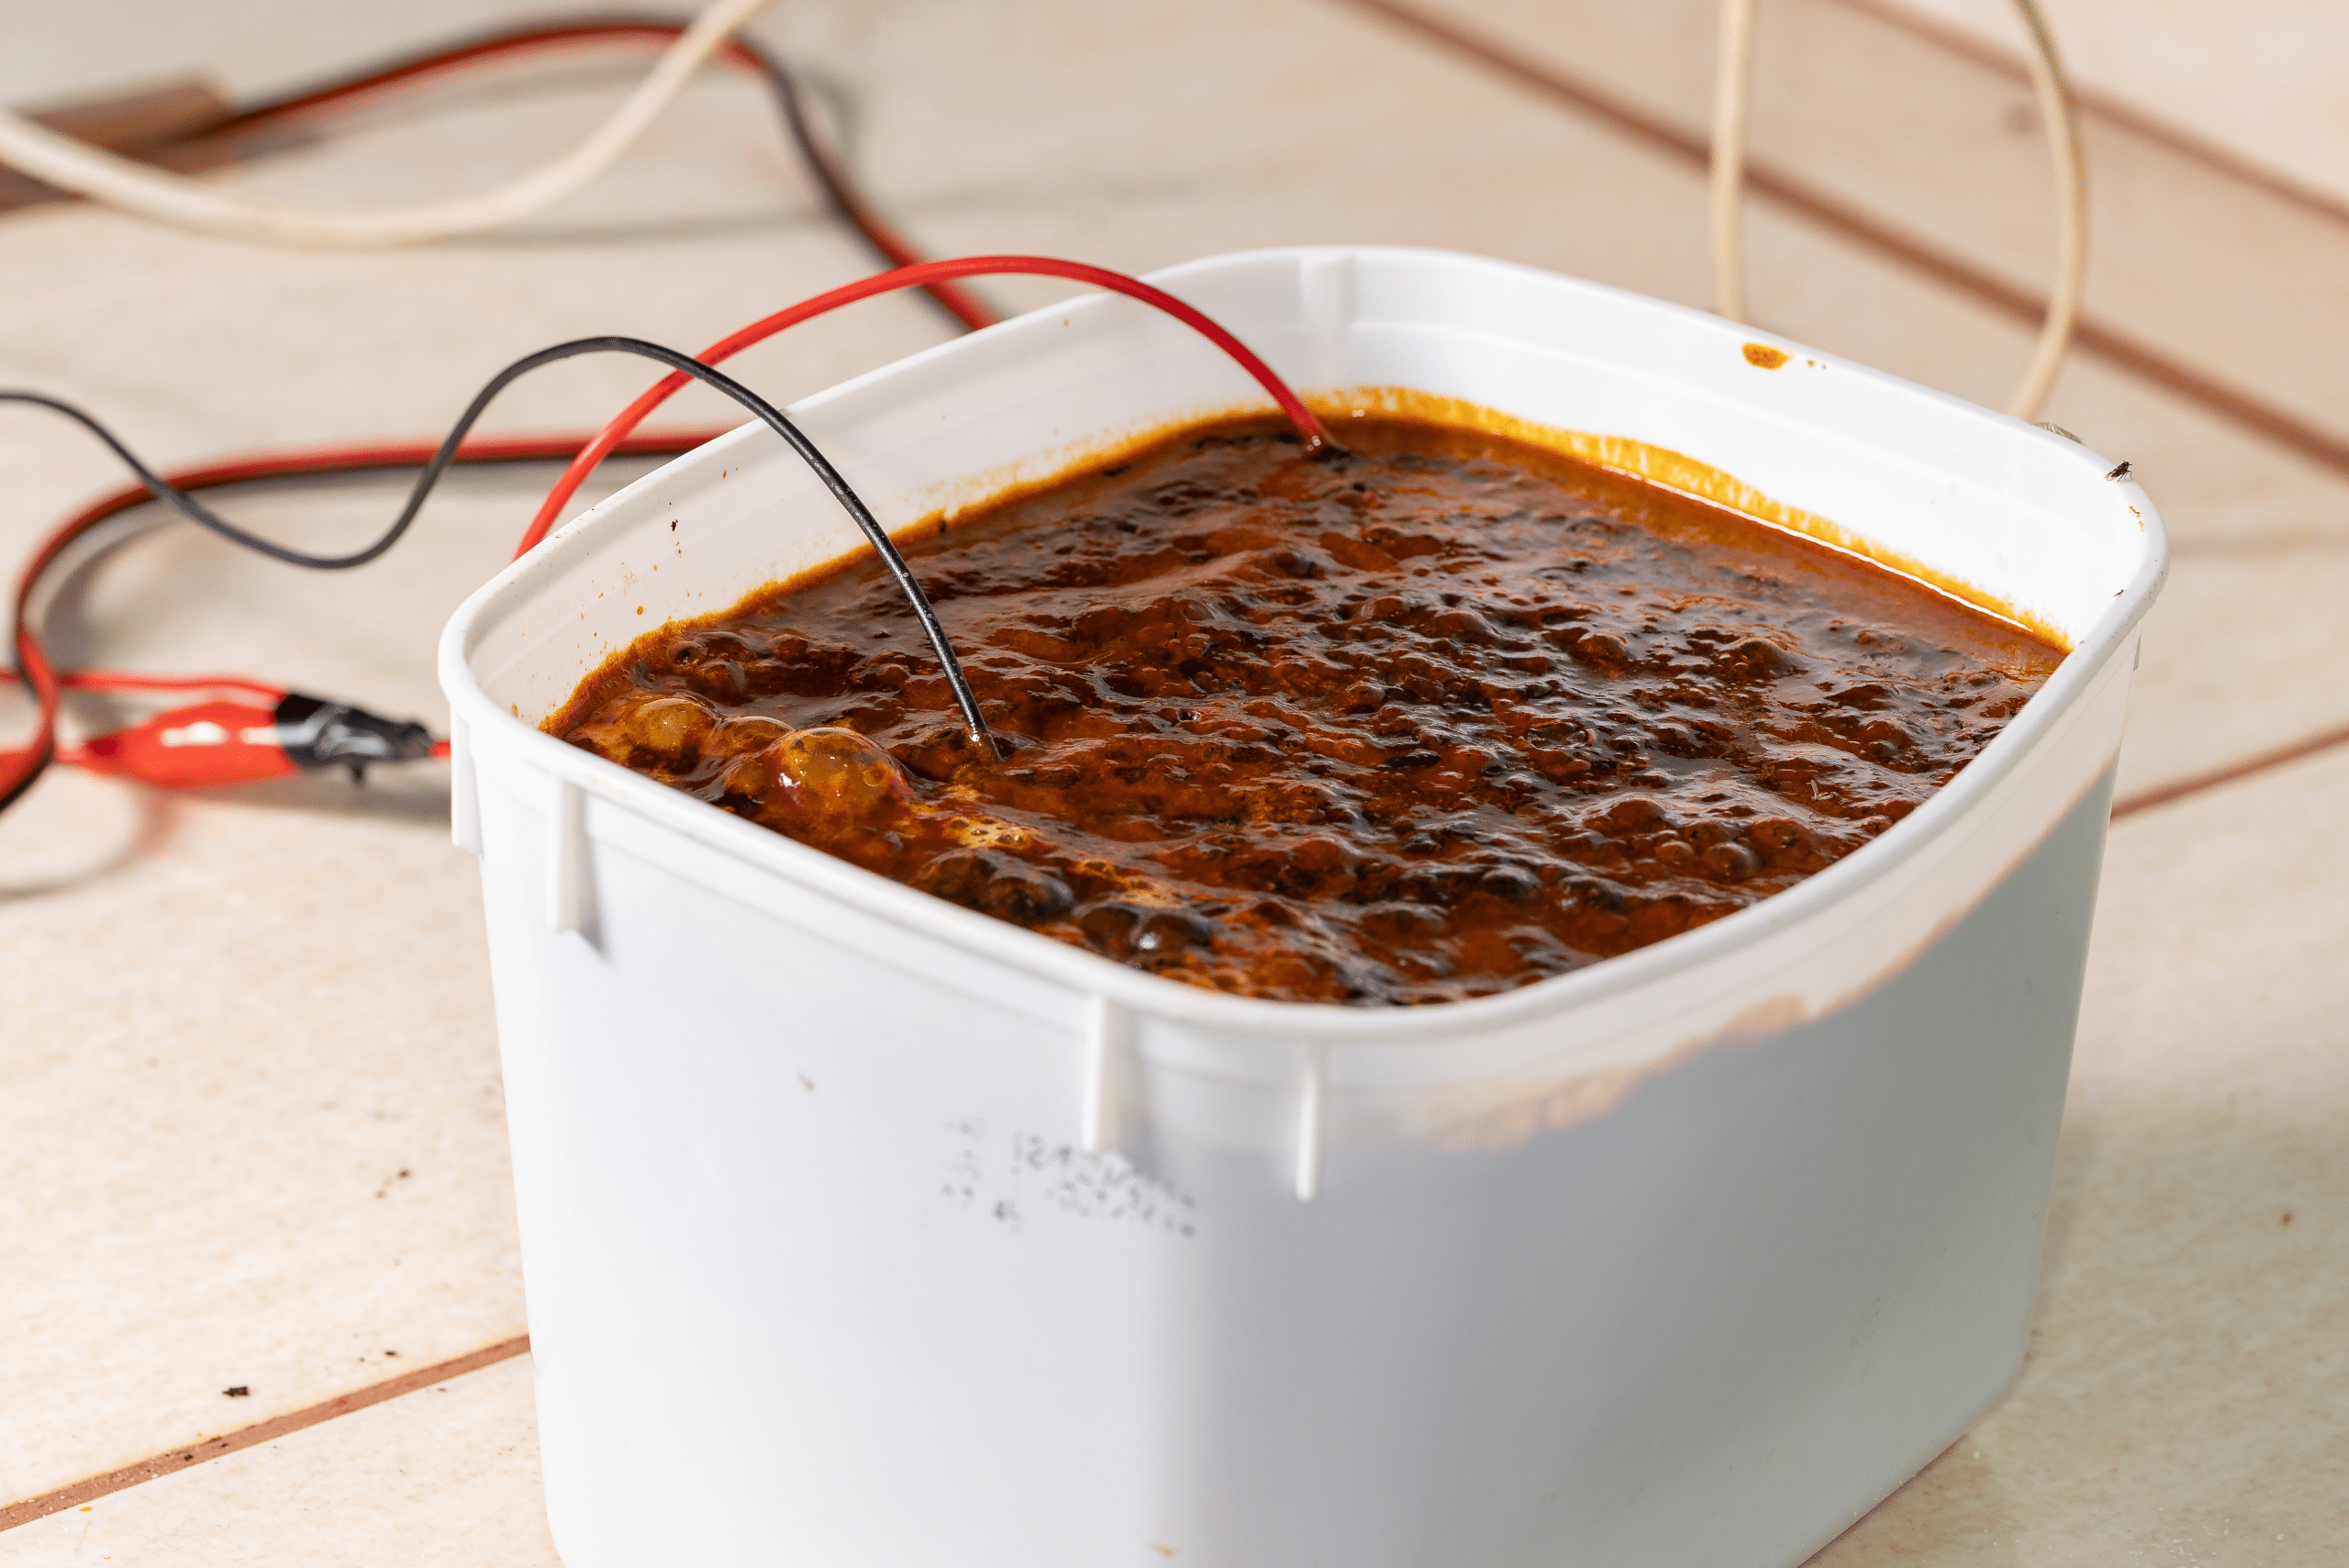
It’s also crucial to ensure that all electrical connections are secure and that the power source is suitable for the task. If you notice that the process is slow or the rust isn’t removing as expected, check to make sure that the connections are correct and that the sacrificial electrode is not overly corroded. Replace it if necessary to maintain the efficiency of the setup.
Creative Projects and Ideas for Restored Items – From Tools to Antiques
Once you’ve removed the rust from your metal items, the possibilities for their use are only limited by your imagination. Restored tools can be returned to service in your workshop, performing as well as they did when they were new.
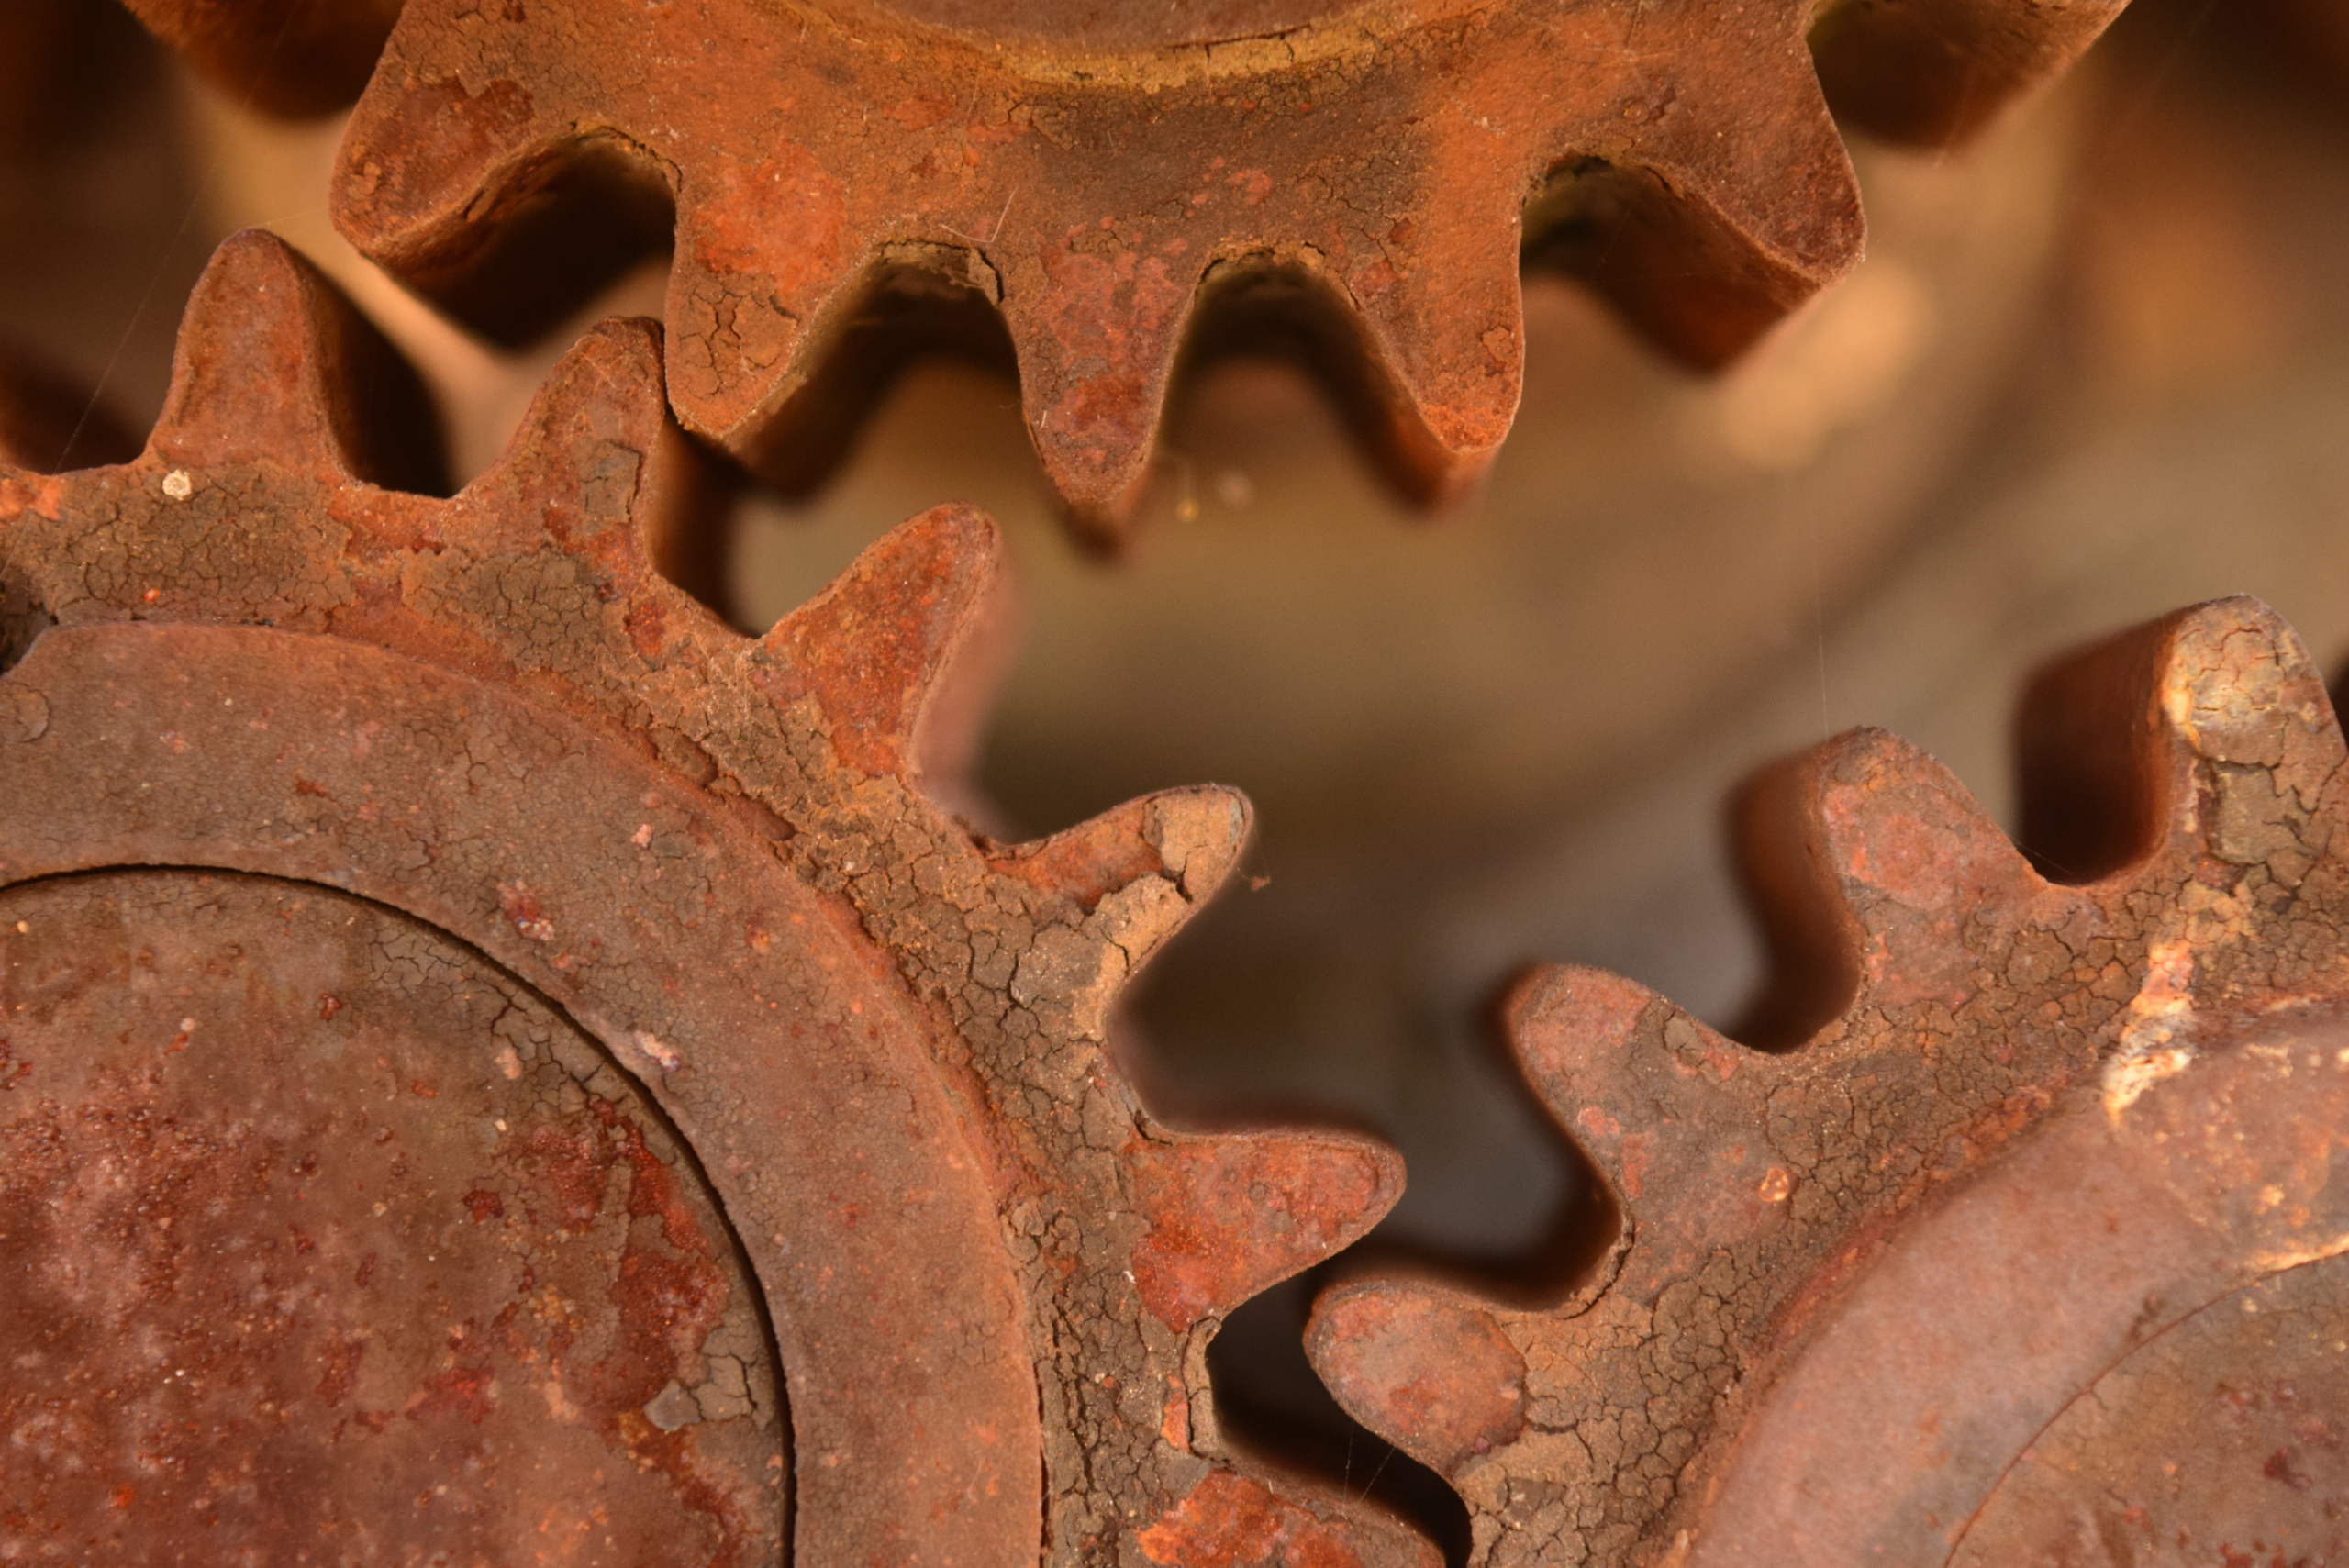
Antique metal items, such as garden tools, car parts, or even old bicycle gears, can be revived and either used for their original purpose or repurposed as unique decorative elements in your home or garden. The satisfaction of bringing a piece of history back to life is a reward in itself.
Related Articles
Electrolysis rust removal is a game-changer for DIY enthusiasts and restoration aficionados. This method is not only effective and economical but also kind to the environment, avoiding the use of toxic chemicals. With a simple setup and some basic precautions, you can tackle rust removal projects that restore the functionality and beauty of metal objects. Whether you’re a seasoned DIYer or a curious beginner, the world of electrolysis rust removal is worth exploring to add longevity and value to your metal finds.
Ready to start your next project? Join our DIY community to receive tool tips, how-to guides, and exclusive creative insights. Subscribe to the ManMadeDIY newsletter now! Click here to unlock a world of hands-on inspiration.

