The DIYer’s Guide to Drywall Lifts and Tricks of the Trade for Easy Installs
Have you ever found yourself struggling to hang drywall, wishing you had an extra set of hands? Enter the drywall lift – a game-changing tool that can transform your home improvement projects. This ingenious device not only saves your back from strain but also allows you to tackle ceiling and wall installations with ease and precision. In this article, we’ll explore expert tips and tricks to help you master the art of using a drywall lift, ensuring smooth and efficient installations every time.
Start your next woodworking adventure with TedsWoodworking! Dive into 16,000+ projects and bring your ideas to life. Build unique furniture and master new skills with Ted’s detailed, step-by-step plans guiding you every step of the way.
1. Choosing the Right Lift: Key Features to Look for in a Quality Drywall Hoist
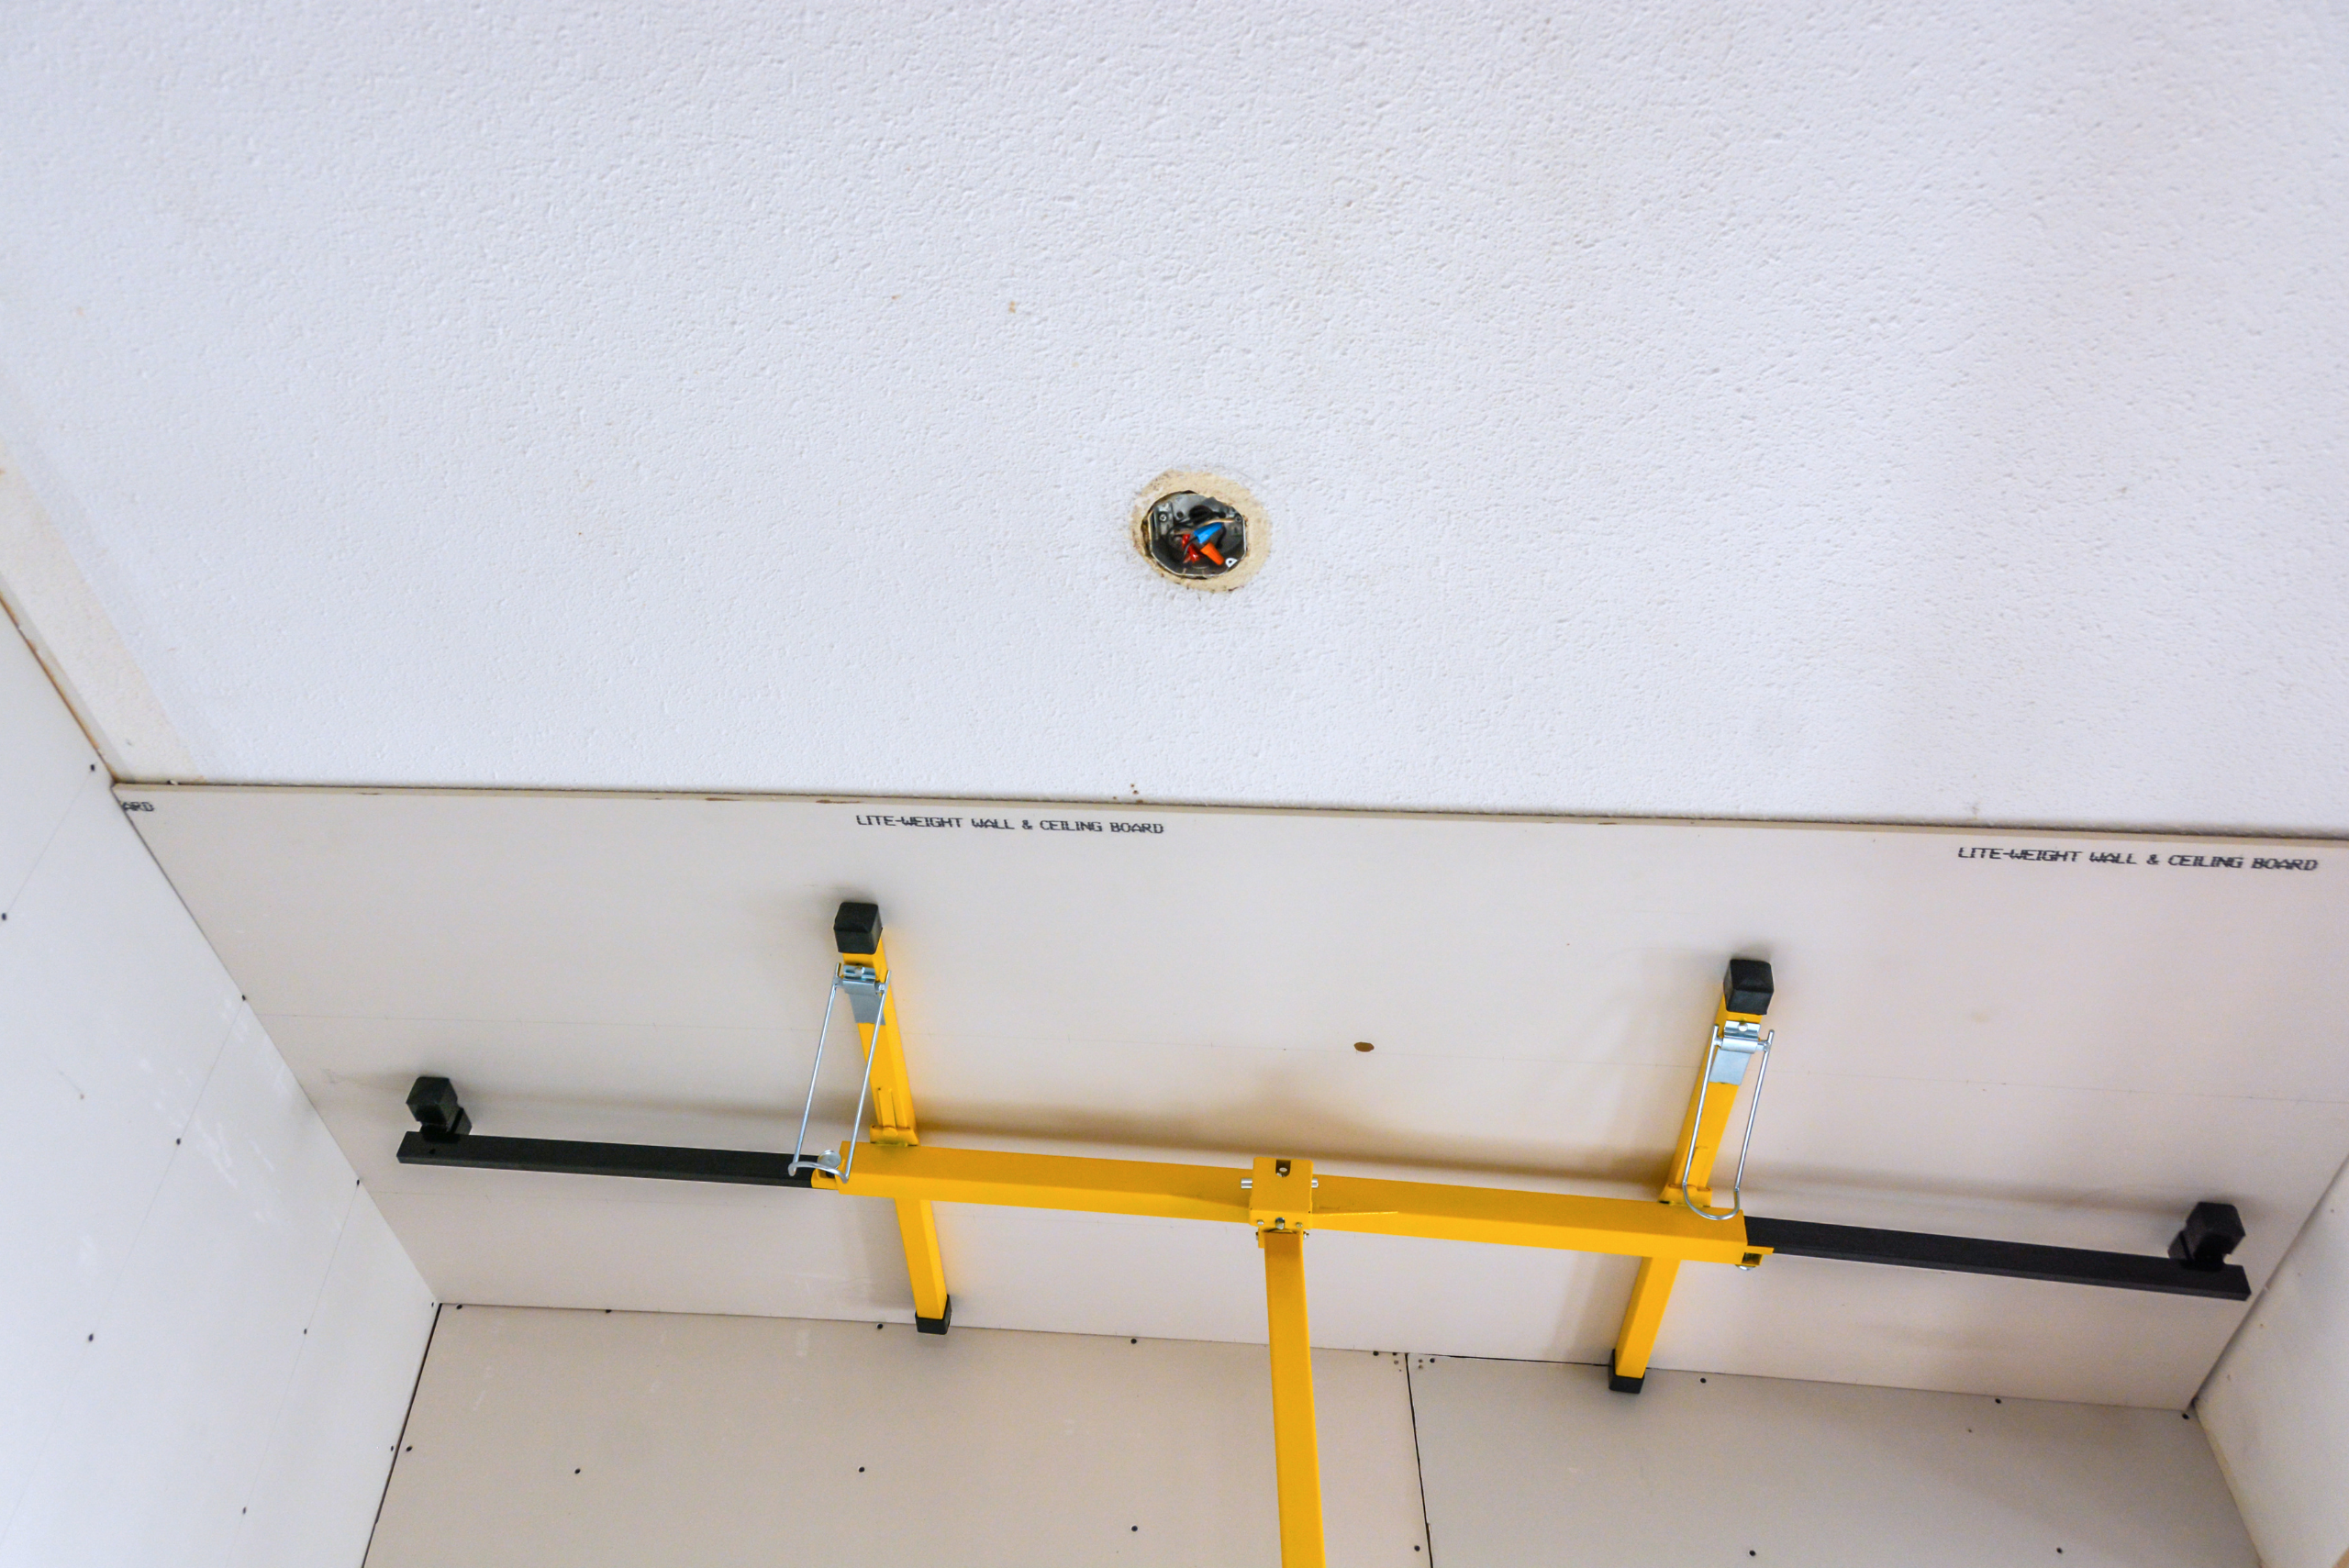
When it comes to selecting a drywall lift, not all models are created equal. Look for a lift with sturdy construction and a weight capacity that exceeds your needs. Opt for a model with smooth-rolling casters for easy maneuverability and a crank mechanism that operates smoothly without jerking. Adjustable support arms are crucial for accommodating different sheet sizes and shapes.
Consider renting a lift for one-off projects or investing in your own if you frequently work with drywall. Many lifts can break down into three main components for easy transport and storage. Before each use, assemble the lift and test its operation to ensure all parts are functioning correctly. This pre-check can save you time and frustration once you’re ready to start hanging drywall.
2. Mastering Ceiling Installations: Techniques for Effortless Overhead Work
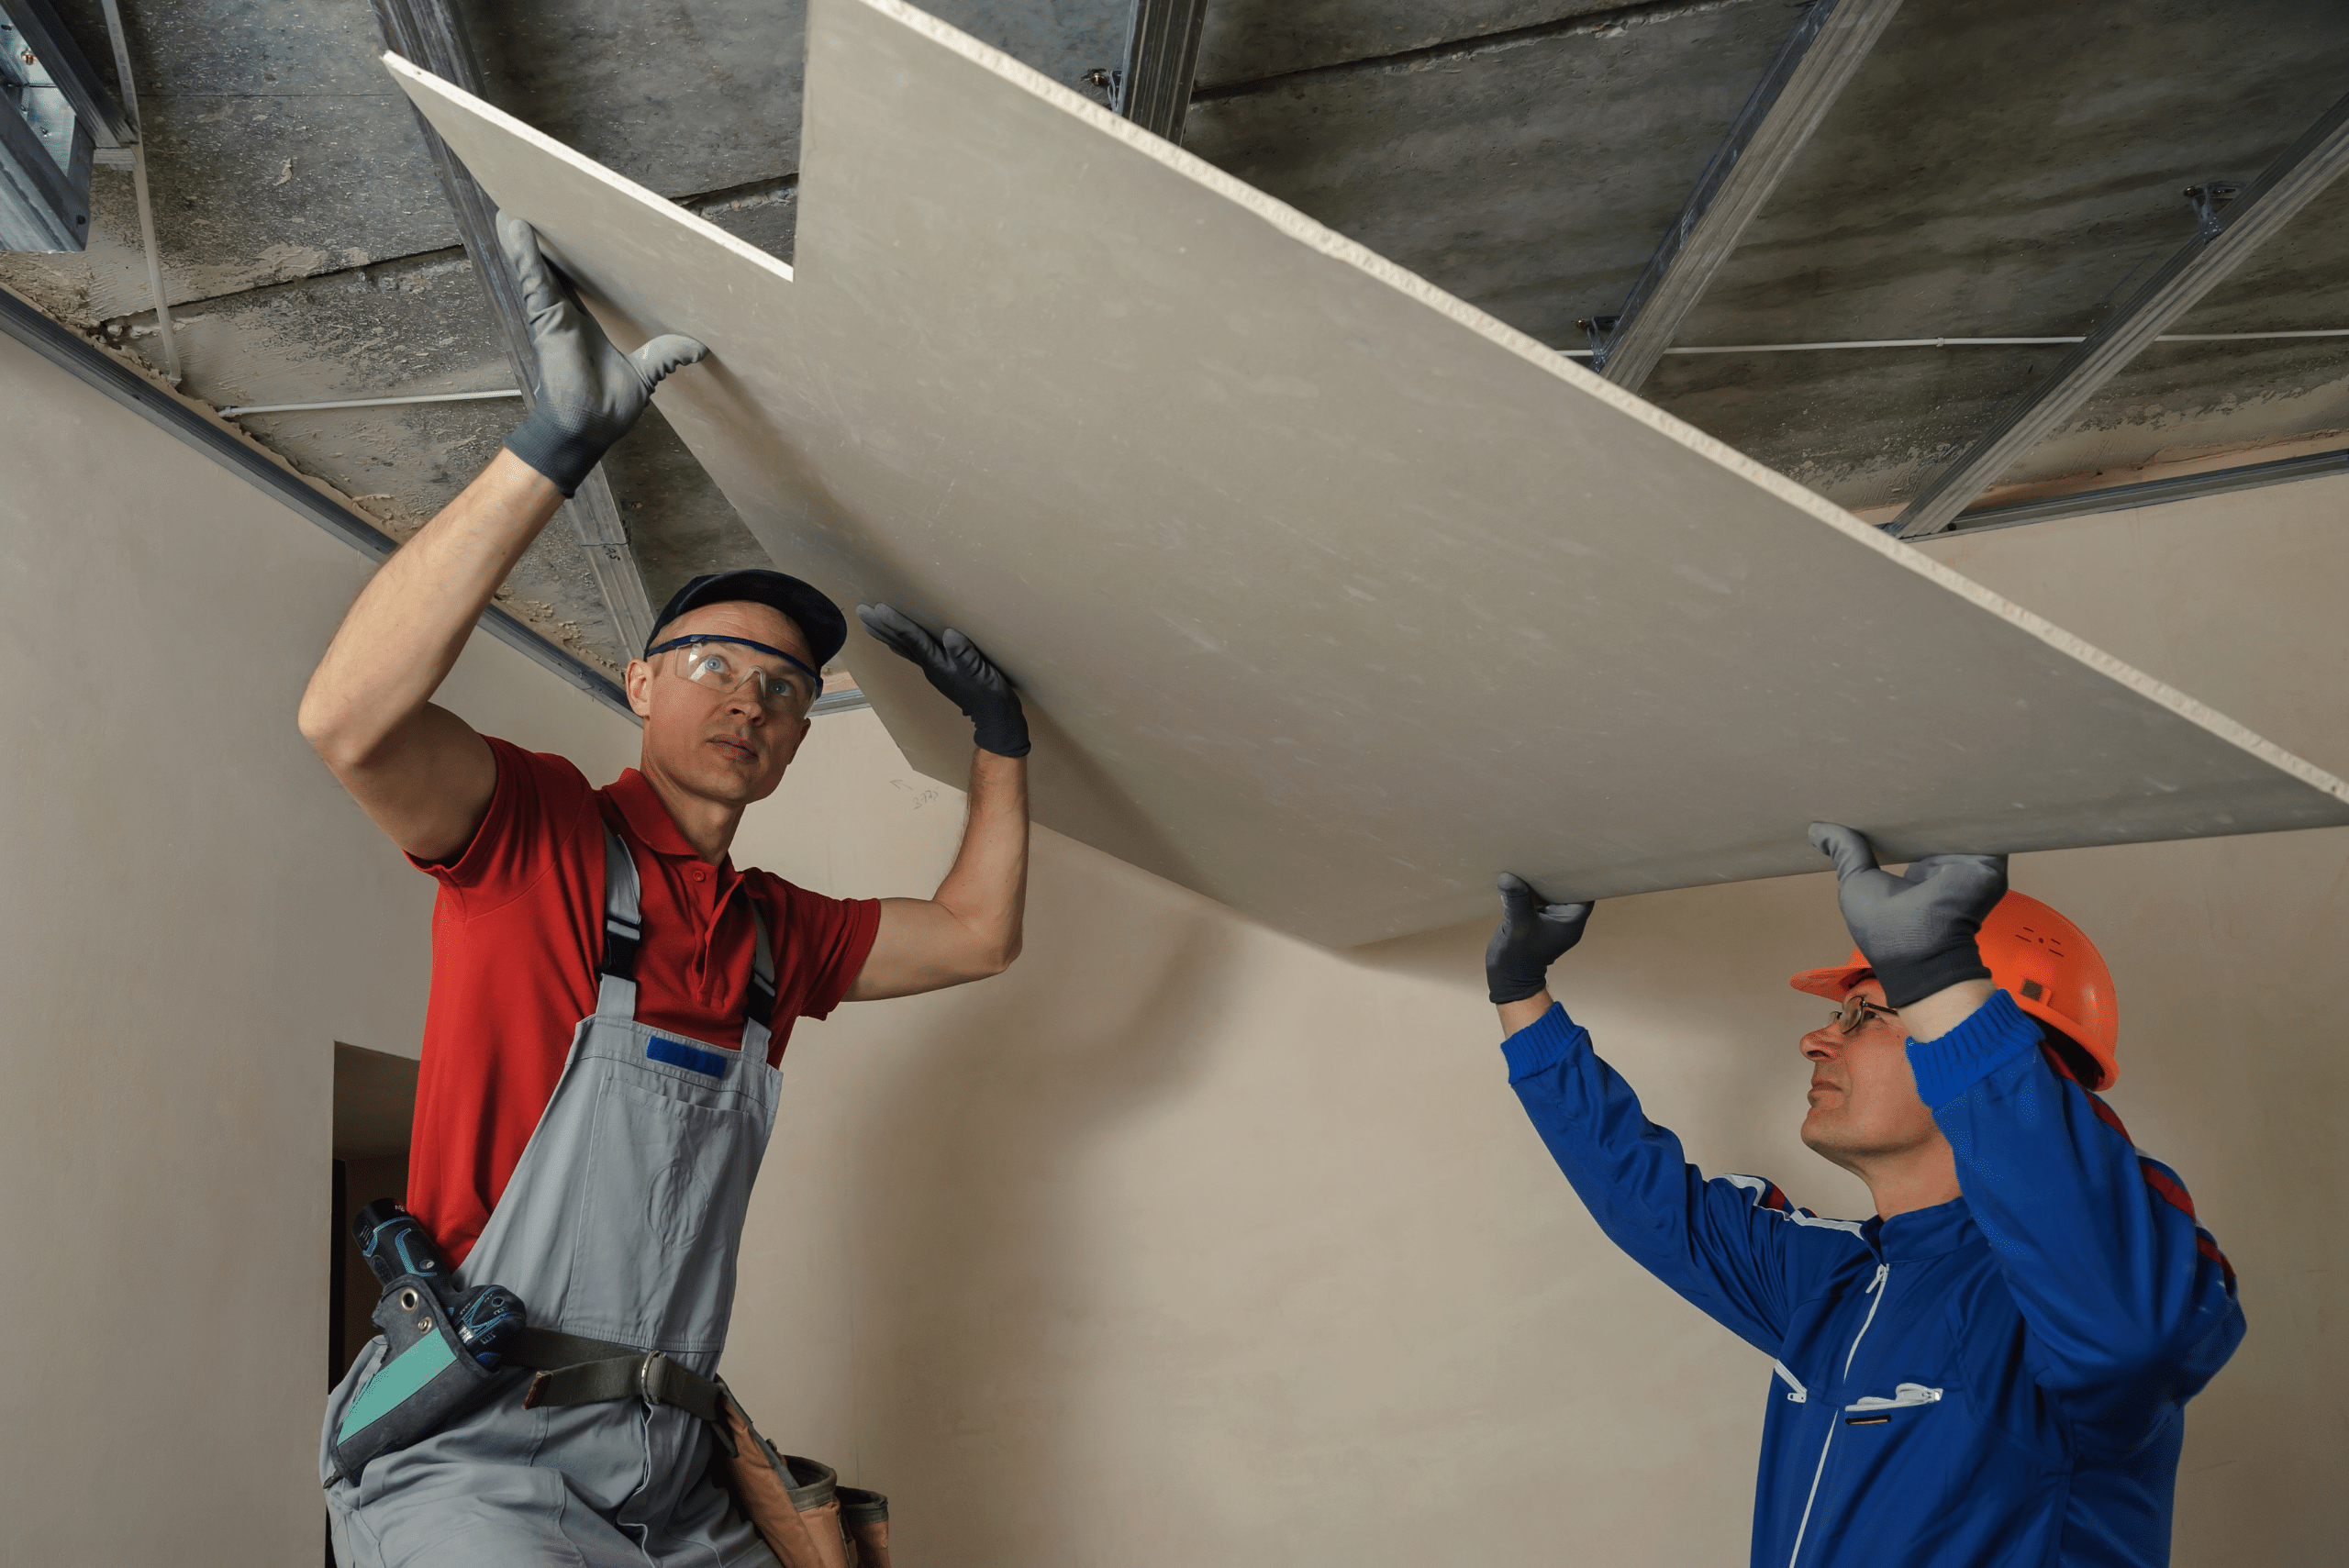
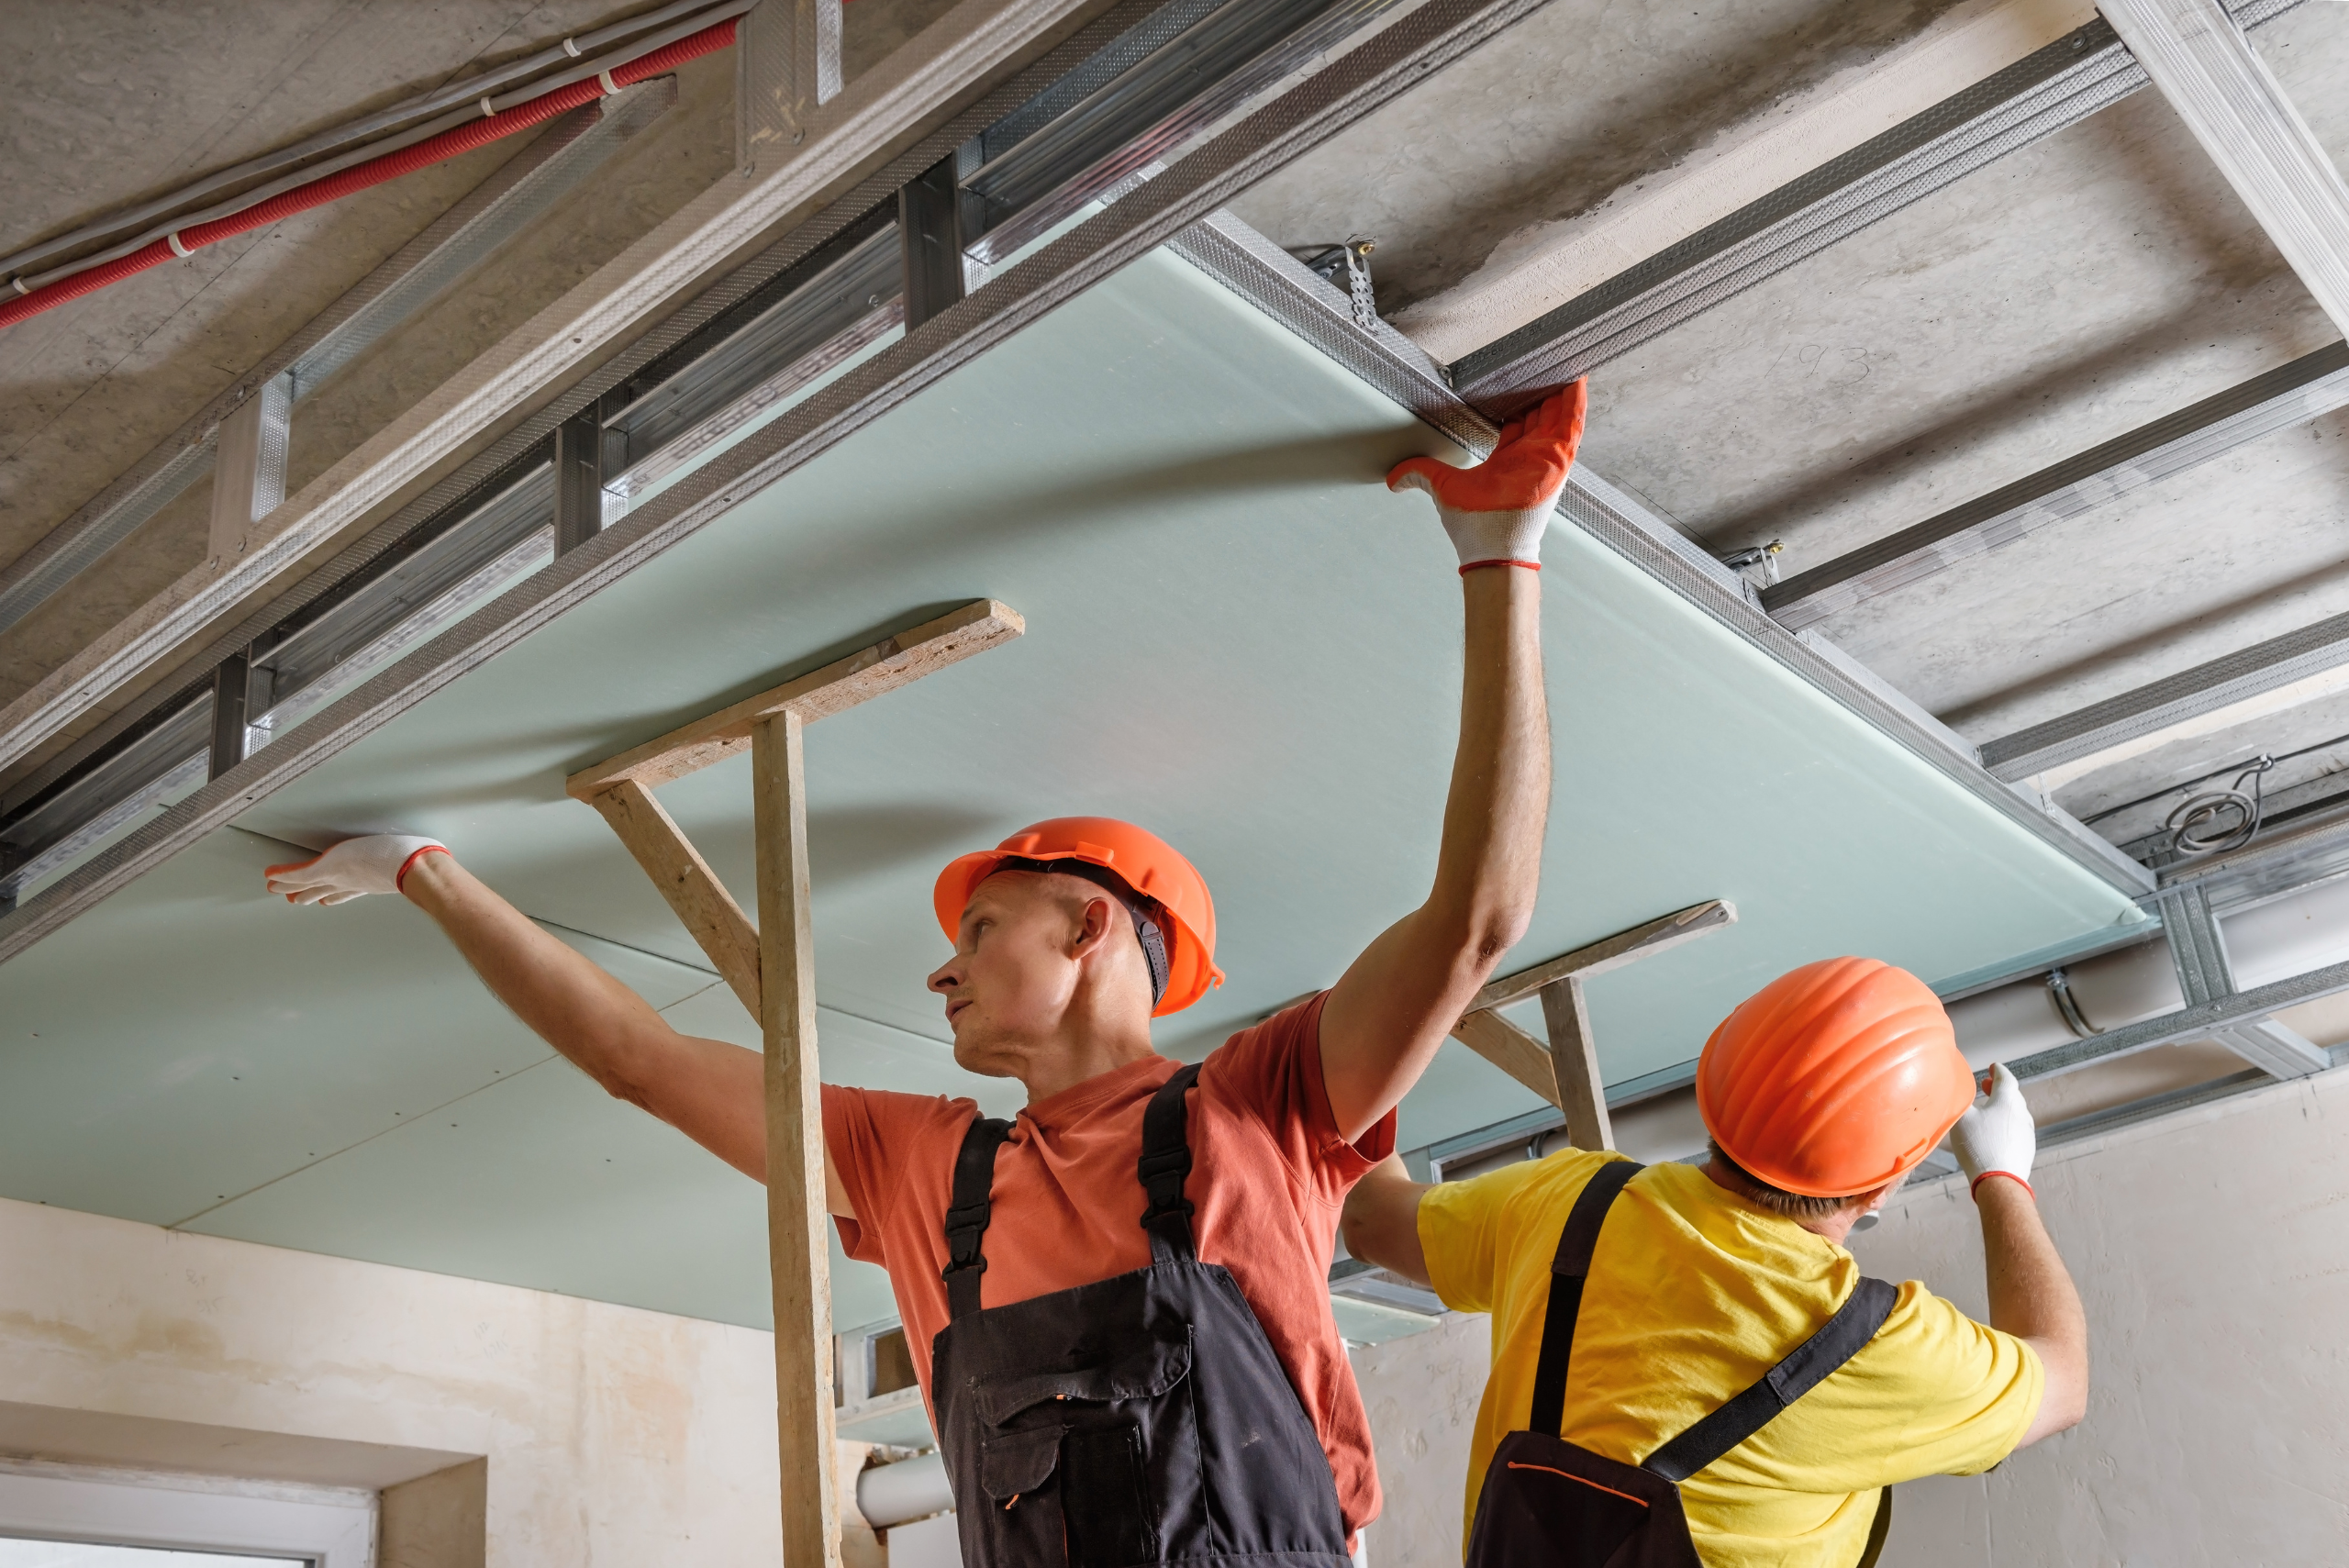
Ceiling installations can be particularly challenging, but a drywall lift makes the task much more manageable. Begin by positioning the lift directly under where you want to place the sheet. Load the drywall onto the lift’s support hooks, ensuring the finished side is facing down. Slowly and steadily crank the lift to raise the sheet into position.
Once the drywall is at the desired height, fine-tune its placement before securing it. Use a step ladder to make any necessary adjustments and to drive in the first few screws. Always insert at least eight screws before lowering the lift to ensure the sheet is properly secured. This method allows for precise placement and reduces the risk of damage to the drywall or injury to yourself.
3. Tackling Wall Installations: Adapting Your Lift for Vertical Surfaces
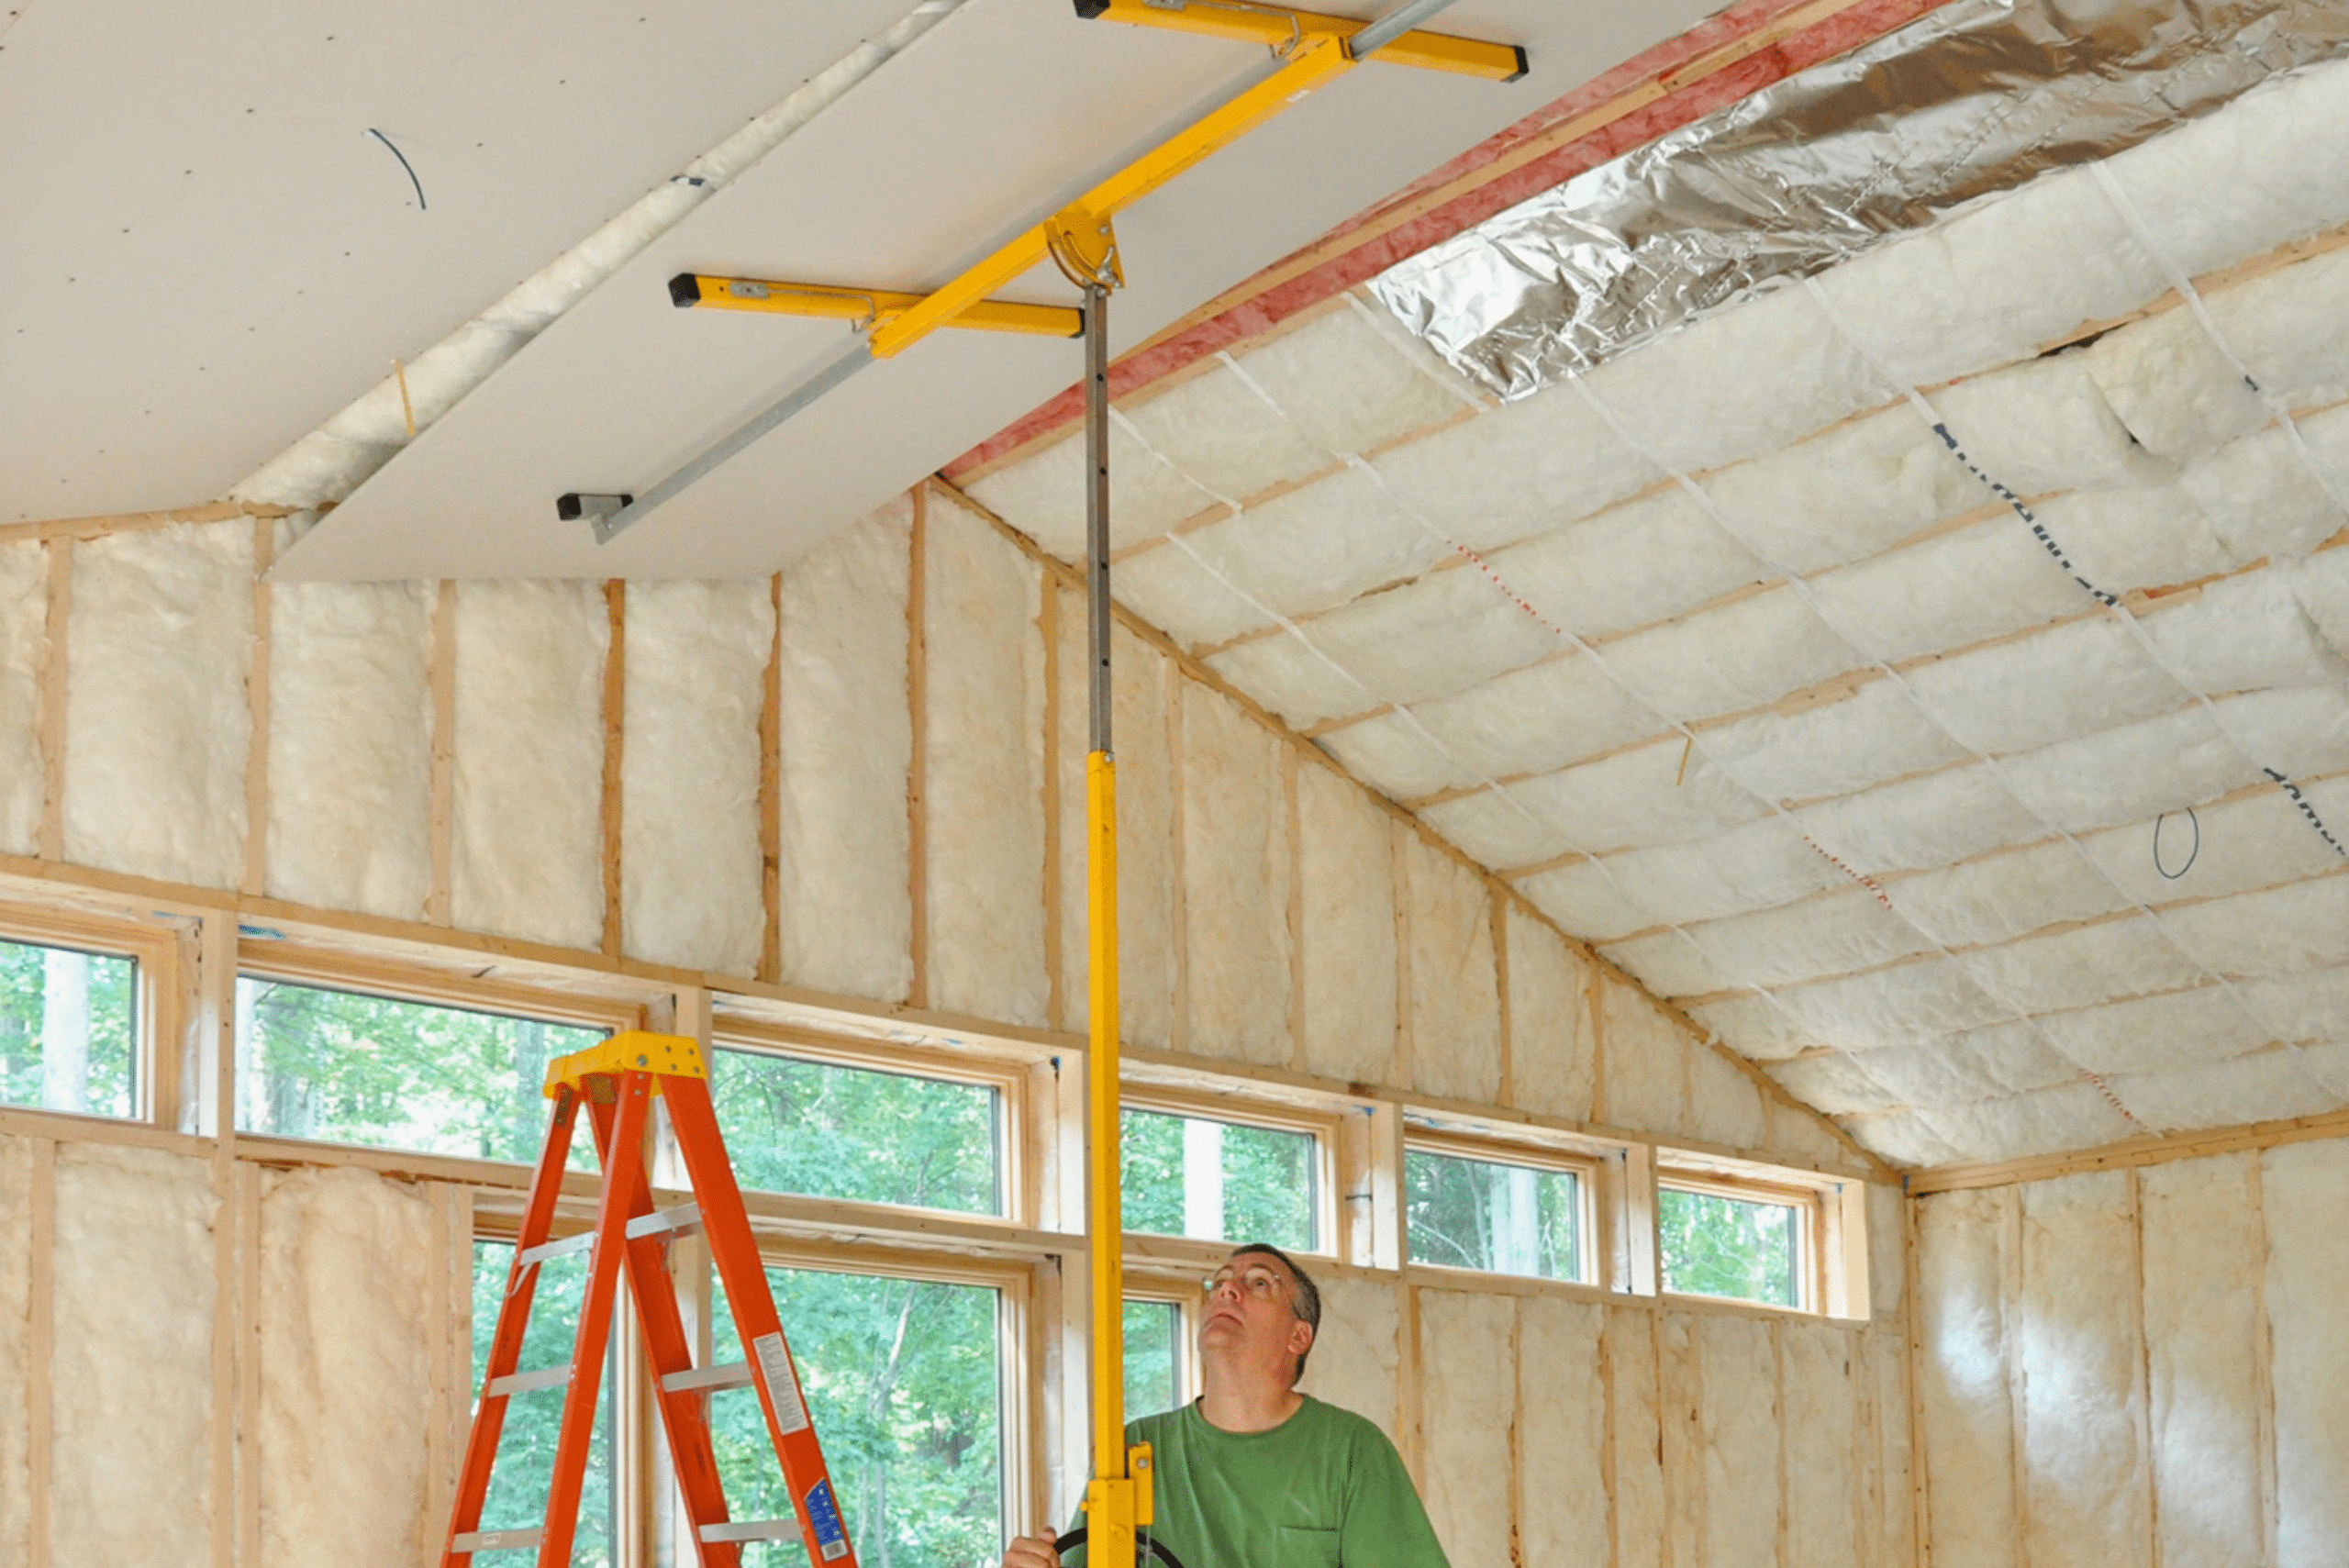
While drywall lifts are often associated with ceiling work, they’re equally valuable for wall installations, especially when working with upper sections. To use your lift for walls, load the drywall sheet as you would for a ceiling installation. Then, carefully wheel the lift to the wall and position the sheet.
Tilt the top edge of the drywall against the wall and use the lift’s crank to press the sheet against the ceiling snugly. This technique ensures a tight fit at the top edge and allows you to work your way down, securing the sheet as you go. The lift provides stable support, allowing you to focus on proper placement and fastening without the strain of holding the sheet in place.
4. Making Precise Cutouts: In-Place Techniques for Perfect Fits
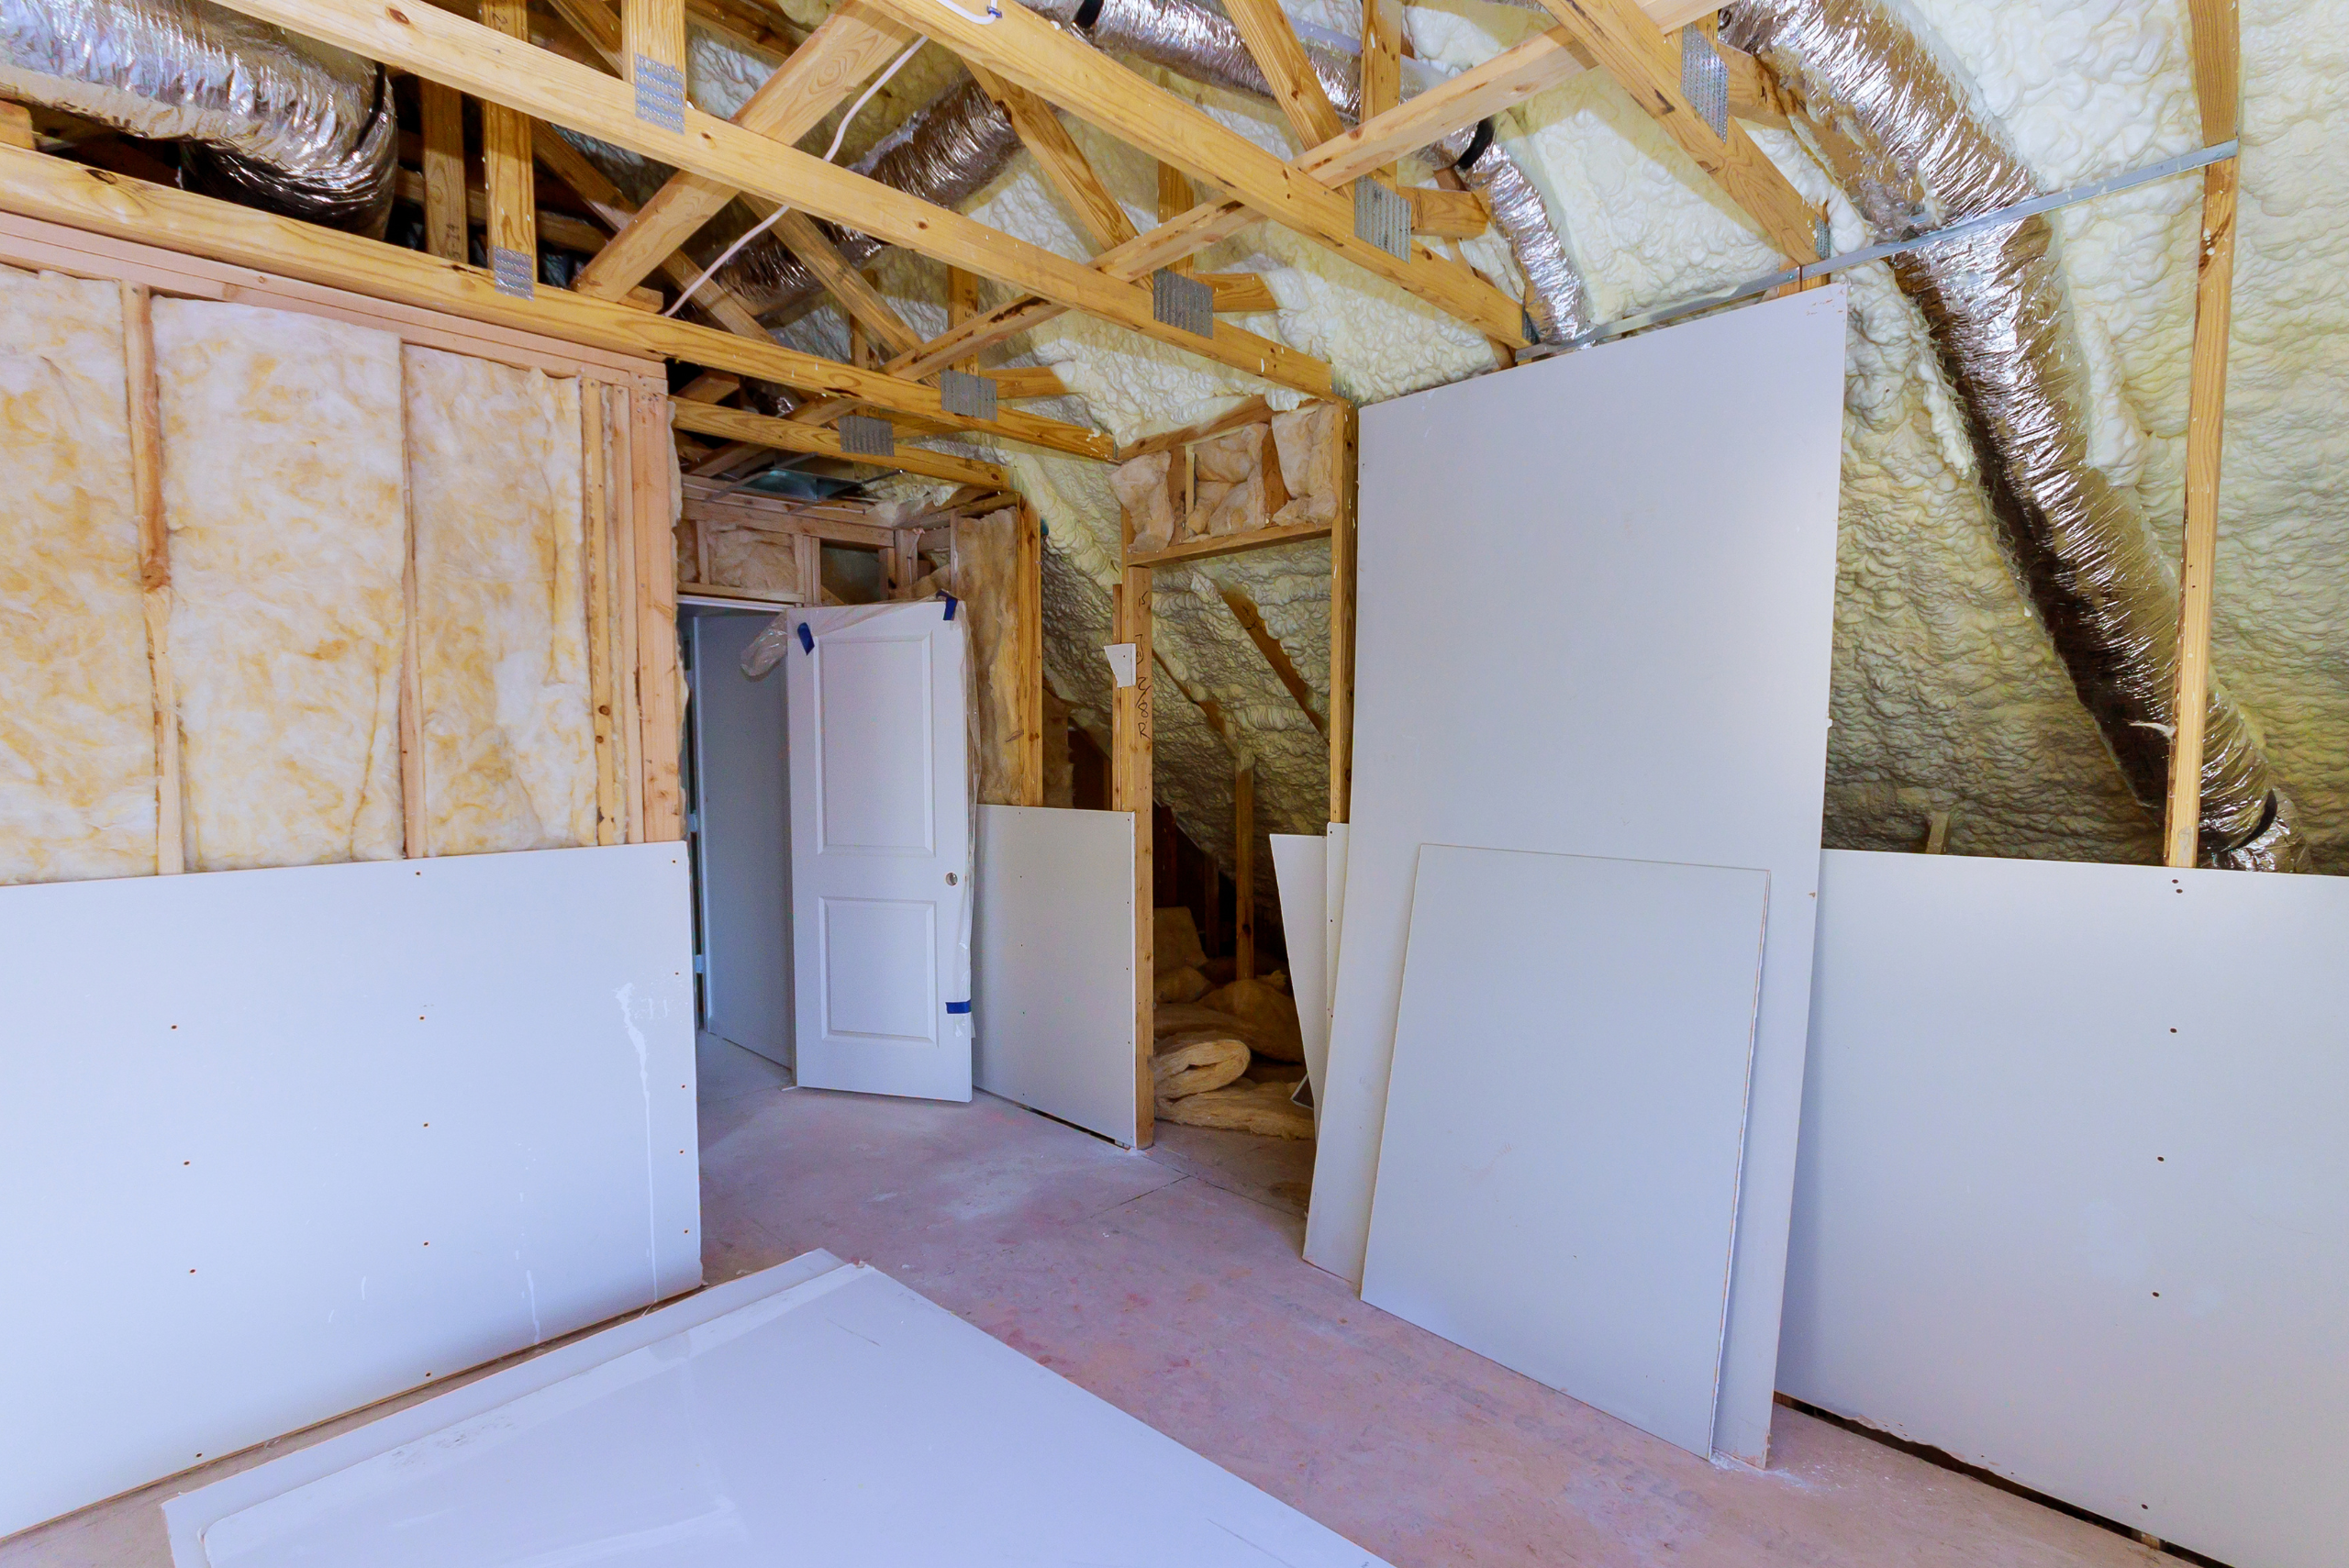
One advantage of using a drywall lift is the ability to make cutouts for fixtures and outlets with the sheet already in place. This method is far more accurate than pre-cutting and reduces the risk of errors. Start by marking the approximate center points of electrical boxes or fixtures on the drywall before lifting it into position.
Secure the sheet with just enough screws to hold it steady, keeping fasteners at least 12 inches away from planned cutouts. Use a drywall cutout tool with a specialized bit to create precise openings. Begin at the center mark, working your way outward until you reach the edge of the box or fixture. This technique ensures a perfect fit every time and saves you from the hassle of taking down and recutting ill-fitting sheets.
5. Enhancing Efficiency: Time-Saving Tools and Techniques
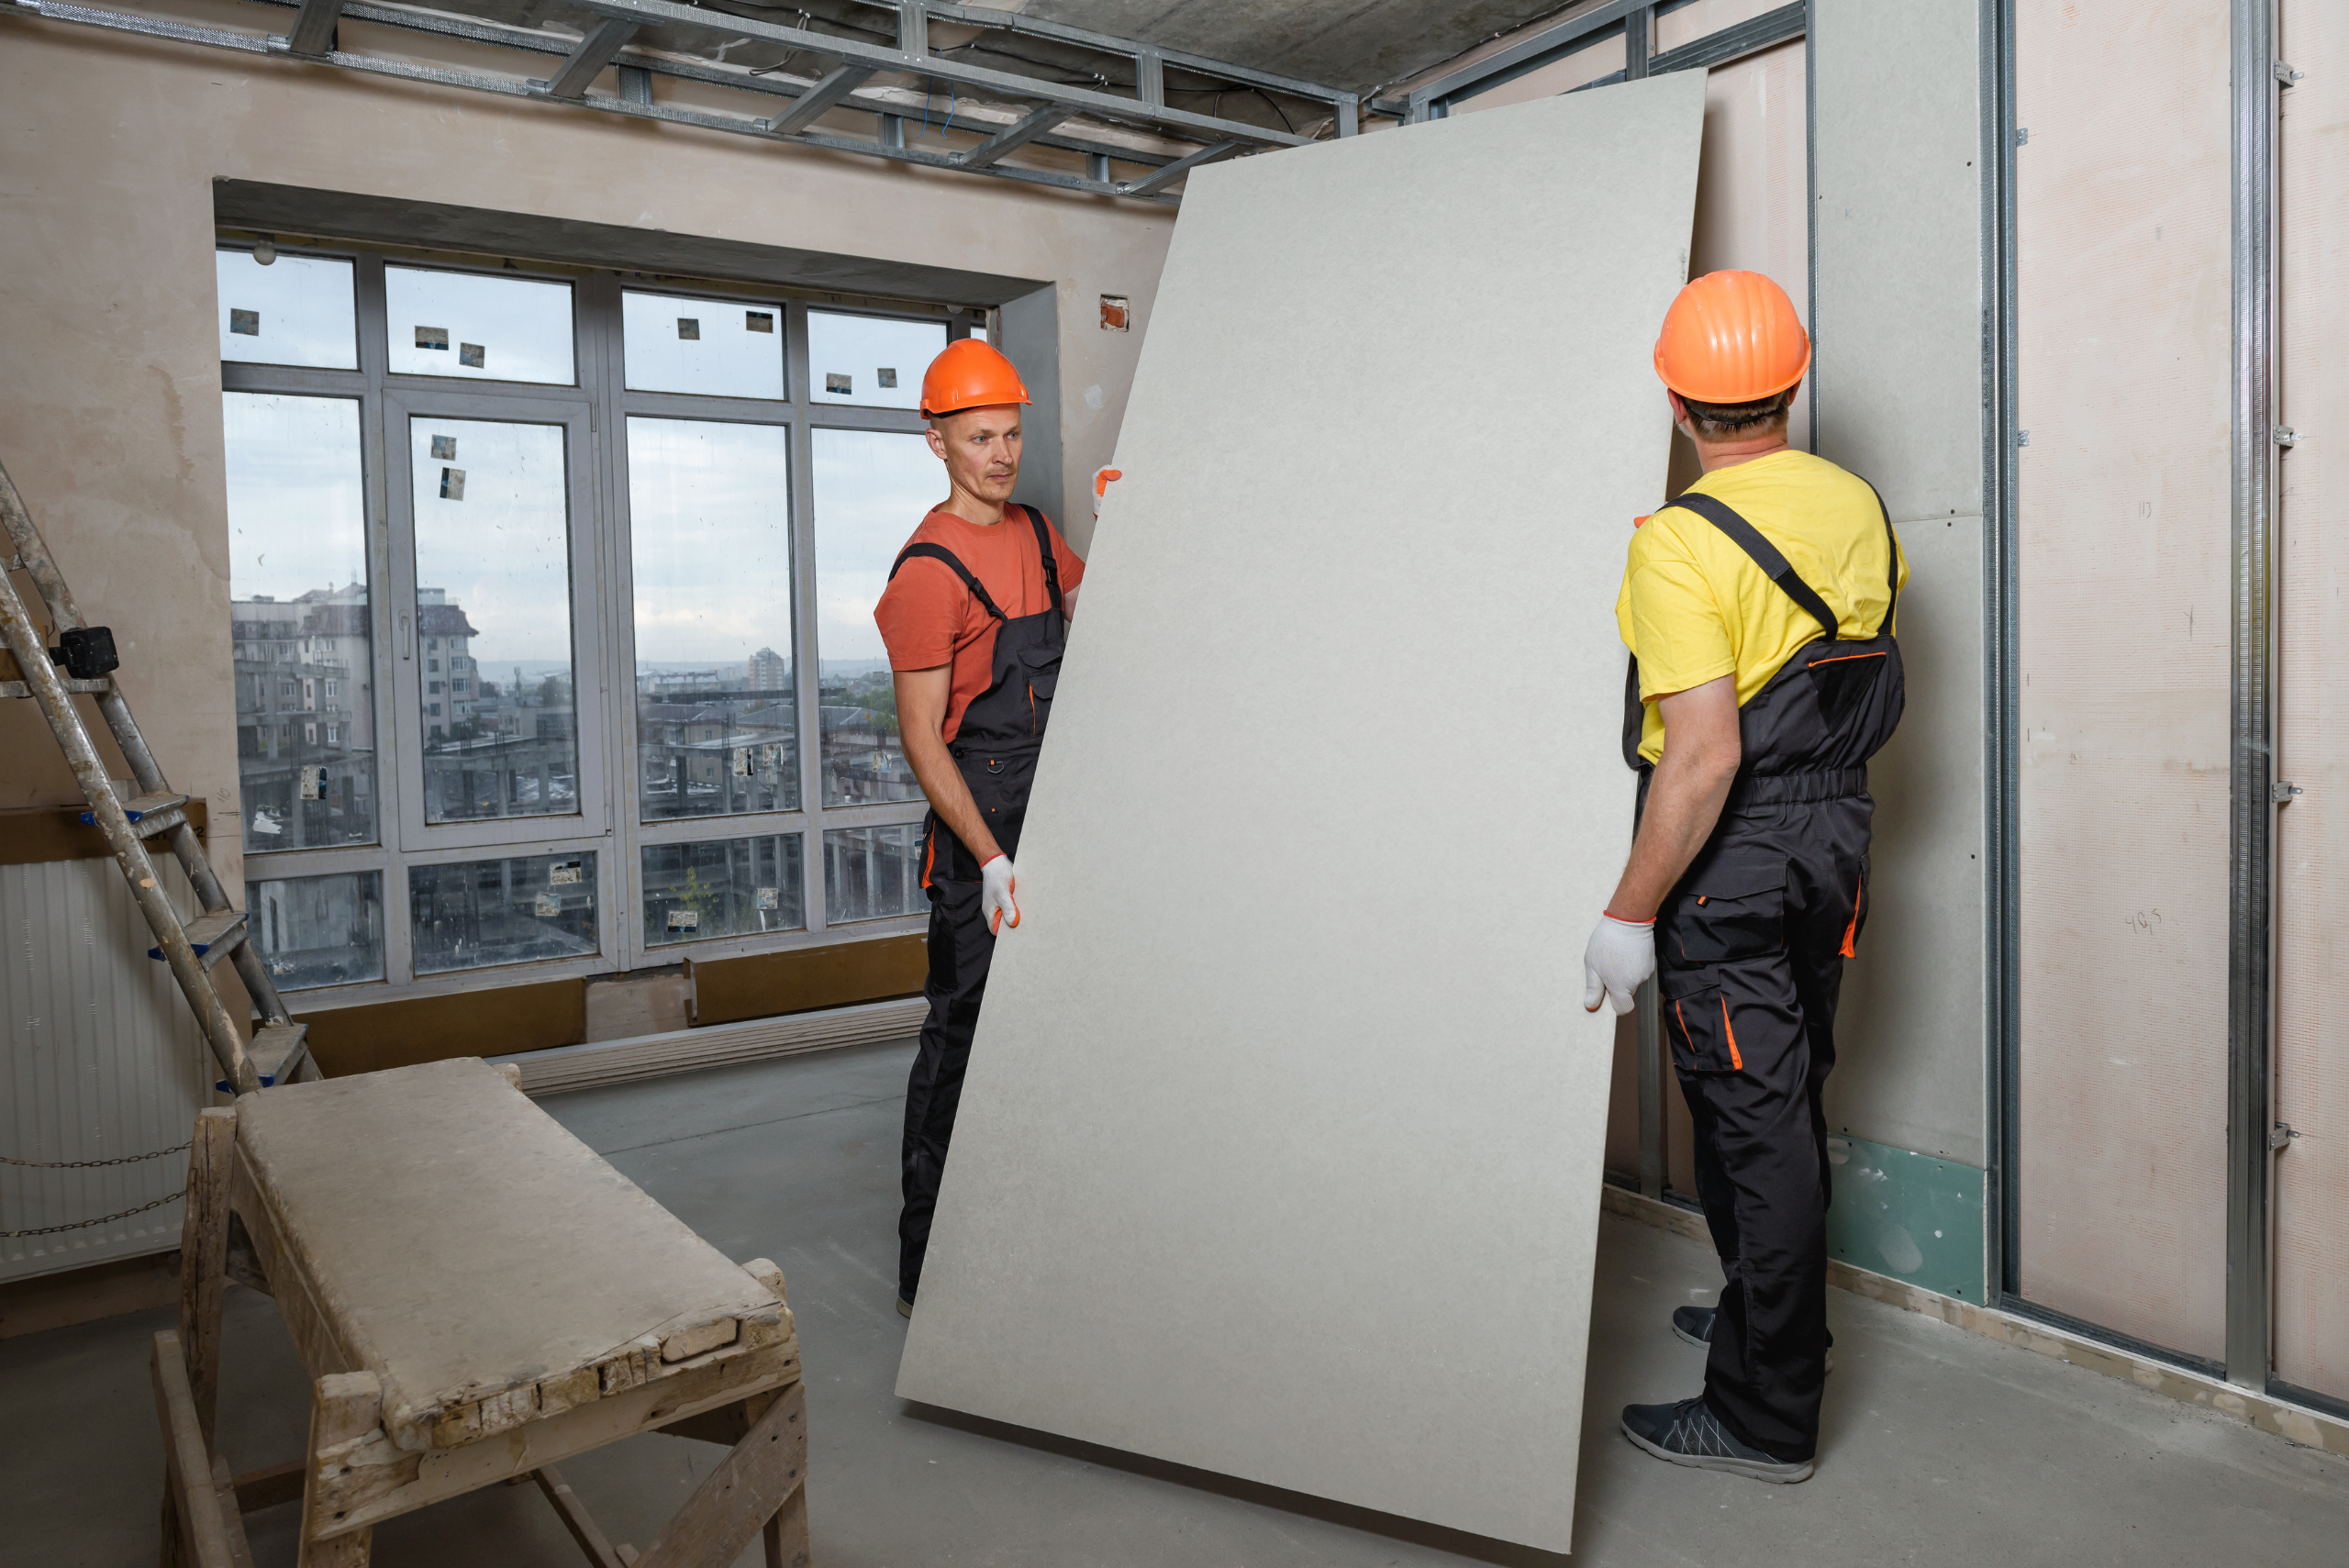
To further streamline your drywall installation process, consider incorporating additional tools and techniques. For projects involving numerous sheets, a panel roller can be a game-changer. These heavy-duty rollers allow you to move up to two sheets at a time with minimal effort, making material transport a breeze.
For smaller lifts and maneuvers, a plastic panel lifter can significantly reduce strain on your arms and upper body. This simple tool hooks around the bottom of the sheet, allowing you to carry it like a suitcase. While it’s not suitable for full flights of stairs, it’s perfect for navigating tight spaces and short distances. Incorporating these tools alongside your drywall lift can dramatically improve your efficiency and reduce physical strain.
6. Clever Modifications: Adapting Your Lift for Unique Situations
Sometimes, you’ll encounter situations that require a bit of creativity to use your drywall lift effectively. For small or irregularly shaped pieces that don’t fit securely on the lift’s standard hooks, try this simple modification: tape a pair of 2x4s perpendicular to the lift’s crossbars to create temporary supports. This adaptation allows you to safely lift and position oddly shaped pieces with the same ease as full sheets.
When working with lower wall sections, you can use a pry bar and a block of wood or a specialized roll lifter to lever sheets into place. This technique saves you from having to strain to hold the sheet off the floor while securing it. These simple yet effective modifications can help you tackle a wide range of drywall installation scenarios with confidence and ease.
Related Articles
- Sheetrock vs. Drywall – Understanding the Key Differences and Similarities
- How to Hang Drywall with Precision and Ease
- Tips and Tricks for How to Spackle Drywall Seamlessly
As you put these tips into practice, you’ll find that your efficiency improves, your results become more professional, and your physical strain decreases significantly. Whether you’re working on a small renovation or a large-scale construction project, the drywall lift is an invaluable tool that, when used correctly, can elevate the quality of your work to new heights. So, gear up, get lifting, and watch as your drywall projects transform from daunting challenges to satisfying accomplishments!
Ready to bring new life to your home? Subscribe to our newsletter for exclusive interior design tips, trends, and ideas that will transform your space. Click here to subscribe!


