Installing a Drop Ceiling in a Basement Like a Pro
Finishing a basement is a study of functionality over appearance. Those pipes, vents, and electrical lines running through the floor joists making up the basement ceiling are lifelines to your home. Accessing them is crucial at times if you have a leak, a blockage, or other issues that require maintenance or repairs.
However, you don’t have to have to live with the eye-sore of having those components of your home exposed. Instead, you can opt for drop ceilings in your basement. Not only will those ceiling tiles improve the looks of your basement, but they will also allow you to access your home’s pipes, vents, or electrical wiring easily.
Benefits of Drop Ceilings for Basements
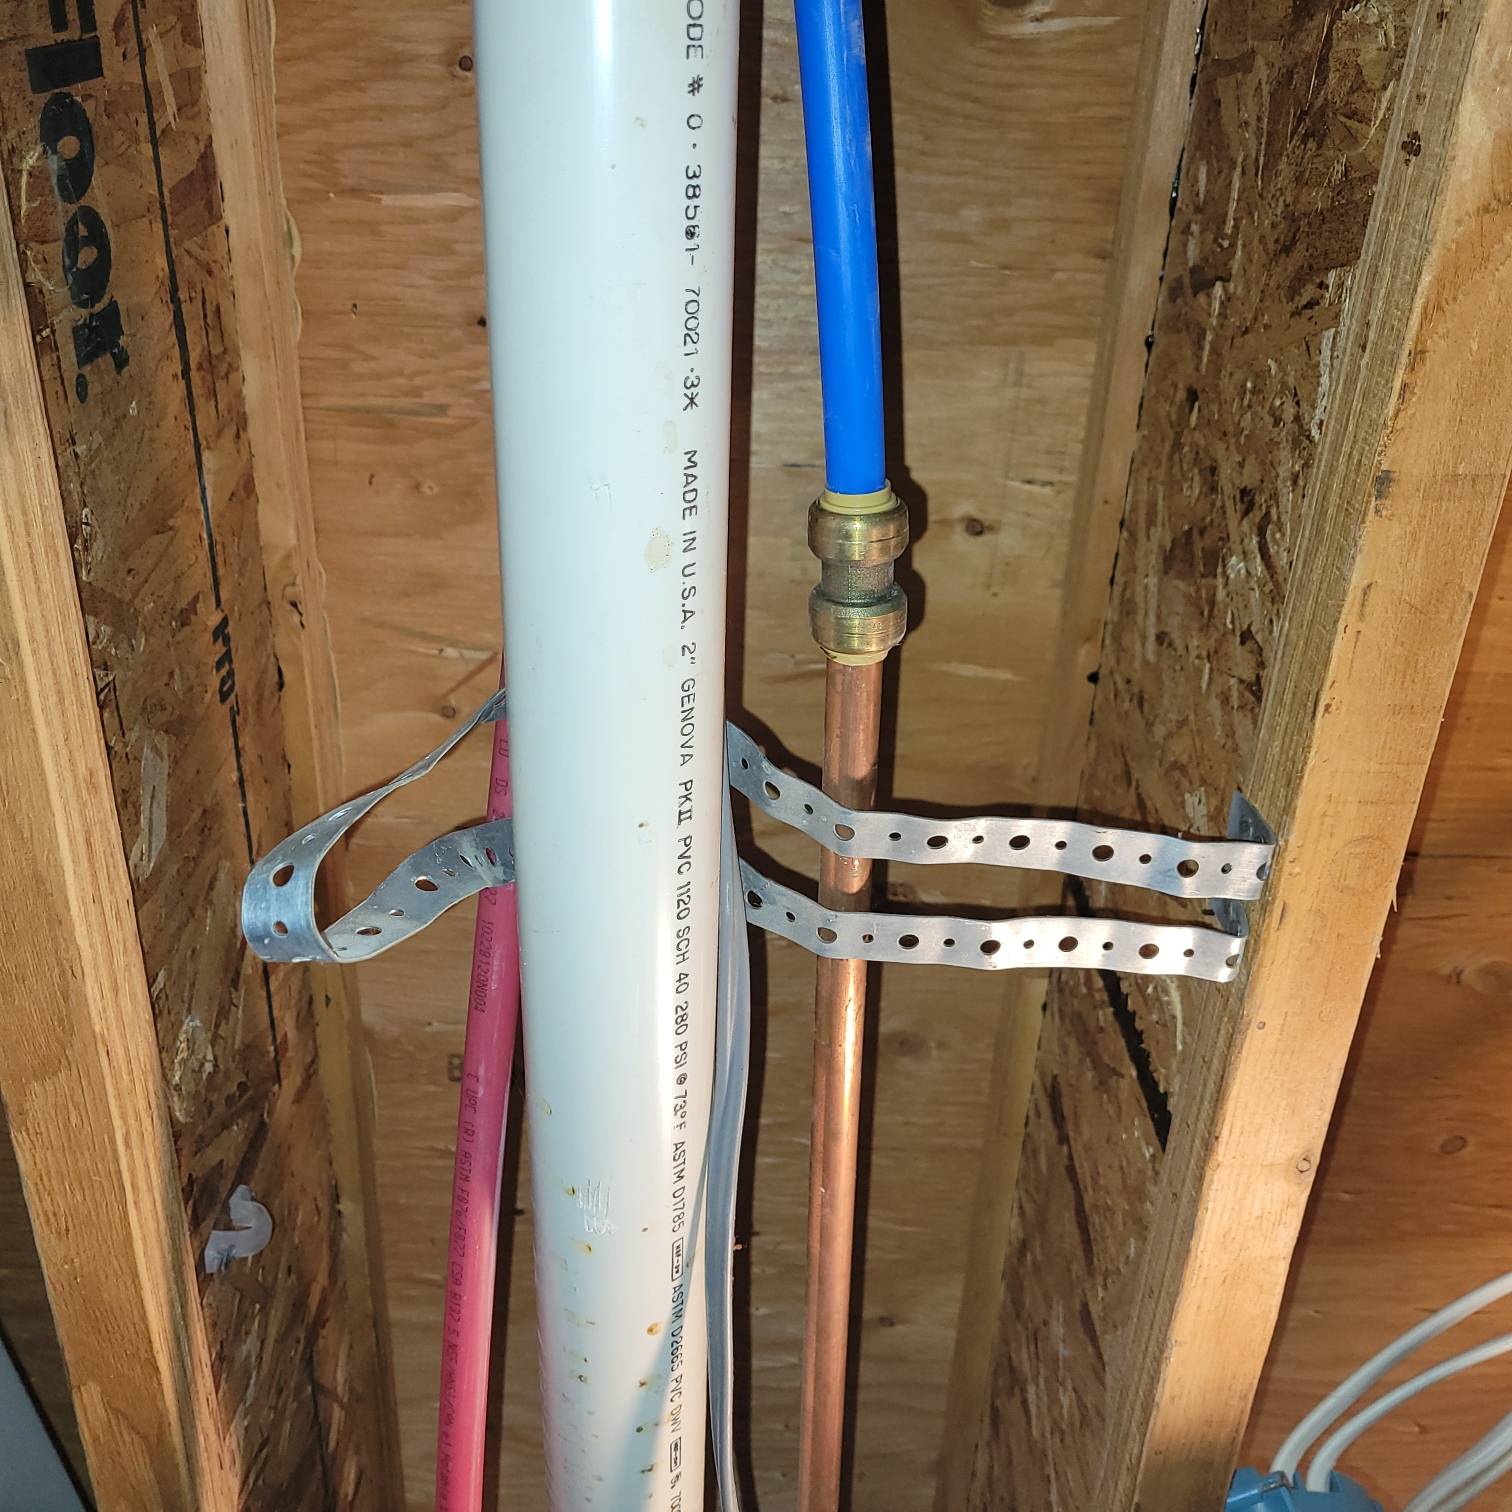
A permanent ceiling made of sheetrock or other material will eventually have to be cut into or have large sections torn down if one of the home situations mentioned above takes place. An alternative and attractive solution is opting for suspended ceiling tiles.
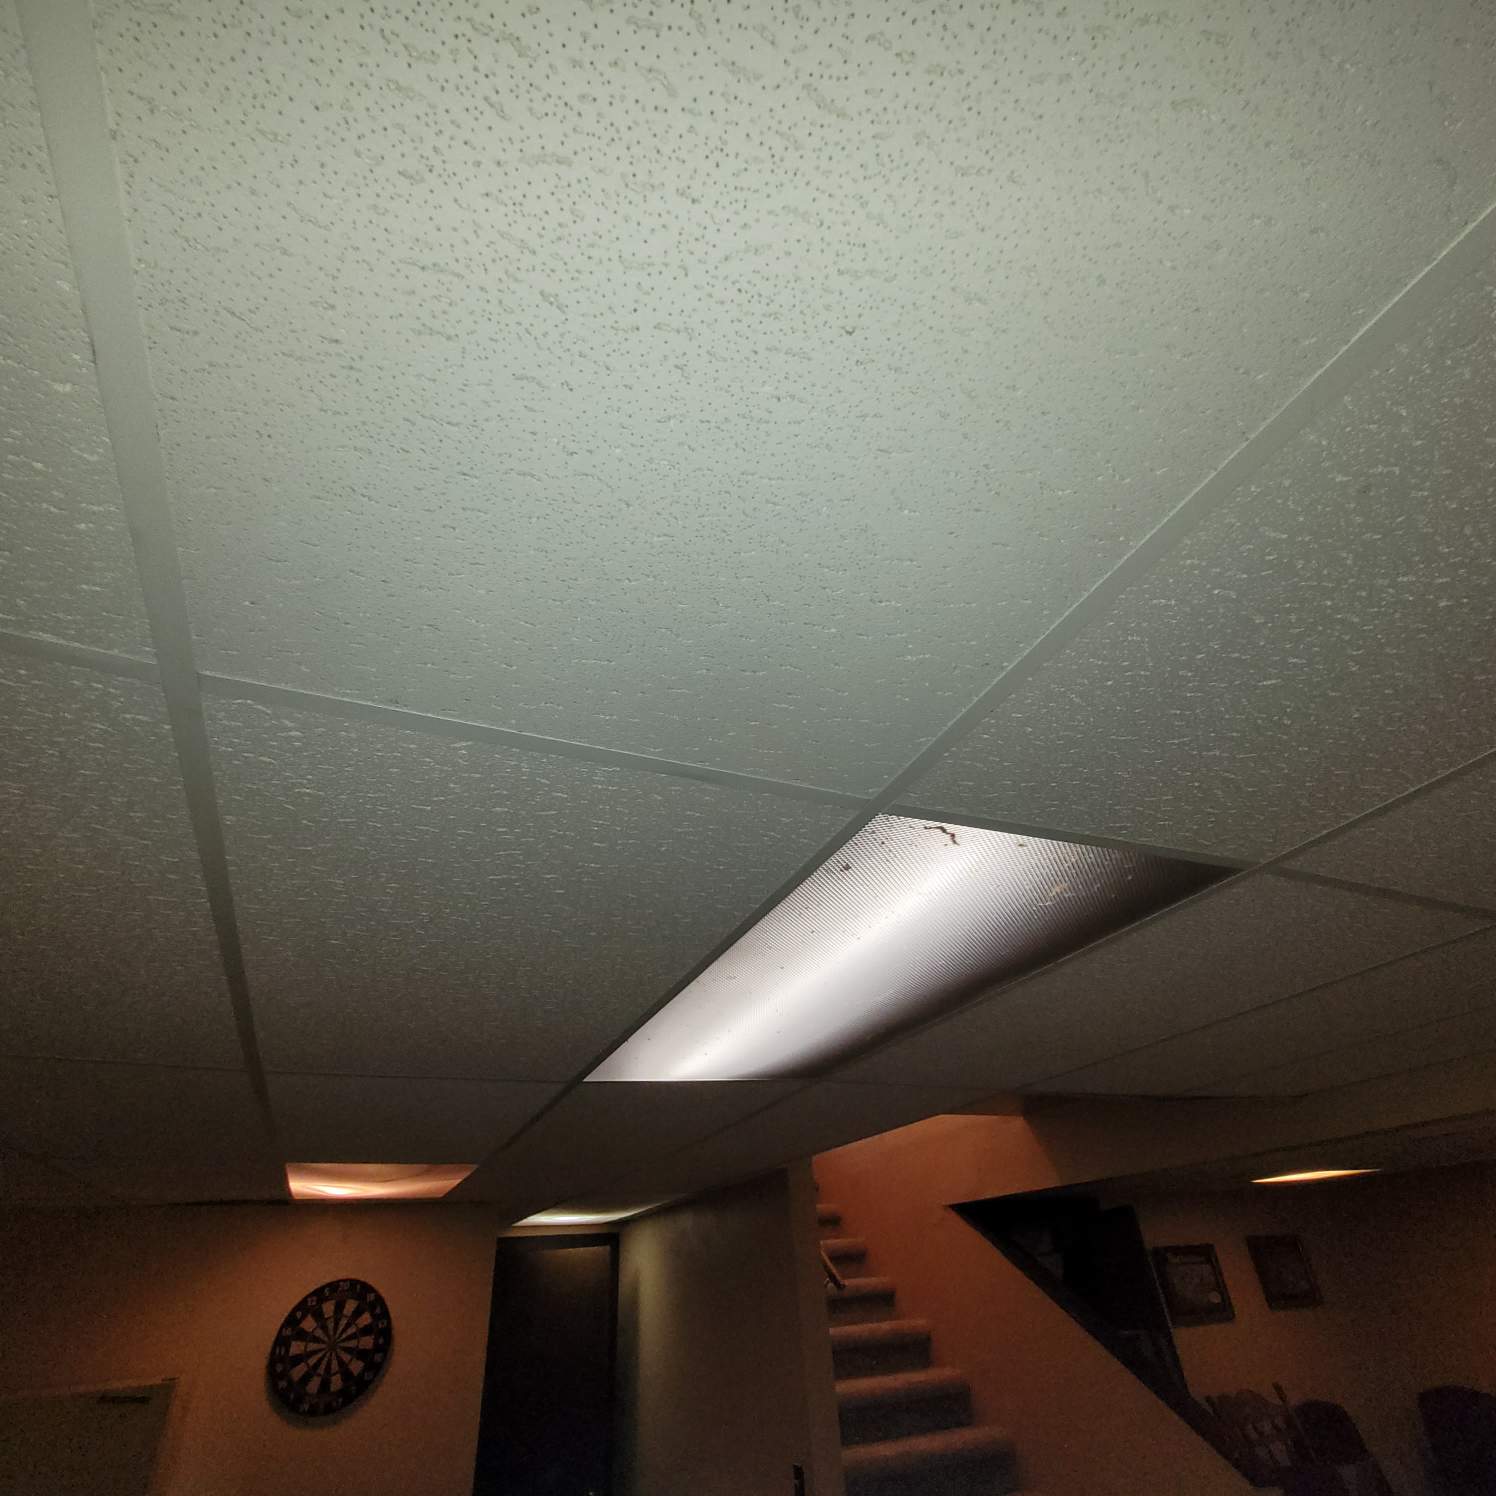
You’ve seen these ceilings in lumber yard retail sections, restaurants, and public buildings. They have a band of metal supports running usually at two- and four-foot intervals with fiber panels hanging between those supports. They’re functional and can be ornamental with the right design printed on them and with careful arrangement of the clear plastic panels that allow light through them.
Measure the Ceiling Height
For your home use, the first step is to determine the level of the ceiling. If you have a standard eight-foot-high ceiling, you can set these tiles from eight to 12 inches down from the bottom of the joists. The magic location is a combination of how low the ceiling can be without making someone claustrophobic but still low enough to be able to angle the tiles into place once the metal structure is tied together. The easiest application for both is usually about a 10-inch drop.
Start on the walls, marking a spot at the height of the new ceiling. You can extend the line with several measurements and a chalk line connecting them, or you can get a laser level that will spin a bright line all around a room at a specific height. Nail or screw the L-shaped wall supports into place. When they’re complete, you can begin setting the middle T-shaped supports into place. These will hang on the wall brackets with wire connecting them to the joists. You can tie directly through holes in the joists or drive a nail with a quarter-inch of the head out and tie to that. You’ll need to level each metal support as it is stretched out.
Install Cross Metal Supports
The tiles will be 2 x 4 feet, so the supports should run at two-foot widths for maximum strength. The cross supports that will tie into the long-running supports will be set at four feet to accommodate the ceiling tiles.
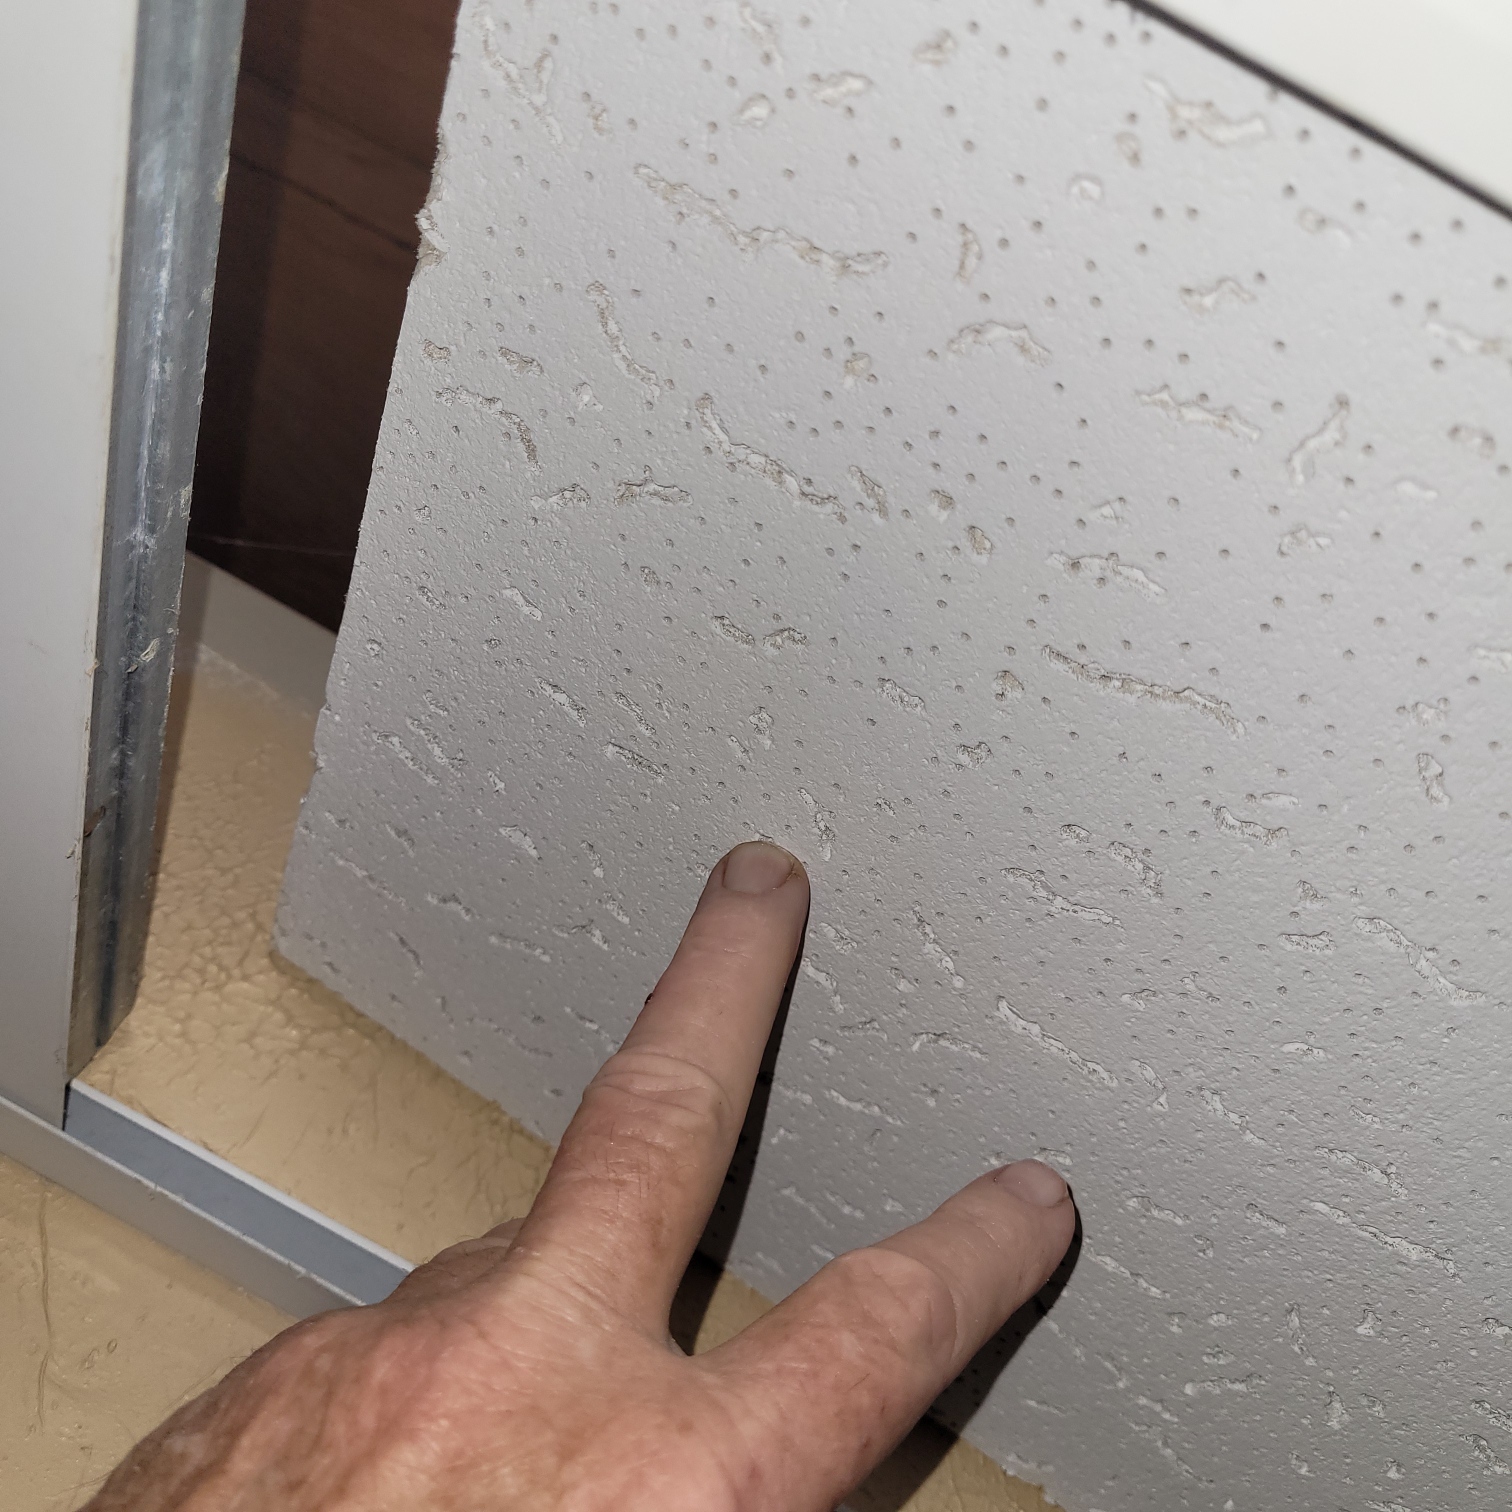
Take your time when cutting ceiling tiles to size and test fit them a few times before final cutting. You will want a snug fit, but it has to also be relatively easy to remove when you need to access the ceiling.
Cut and Fit the Tiles
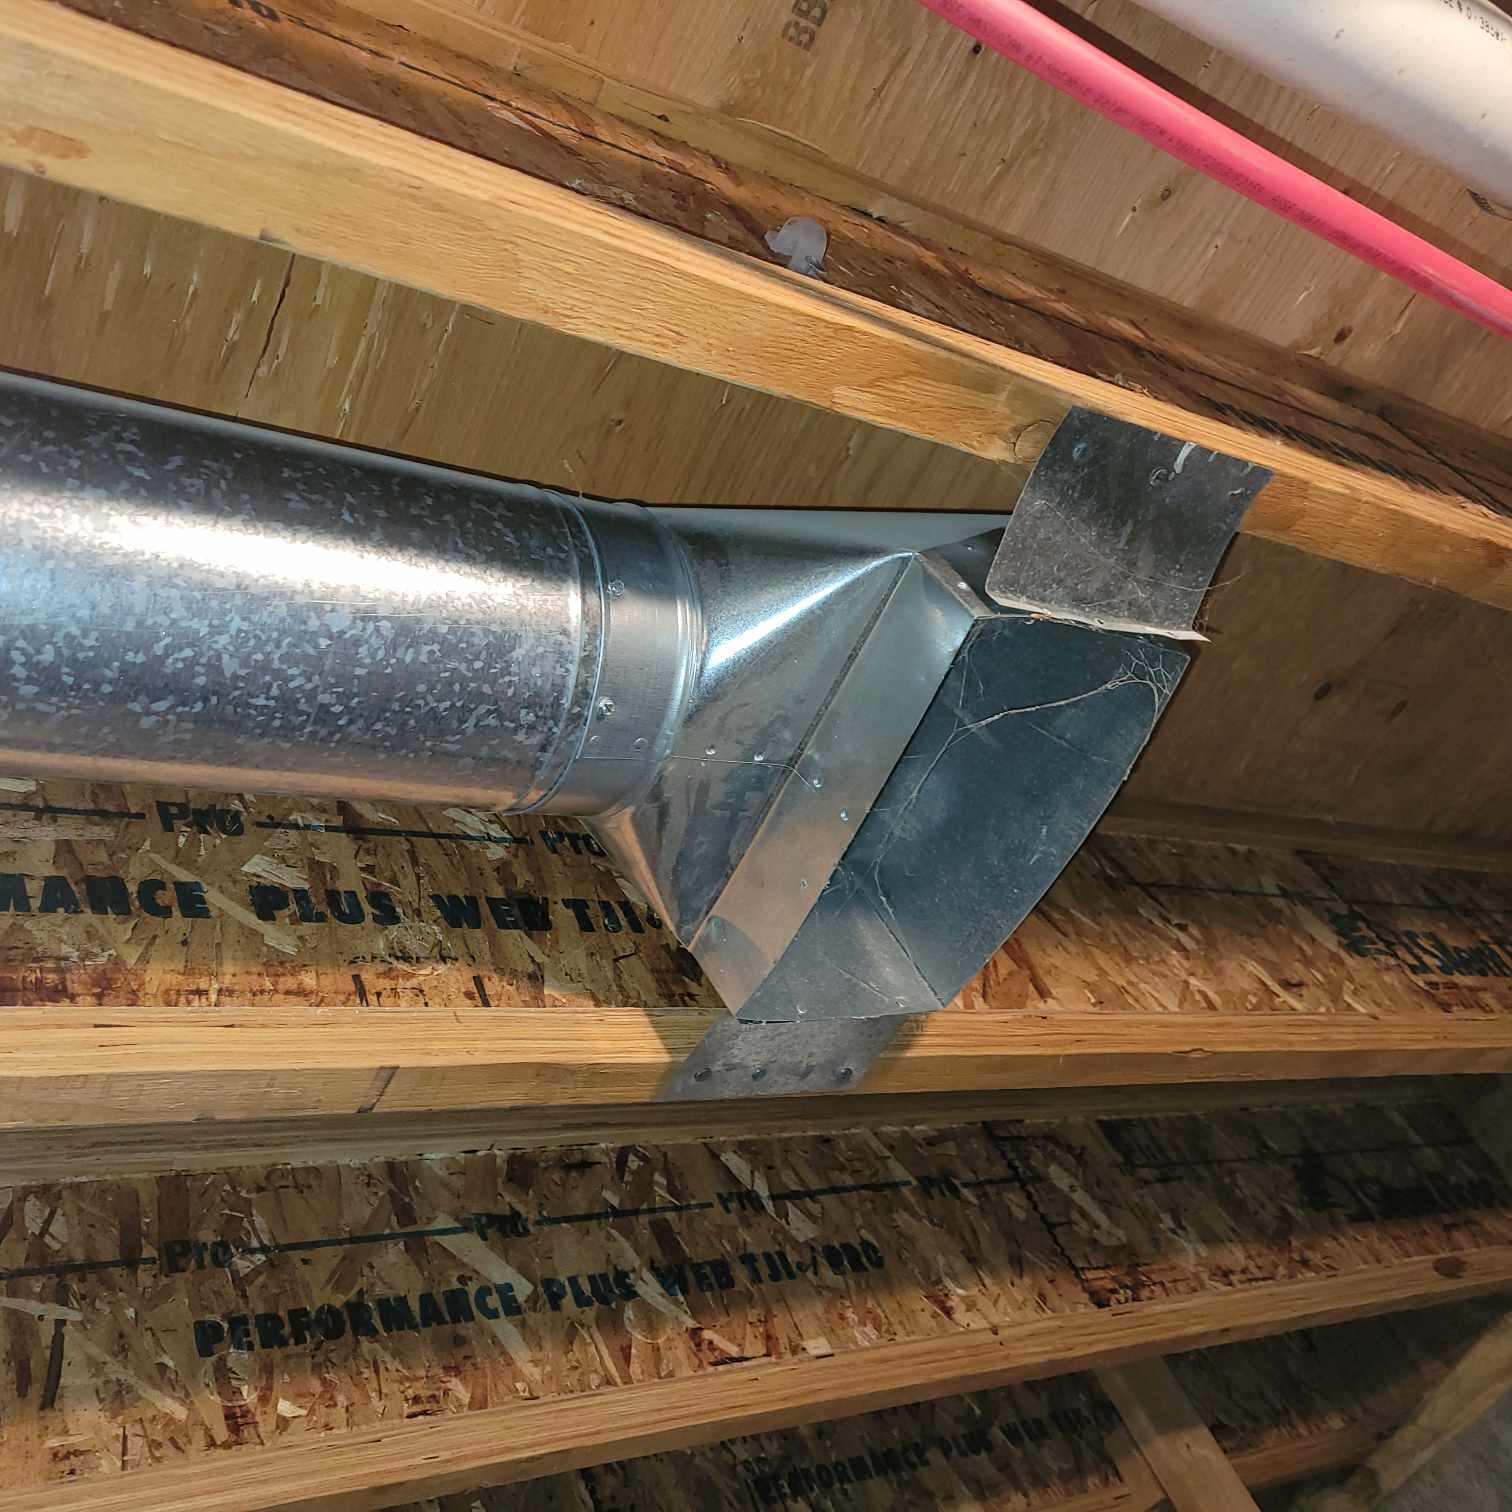
Once the framework is in place, start in one corner with the tiles and lift them into place. The weight of the tiles will stabilize the entire metal structure. These tiles are easy to cut with a utility knife and a standard carpenter square.
You’ll have to cut odd corners, and some panels will be shorter and narrower than others to match the length and width of the ceiling. It might be helpful to order extra tiles just in case you need them during installation or in the future if one gets damaged.
Customize the Tiles for Air Vents and Lights
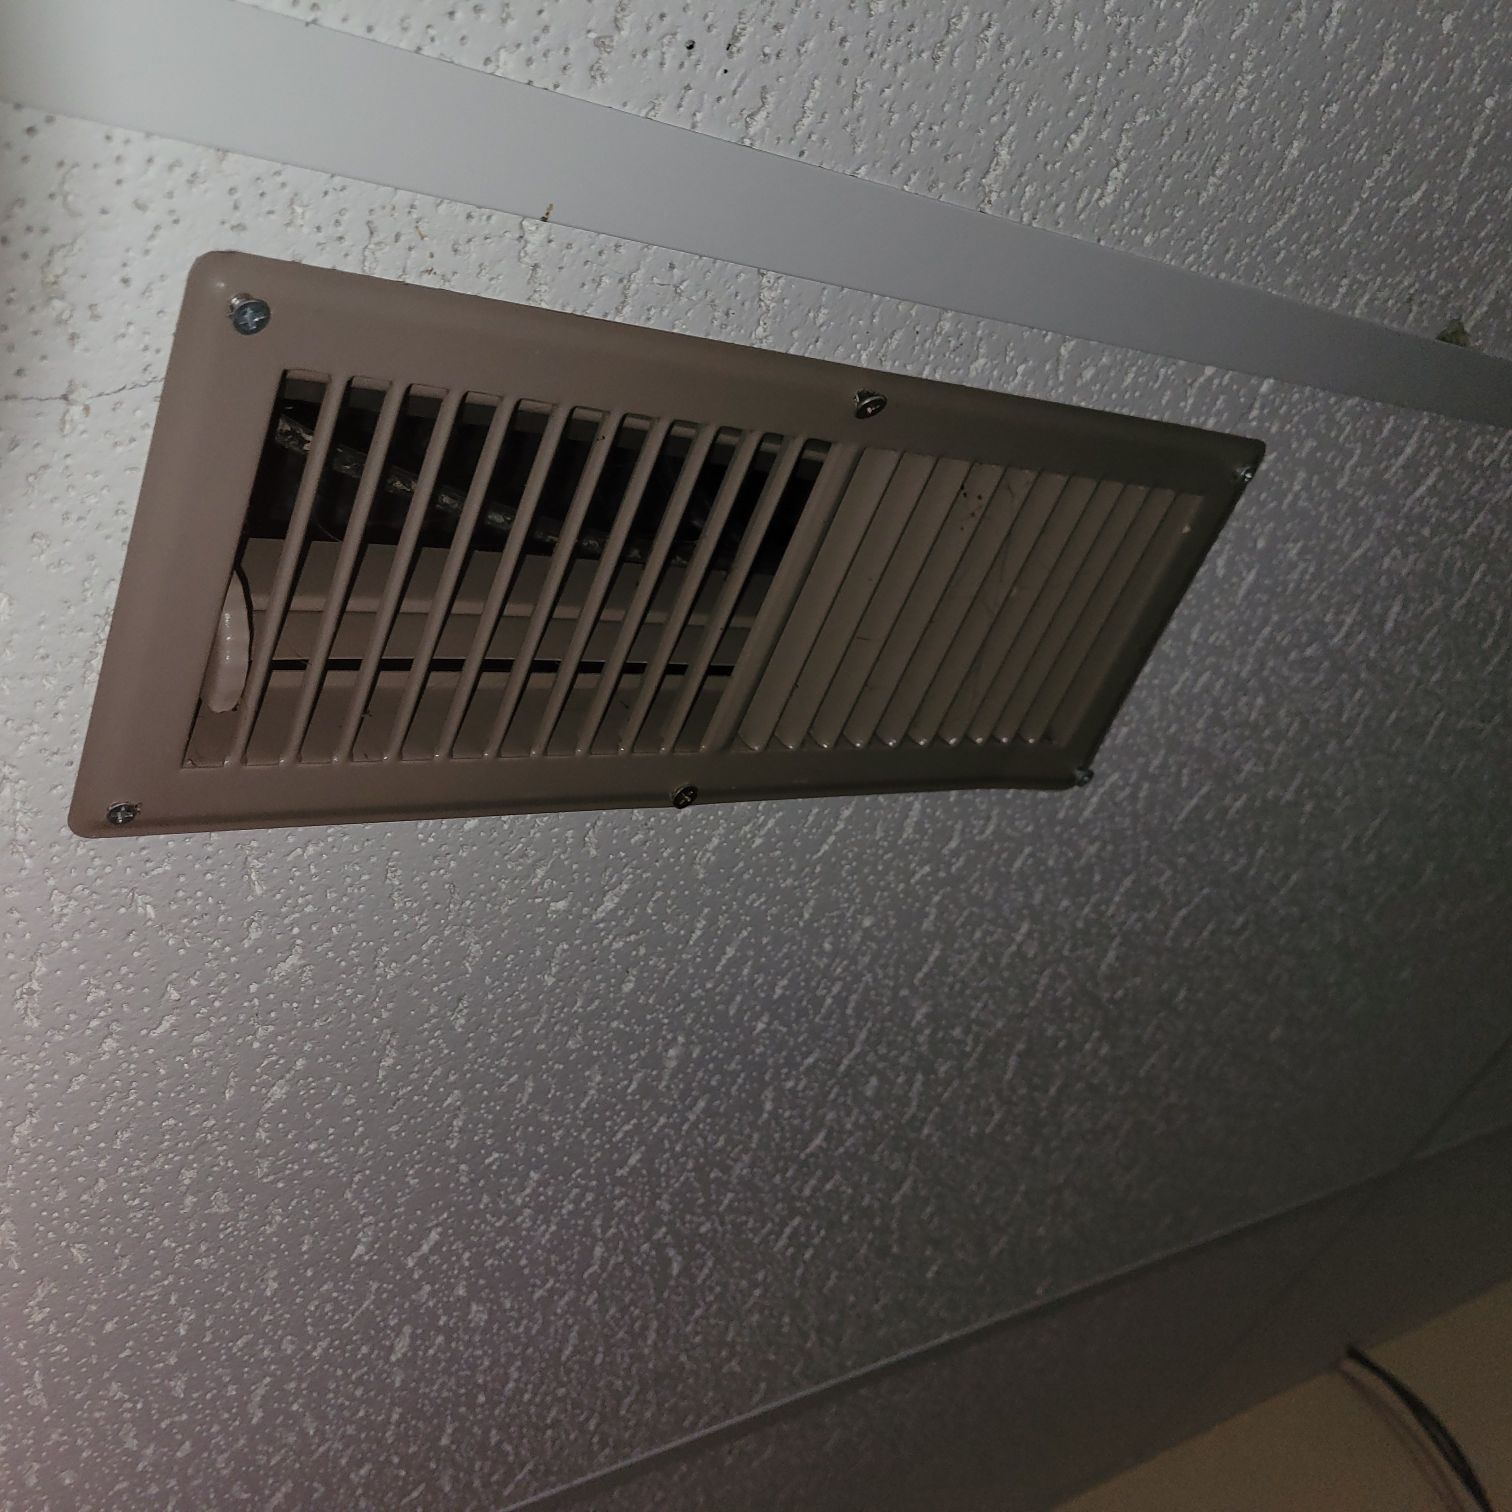
The final step is to locate lights and vents in the ceiling. Clear Lucite panels should be placed under the lights, and the vents will have simple floor vents placed through a cut in the ceiling tiles and attached.
The vents will be upside down from a traditional floor placement since the vents in a basement blow air down, not up. A snug fit is important for vents to avoid losing airflow and make sure that light fixtures are properly mounted and wired.
Inspect the Ceiling for Looks and Function
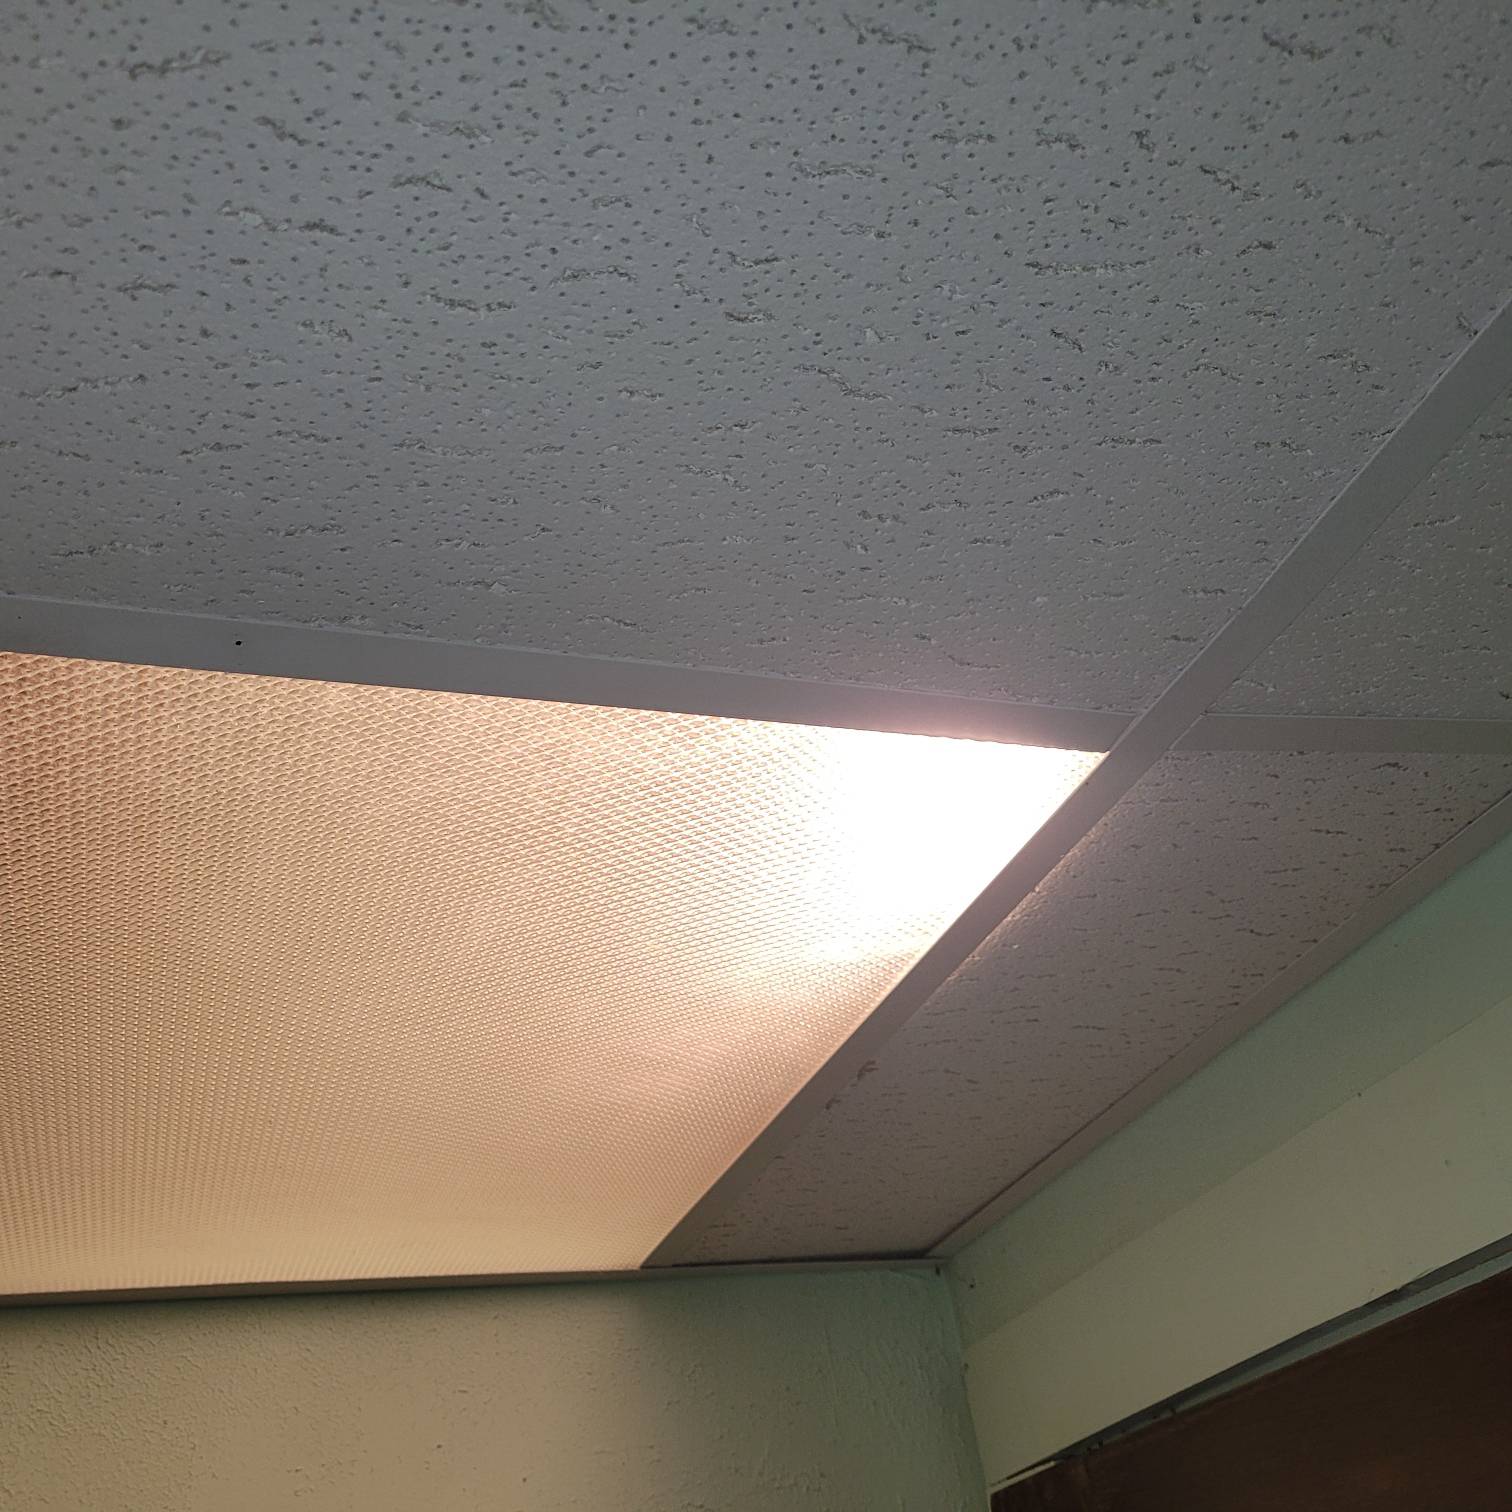
When you’re finished, you’ll have an entirely new look in that old basement, a finished look that brings the room a new function as well.
Make sure to check the fit of all ceiling tiles and fixtures, ensuring nothing falls down on your guests or you.


