DIY Outdoor Pizza Oven: Transform Your Backyard into a Culinary Oasis
The art of creating delicious, wood-fired pizza in your own backyard is not just a dream for the culinary enthusiast but a tangible project for the avid DIYer. With the rise of home improvement projects, building a DIY outdoor pizza oven has become a popular endeavor, merging the joy of cooking with the satisfaction of hands-on crafting. Let’s embark on a DIY adventure to transform your outdoor space into a gourmet pizza paradise.
Understanding the Basics and Preparing for Your Project – Laying the Groundwork for Success
Before diving into the construction, it’s essential to grasp the basics of a DIY outdoor pizza oven. This culinary marvel operates on the principle of retaining high heat to cook pizza quickly and evenly, achieving that perfect crispy crust and well-melted cheese.
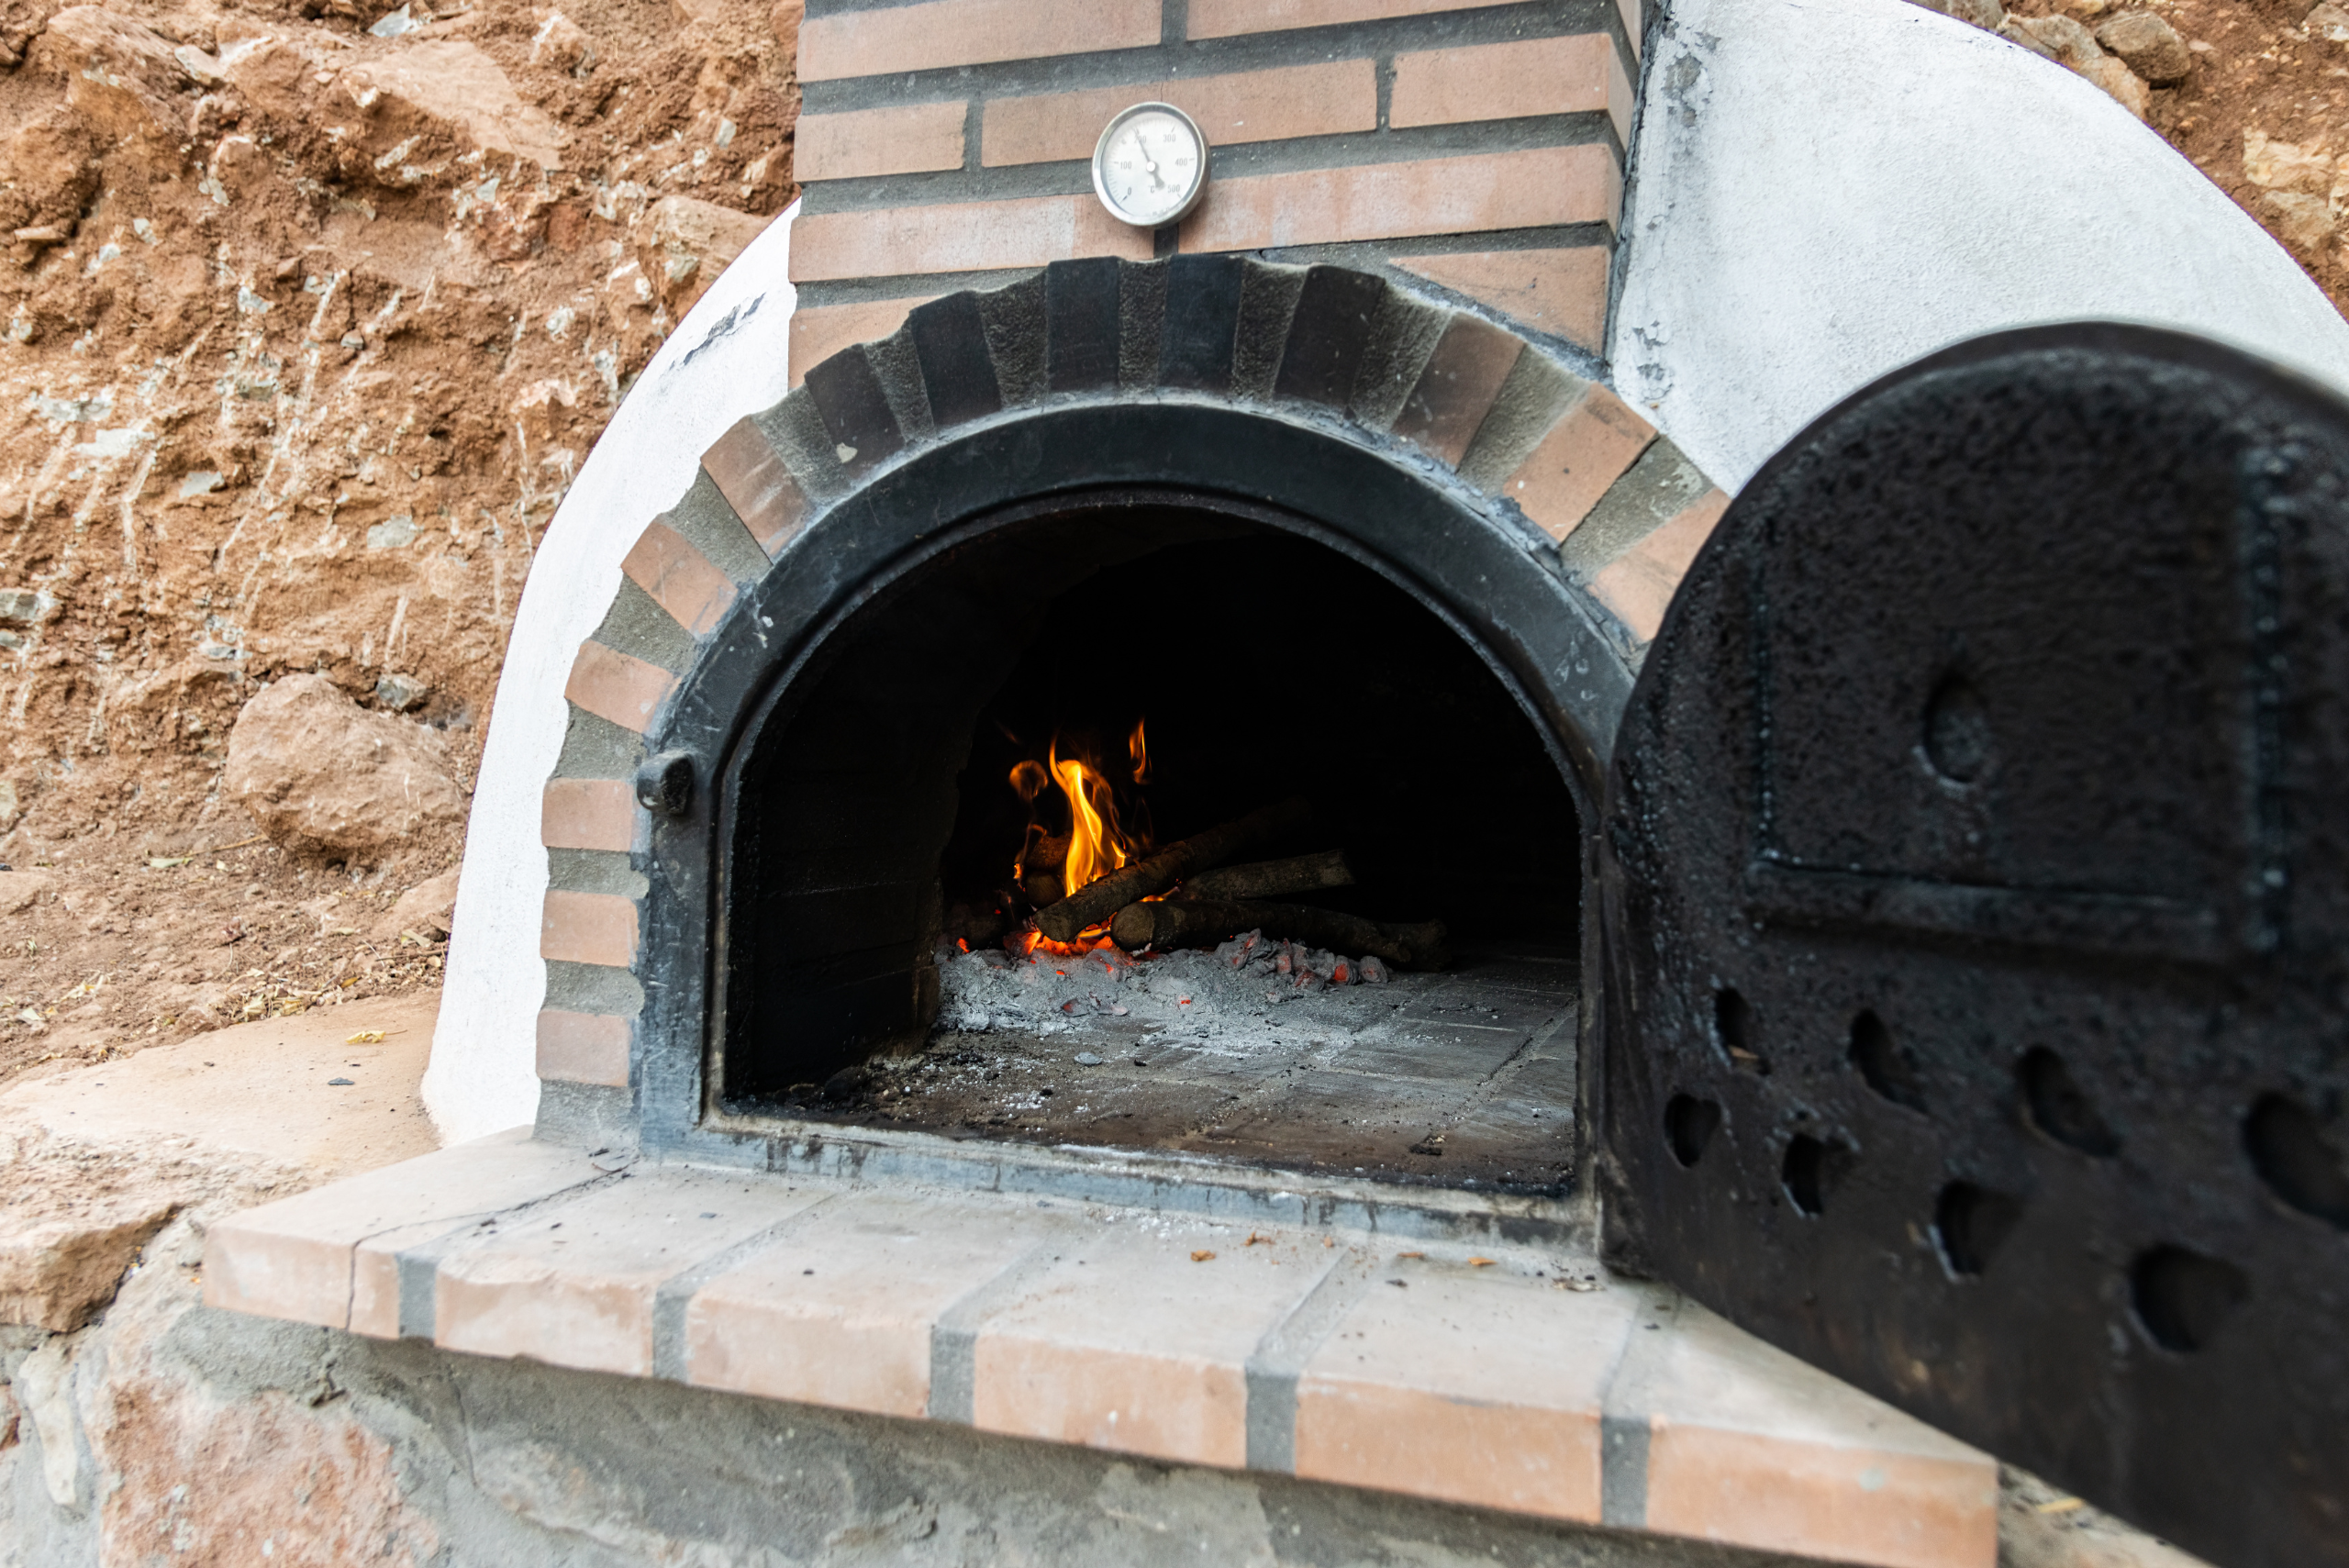
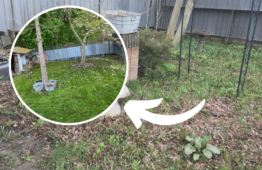
The key components include the base, insulation, dome, and chimney, each playing a crucial role in the oven’s functionality. Preparing for your project involves choosing the right location in your backyard, gathering materials (bricks, mortar, insulation), tools (trowel, level, saw), and planning the size and design of your oven. Remember, a solid foundation not only supports the weight but also ensures longevity and safety.
Selecting the Right Materials – A Crucial Step for Durability and Efficiency
The choice of materials directly impacts the efficiency, durability, and safety of your outdoor pizza oven.
- Fire bricks or refractory bricks (around 200-300 bricks, depending on the size of the oven)
- Fireclay or refractory mortar
- Concrete blocks or bricks for the base
- Cement
- Sand
- Metal mesh or rebar
- Metal door for the oven
- Thermal insulation material (optional)
- Oven thermometer
- Shovel
- Trowel
- Level
- Tape measure
- Gloves and safety goggles
Designing Your Oven – Tailoring the Structure to Fit Your Space and Needs
Designing your DIY outdoor pizza oven is an exciting phase where creativity meets functionality. Start by deciding on the size and shape of your oven. A traditional dome shape is popular for its efficient heat distribution, but some prefer a barrel vault for its larger cooking surface. Consider the size of your outdoor space and how you plan to use the oven.
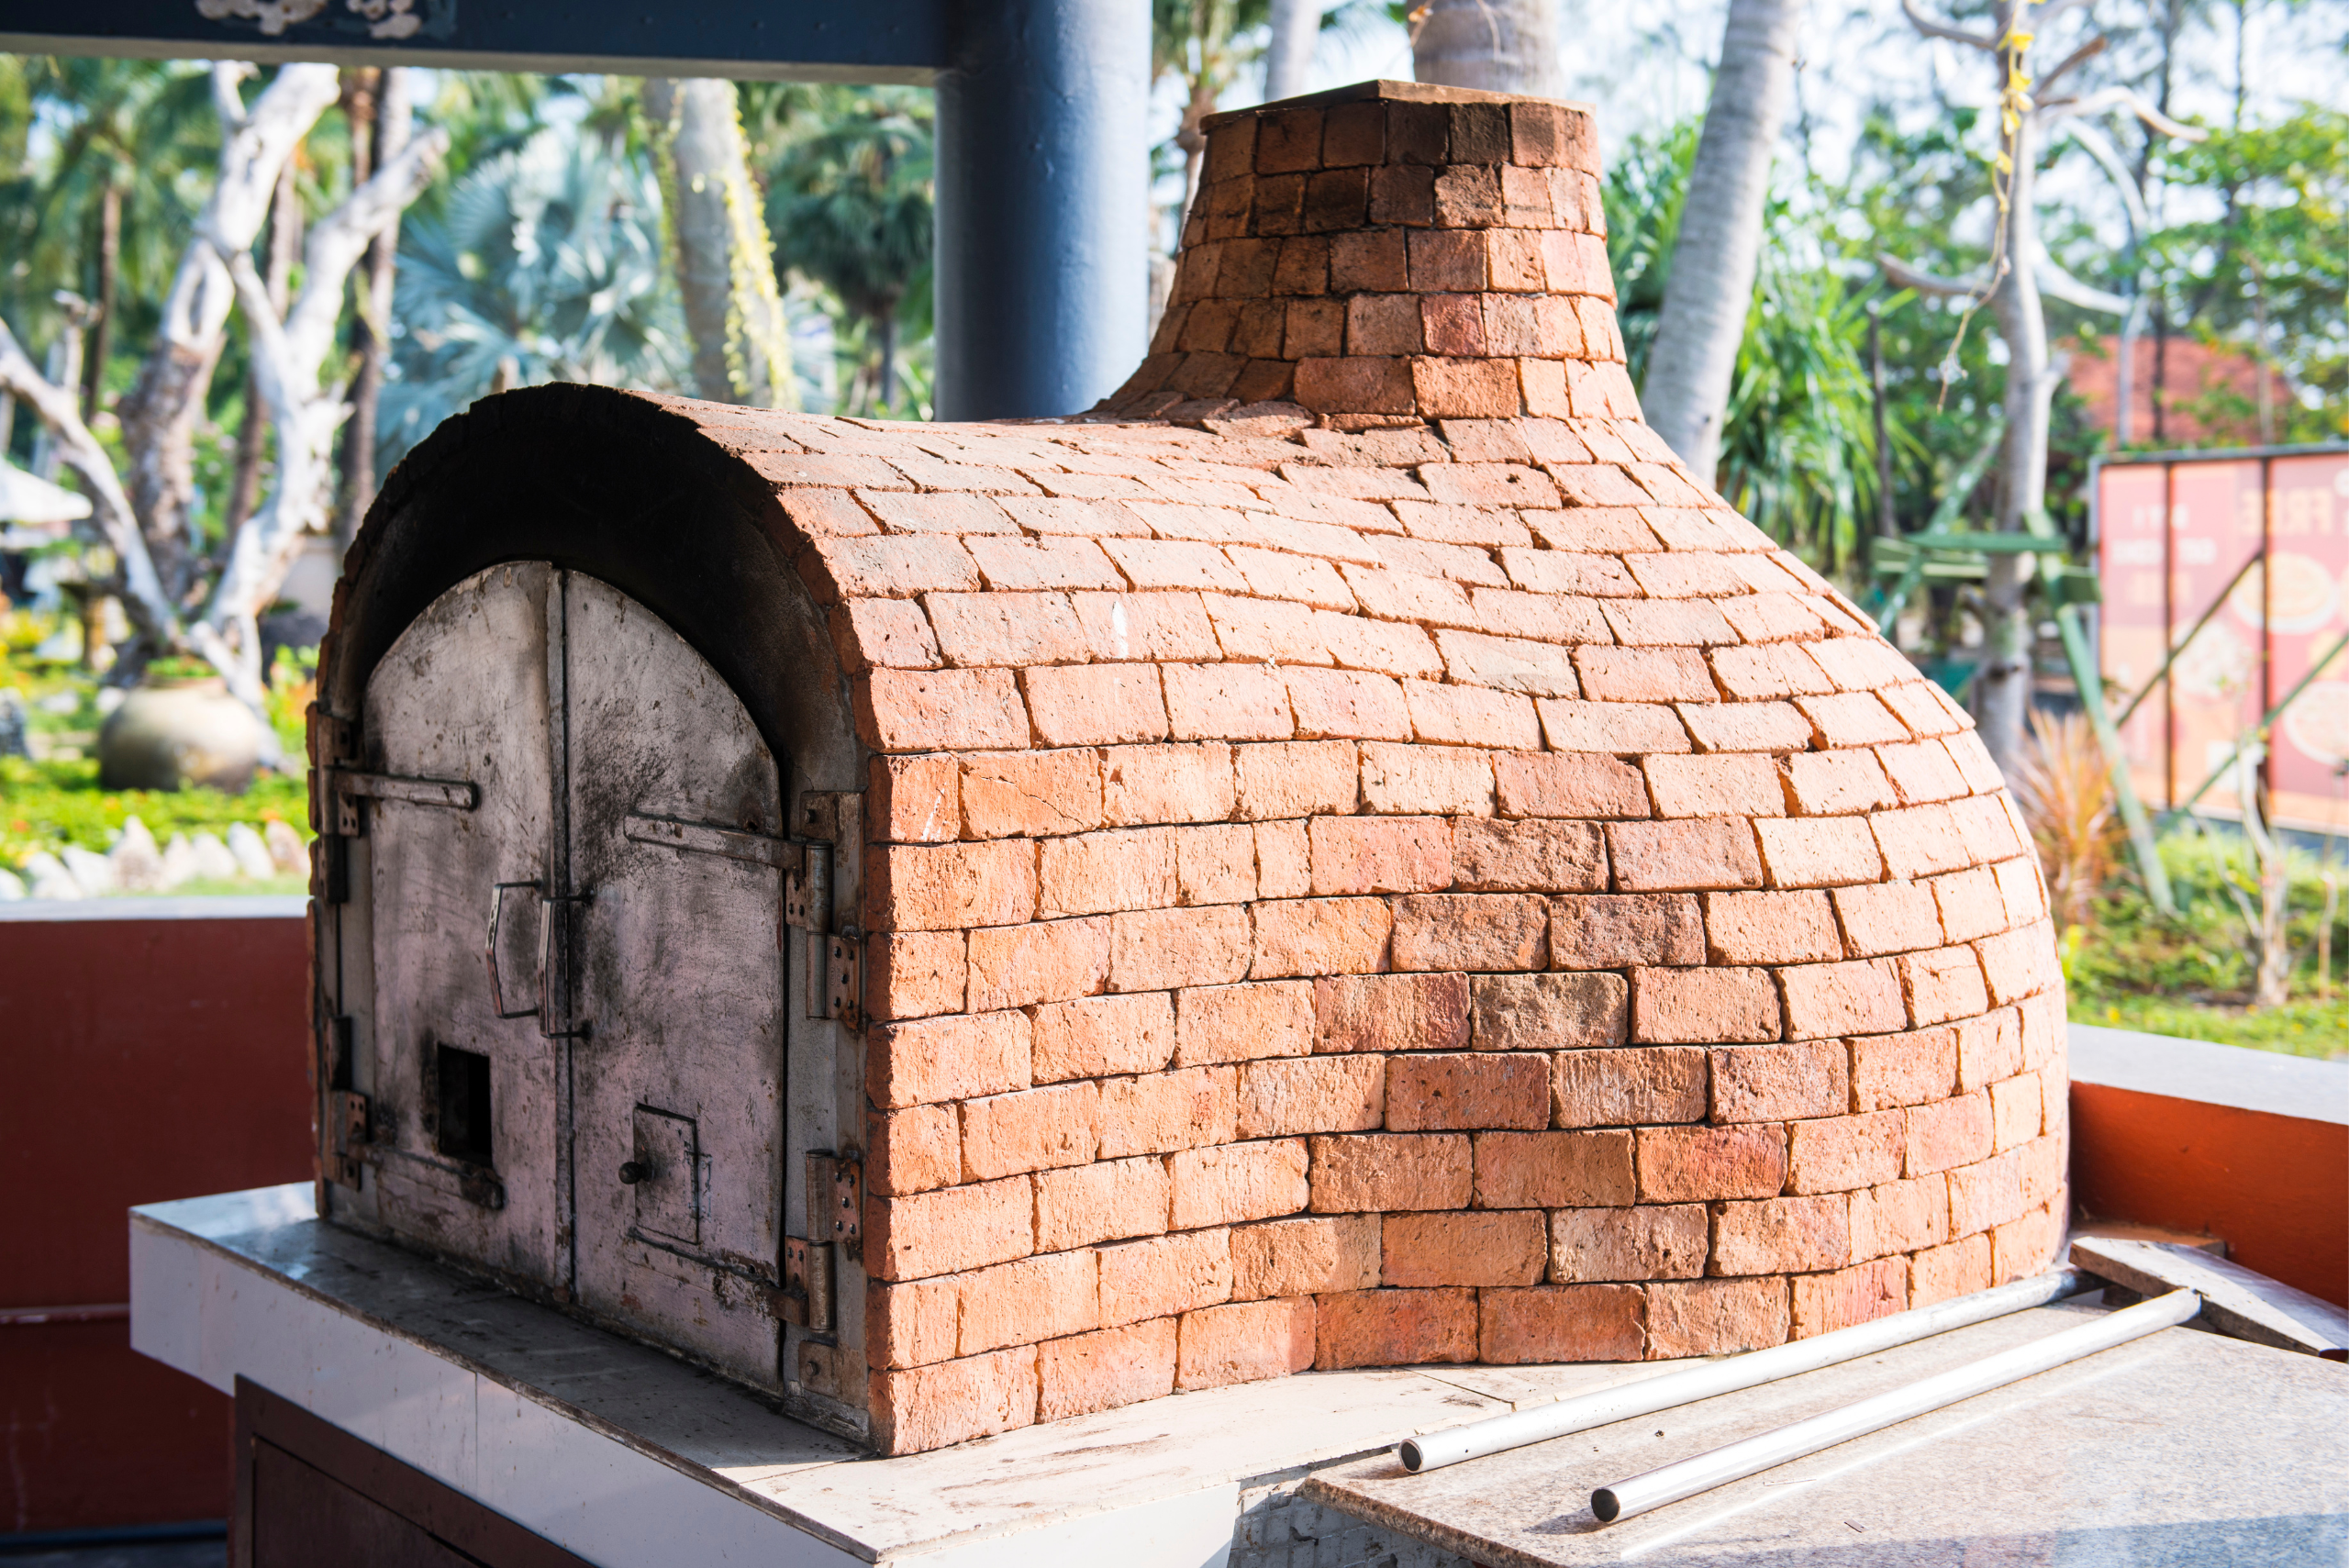
A larger oven can cook multiple pizzas at once, making it ideal for entertaining, but requires more materials and space. Sketch your design, keeping in mind the placement of the door and chimney for optimal airflow. This personalized approach ensures your outdoor pizza oven is not only a cooking device but also a focal point in your backyard.
The Building Process – Step-by-Step to Bringing Your Outdoor Pizza Oven to Life
Building an outdoor pizza oven can be a rewarding project. Here’s a step-by-step guide to help you construct one:
Step 1: Build the Base
- Lay out the dimensions for the base. A common size is around 4 to 5 feet in diameter for the cooking area.
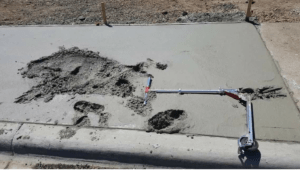
- Use concrete blocks or bricks to build a sturdy base, making sure it’s level and square.
- Fill any gaps in the blocks with mortar for stability.
Step 2: Construct the Oven Stand
- Lay a layer of fire bricks or concrete blocks on top of the base to serve as the oven floor.
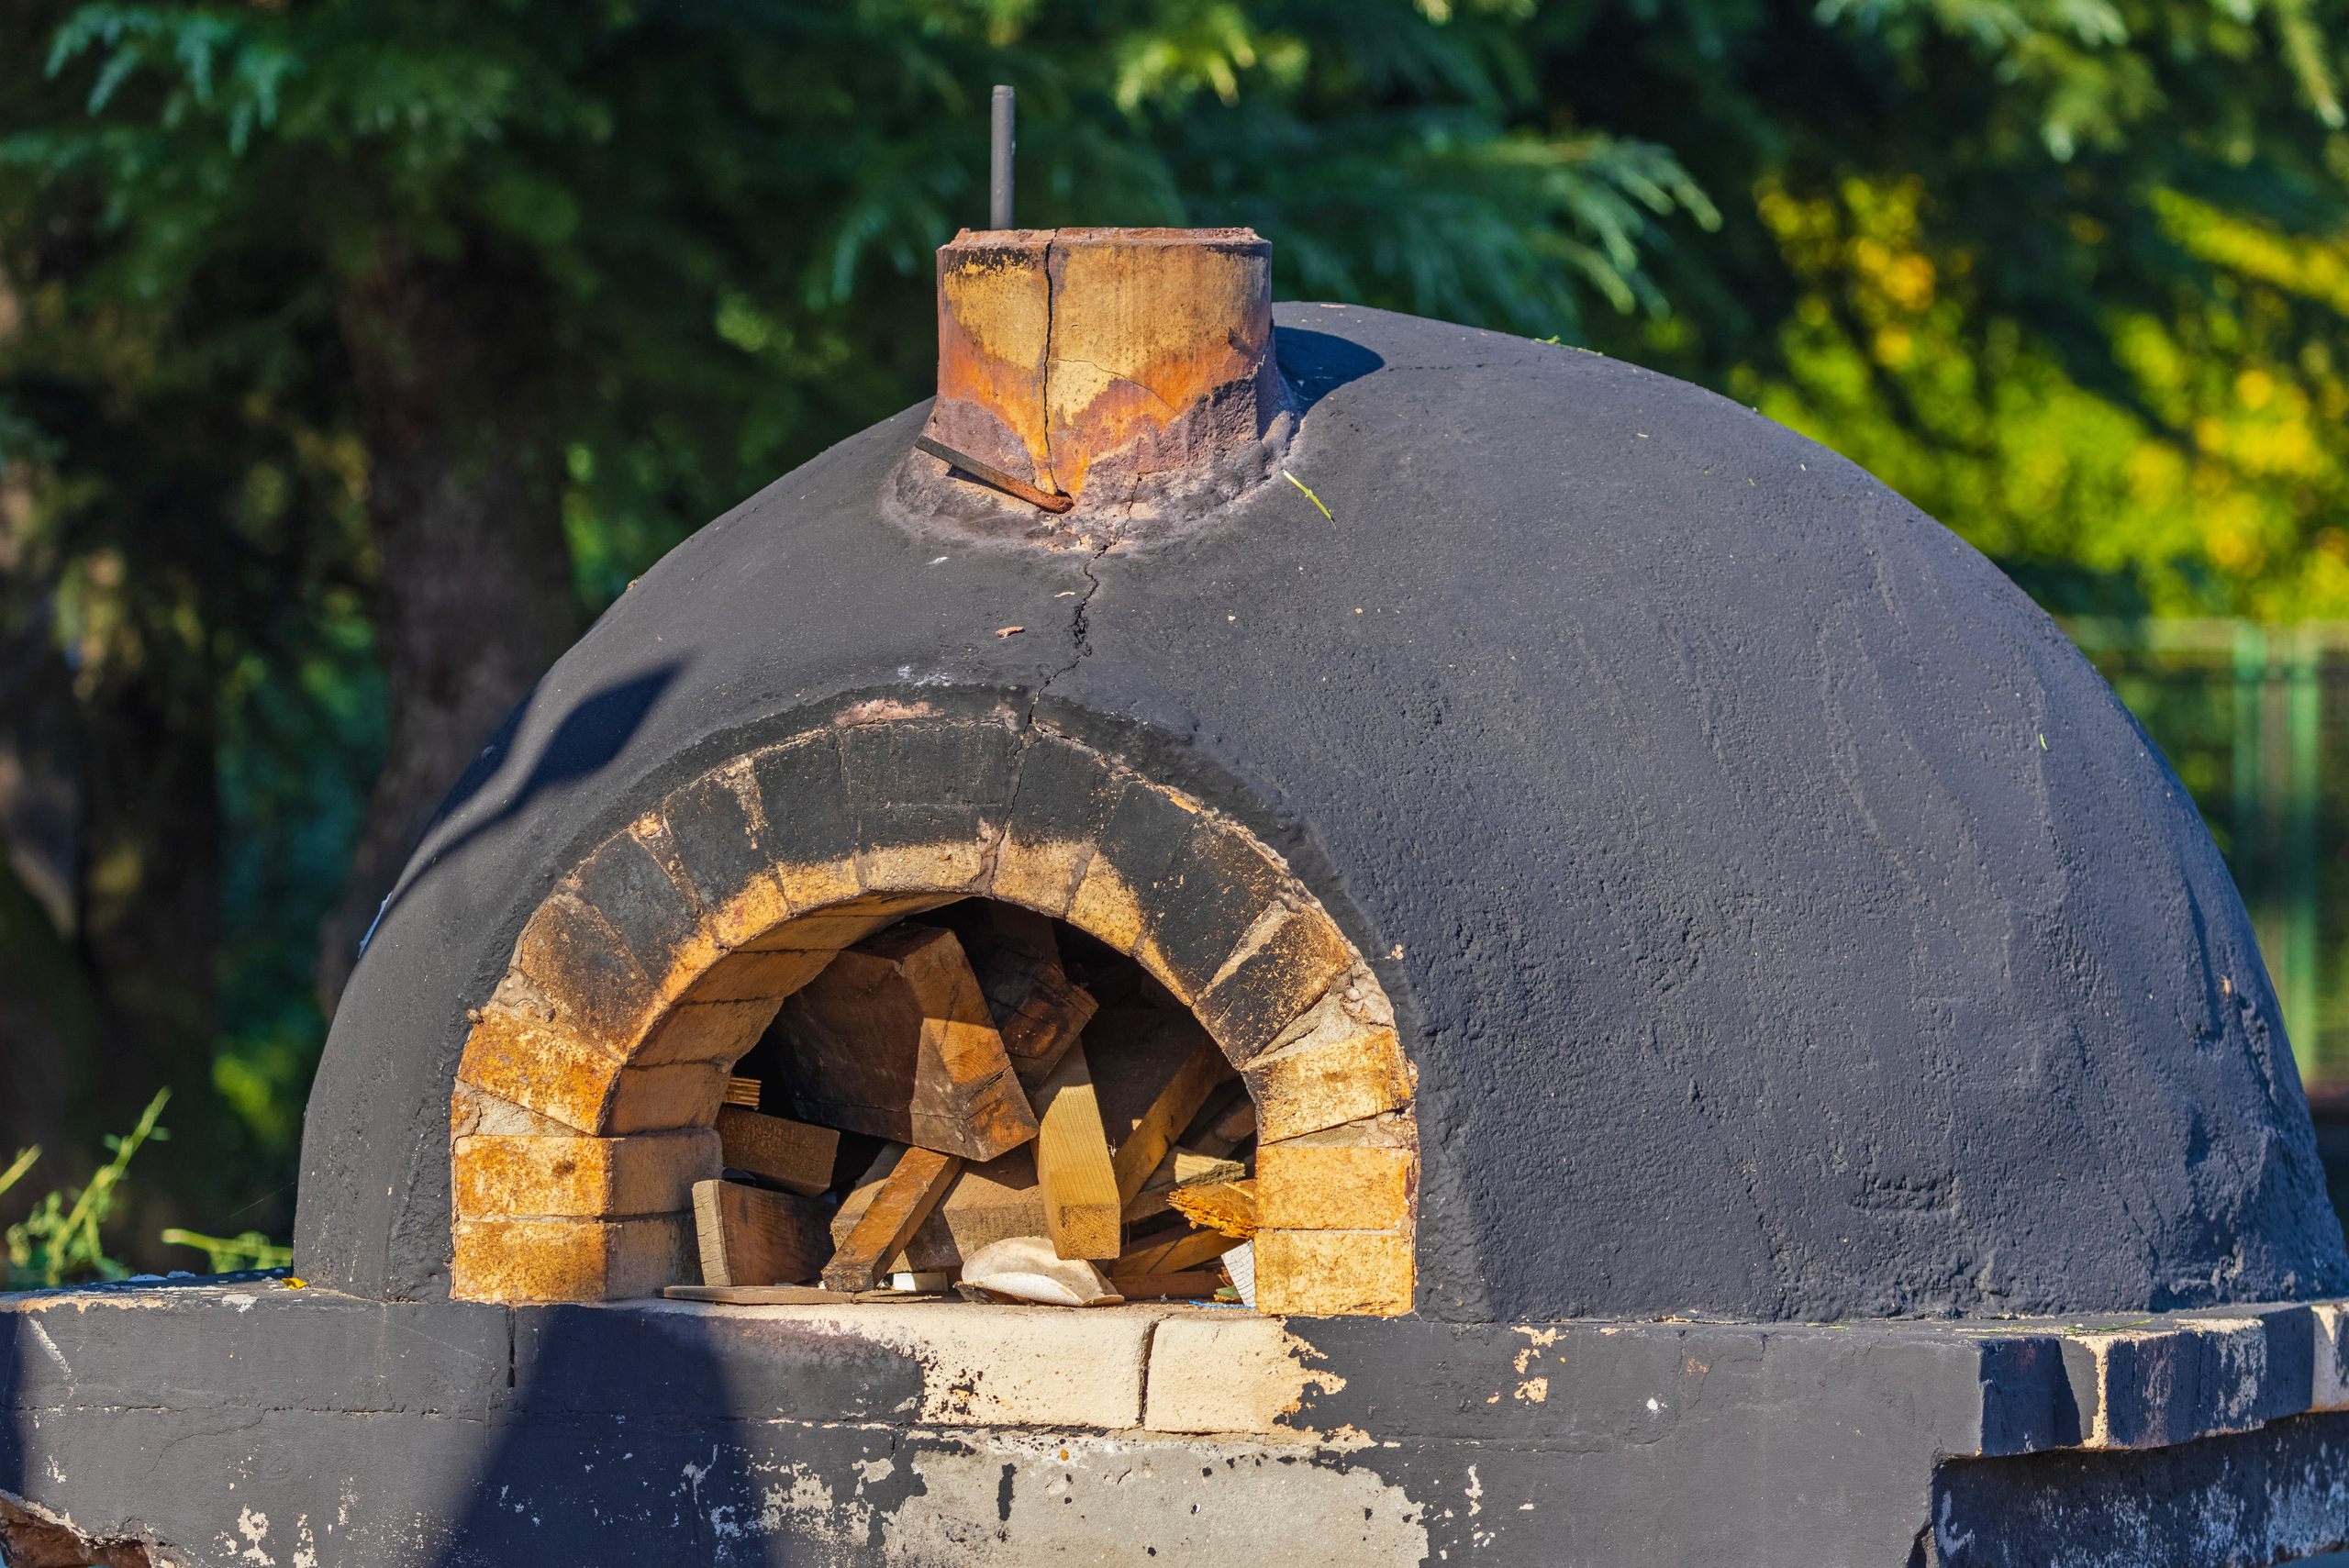
- Build the walls of the oven using fire bricks or refractory bricks, forming a dome shape. You can use a mold or form to help shape the dome.
- Leave an opening for the oven door.
- Use fireclay or refractory mortar to bond the bricks together securely.
Step 3: Install Thermal Insulation (Optional)
- For better heat retention, you can add a layer of thermal insulation material, such as a ceramic fiber blanket or perlite-vermiculite mix, around the dome of the oven.
Step 4: Build the Chimney
- Construct a chimney at the back of the oven to allow smoke to escape. This can be made from metal ducting or additional bricks.
Step 5: Add the Oven Door
- Install a metal door for the oven entrance. Ensure it fits snugly to retain heat.
Step 6: Finishing Touches
- Once the oven is assembled, allow it to dry and cure for several days before using it.
- Check for any gaps or cracks and seal them with refractory mortar.
- Install an oven thermometer to monitor the temperature.
Step 7: Test and Enjoy
- Build a small fire inside the oven and gradually increase the temperature over a few hours to cure the oven.
- Once cured, you’re ready to start making pizzas!
Dimensions For This Example
- Base: 4-5 feet in diameter
- Oven floor: 2-3 feet in diameter
- Height: Variable, but typically around 5-6 feet tall at the highest point of the dome.
(These dimensions can be adjusted based on your space and preference. Remember to check local building codes and regulations before starting your project.)
Final Touches and Maintenance – Enhancing Aesthetics and Longevity
After construction, adding final touches can transform your outdoor pizza oven from a simple cooking tool to an aesthetic masterpiece. Consider applying a stucco finish or decorative tiles to match your outdoor decor. Installing a door not only retains heat but also protects the oven from the elements.
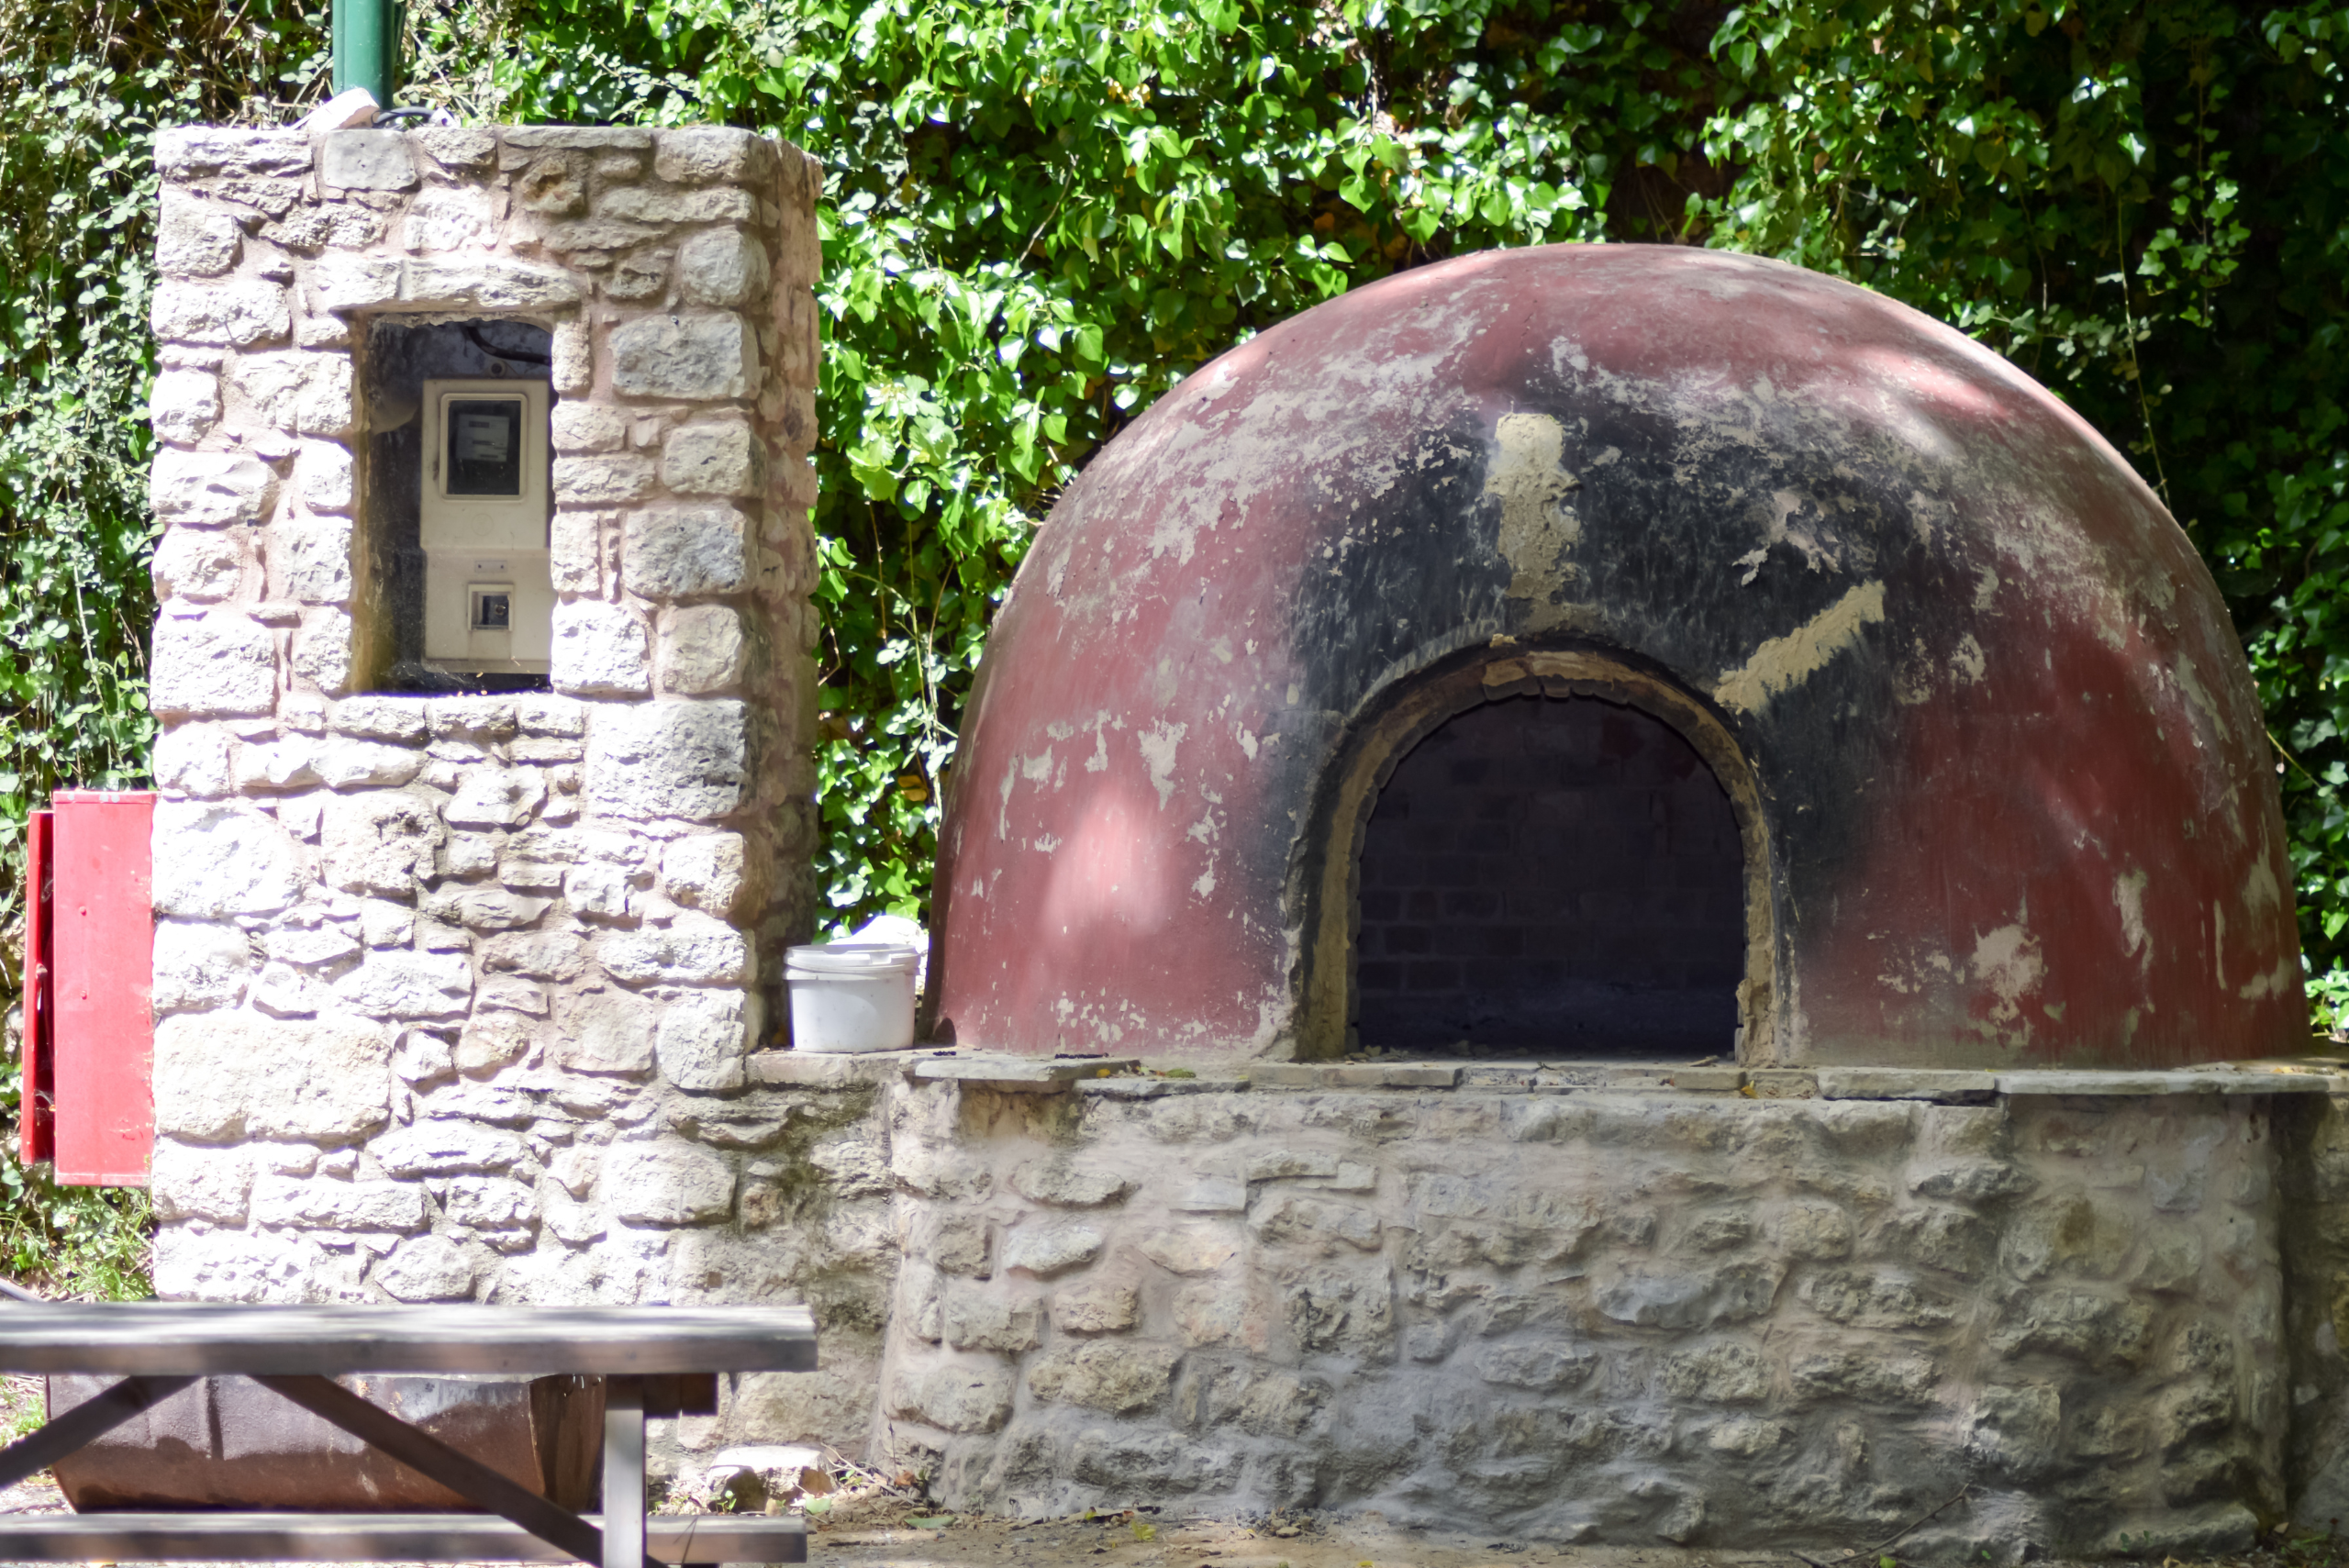
As for maintenance, regular cleaning of the cooking surface and chimney is necessary to ensure proper airflow and prevent ash buildup. Periodically inspecting the structure for cracks and wear can help address issues before they become major problems. With proper care, your DIY outdoor pizza oven will serve as a centerpiece for gatherings and a source of delicious meals for years to come.
Building a DIY outdoor pizza oven is a rewarding project that combines the joys of DIY craftsmanship with the love of cooking. From selecting materials to applying the final touches, each step offers a unique blend of creativity, precision, and hard work. The result is not just a functional cooking device but a statement piece in your outdoor living space that brings people together. So, fire up your oven and let the flavors and memories begin!
Ready to start your next project? Join our DIY community to receive tool tips, how-to guides, and exclusive creative insights. Subscribe to the ManMadeDIY newsletter now! Click here to unlock a world of hands-on inspiration.


