ManMade’s Submit A Project Series: DIY Mailbox and Post
This post is part of our Submit a Project Series, where our MMDIYers and renovation experts (or amateurs) get the recognition they deserve. Have a project you’re particularly proud of? We at ManMadeDIY want to see it! Click HERE or use the ‘Submit Your Project’ button on our home page to share your latest creations or renovations with us.
For today we have a submission from Tamara White at The Thrifty Apartment who shared the DIY mailbox post she and her husband built from scratch.
“My husband and I came home to a fallen down mailbox post. It appeared that the mailbox post was weather-beaten, rotted, and decaying from the bottom. It was ready to be replaced. We decided to build a new one instead of buying one so that we could customize it the way we wanted and save some money.”
Supplies, Time, and Cost
“This project took a total of 3 hours over two days. The project was very budget-friendly and cost a total of $40.04.”
- Two (2), 4×4 8 ft pressure treated wood = $22.36
- Deckmate 3-inch deck screws = $10.97
- Concrete = $6.71
- Mailbox – donated to us by a friend. The box retails for $23 on Amazon
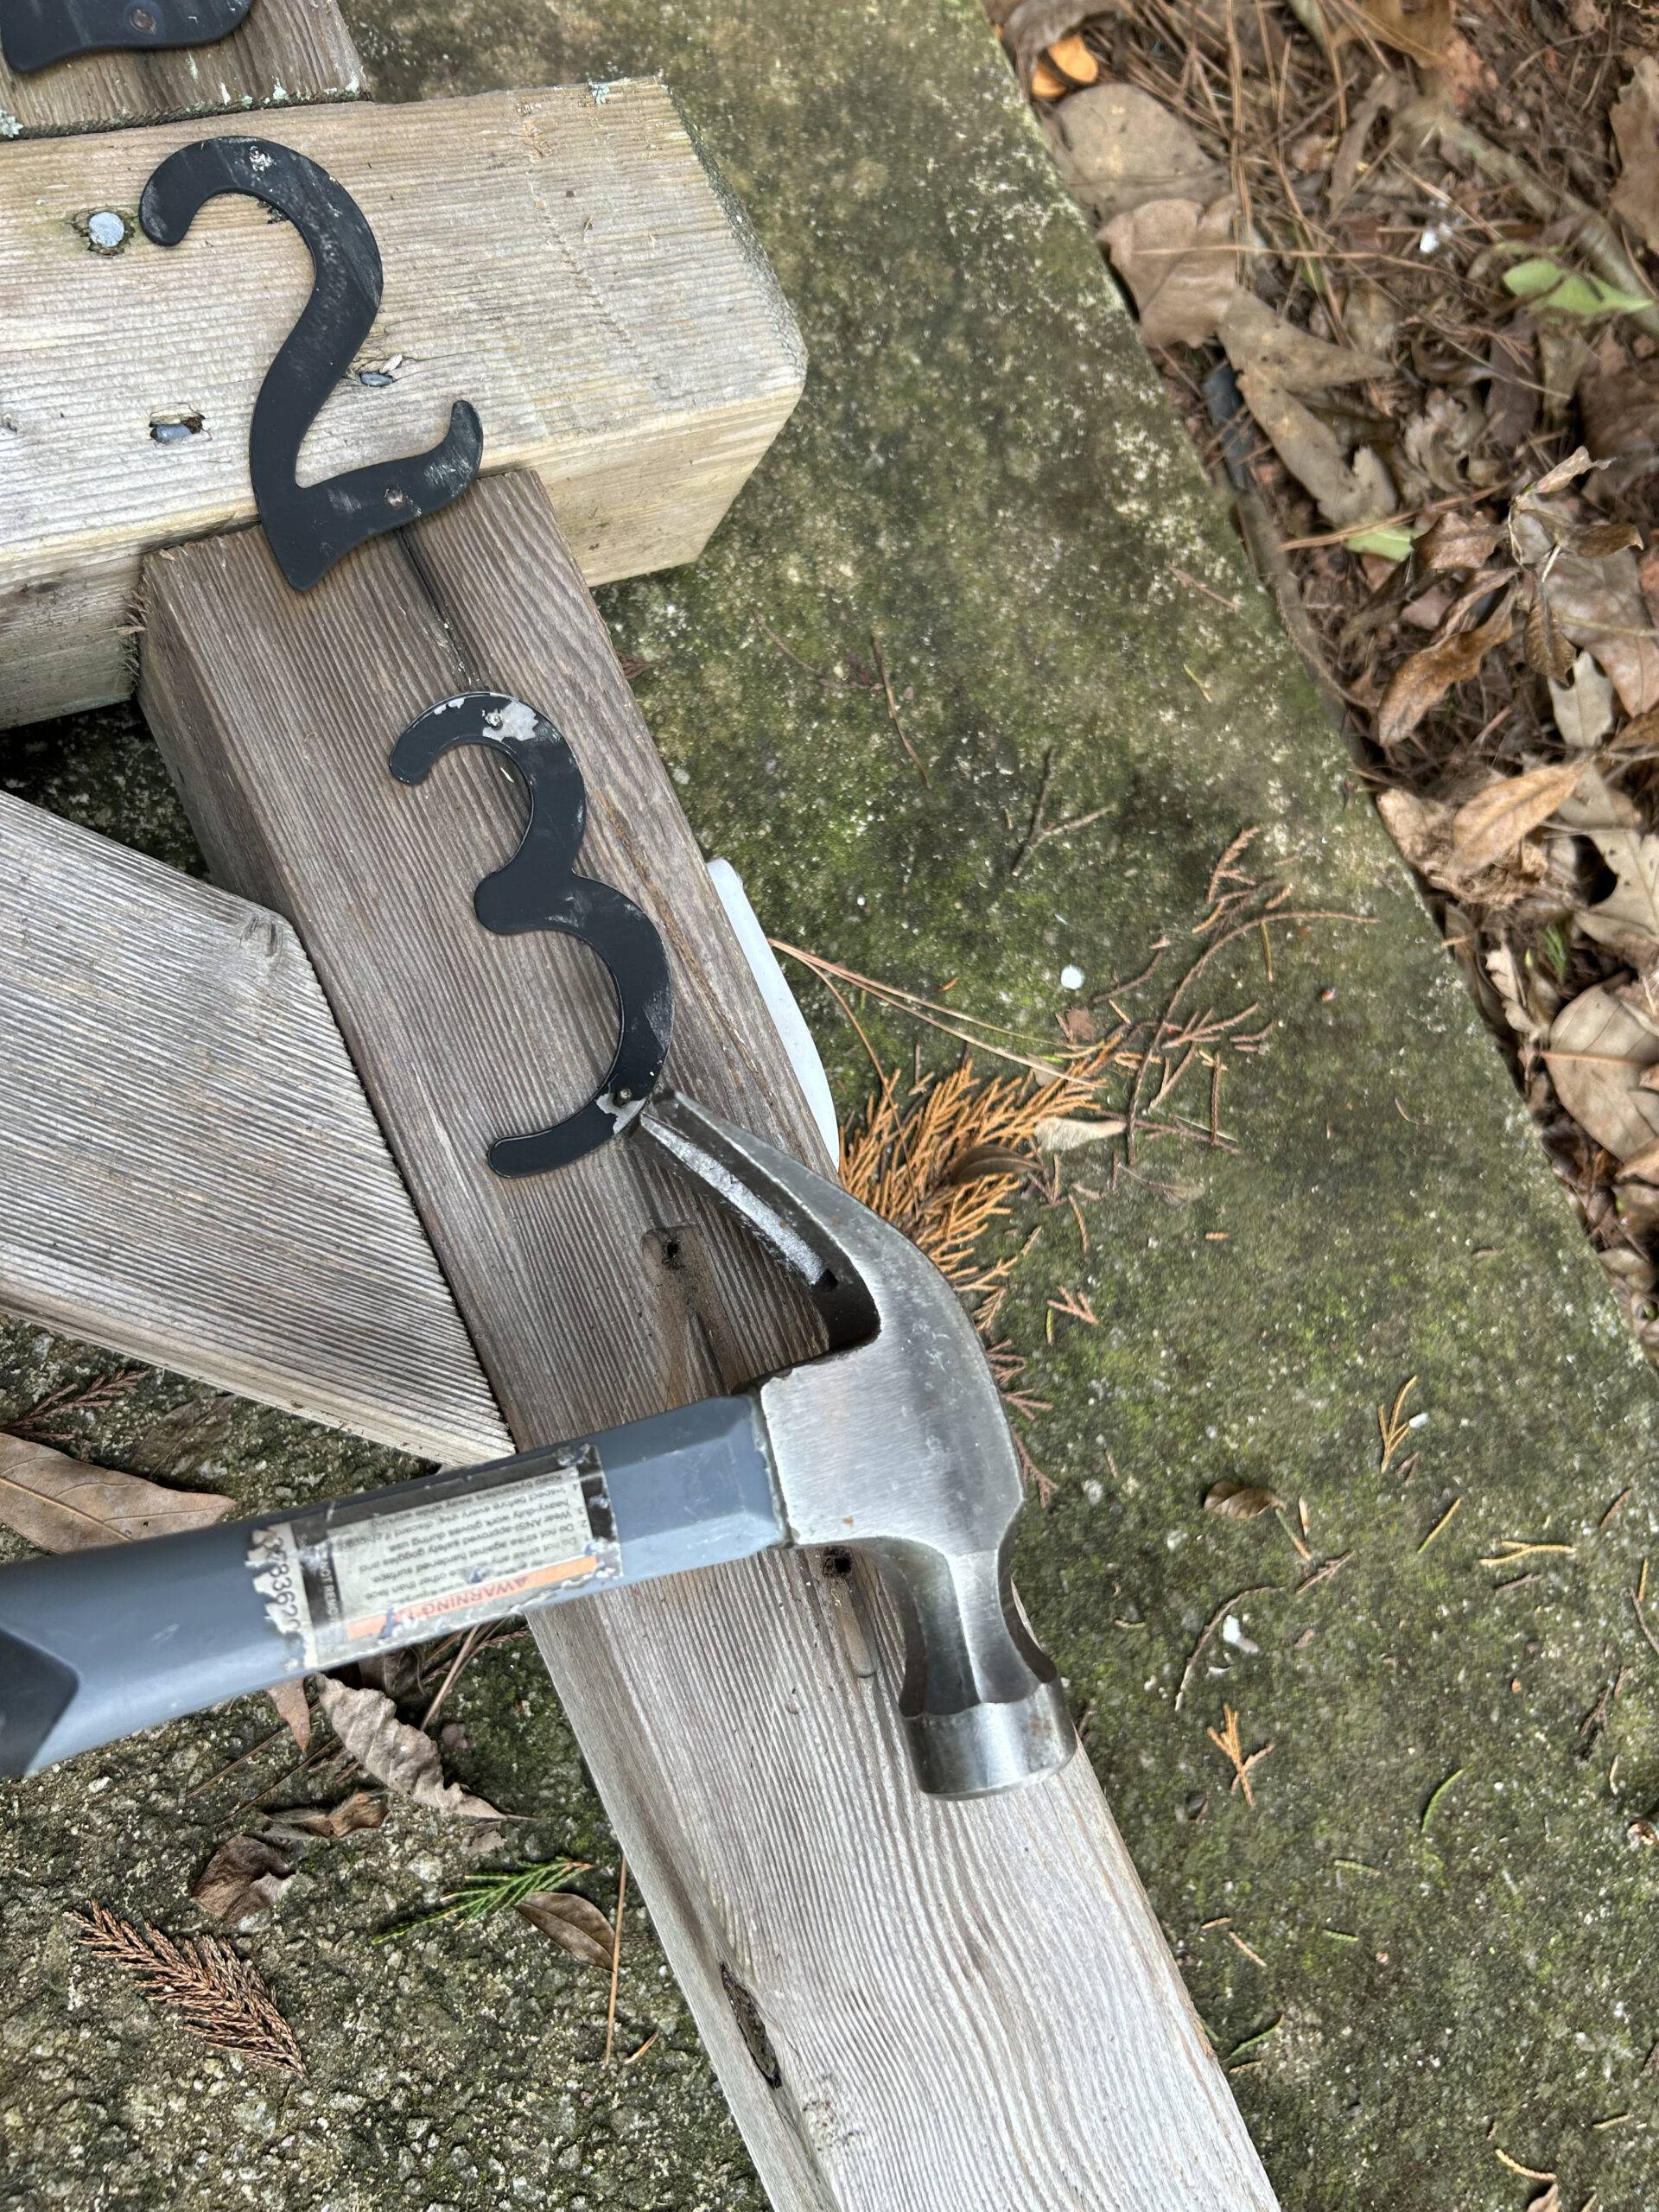
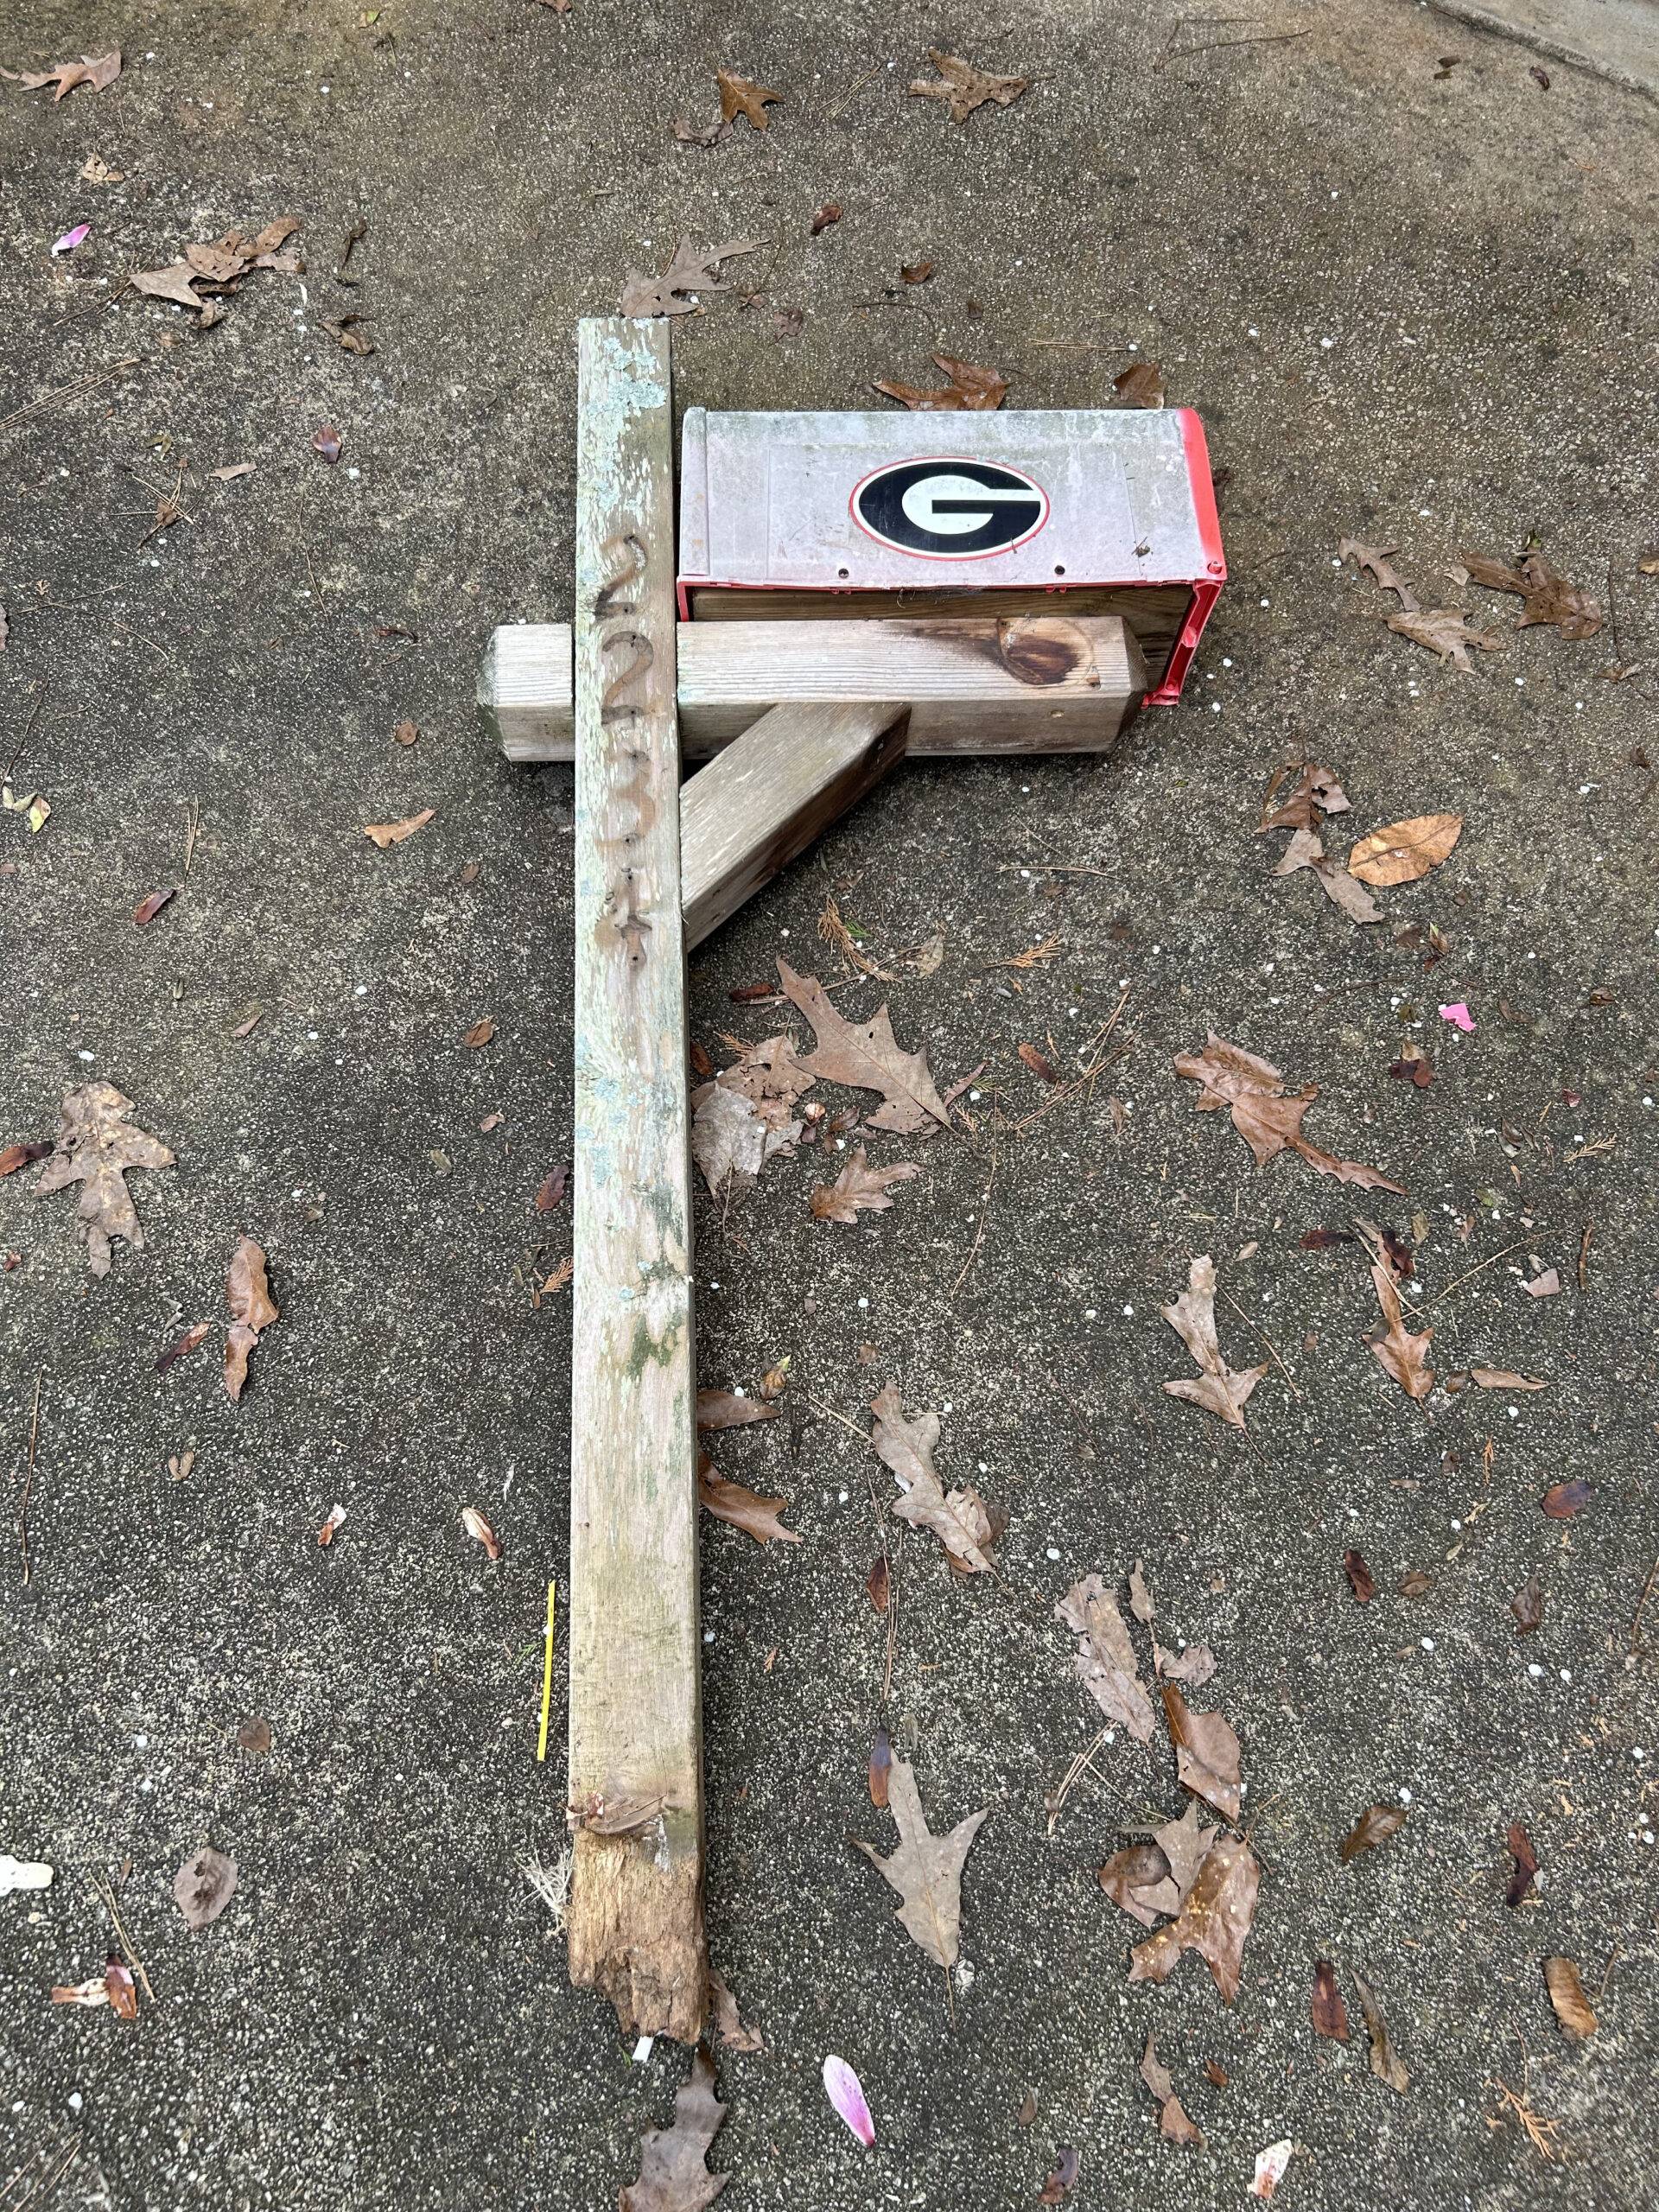
Step 1: Measure the new post
“I measured each of the 4×4 wood to account for the 2 main pieces that we needed to join together. Measurements included one (1) 6 ft piece and (1) 24-inch piece. We then used the miter saw to cut the two (2) pieces of wood.”
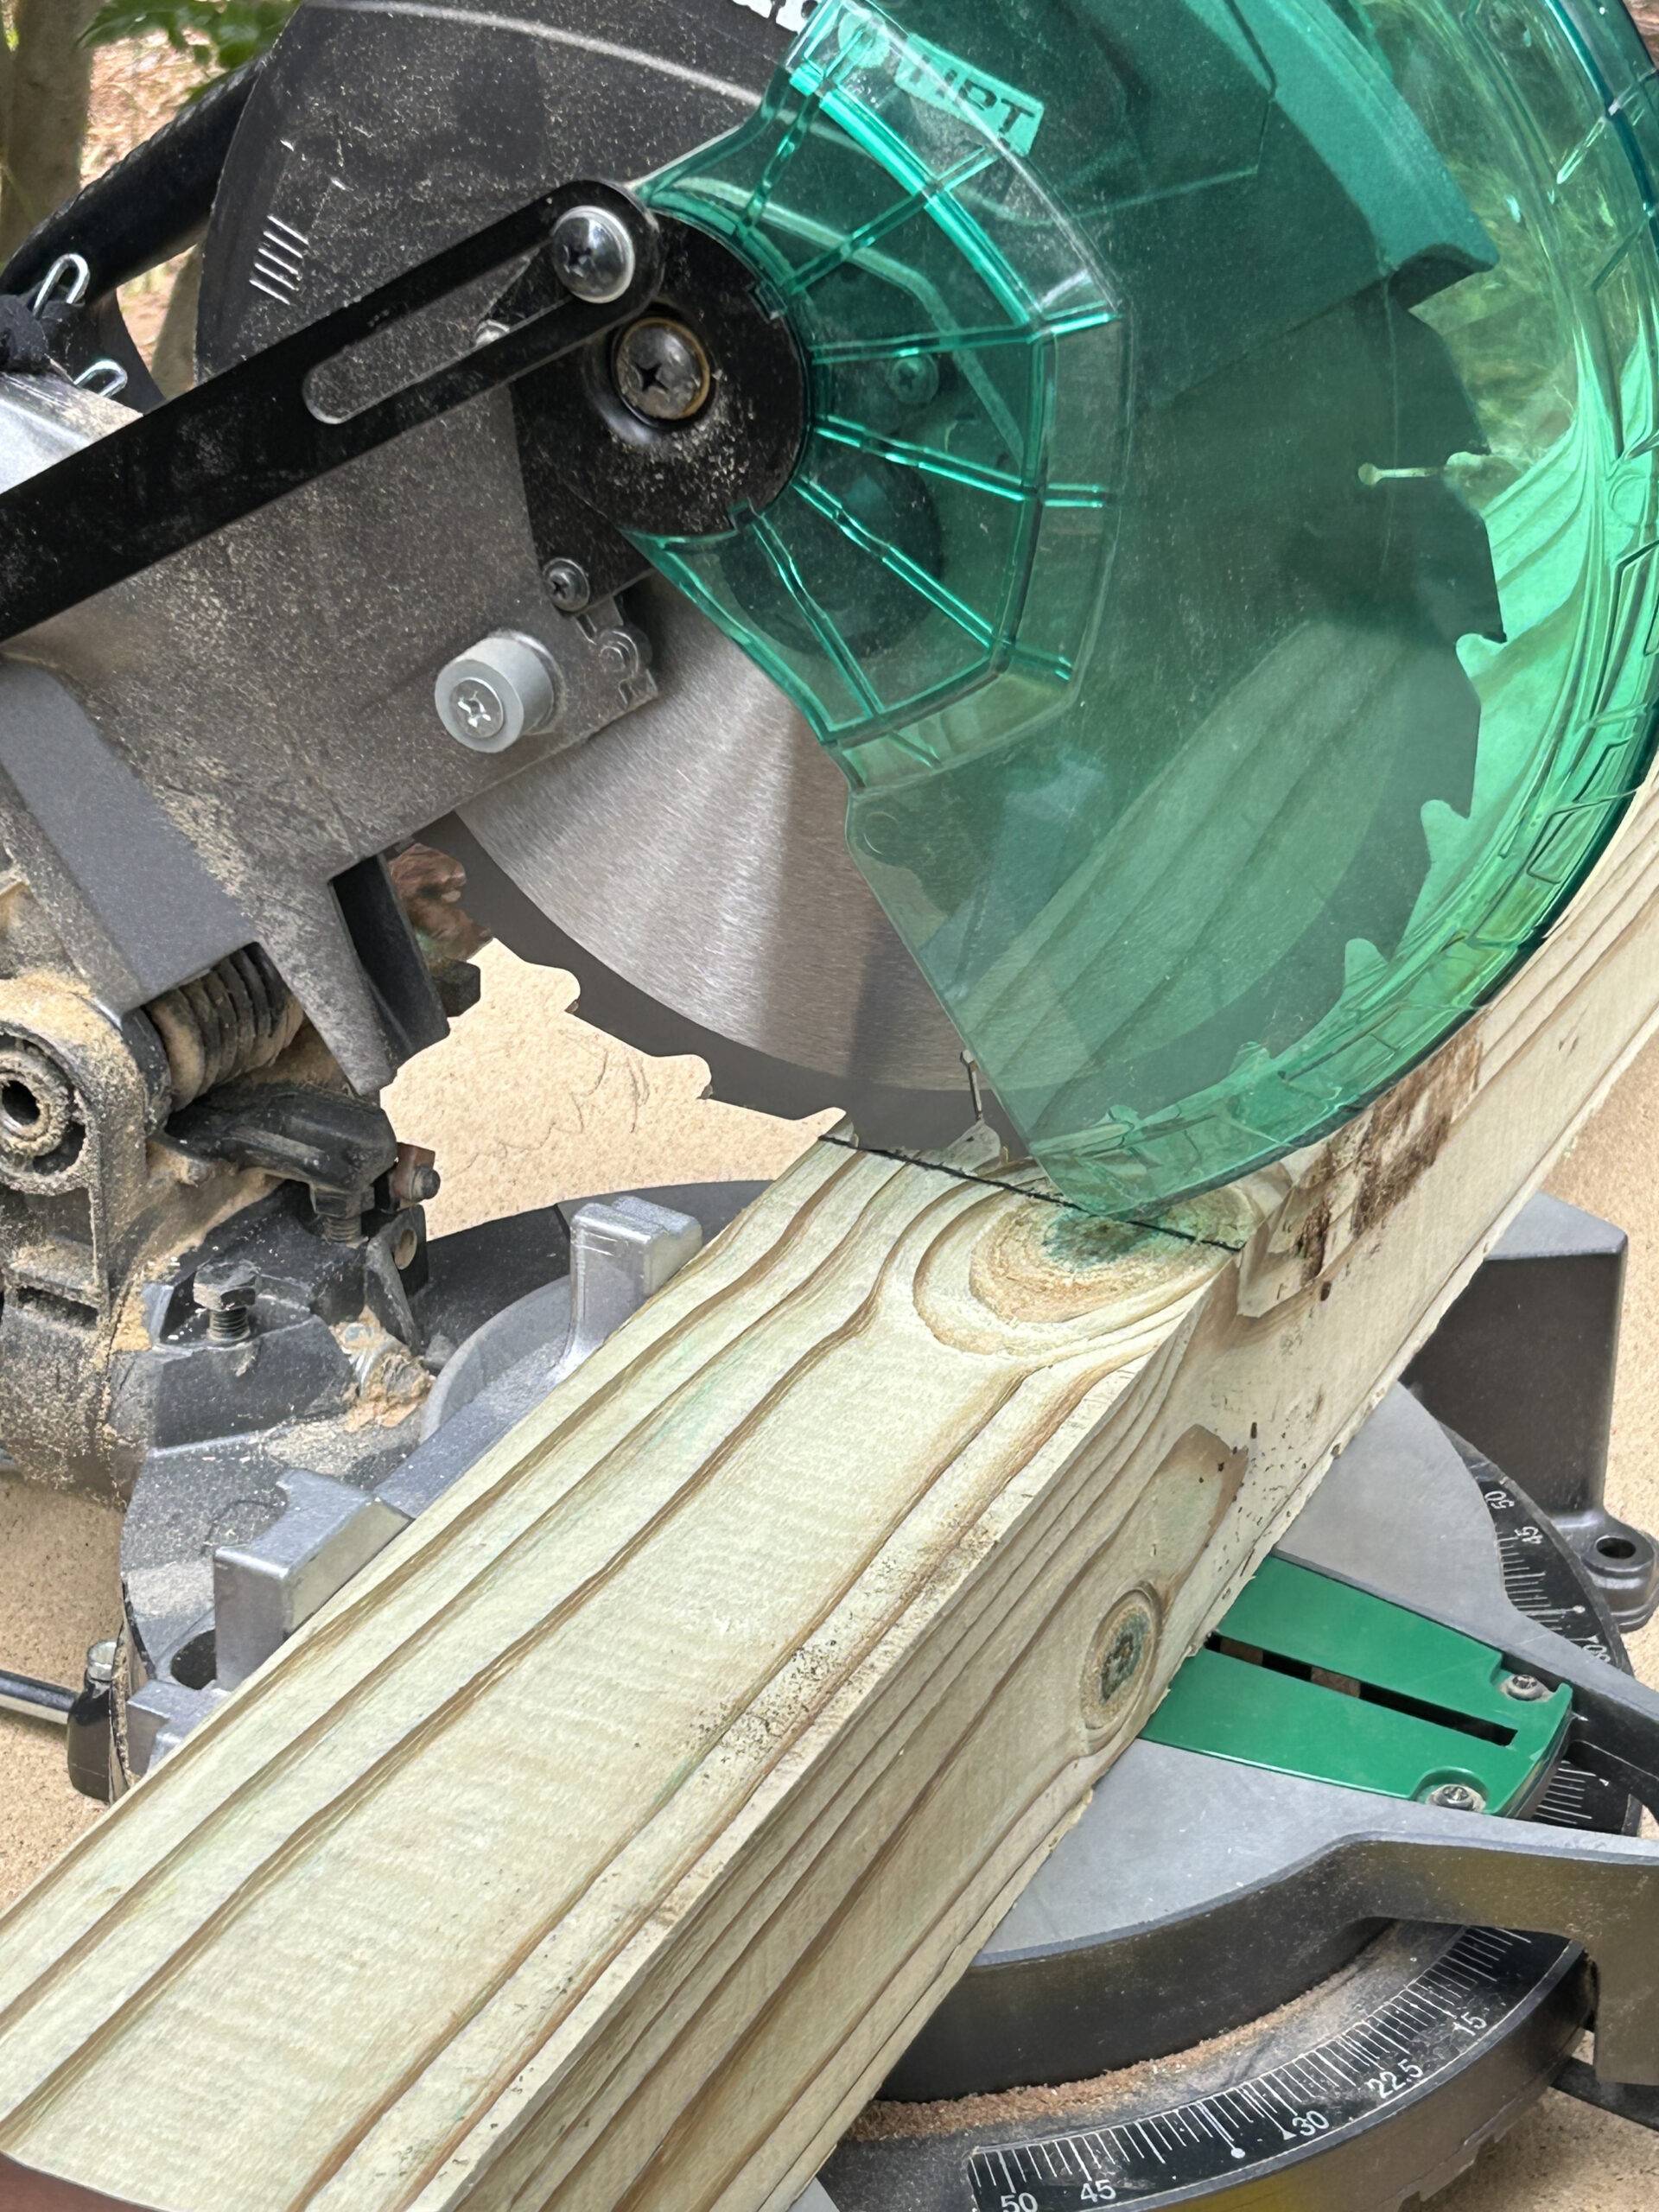
Step 2: Notch The Wood Post
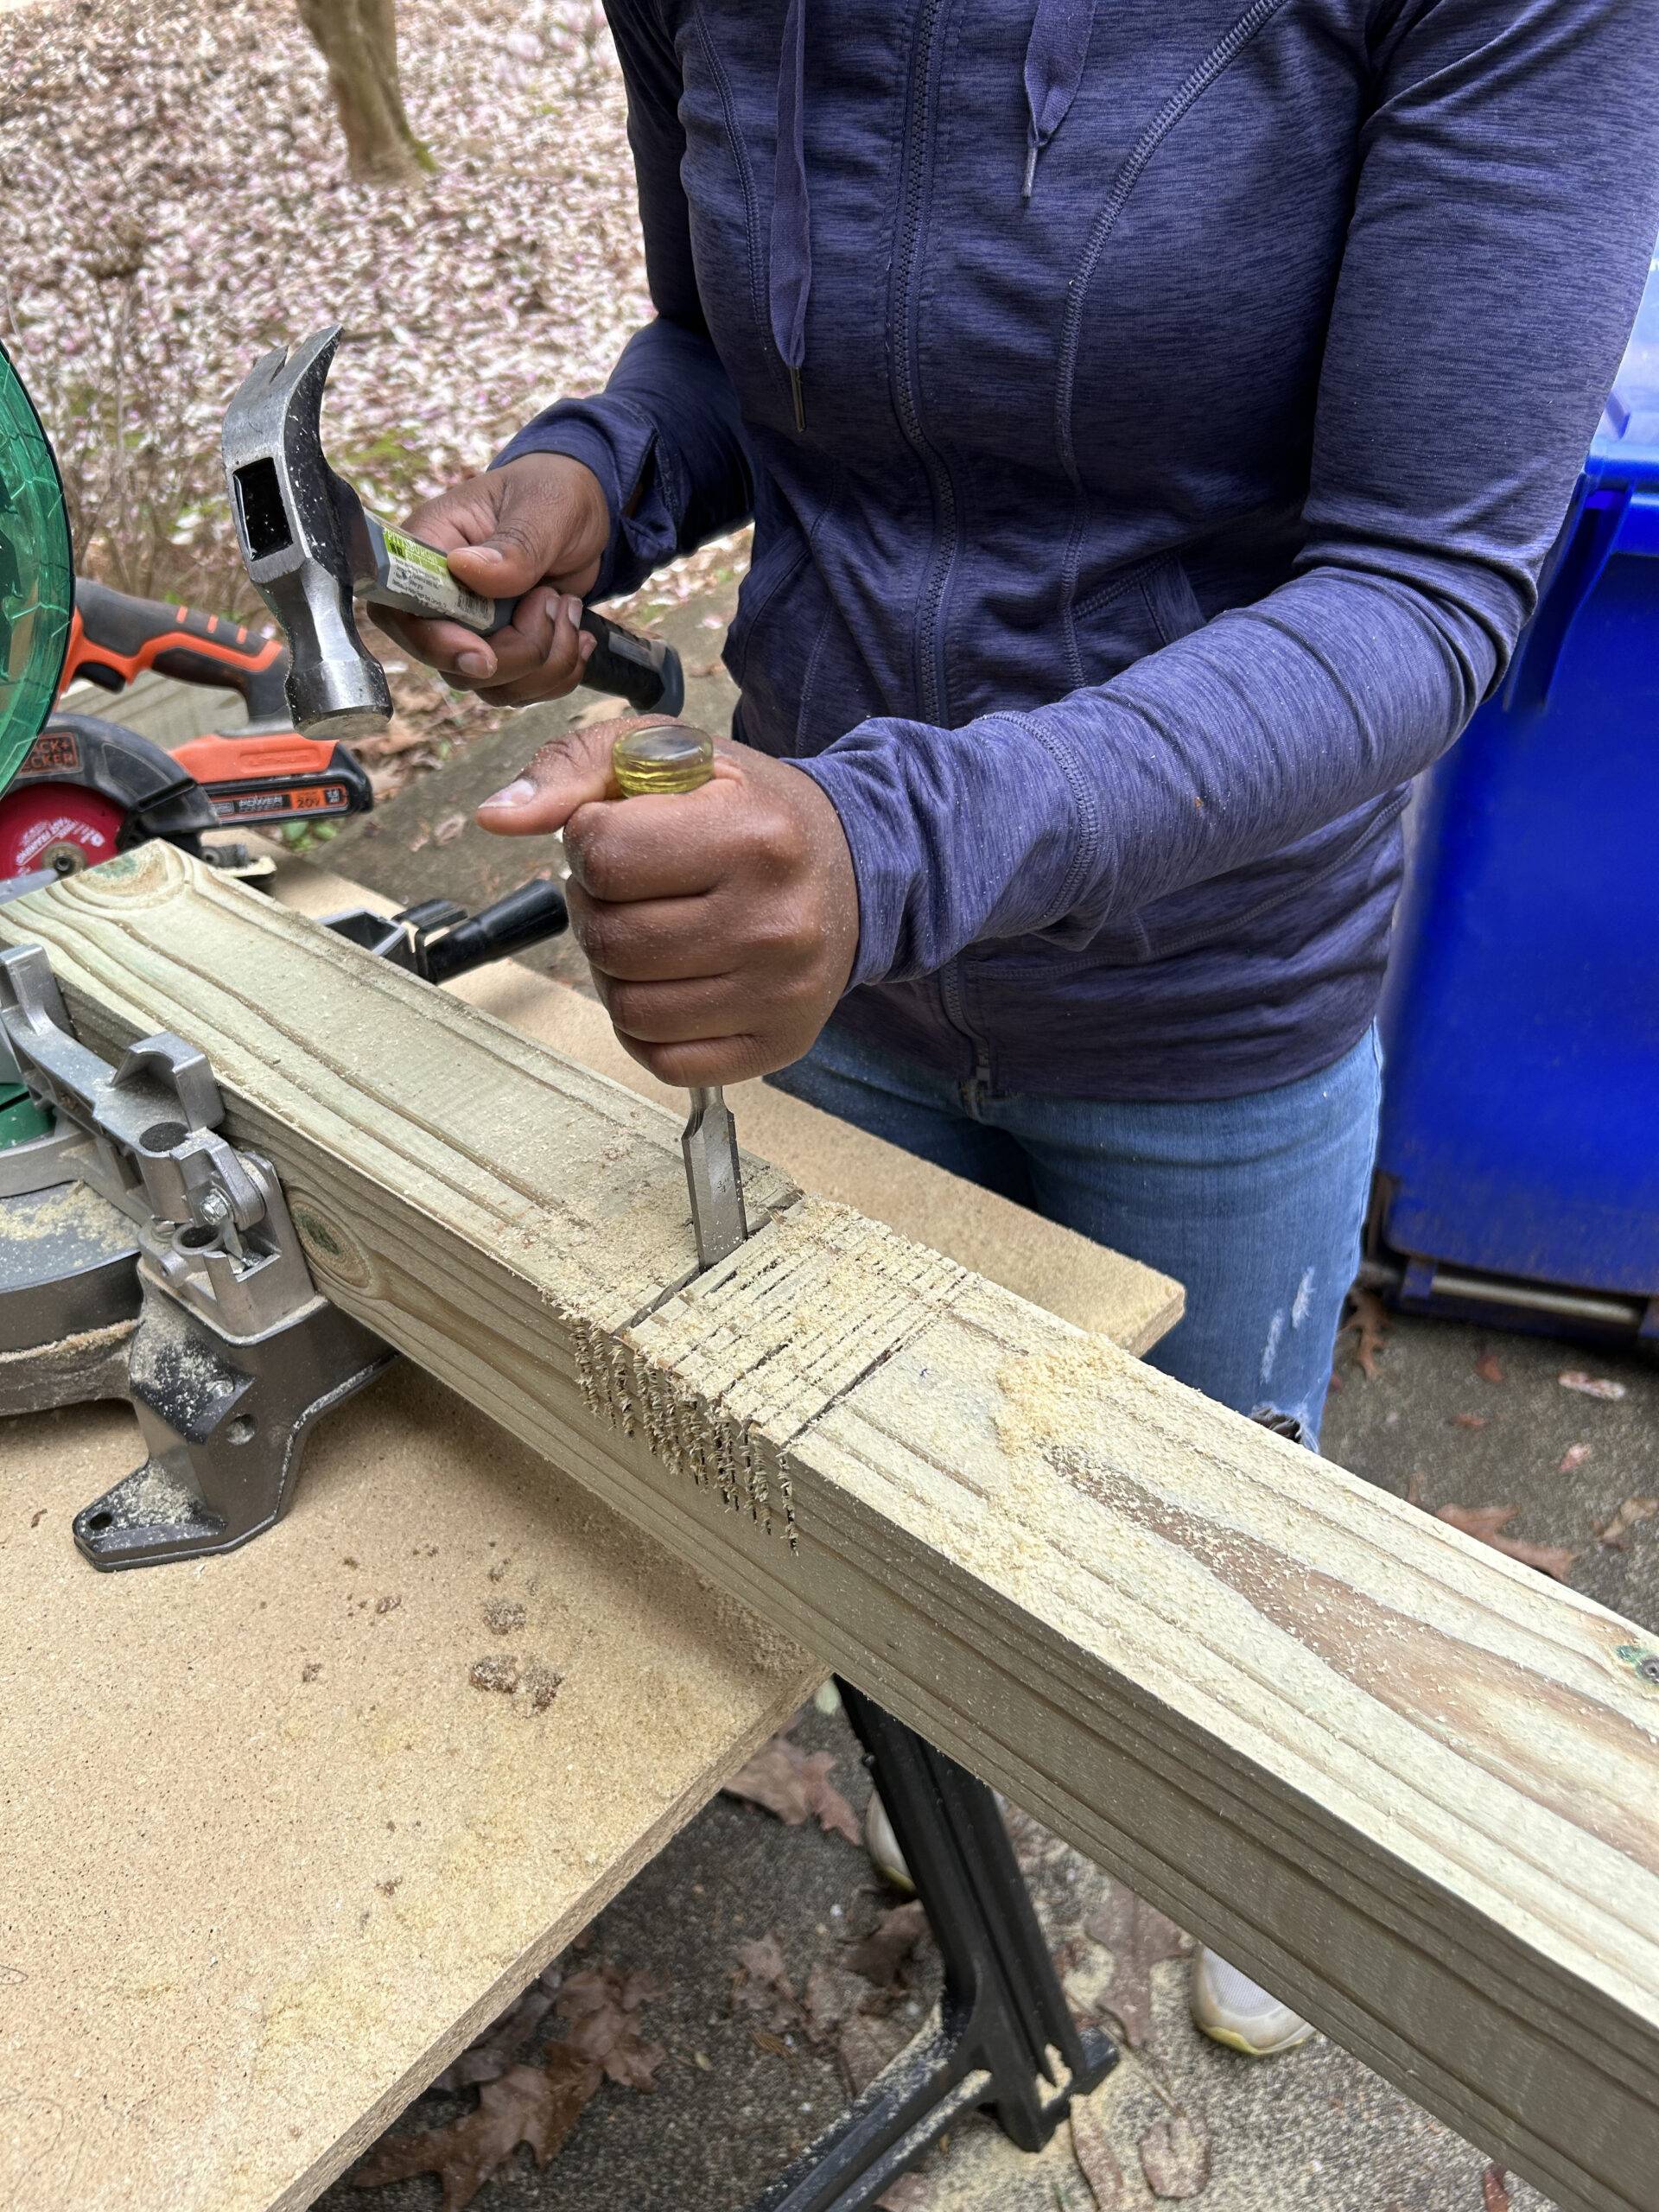
“I then made a 3.75-inch notch in the 6ft piece of wood using the circular saw. To measure properly, I used a piece of the 4×4 and marked the sides with a pencil to make it as precise as possibly. We made several cuts with the circular saw between the mark and then used a chisel and hammer to push out the remaining wood and smooth it down. The same thing was done with the 24-inch piece.”
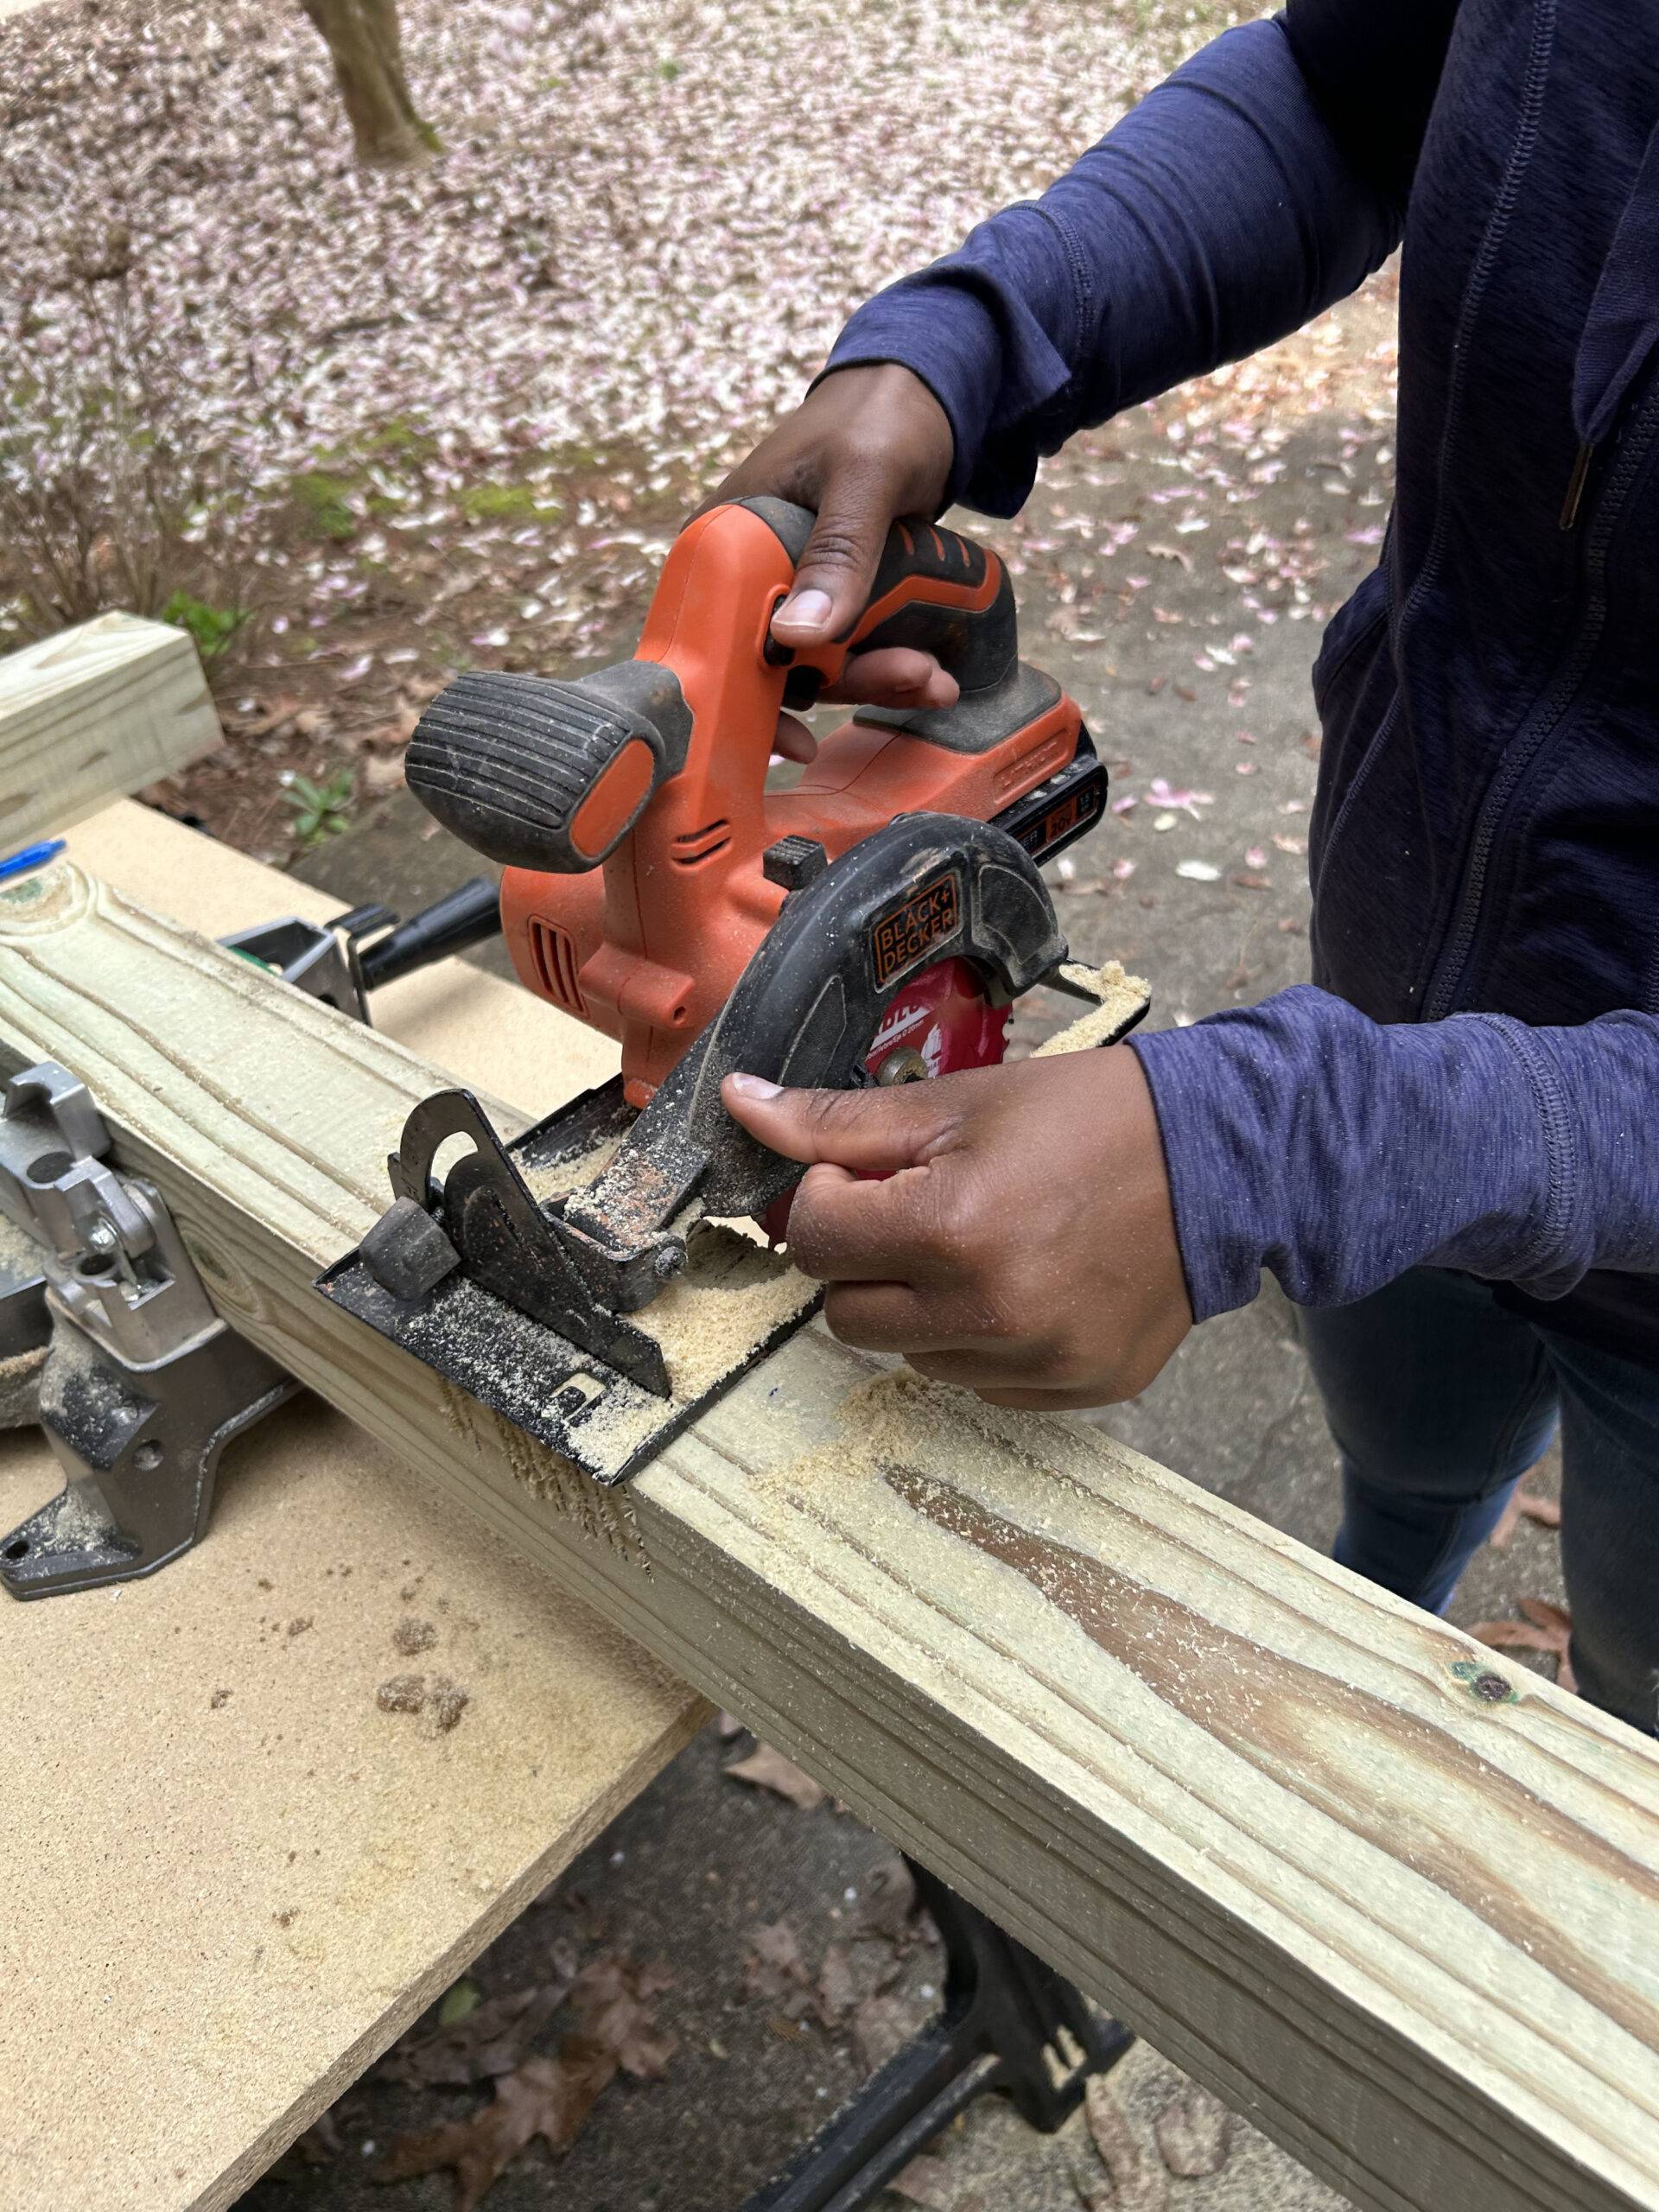
Step 3: Connect the wood posts
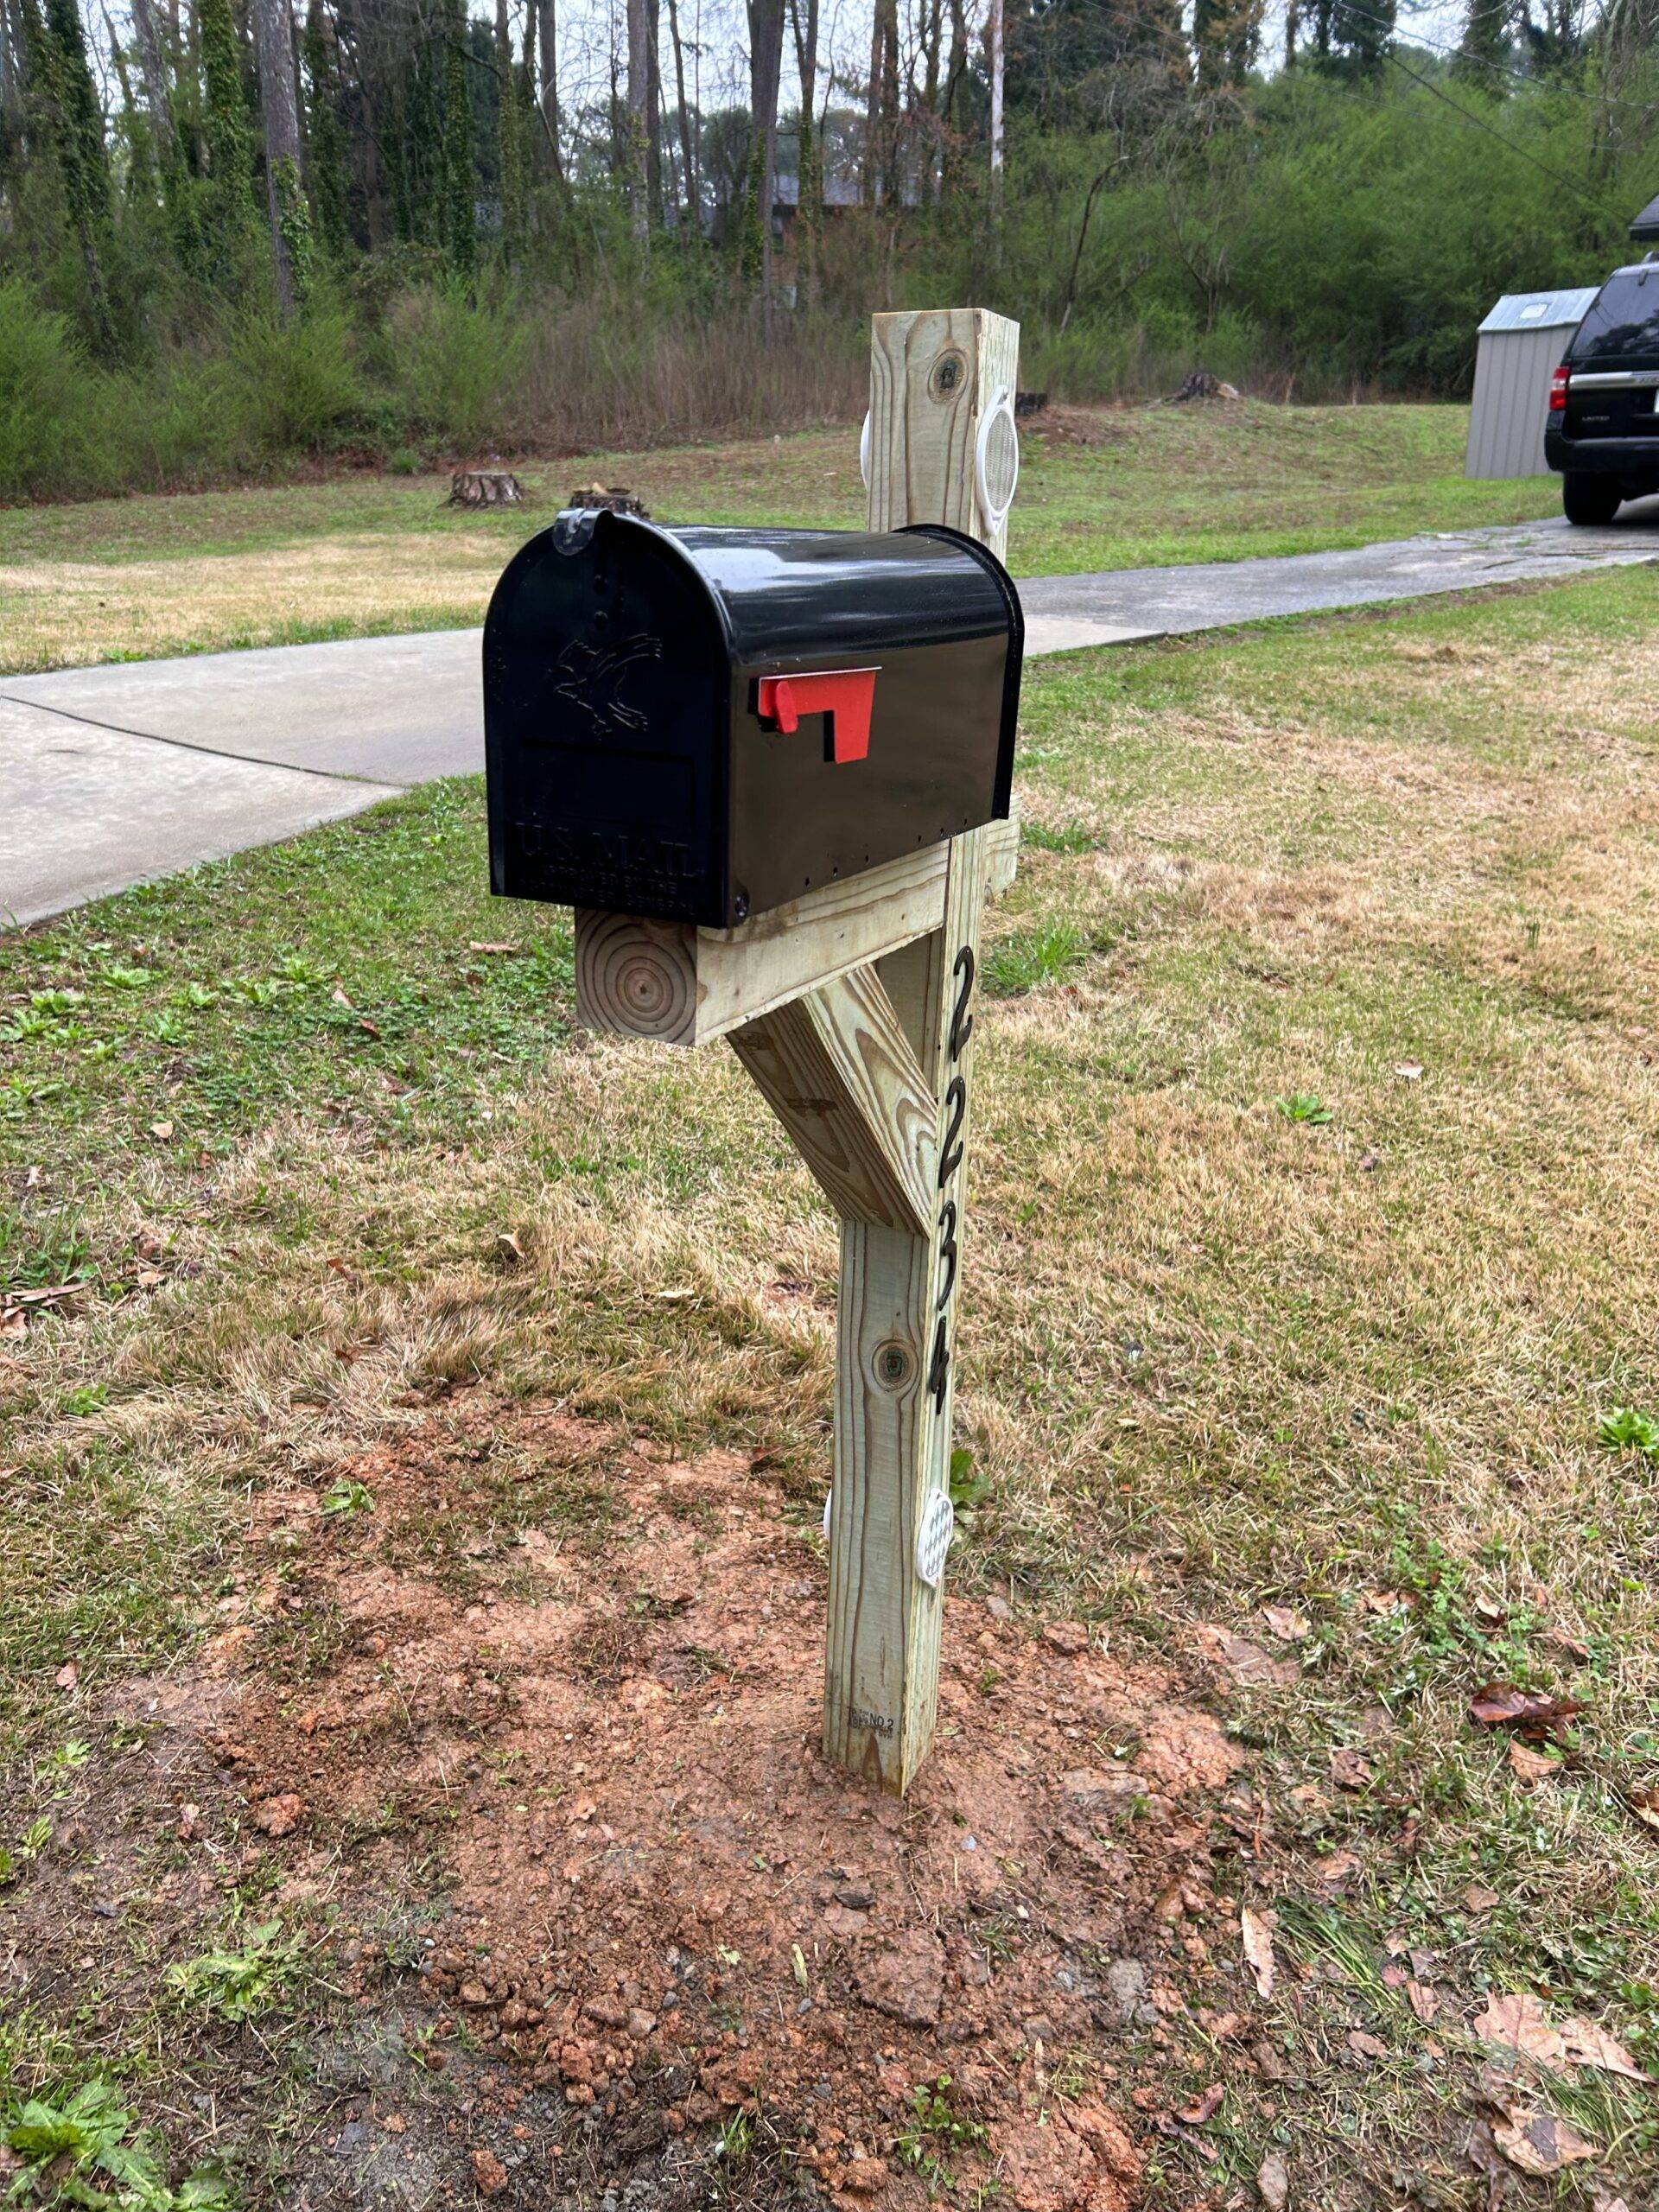
“I then connected the 6ft and 24-inch wood between their notch openings. I took a quick measurement of the 90-degree angle space between the two pieces of wood in order to create the support piece. Then I cut another piece of wood using the miter saw about 19 inches at a 45-degree angle on both ends. This piece would support the two other wood pieces. I connected all the pieces of wood using my nail gun and 3-inch screws.”
Step 4: Seal and protect the wood
“We then took the time to spray the wood Varathane Diamond Spar Urethane to protect the wood from the outside elements. We also spray painted the old house numbers black and cleaned up the flashers. We left it overnight to dry. Next day, we screwed on the flashers and nailed the house numbers onto the mailbox post.”
Step 5: Set your post
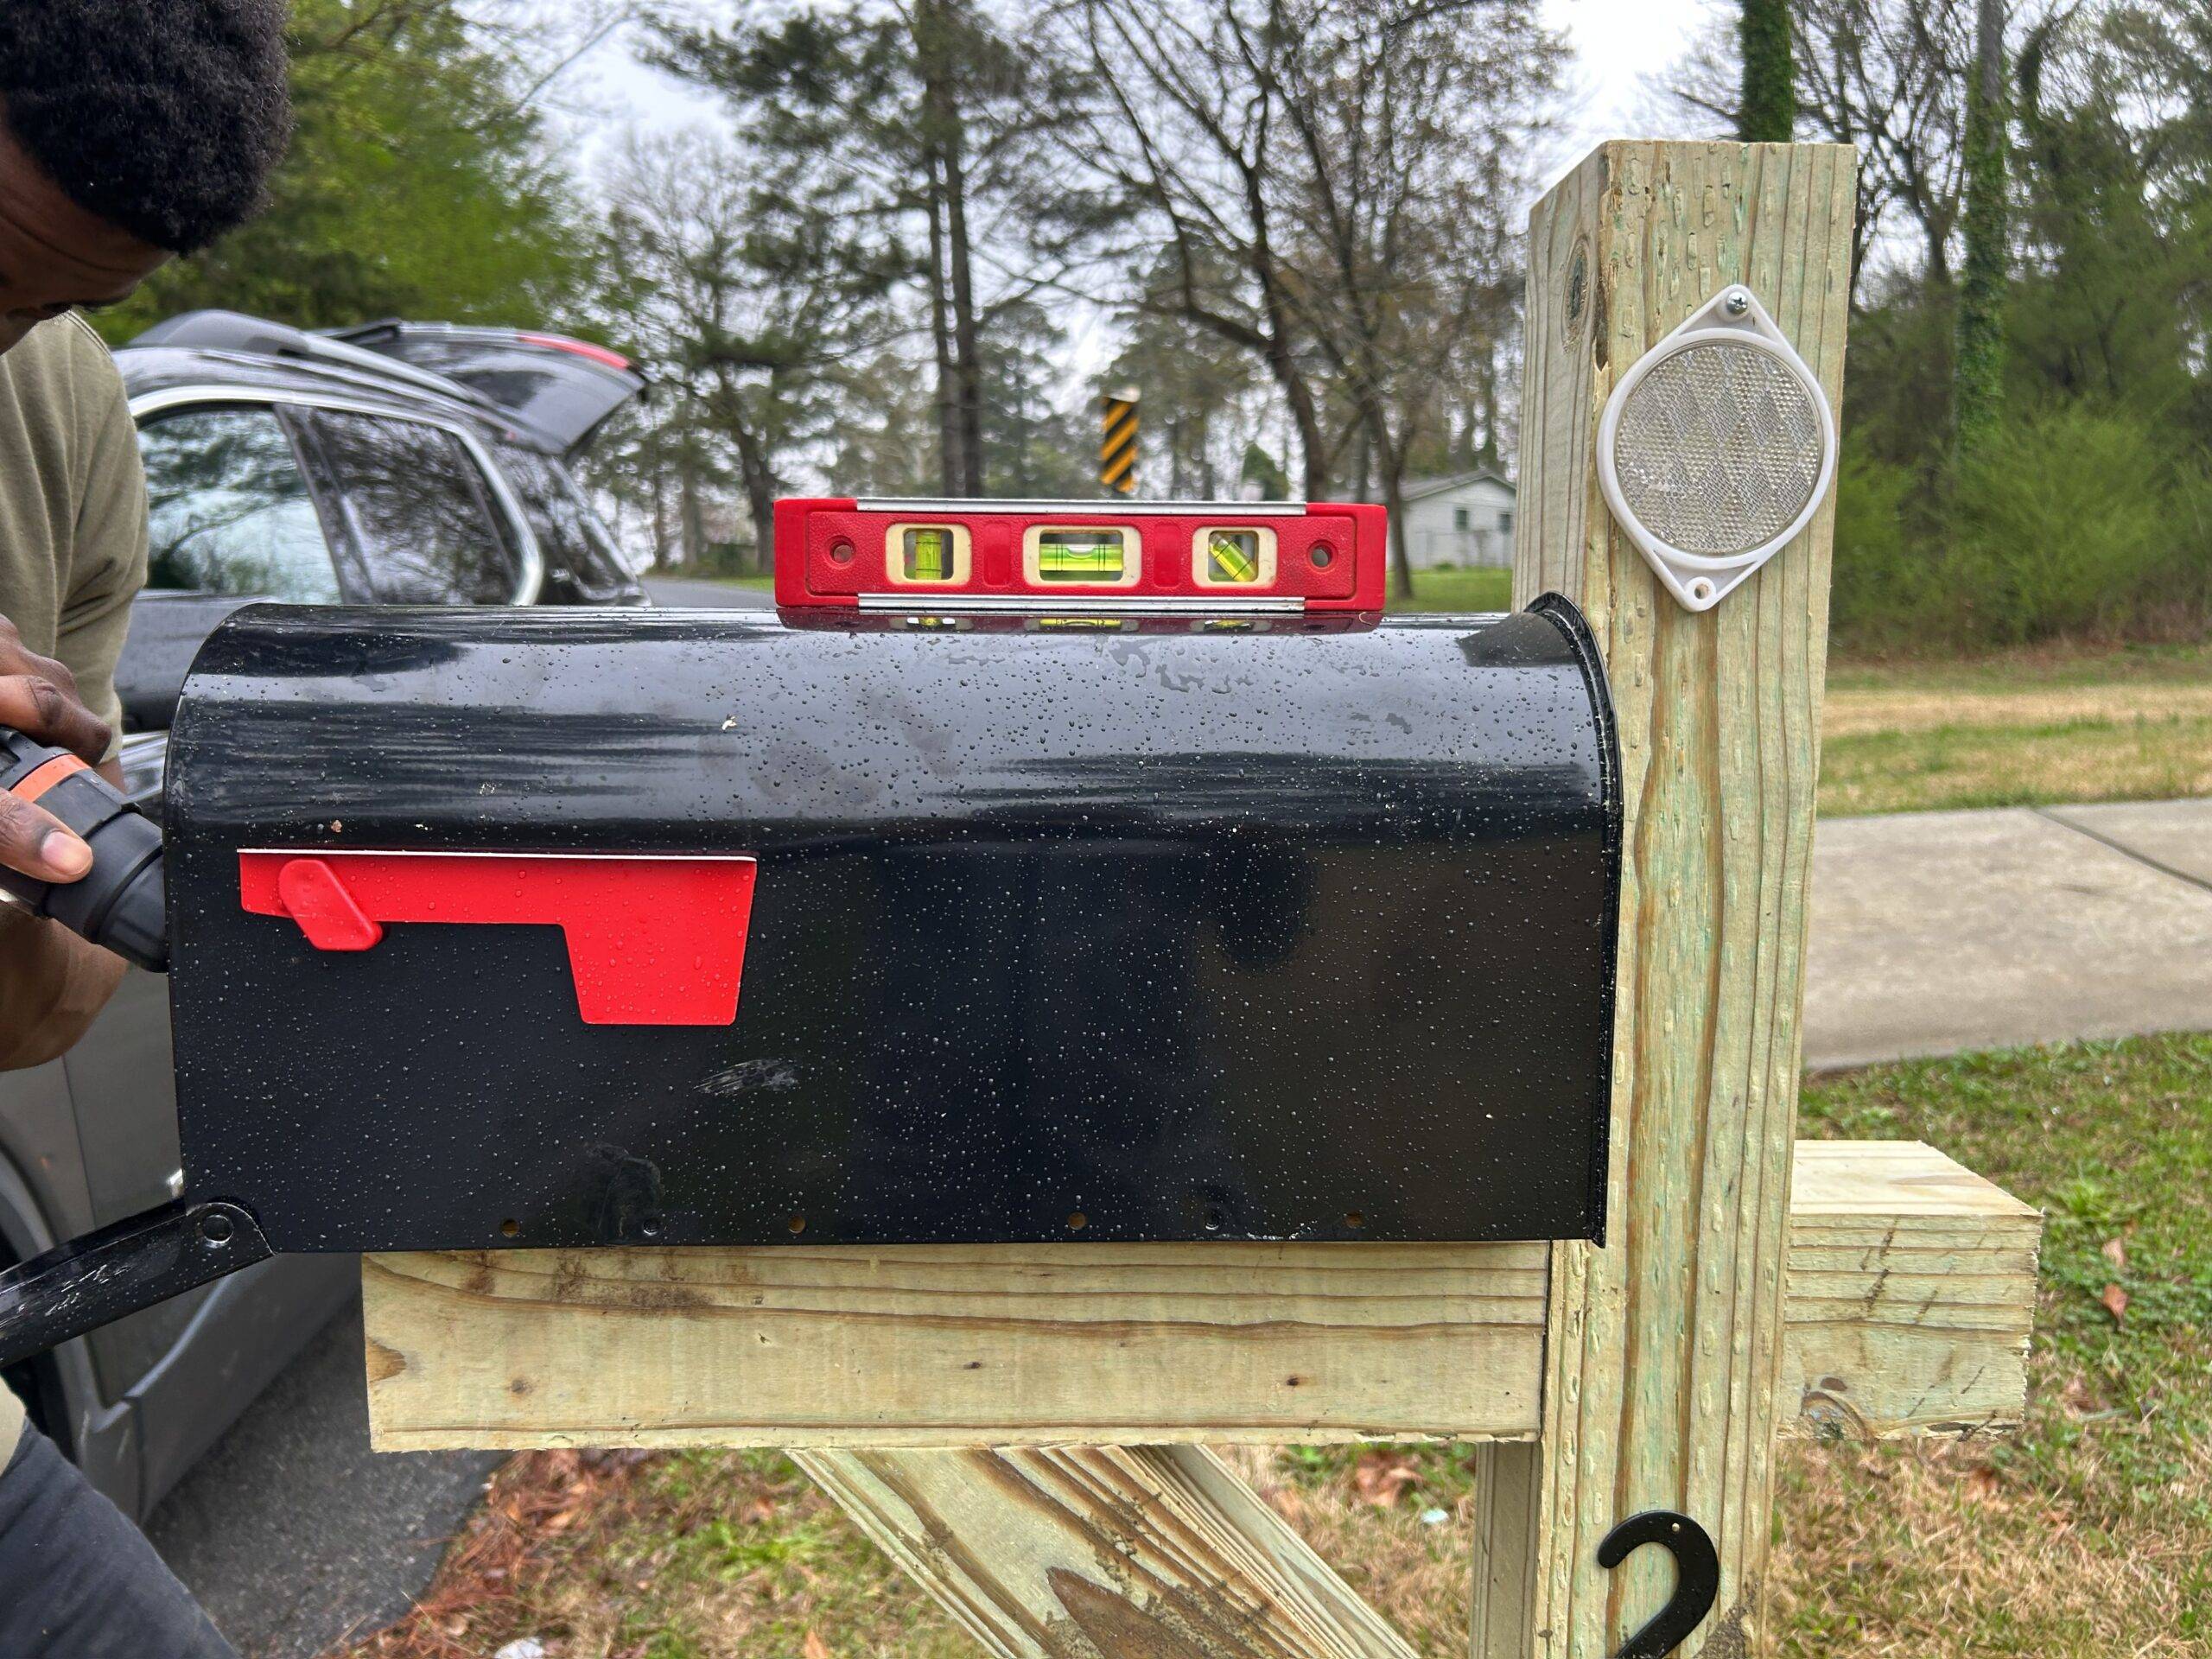
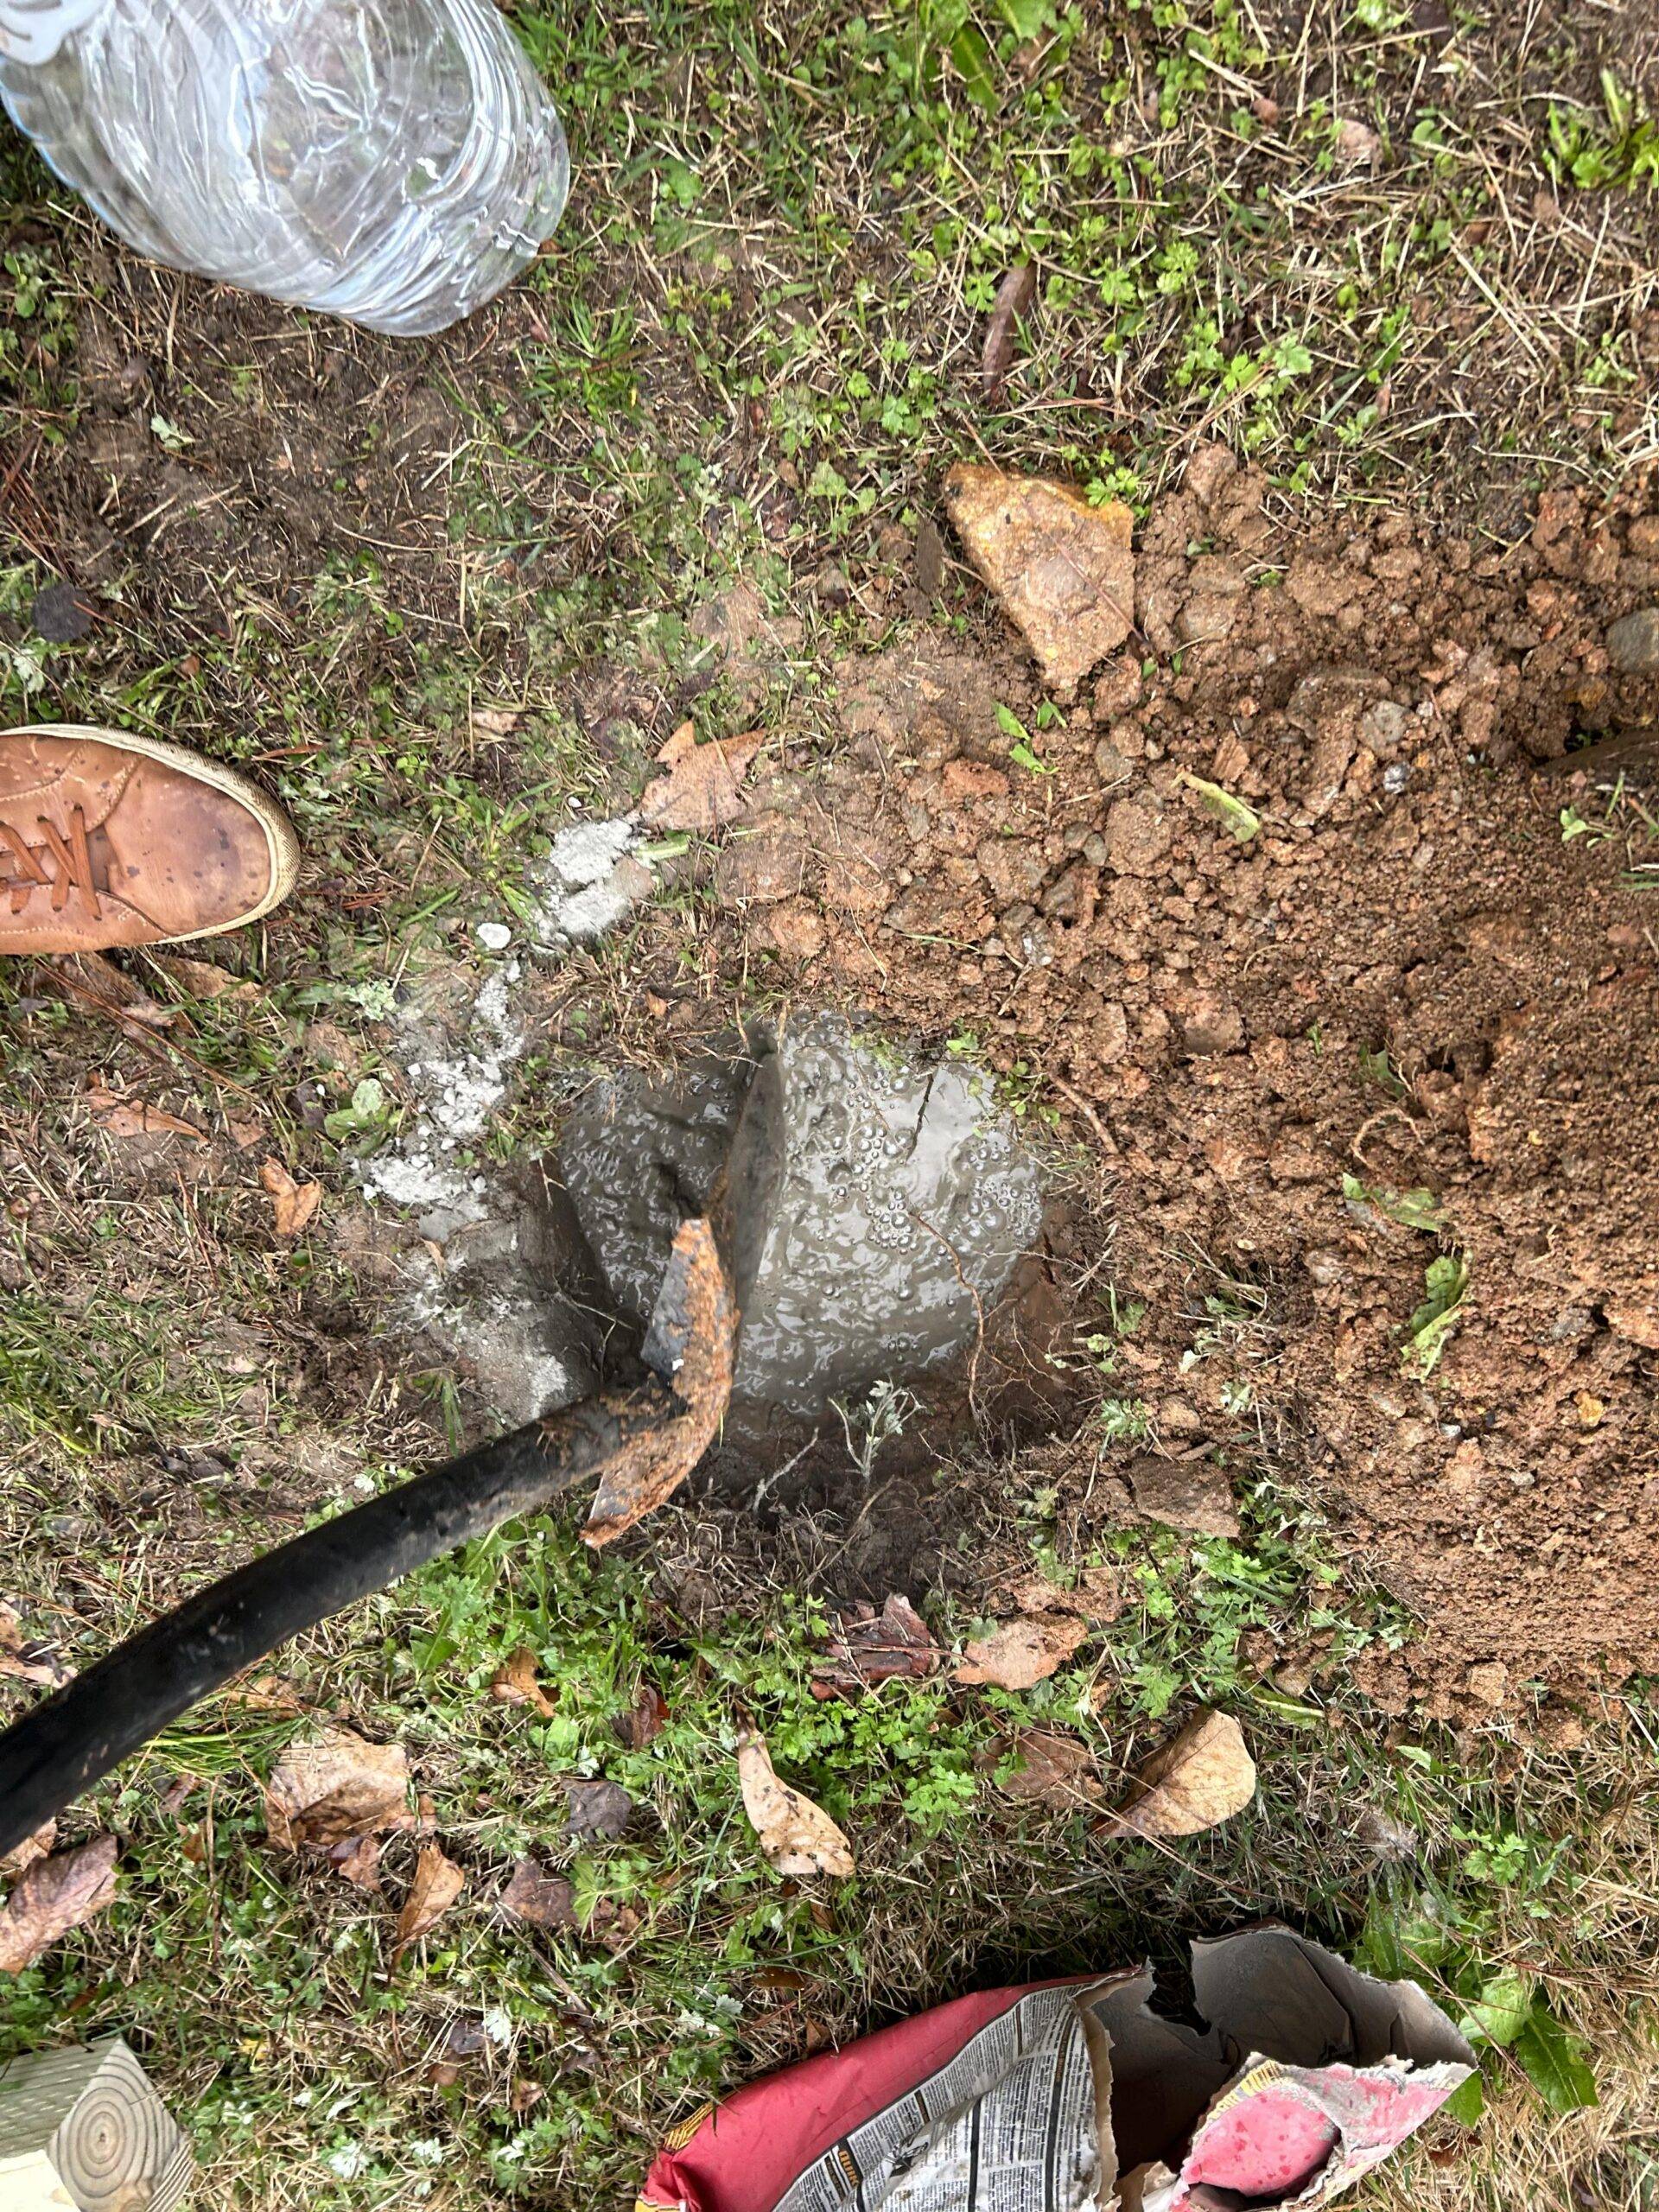
“We then dug a 24” hole near the curb of our home using a shovel. We placed the post into the hole and filled the hole with concrete and water. We mixed it around a bit using the shovel and then covered it with the rest of the dirt that we had dug up. We used a leveler to make sure it stood up straight. We smoothed out the dirt around the post and let it settle.”
Step 6: Add the finishing touches
“For our final step, we affixed the mailbox on top of the post using the 3-inch nails. And that was it. We had our finished mailbox post ready to receive mail.”
