DIY Kayak Rack Step-by-Step Build Guide with Helpful Features
In the world of outdoor adventures, kayaks have surged in popularity as a way to explore waterscapes from serene lakes to thrilling rapids. However, storing these bulky items can be a puzzle for many enthusiasts. Thankfully, crafting a DIY kayak rack can be a satisfying project that not only solves storage woes but also kicks your organizational skills up a notch. Let’s get into how you can start on this project with helpful tips and techniques to build the perfect storage rack for your kayaks
Understanding the Basics of DIY Kayak Rack Construction
Before you plunge into the project, it’s crucial to grasp the fundamentals of building a DIY kayak rack. This endeavor doesn’t just save space; it’s a safeguard for your kayak, protecting it from damage while not in use. The process begins with choosing the right materials. Wood is a popular choice for its durability and ease of manipulation. Metal brackets can also be incorporated for added strength.
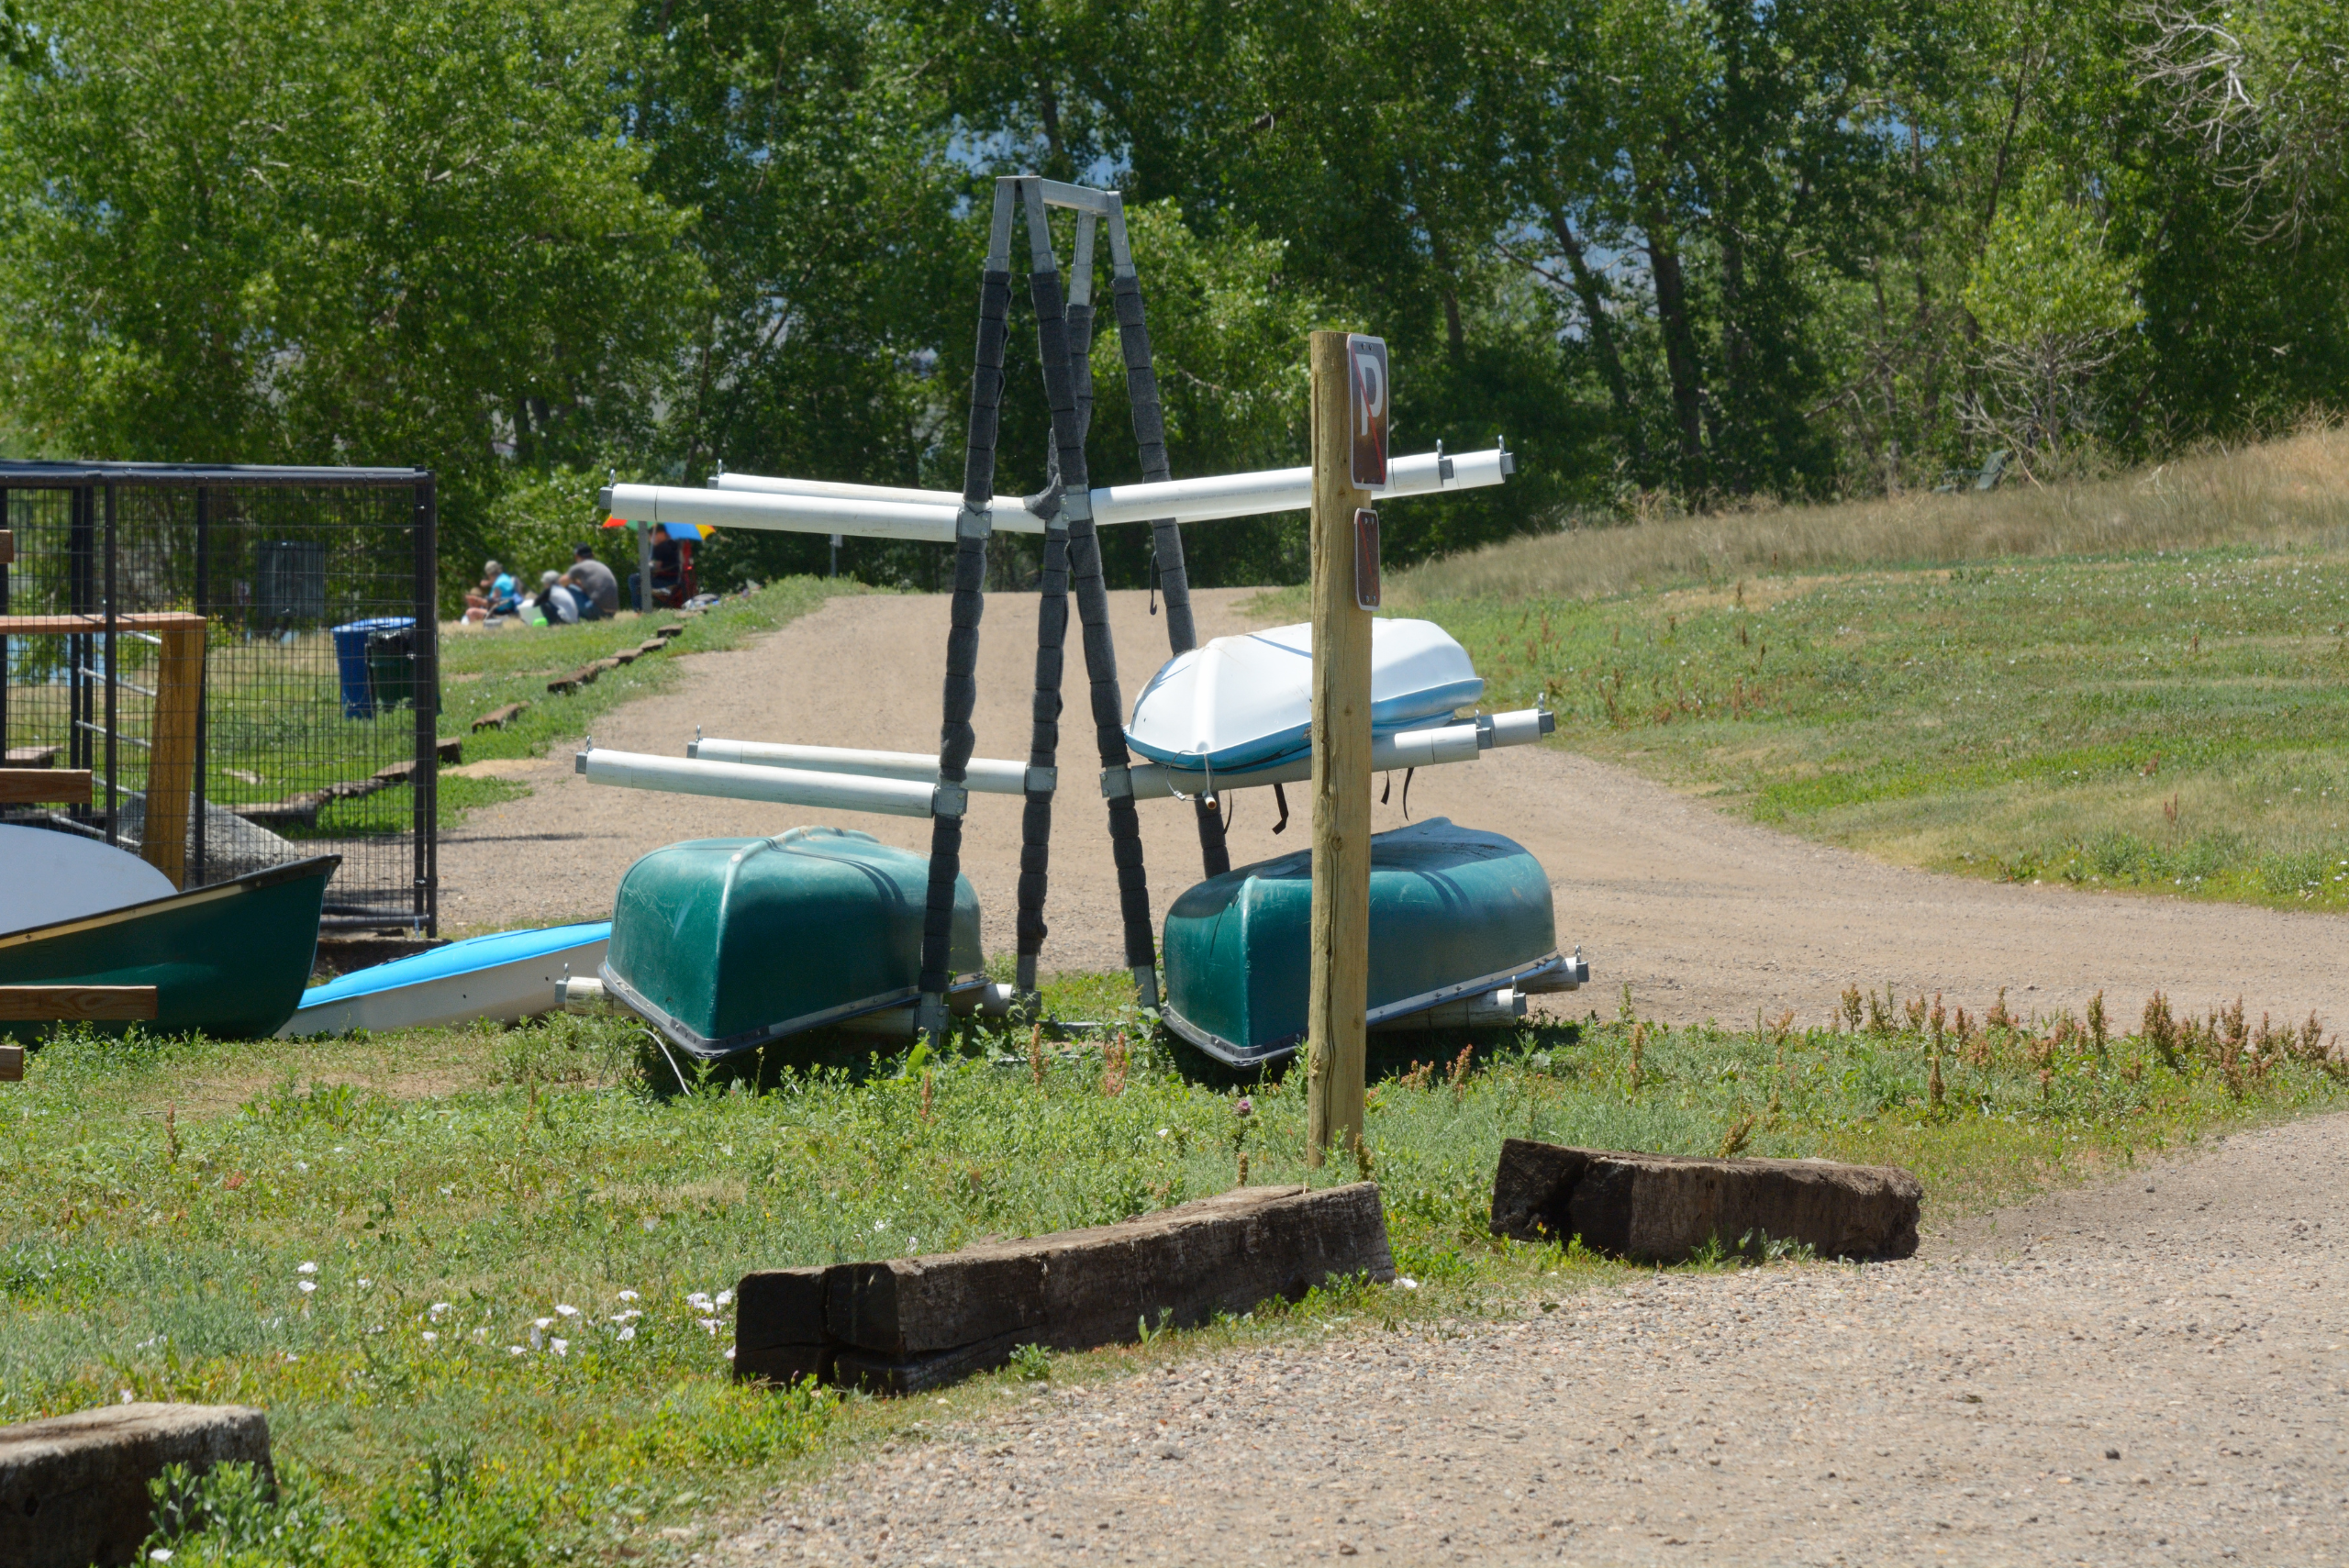
The design phase is equally important. Consider the size of your kayak, the available space, and how many kayaks you plan to store. These factors influence the rack’s dimensions and the materials needed, ensuring that the final product is both functional and sturdy.
Selecting the Perfect Spot for Your DIY Kayak Rack
The location of your DIY kayak rack plays a pivotal role in its effectiveness and longevity. Outdoor setups are common, offering easy access to adventurers eager to hit the water. However, exposure to elements means that materials must be weather-resistant or treated to prevent decay and rust.
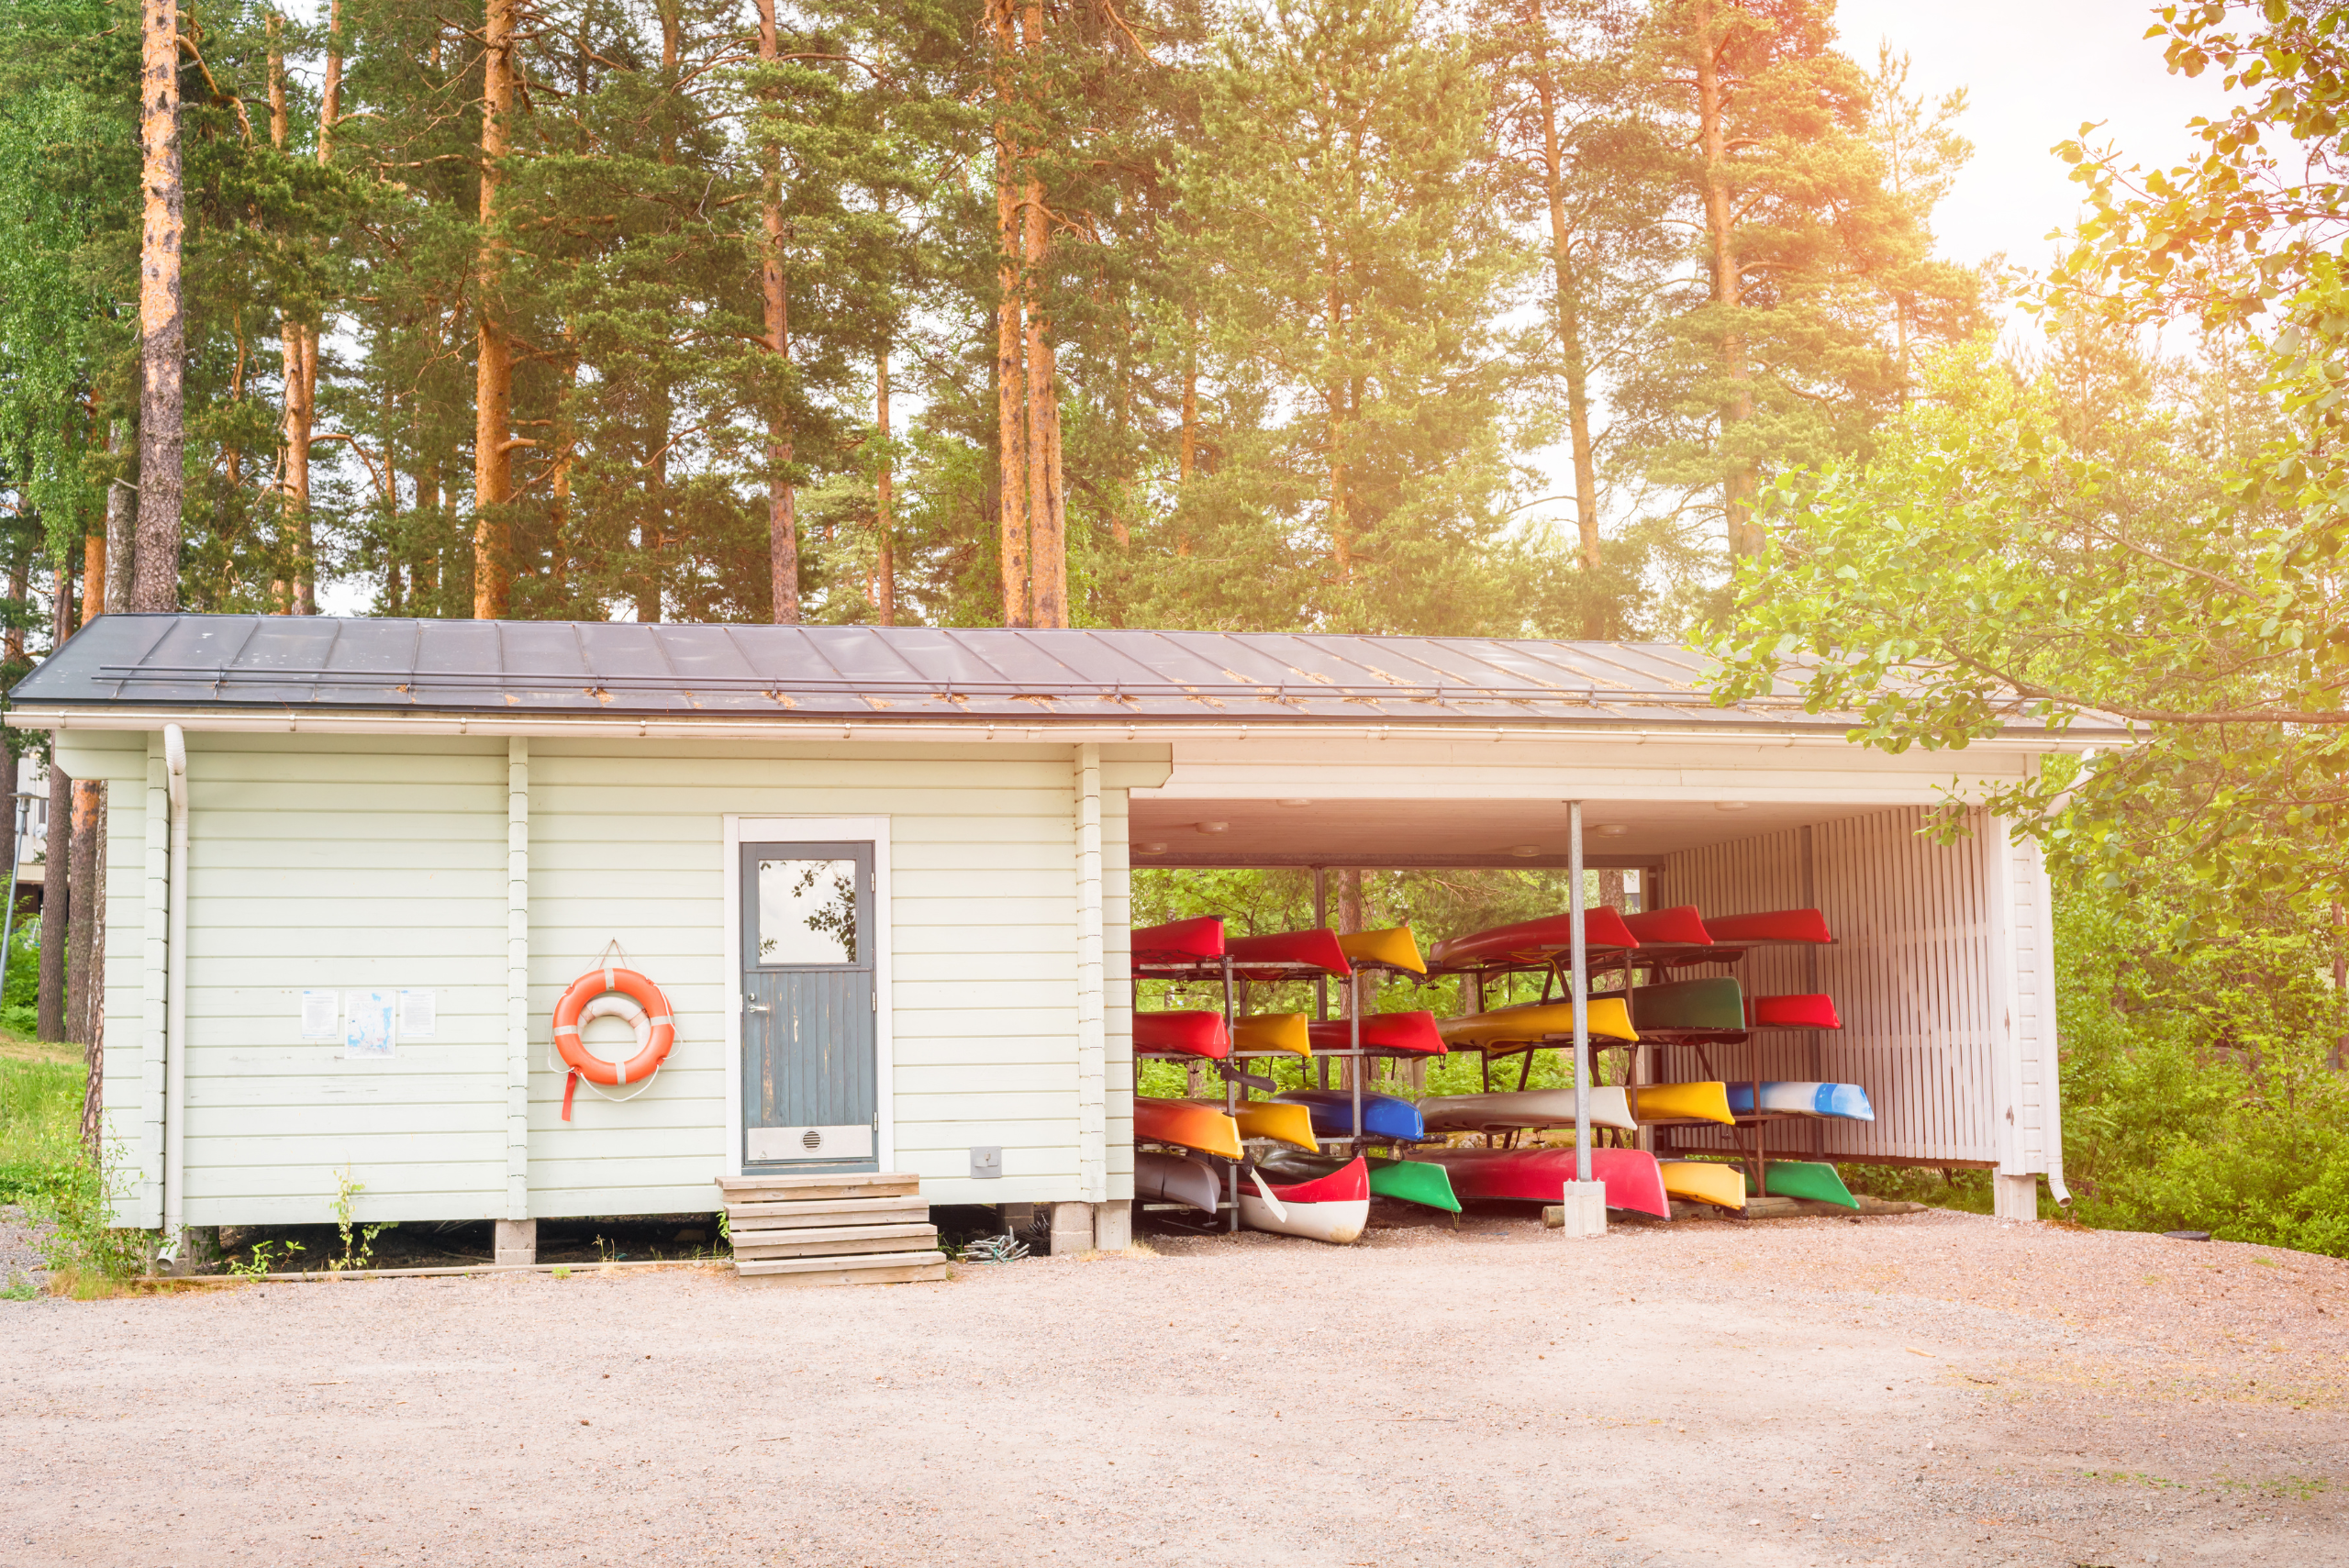
For indoor enthusiasts, garages or sheds are ideal, protecting kayaks from the harshness of weather while keeping them out of the way. Ensure the chosen spot is level and accessible, making loading and unloading a breeze. Remember, the goal is convenience and protection, so weigh the pros and cons of each location carefully.
The Building Process as You Turn Plans Into Reality
With plans drawn and location pinned down, the building phase is where the magic happens.
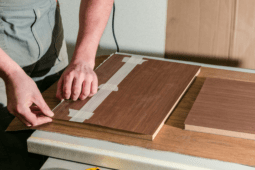
Start by cutting your materials to size, following the dimensions outlined in your design. (You will want the hold arms mounted at a good spot, ensuring proper weight distribution)
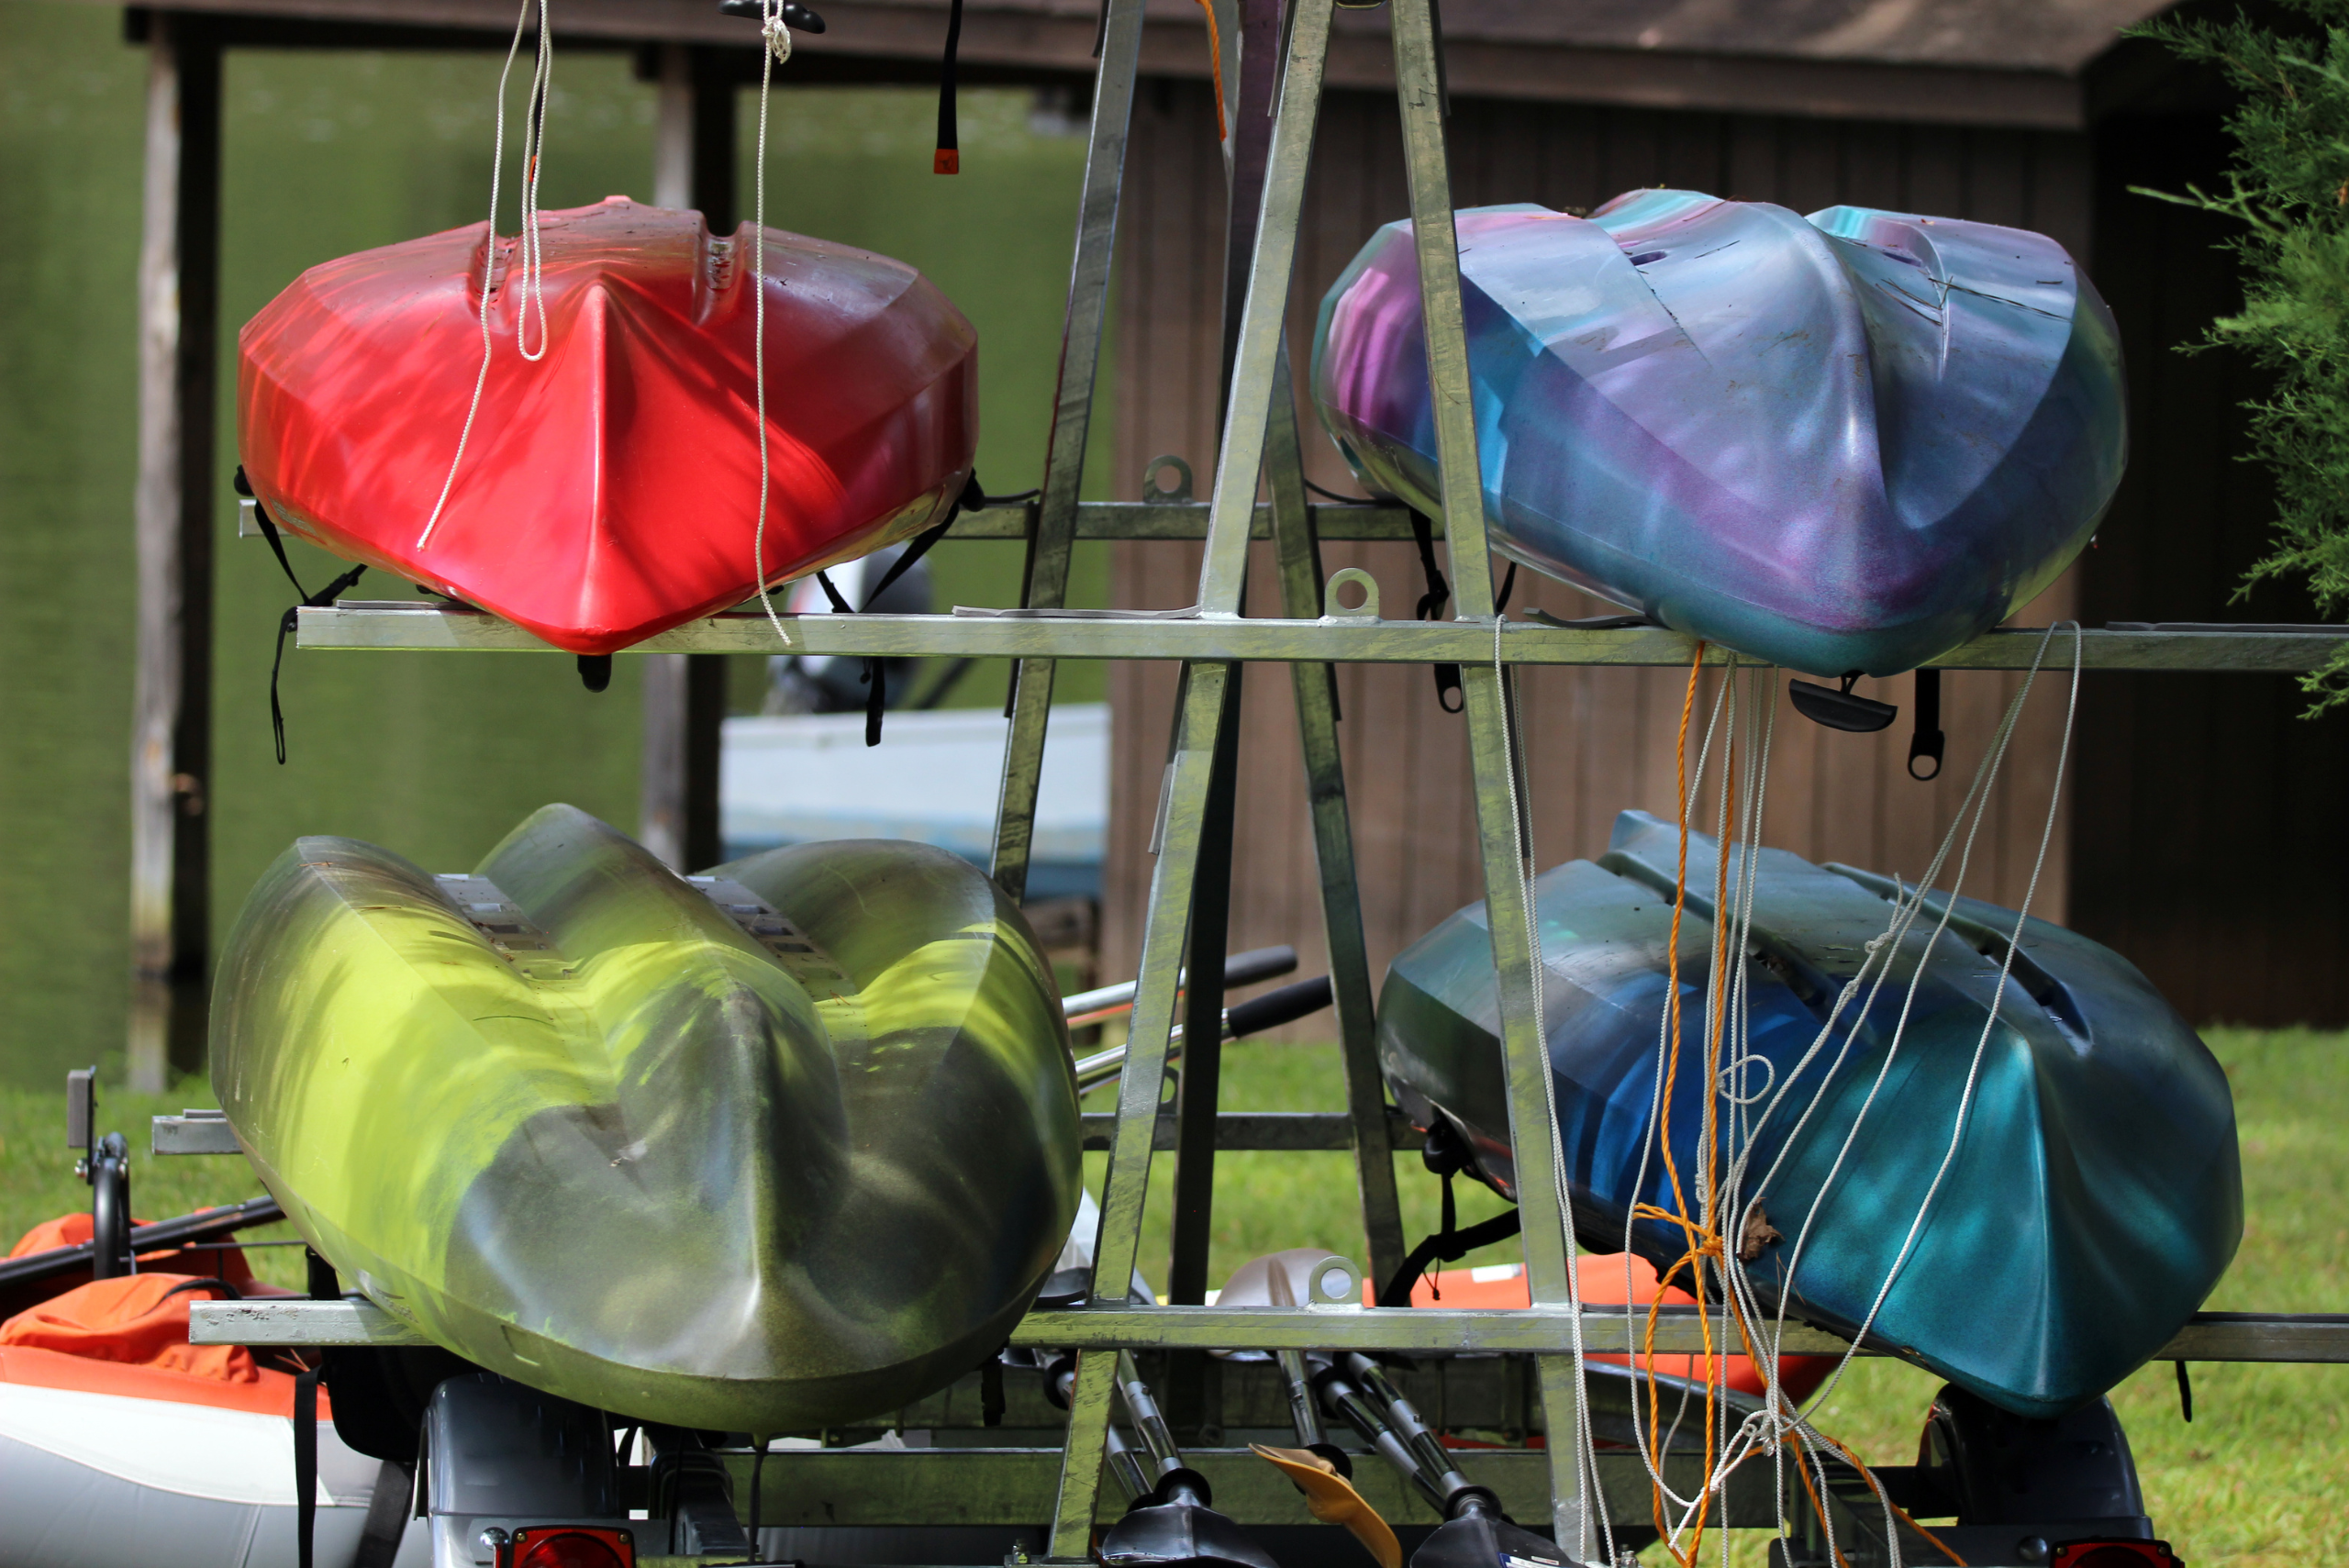
Assembling the frame is next, which often involves screwing or nailing pieces together. This stage requires precision — a misaligned frame won’t just look off; it could compromise the rack’s stability.
If you’re integrating metal brackets, ensure they’re securely attached. This is also the time to apply any protective coatings if your rack will brave the outdoors.
Patience and attention to detail here mean a longer-lasting home for your kayak.
Adding a Personal Touch to Your DIY Kayak Rack
Once the structure is up, personalizing your DIY kayak rack can make it not just a storage solution but a reflection of your style. Consider painting or staining the wood to match your home or to stand out with a pop of color. Hooks and straps can be added for extra security, ensuring that your kayak doesn’t slip or fall.

For those with space and multiple kayaks, labeling slots can streamline the process of finding and storing each one. These small touches not only enhance the rack’s appearance and functionality but also make the project genuinely yours, which can be done by engraving the wood or simply attaching a colorful sign to match each kayak.
Reflections and Future Kayaking Adventures
Completing your DIY kayak rack is a milestone that blends craftsmanship with a love for the outdoors. This project not only provides a practical solution to storing your kayak but also instills a sense of accomplishment. Every time you glance at your creation, you’re reminded of the effort and creativity poured into it.

Furthermore, it’s a springboard for future adventures. With your kayak securely stored and easily accessible, impromptu trips become hassle-free. This project is not just about building a rack; it’s about enhancing your outdoor lifestyle, making it easier to explore the beauty of the waterways that call to you.
Related Articles:
- Step-by-Step DIY Firewood Rack Build Guide
- Create Your Own Backyard Fun with a DIY Swing Set
- Craft Your Own DIY Shoe Rack: Step-By-Step Guide
Crafting a DIY kayak rack is more than a weekend project; it’s an investment in your passion for kayaking and a testament to your DIY skills. From selecting materials to the final touches, each step offers an opportunity to learn and grow. So, whether you’re a seasoned kayaker or new to the sport, this project is a rewarding way to elevate your storage solutions, ensuring your kayak is safe, secure, and ready for your next adventure.
Ready to start your next project? Join our DIY community to receive tool tips, how-to guides, and exclusive creative insights. Subscribe to the ManMadeDIY newsletter now! Click here to unlock a world of hands-on inspiration.

