How to Rebind a Paperback Book: DIY Guide for Rebinding Books at Home
I love reading. It’s a passion and a pastime, a comfort when I’m stressed out, and a total compulsion—ask my wife and she’ll confirm that if there’s written material anywhere in my vicinity, I’ll scan it. I read books from the bookstore and the library, I read articles on my phone, I print out PDFs of friends’ screenplays for annotated reviews.
I also really enjoy buying vintage books, especially while traveling. My trade of choice is artisan printing, particularly in letterpress, so I love examining the craft that goes into these old books.
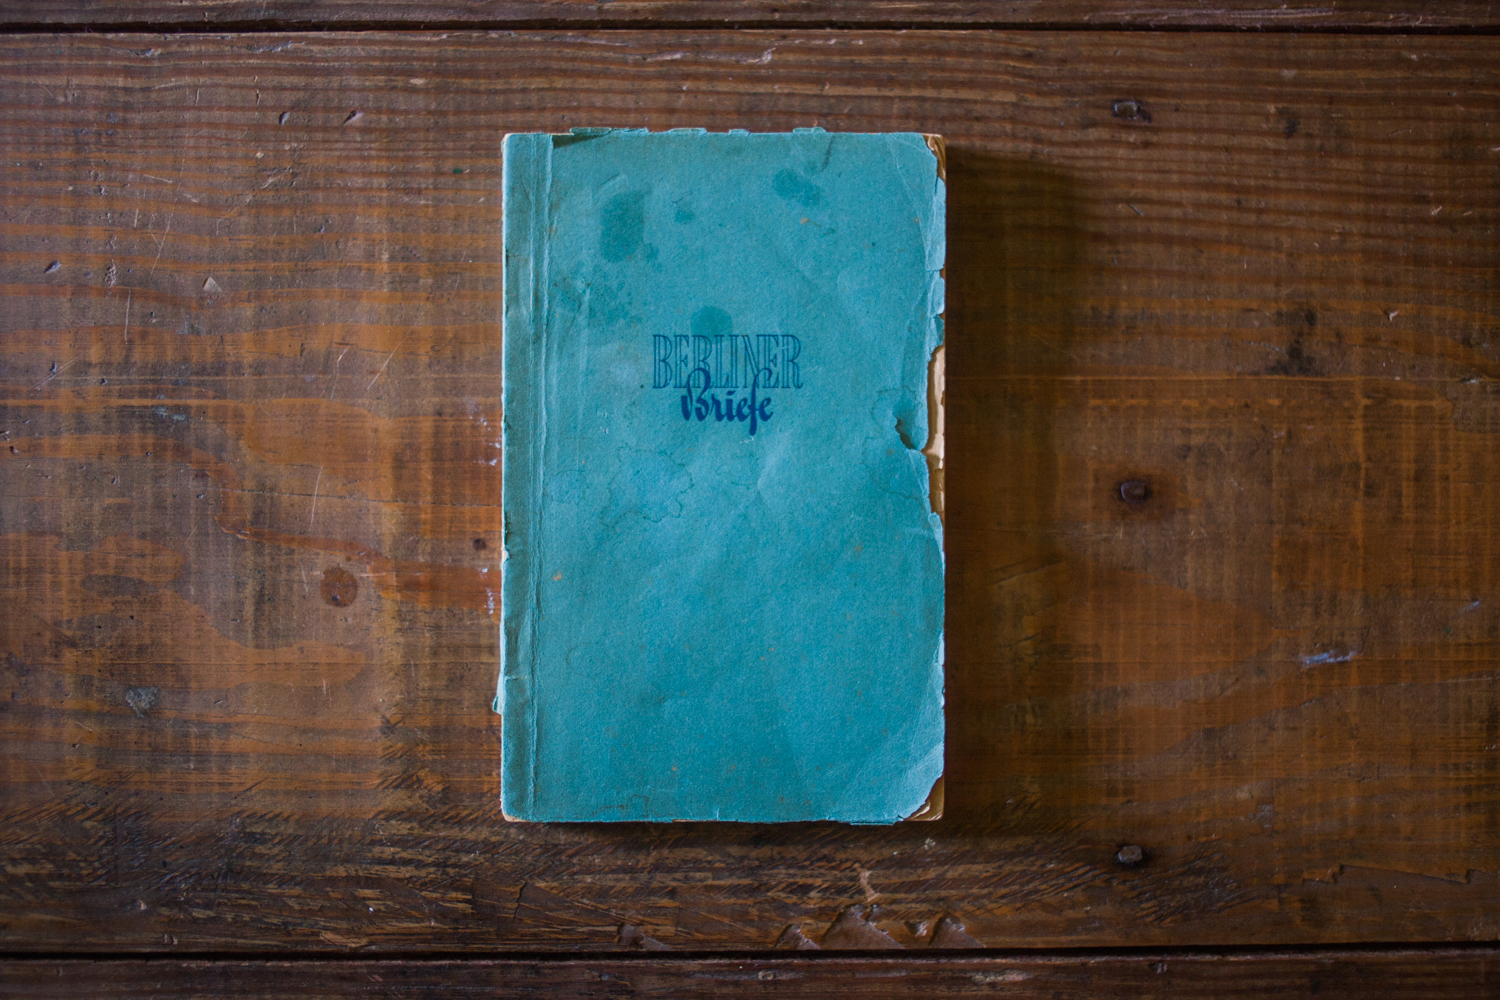
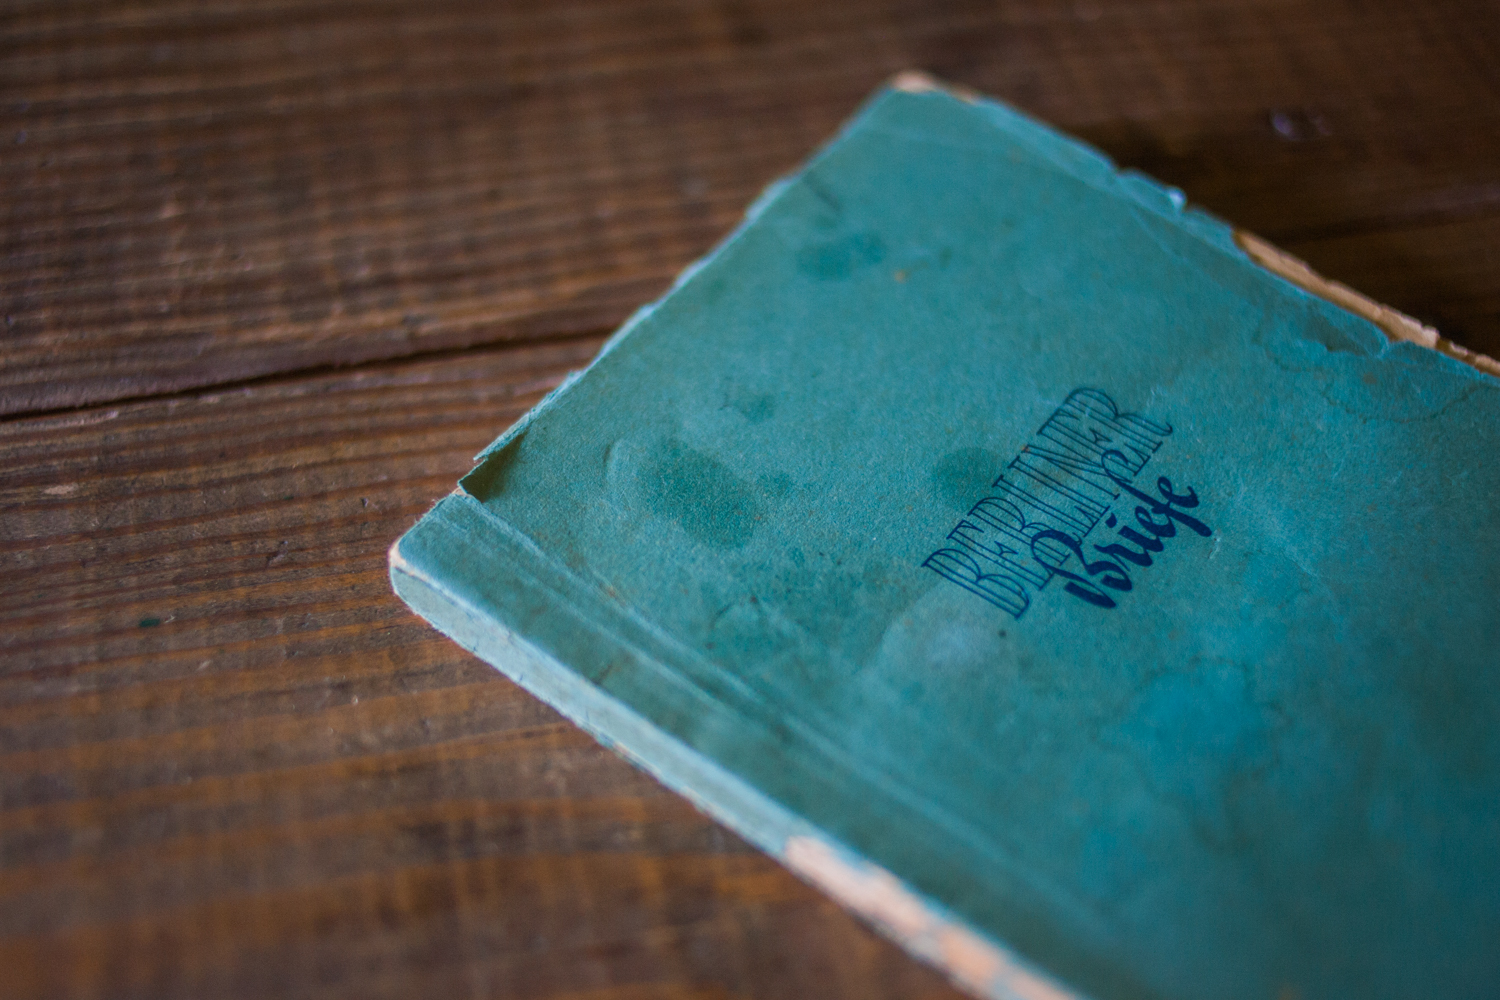
Most books come to me in decent condition, but every once in a while I’ll come across one in a Charlie Brown Christmas tree state. Today I finally sat down to work on this 70-year-old German paperback, and I’d like to share my DIY book binding process with you.
A bit of background on this volume:
I originally bought this book at a flea market in Berlin, during one of my many day trips to the city as a foreign exchange student in 2002–2003. It’s somehow maintained a spot in my personal library as the collection swelled and shrunk through 5 dorm rooms and 10 rentals in 3 states, finally nestling into the built-in bookshelves of my house in the Sandhills of North Carolina.
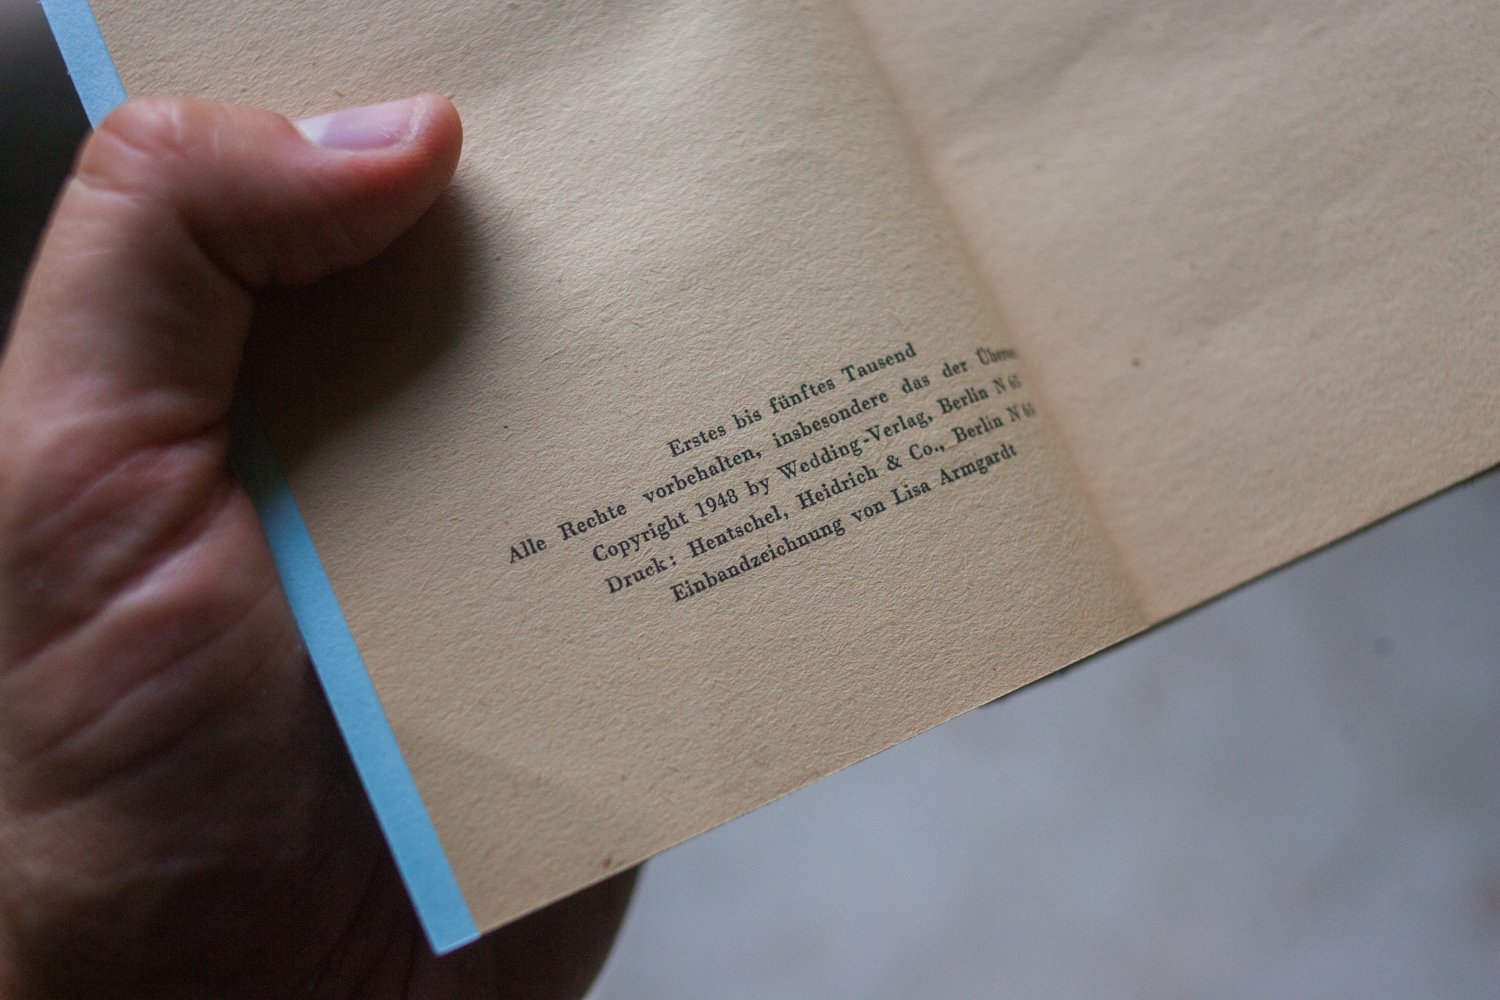
It’s a pretty cool book. As a piece of history, I find it fascinating that it was printed in 1948, which means that WWII had literally ended three years ago—Allied troops had just liberated Dachau and Auschwitz; Hitler had just bitten the bitter pill in his bunker; the Americans, French, British, and Soviets were carving up the city while Germans were trying to figure out what to do with their shattered country. And somewhere among the rubble in the middle of the bombed-out capital, someone rustled up a printing press, some ink, and cheap paper, and made a print run of 5,000 copies.
Also, the title on the cover has actually been hand-illustrated, which I only realized until I examined the miniscule variations of the serifs on BERLINER. I draw letters professionally, so I can attest that I was really impressed that it fooled me for so long. (It also means they took the time to create a special separate plate for printing up the cover, which is way cool considering how much effort it would have taken.)
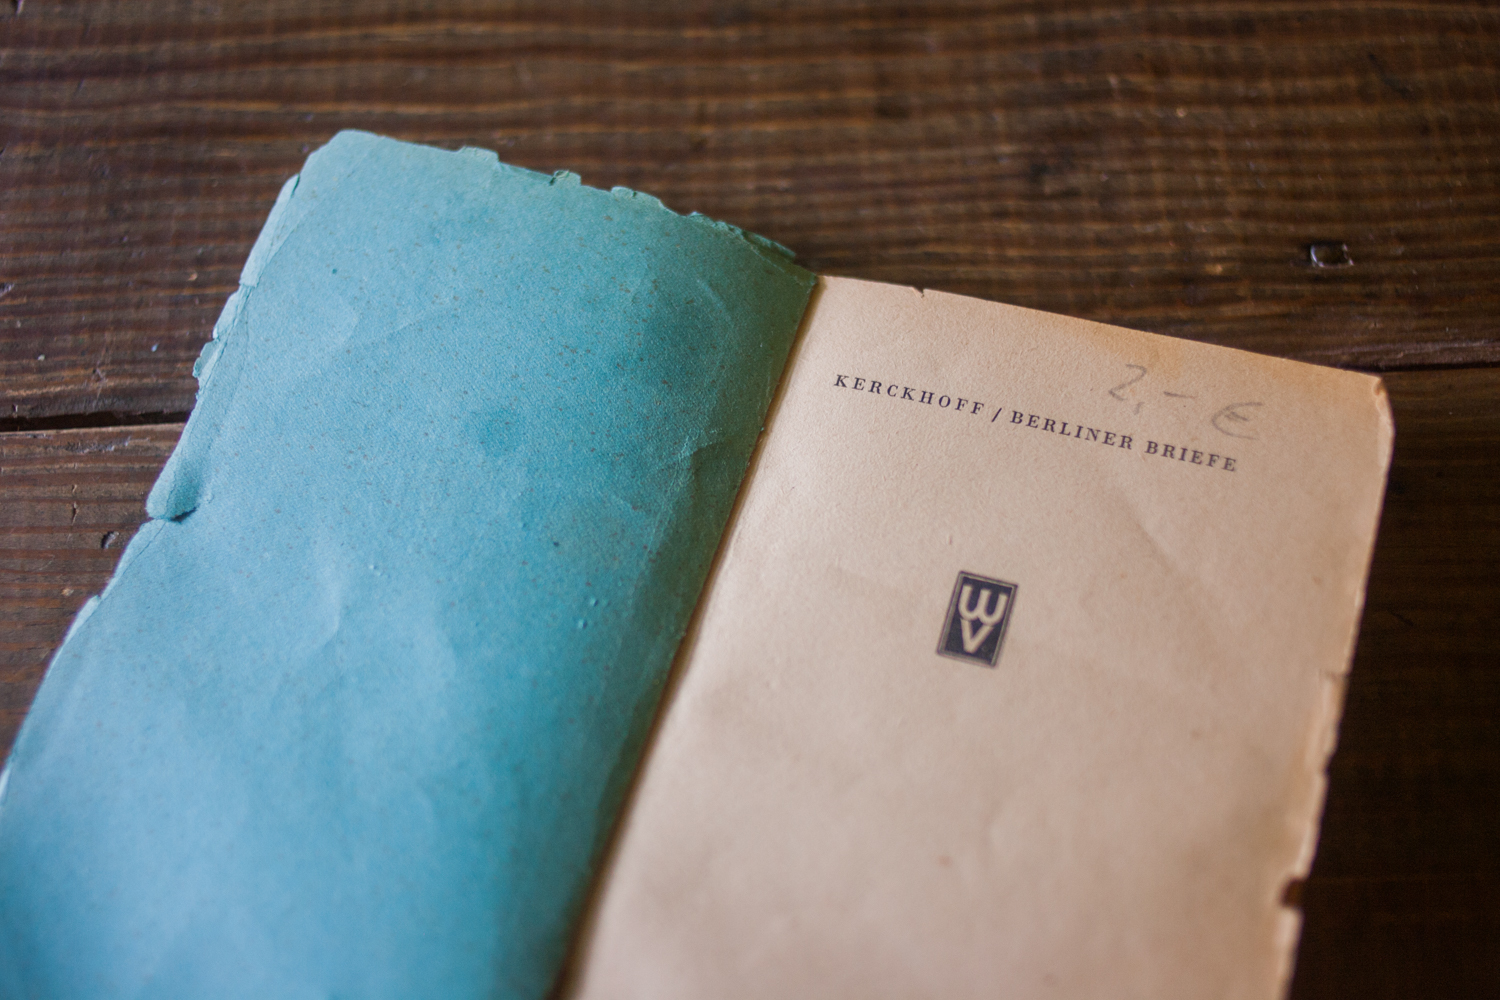
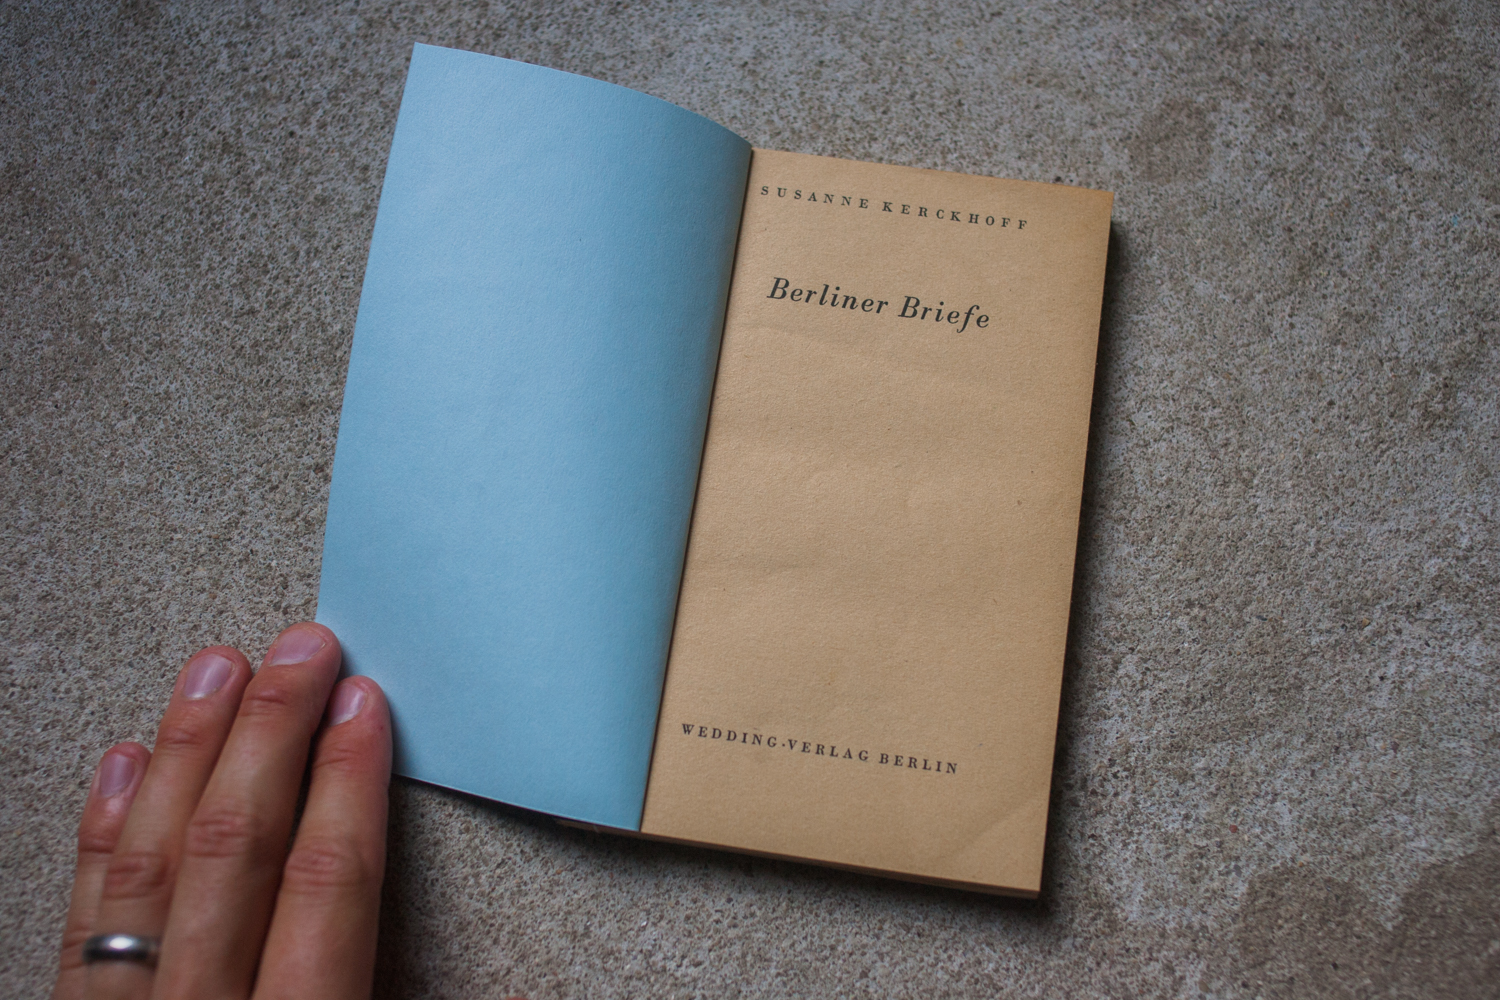
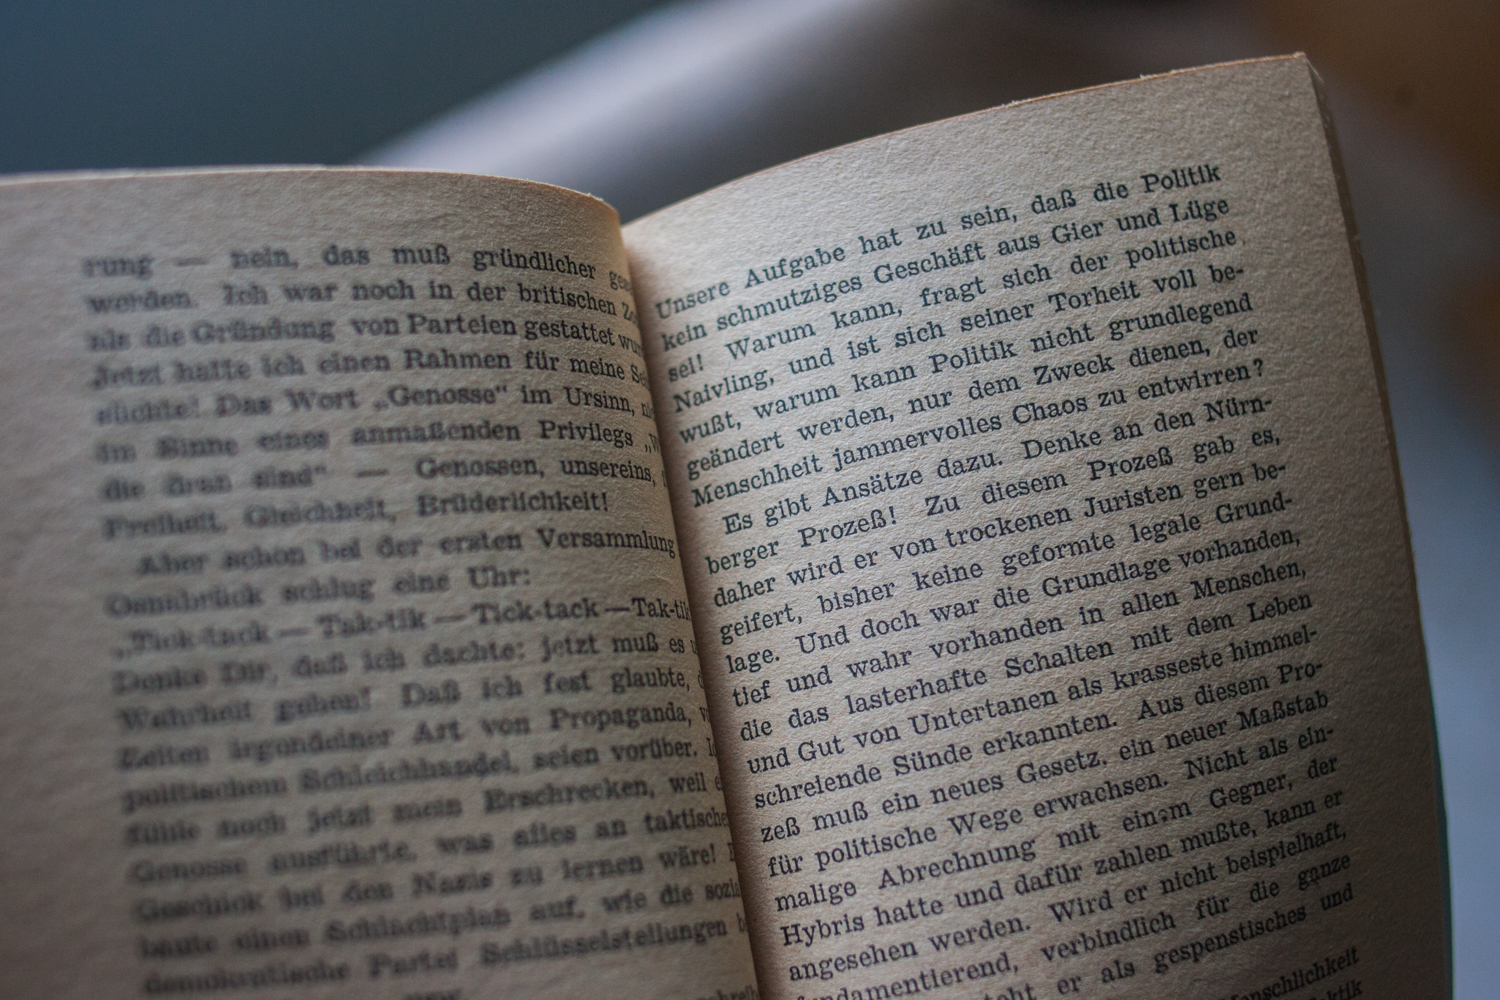
I actually only have a really basic idea of what it’s about, based on a quick scan of the prologue: it’s an epistolary novel written from the perspective of a woman living in Berlin, written to a German Jewish refugee in Paris. A cursory search—results all in German, which means the book never made it past its mother tongue—shows that the author, Susanne Kerckhoff, was a literary and arts editor at the Berliner Zeitung (Berlin News) and a strong member of the Socialist Unity Party of Germany, which successfully ruined East Germany for about 40 years.
I’m still fluent in German, so I’d love to take the time to write up an original translation, especially of a book with no other English versions. The whole thing could be one big Marxist propaganda piece, of course, and I could totally end up ditching it halfway through. But I’d at least like to give it a sporting chance, and rebinding it is the first step!
DIY Book Binding 101
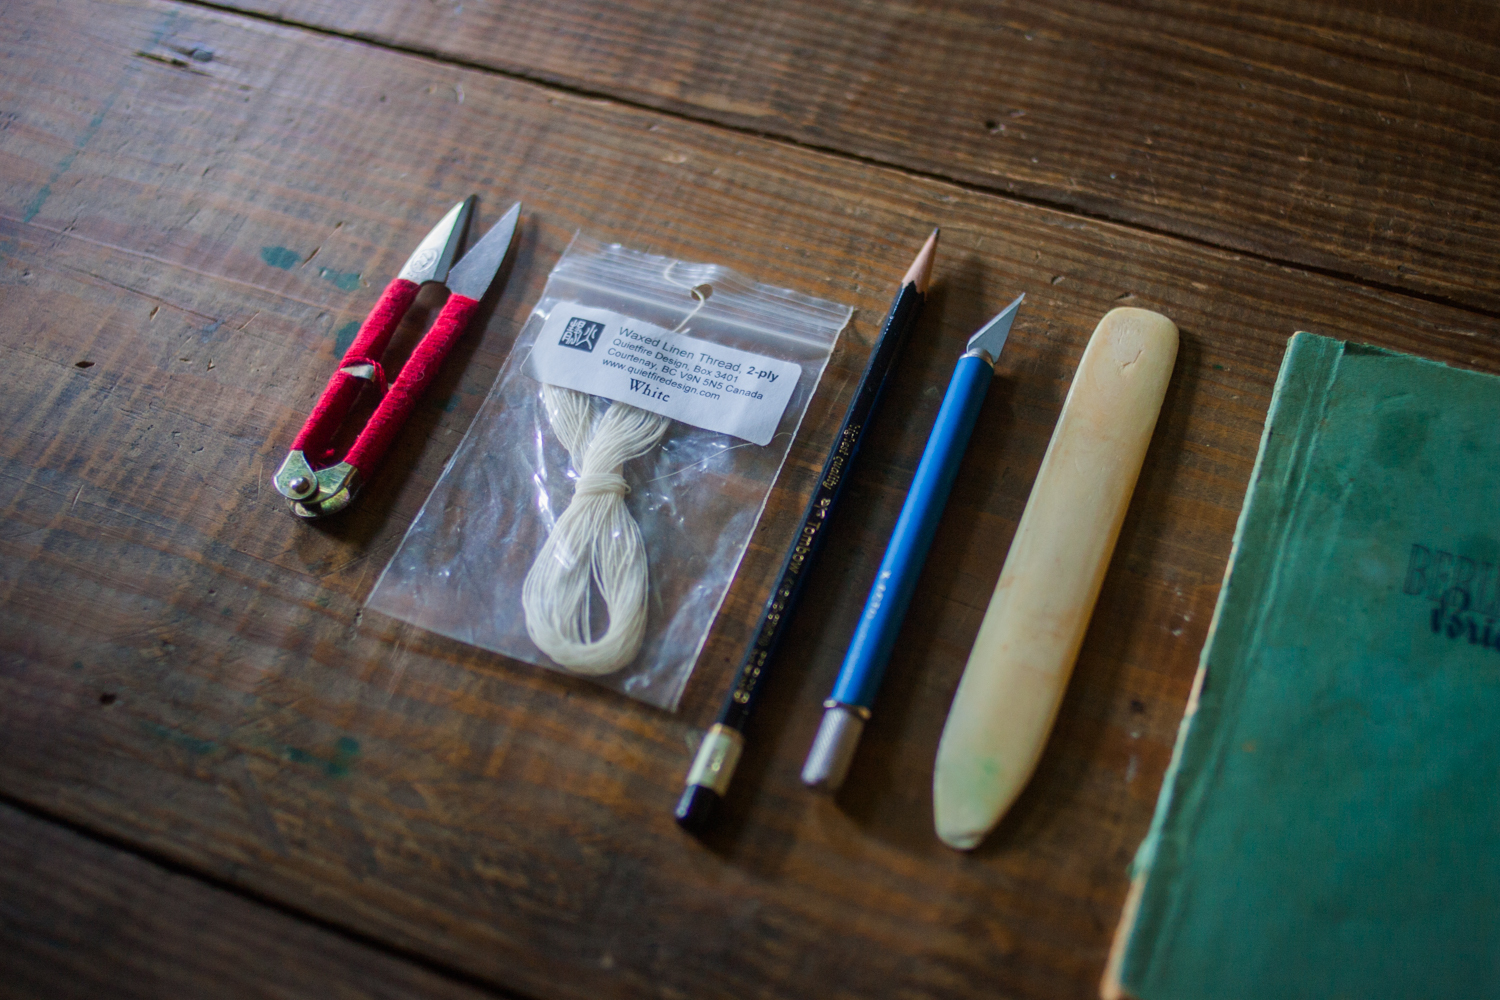
Tools you’ll need:
• Bone folder
• Pencil
• Awl
• Waxed bookbinding thread
• X-acto knife
Not pictured:
• Rulers
• Rubber cement
• Self-healing cutting mat
The construction of this paperback was pretty simple: eight signatures (i.e. eight sections of page folded down the middle), held together with two staples on the front about a quarter inch from the spine, with a cover glued on to the spine.
My basic plan of action for my own take on DIY book binding: remove the cover, rebind the signatures, and reattach the cover with reinforcements.
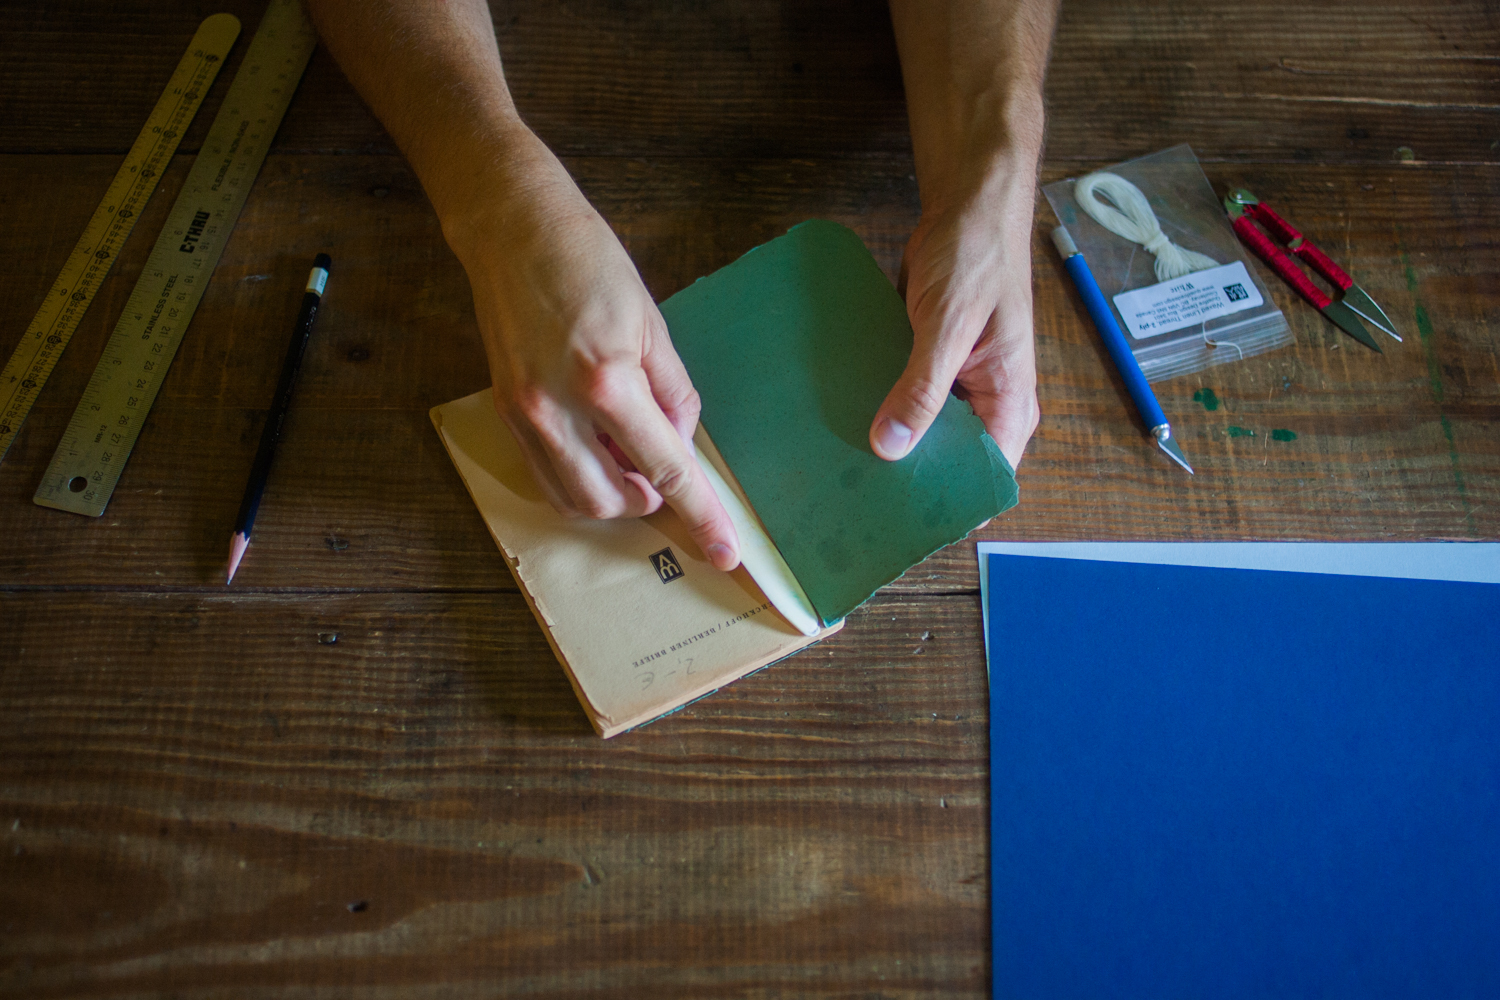
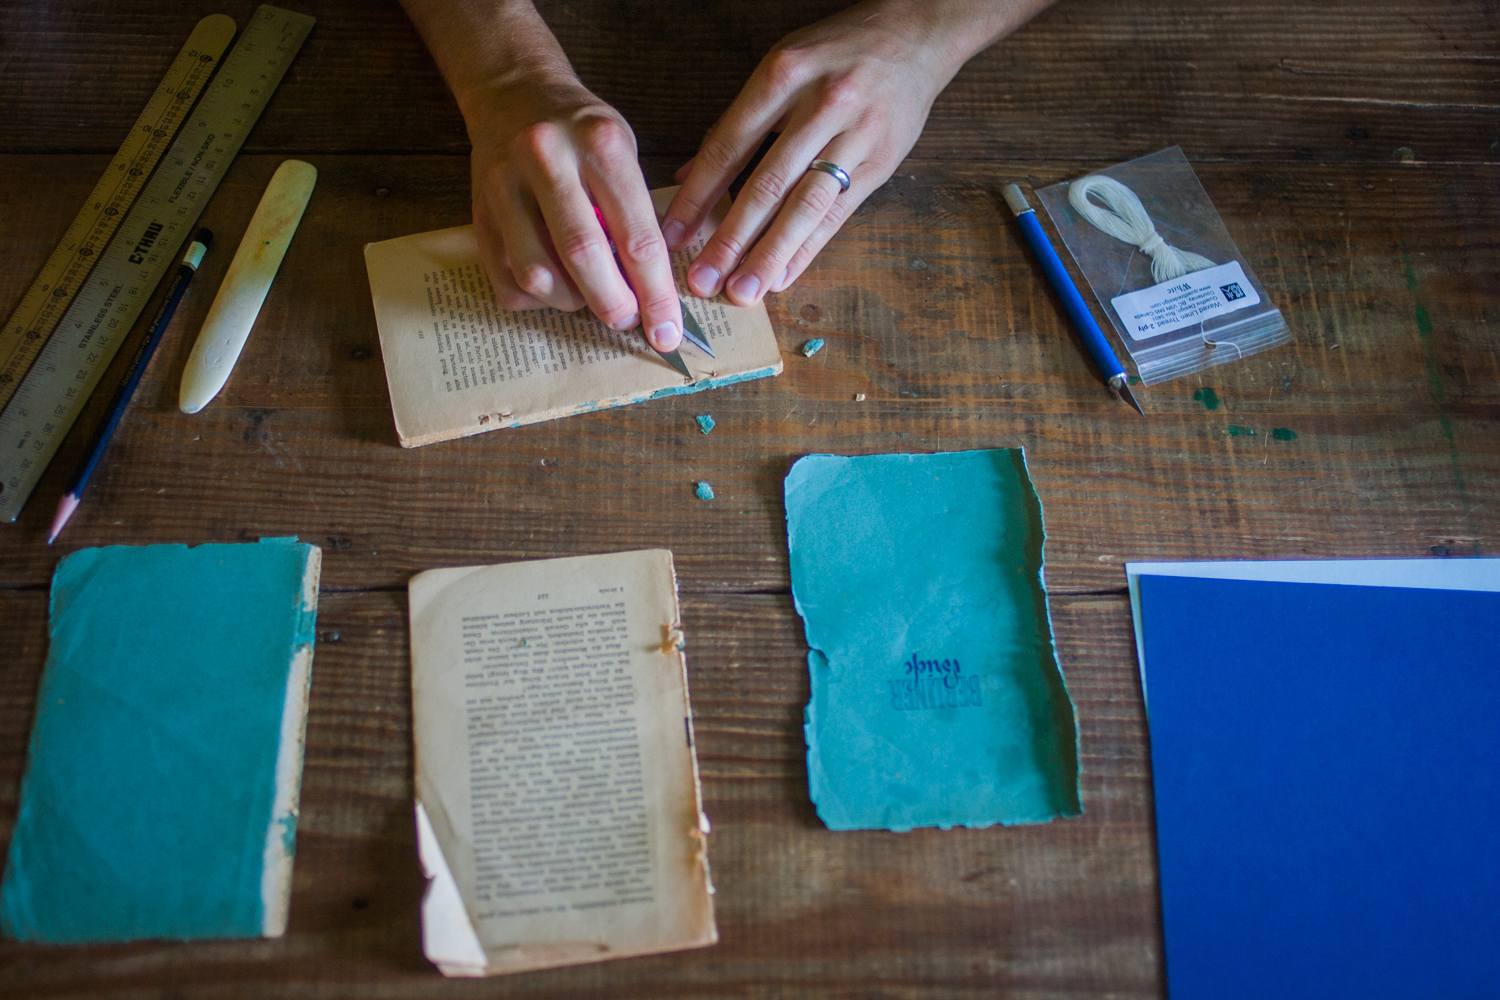
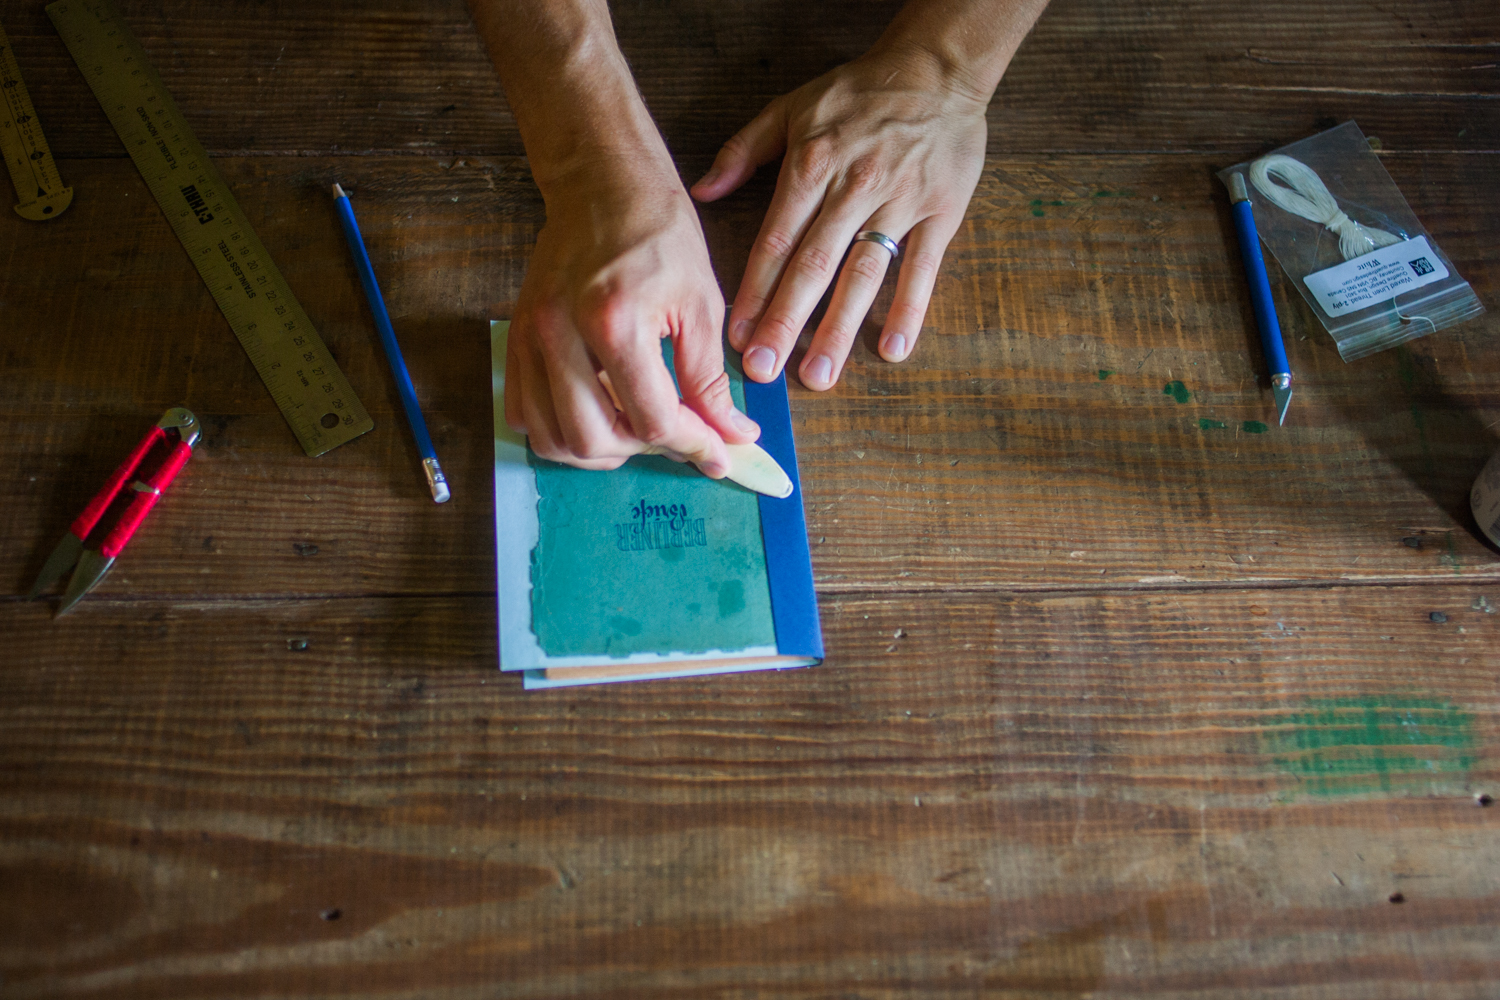
1. Remove cover
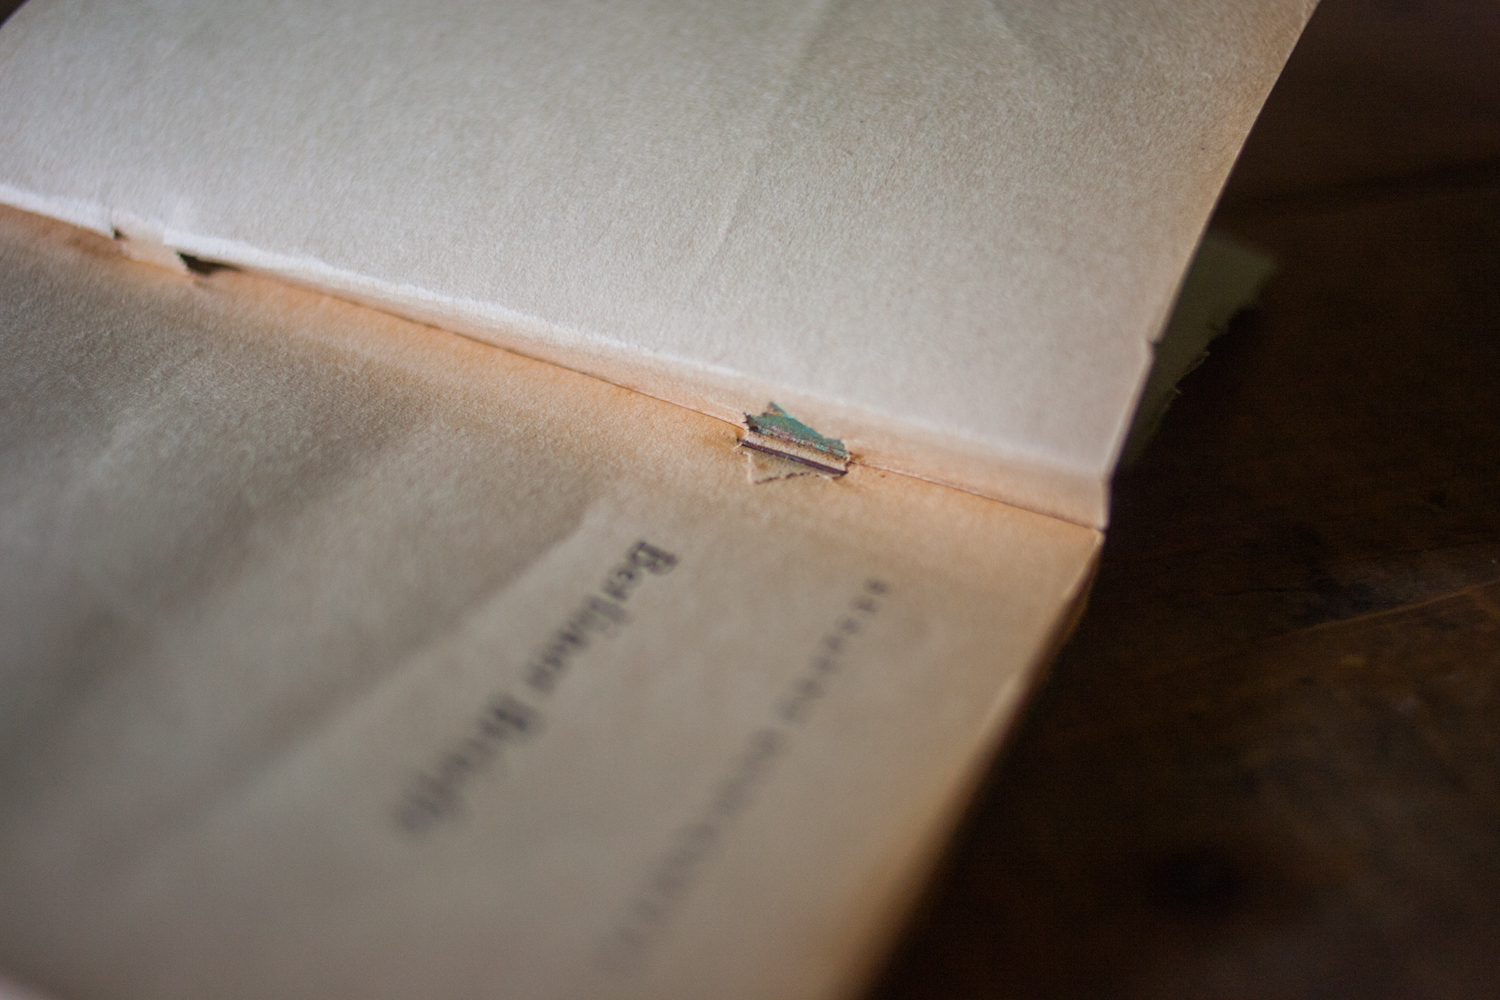
This was clearly a cheap book produced using inexpensive materials, and the coarse pulp cover had basically disintegrated on the spine. The only thing keeping it attached to the book was the quarter inch or so of glue on the title page, so I pushed it away a little bit with the bone folder and gently peeled it off.
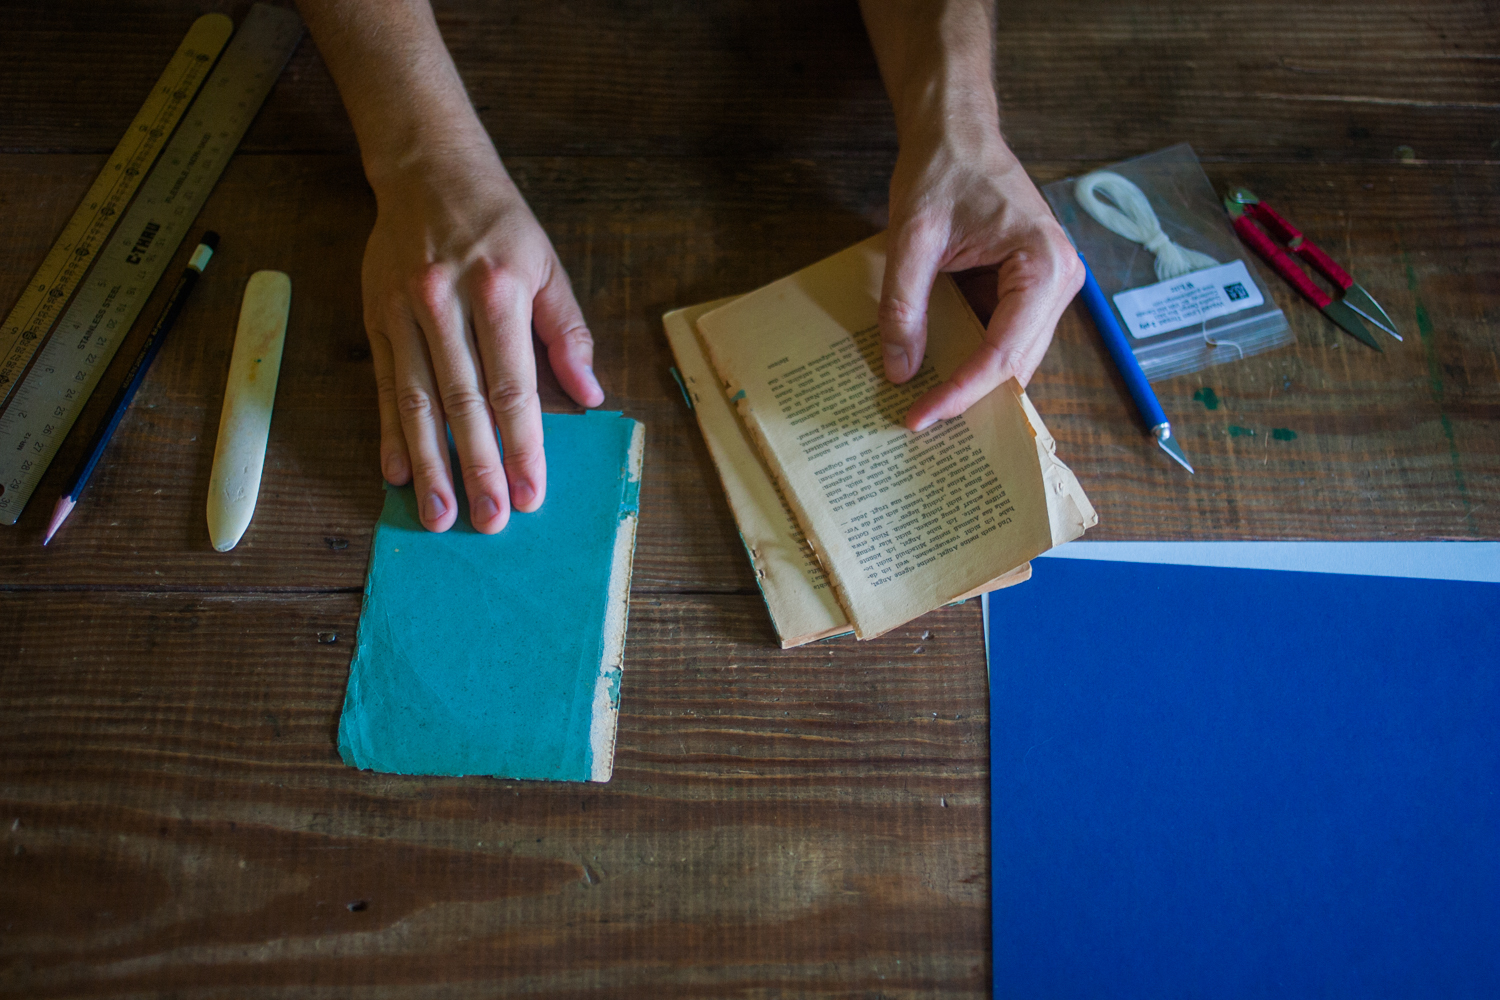
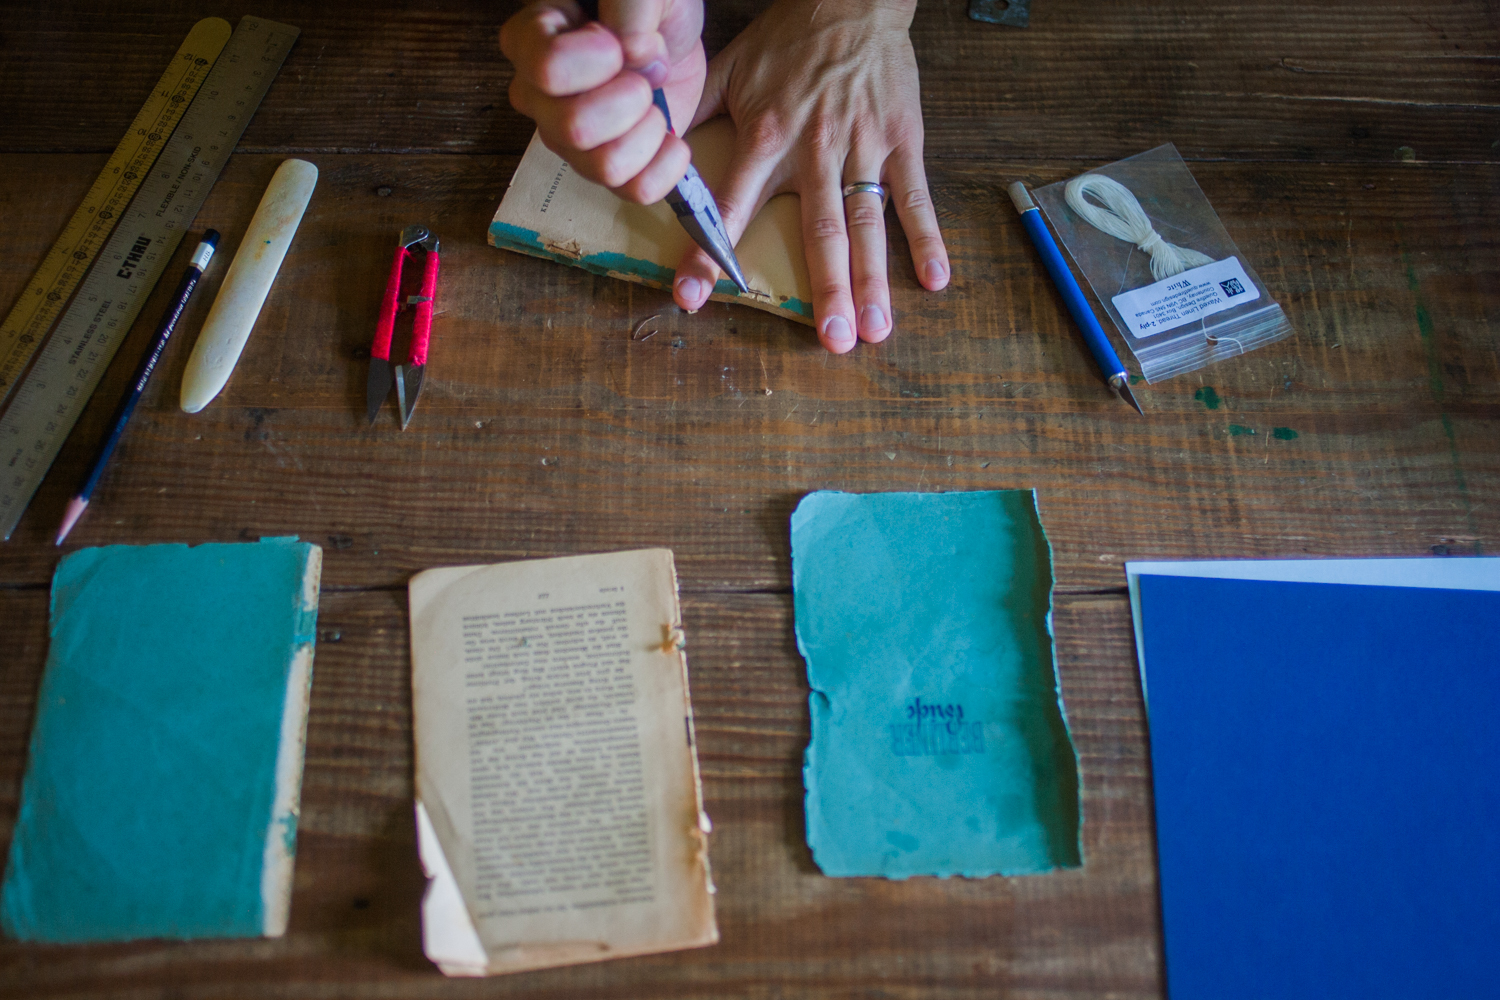
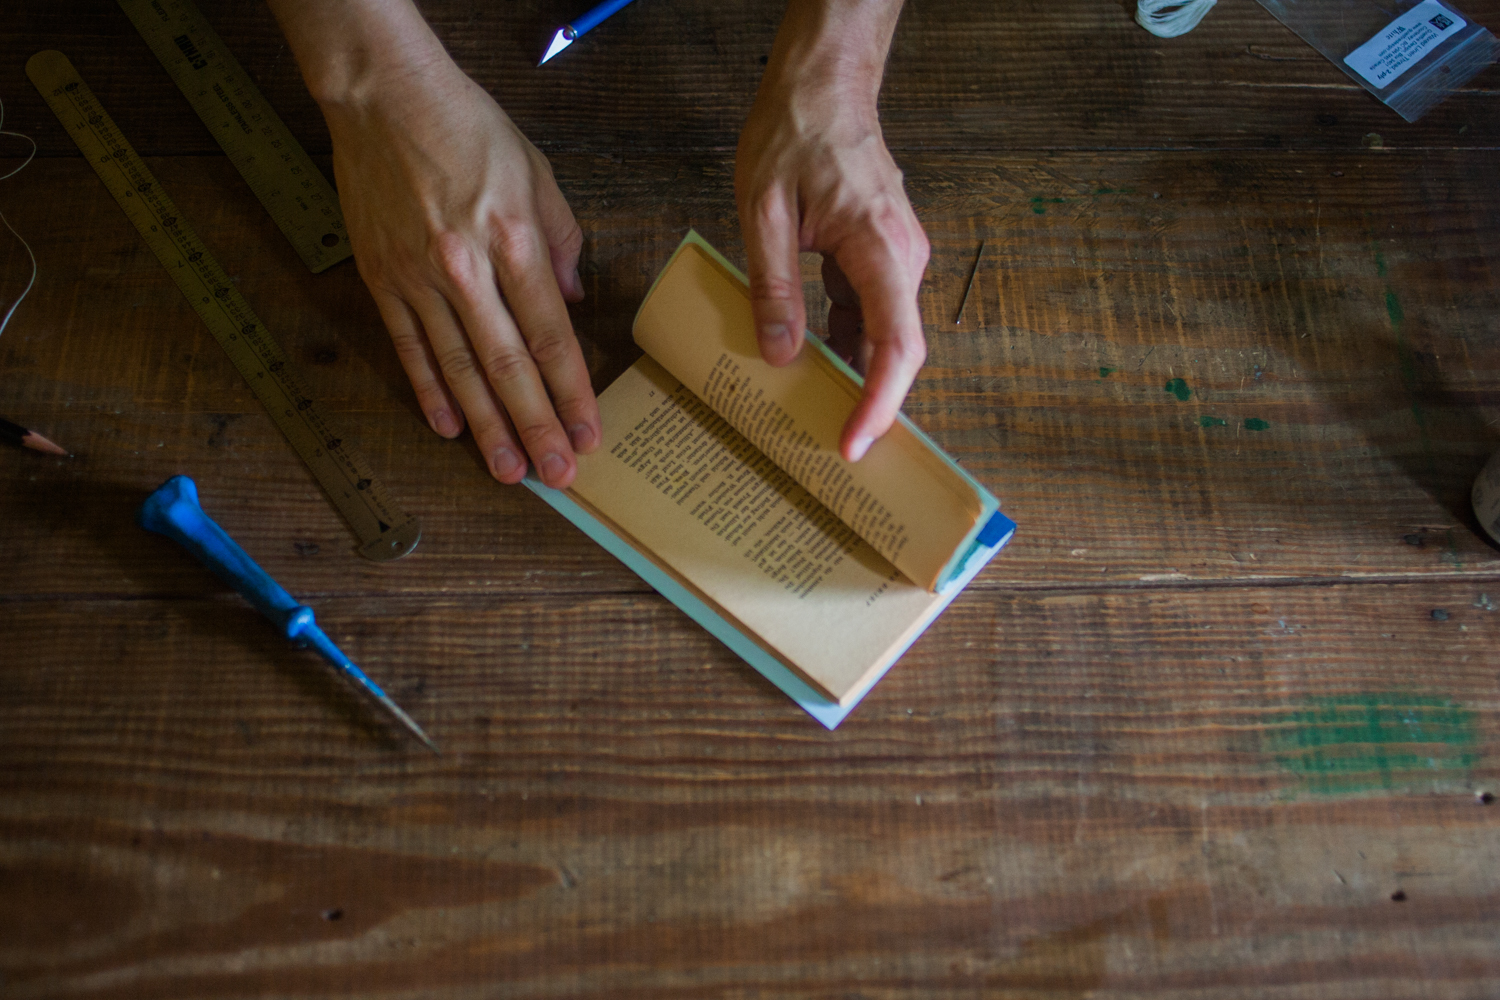
2. Remove staples
Here’s a good view of what the staples on the binding look like. (It’s an unusual construction for paperbacks, which typically just get a big slap of glue on the spine between the cover and the pages.)
I wedged my snips under the staples to loosen them and pulled them out with a pair of pliers, making sure to carefully brace the book with my supporting hand since the paper was liable to rip.

Real deal DIY book binding in action!
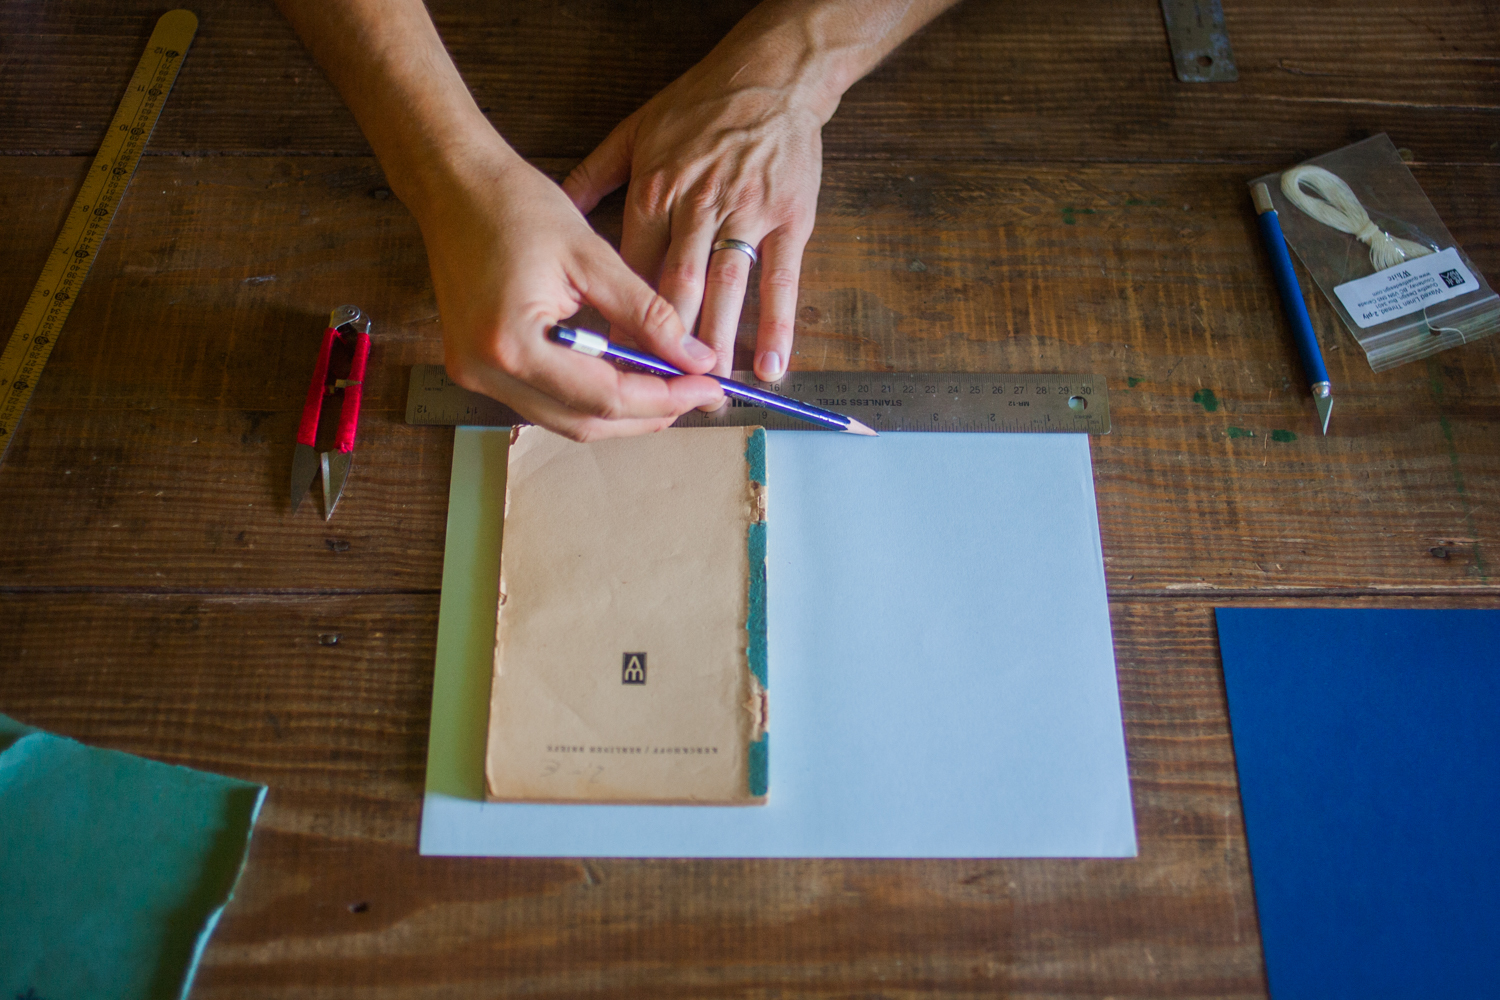
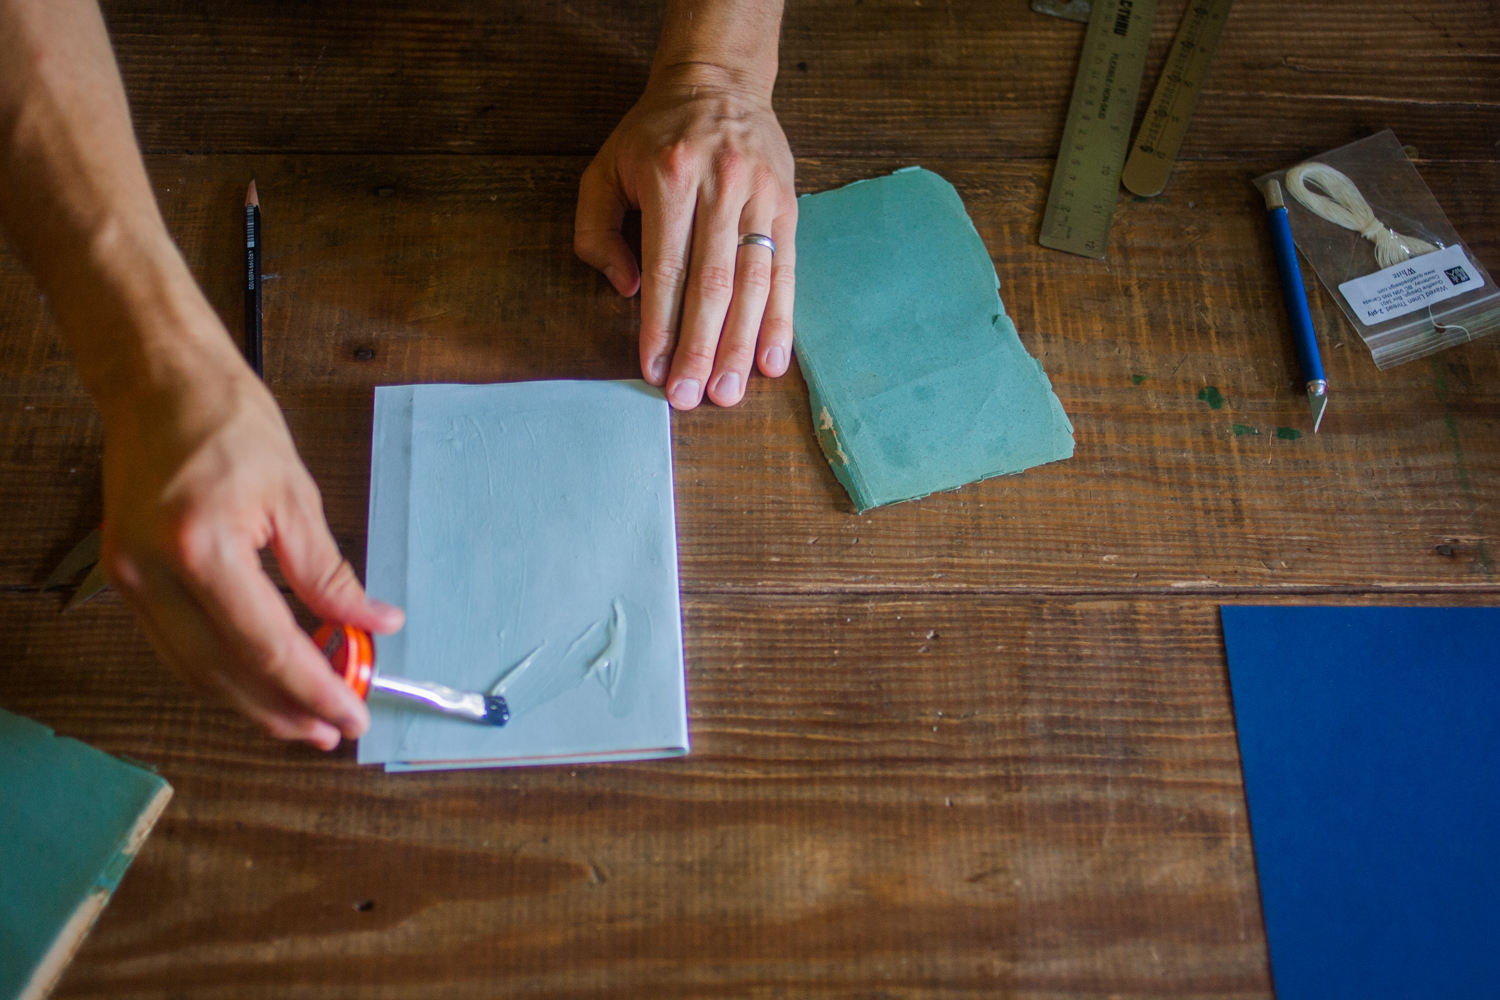
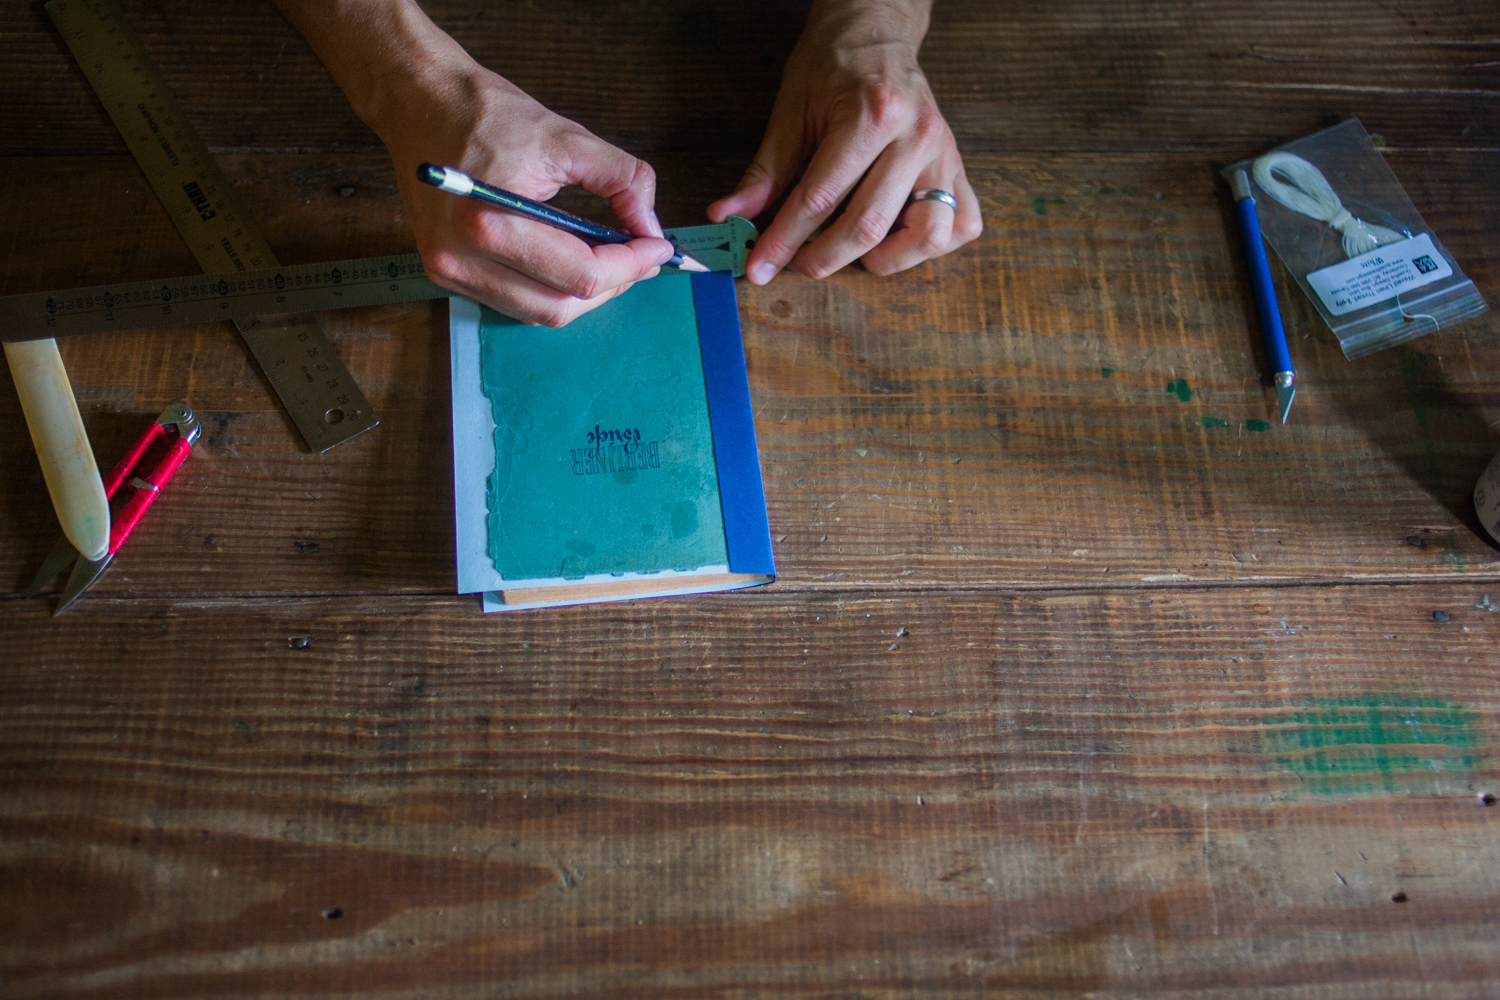
3. Mount signatures to cover reinforcement
I picked out a couple of pieces of paper from my collection for reinforcements—a thicker cover stock for the spine, and a thinner piece of text weight reinforcement paper to mount the cover onto. (I gotta put in a plug for French Paper Co., my favorite paper company—they’re a 6th-generation family-owned mill up on the St. Joe river in Michigan, their plant is 100% hydropowered, and their paper is impeccable.)
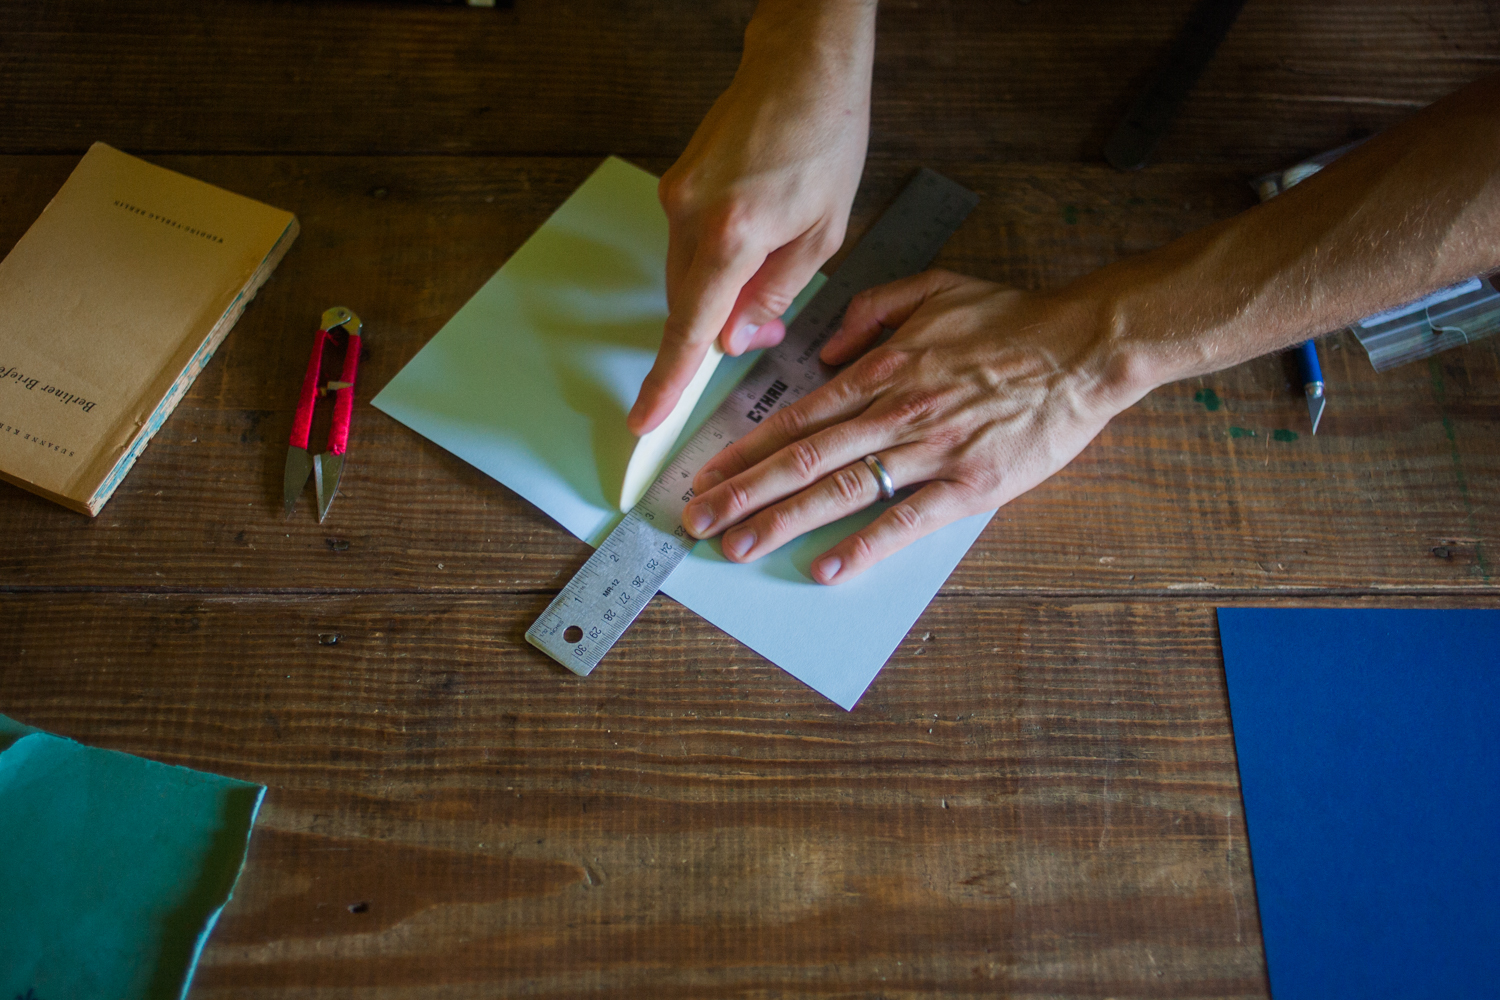
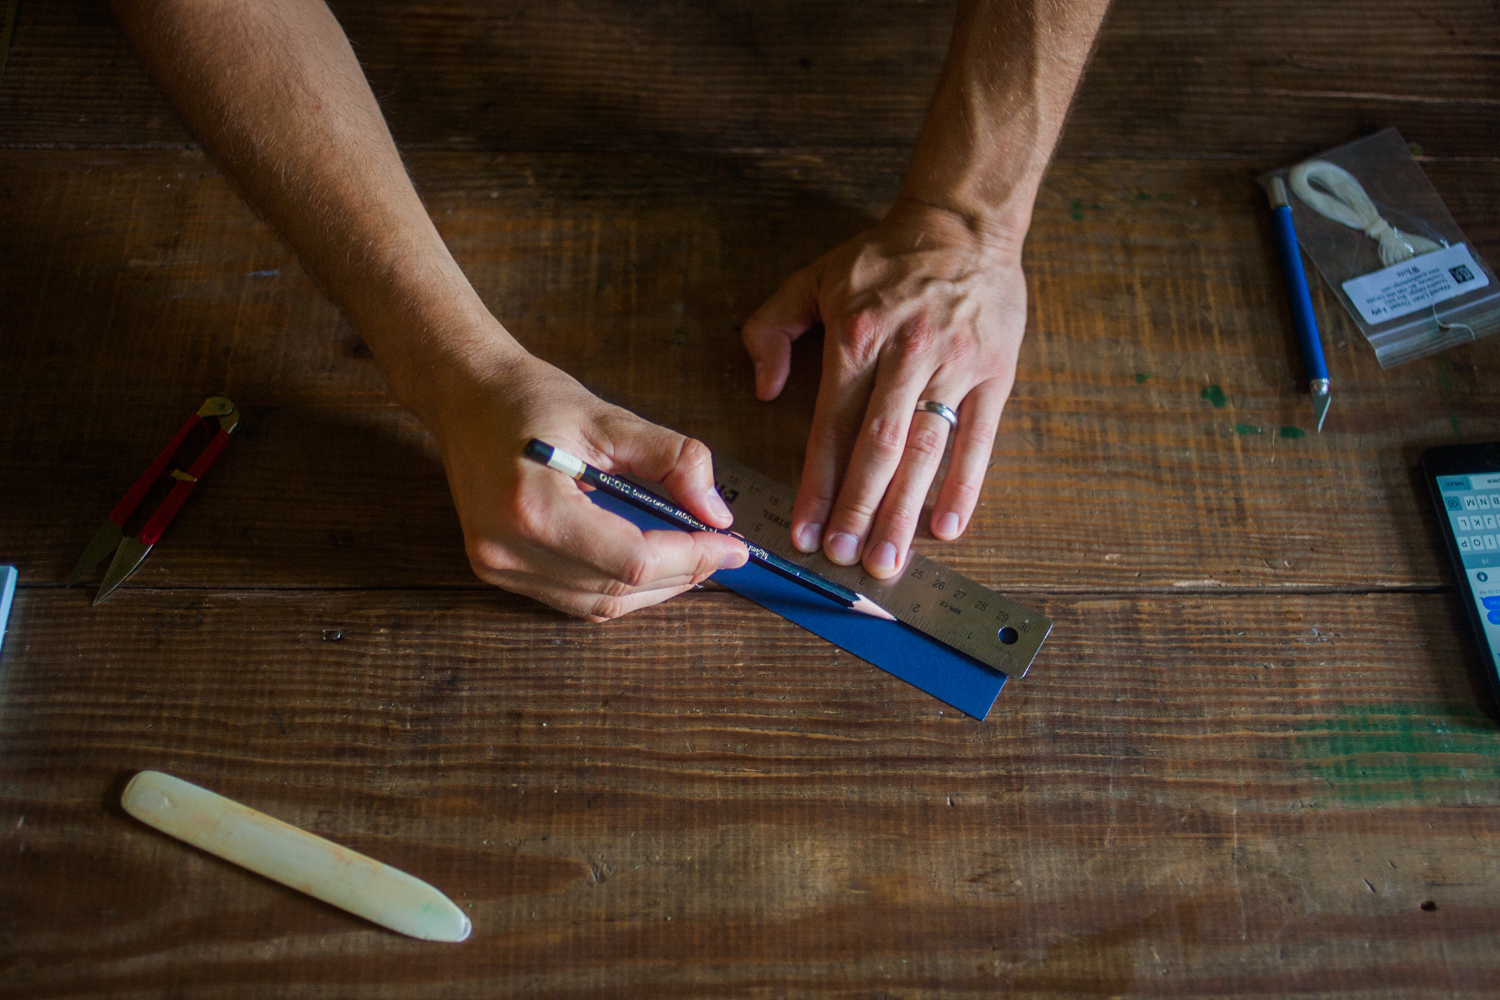
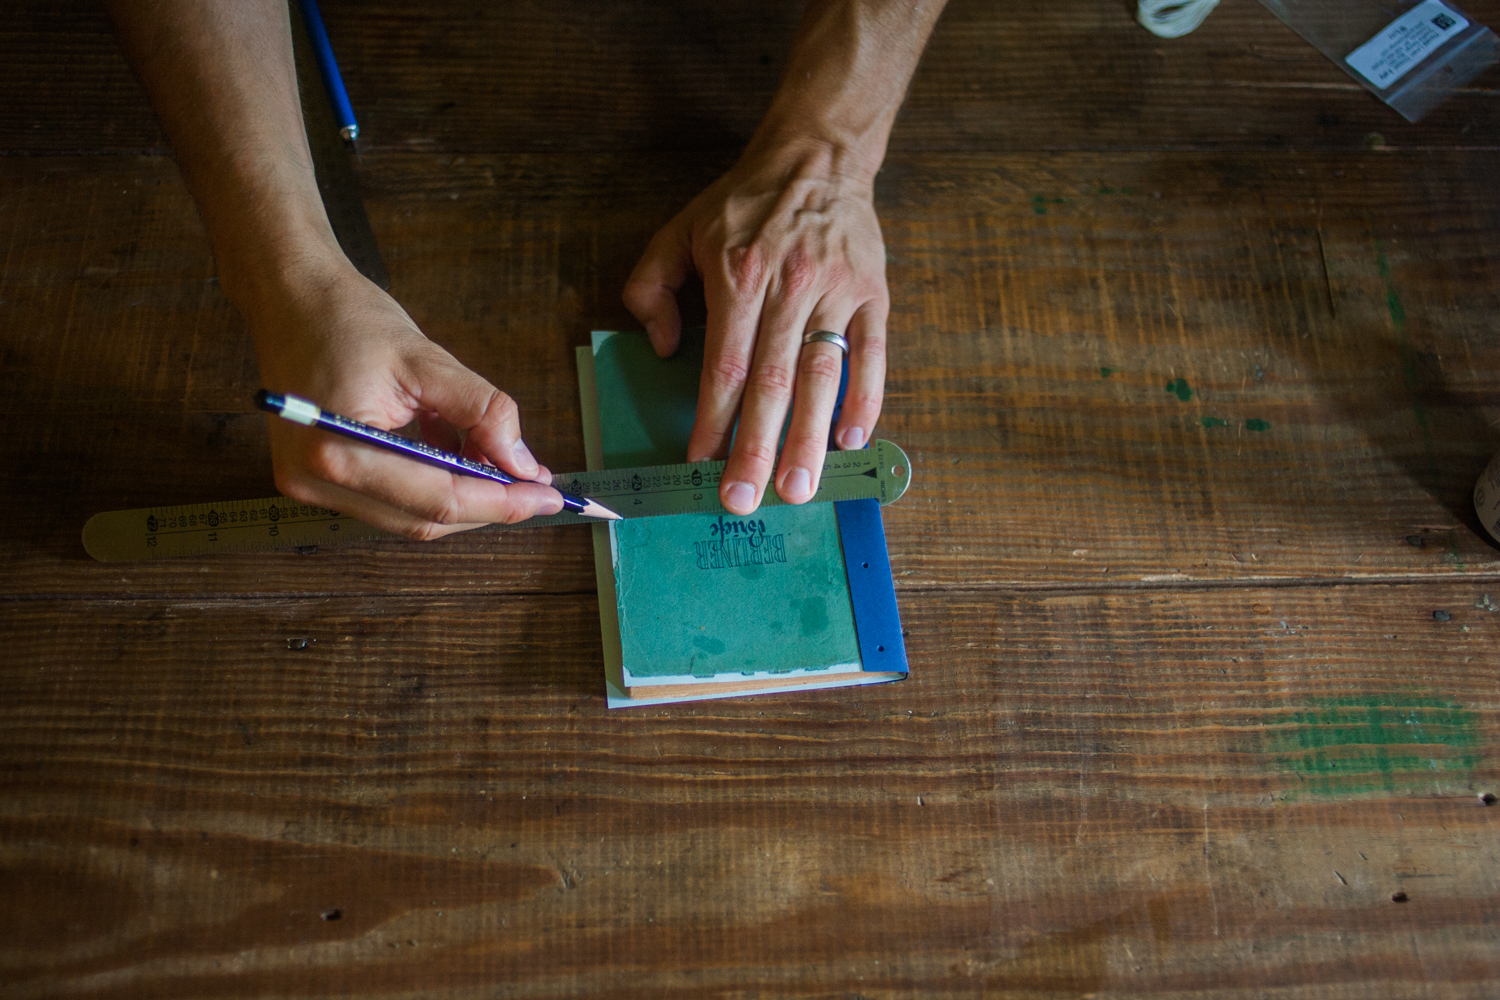
First, I roughed out the dimensions of the reinforcement using the book itself as a template. It didn’t need to be exact, since I was planning on trimming everything at the end.
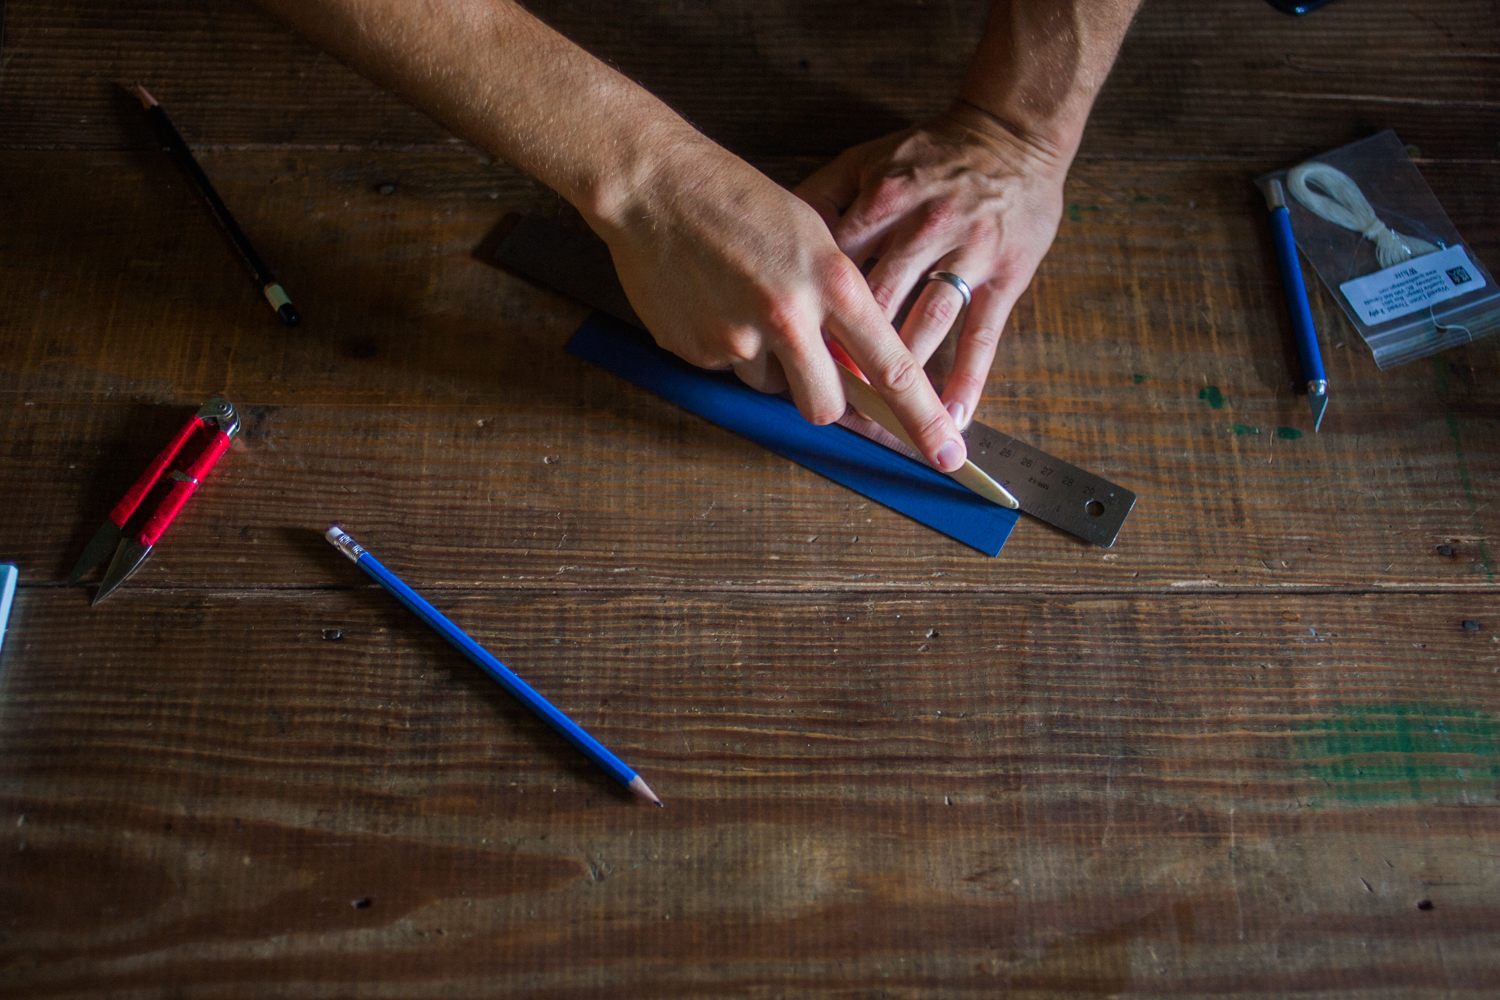
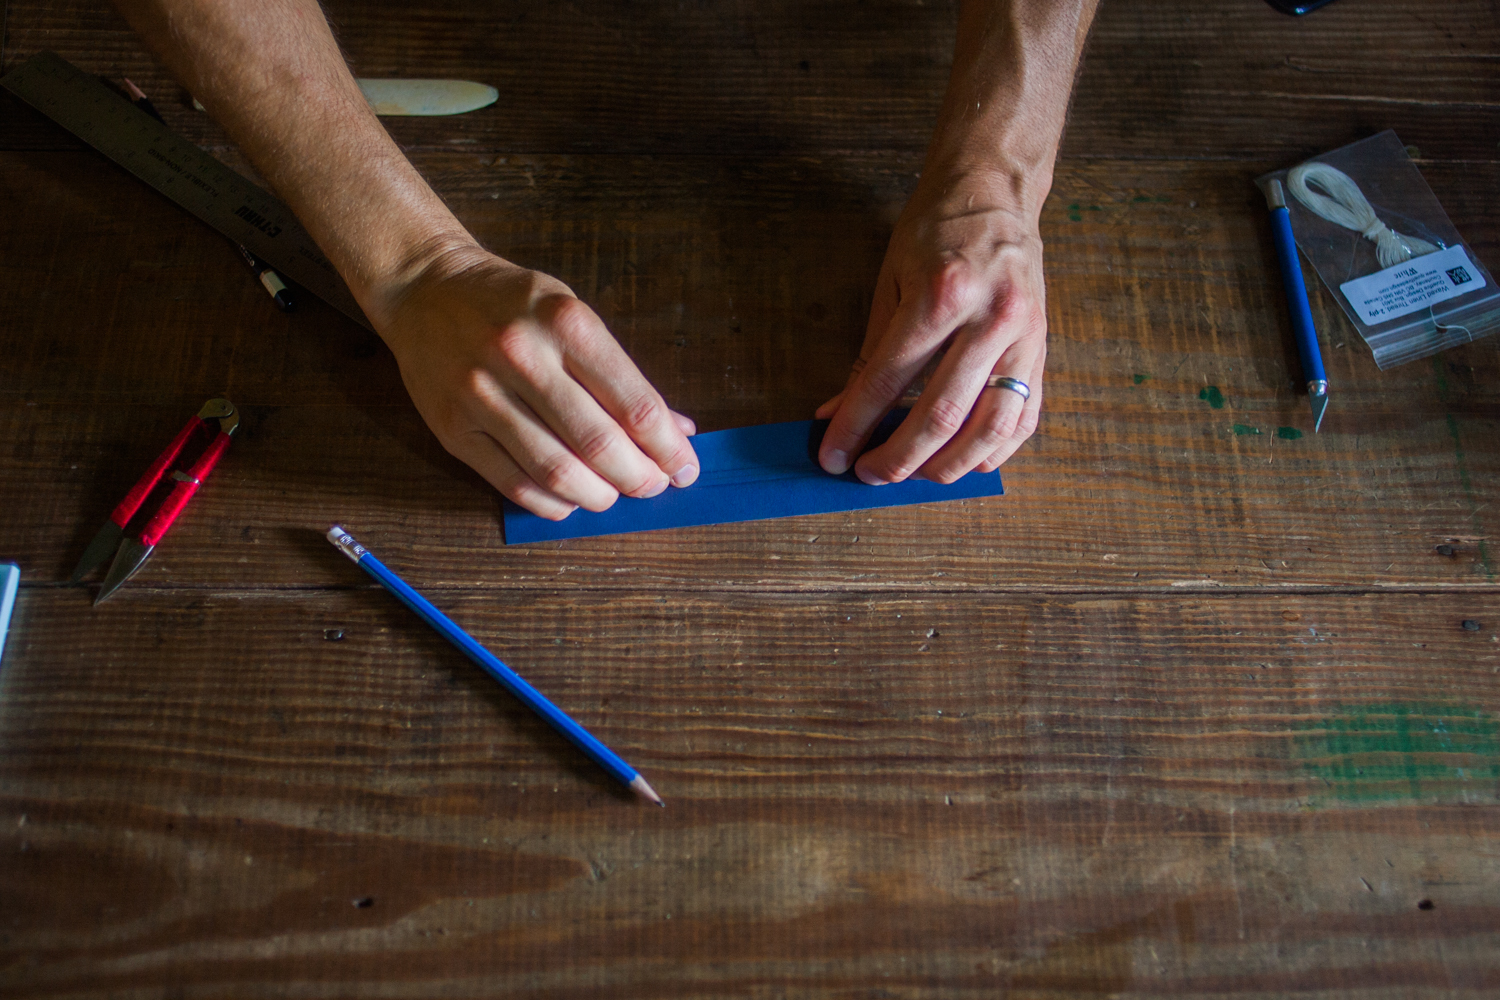
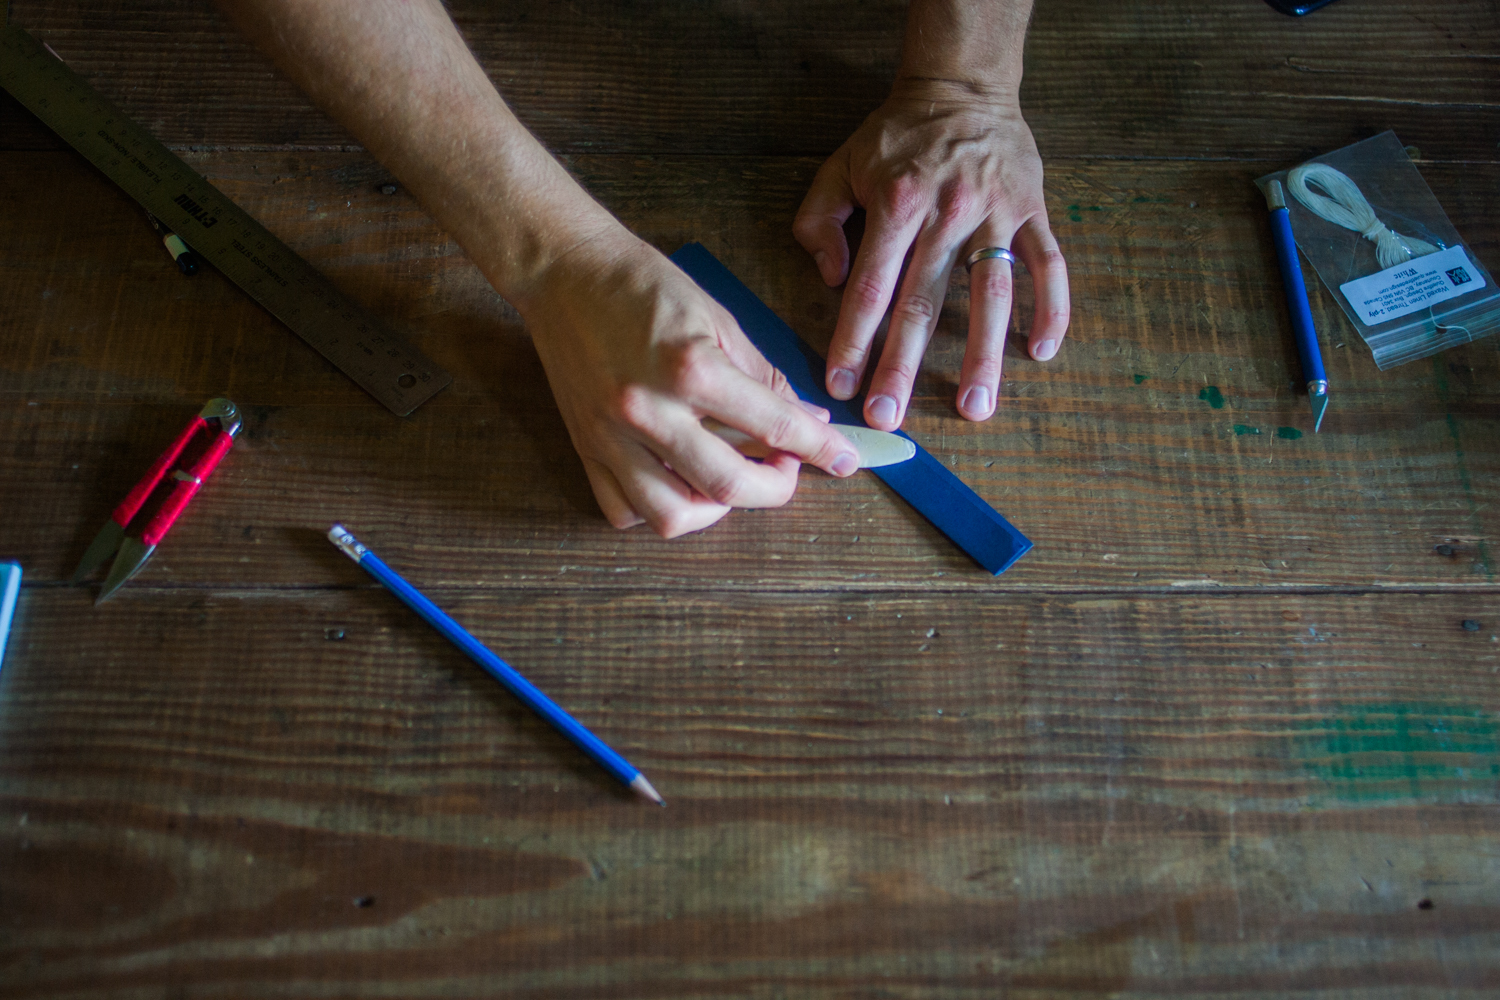
Next, I measure the spine and used the bone folder to score folds for a spine-width section into middle of the paper.
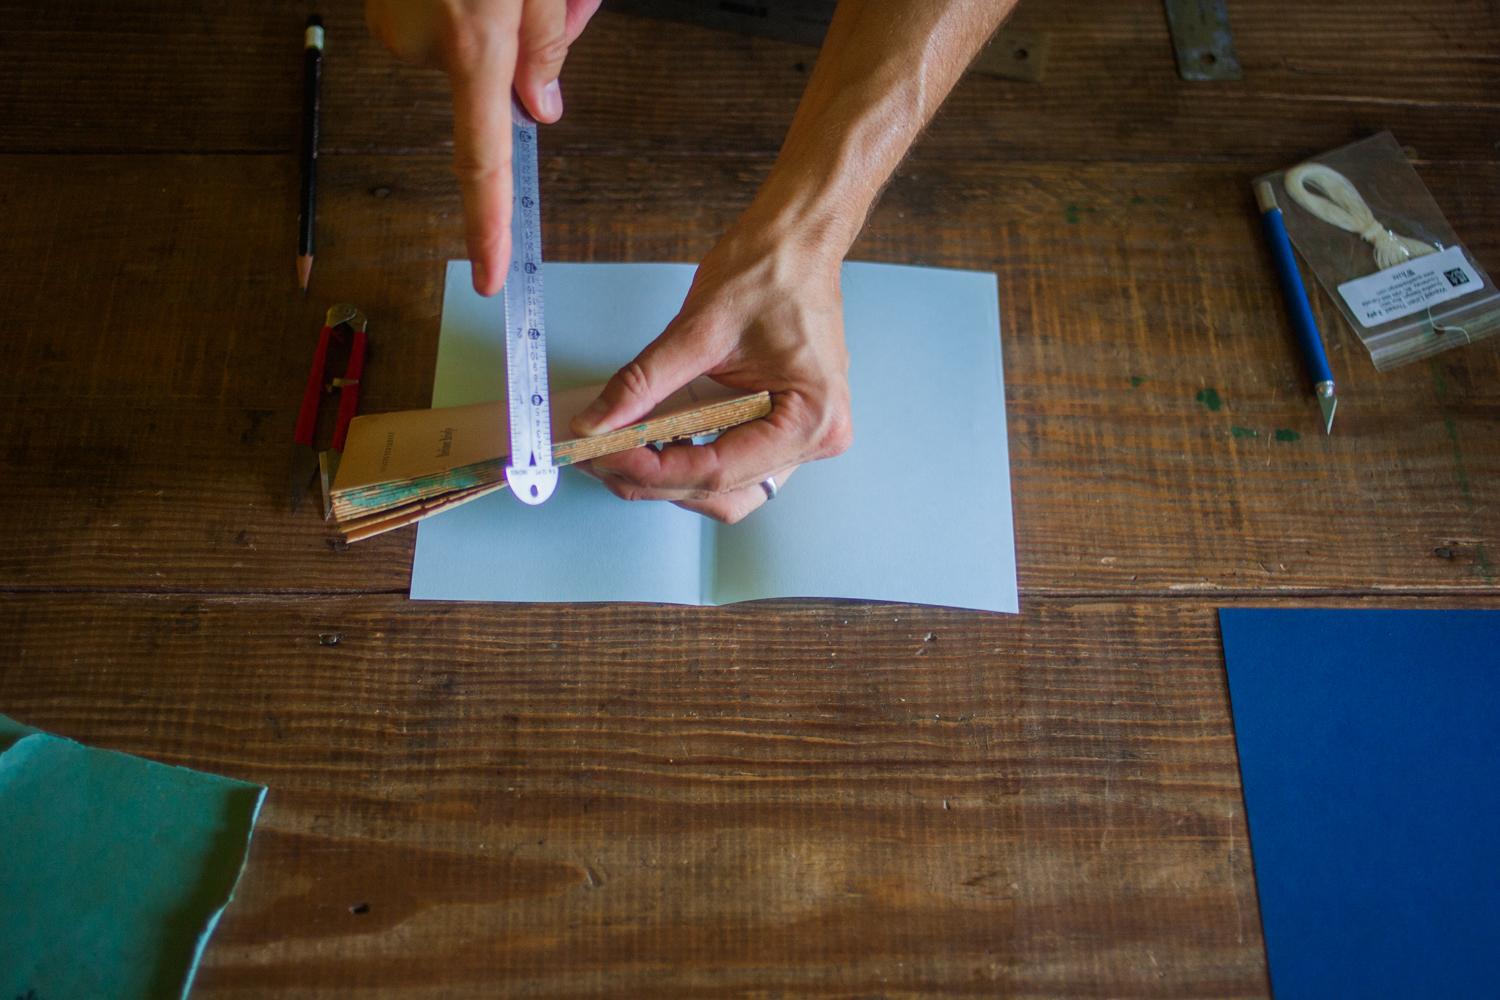
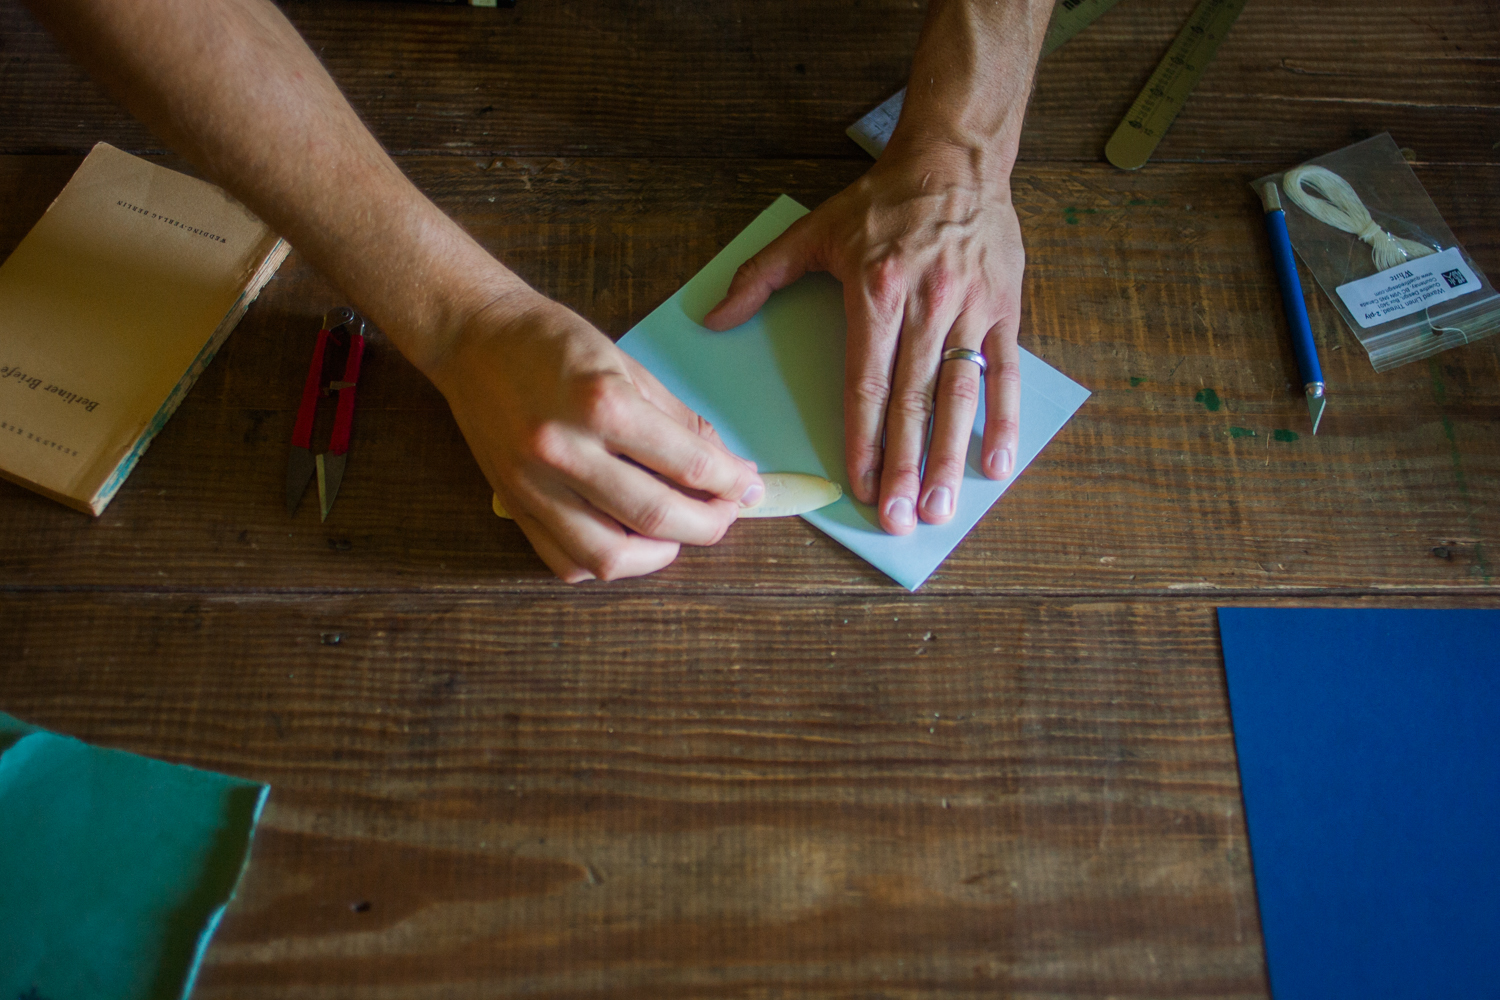
Next up, mounting the reinforcement to the spine. Here’s a great trick with rubber cement: coat both sides you’re planning to stick together, then let them dry. The sides will actually bond together better than if you stuck a wet side to dry, and it’ll be a lot easier to line them up.

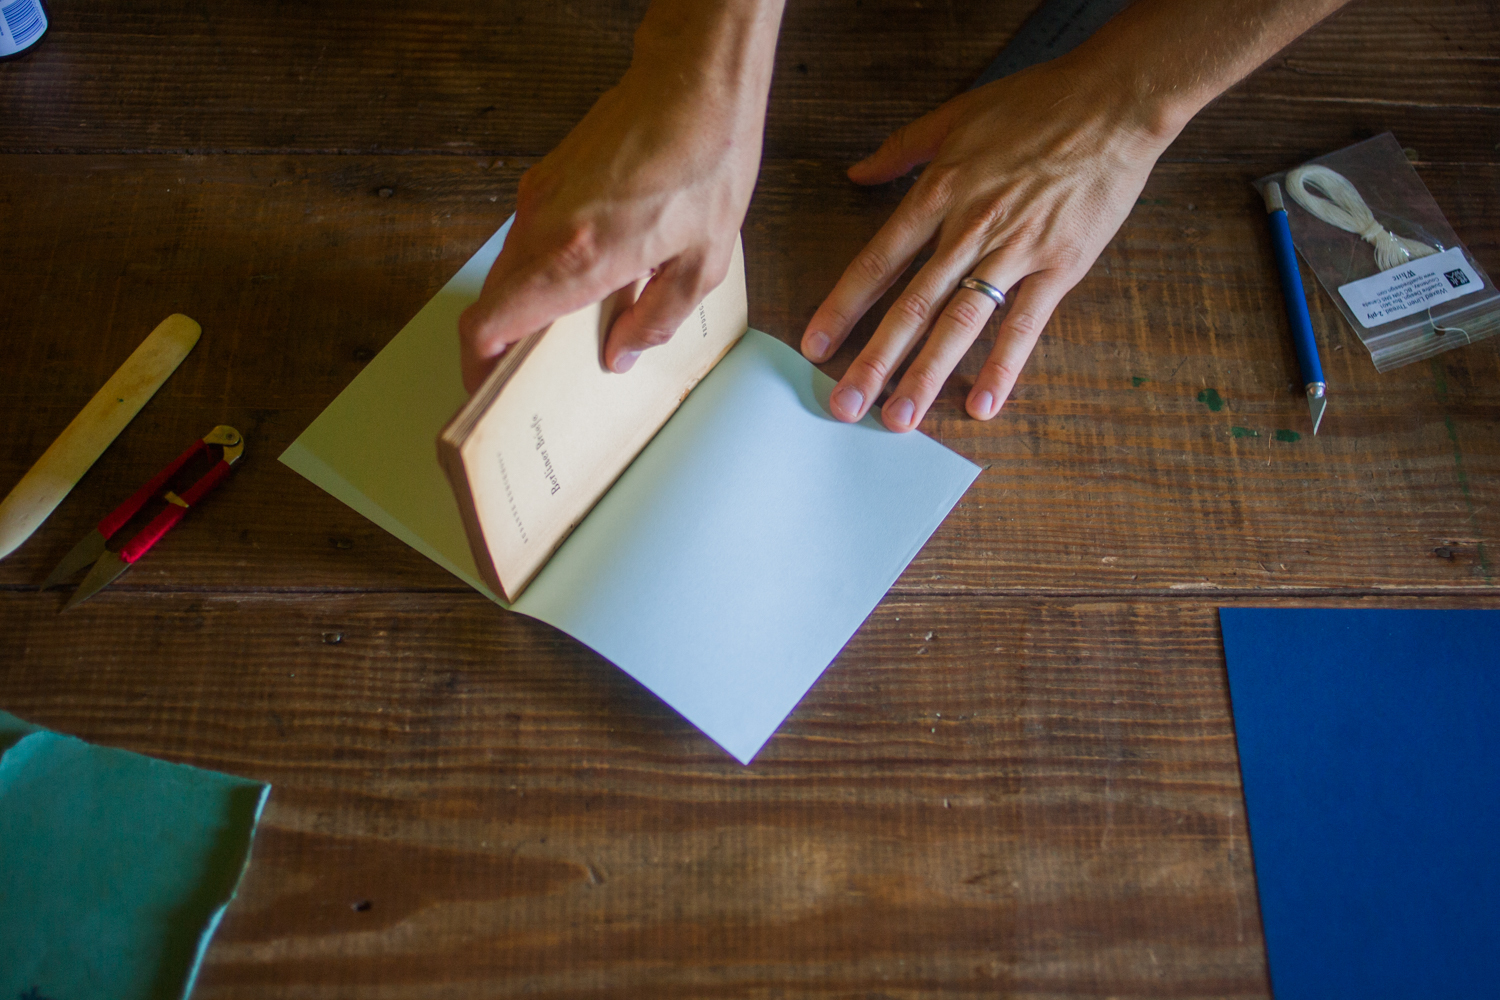
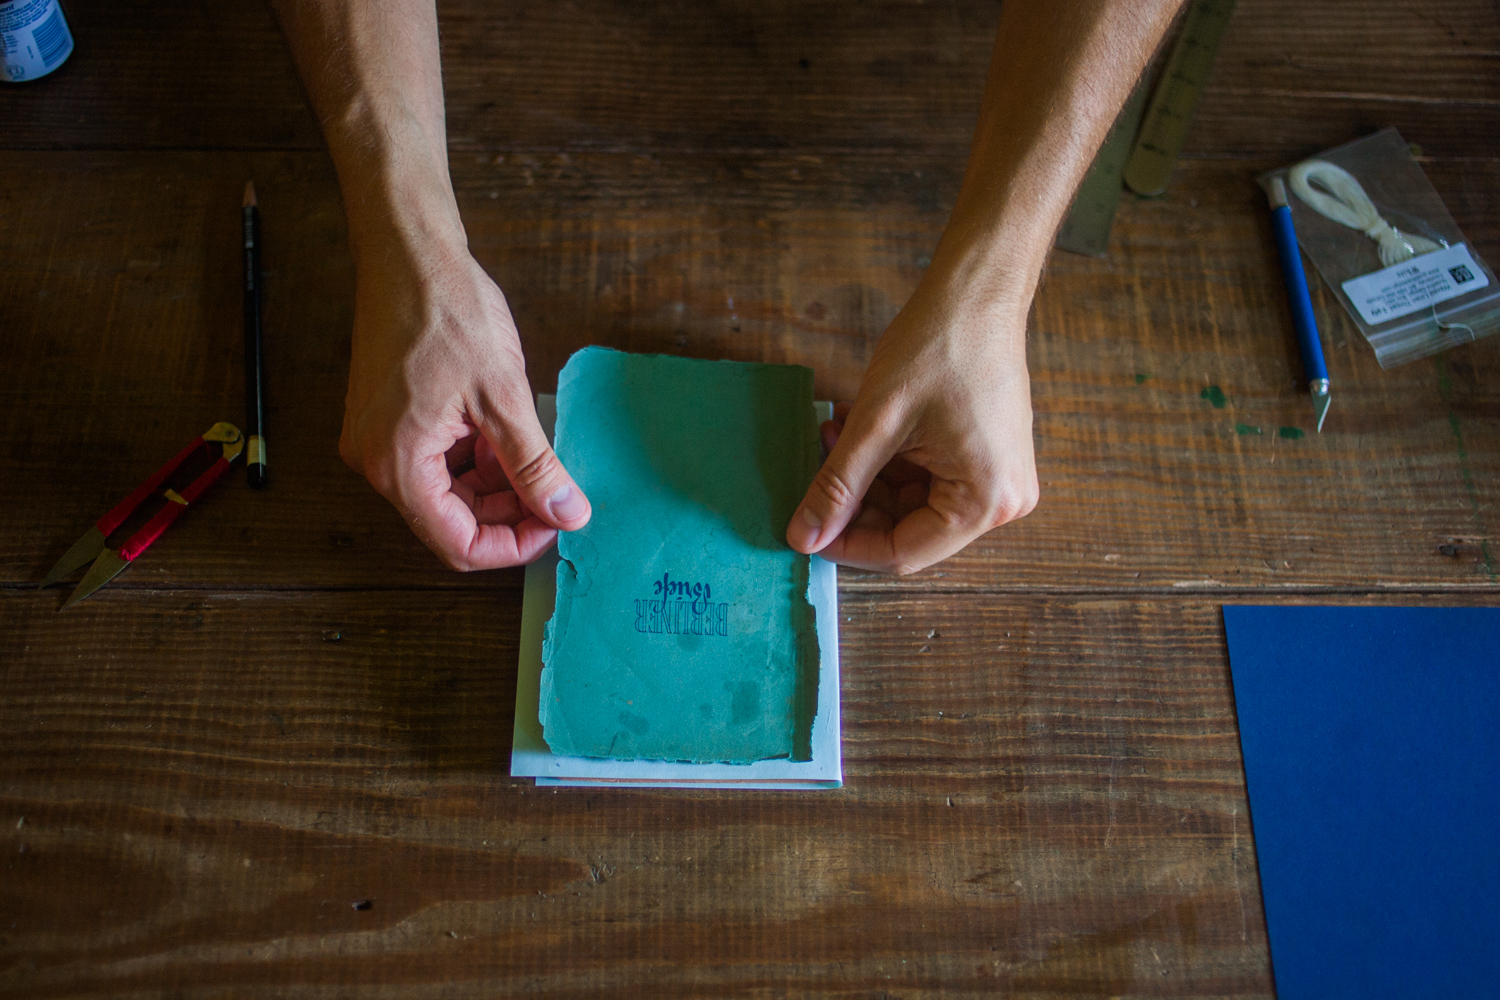
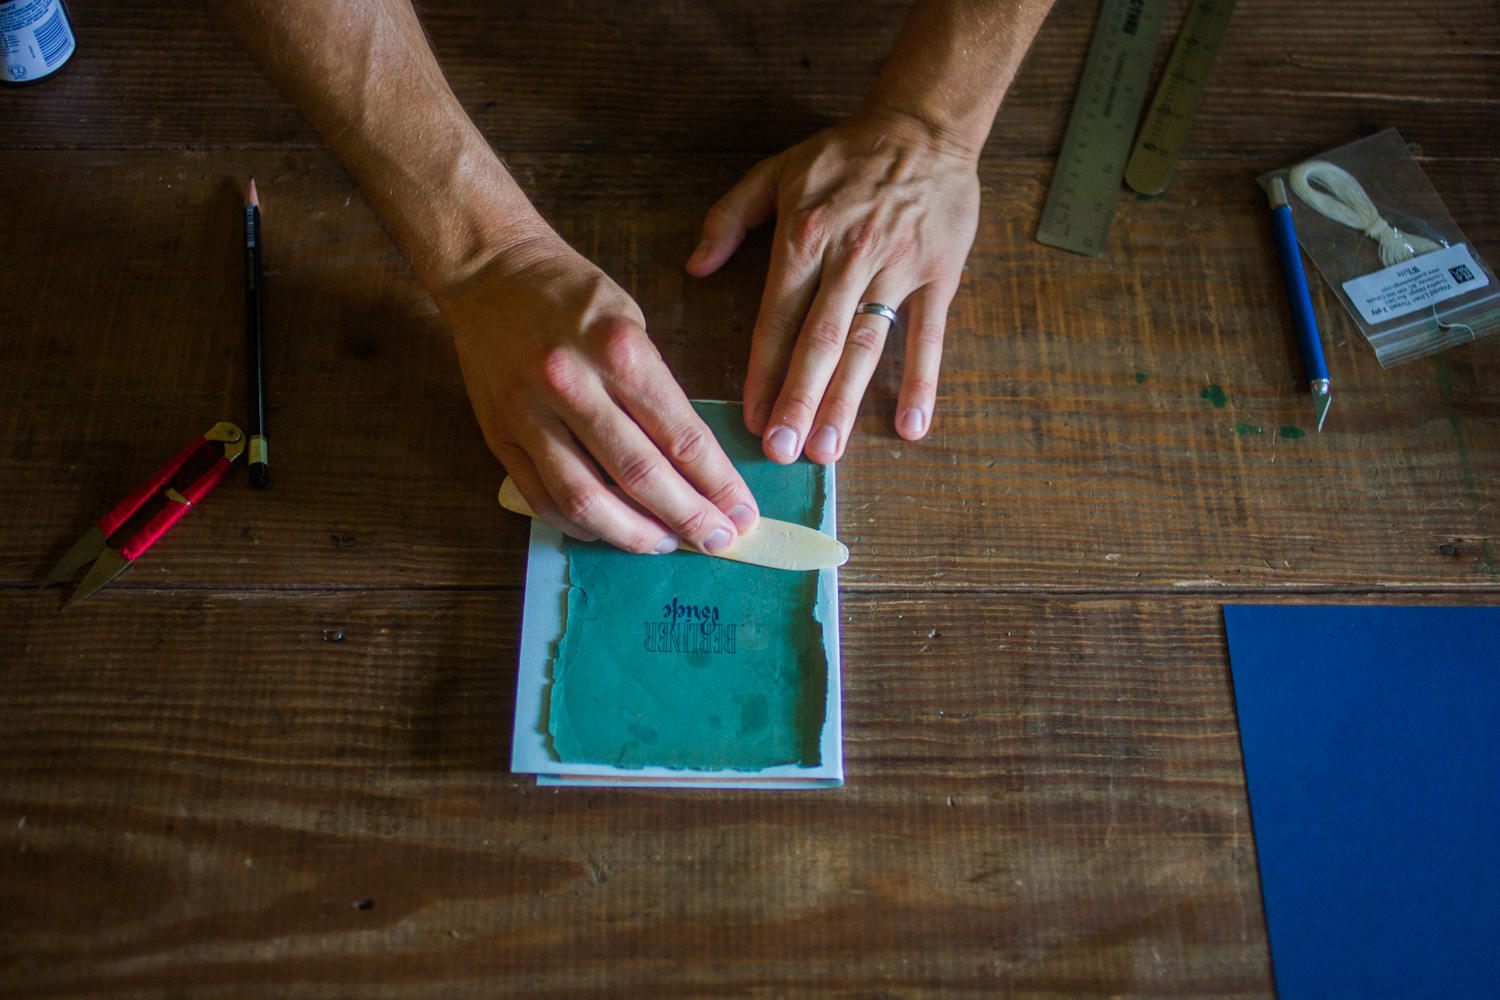
4. Mount the cover
The same rubber cement trick works here as well. Since I’m trimming it, I didn’t need the placement to be 100% perfect, so I just eyeballed it to make sure it was centered. Then I smoothed it out with the bone folder.
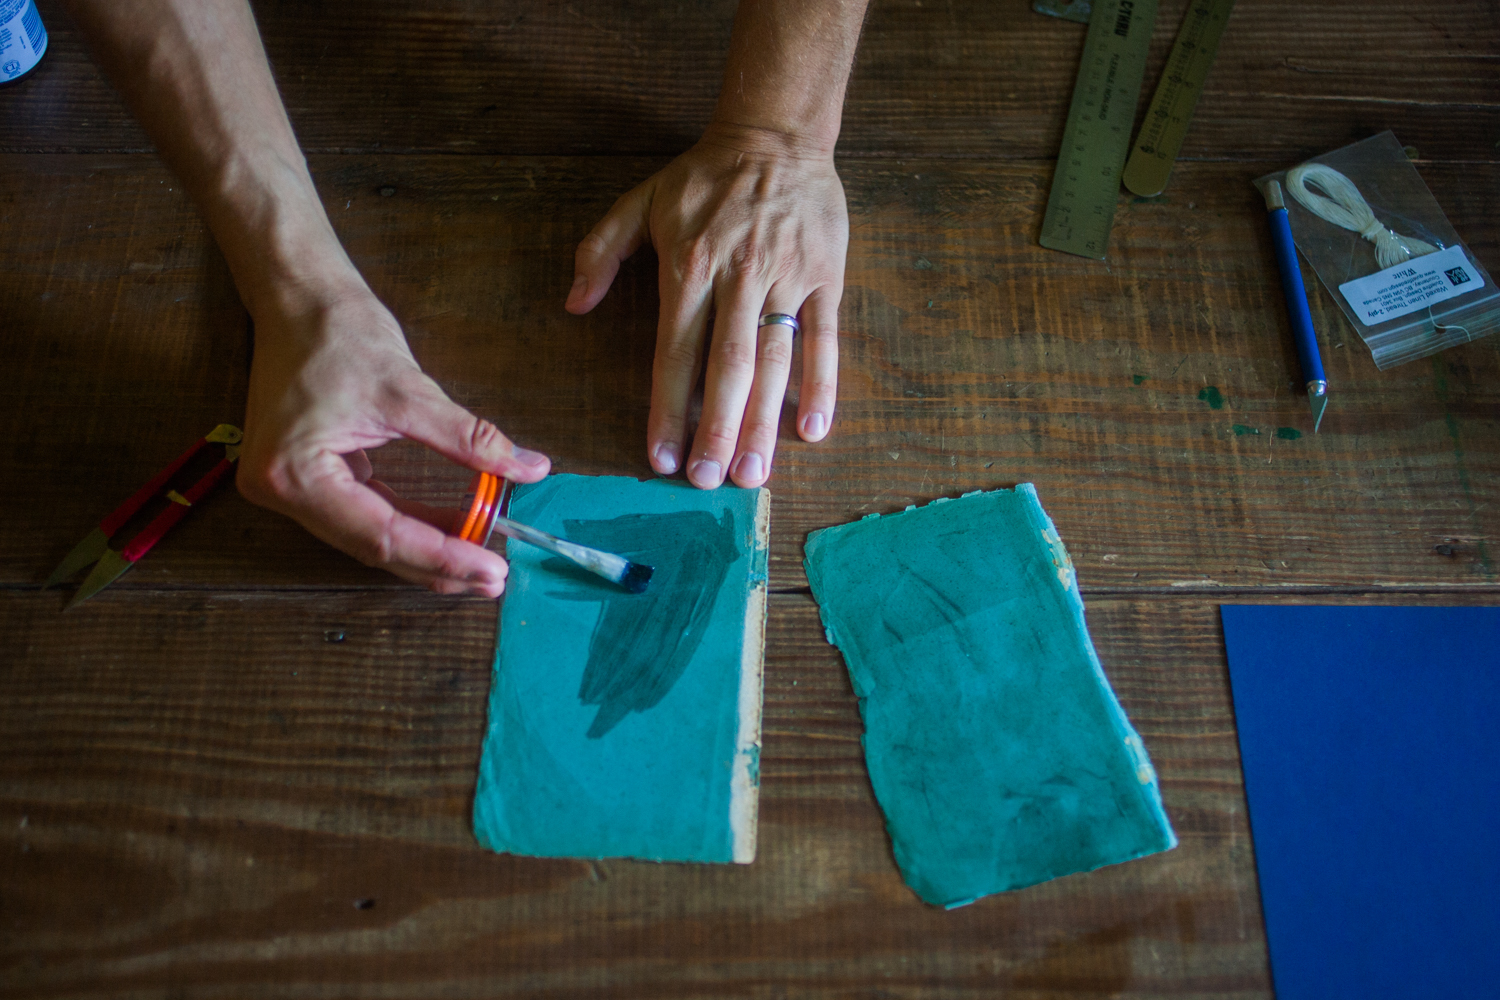
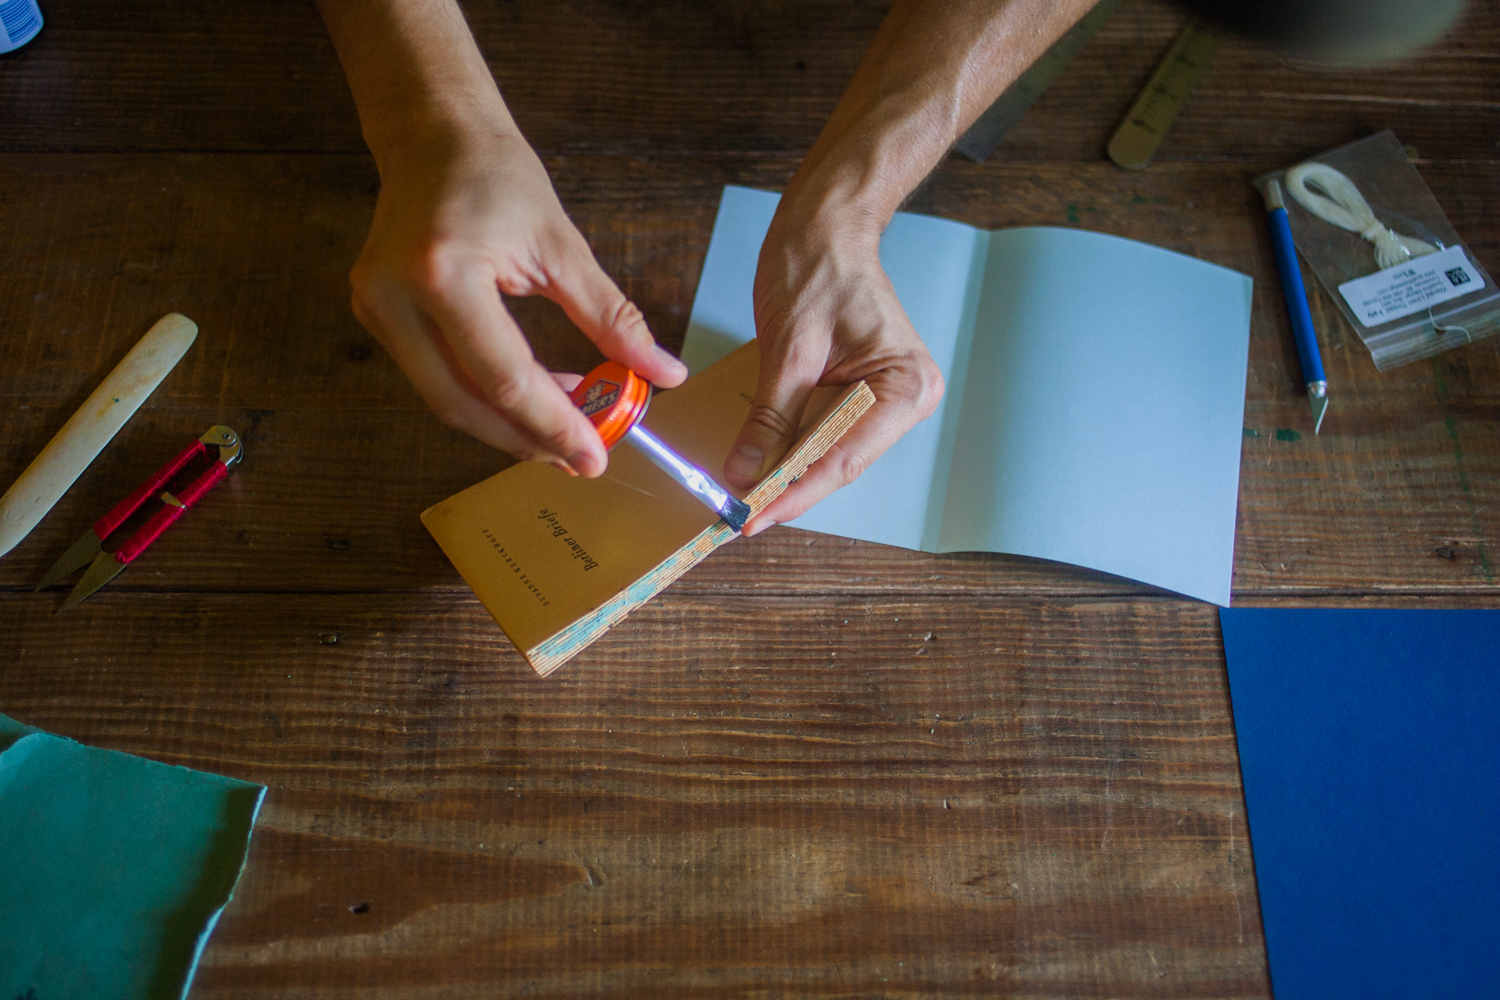
5. Mount spine reinforcement
Since the original spine had totally disintegrated, it needed a totally new bit of material to cover the edges of the signatures. Just like with the cover reinforcement, I measured, scored, folded, and glued with rubber cement.
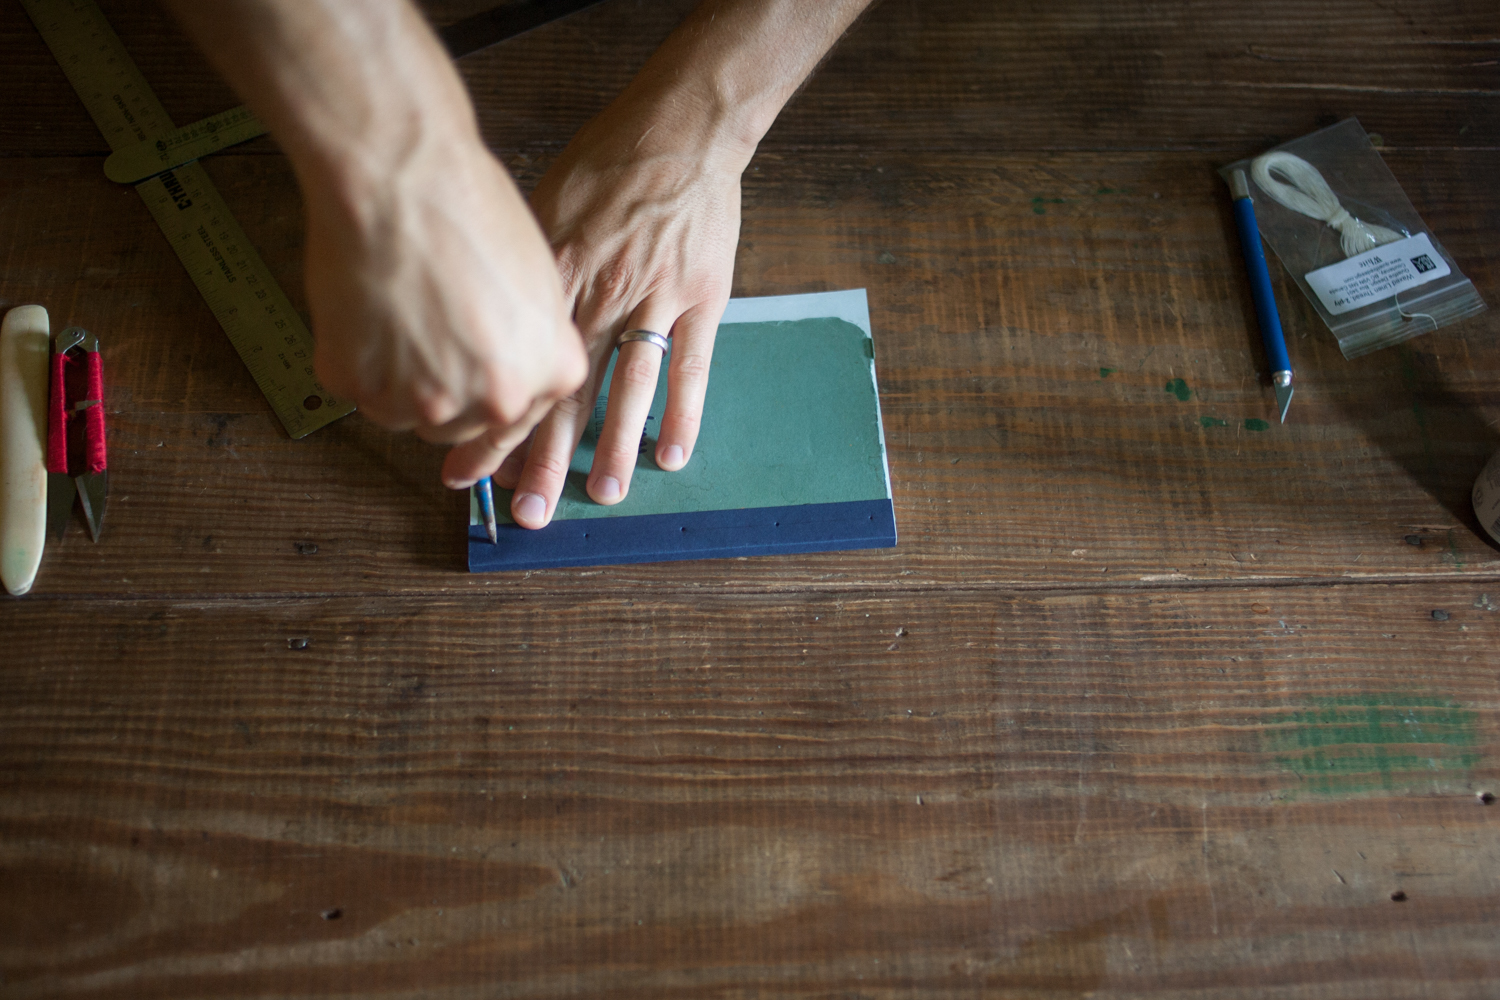
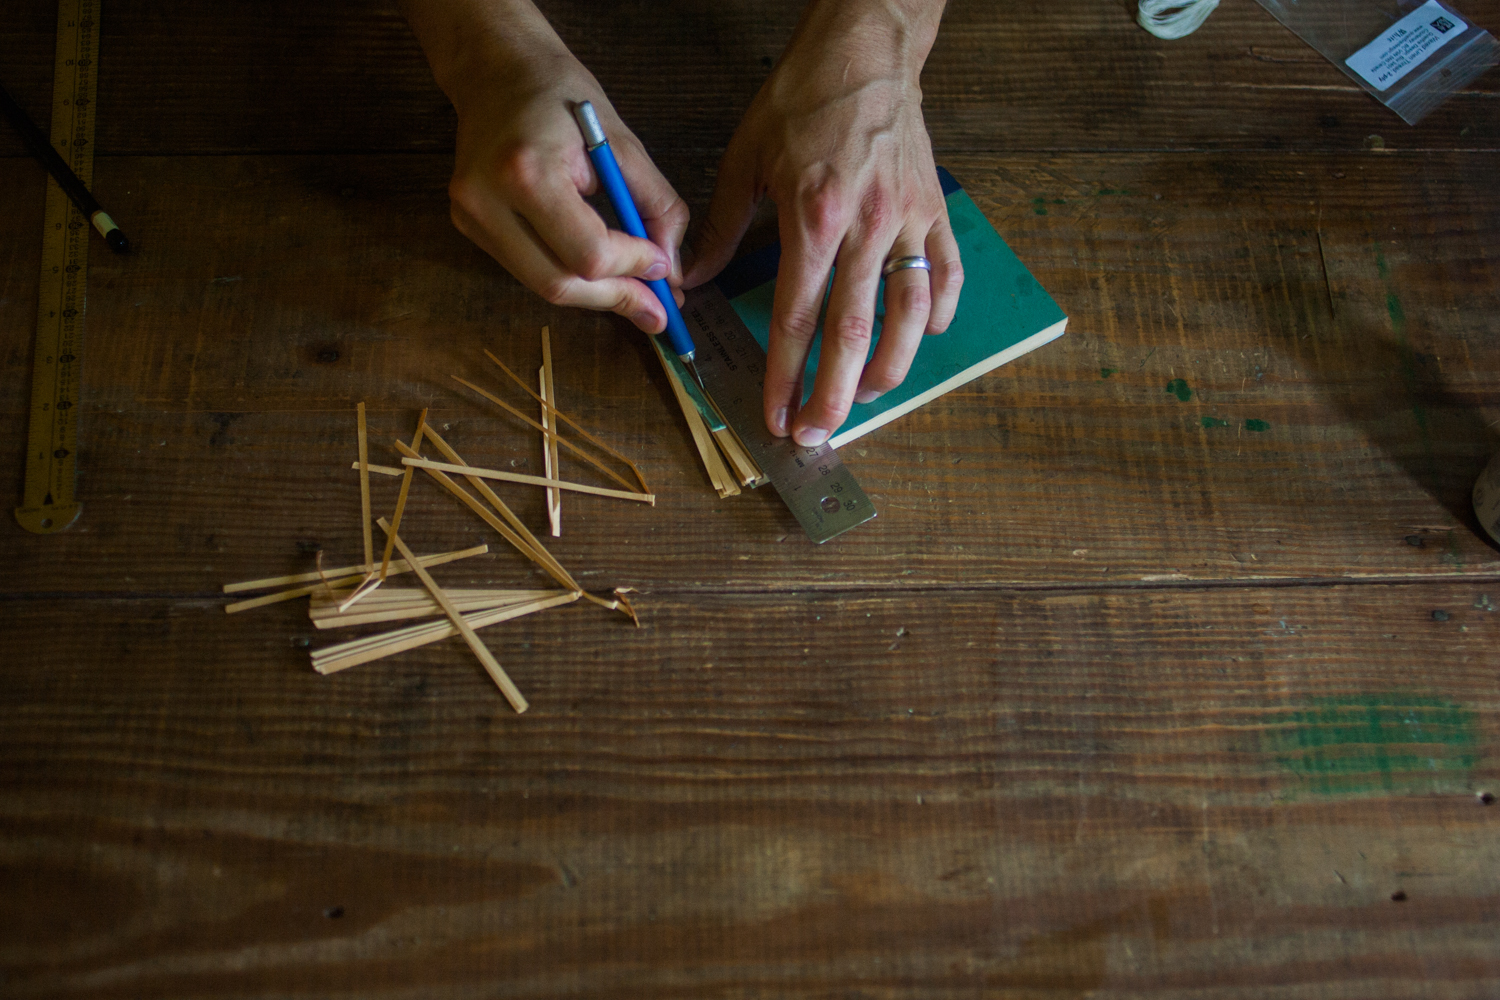
6. Punch holes for signature reinforcement
Here’s where I really diverged from the original aesthetic of the paperback. I pictured that with use, the edges of the spine reinforcement would like start to separate from the cover, so I decided to give it the extra support using stab binding, a traditional Japanese form of DIY book binding with a nice balance of function and aesthetics.
One of these days I’ll get a bookbinder’s awl, but in the meantime, this one has stayed sharp for the last 10 years.
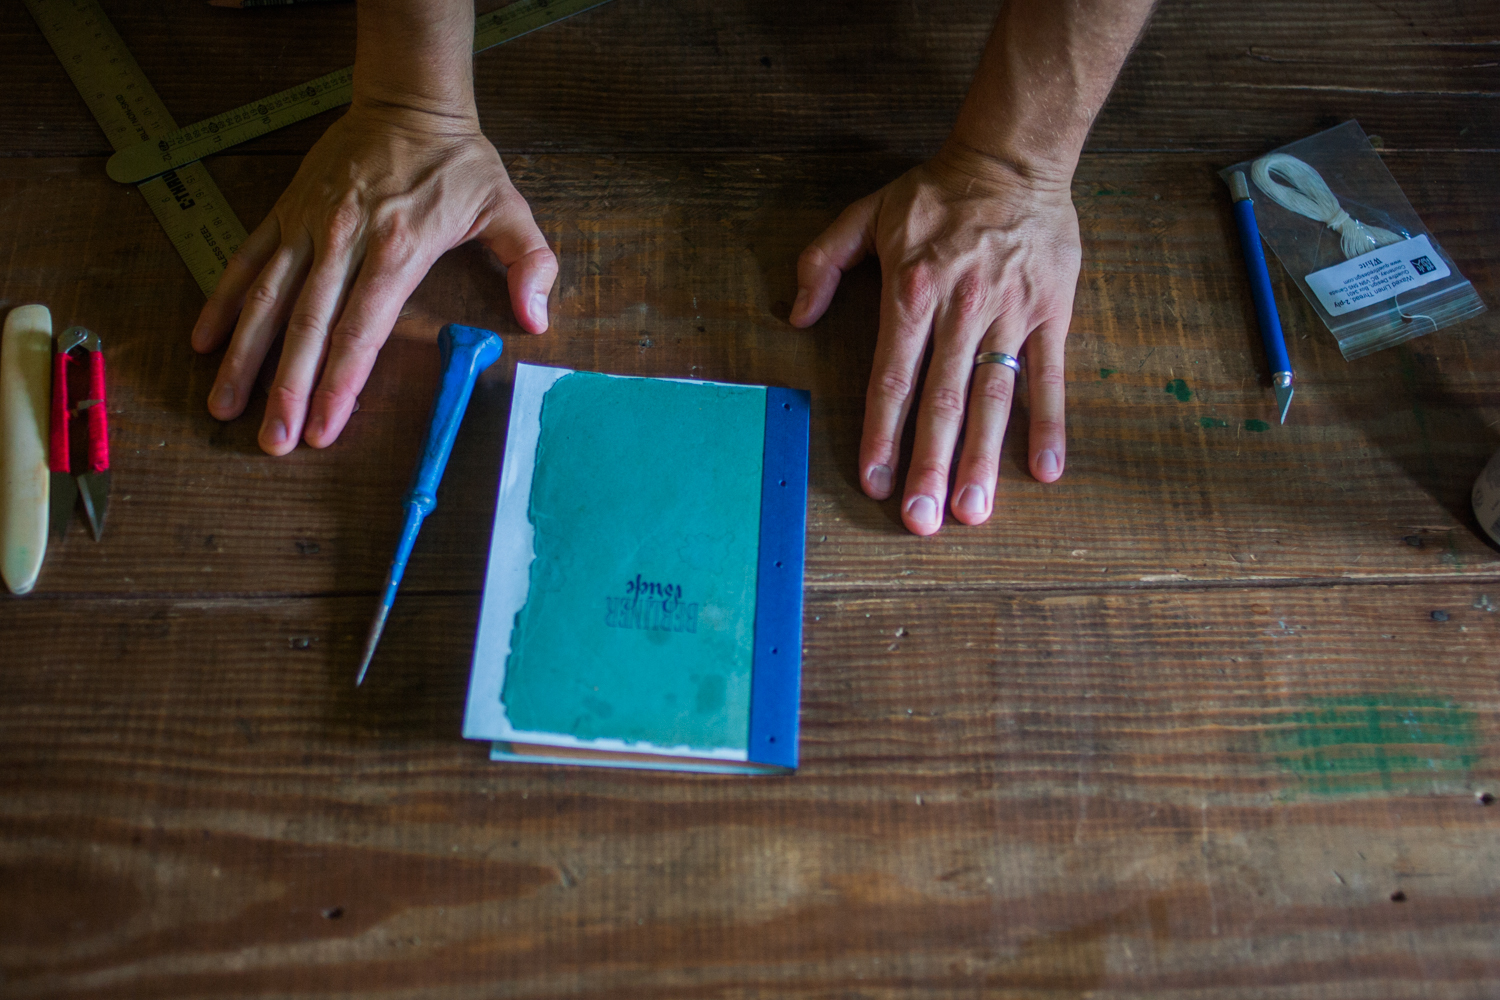
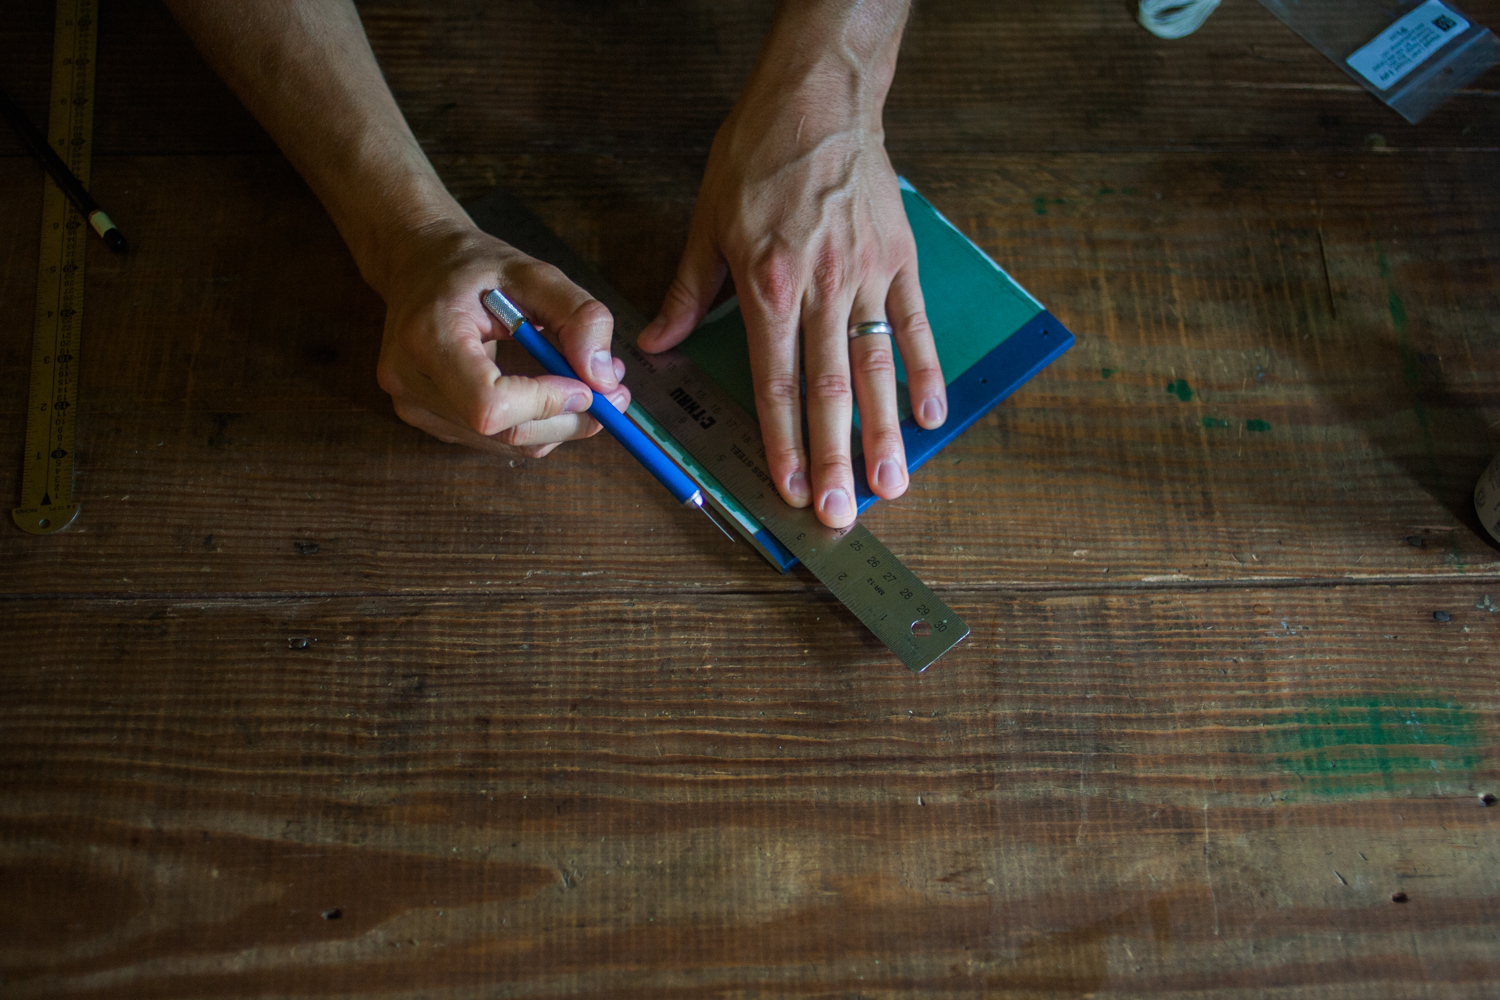
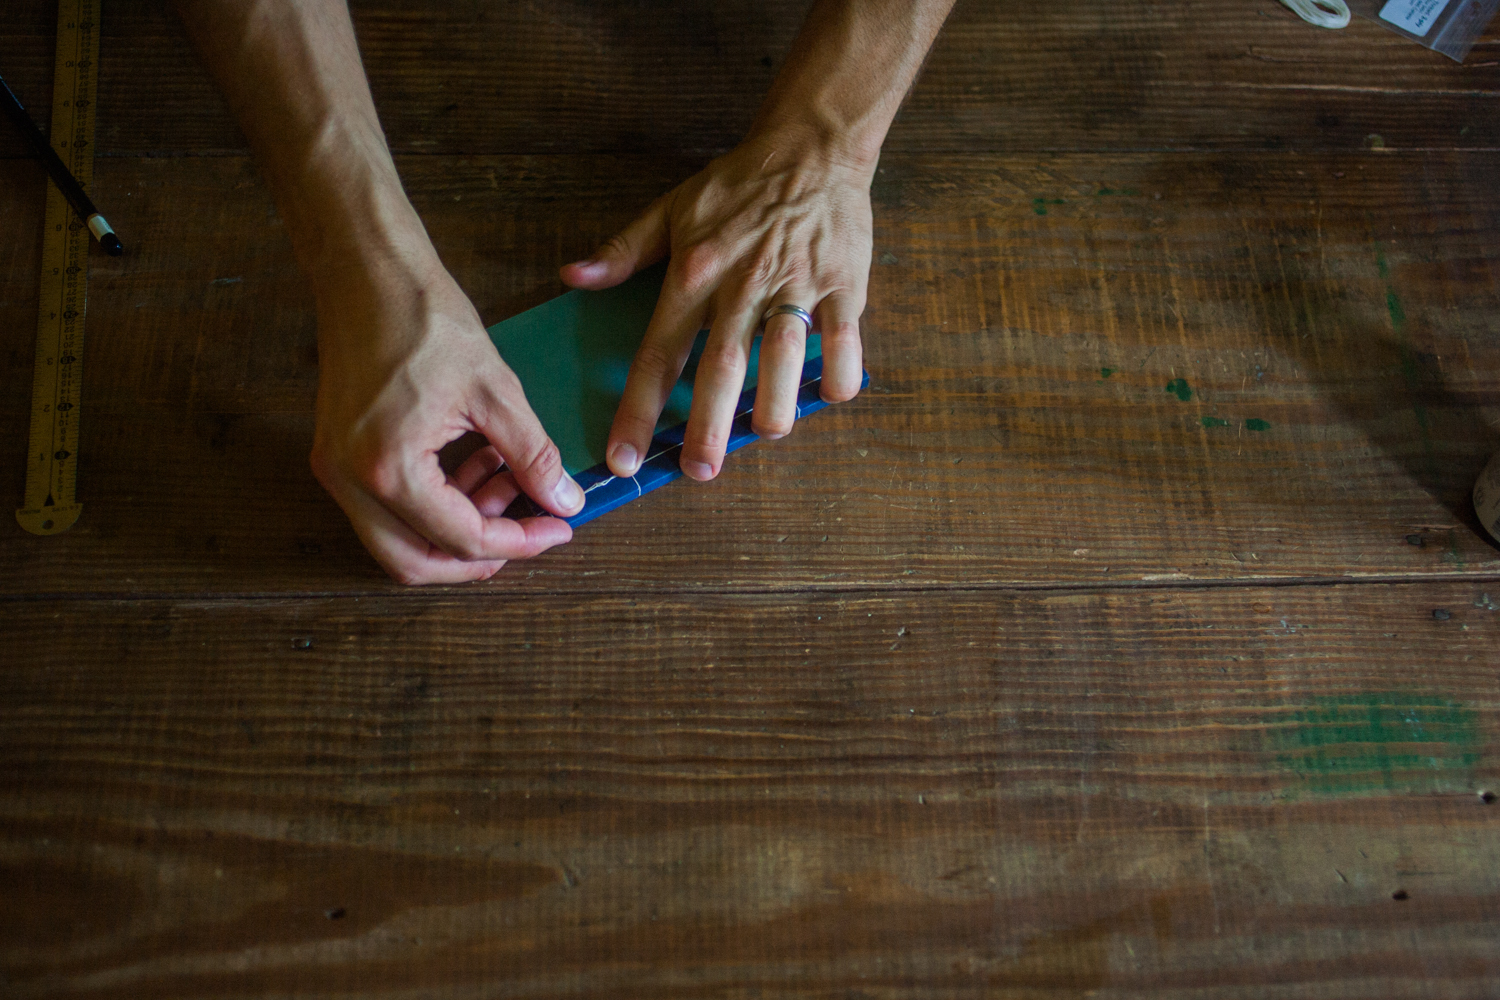
7. Trim edges
Normally I save all kinds of trimming for the very last step, but I needed the top and bottom edges to be totally straight for stab-style DIY book binding.
As you can see in the before pictures, the last 70 years were understandably not very kind to the edges of the book, so the whole thing needed trimming. Thankfully the margins were extremely generous, so I had a lot of space to work with.
Also, at this point I would normally use my big paper stack cutter, but I wanted to make sure this could be done with a craft knife, which is a much more accessible tool. (I finished the cutting on a self-healing cutting mat, by the way.)
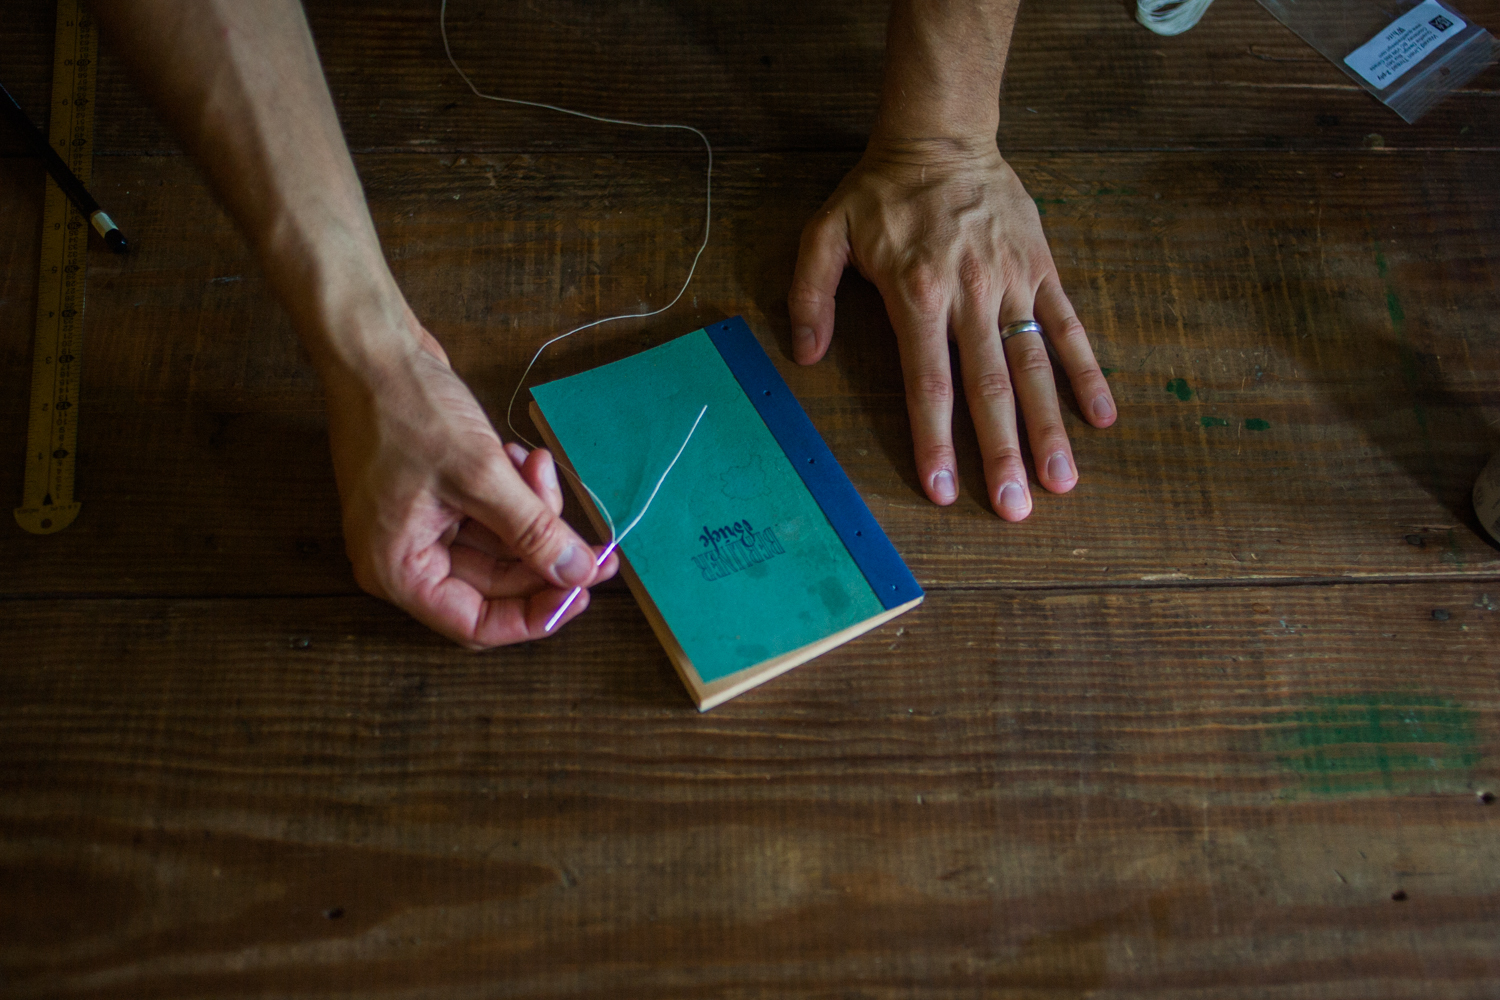
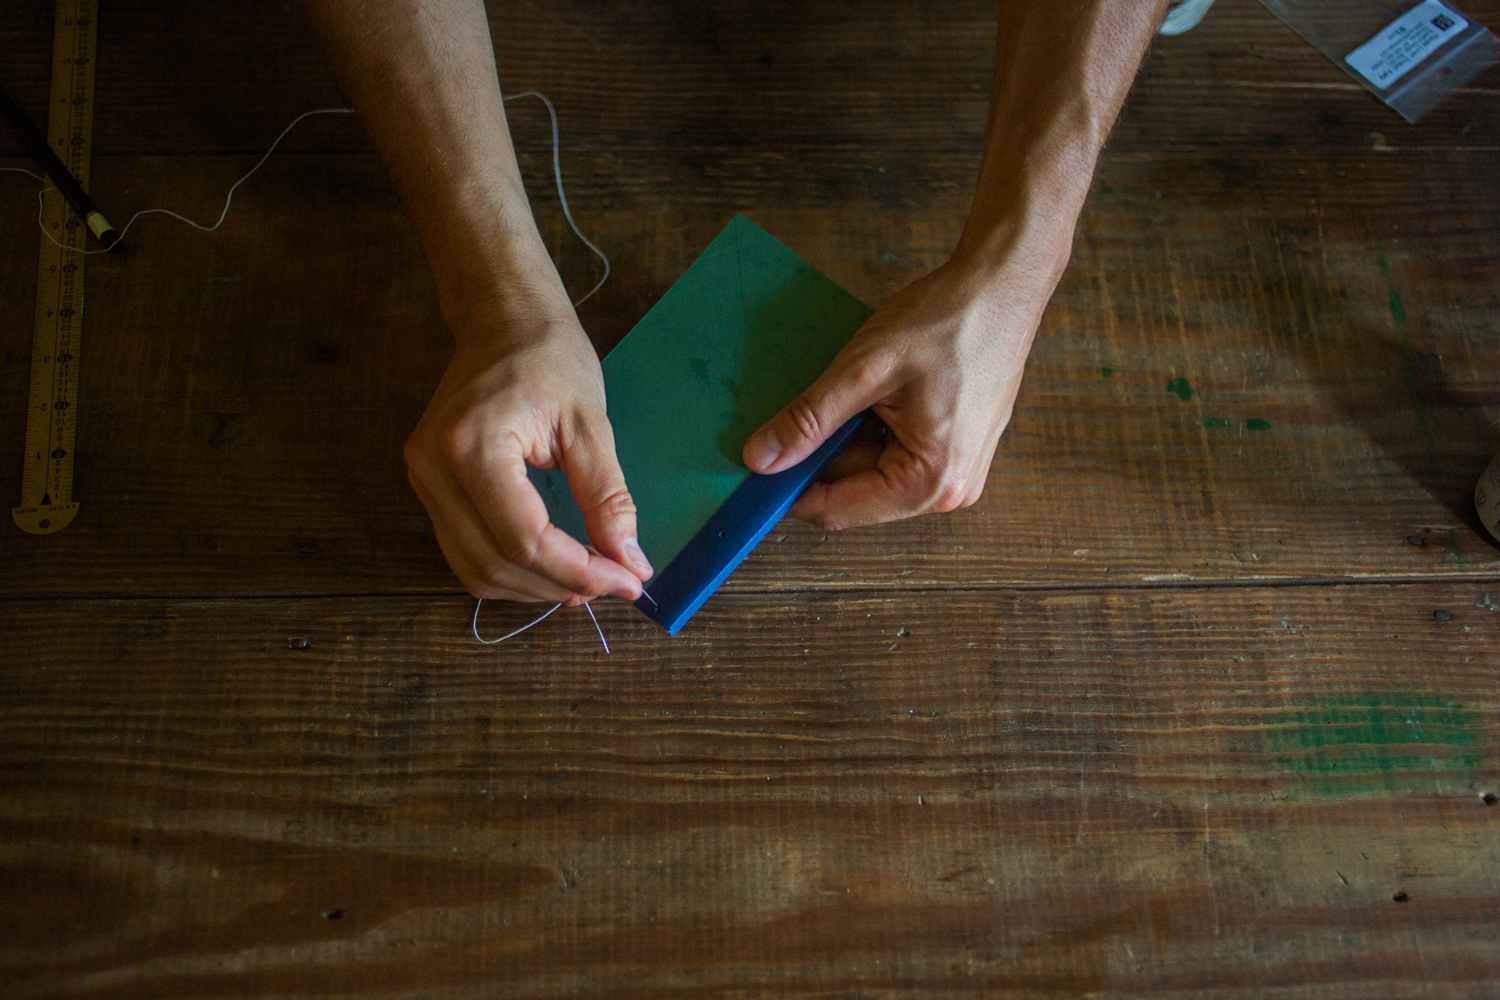
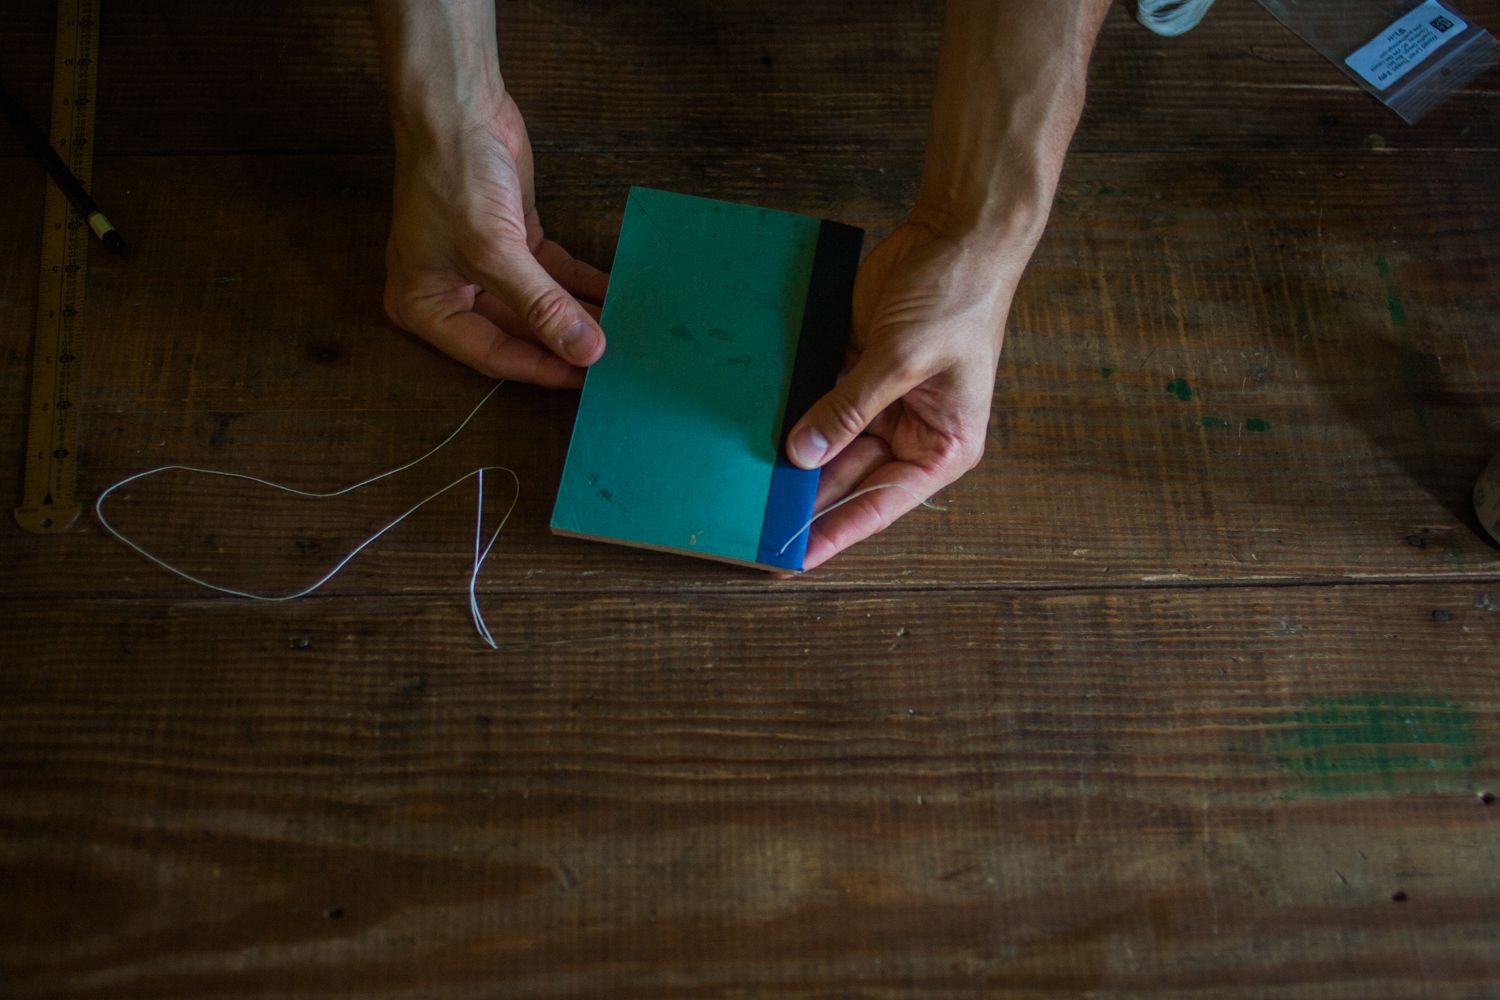
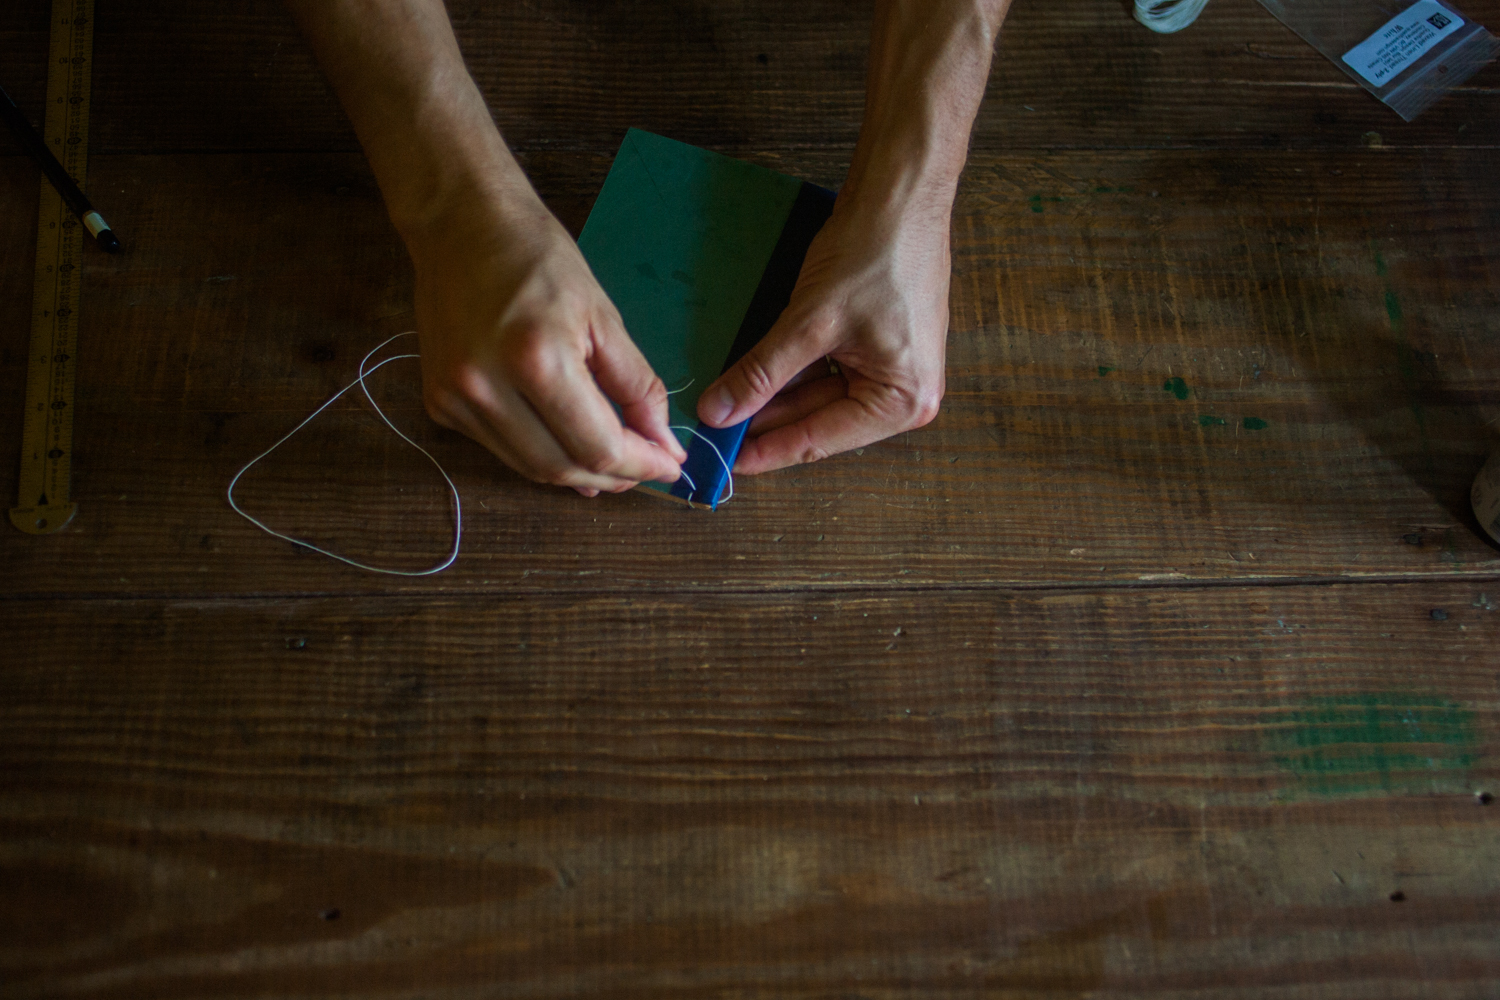
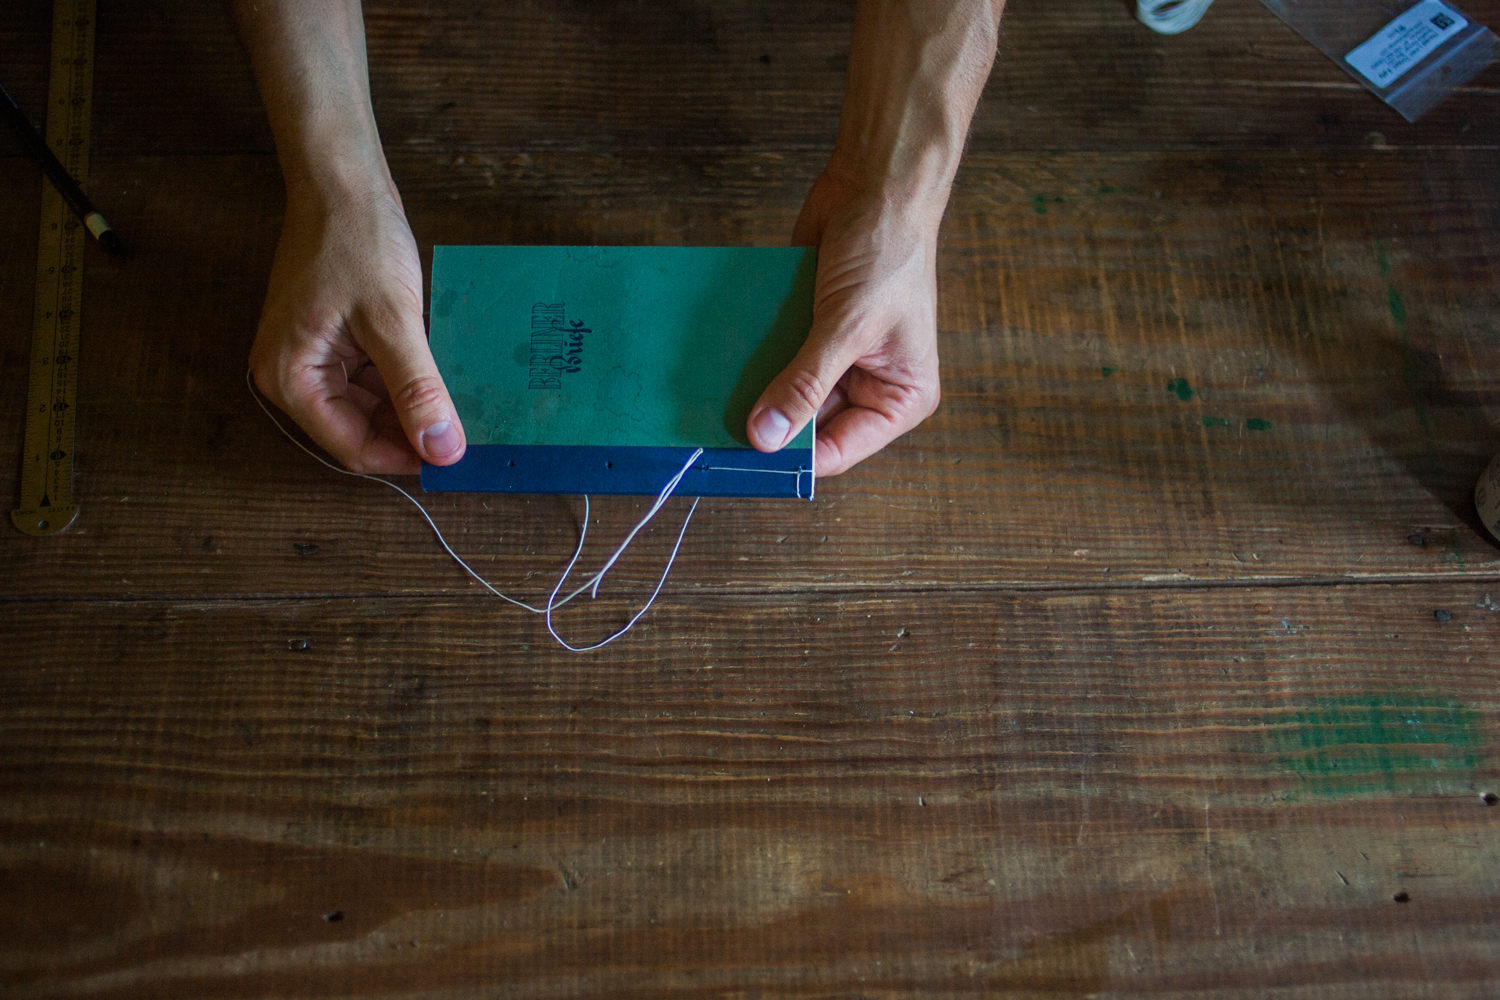
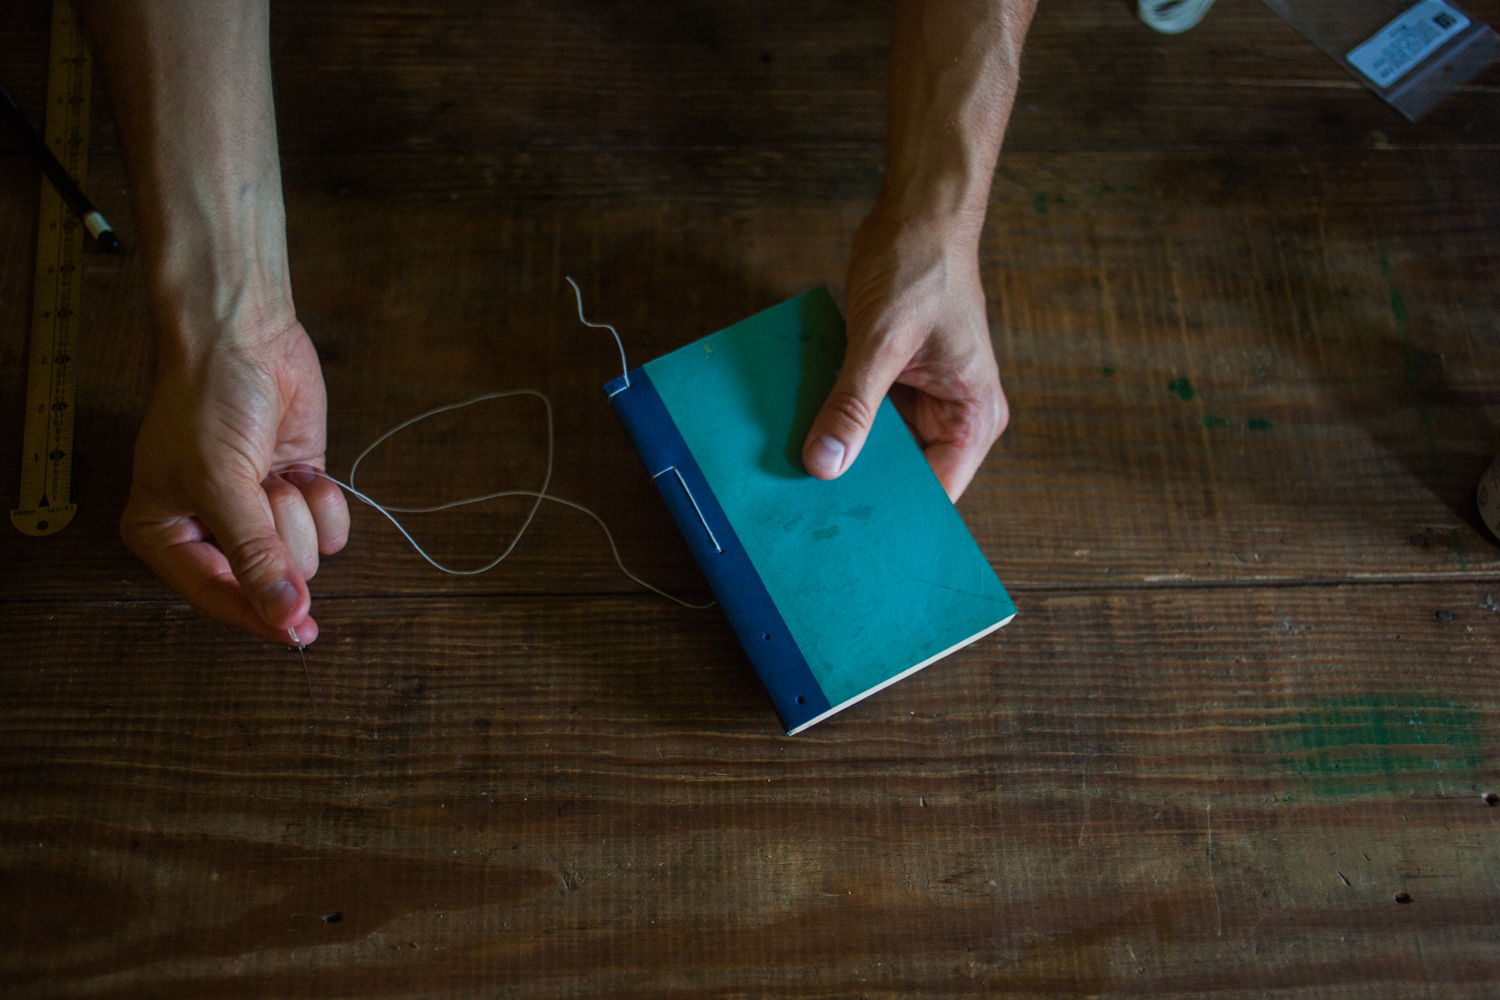
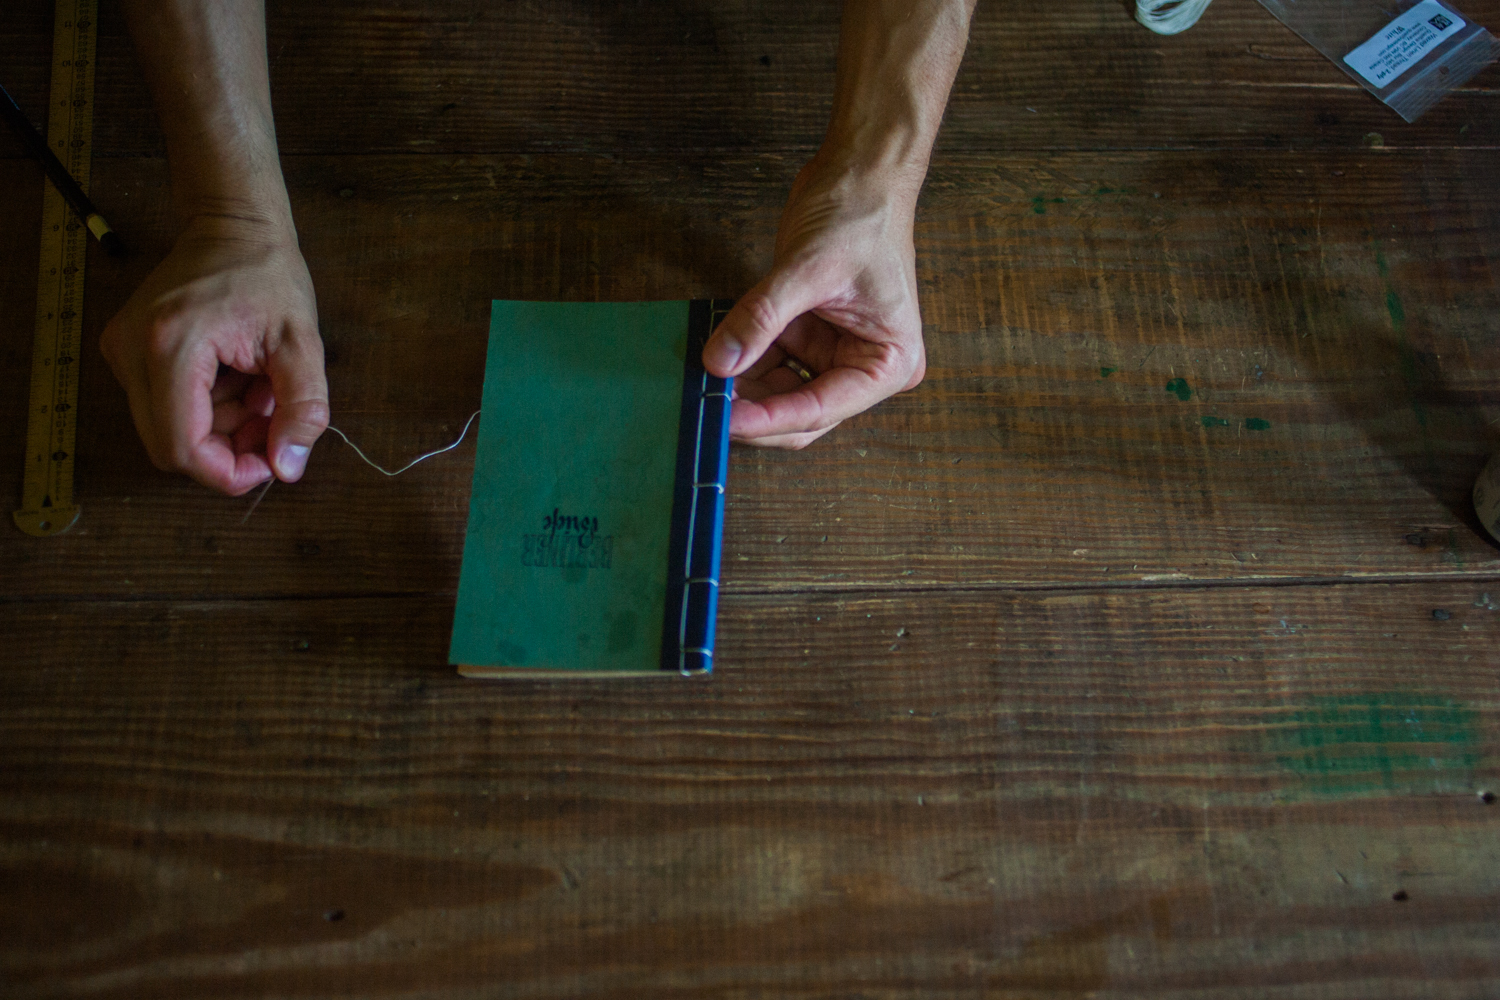
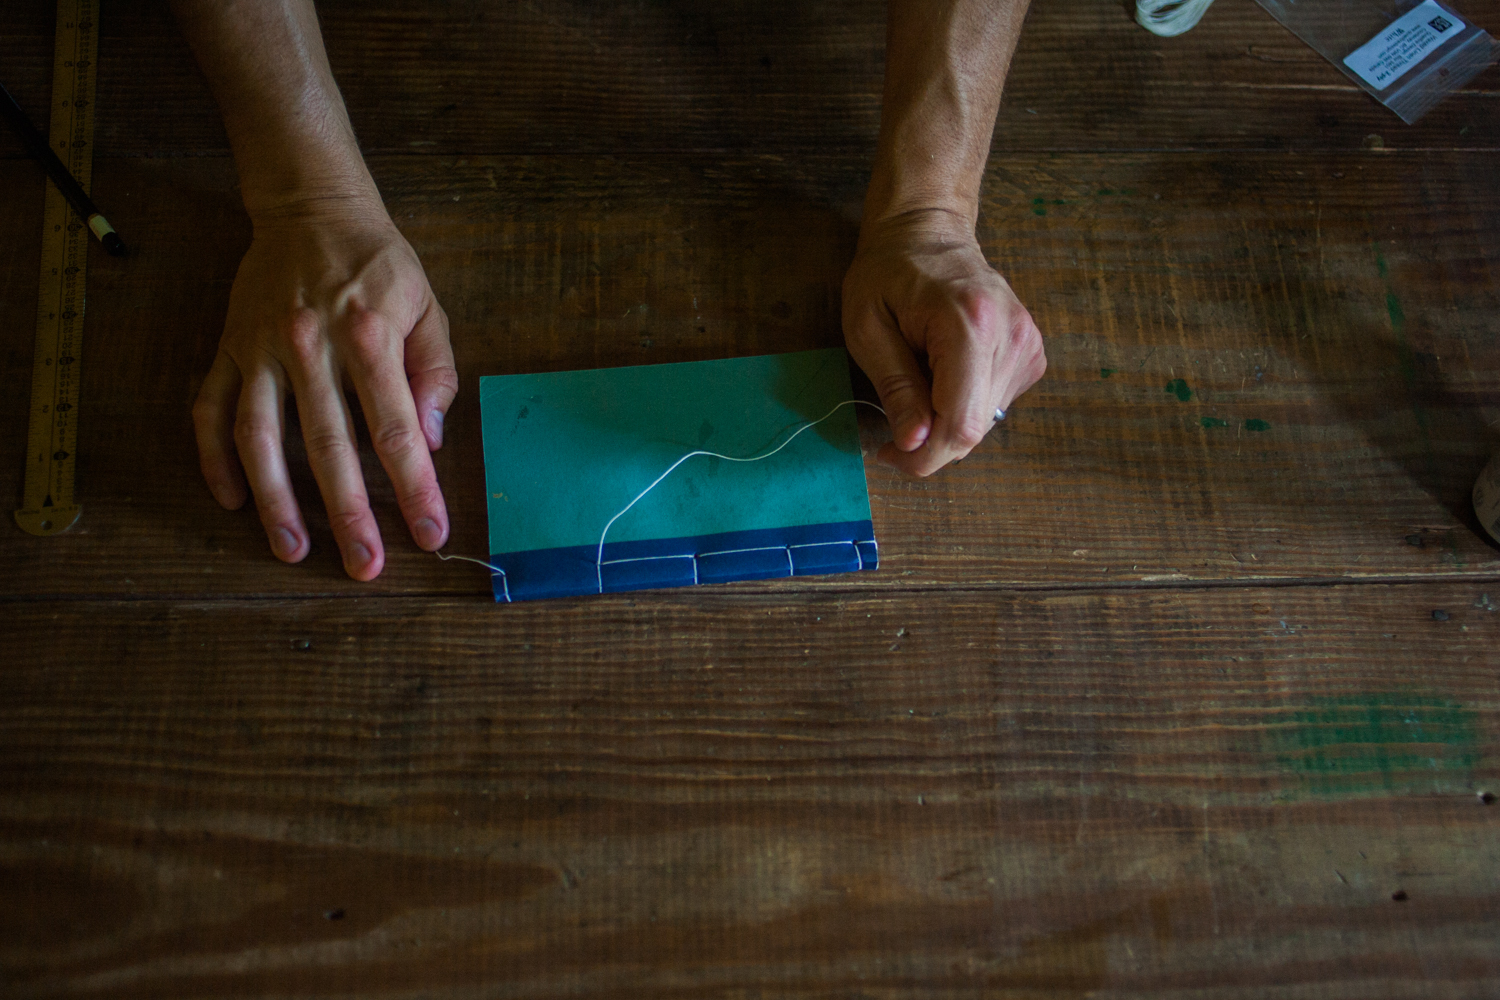
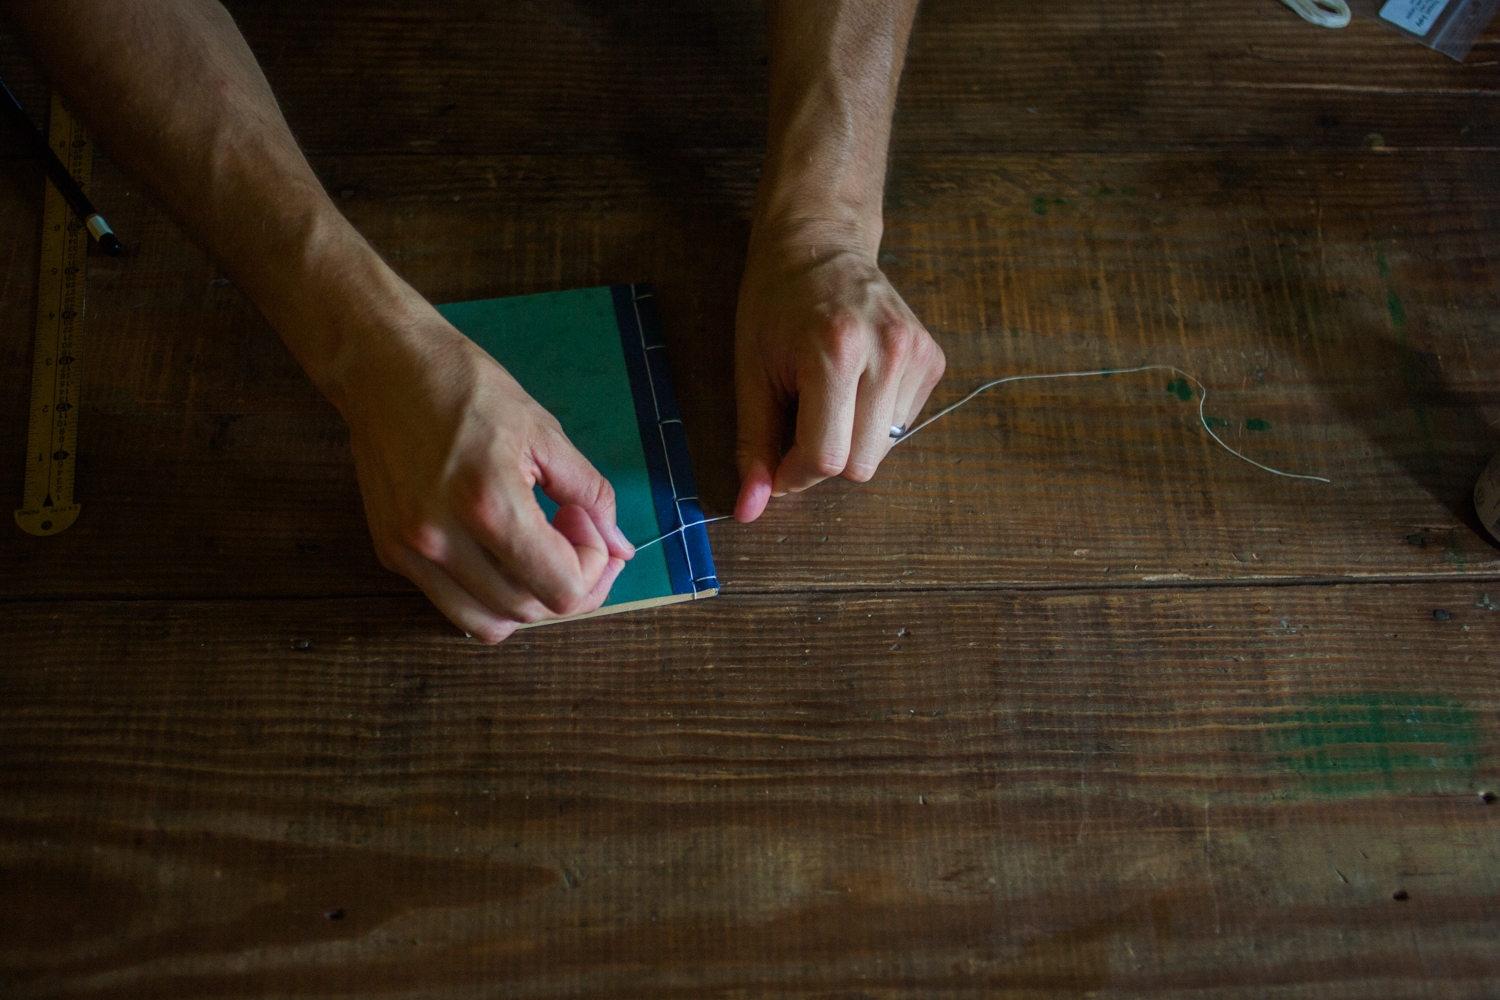
8. Sew up spine
Here’s a tutorial for stab binding. You’re basically just threading the string, through every hole and around the edges, in one continuous line. Make sure you start at the back, since that’s where your final knot will be.
The great thing about using waxed thread for this kind of binding is that it’ll stay when you pull it tight, and you can stick down the loose ends of the knot to the stitching.
The final product
It looks like a different book! If the cover starts getting more stained than it already is, or I start reading it and decide I want to pass it on because it’s total hooey, I’ll consider adding a library-style plastic cover.

Im really pleased with how my first attempt at DIY book binding turned out. How about you? Do you have any experience with DIY book binding? Please share your thoughts below!


