Finishing Up a Storage Corner in the ManMade Workshop
My wife is out of town this week.
When I'm home alone, I find myself more willing to work late into the evening with projects and activities, because I know I'm not missing out on important family time. When solo, I'd much rather stay out on a long bike ride or keep progressing on a woodworking project until bedtime than just sit by myself on the sofa.
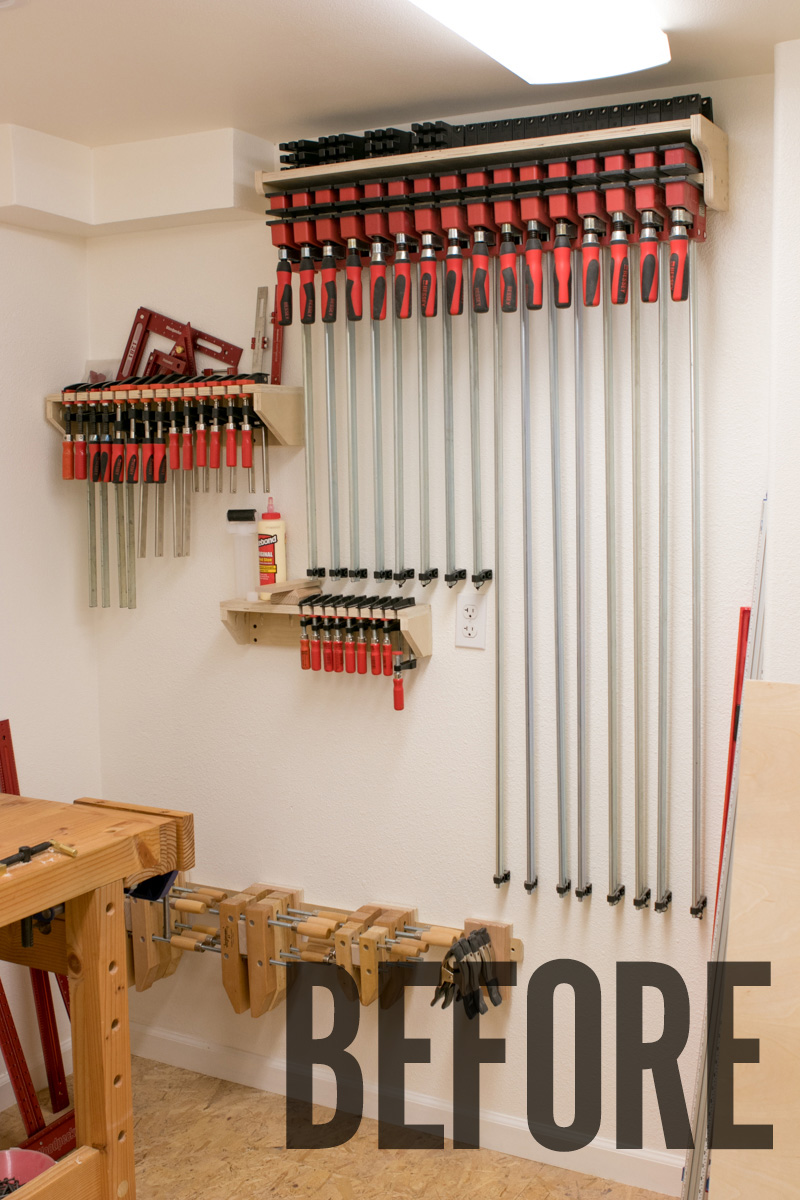
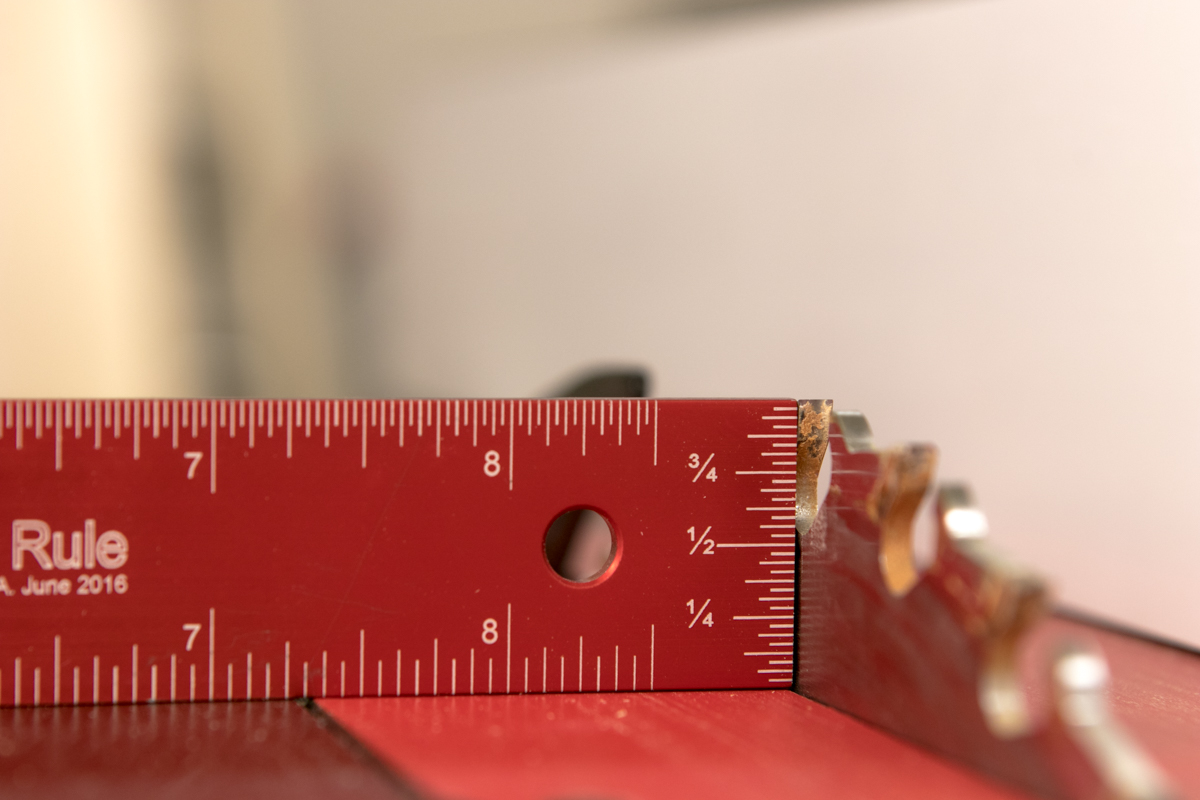
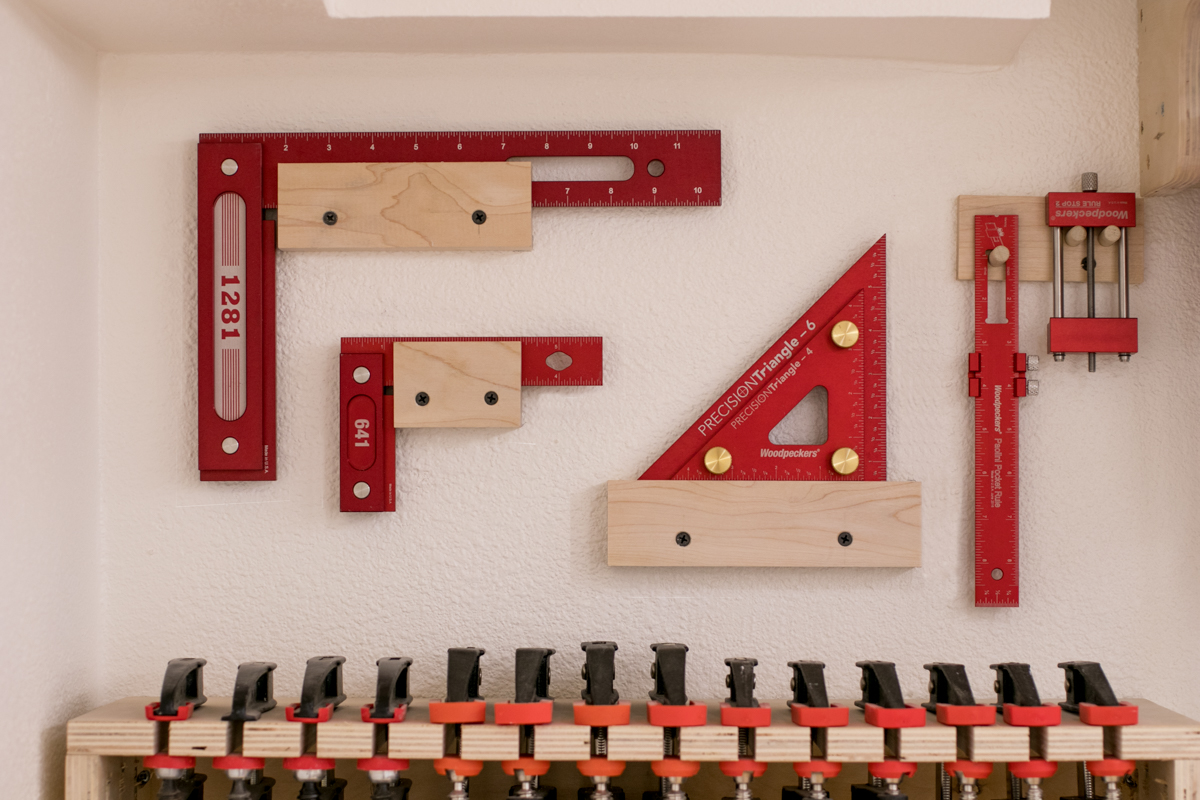
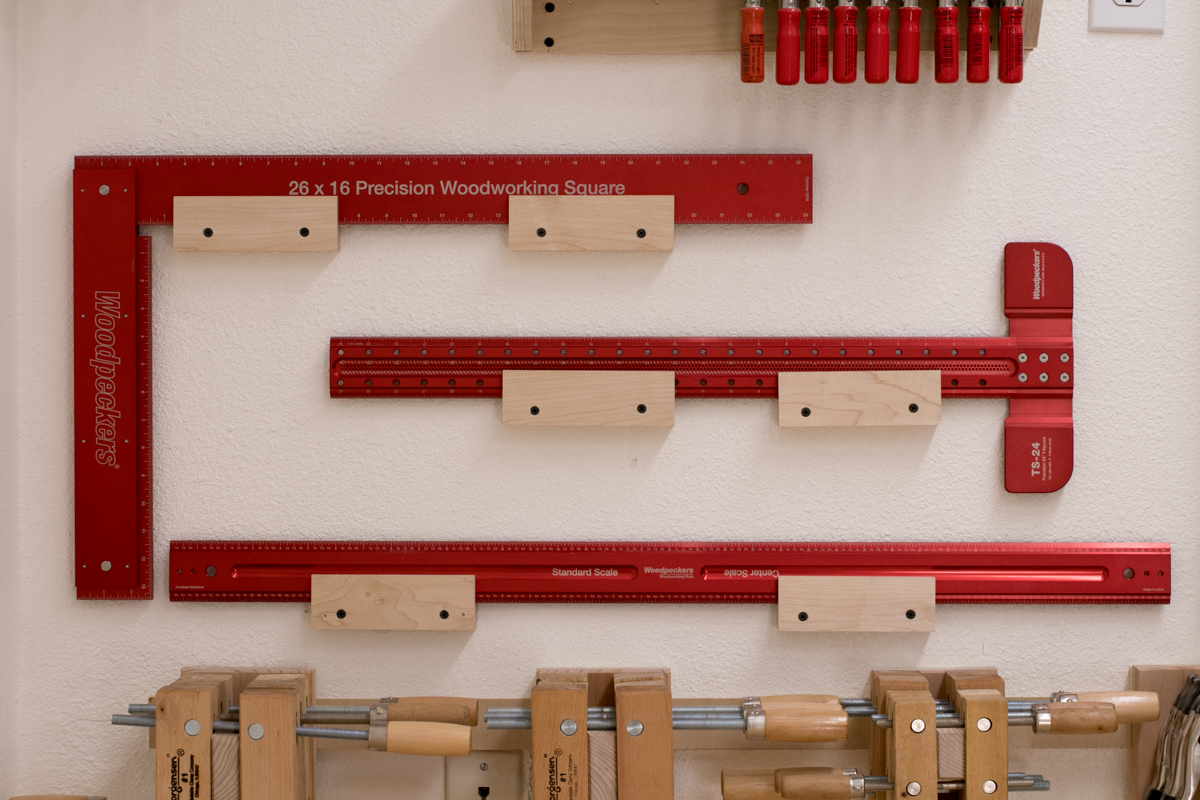
So, such was the case when I found myself with a free evening. I didn't get started until 6:00pm or so, but knowing I had nowhere else to be and plenty of leftovers in the fridge, I set out to complete some shop storage projects for the wall just to the right of my bench. I'd been saving those blank spaces for nearly a year (you can find the clamp rack tutorials here, here, and here), reserving them for a special set of Woodpeckers straight edges and squares. These things are machined to extremely low tolerances, making them crazy straight and square, so making a secure place to store them helps them to stay precise. Plus, the red color matches the handles and jaws of my Bessey clamps, so combining the two was a total no brainer.
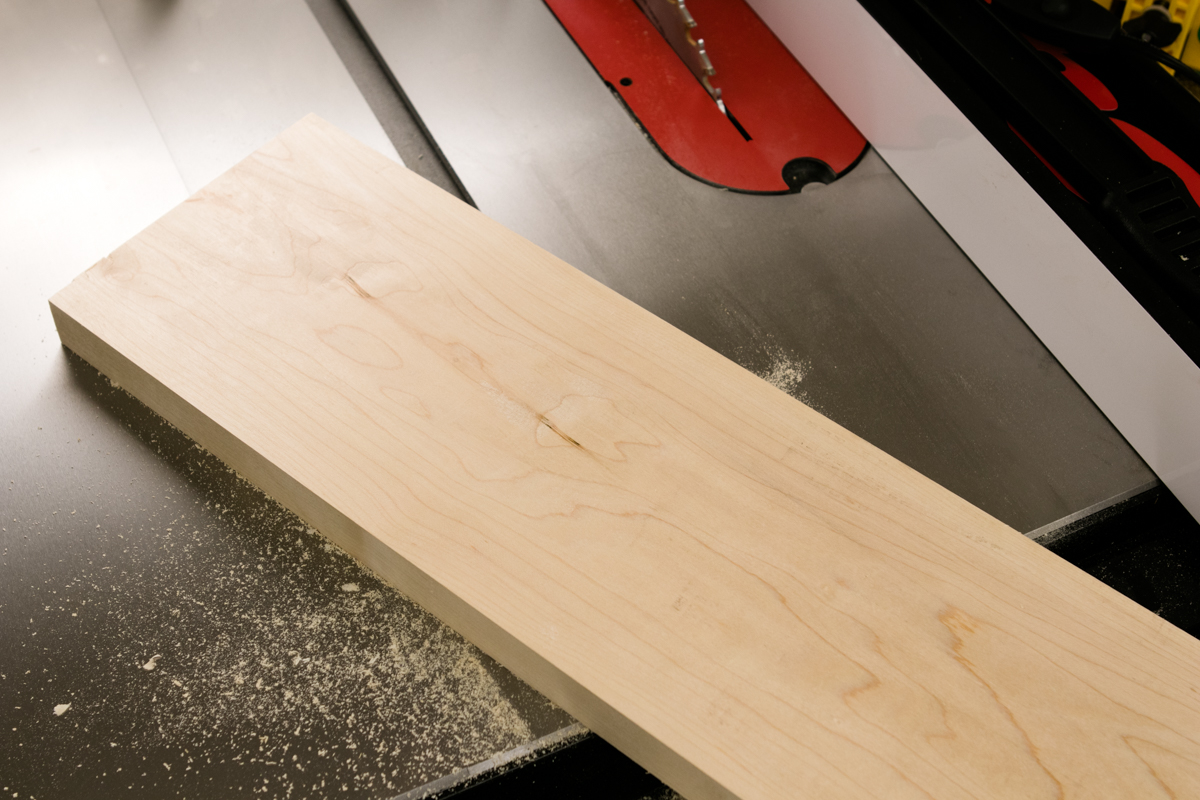
This project began with a piece of 5/4 maple I had in my scrap pile. It was about 20-22″ long and 6 3/4″ wide. I used it because I had it around, but you could easily opted for pine or fir construction lumber, or even use plywood. I sent it once through the thickness planer to smooth the surface, and then squared up the edges.
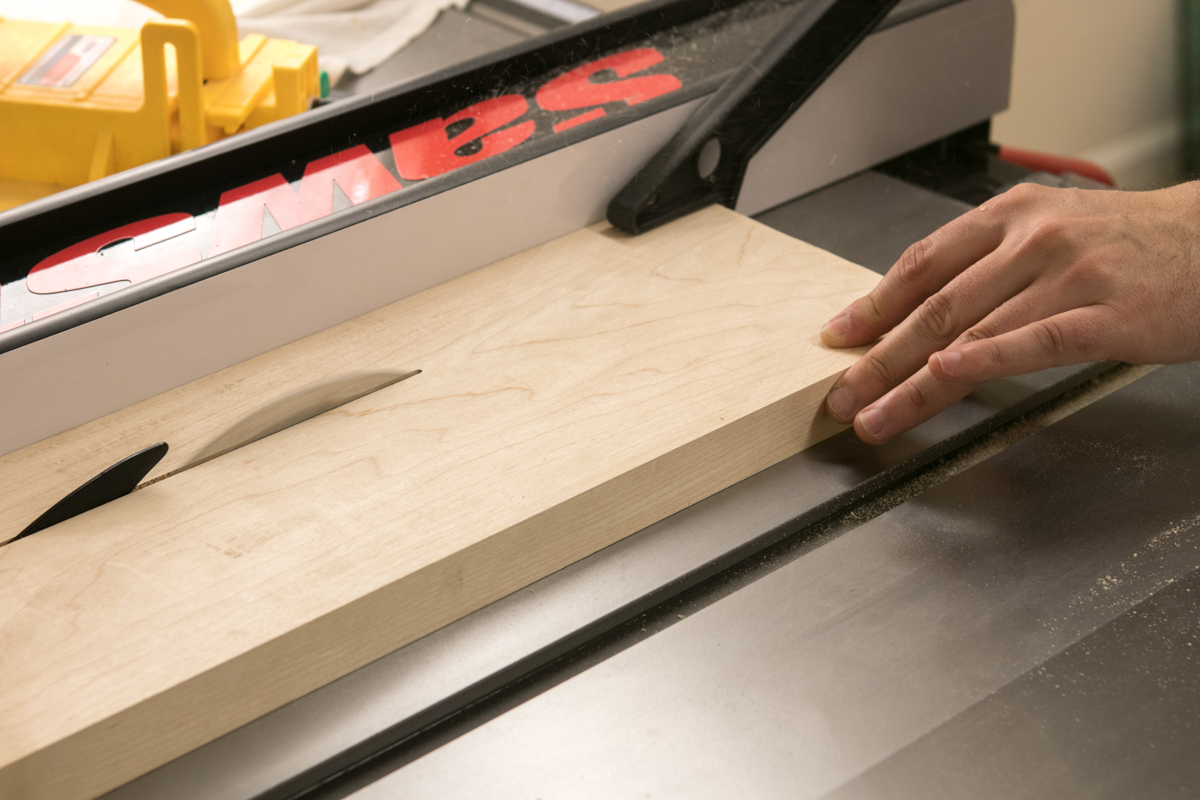
I then ripped the board into three equal(ish) pieces, about 2 1/4″ wide:
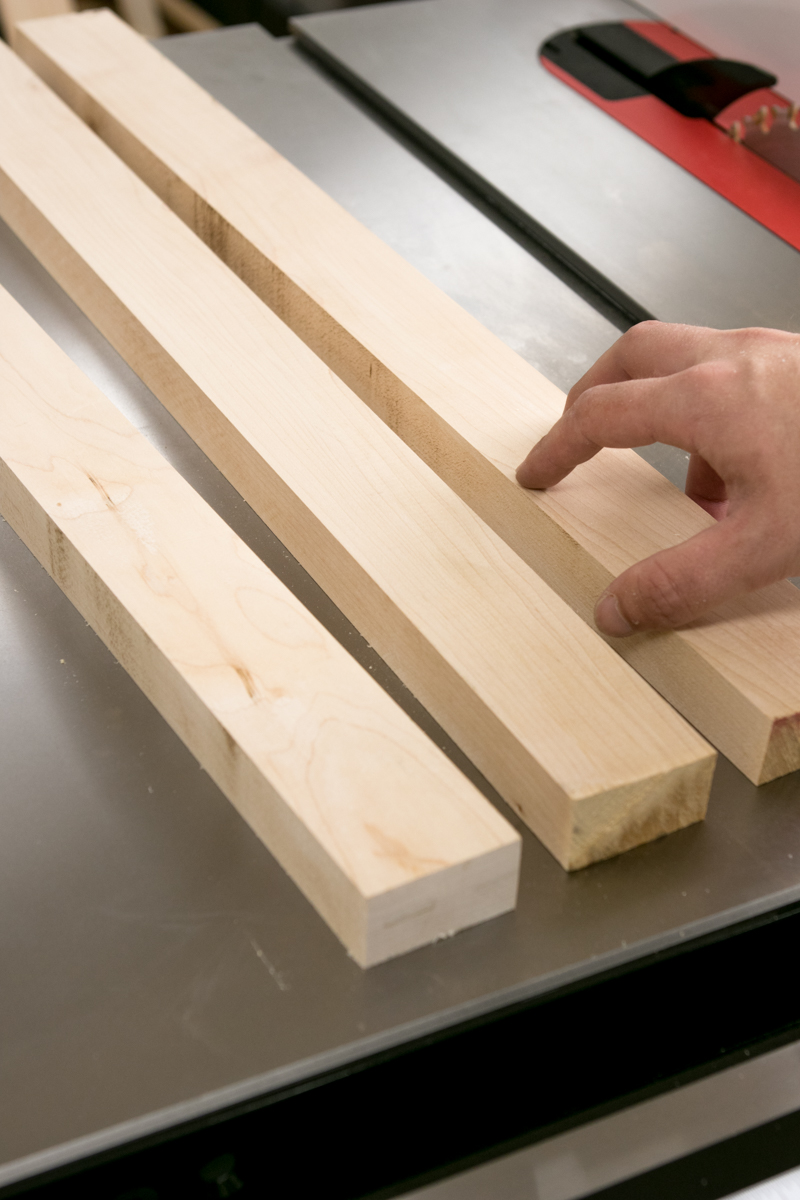
I think one of them is about 1/8″ thinner. No worries. This is a shop project.
Next, I installed a rip blade, and set the height to 1″. The rip blade doesn't have the alternating bevel, and so leaves a flat bottomed kerf.
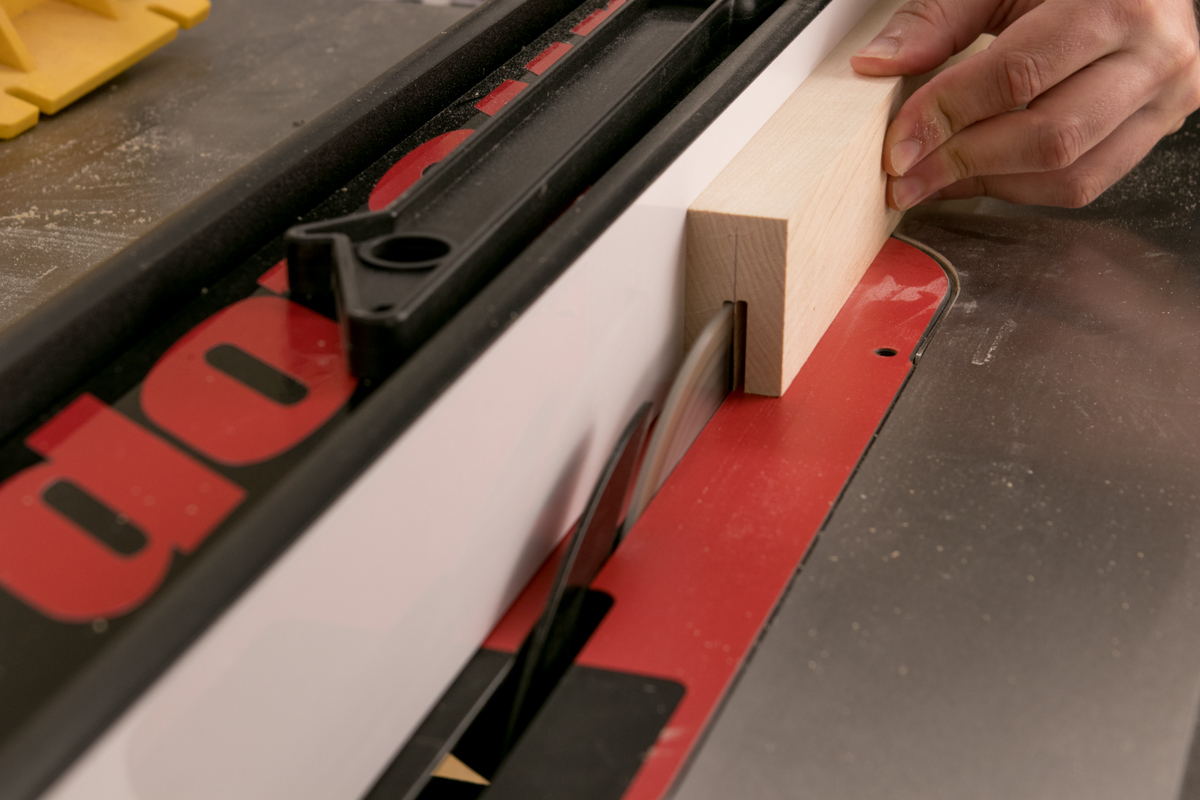
Then I set the fence to be a little less than half the thickness away, and ran the wood through once. I flipped the board, and ran in through against the other face. After repeating with a second piece, I nudged the fence just a little to clean up what was left in the middle. (I saved the third board for the triangles, etc, below. It required a different depth of groove.)

This made a groove in the center of each board, about 5/16″ wide and 1″ deep.
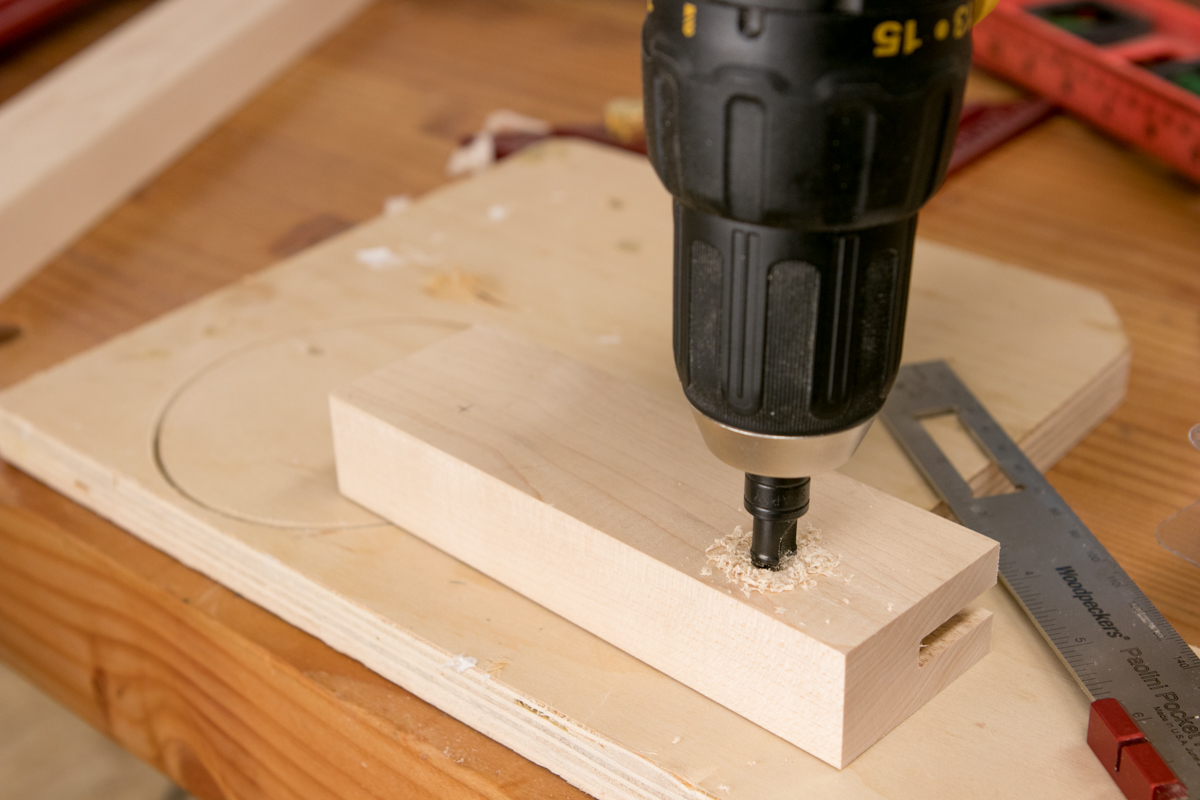
Next, I cut my grooved stock up into a the necessary lengths, and drilled clearance holes and countersinks into the non-grooved part, about 1 1/4″ from each side.
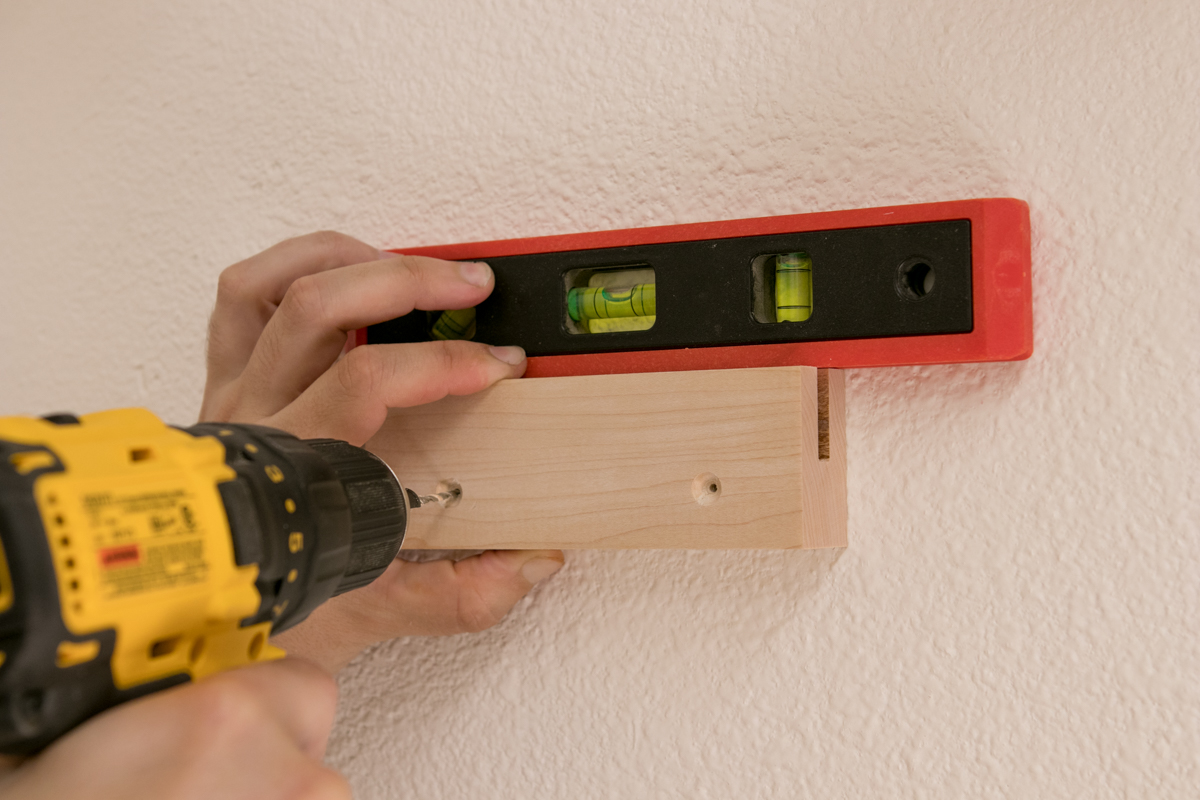
With those in place, I started to lay everything out of the wall. I transferred the marks onto the drywall, hitting a stud where I could and using a heavy duty anchor in the other spaces.
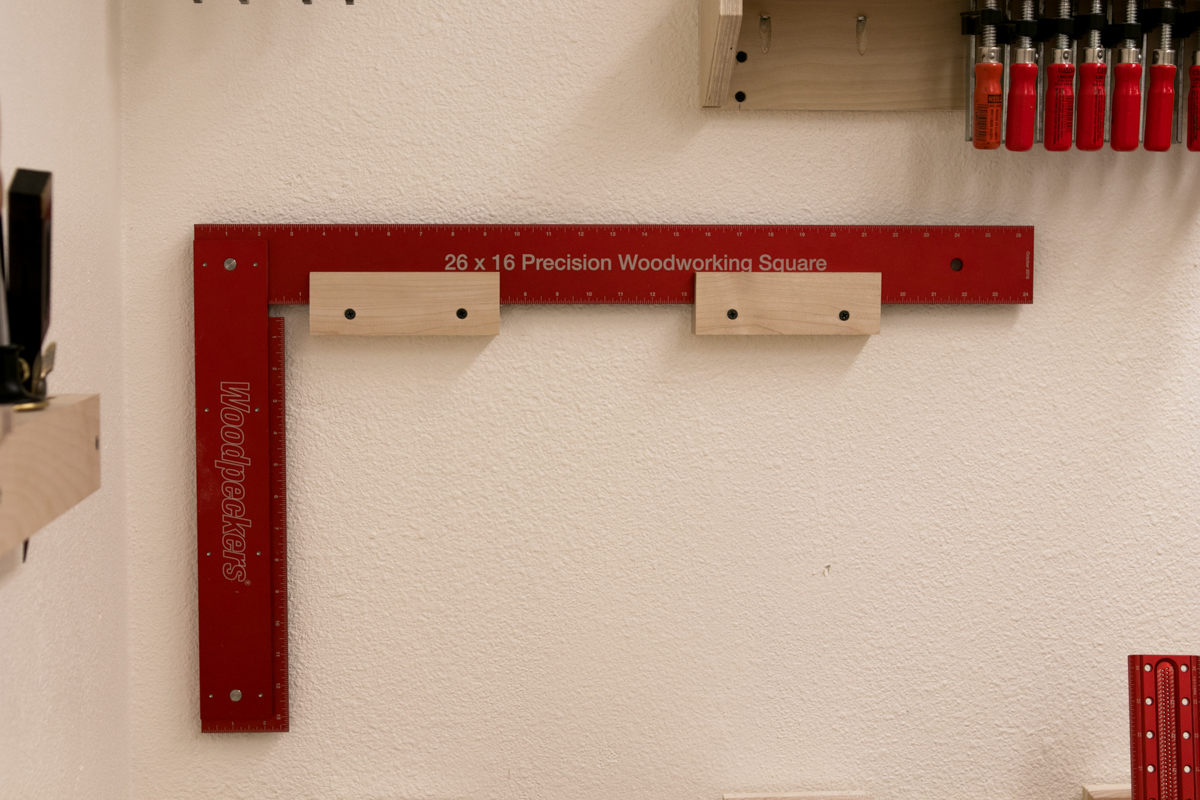
Each of the longer tools is supported by two blocks. Once I had once in the wall, I inserted the item, placed the second block in place, leveled it, and then screwed in the block.
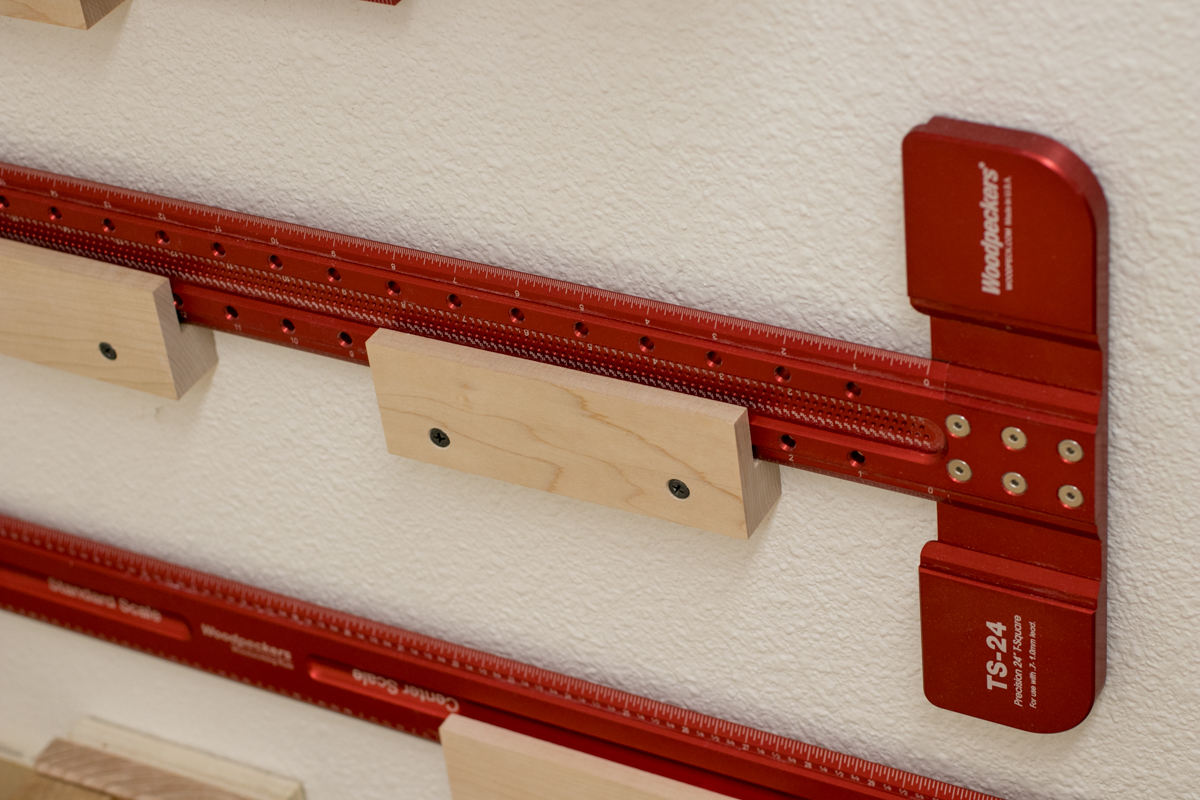
The grooves are oversized just a bit to allow for wood movement. I suspect without a tenon in the groove, the outsides will likely start to close-up a bit with the seasons, so there's a little wiggle room to make sure I can get the 1/4″ thick aluminum in and out.
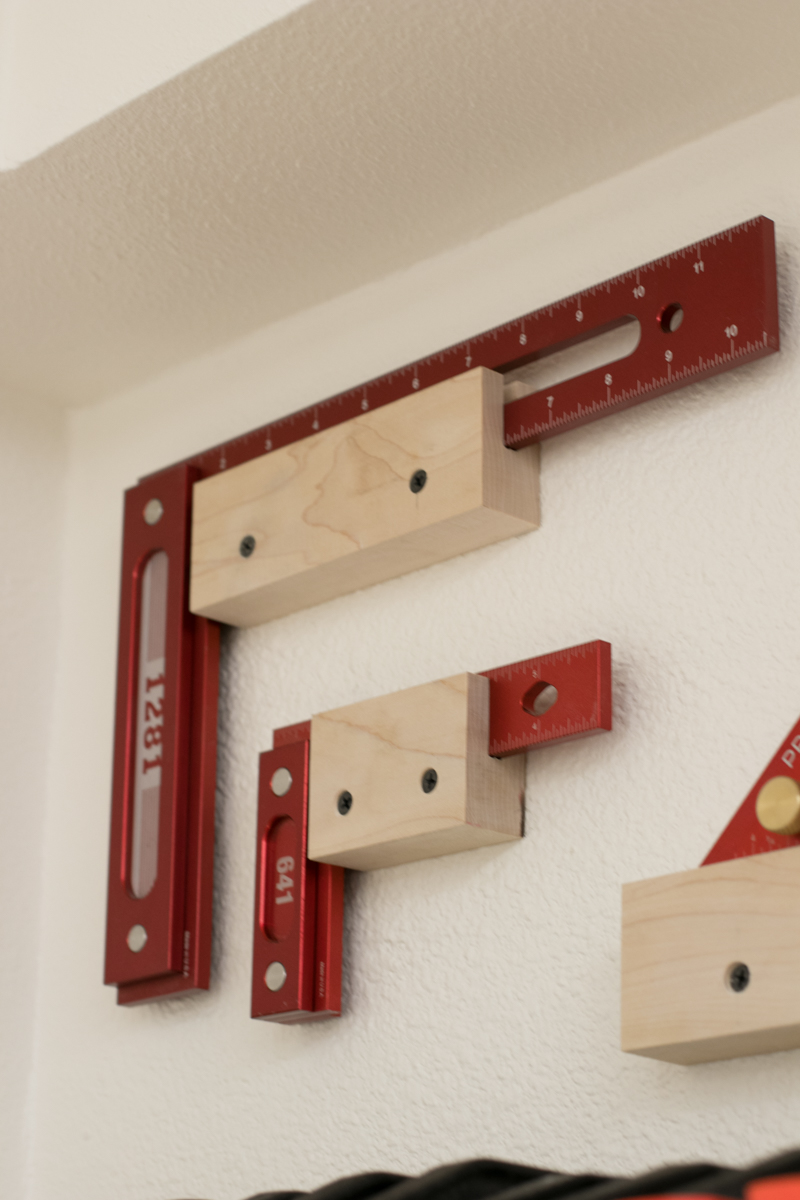
I did the same thing with the machinist-style squares, cutting smaller lengths. A single block is more than enough to support these.

The triangle set got the same basic treatment, but inverted. I cut this one from the third piece, which needed a shallower depth of groove to hold things securely.
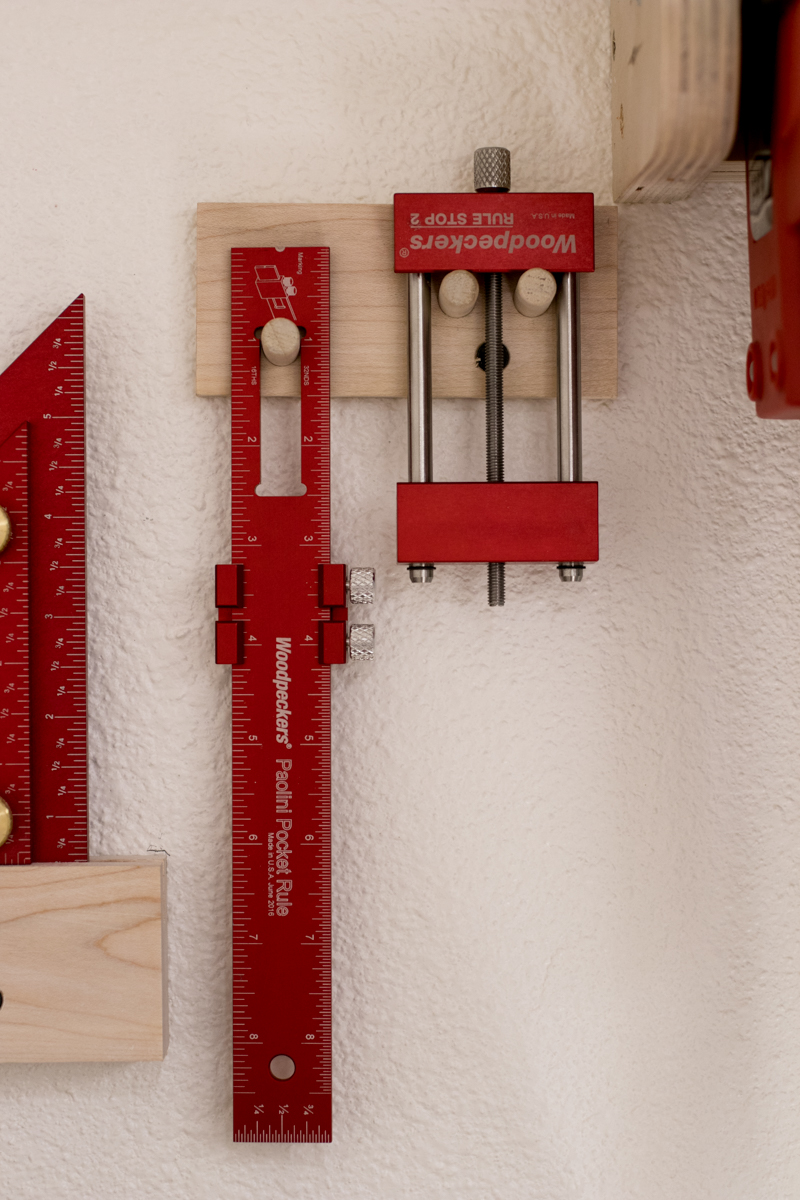
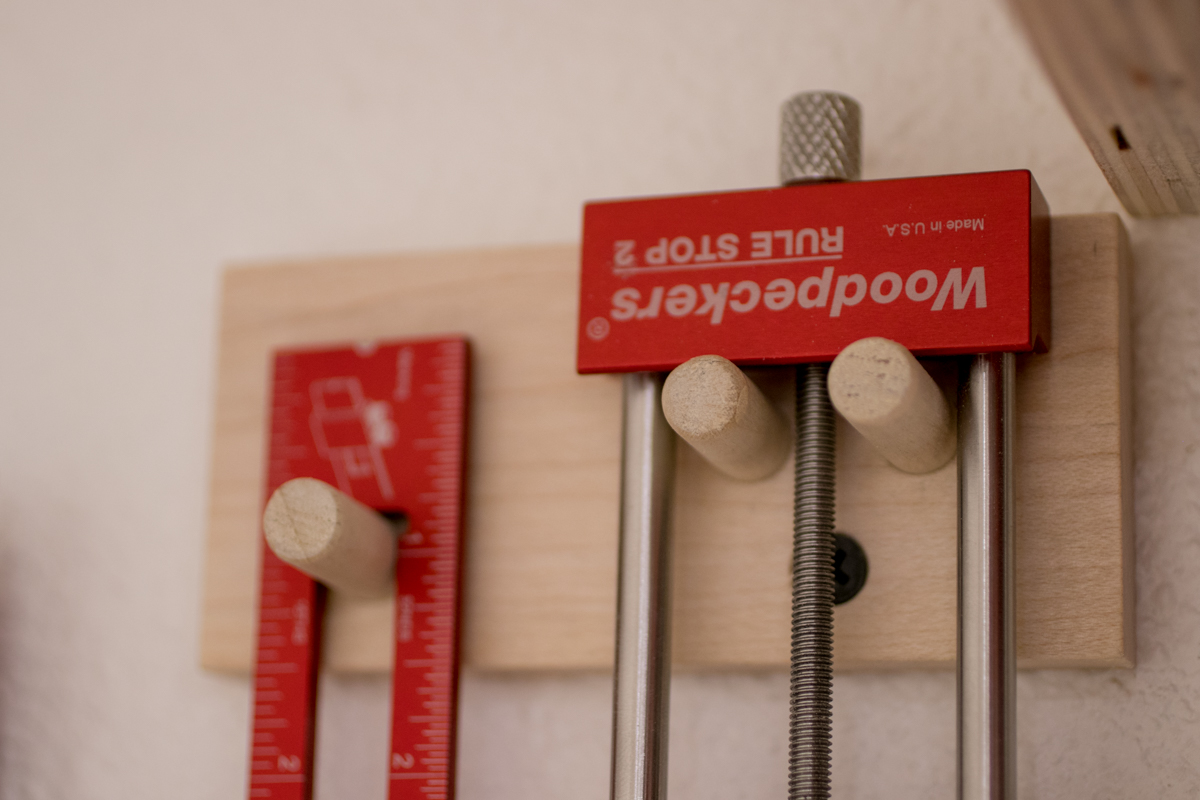
Some smaller, lightweight tools got a little hanger made from some of the leftover scraps and 3/8″ birch dowel I had lying around.
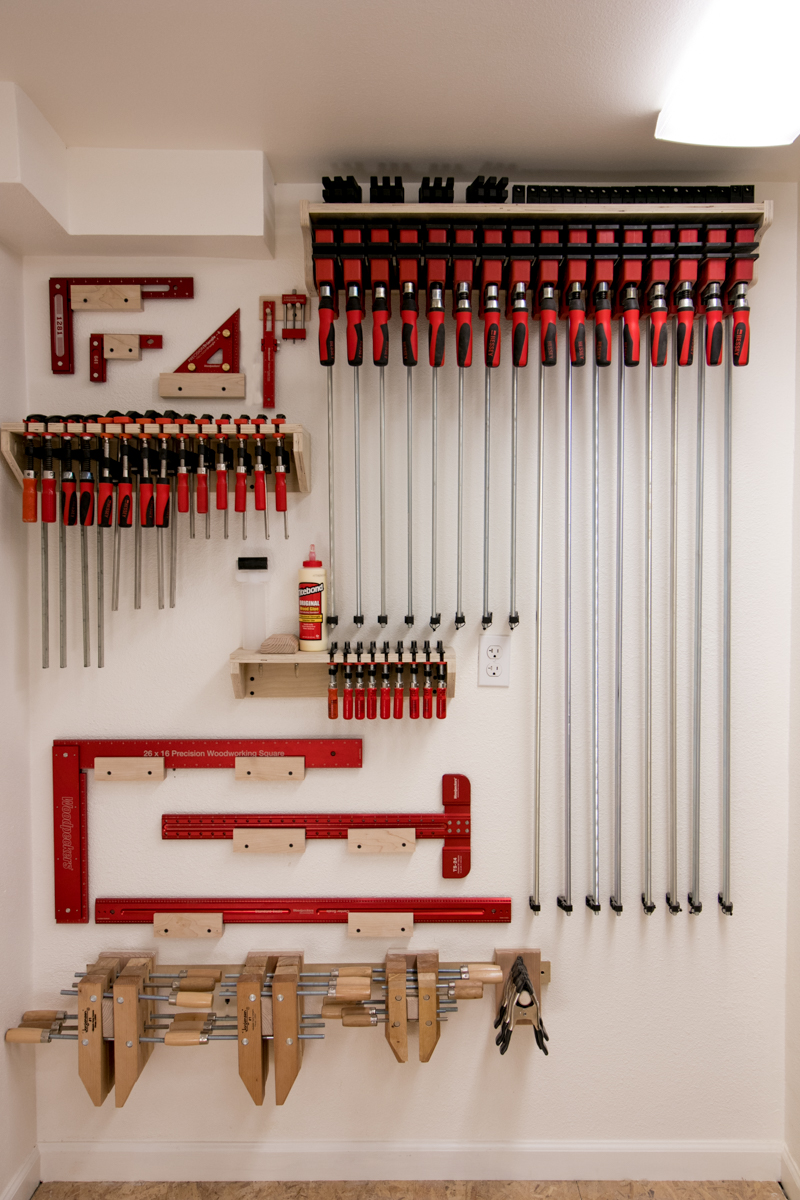
Here's the whole wall all finished up. I still have a little room on the lower right there, which I'm sure will get filled up at some point.

One of the holders ended up a little crooked. I think it happened during the hole transfer process. But, you can only tell if you're looking for it. If you can find it, I'll buy you a beer next time you're in Portland.
But, no matter. It's only shop storage.