How to Make a Concrete Desktop Planter (+ a $250 Gift Card Giveaway!)
Concrete. It's a universal building material so ubiquitous, we tend to take it completely for granted. Yet it has a fascinating history that stretches back before the time of Roman Empire. No need to fire up the Delorean today, though; we're sticking to the current trend of using industrial materials in domestic interiors with our concrete desktop planter.
We're also giving away a $250 Lowe's gift card that you can use to buy your supplies to make your own concrete desktop planter (and then some). Read on to find out how to enter (giveaway details at the end of the post) …
Here's what you'll need:
Materials for Concrete Desktop Planter
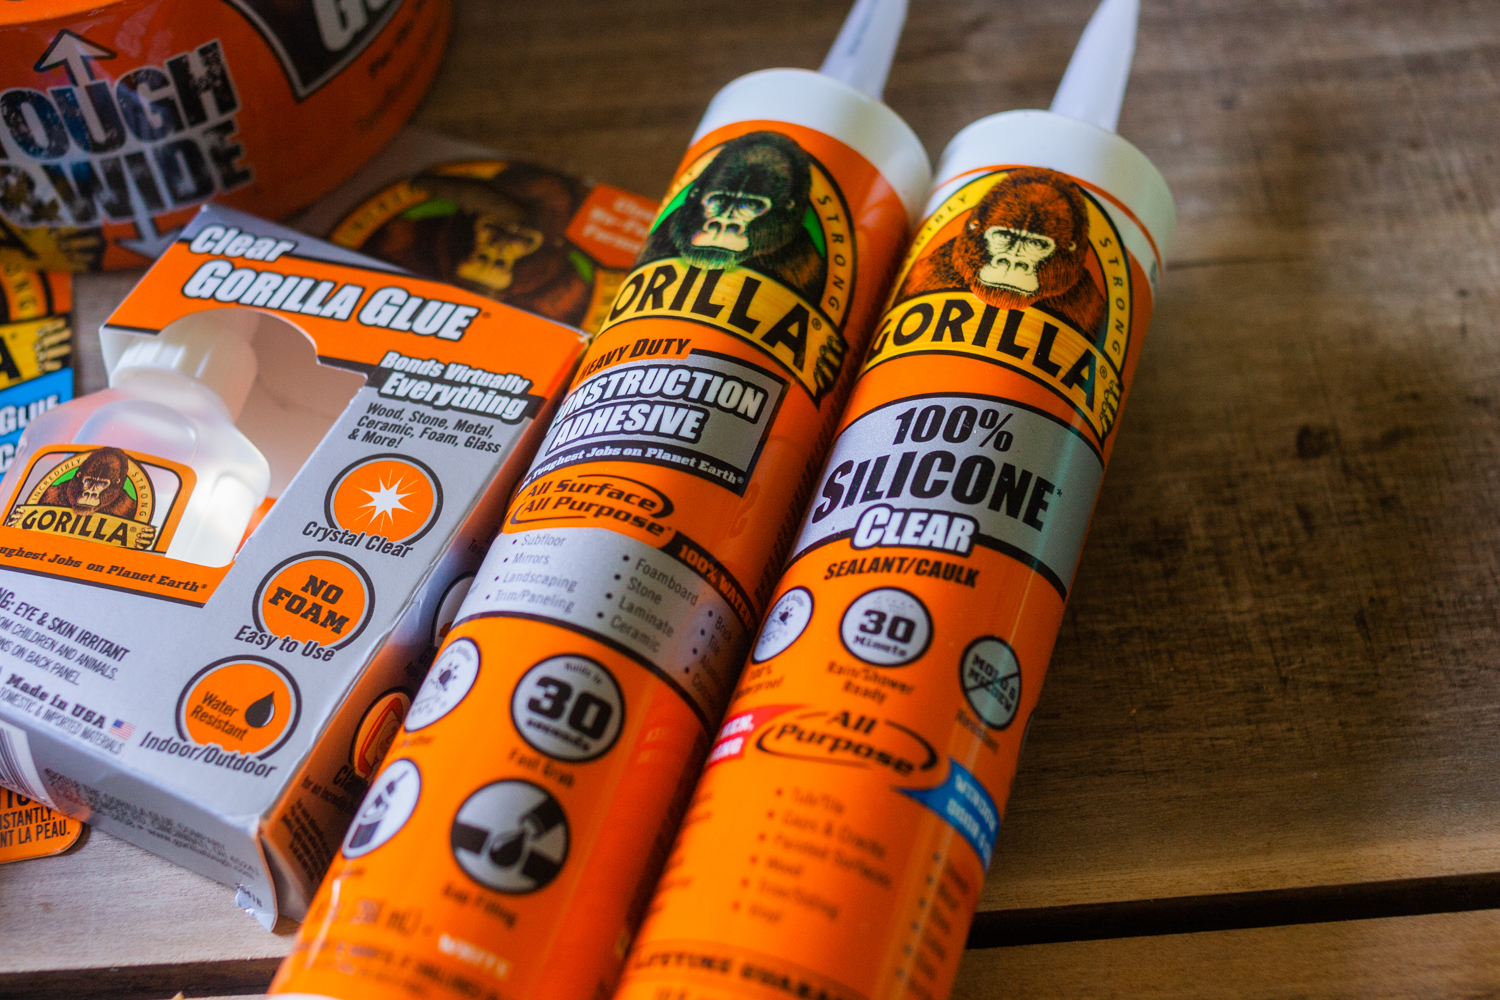
- Gorilla Heavy Duty Construction Adhesive
- Gorilla Silicone Sealant
- Gorilla Super Glue
- Gorilla Super Glue Gel
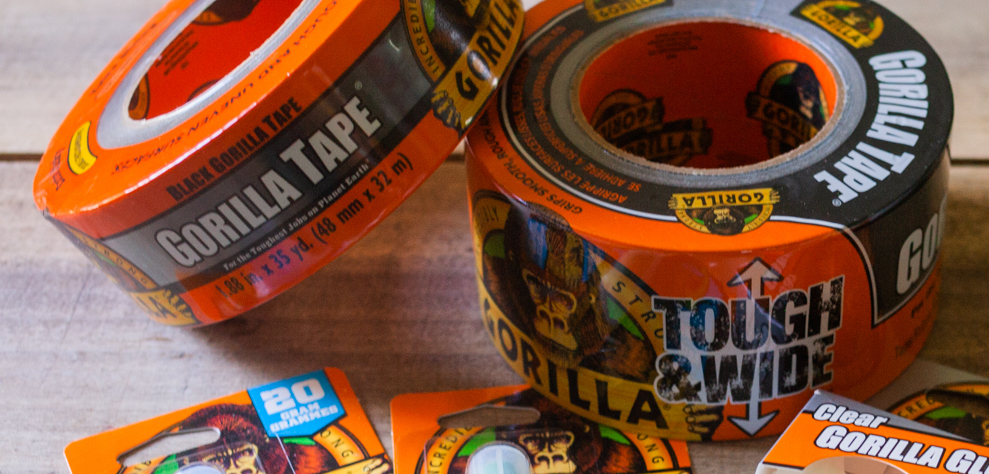
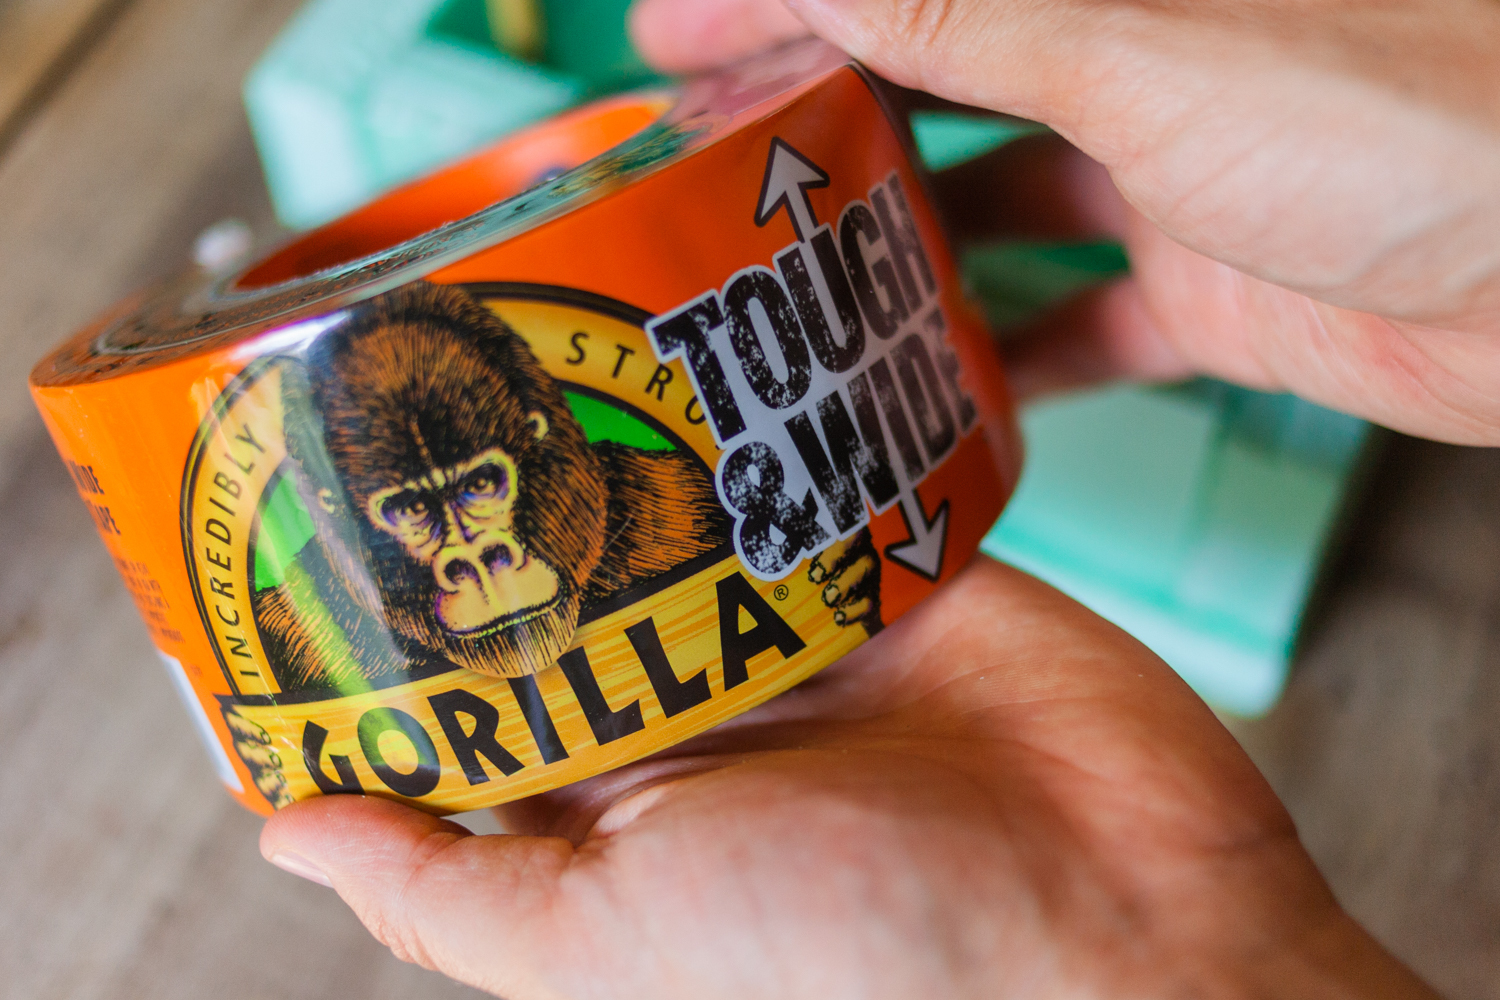
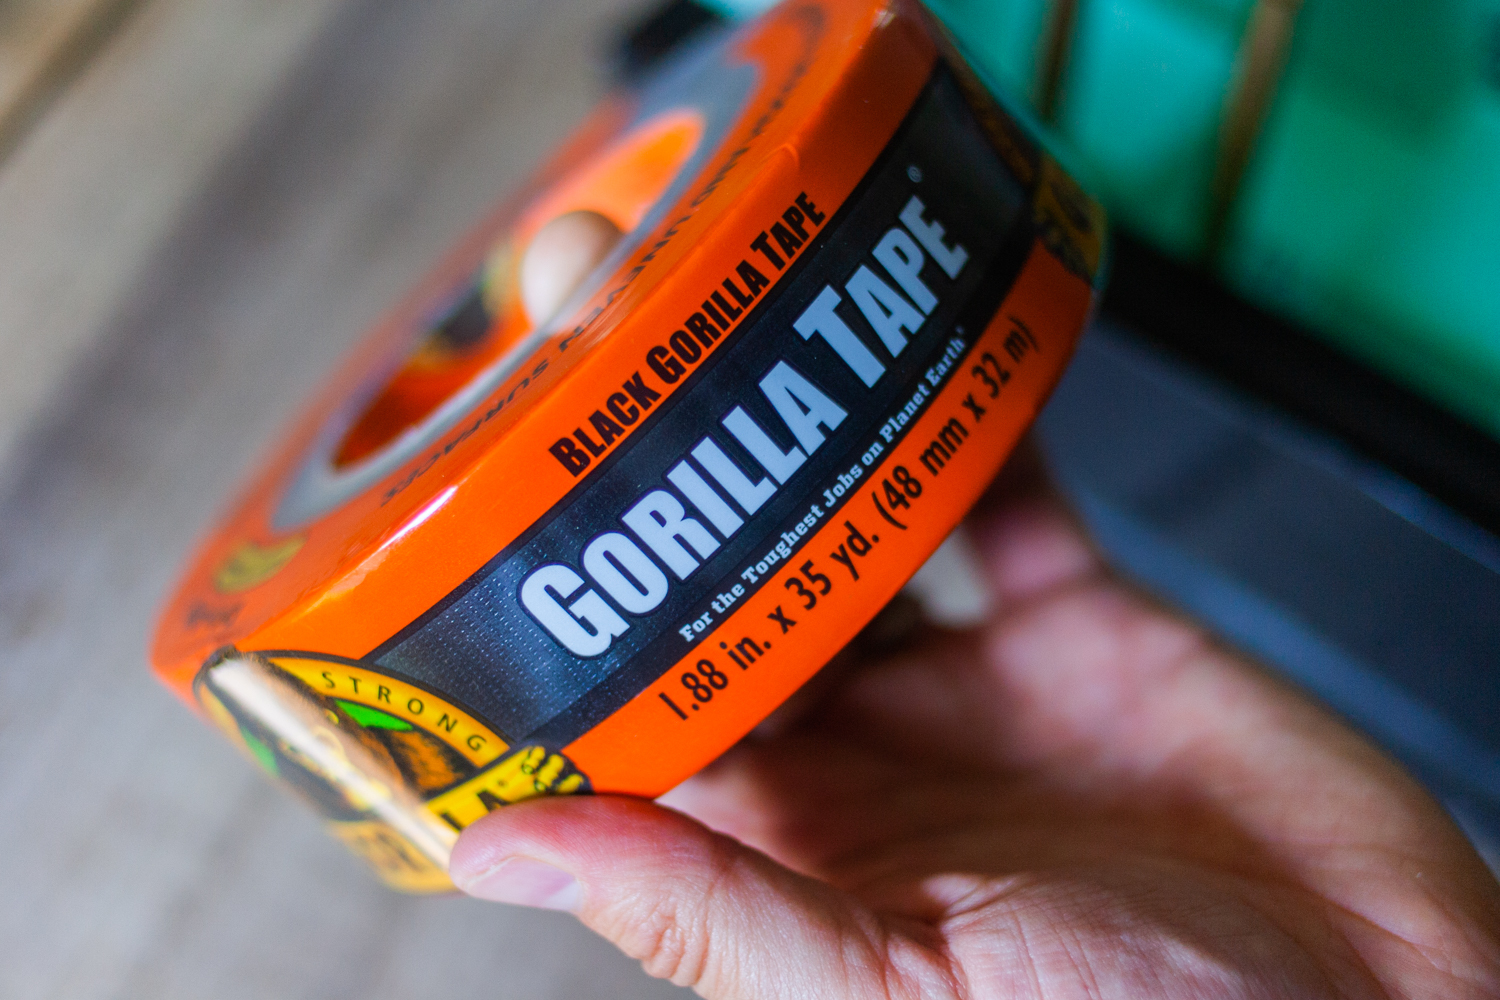
- Gorilla Tape
- 2' x 2' x 1″ polystyrene foam board insulation
- 3/8″ dowel rod
- Fine texture concrete mix
- Q-tips and paper towels (for applying sealant)
Tools
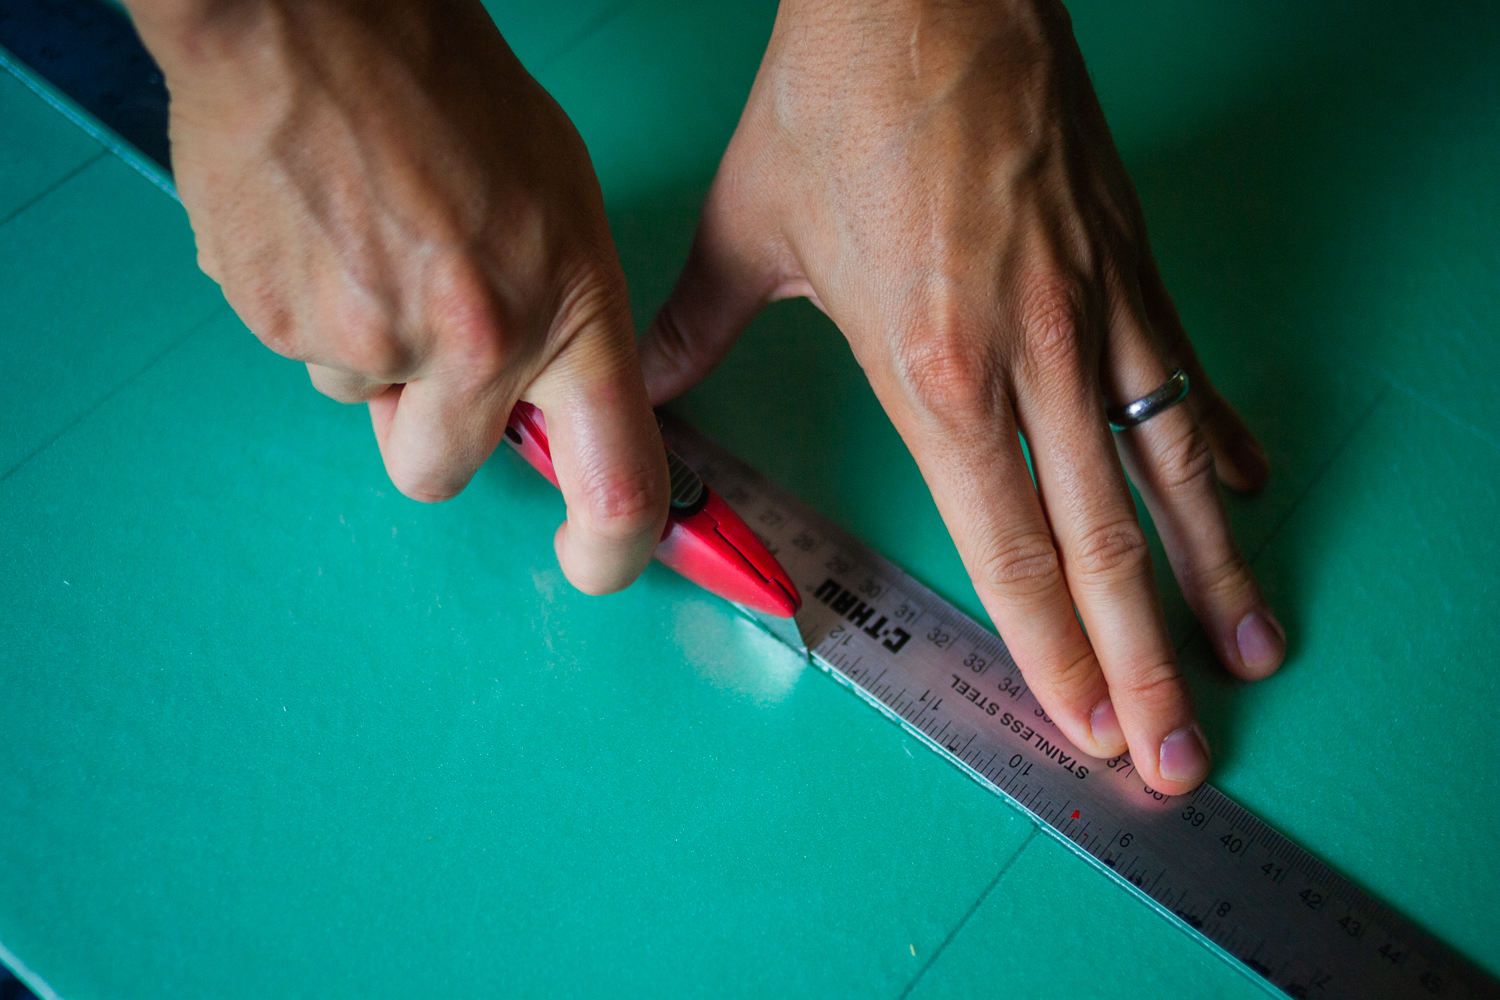
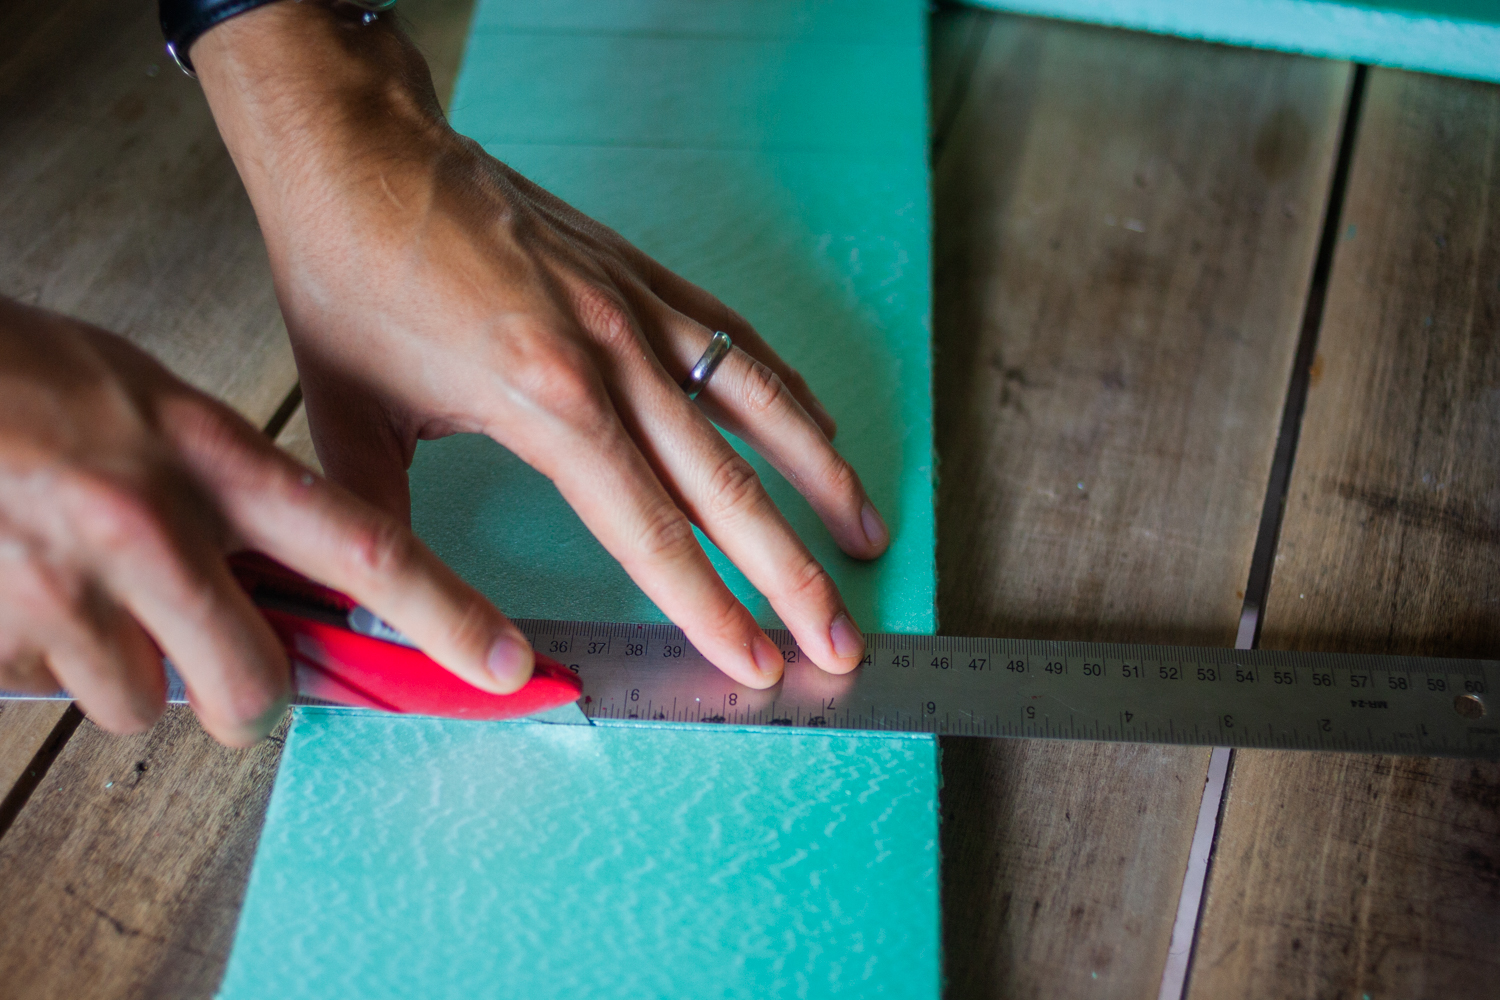
- 24″ straight edge
- Tape measure
- Hacksaw
- Pencil
- Heavy-duty rubber gloves
- Utility knife
- Electric drill with concrete mixer bit
- Small bucket
- Caulk gun
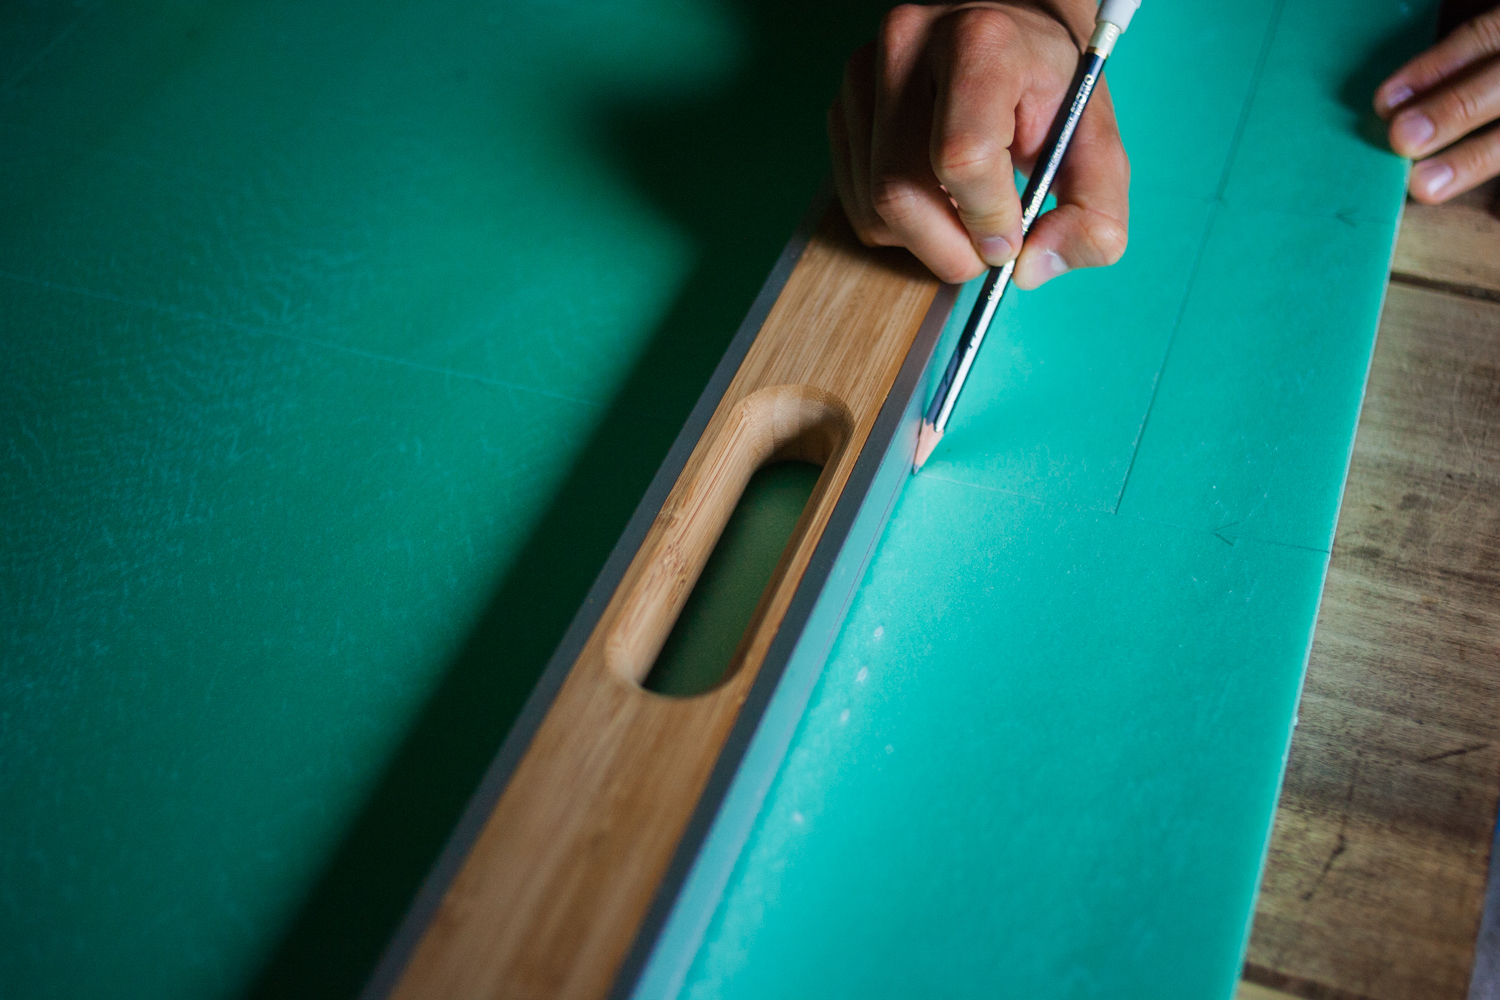
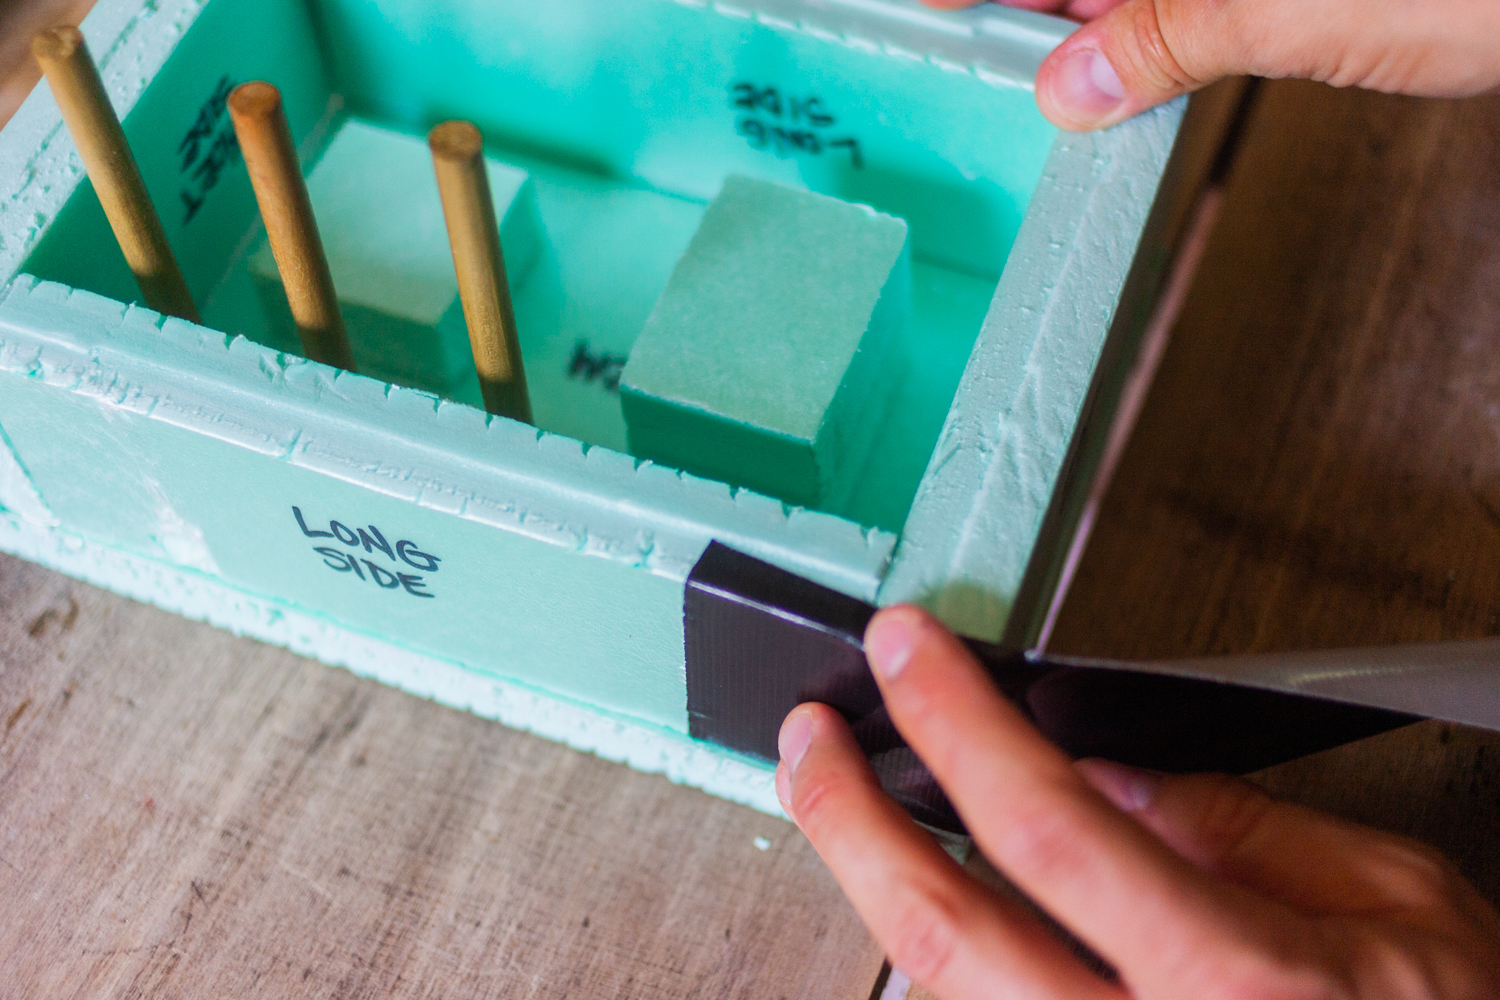
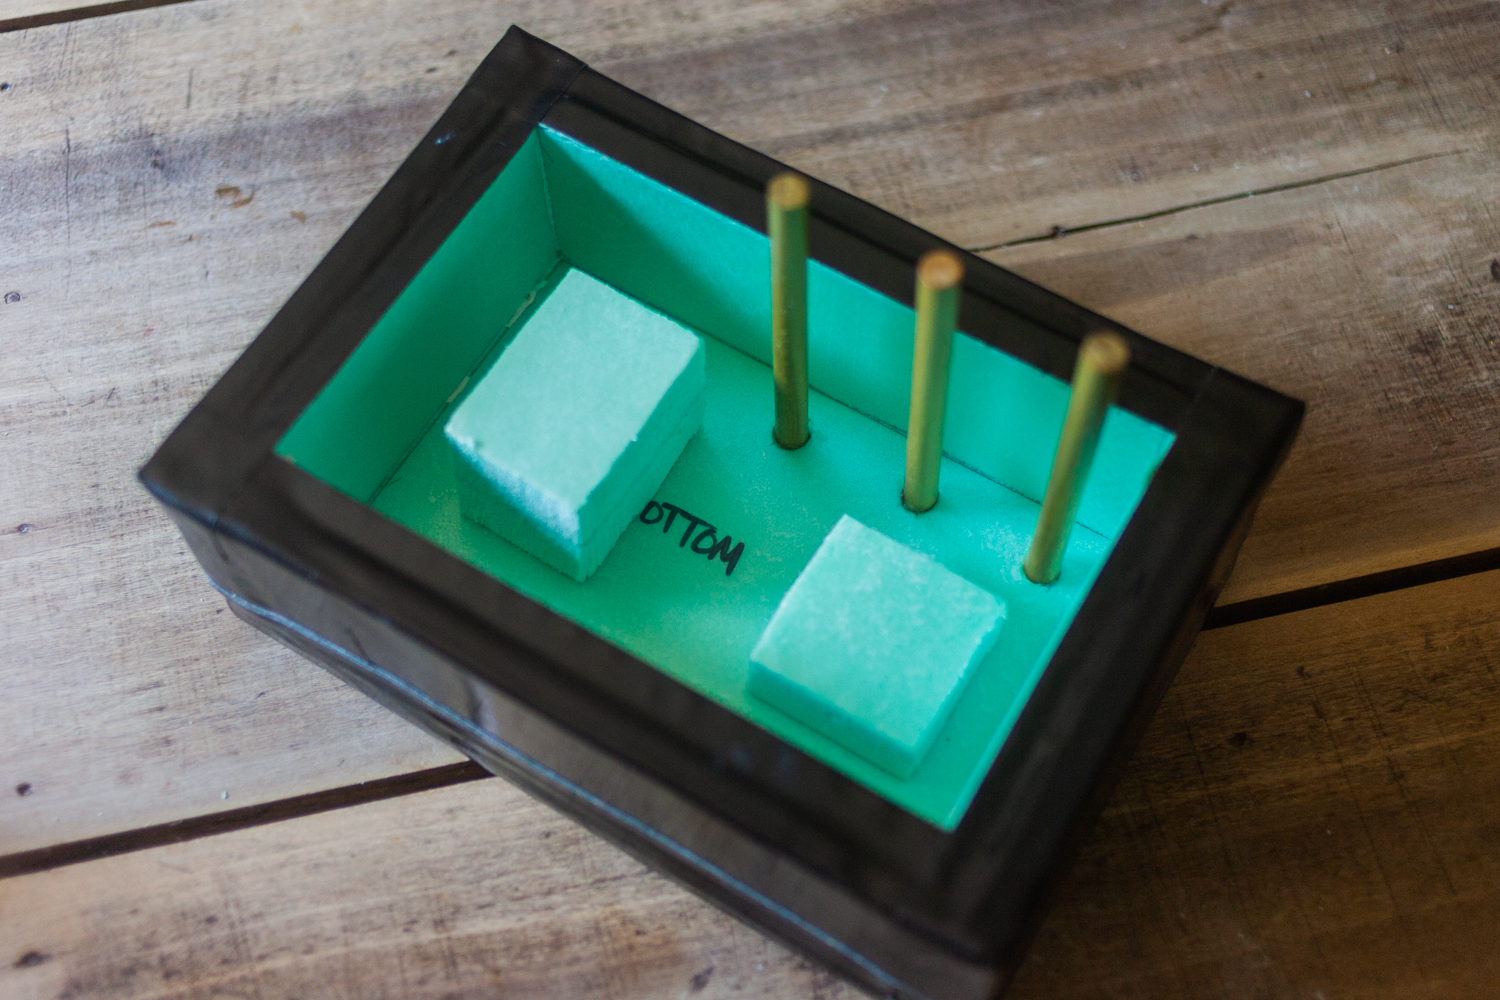
Step 1: Make a Mold
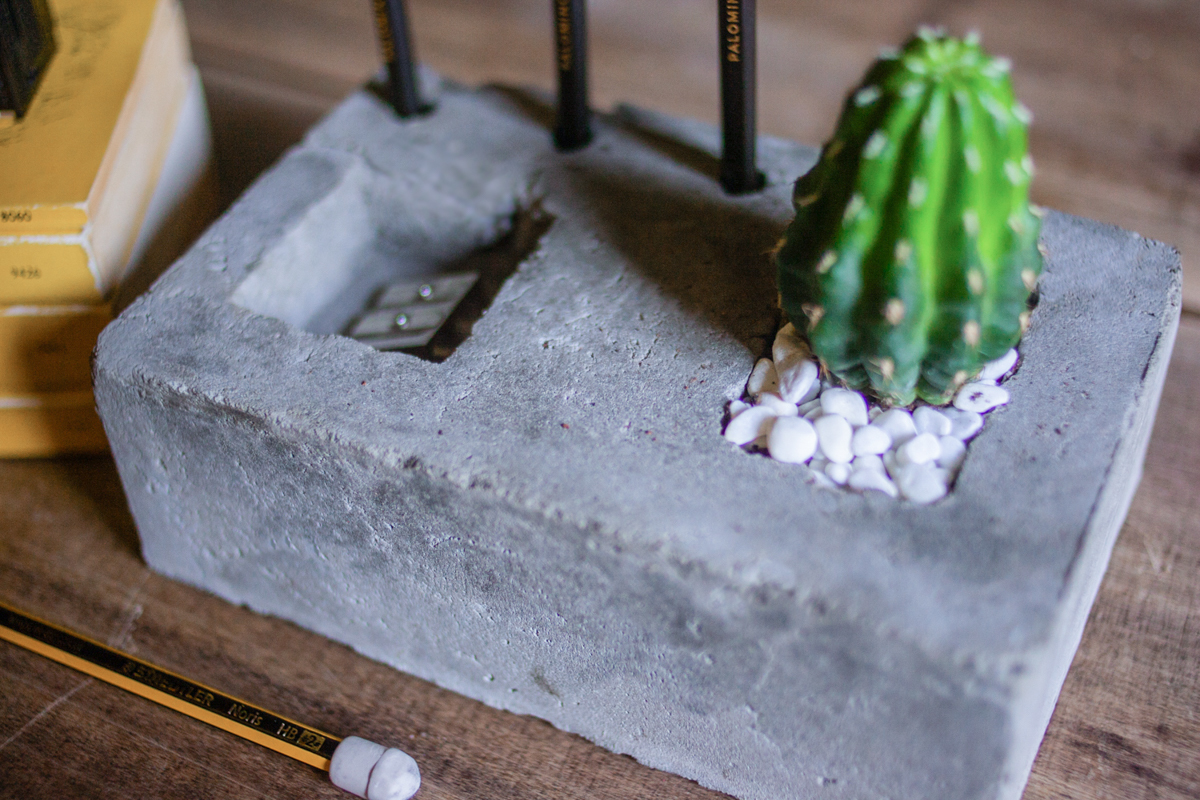
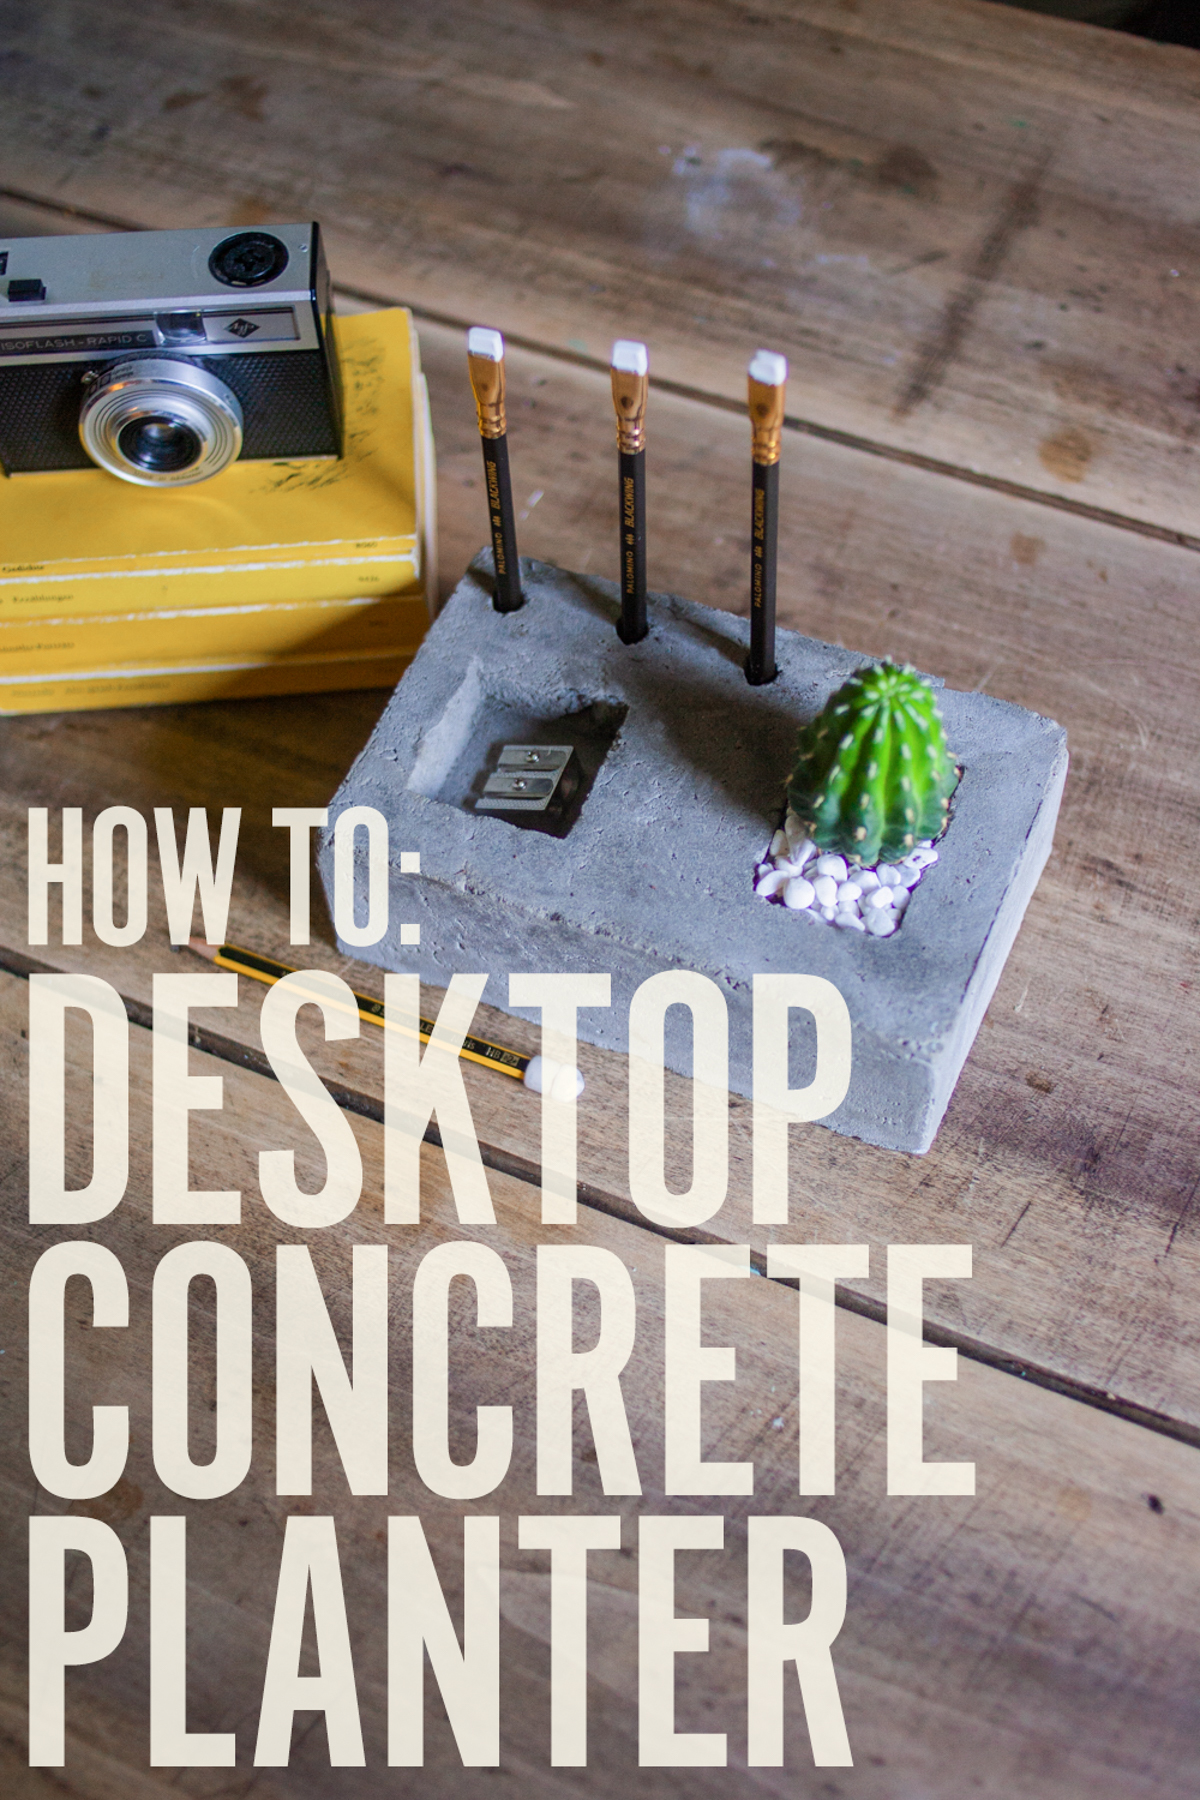
We're going to create an open-topped box, and on the inside, we're installing three dowels for pencil holders and two smaller boxes for wells: one for a small plant and one as a tray for a small pencil sharpener.
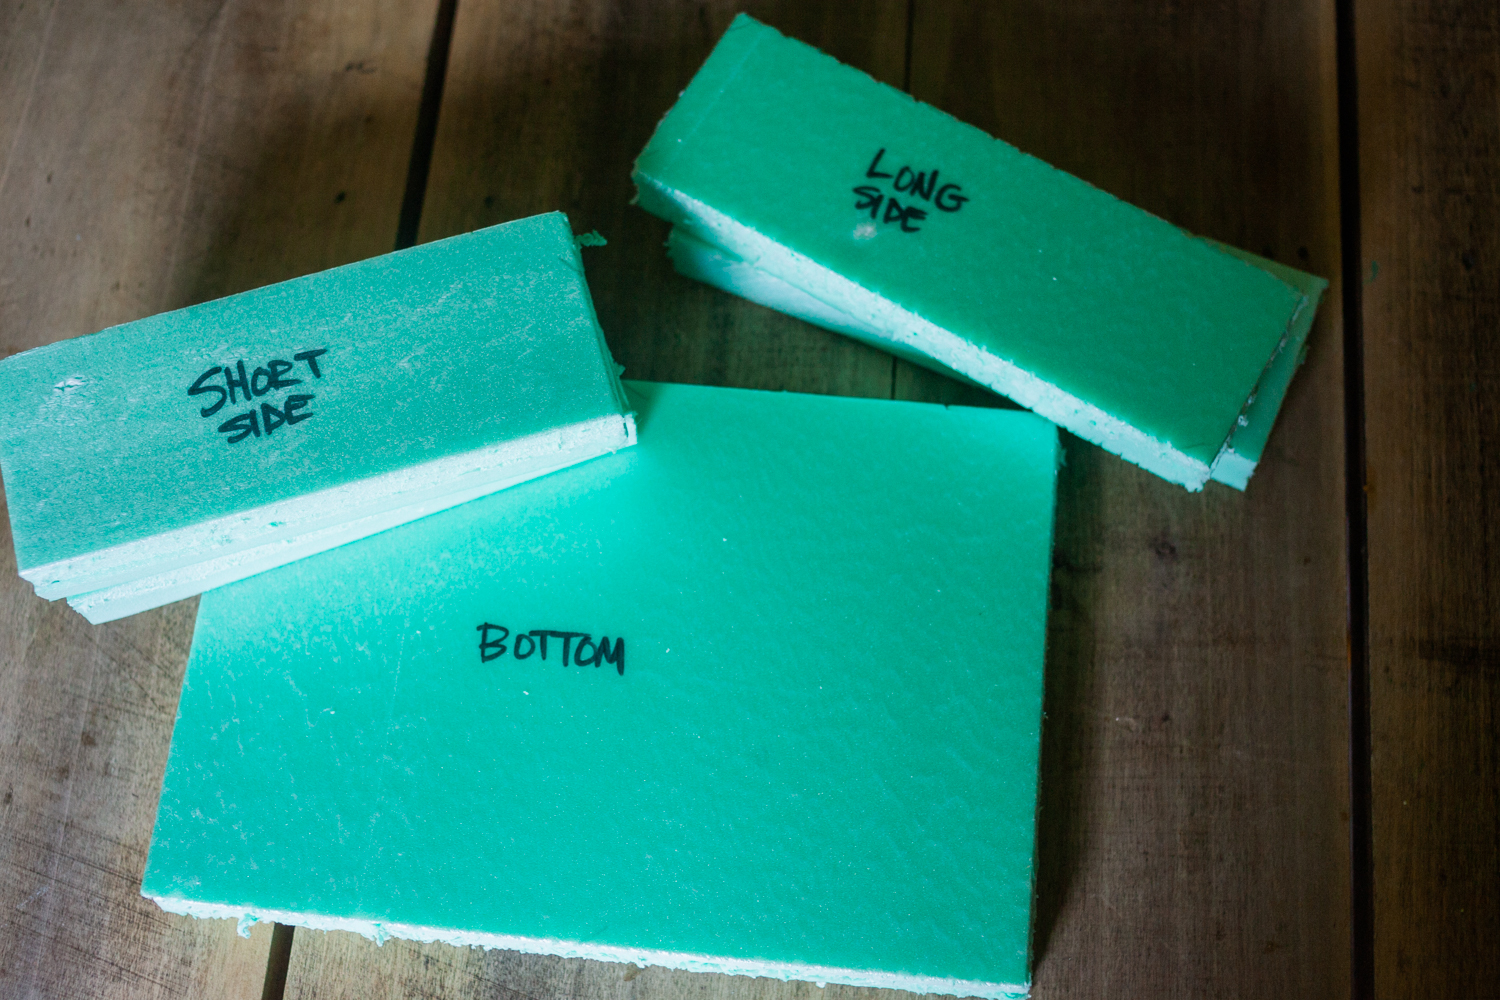
Cut list
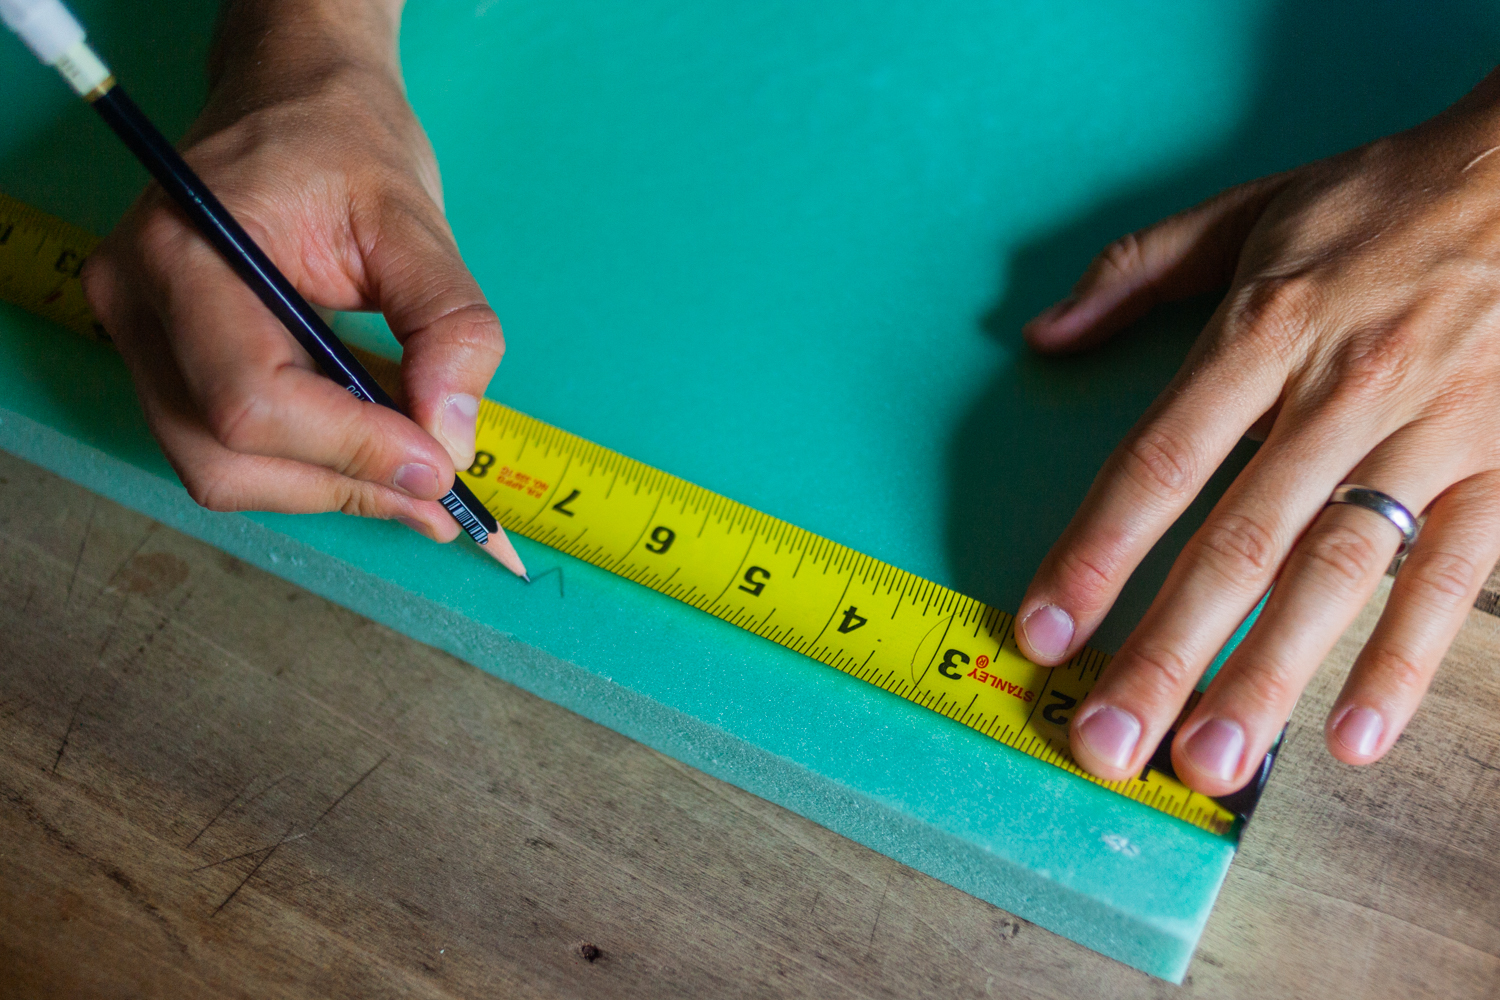
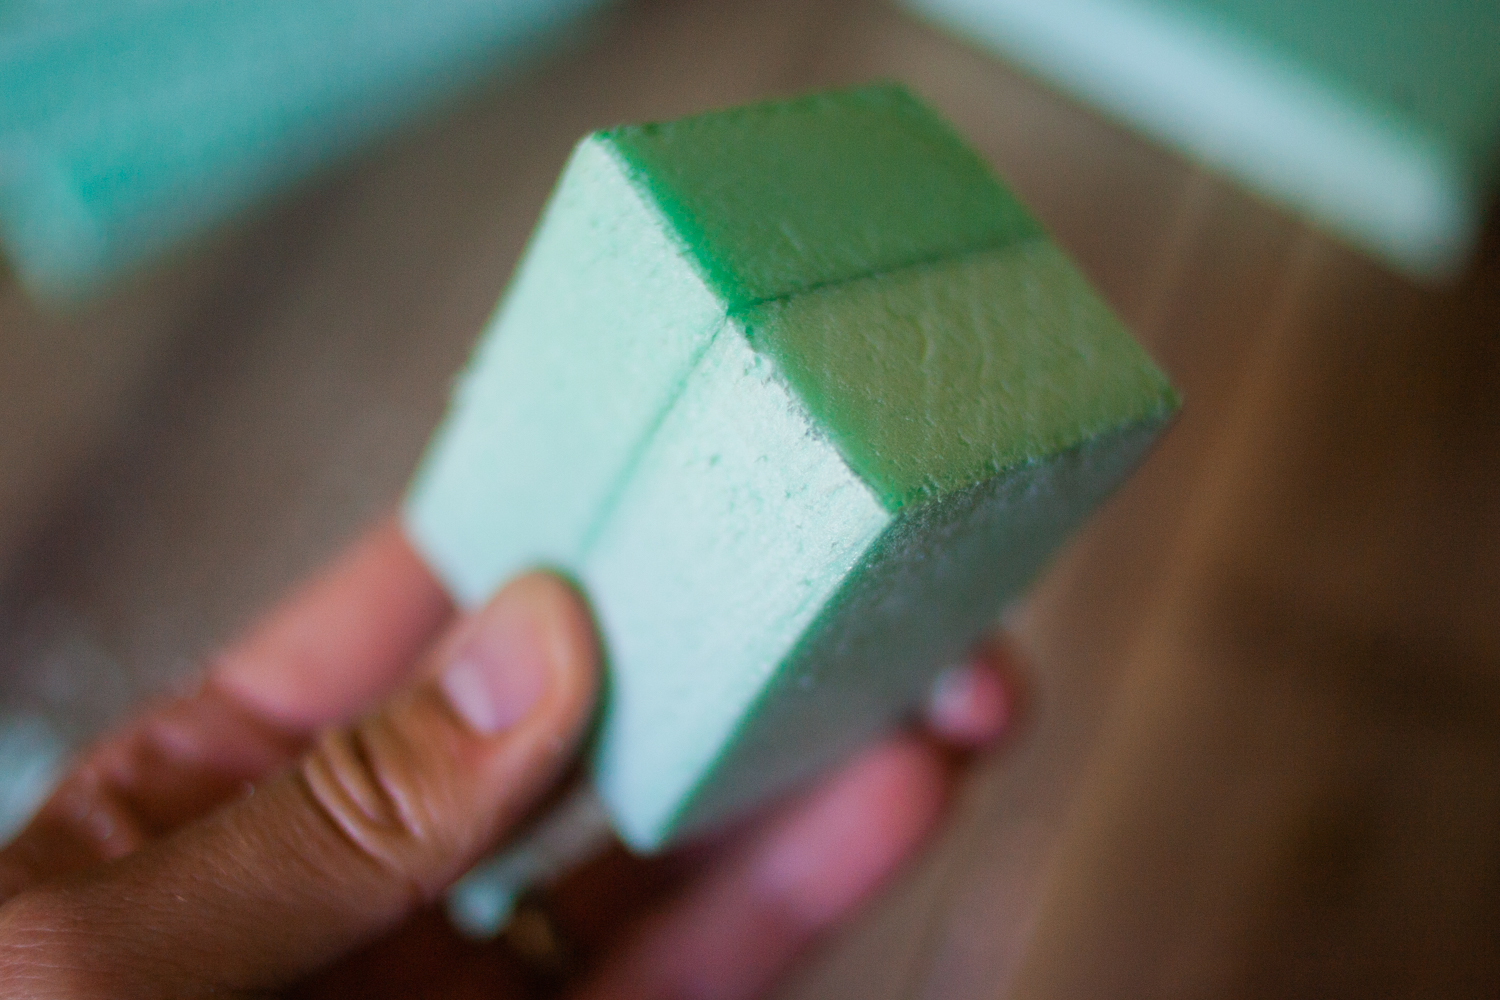
Foam board
Bottom panel (1 qty.): 6.5″ x 9.5″
Long side panels (2 qty.): 2.5″ x 7.5″
Short side panels (1 qty.): 2.5″ x 6.5″
Interior wells (3 qty.): 2″ x 2.5″
Dowels
3 qty: 5.5″
Need some shopping money to buy these supplies? Scroll down to the bottom to find out how to win a $250 Lowe's Gift Card!
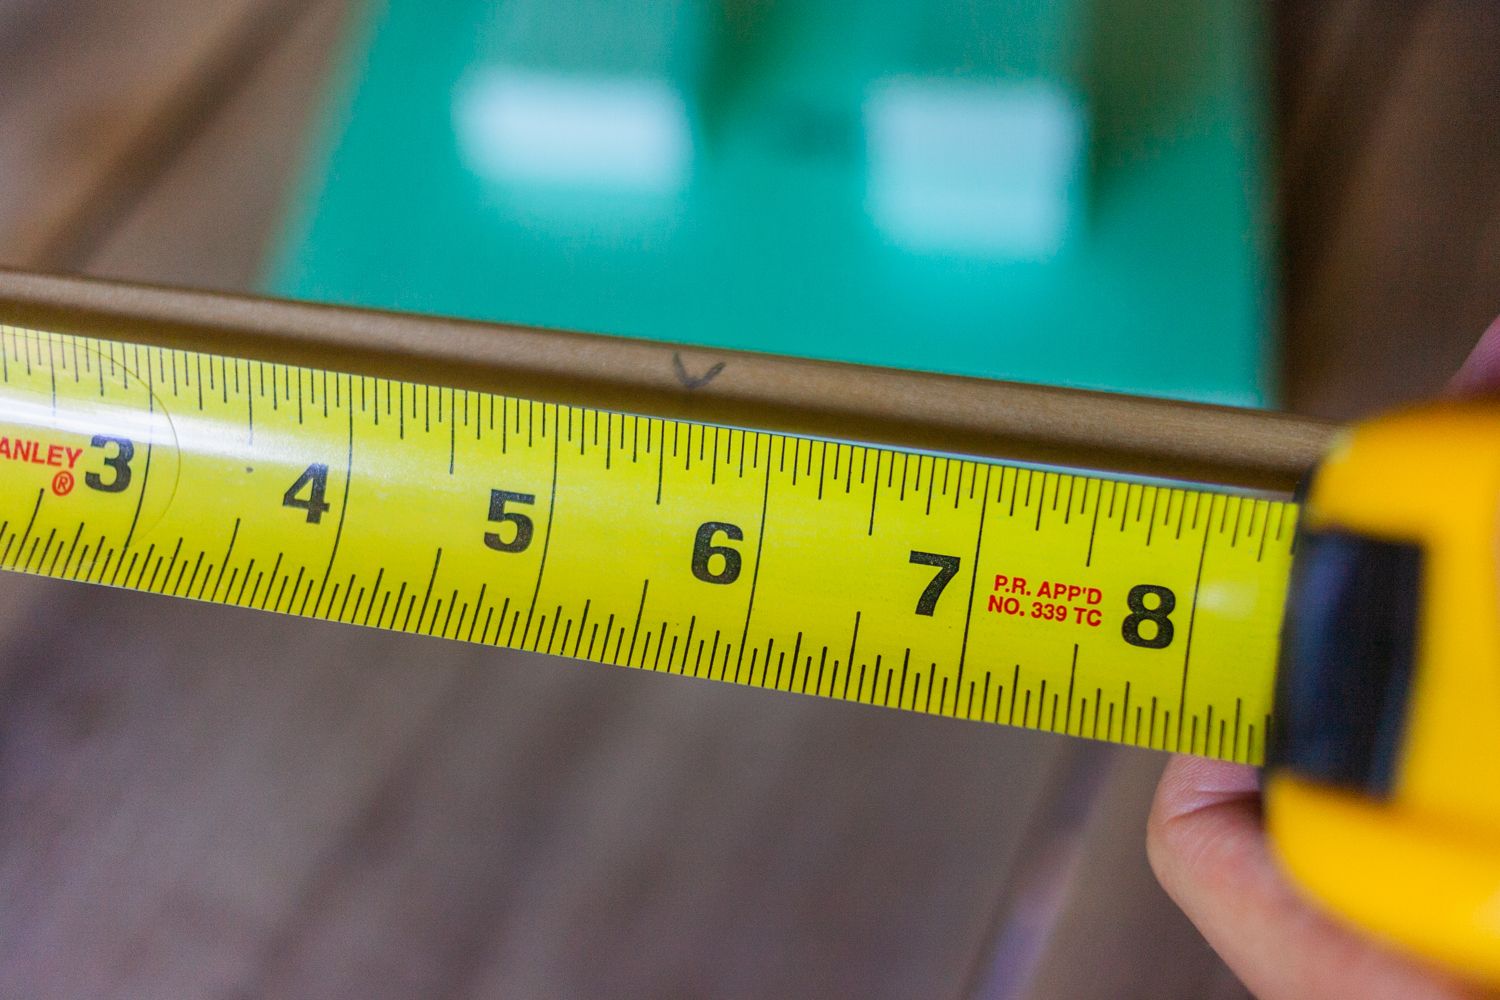
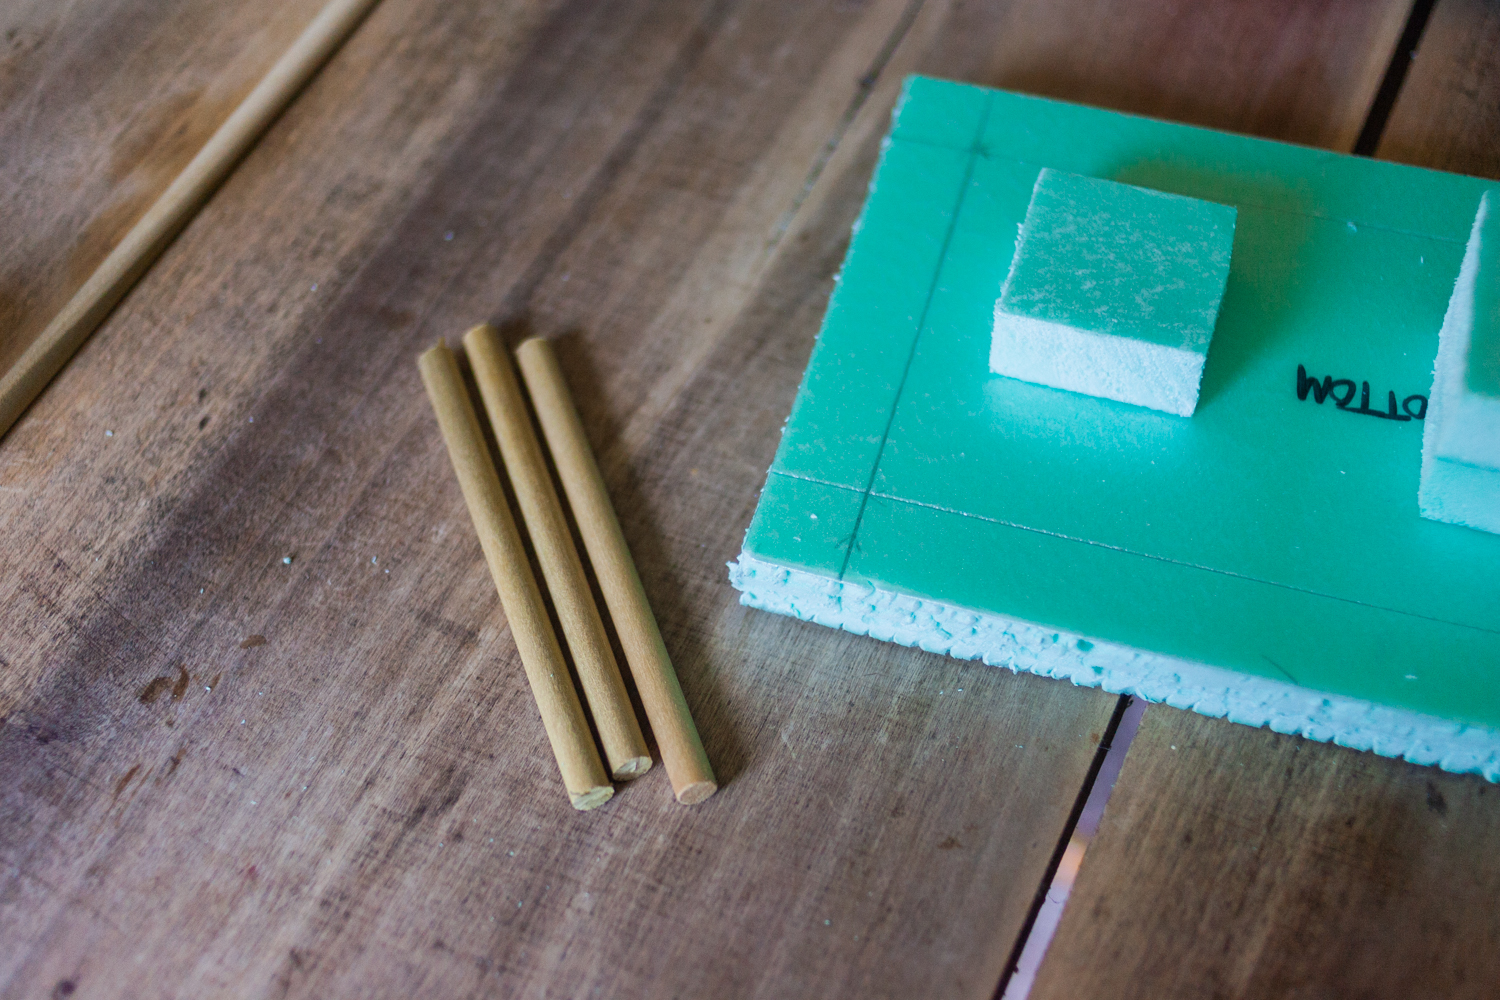
First, measure and cut the foam board pieces:
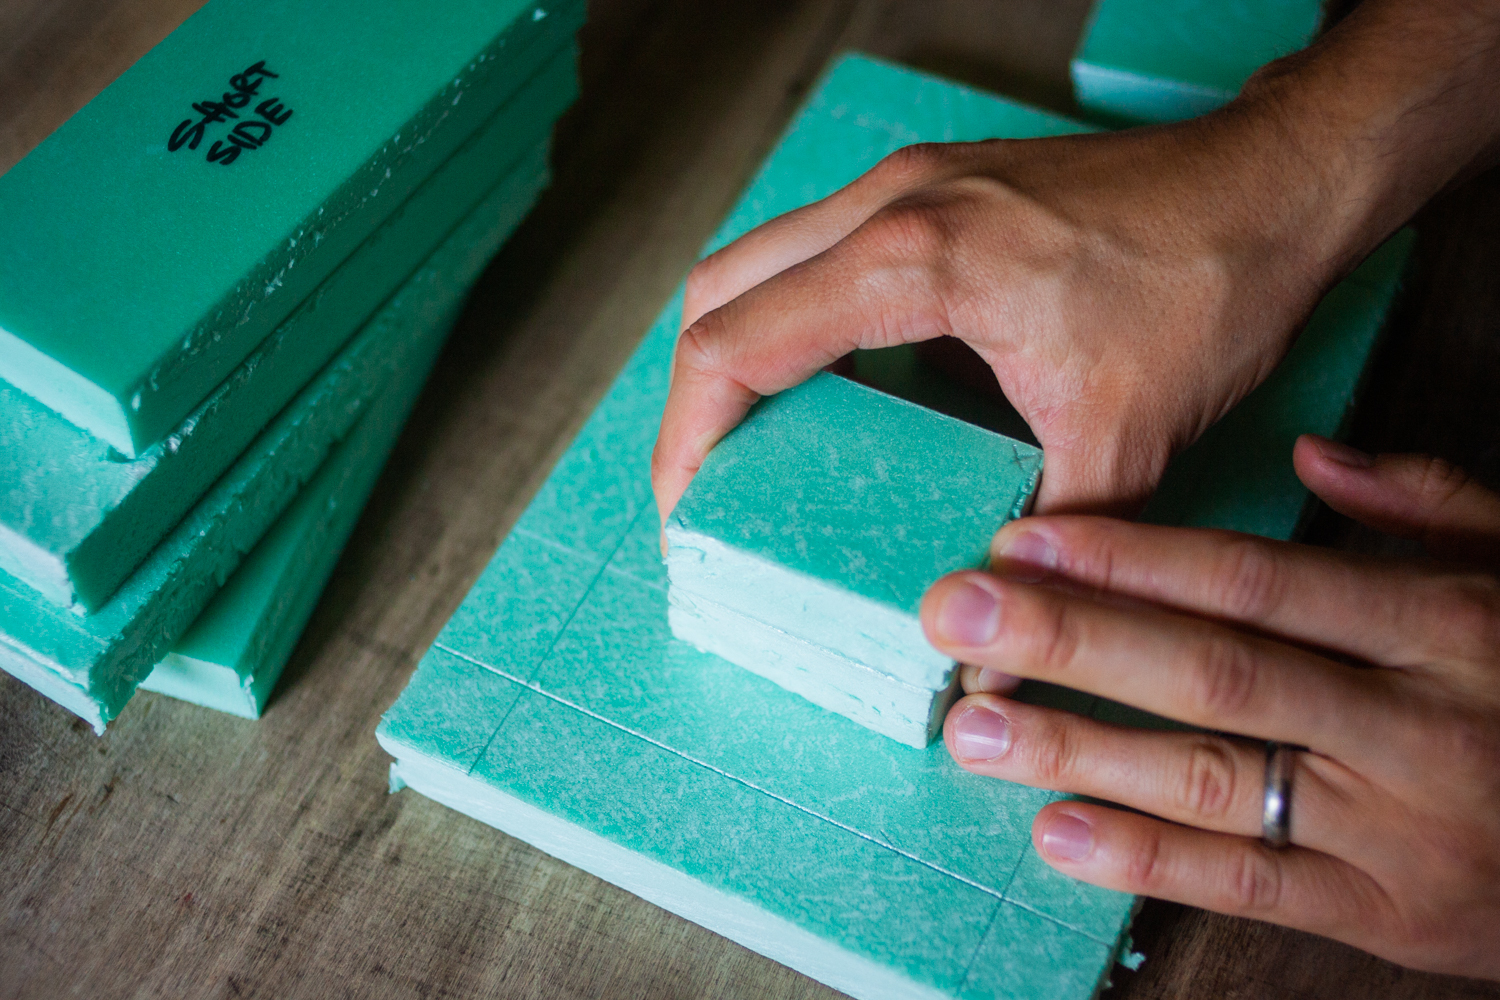
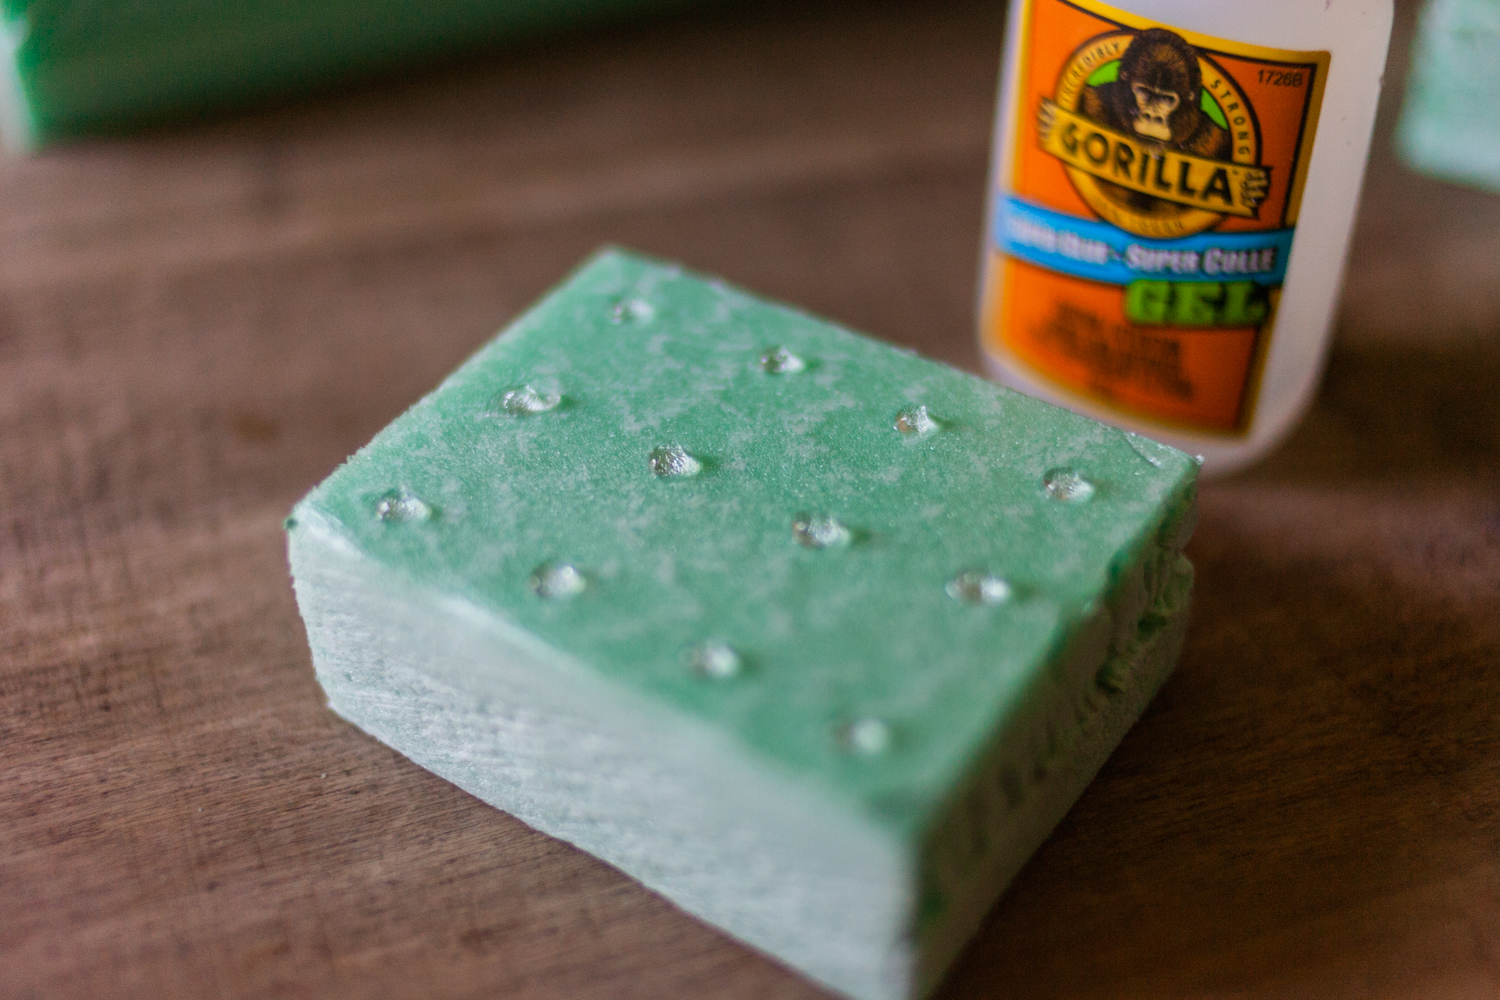
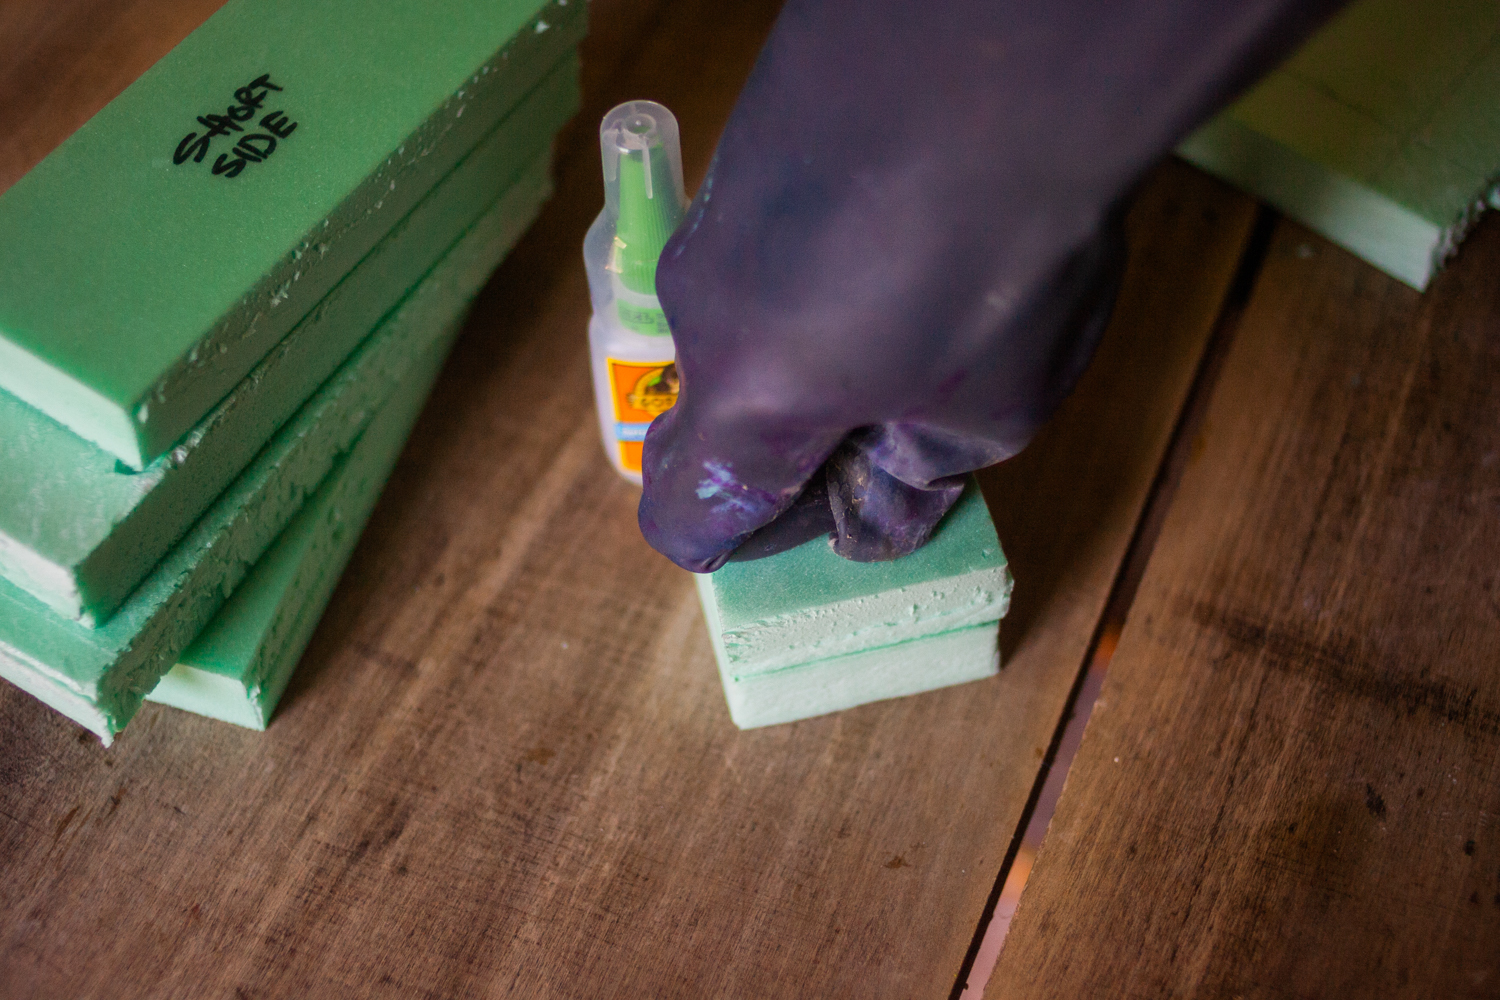
Now we're going to stack two of the 2″ x 2.5″ well pieces together (not pictured above) and glue them together with our Gorilla Super Glue Gel.
Draw a 1″ border on one face of your bottom panel, then check the placement of your well pieces, centered between the long sides and about an inch to the right of your 1″ border on a short side:
The adhesive comes with warning that it bonds instantly to skin, and I always inevitably get superglue on my fingers, so gloves are recommended. You can use it sparingly because it's so strong.
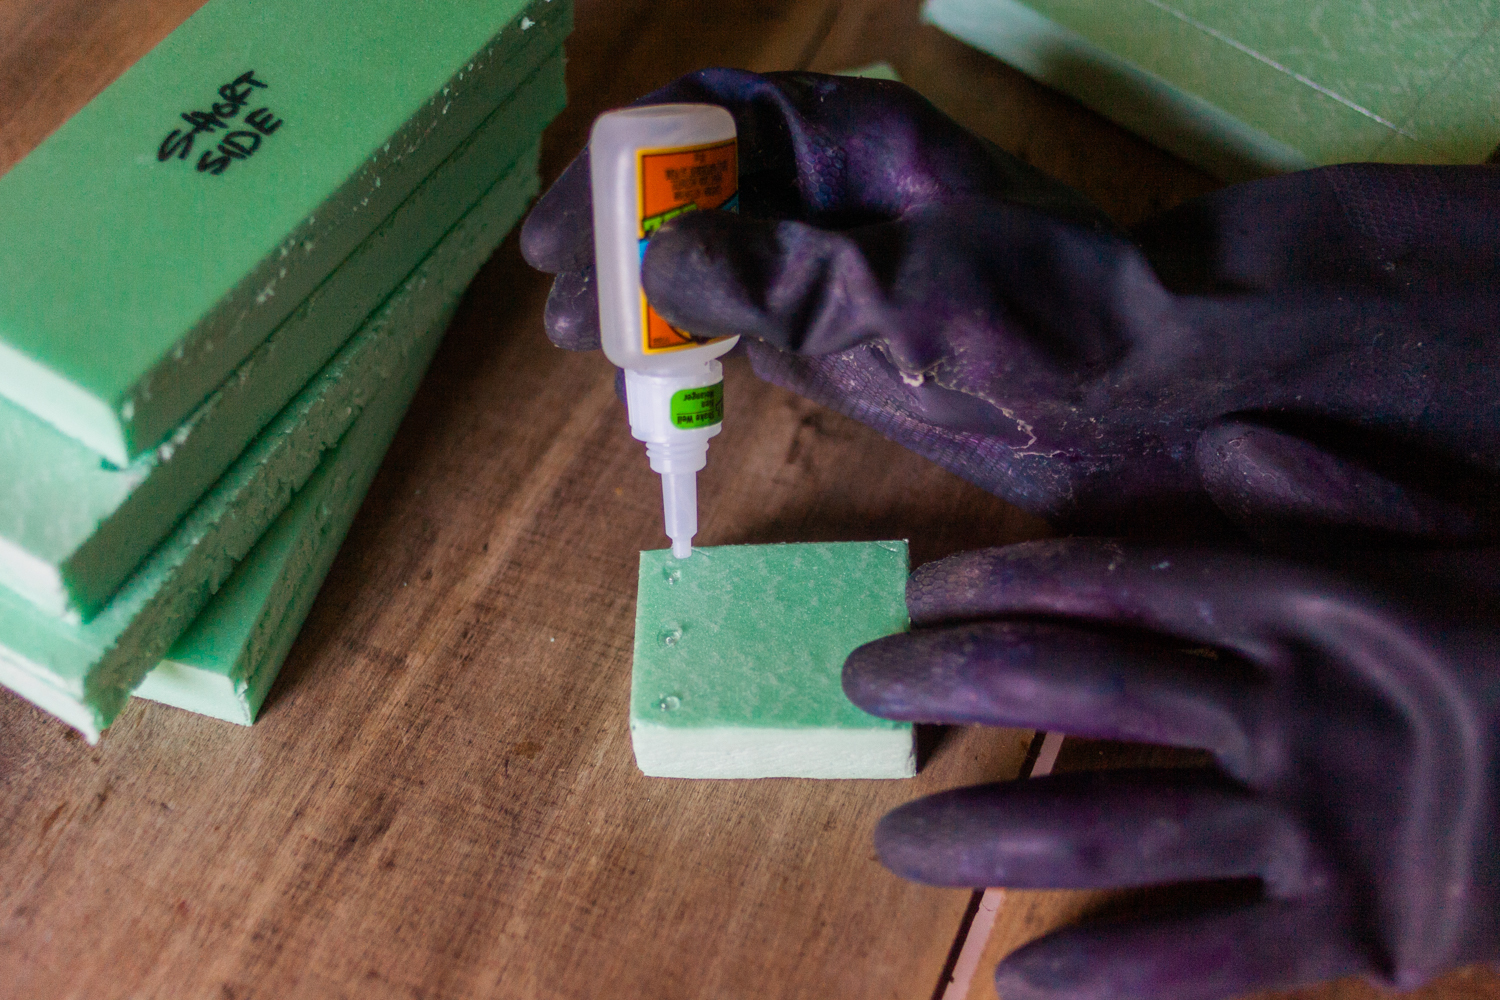
It sets in 10 seconds, so you don't have to press the pieces together for too long.
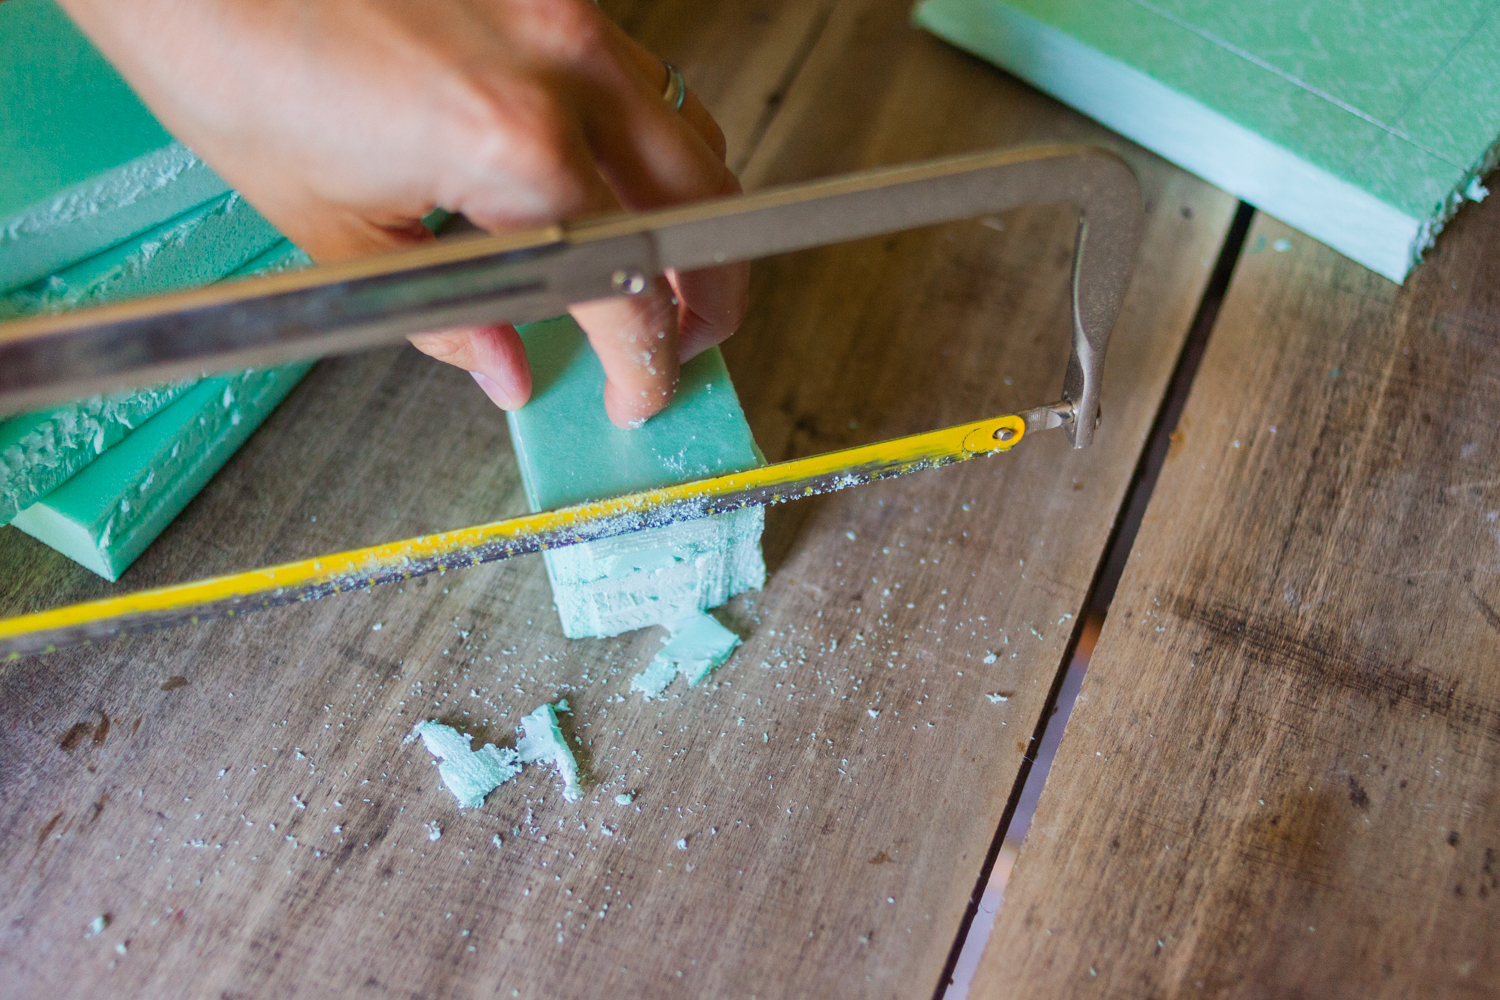
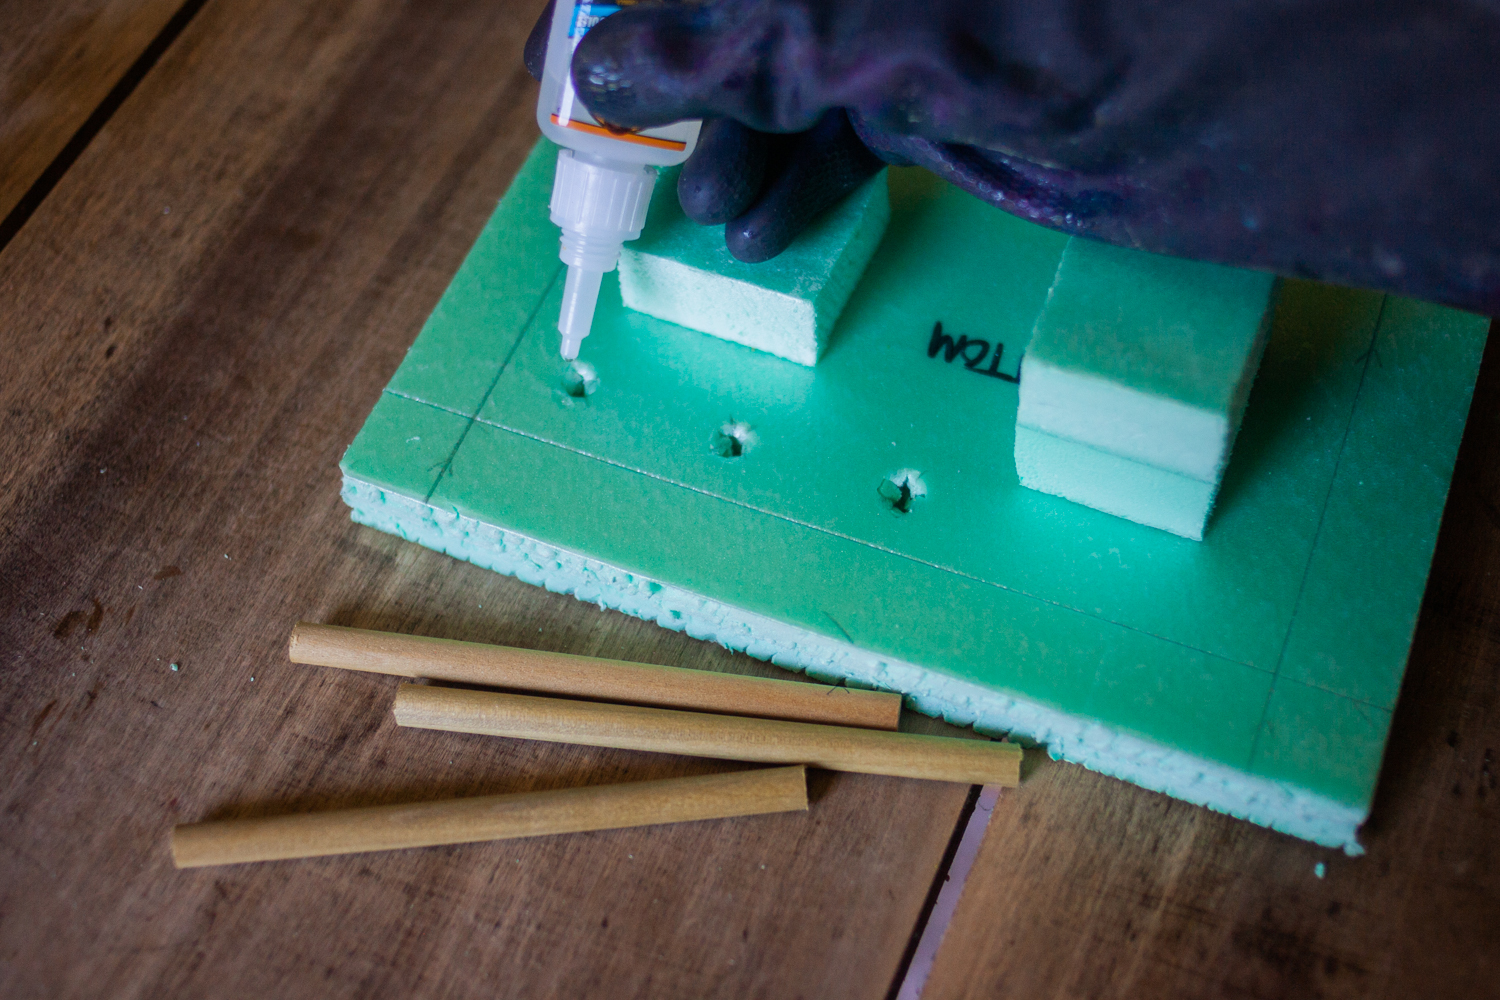
Use your hacksaw to trim the stack sides flush.
Attach the trimmed stack to the bottom panel.

Repeat for your pencil sharpener well, which uses the remaining 2″ x 2.5″ piece: trim, apply dots of glue, and place on the bottom panel 1″ from the long and short sides of your 1″ border.
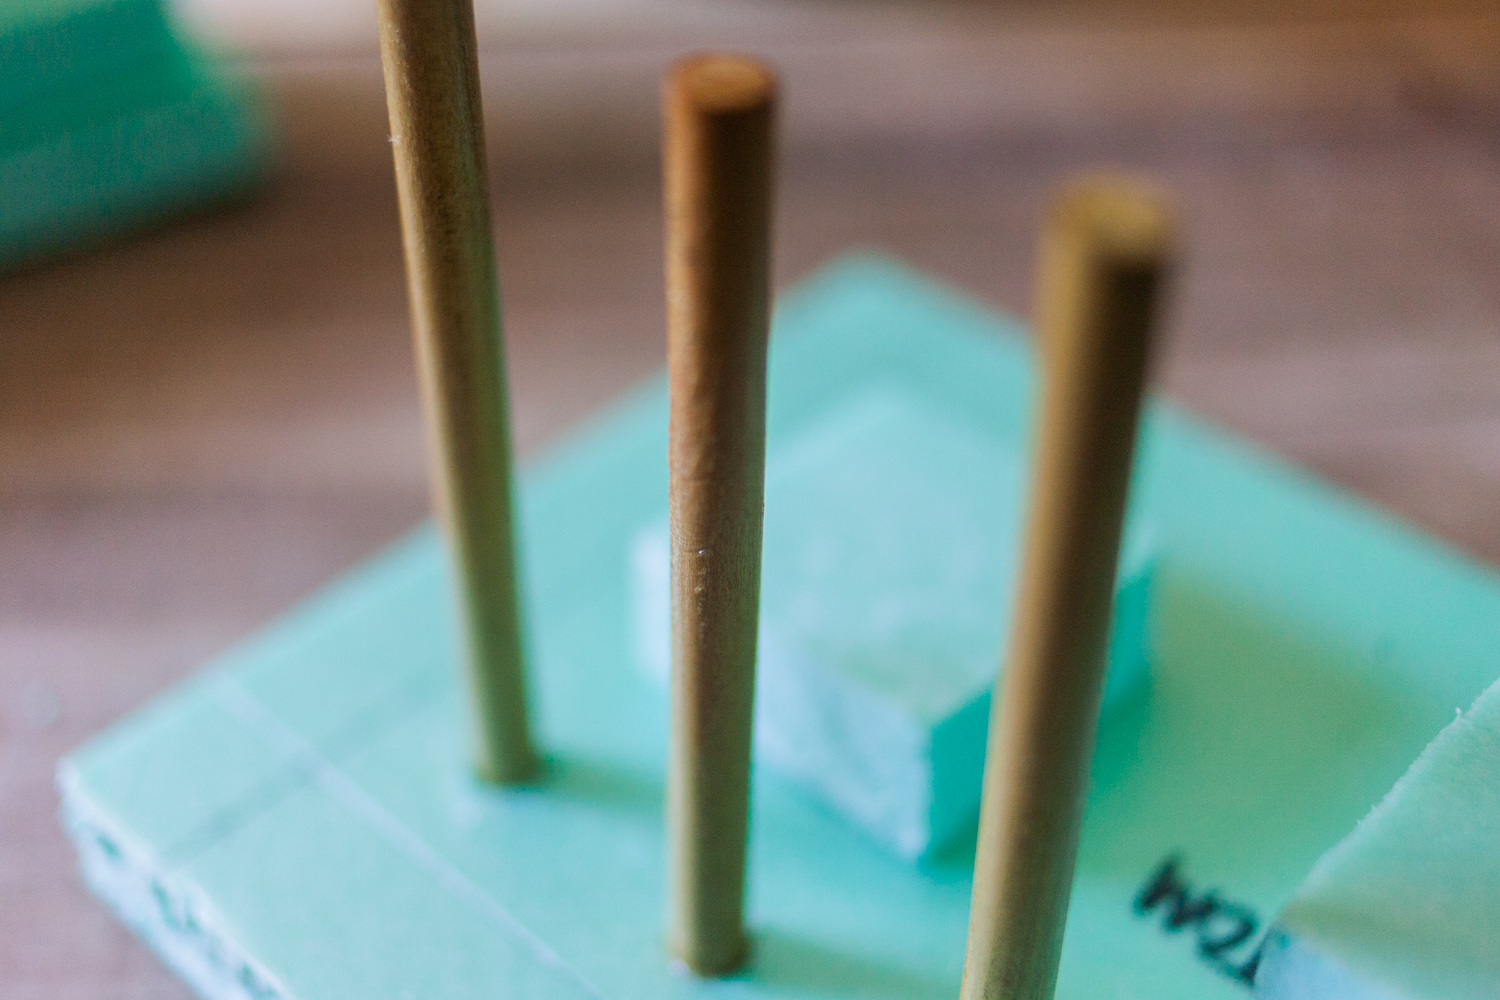
Next, cut down your dowel rod to three 5.5″ pieces:
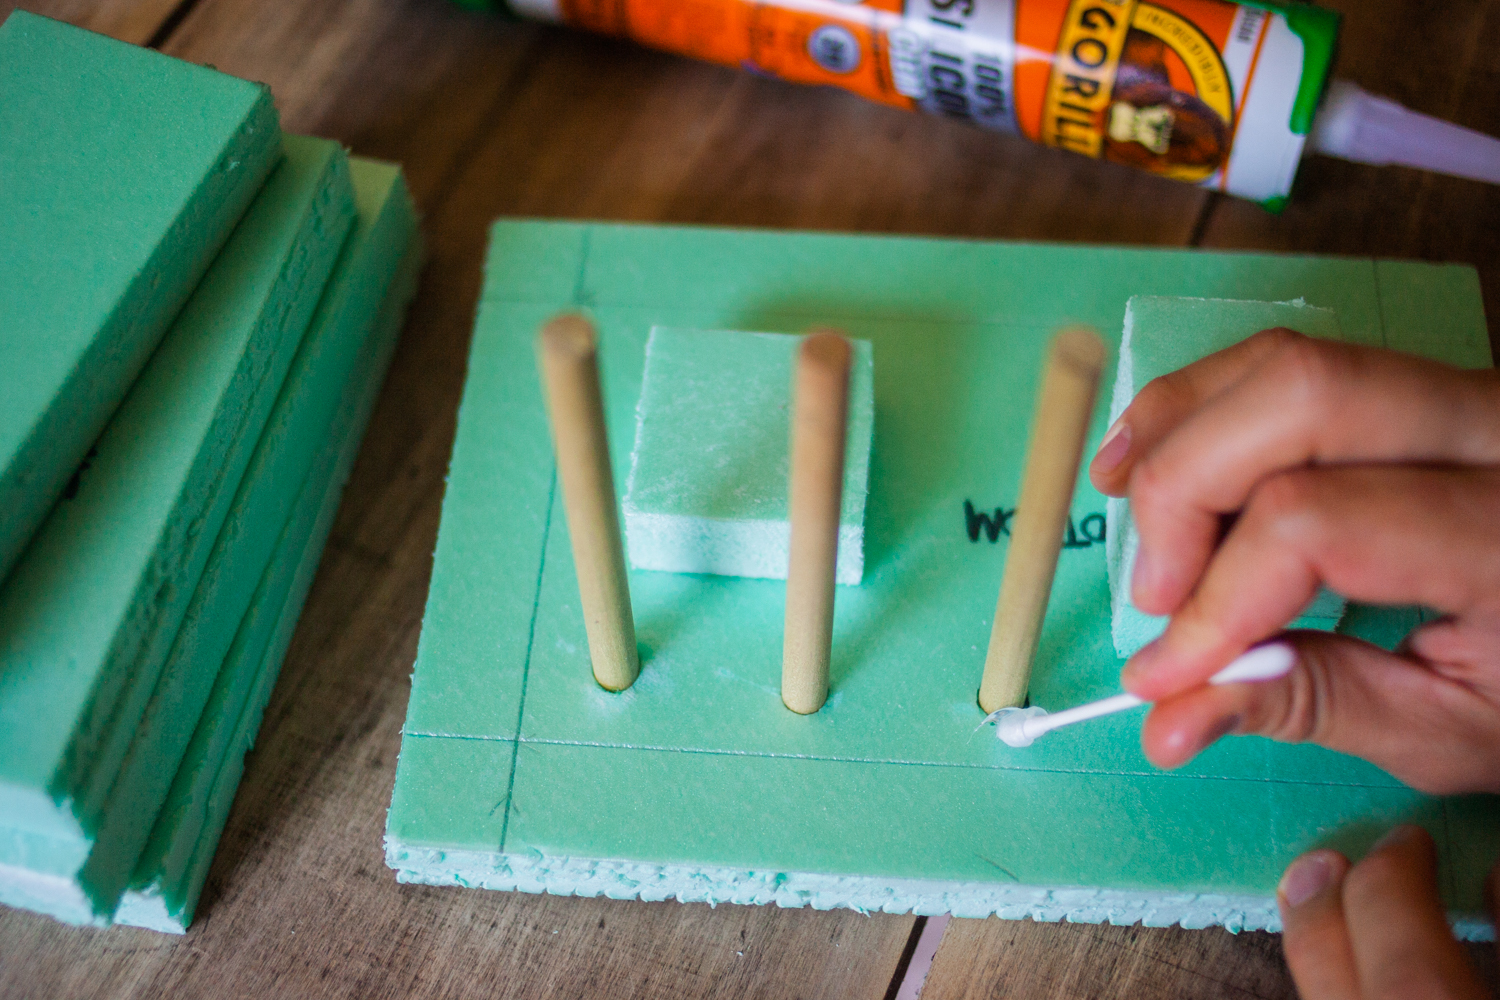
Drive an awl into your bottom panel, slightly thinner than your dowels to ensure a snug fit.

Apply a few small dots of Gorilla Super Glue (blue label) to your holes before inserting the dowels.
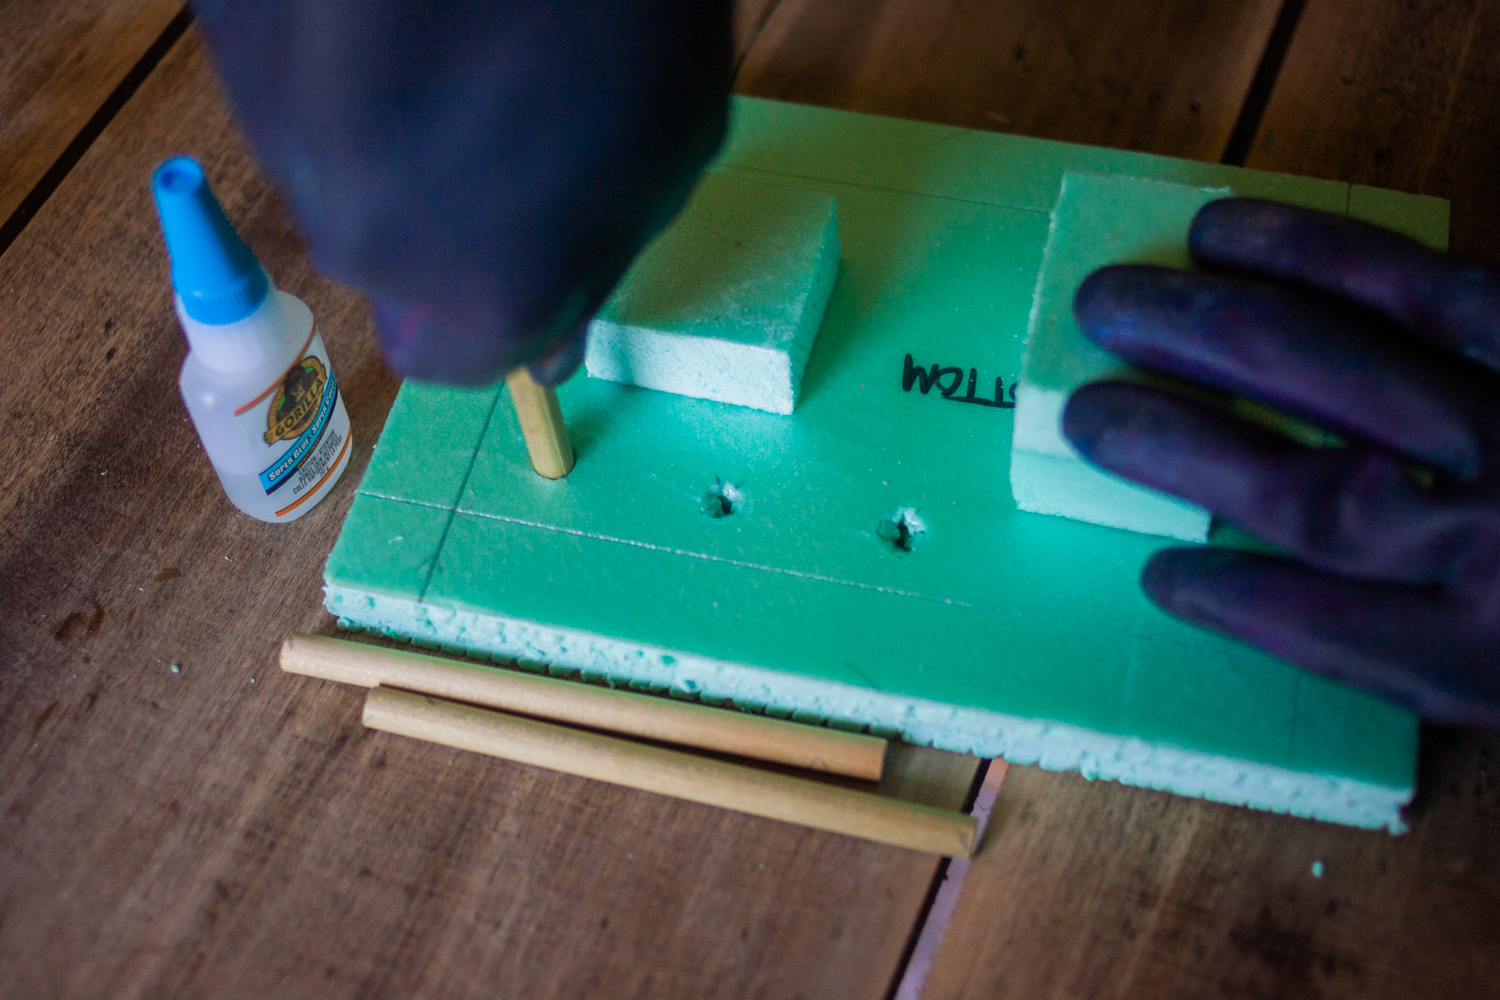
Next, we're going to apply Gorilla Silicone Sealant to the seam where the dowels meet the foam board. I'm using the caulk gun here to advance the sealant from the tube, but since the space is pretty tight, I'm actually applying it with a q-tip and paper towels to wipe up the excess.
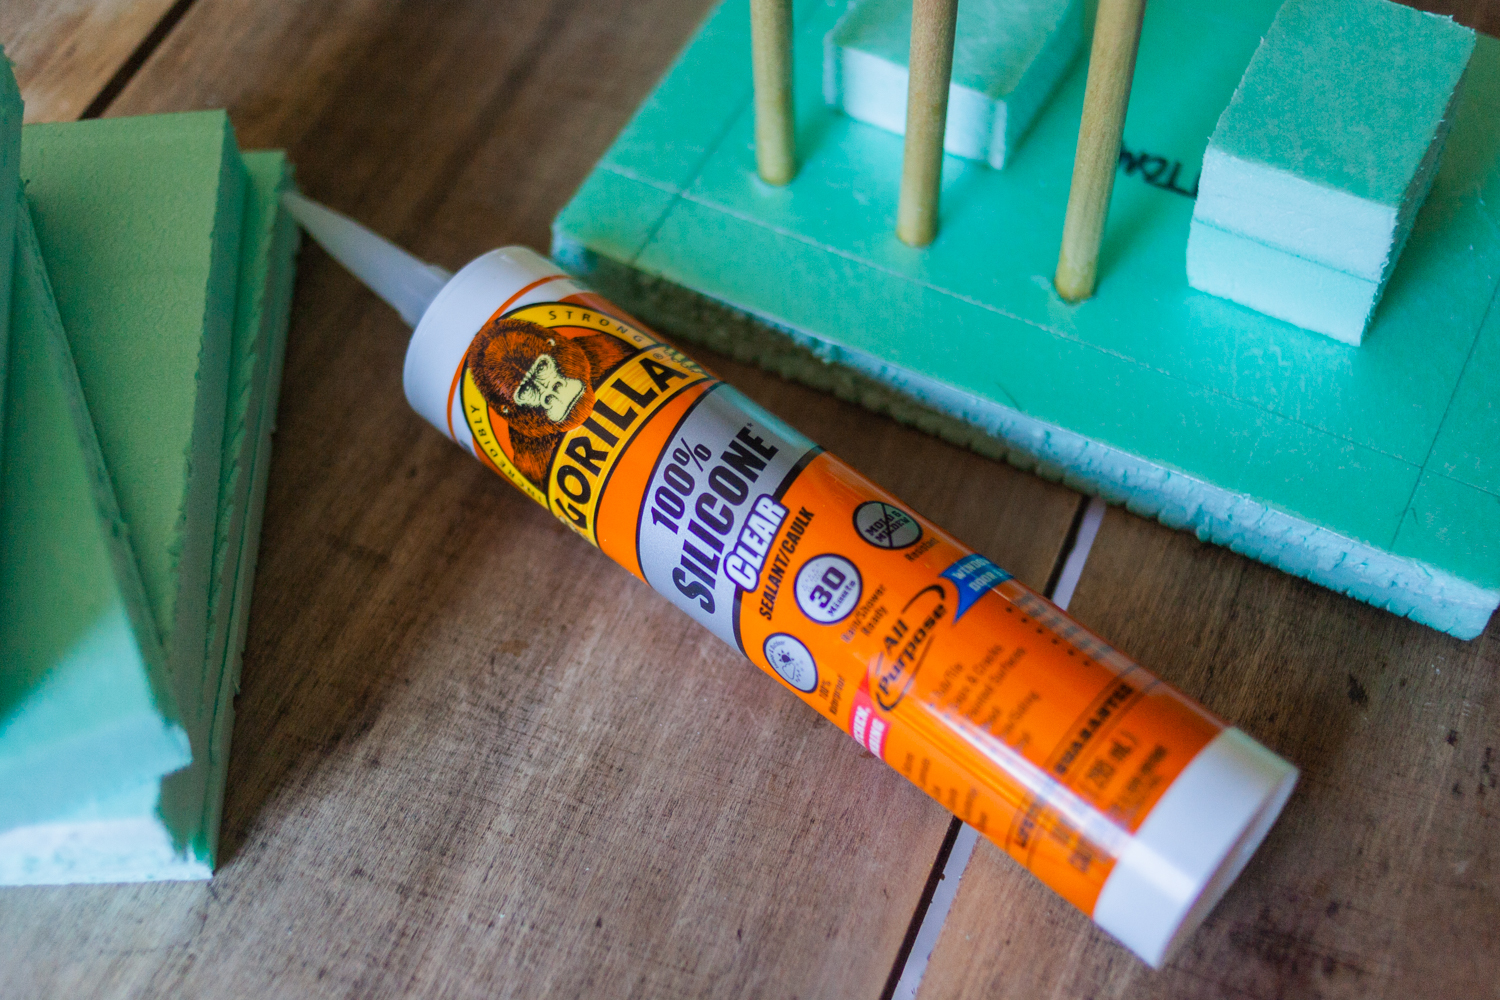
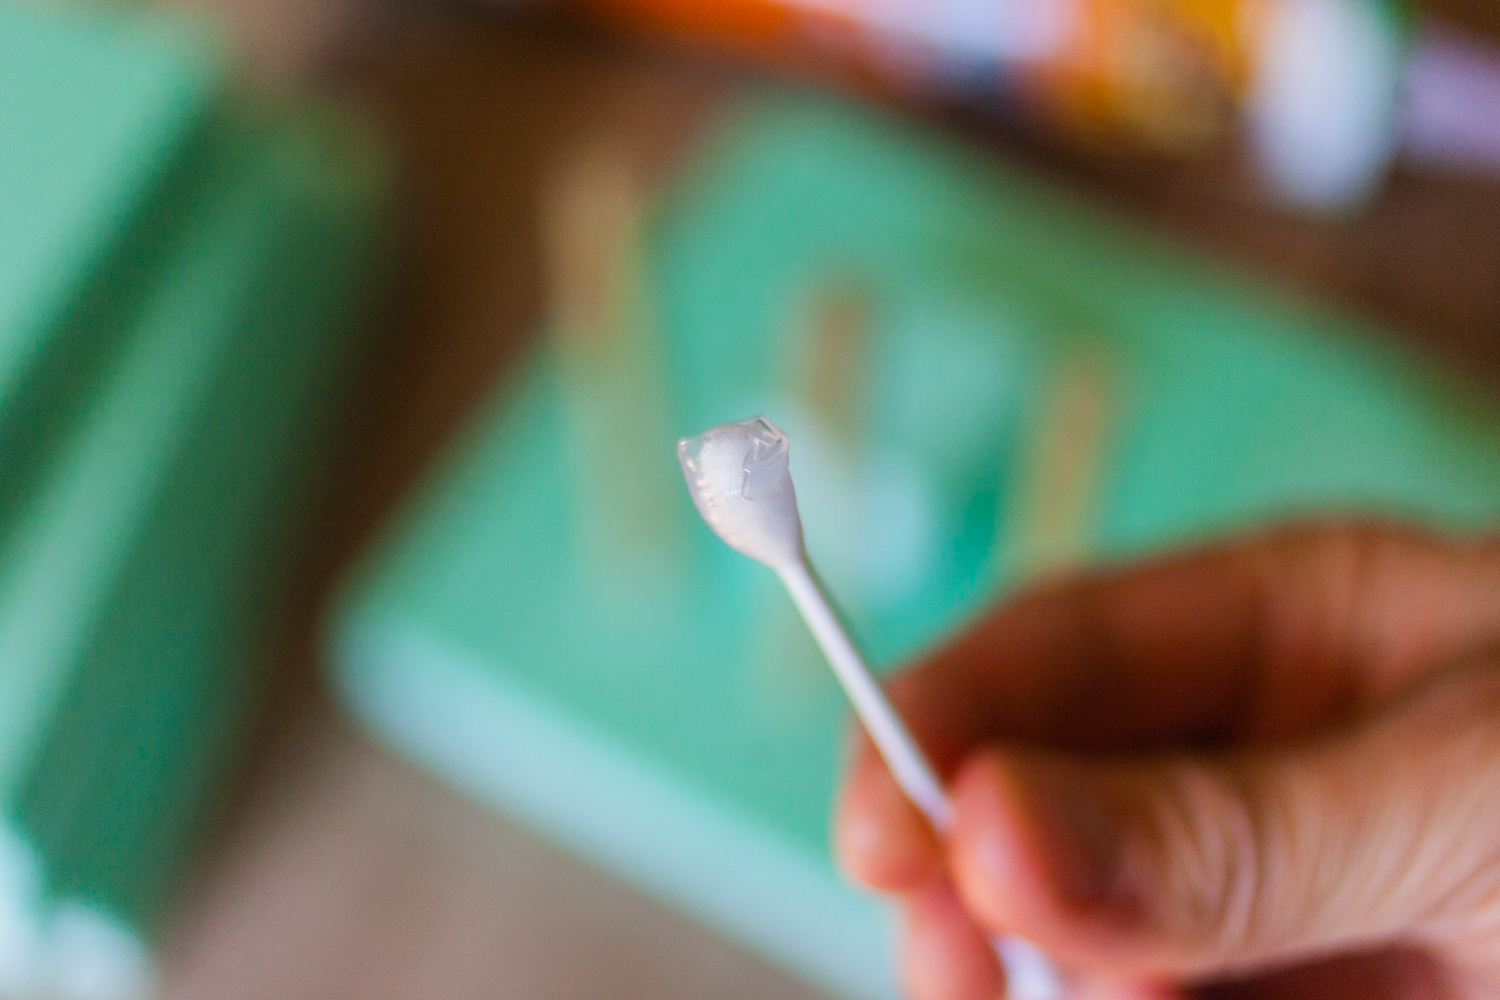
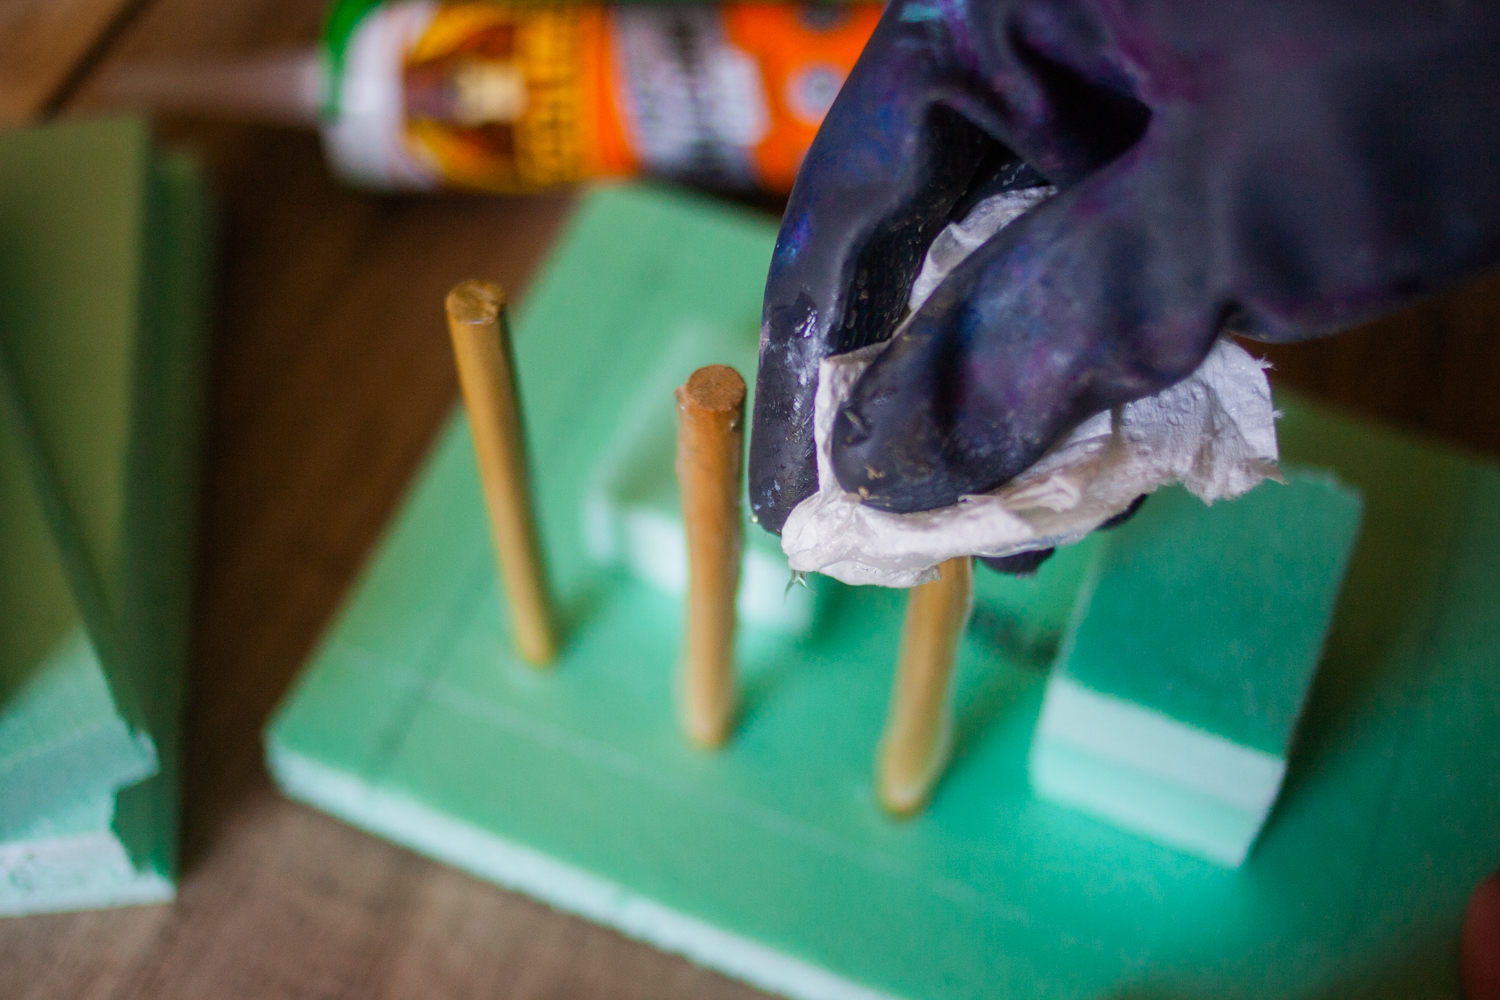
Finally, we're going to coat the dowels with sealant to help repel concrete. Squirt a generous amount of sealant on each dowel and wipe it down with towels until you have a smooth application on each dowel.
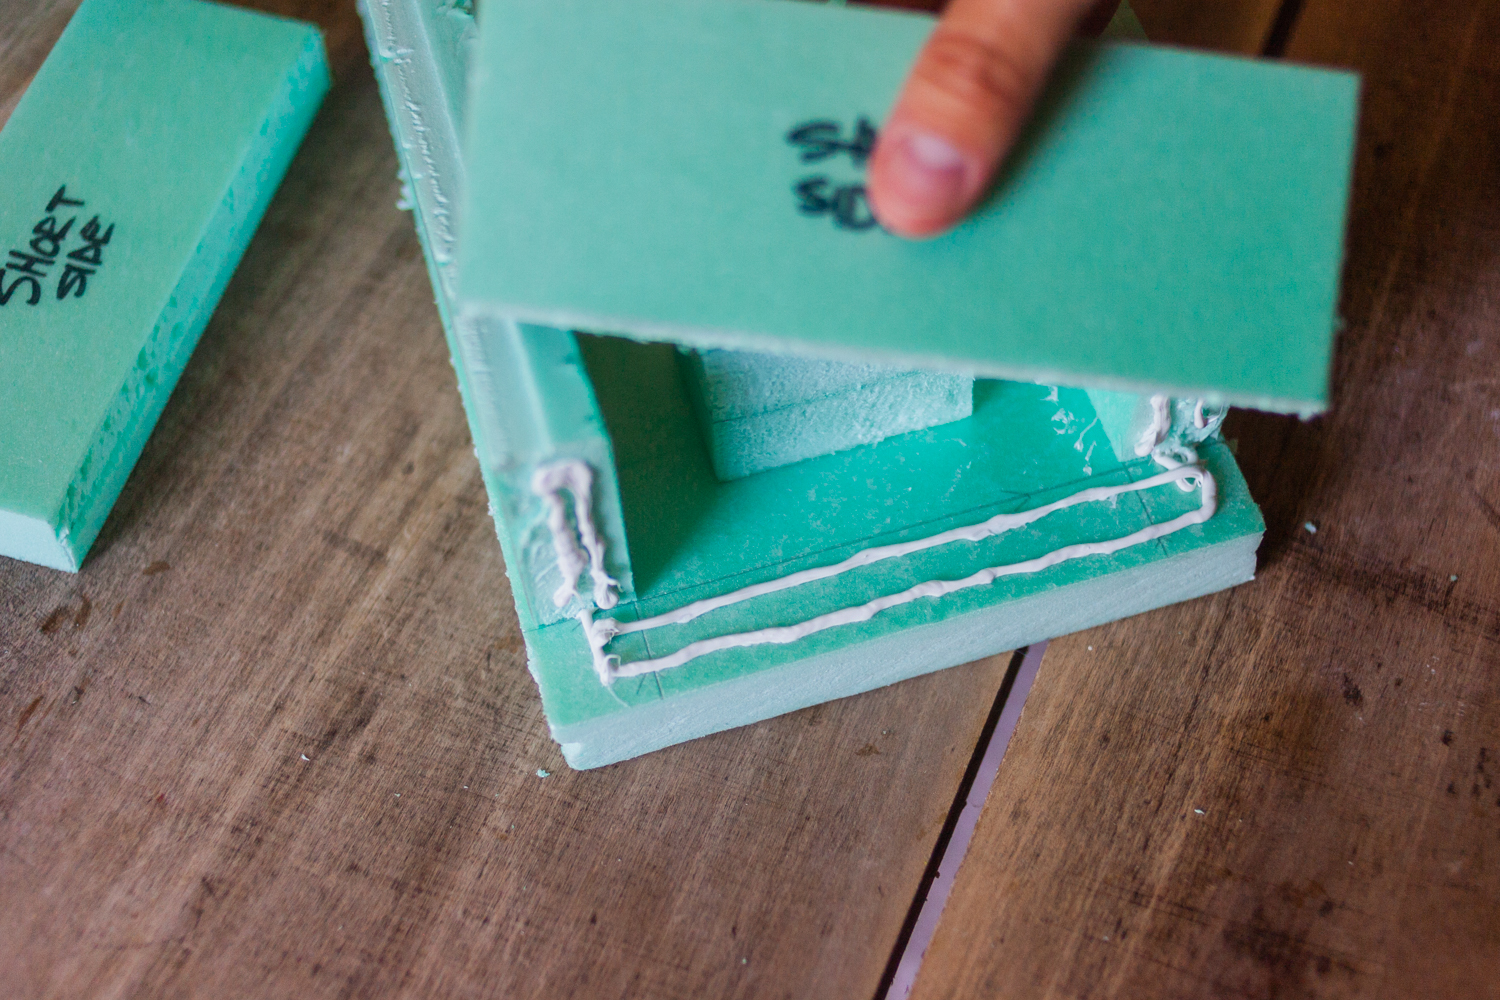
Let's finish our outer box by gluing the side panels to the bottom panel. Start with your long sides, running a thin bead of Gorilla Heavy-Duty Construction Adhesive to the inside of your 1″ border.
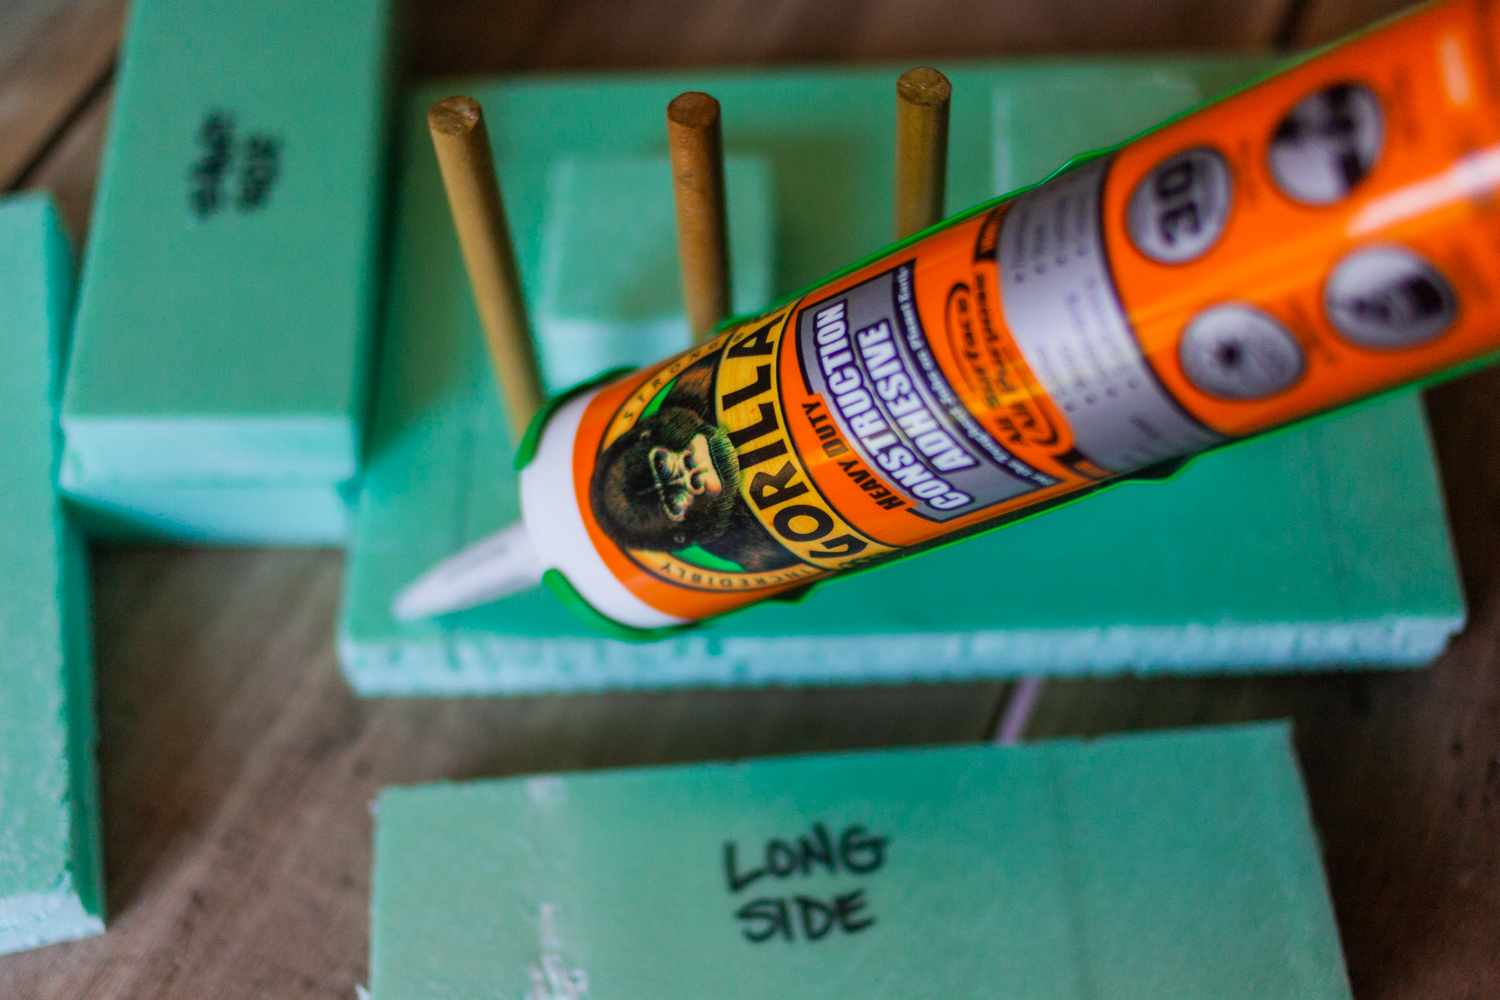
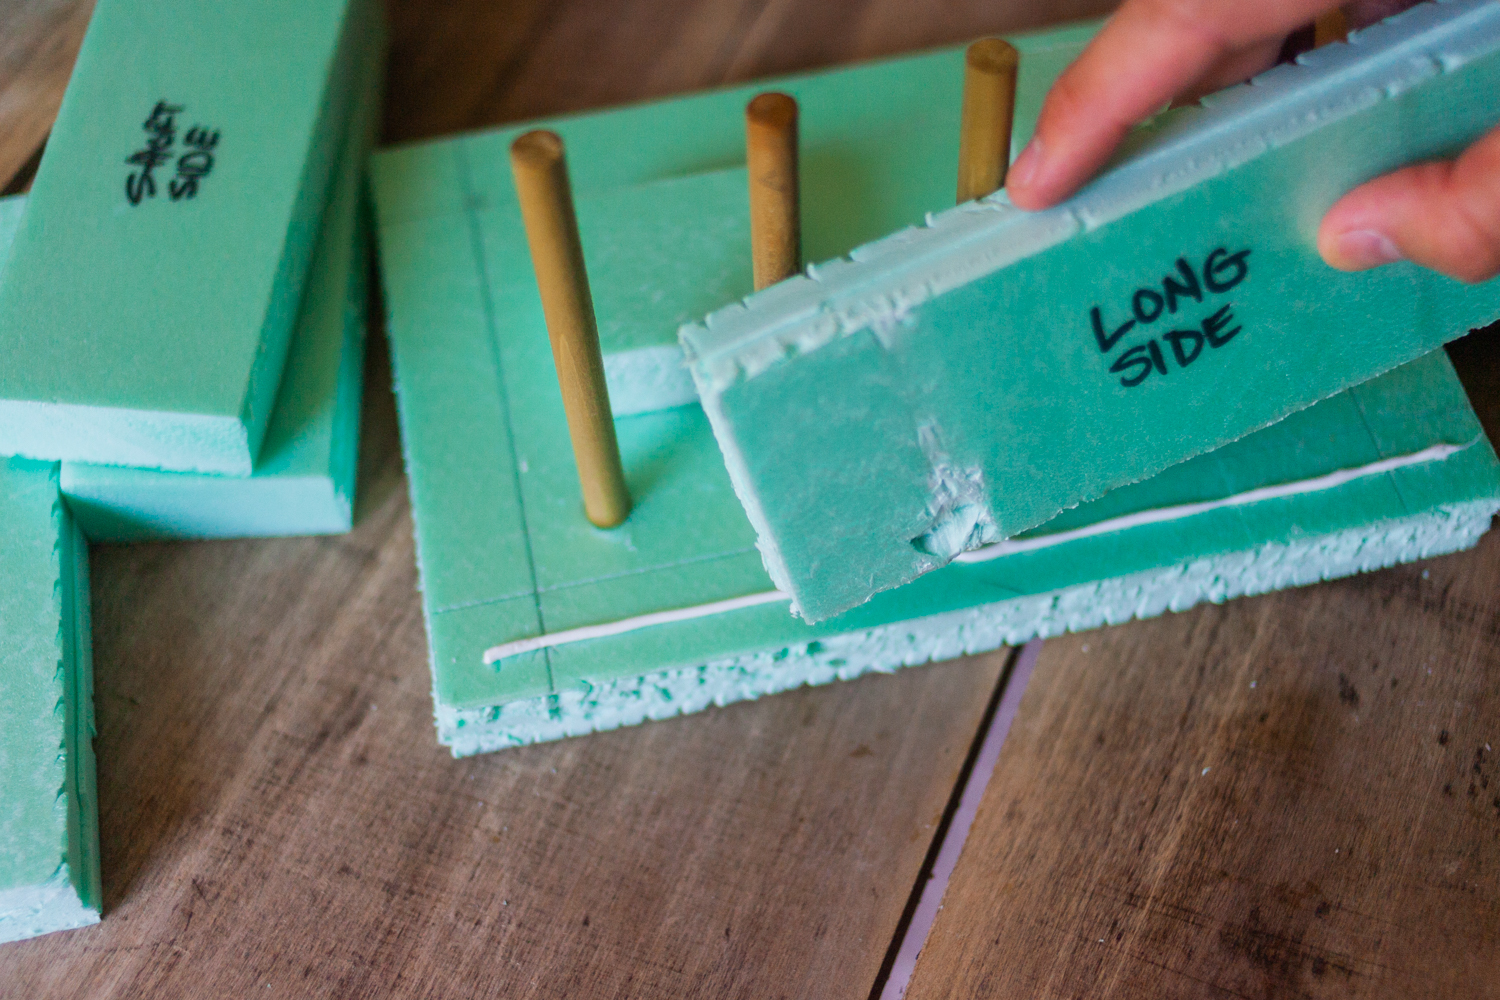
Like the Super Glue, it sets in about 10 seconds.
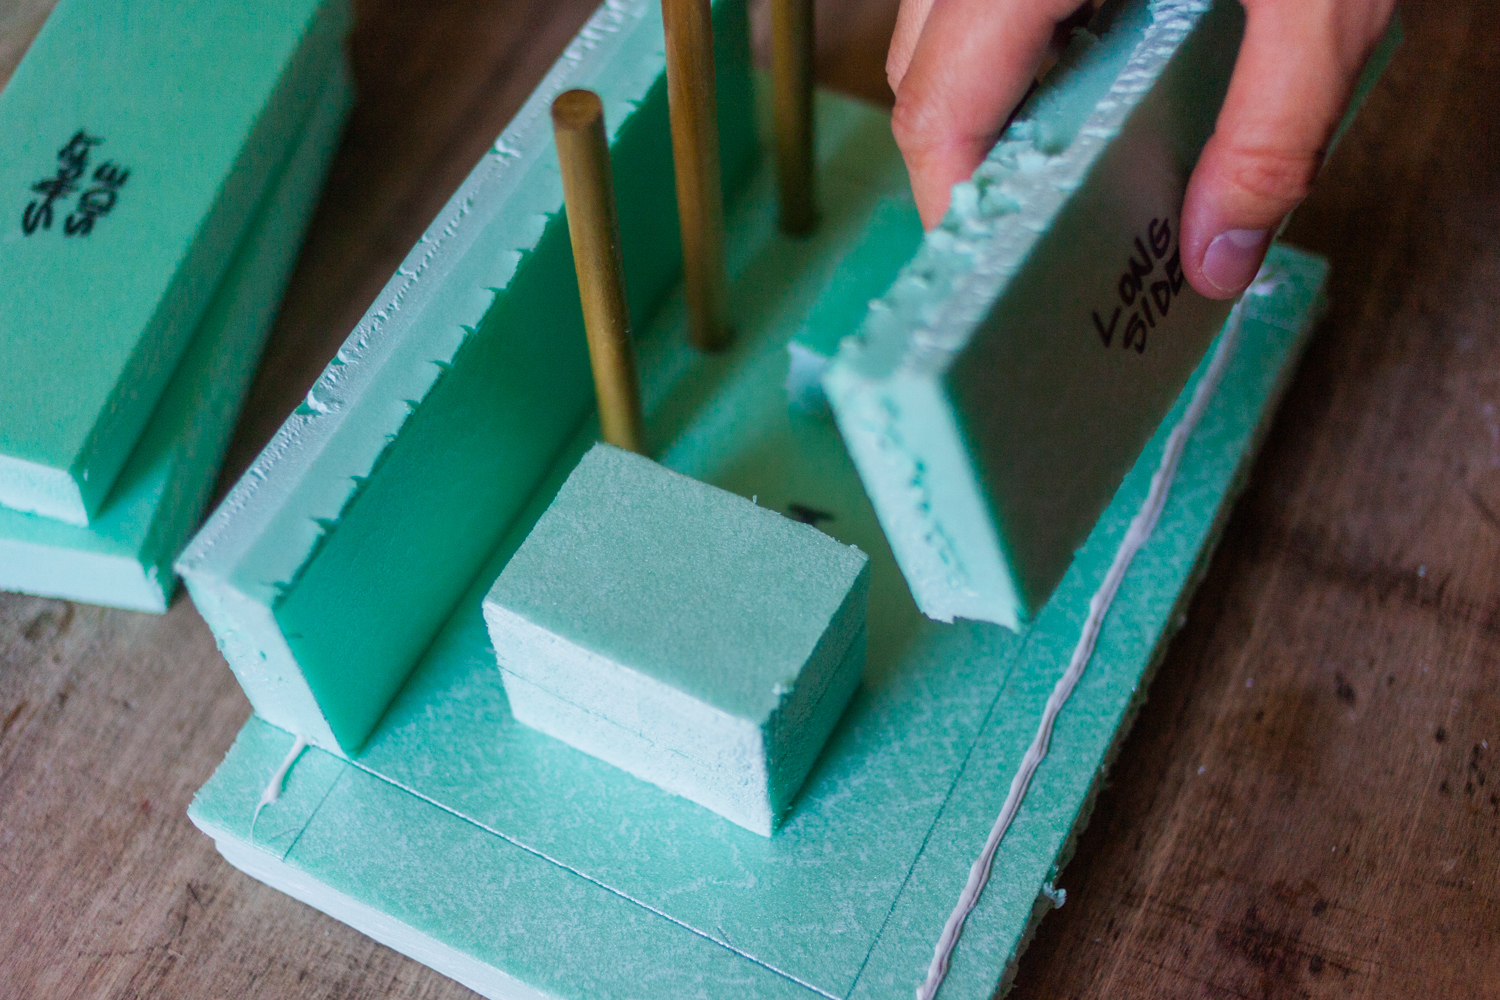
Finally, apply it in two thin beads to the bottom panel and the sides of the long panels. Make sure to check for square (not pictured).
Now let's use some of that Gorilla Tape to provide extra support for our mold while we pour the concrete desktop planter. Be sure to pull the tape taut as you press to each corner, and adjust for square as needed.

Your mold is done! Let the glue set fully before you get your concrete mix going.
Step 2: Pour Concrete
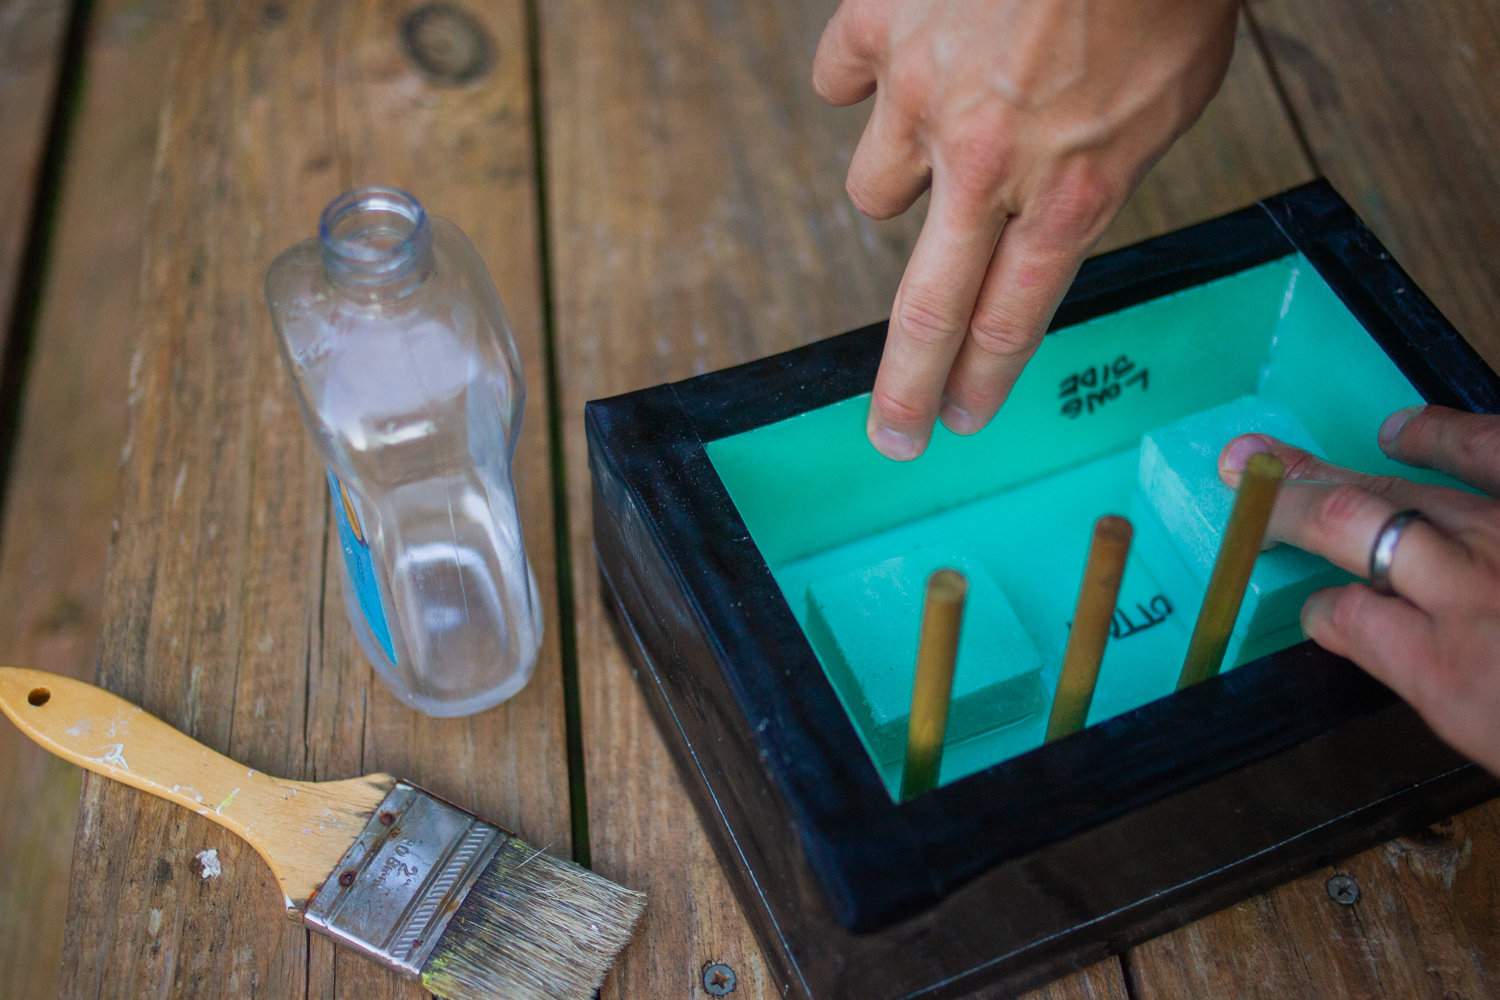
Right before you mix your concrete, you'll need a substance to help release the concrete once it's dry. Mineral oil will do the trick, dabbed with an old paintbrush.
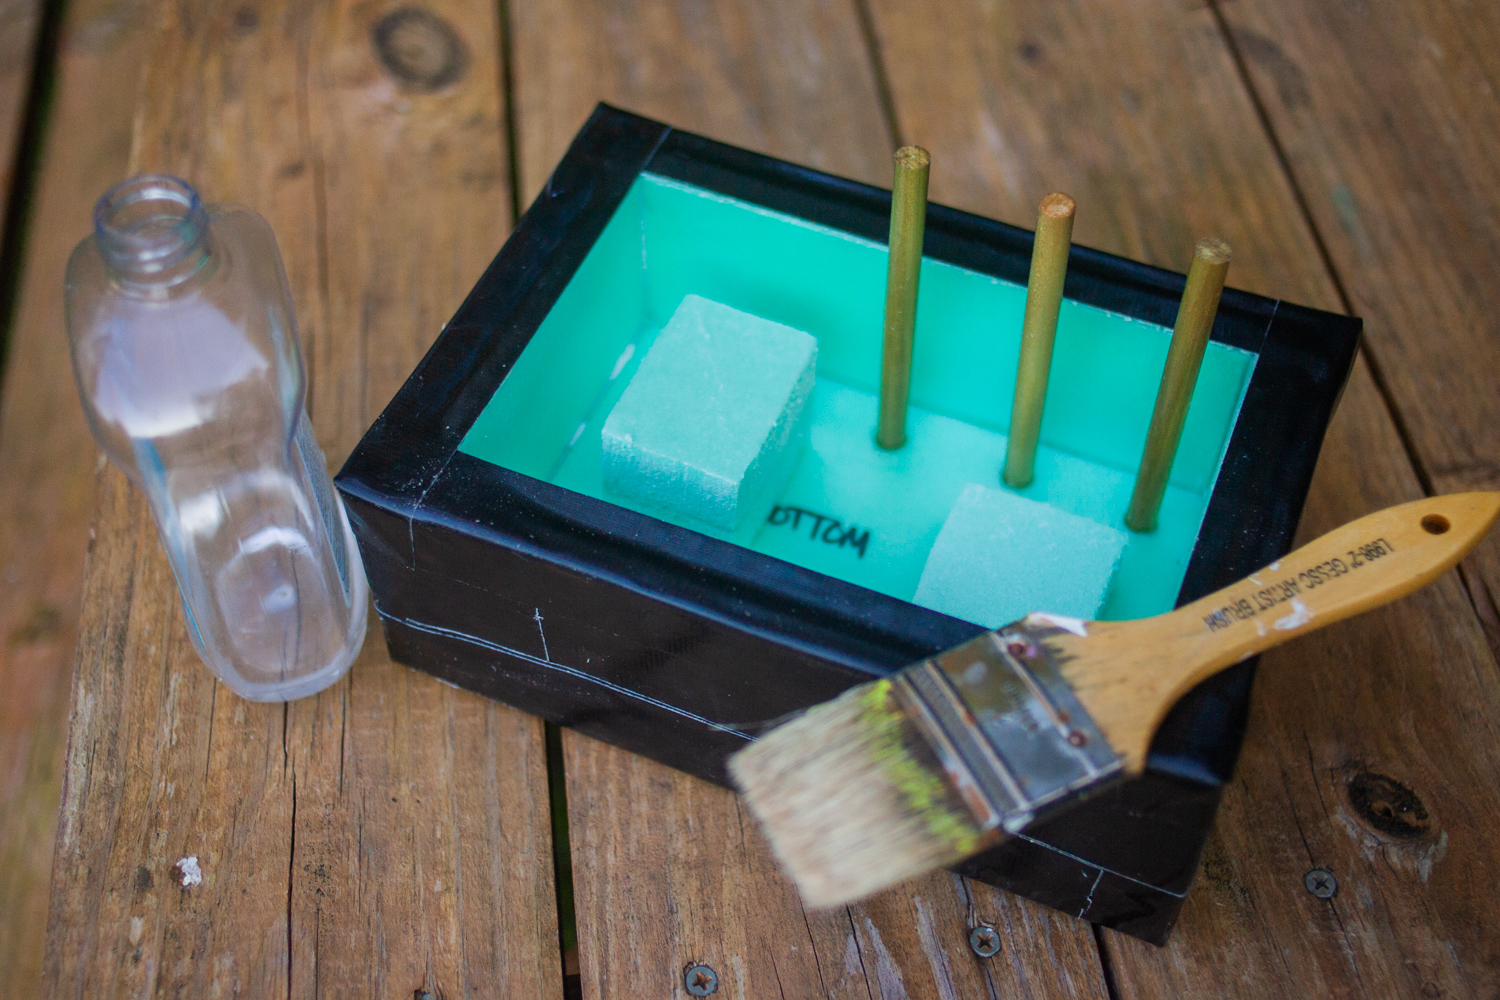
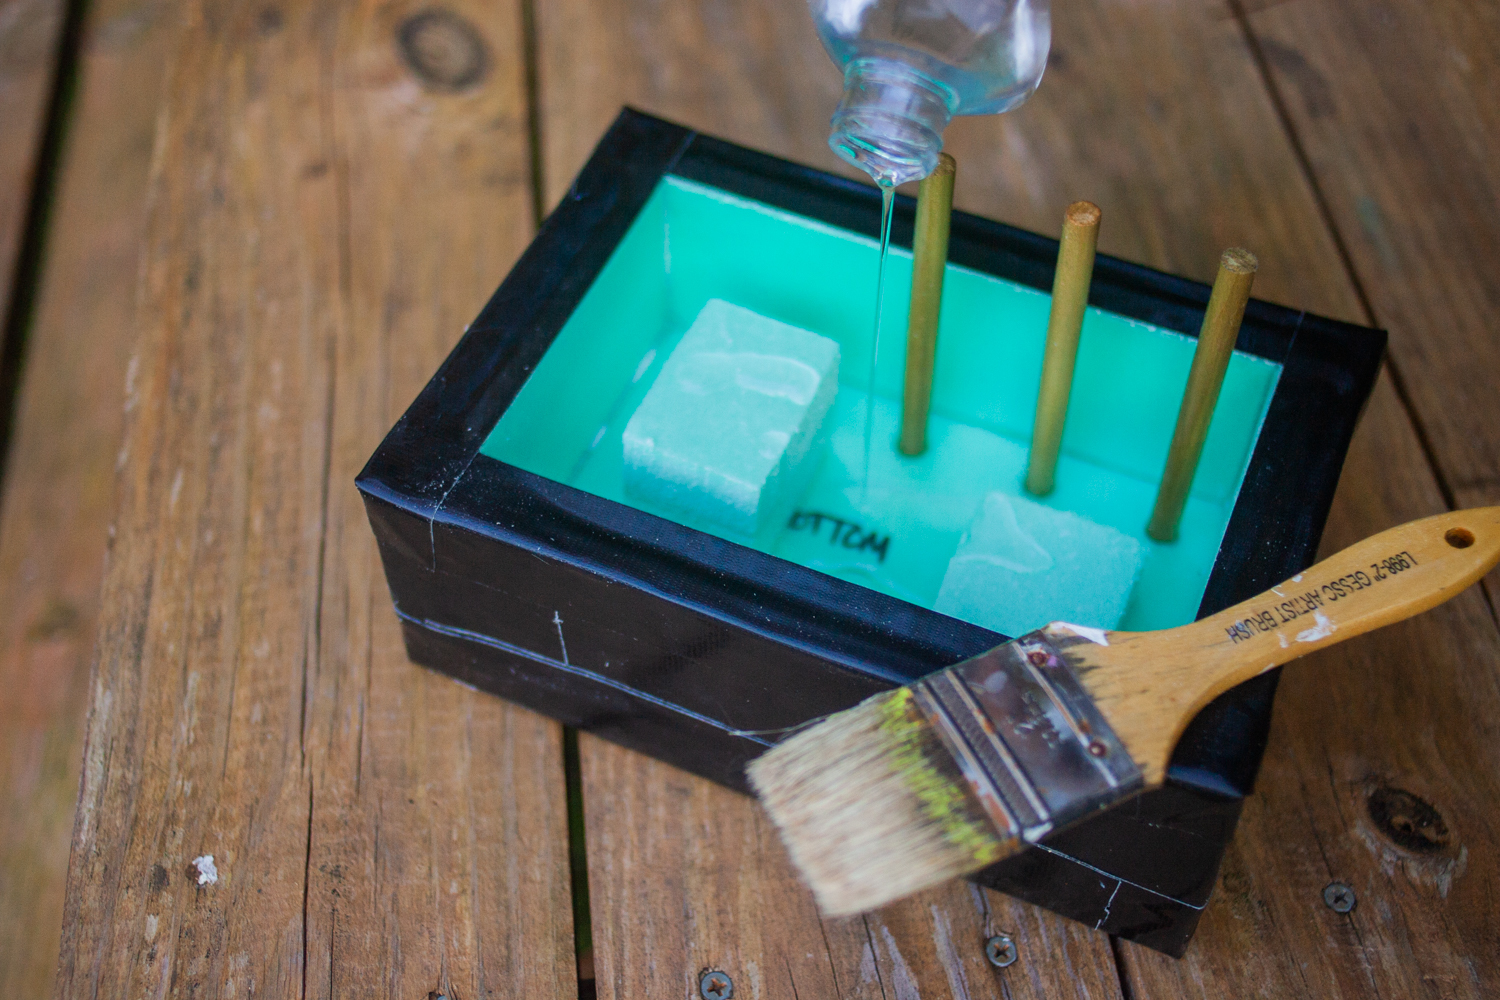
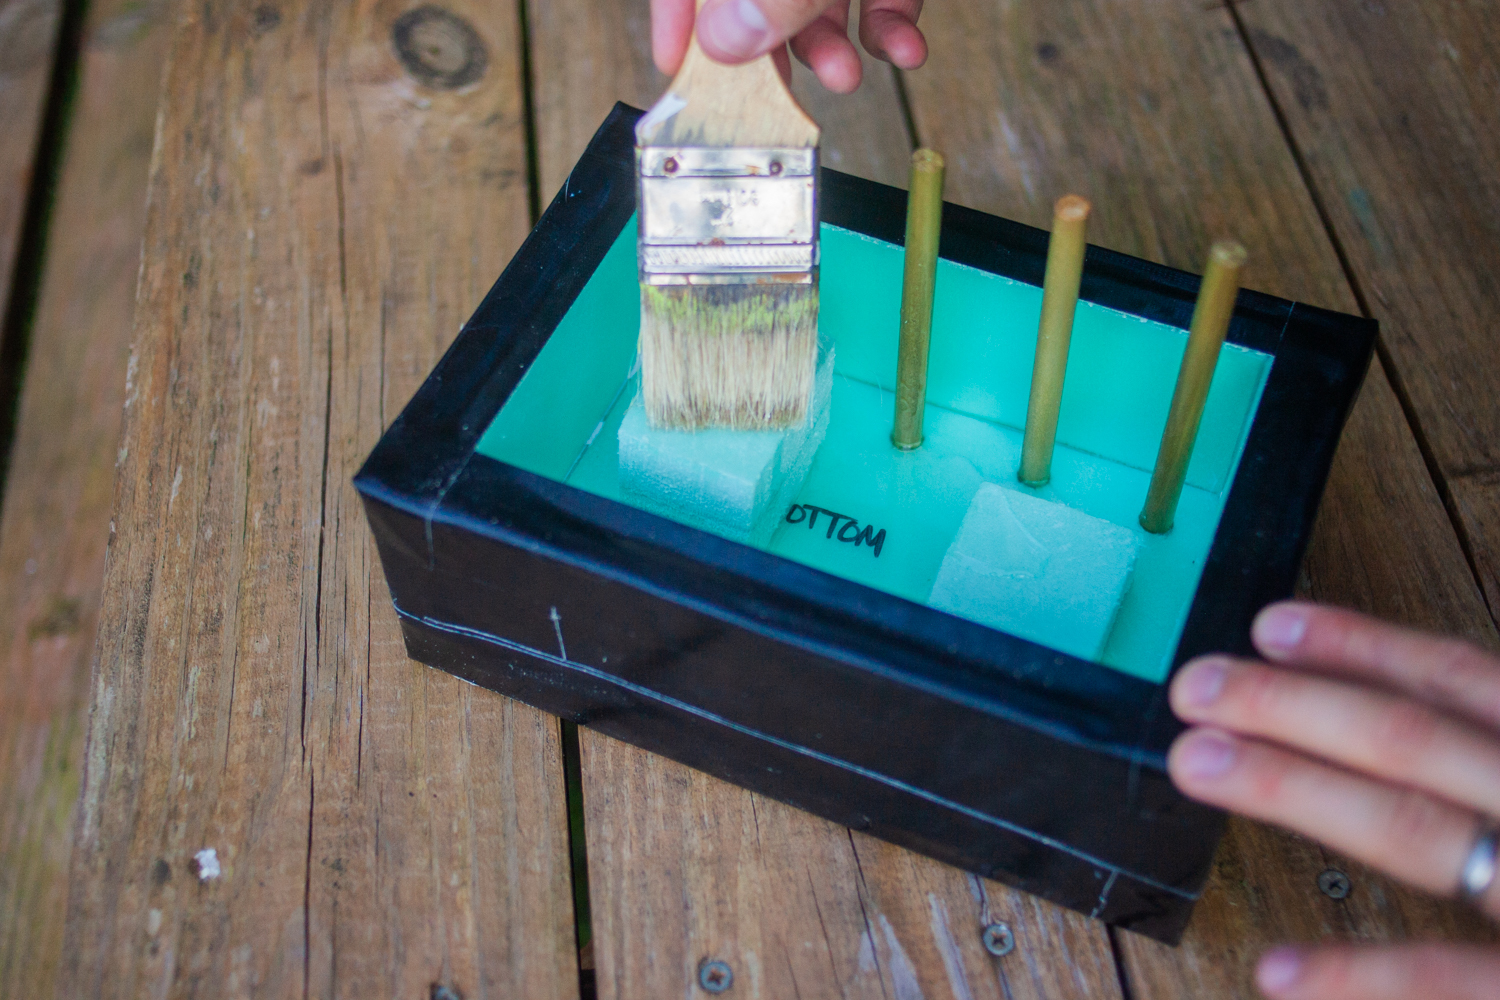
Run your fingers along the whole interior surface to make sure it's evenly coated.
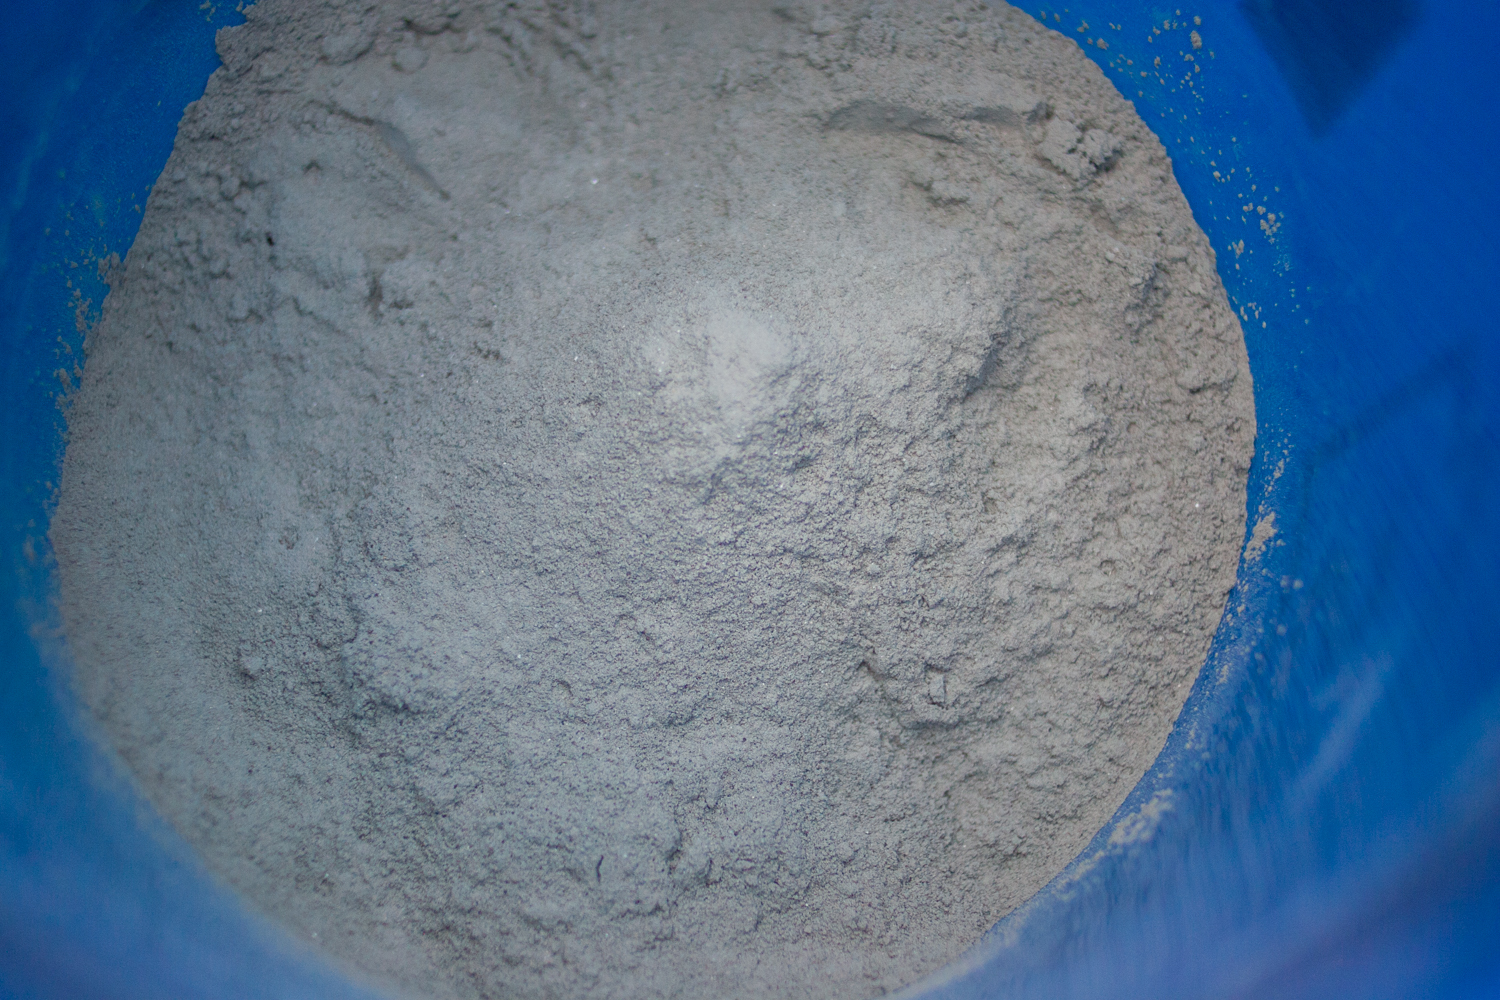
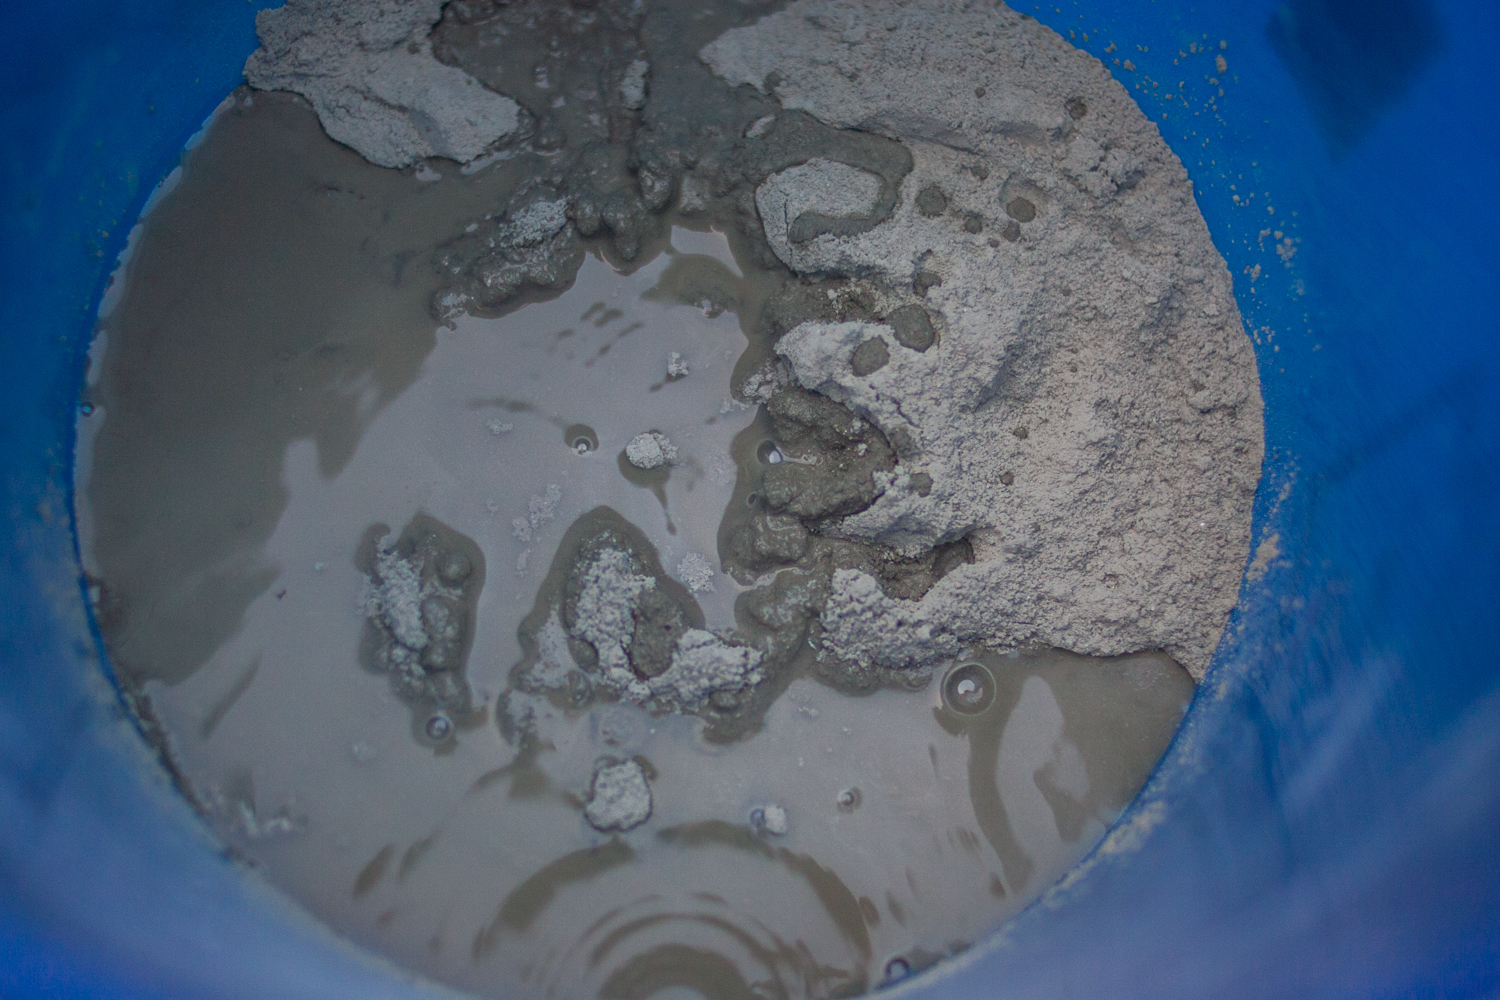
Let's get cracking on that concrete. Try to find the smoothest concrete mix—you don't want a lot of aggregate; we recommend Rapid Set All Multi-Purpose Construction Cement. I went for a 1:5 water-to-cement ratio.
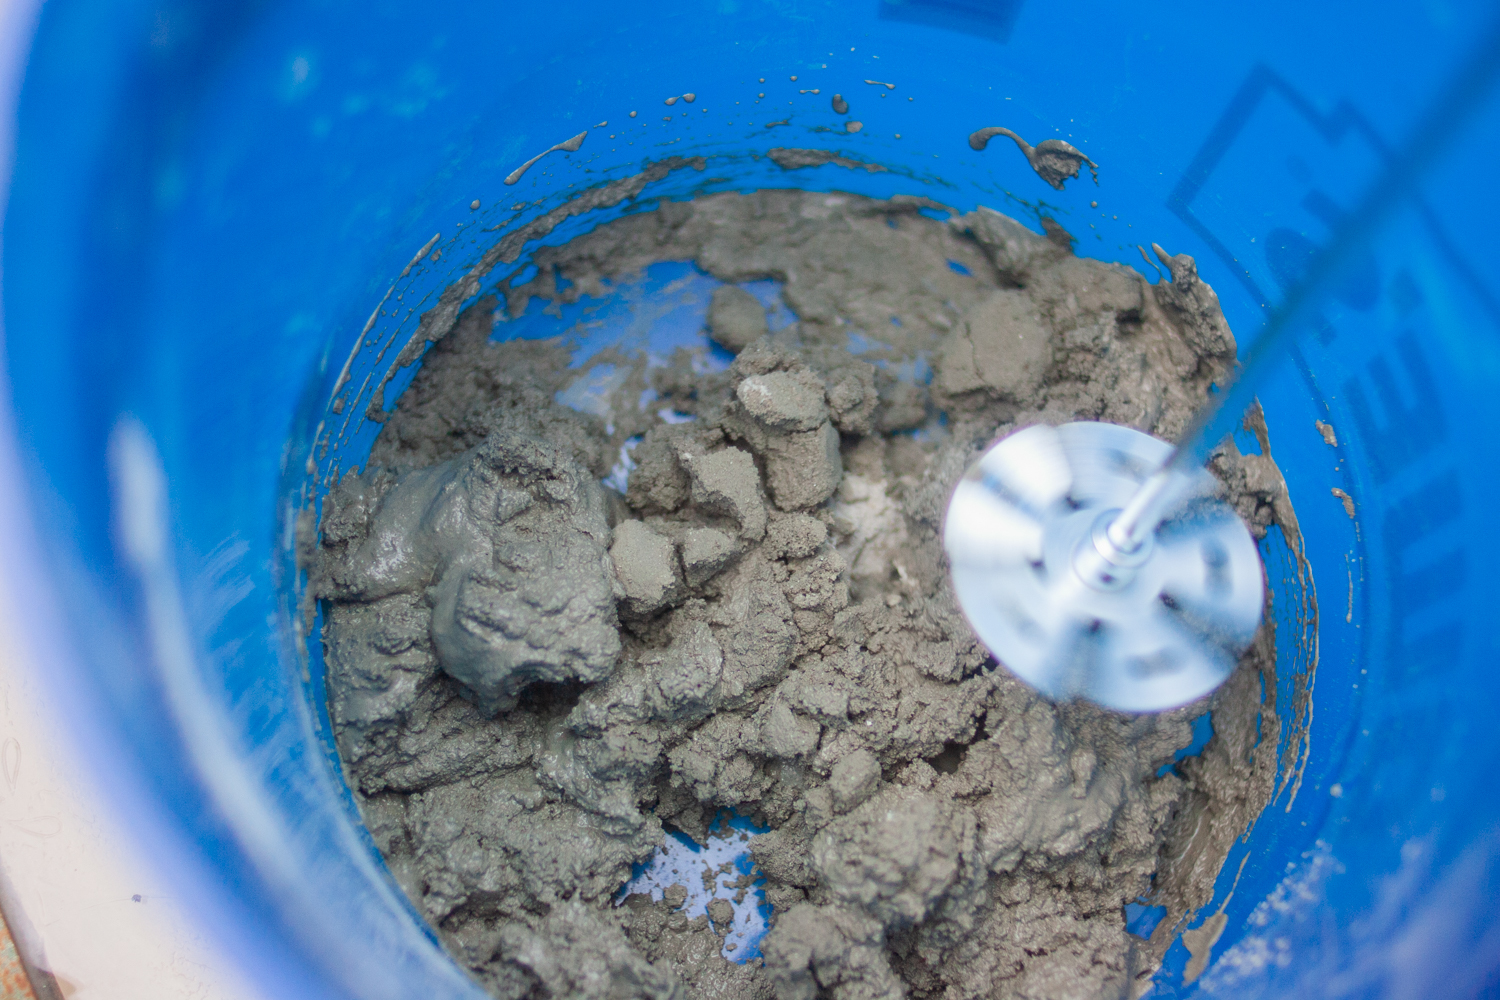
With thick rubber gloves, shove that stuff way down in the cracks. As you're filling the mold, make sure you lift and tap it multiple times to aid in the release of air bubbles, which will destroy the integrity of your structure.
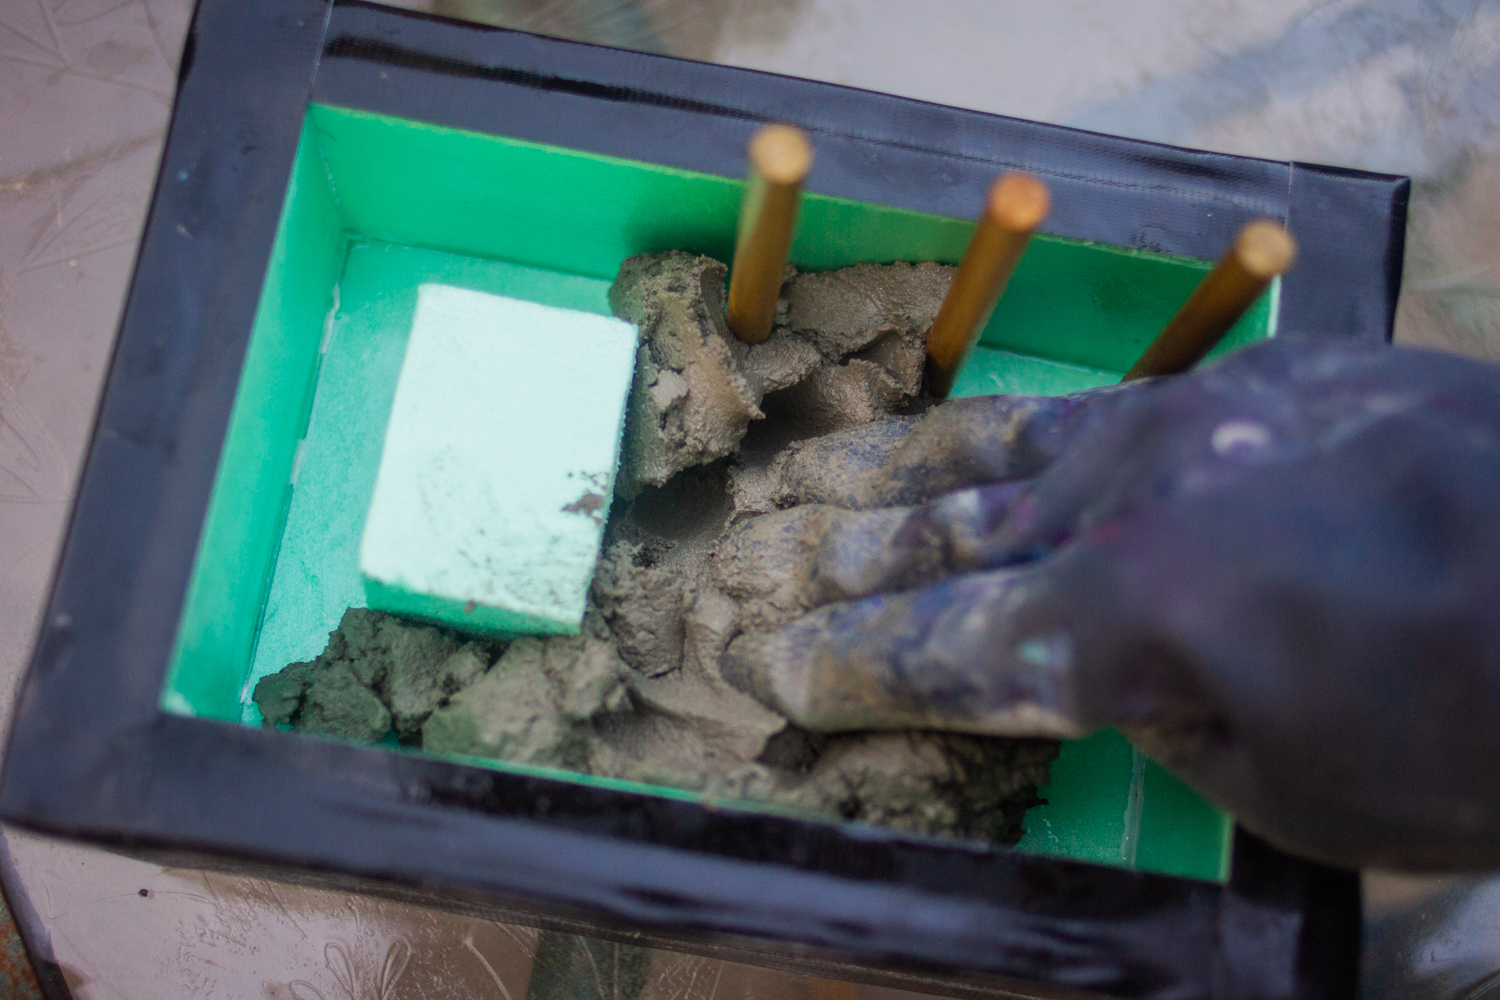
Allow it to sit in a dry area for 24 hours before releasing it from the mold.
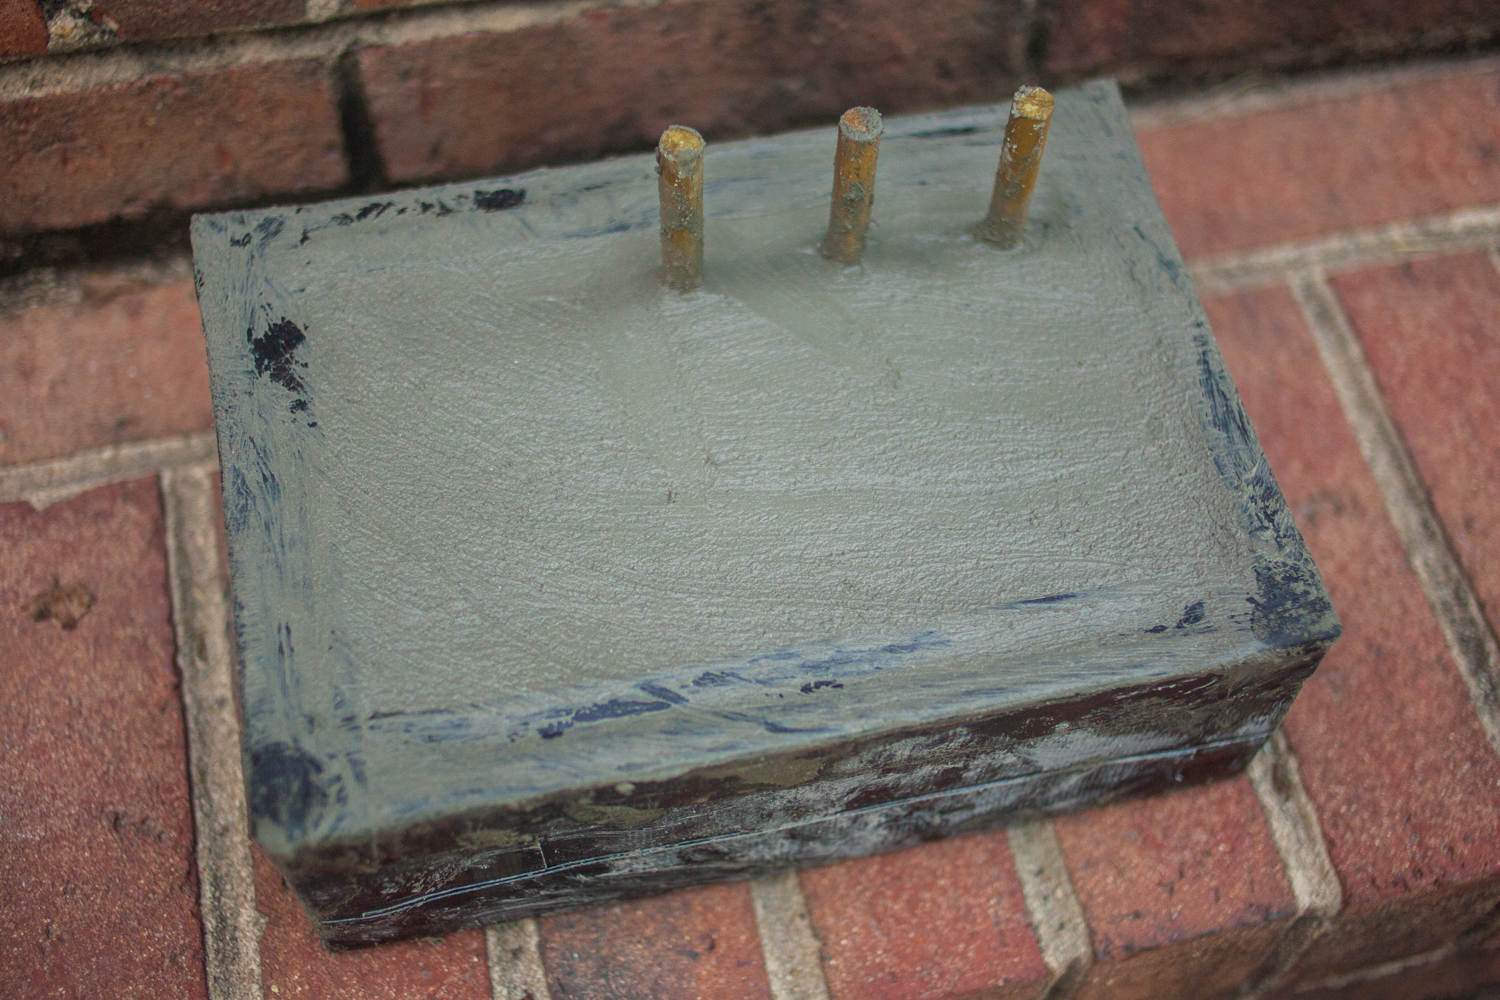
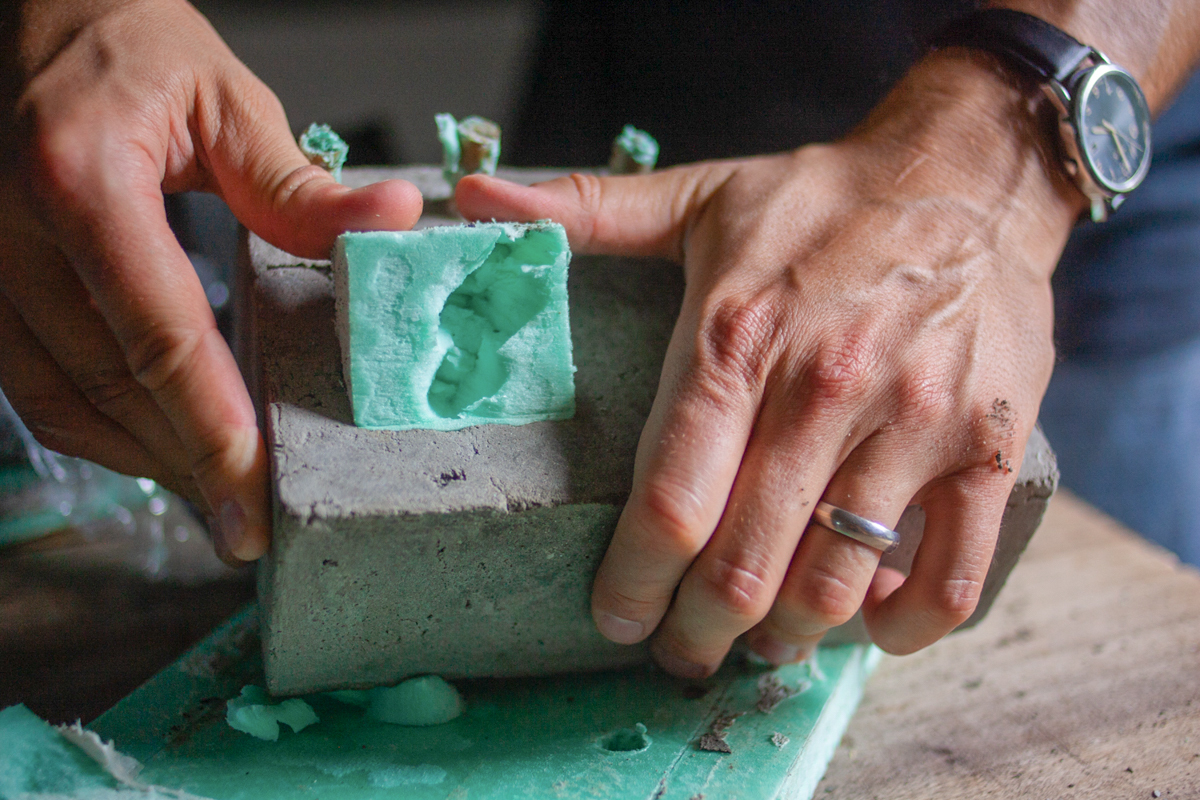
Step 3: Final Touches
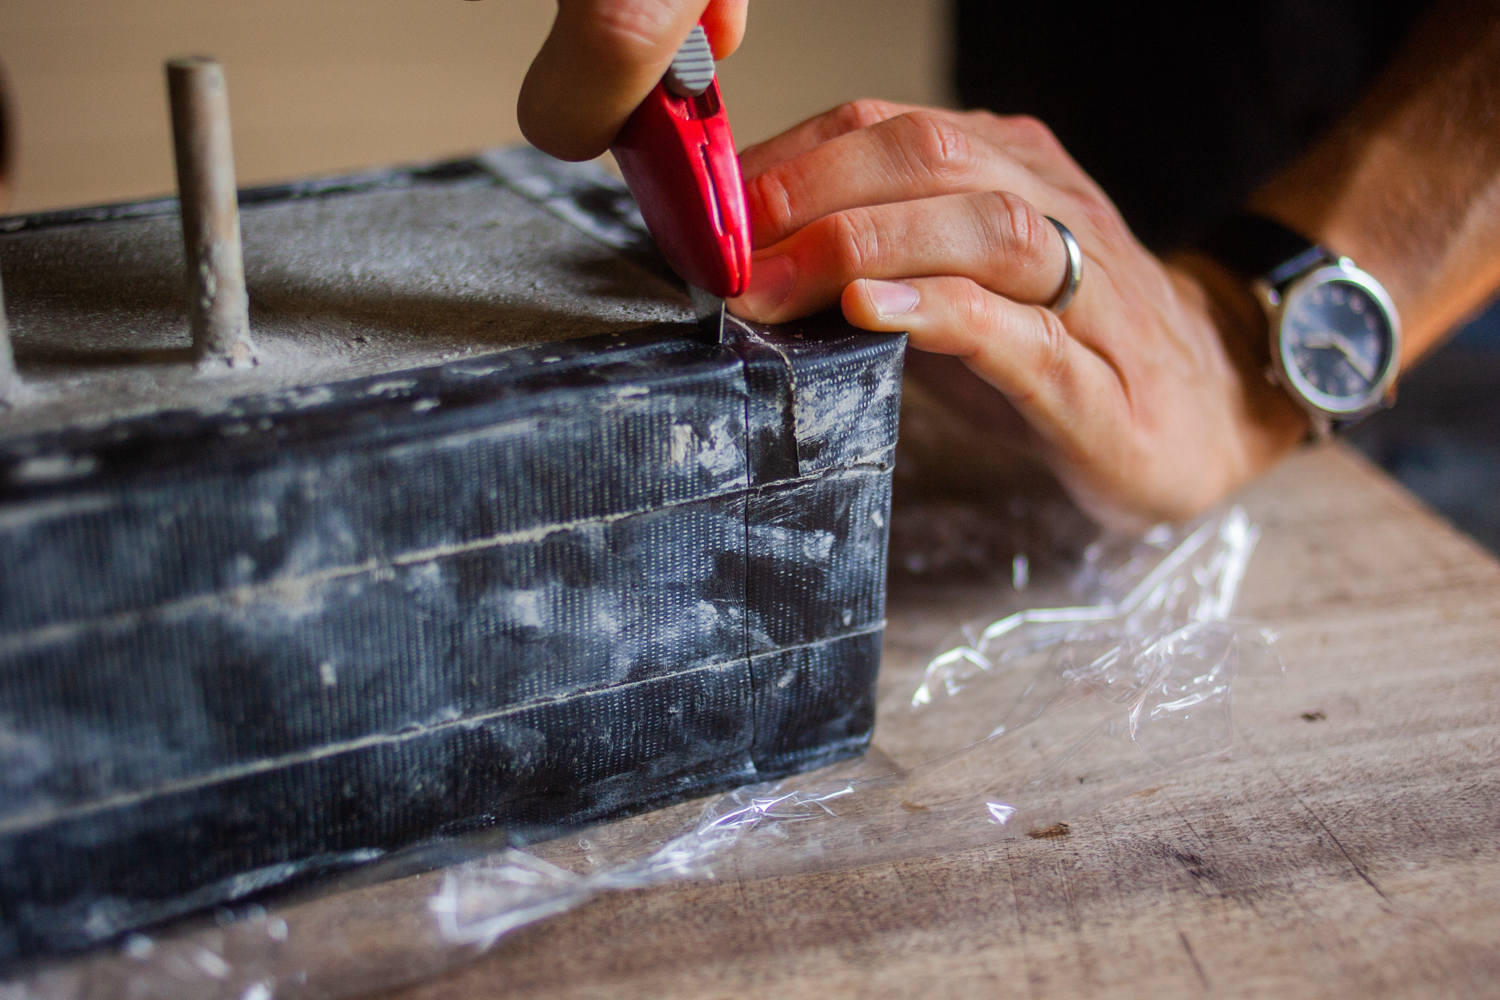
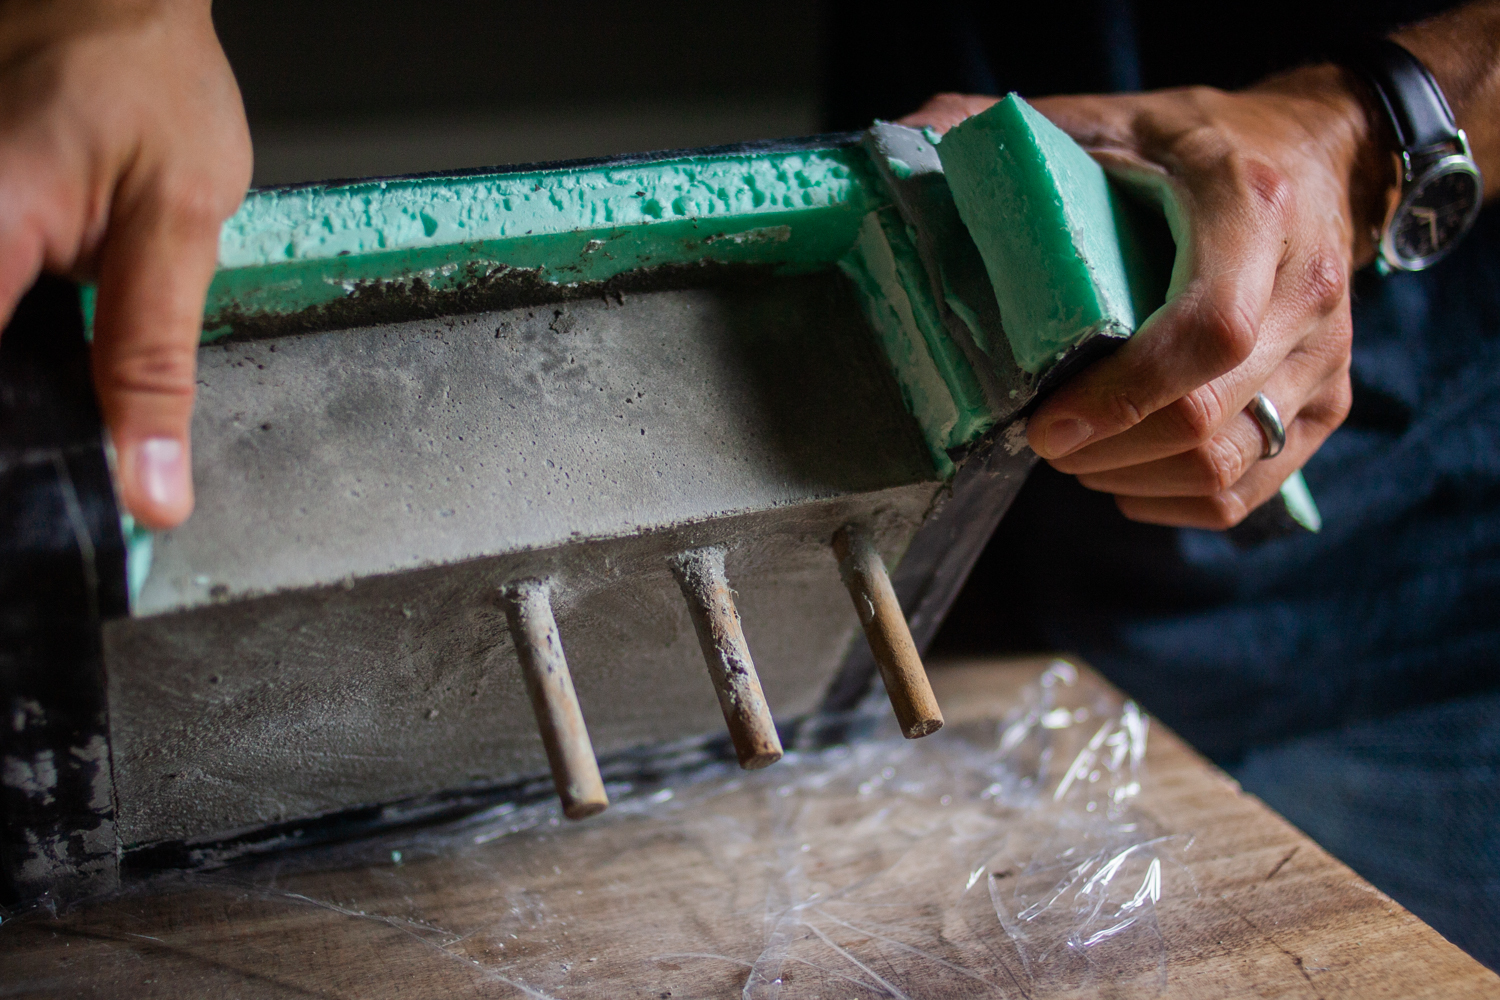
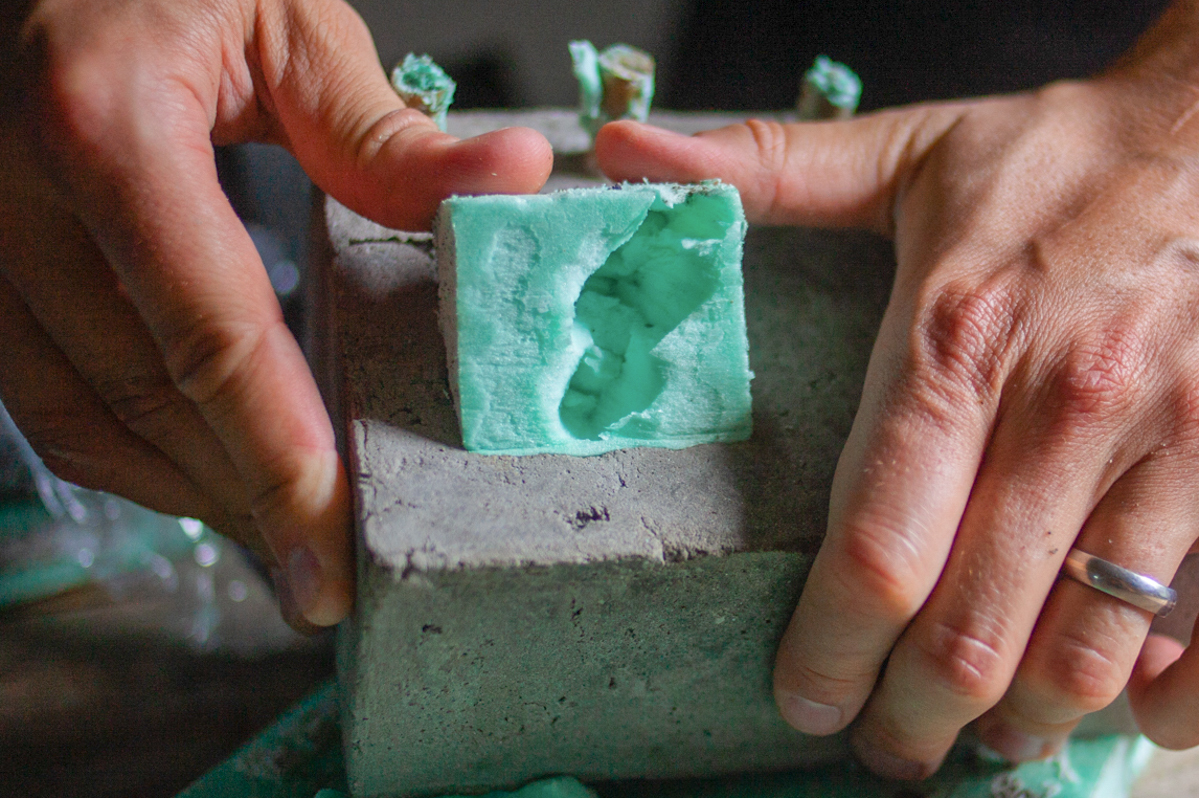
I designed this to be a one-time use mold, so I cut it away with a utility knife. The wells were a little stubborn to get out, so I had to carve them out with a flathead screwdriver, and I pulled the dowels out by alternating light taps with a hammer and pulling with a pair of pliers.

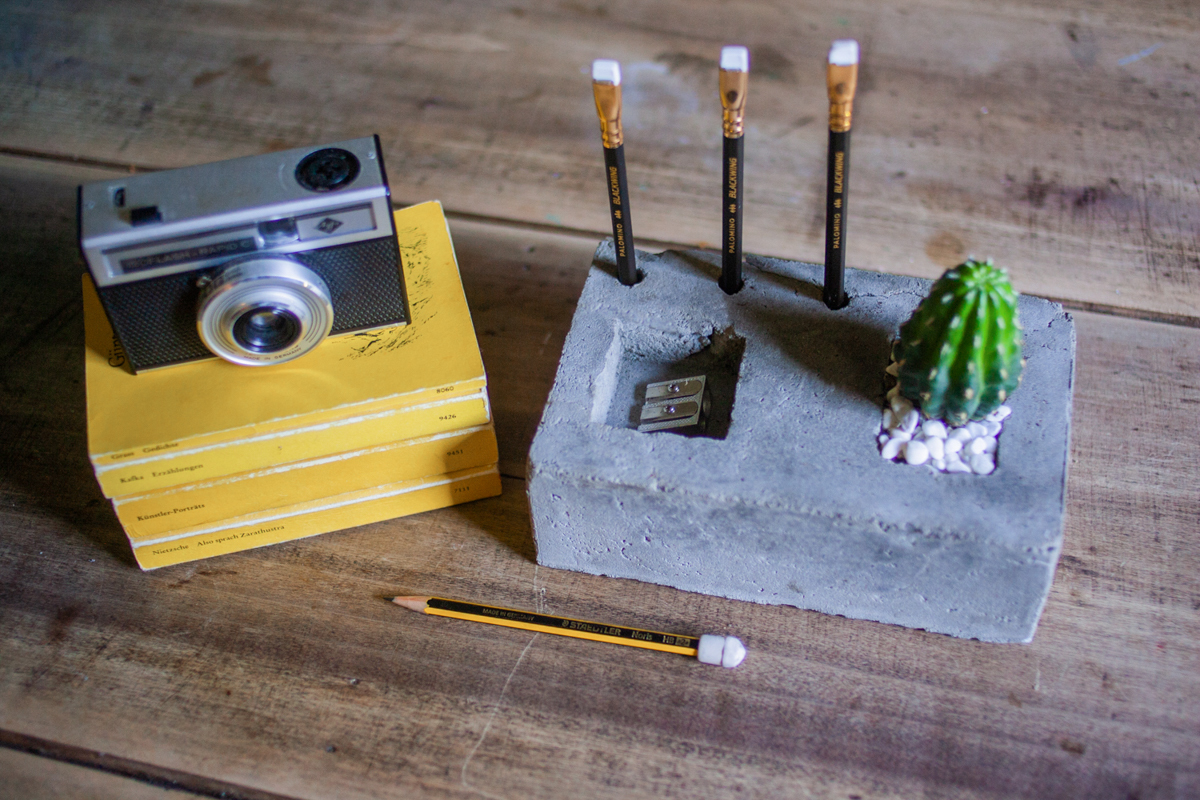
If you'd like, you can always fill in cracks with more concrete, but I like the way the imperfections contrast with the clean lines. Add a little bit of pea gravel to your plant well for drainage, then plop in your cactus or succulent in well-draining soil. Top with some more more pea gravel, if you'd like.
Enter to win a $250 Lowe's Gift Card
Want to win a $250 Lowe's gift card that you can use to buy the supplies you'll need to make this project? Or, just want $250 to spend on cool tools for your shop? That's cool too!
This is a sponsored conversation written by me on behalf of Gorilla Glue. The opinions and text are all mine.


