Build Your Own DIY Brick Fire Pit For Year-Round Backyard Gatherings
If you’ve ever dreamed of cozying up next to a warm fire in your backyard, then a DIY brick fire pit might be the perfect project for you. A brick fire pit is not only functional but also adds a rustic charm to any outdoor space. Building your own can be a rewarding experience, and with a little effort, you’ll have a beautiful fire pit that can be enjoyed year-round. In this guide, we’ll walk you through the essential steps to create a DIY brick fire pit, ensuring your project is both safe and aesthetically pleasing.
Gathering Materials and Tools Needed for Your DIY Brick Fire Pit
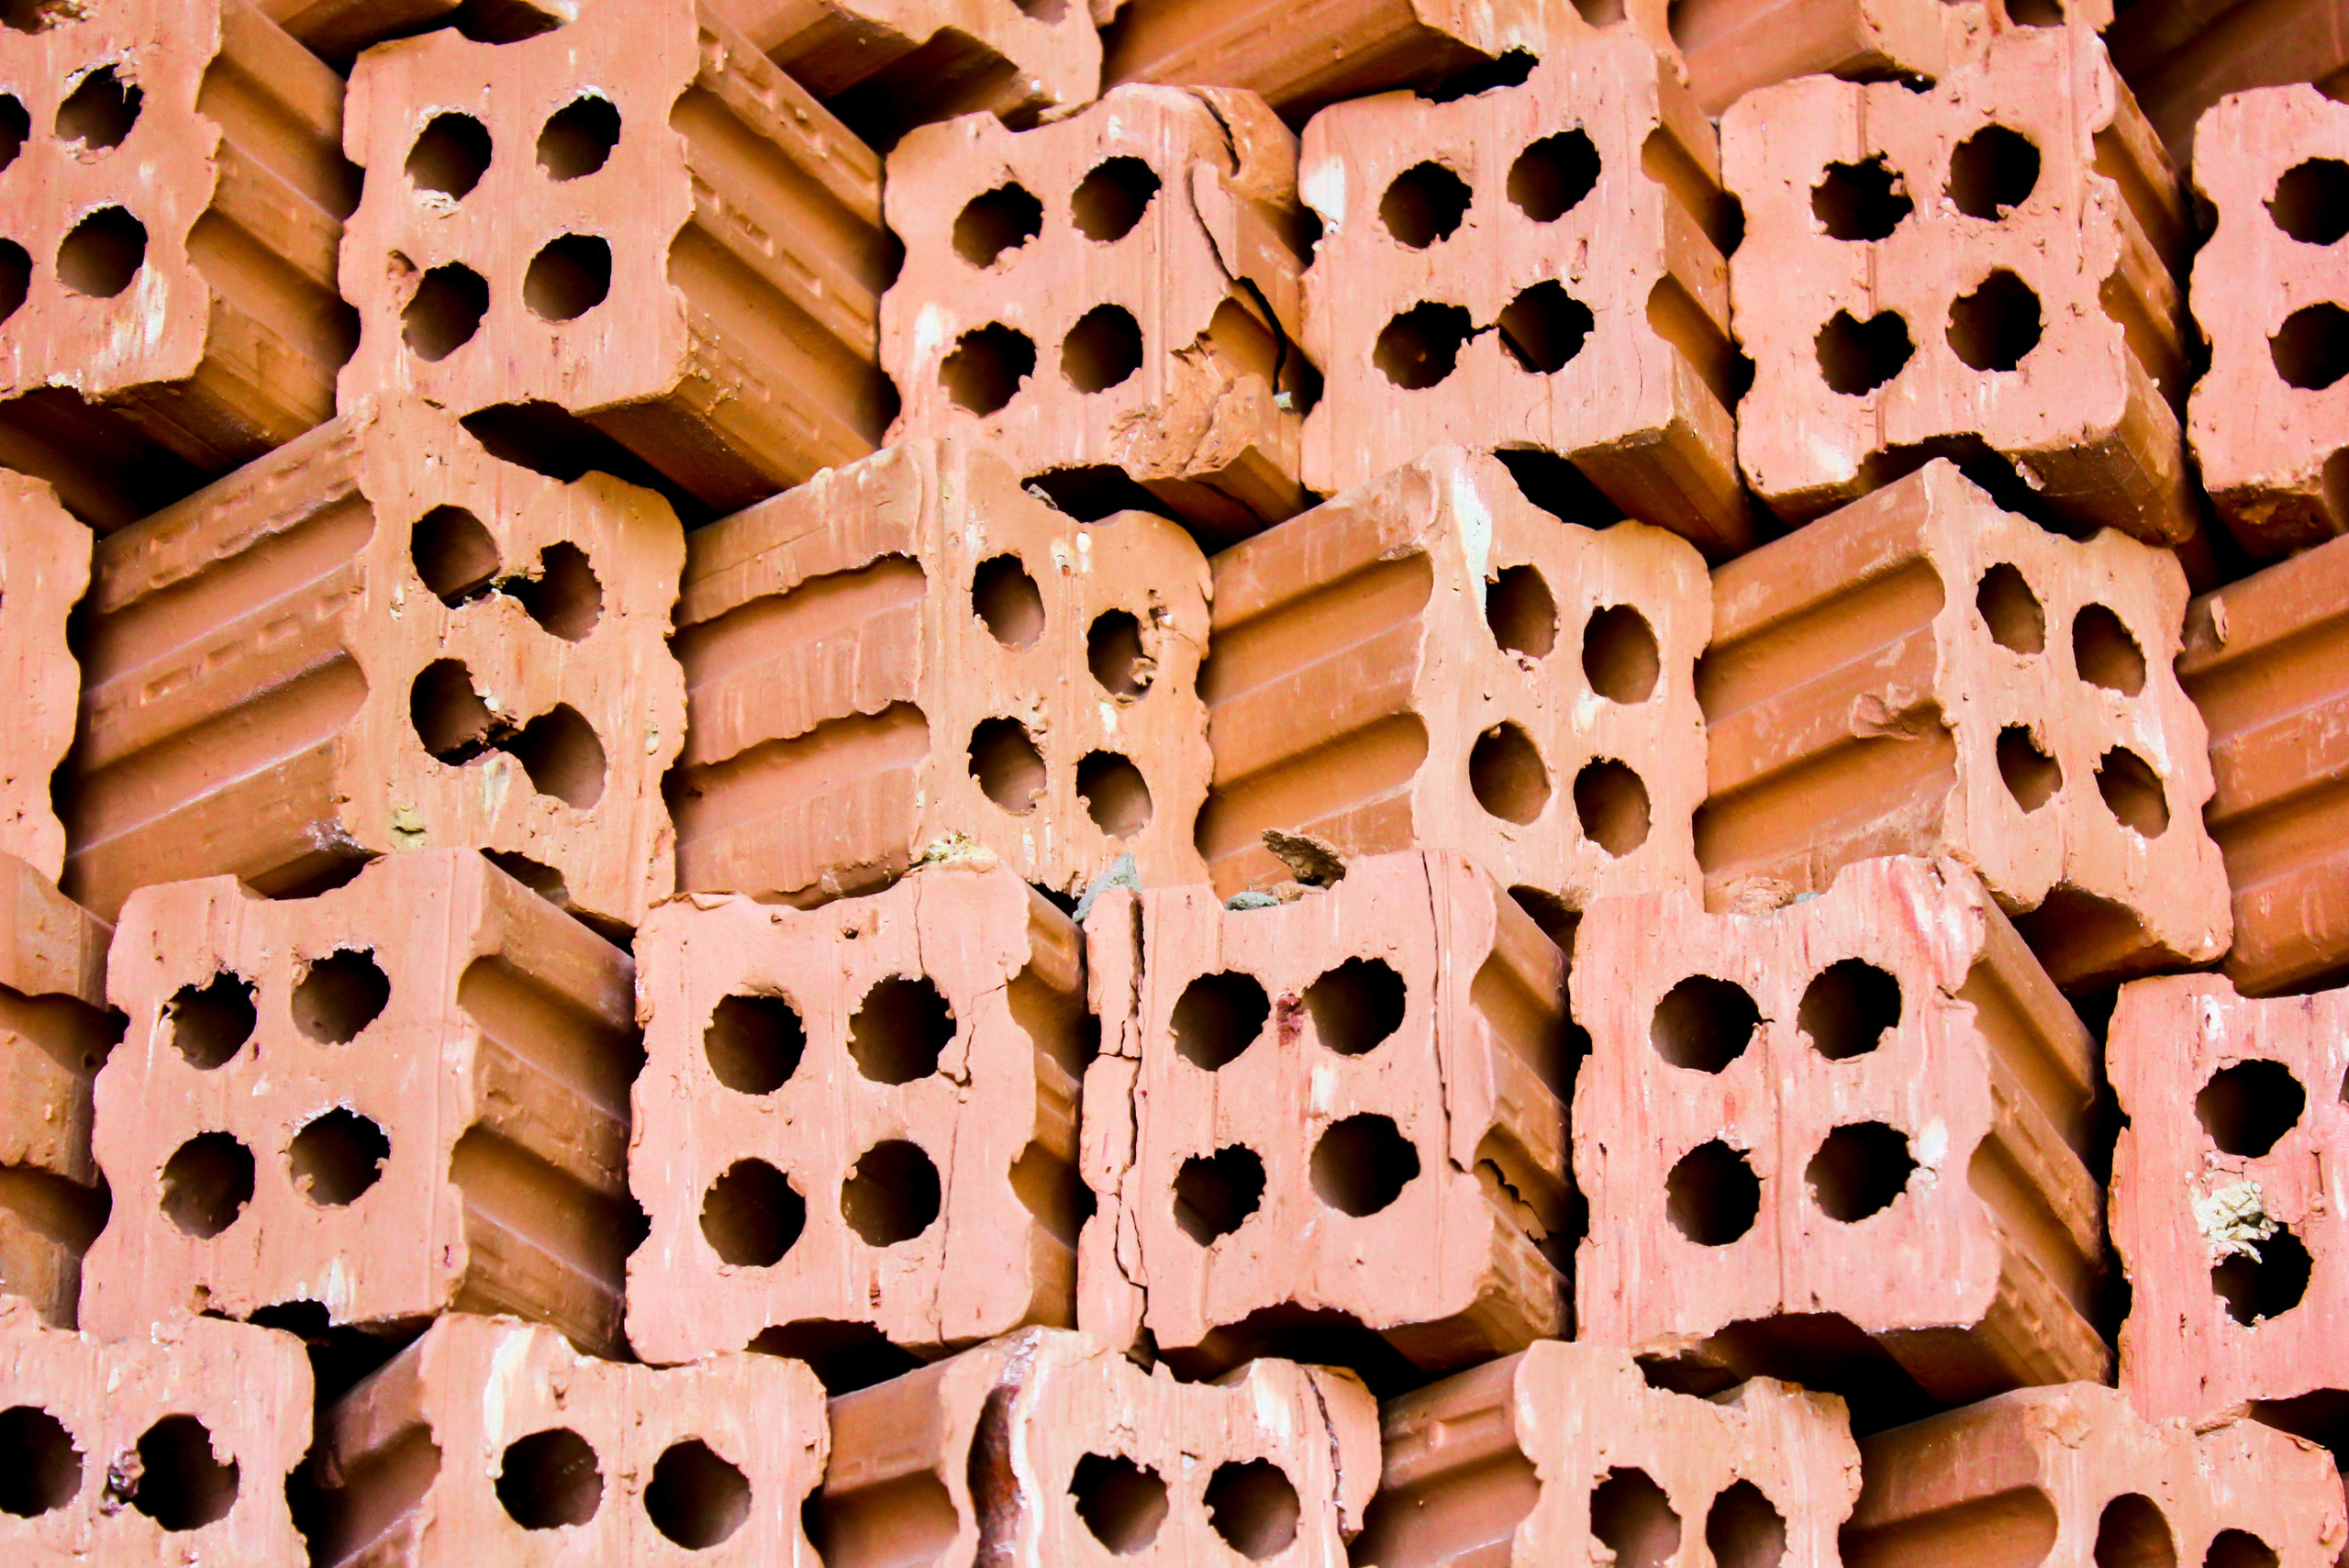
Before you start building your DIY brick fire pit, it’s crucial to gather all the necessary materials and tools. You’ll need fire bricks, a shovel, gravel, a level, and a metal fire ring, among other supplies. Fire bricks are designed to withstand high temperatures, making them ideal for this project. Additionally, having all your tools on hand, like a rubber mallet and a trowel, will make the construction process smoother. By preparing everything in advance, you’ll save time and avoid last-minute trips to the hardware store.
Organizing your materials and tools is just as important as having them. Create a checklist to ensure you have everything you need before you begin. This preparation stage is crucial and can make the difference between a smooth, enjoyable project and a frustrating one. When you have all your supplies ready and within reach, you can focus on the task at hand without unnecessary interruptions. Remember, a well-prepared project is half done.
Selecting the Perfect Location for Your DIY Brick Fire Pit
Choosing the right location for your DIY brick fire pit is a critical step. You’ll want to find a spot that’s away from any combustible materials, like wooden fences or overhanging trees. The area should also be flat and level to ensure the fire pit is stable and safe. Consider proximity to seating areas and the direction of the prevailing wind to minimize smoke blowing into occupied spaces. A well-thought-out location will enhance both the safety and enjoyment of your fire pit.
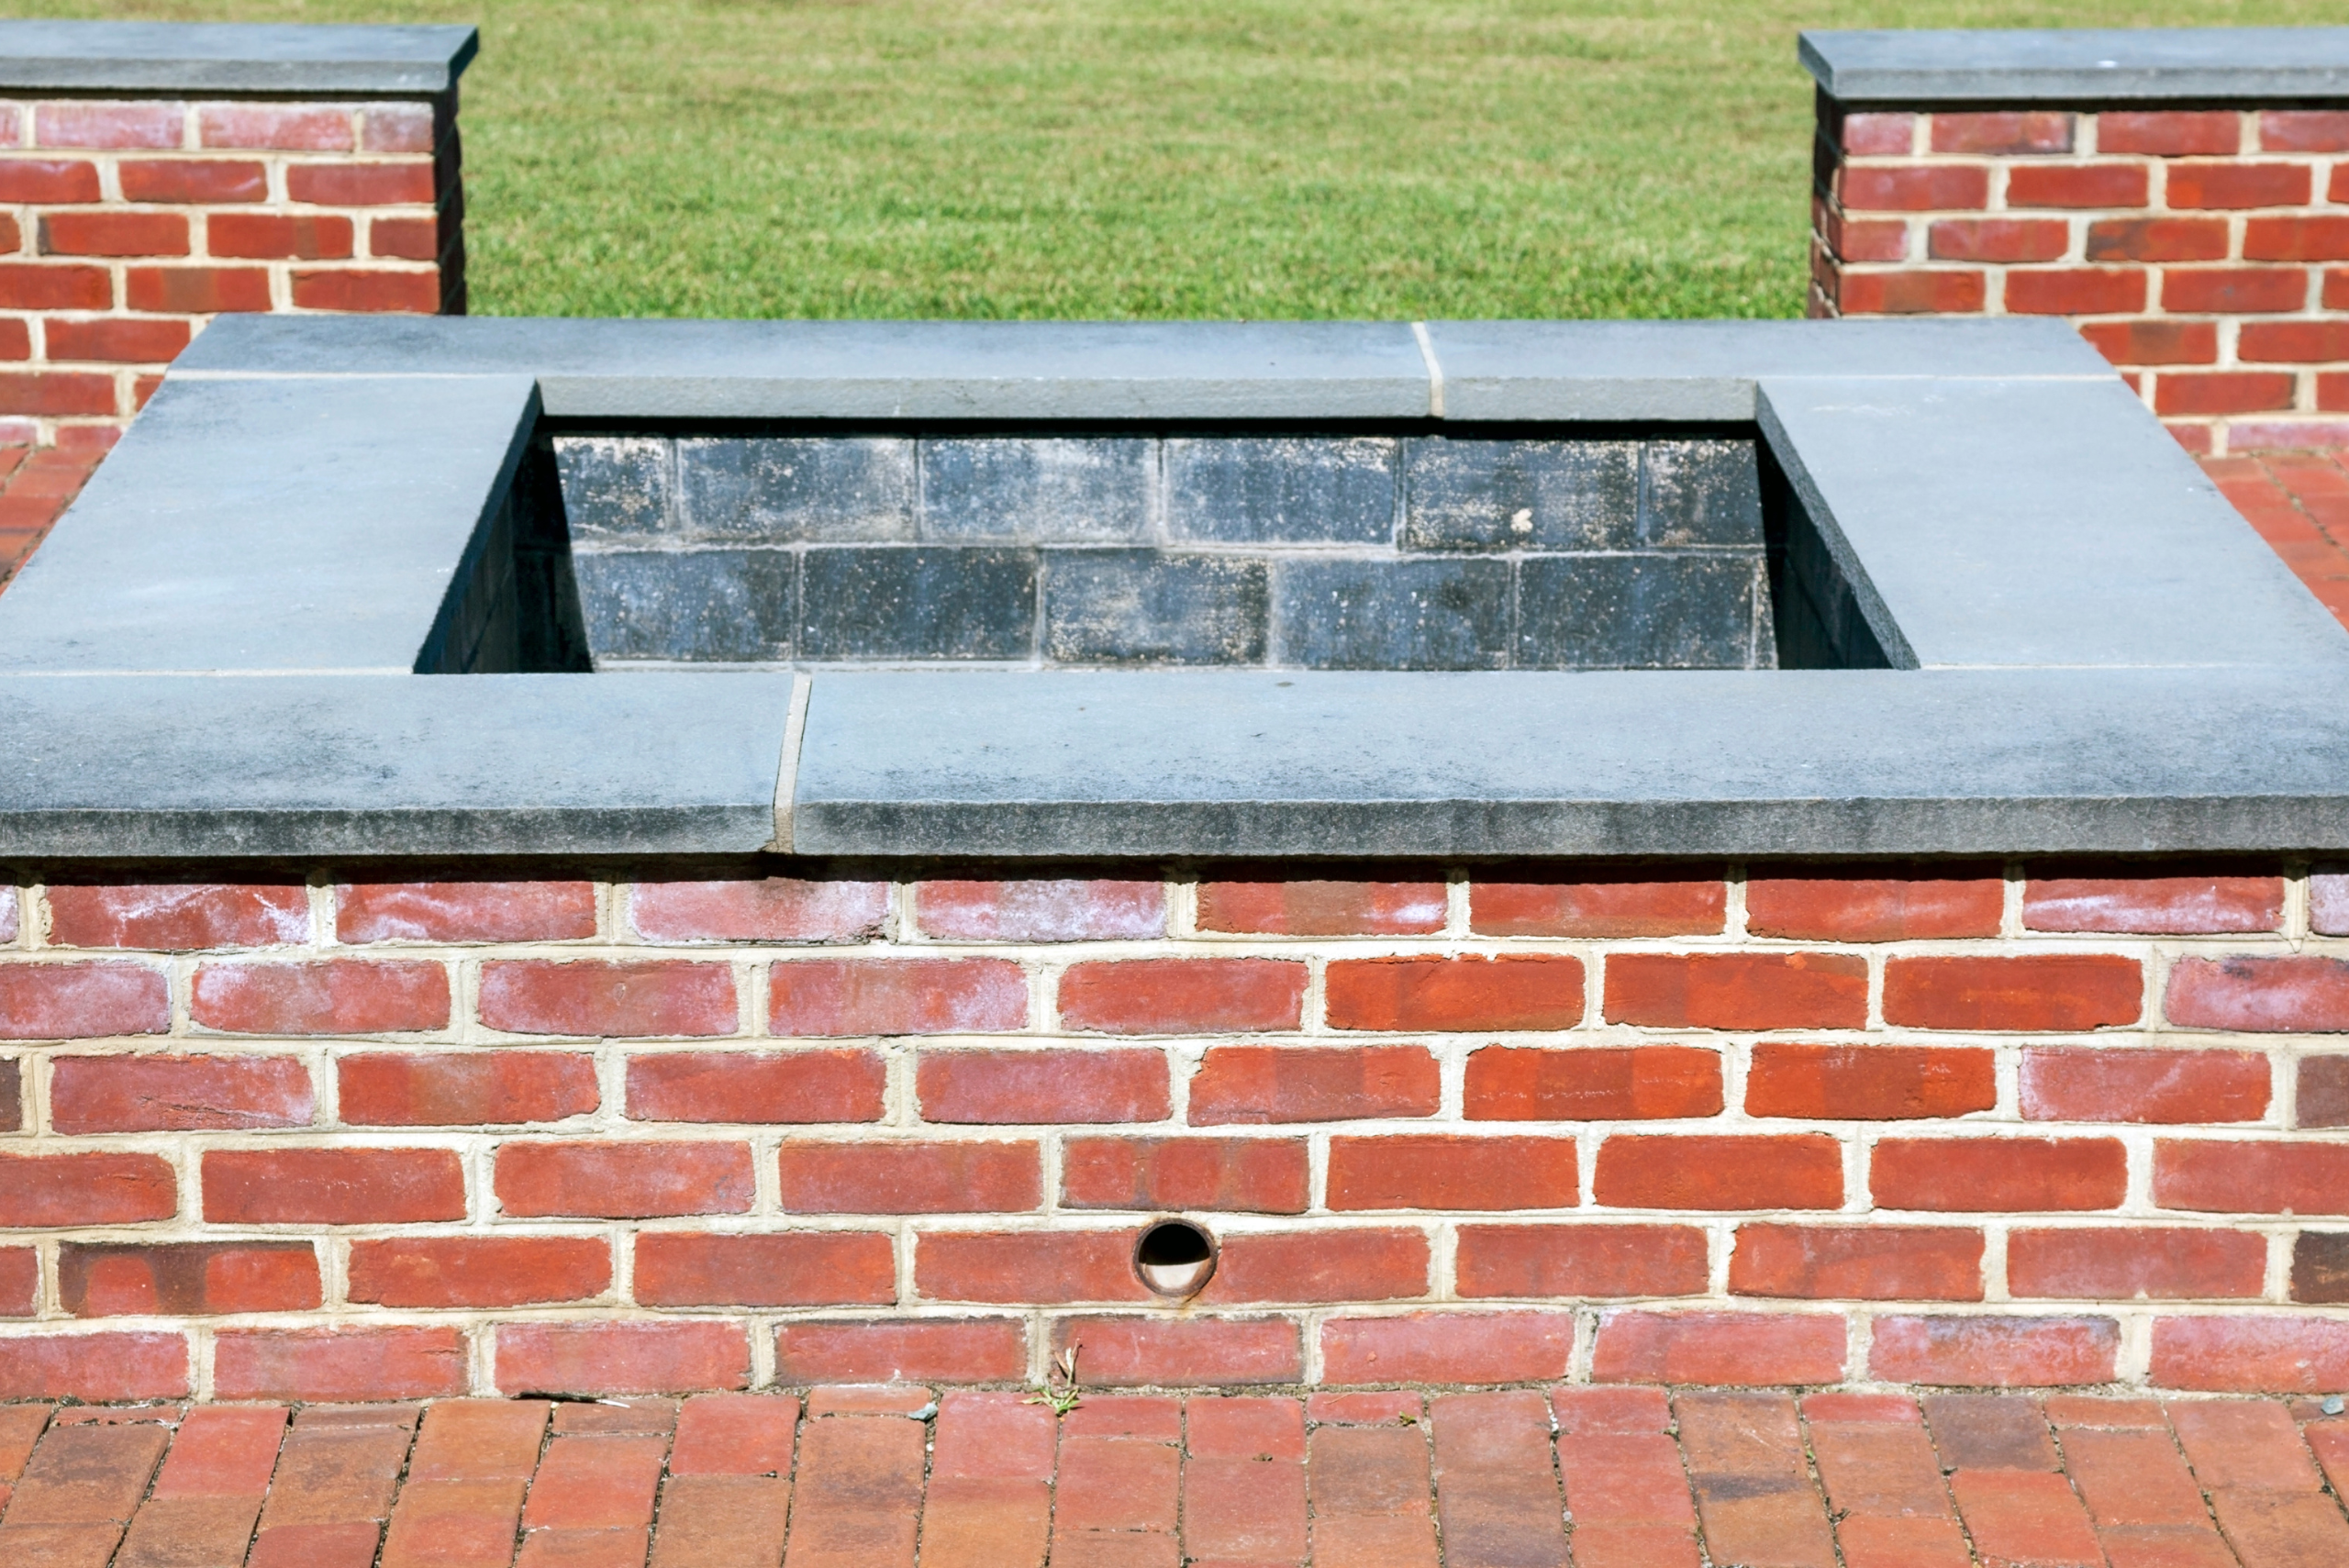
Taking time to observe your yard can help you find the ideal spot. Think about how you and your guests will move around the space and how the fire pit will fit into your overall backyard design. Sometimes, the perfect spot might not be immediately obvious, but with a little consideration, you can find a location that maximizes both functionality and aesthetic appeal. Also, check local regulations regarding fire pit placement to ensure compliance.
Step-by-Step Guide to Building Your Own DIY Brick Fire Pit
Building your DIY brick fire pit can be broken down into manageable steps. Start by marking the area where the fire pit will be located. Dig a hole about 7-10 inches deep and fill it with gravel to aid drainage. Next, lay the foundation layer of fire bricks, ensuring they are level. Continue to stack the bricks in a circular or square pattern, using a staggered joint technique for stability. Place the metal fire ring inside the brick circle for added safety. Each step requires precision, but the end result will be a sturdy and attractive fire pit.
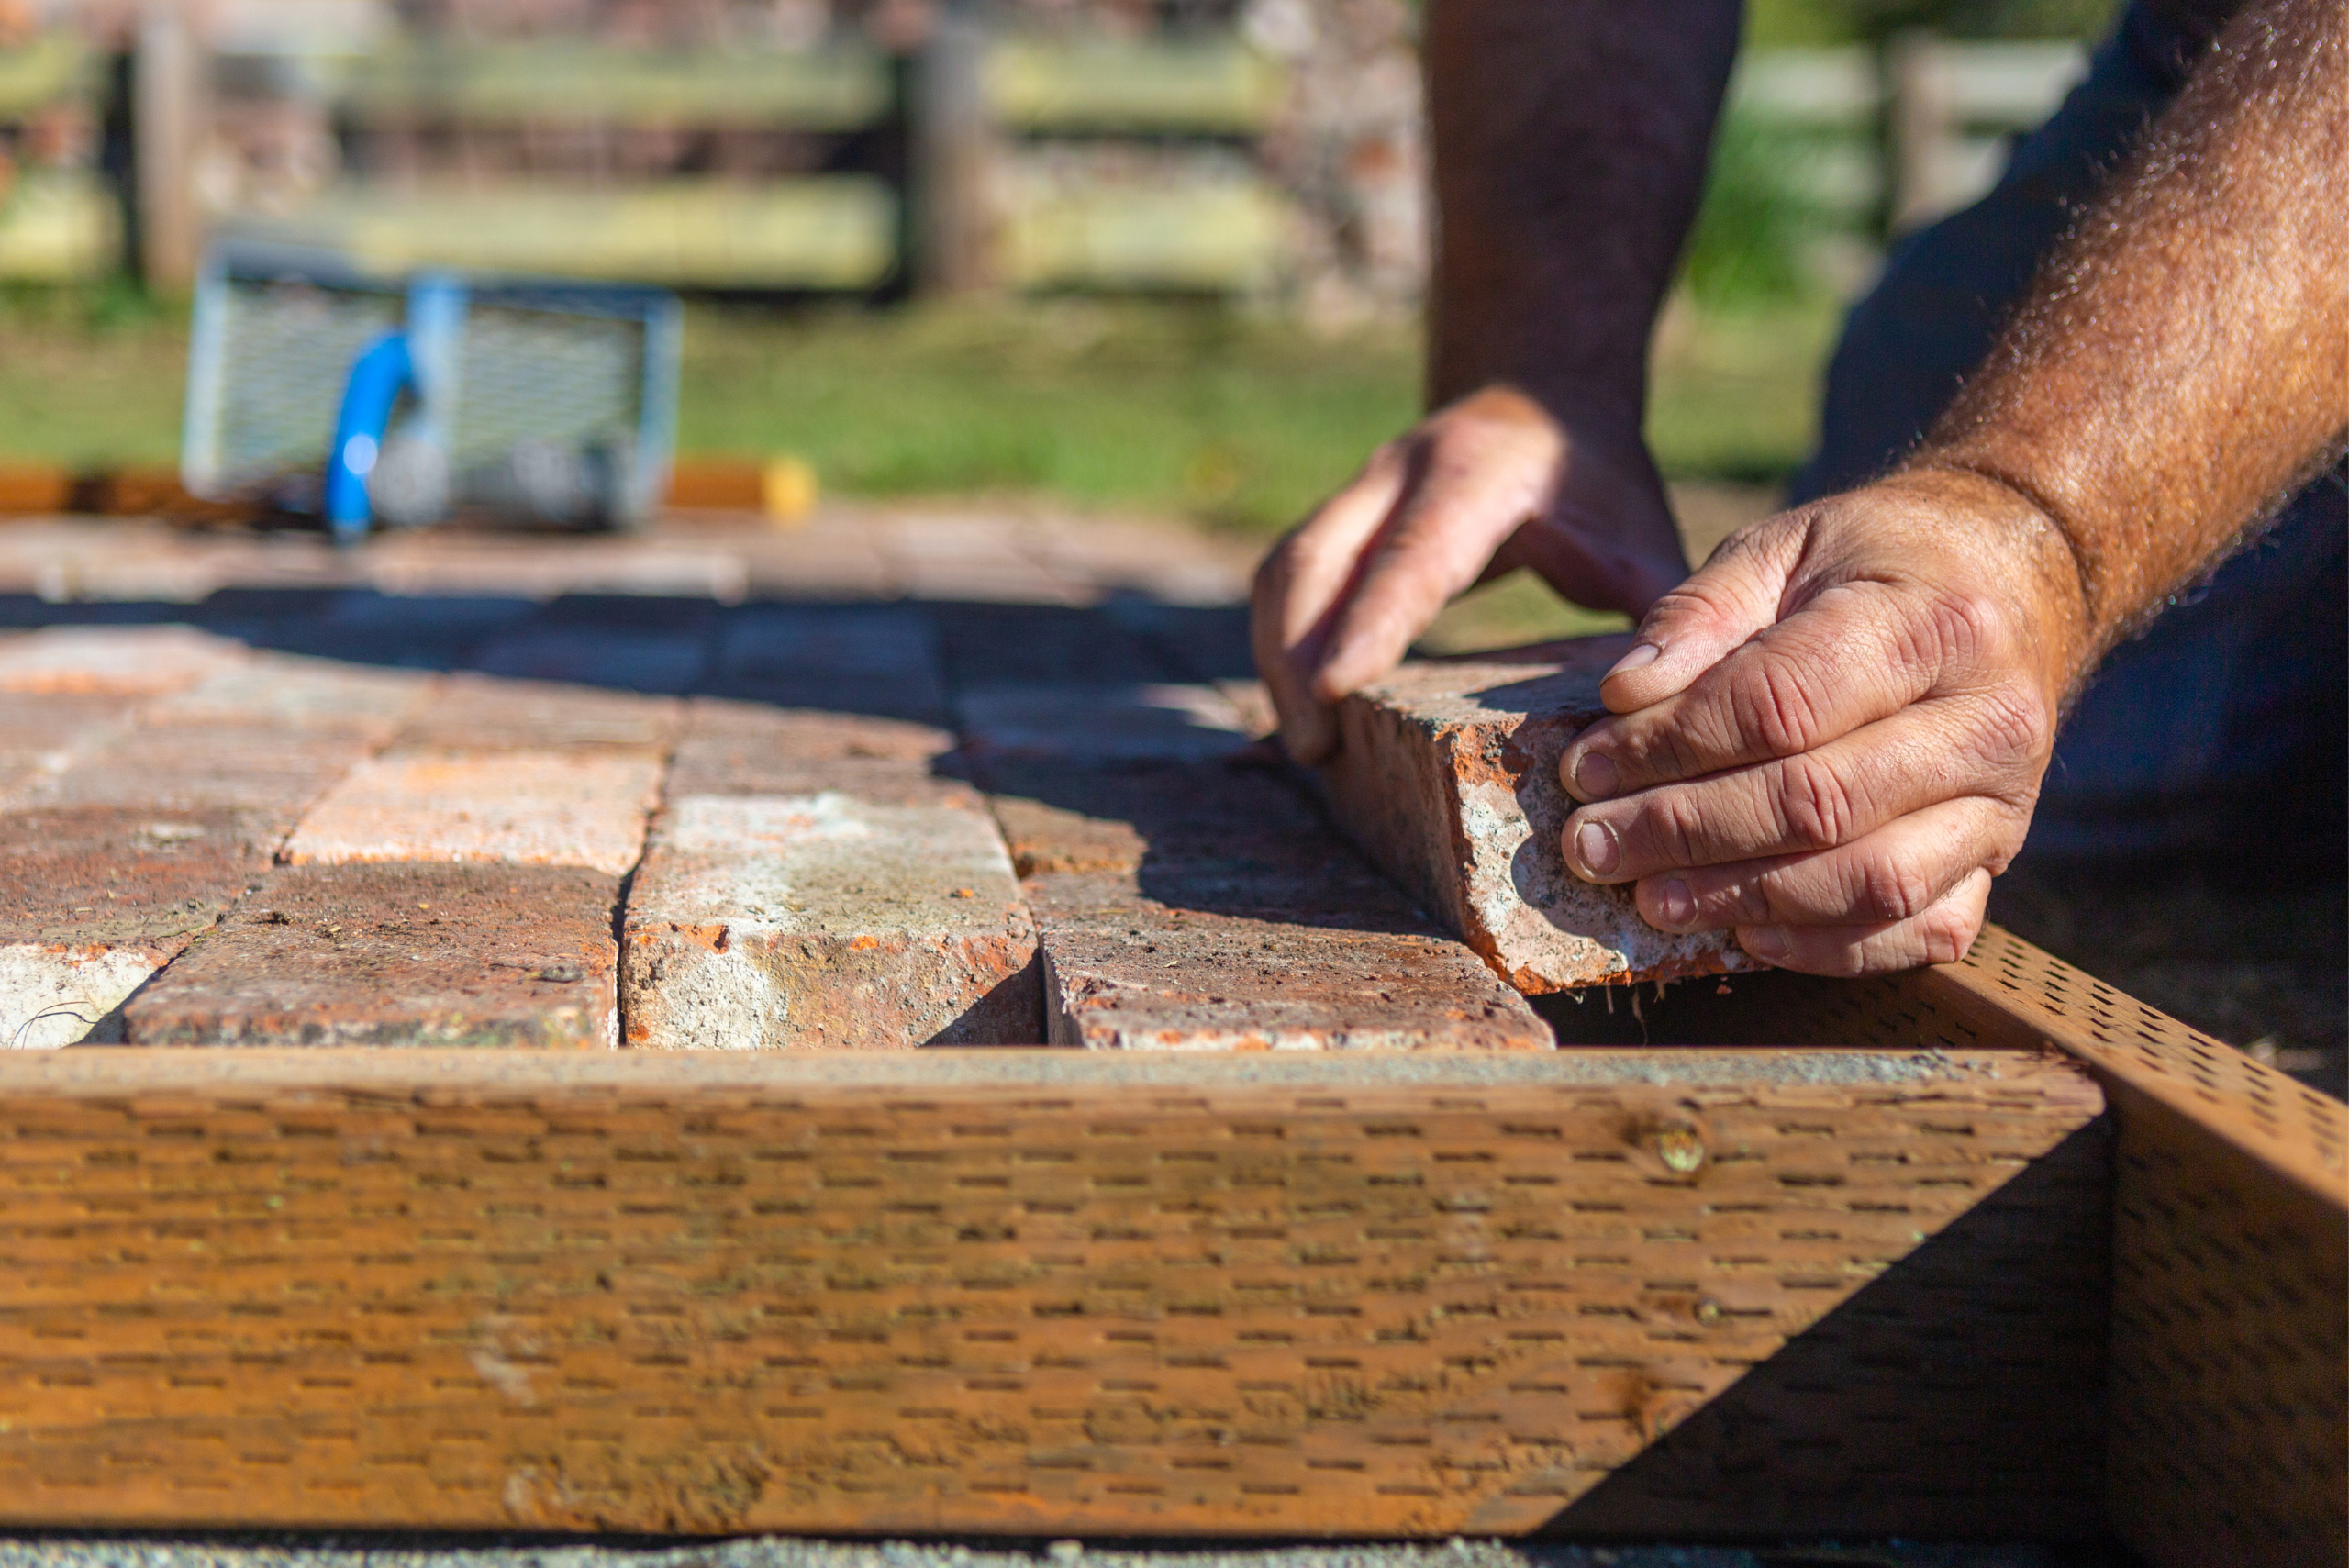
As you build, take your time to ensure each layer of bricks is even and secure. Use the level frequently to maintain consistency. If you rush through this part of the process, you might end up with a lopsided fire pit that doesn’t function properly or look as nice. Patience and attention to detail are key. Once the structure is complete, allow it to set and ensure all bricks are firmly in place before using it. This meticulous approach ensures your fire pit will be both durable and beautiful.
Adding the Finishing Touches to Your DIY Brick Fire Pit
Once the main structure of your DIY brick fire pit is complete, it’s time to add some finishing touches. You might want to add a layer of sand inside the pit to enhance drainage and prevent weed growth. Consider decorating the surrounding area with gravel or pavers to create a more polished look. Adding comfortable seating around the fire pit will make it a welcoming space for friends and family. Personalizing your fire pit area can make it a standout feature in your backyard.
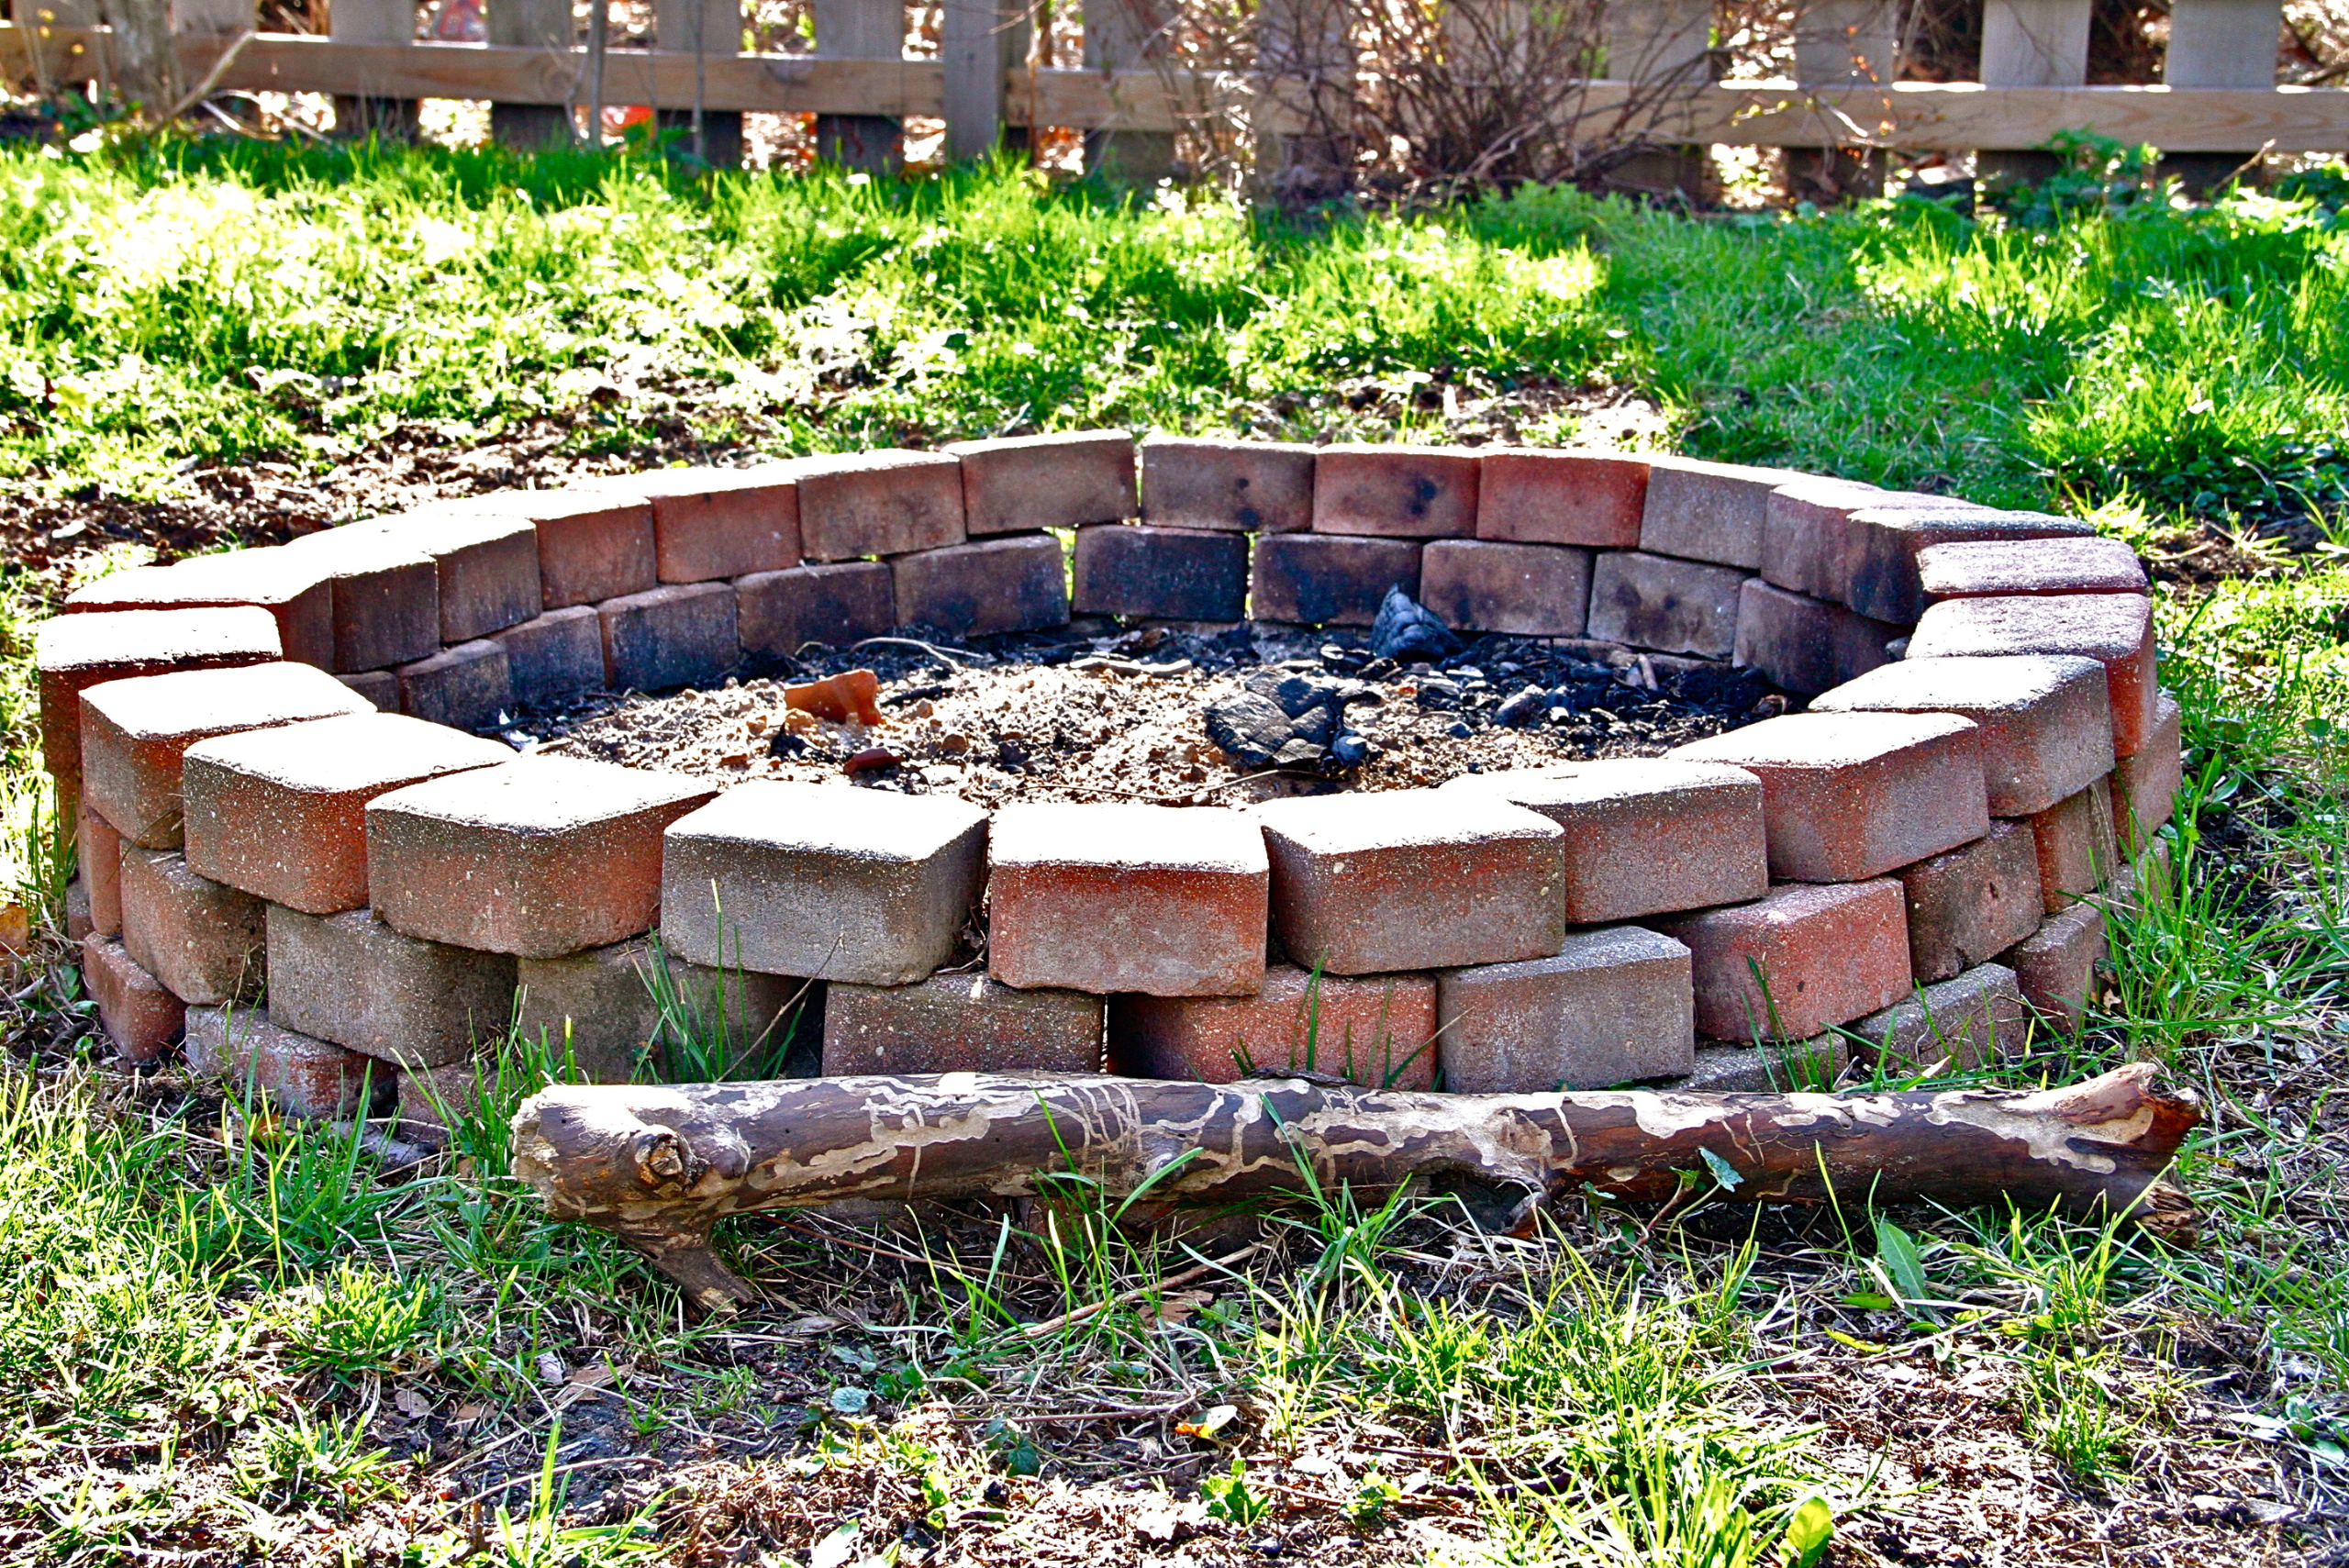
Think about adding some ambient lighting, like string lights or lanterns, to enhance the atmosphere. Perhaps you might plant some low-maintenance greenery around the area to integrate the fire pit seamlessly into your garden. These small touches can transform a simple fire pit into a beautiful outdoor living space. The goal is to create a cozy and inviting environment where people will want to gather and make memories.
Safety Tips and Best Practices for Using Your DIY Brick Fire Pit
Safety should always be a priority when using your DIY brick fire pit. Keep a bucket of water or a fire extinguisher nearby in case of emergencies. Never leave the fire unattended, and always ensure it is completely extinguished before heading indoors. Use only dry, seasoned wood to minimize smoke, and avoid using accelerants like gasoline. By following these best practices, you can enjoy your fire pit safely and responsibly.
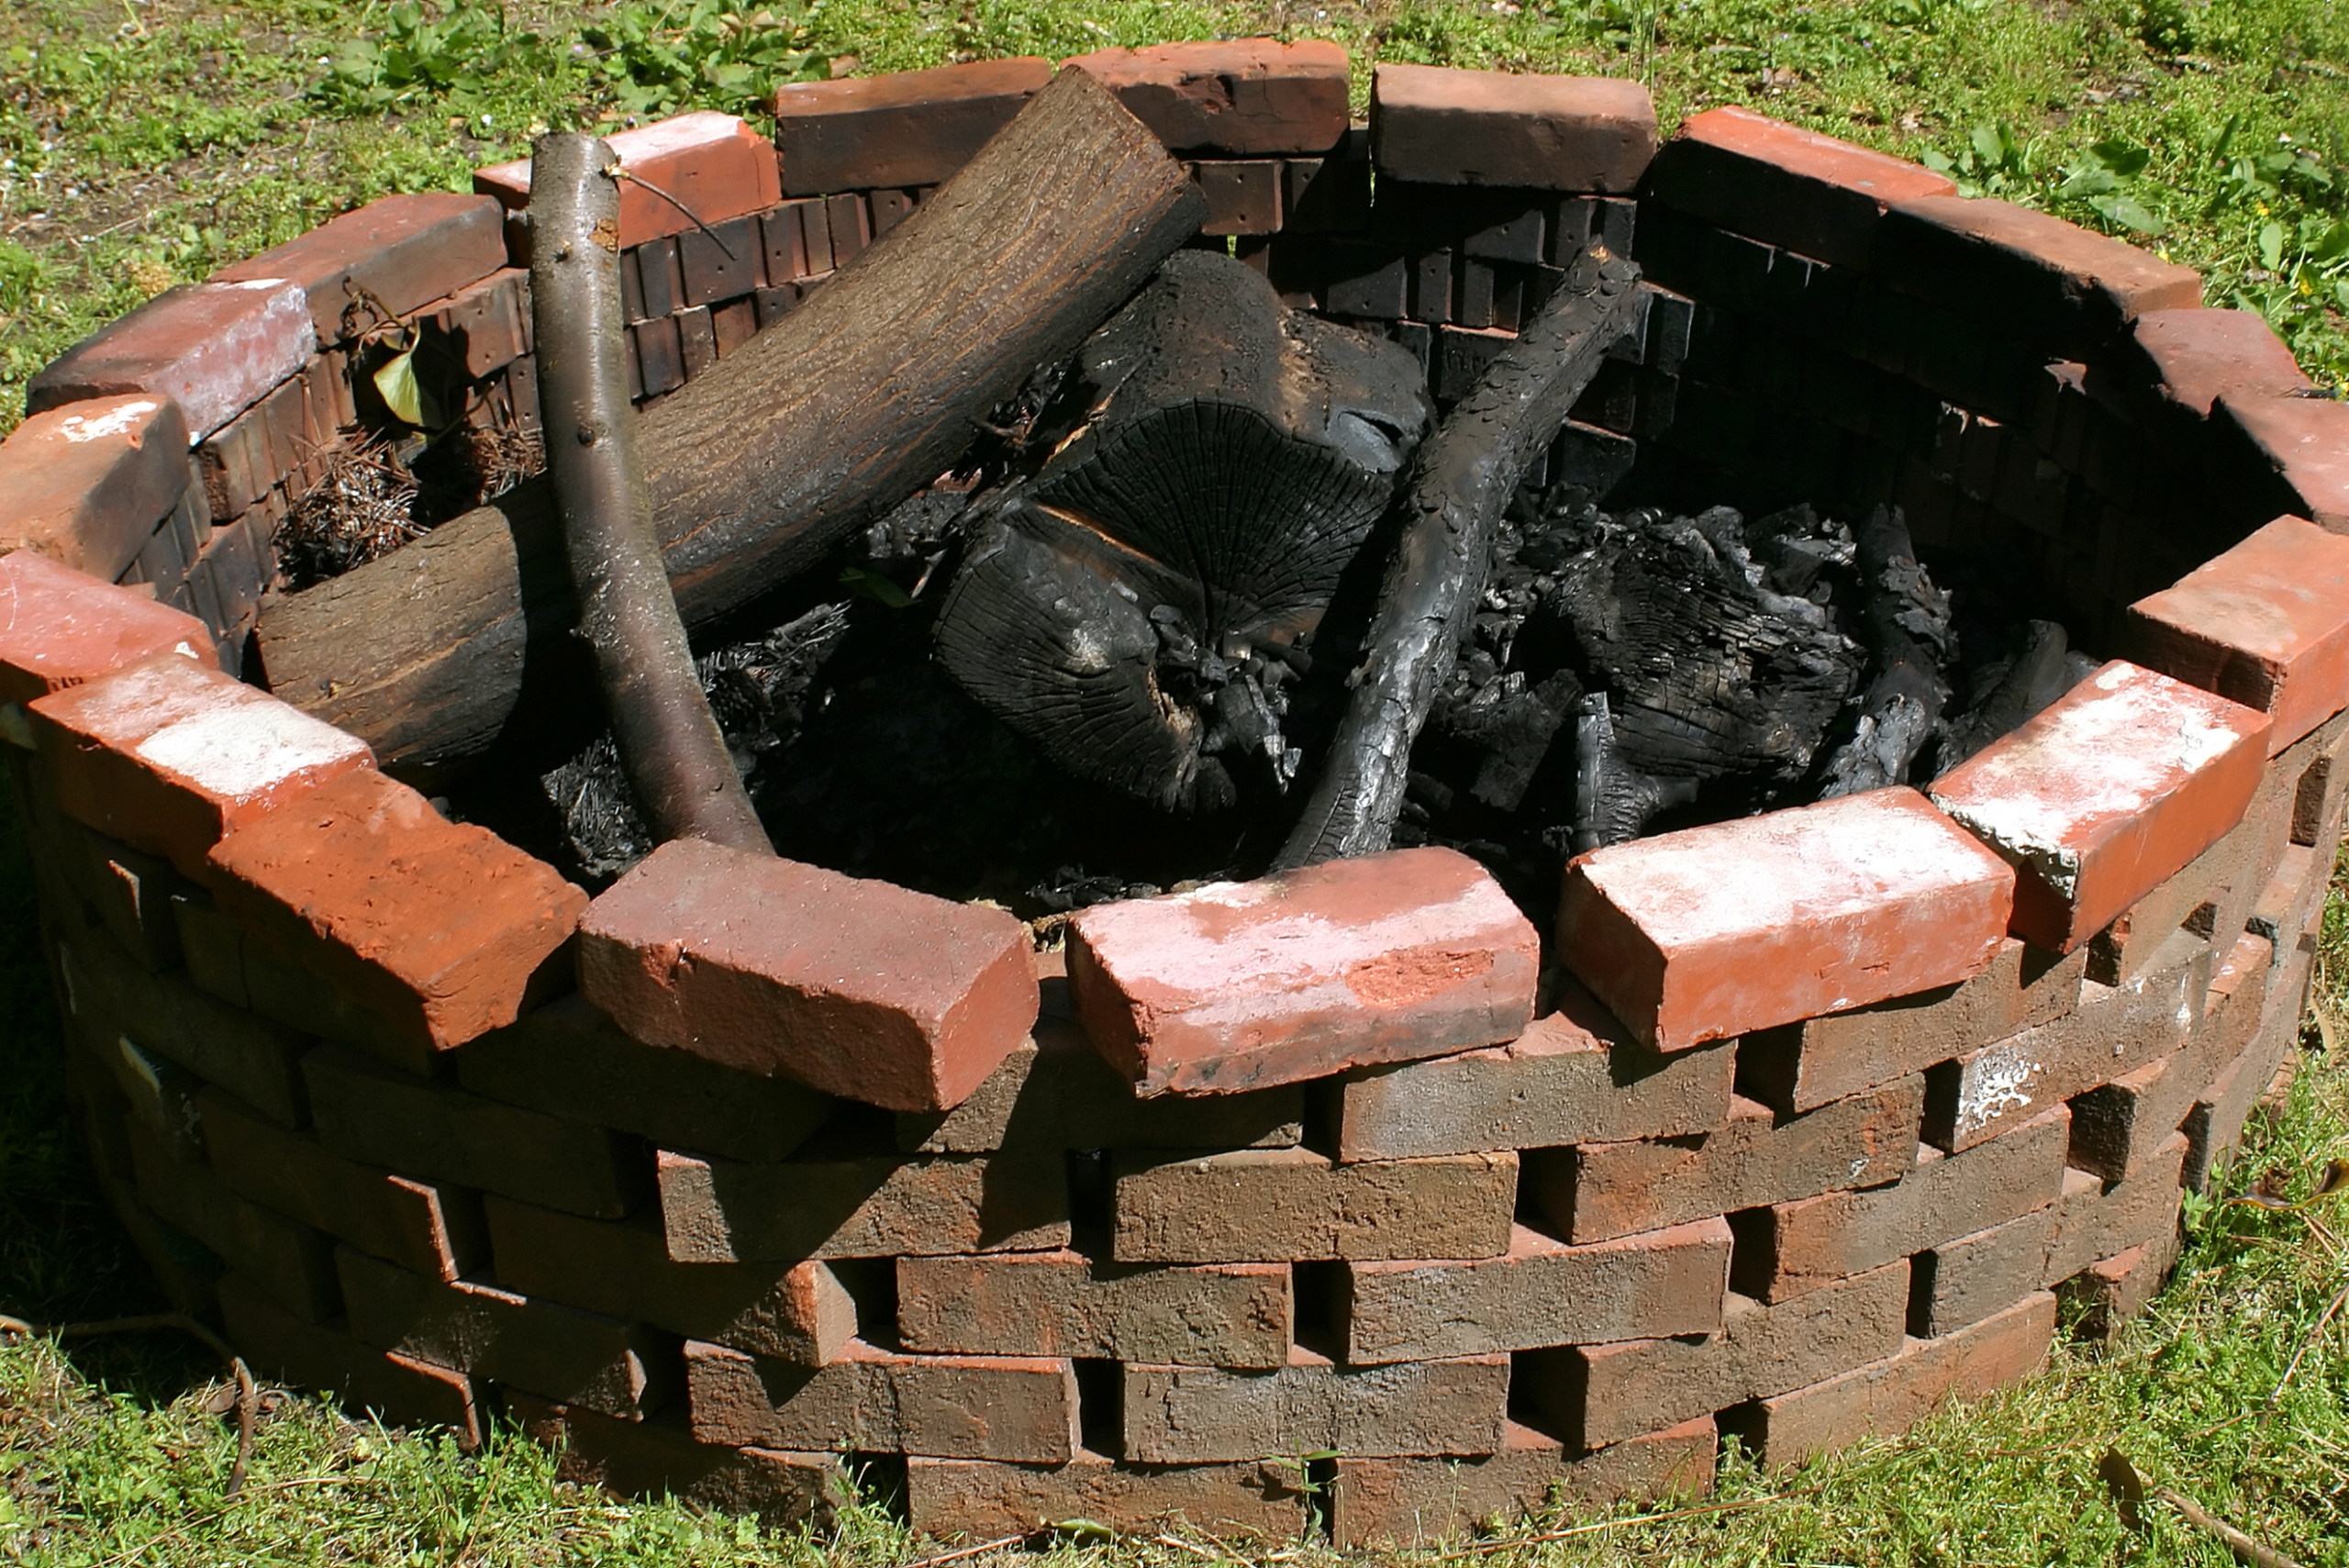
In addition to these precautions, educate everyone who will be using the fire pit about safety protocols. Clear communication about how to properly start, maintain, and extinguish the fire can prevent accidents. It’s also wise to have a designated area for firewood storage that is a safe distance from the fire pit. By instilling these habits, you ensure that your fire pit will be a source of enjoyment rather than concern.
Related Articles
- 60 DIY Fire Pit Ideas For Your Backyard
- DIY Outdoor Pizza Oven: Transform Your Backyard into a Culinary Oasis
- 5 Ways to Up Your Deck Game This Summer
Take pride in the craftsmanship and effort you’ve put into creating something with your own hands. Your new fire pit is more than just a functional piece; it’s a testament to your creativity and hard work. So, light up that first fire, sit back, and enjoy the crackling flames that signify both the end of a project and the beginning of many wonderful moments to come.
Ready to start your next project? Join our DIY community to receive tool tips, how-to guides, and exclusive creative insights. Subscribe to the ManMadeDIY newsletter now!

