How to Make a Notebook in Under a Minute
I've been keeping notebooks, sketchbooks, and journals pretty much as far back as kindergarten and with daily regularity since my late teens. I've got notebooks for important purposes—a hardcover 5 x 8.25″ Moleskine notebook for my bullet journal planner, a big journal for freewriting answers to tough questions when I'm looking for insight, several sizes of notebooks for personal study and random thoughts, a notebook for haiku, and several practice sketchbooks. Notebooks are so commonplace in my life that honestly, I'm more likely to leave my left foot at home.
Occasionally, though, I like to shake the dust off of my mind for a fresh perspective by changing my writing context. This is when I most often turn a tiny notebook that takes a single sheet of paper, one minute, and no tools to make but my hands. Read on for instructions!
I first discovered the Instant Book in college when I got a copy of the fantastic How to Make Books by Esther K. Smith, author and small press publisher.
Alternatively called the origami book and the eight-fold book, this notebook is simple, elegant, and completely unassuming if you're at a place in your life where you're spooked by a large quantity of blank pages. It's also a really convenient way to write on a single sheet of paper on the fly, because it doesn't require any more larger support than your hand, and it can be made of pretty much any kind and size of paper, as long as it has one blank side. (I've even ripped off updated fliers from message boards for material.)
Let's dig in!
How to Make an Instant Book
Don't be fooled by the cumbersome-sounding descriptions in the following directions. It's really, really easy: you're going to make four folds in the paper, one parallel to the long side and three parallel to the short side, and one short tear in the middle of the page.
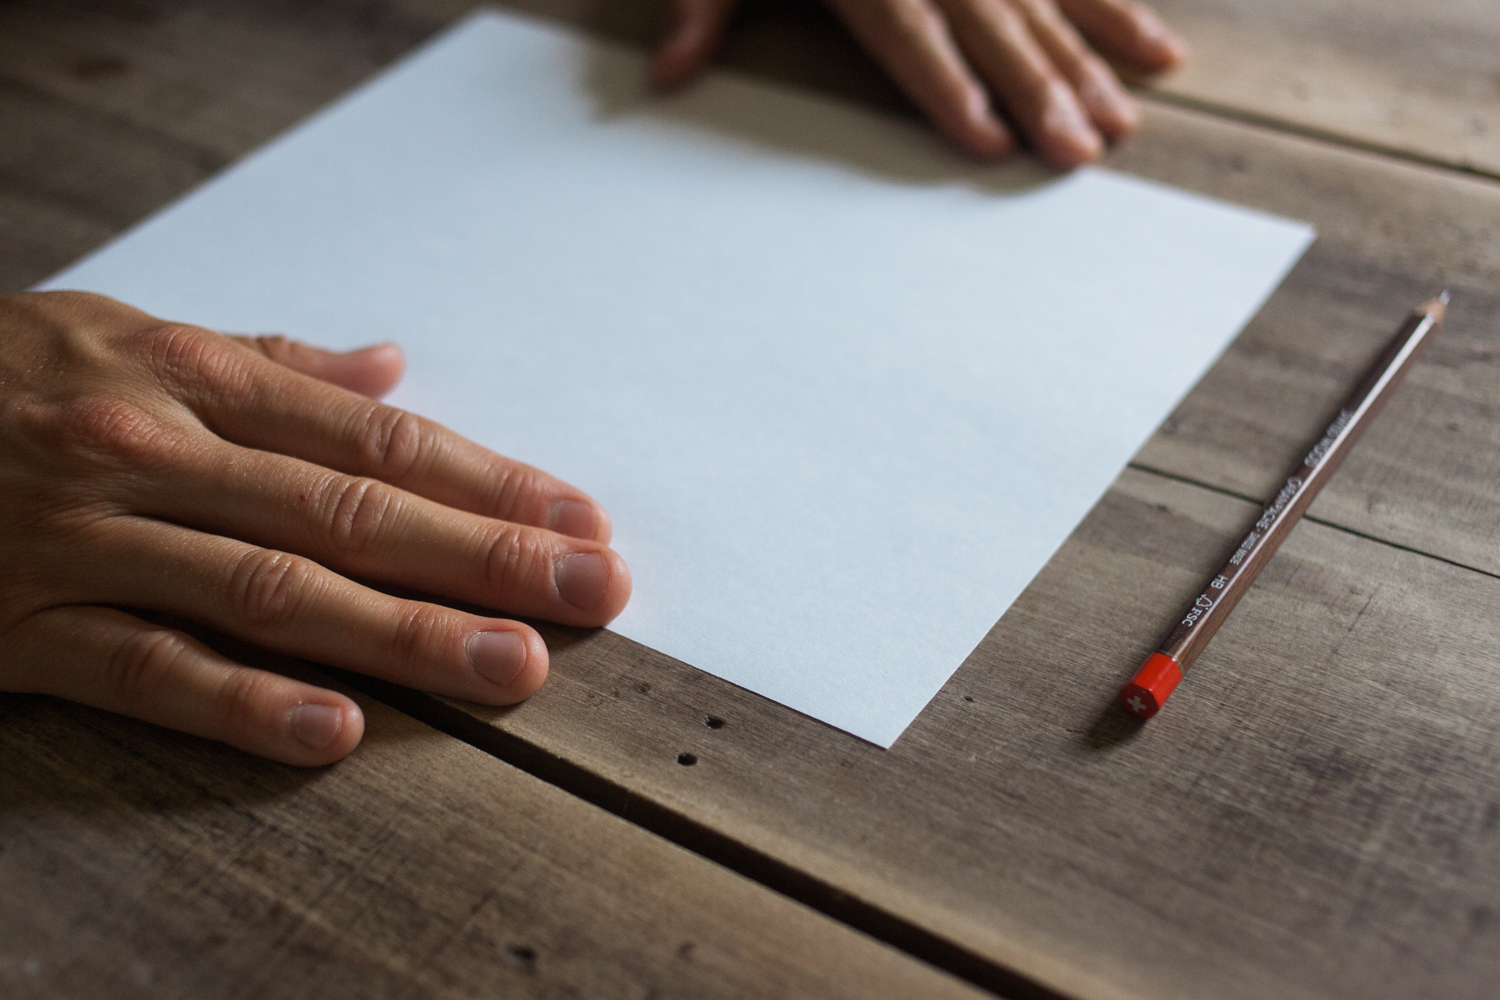
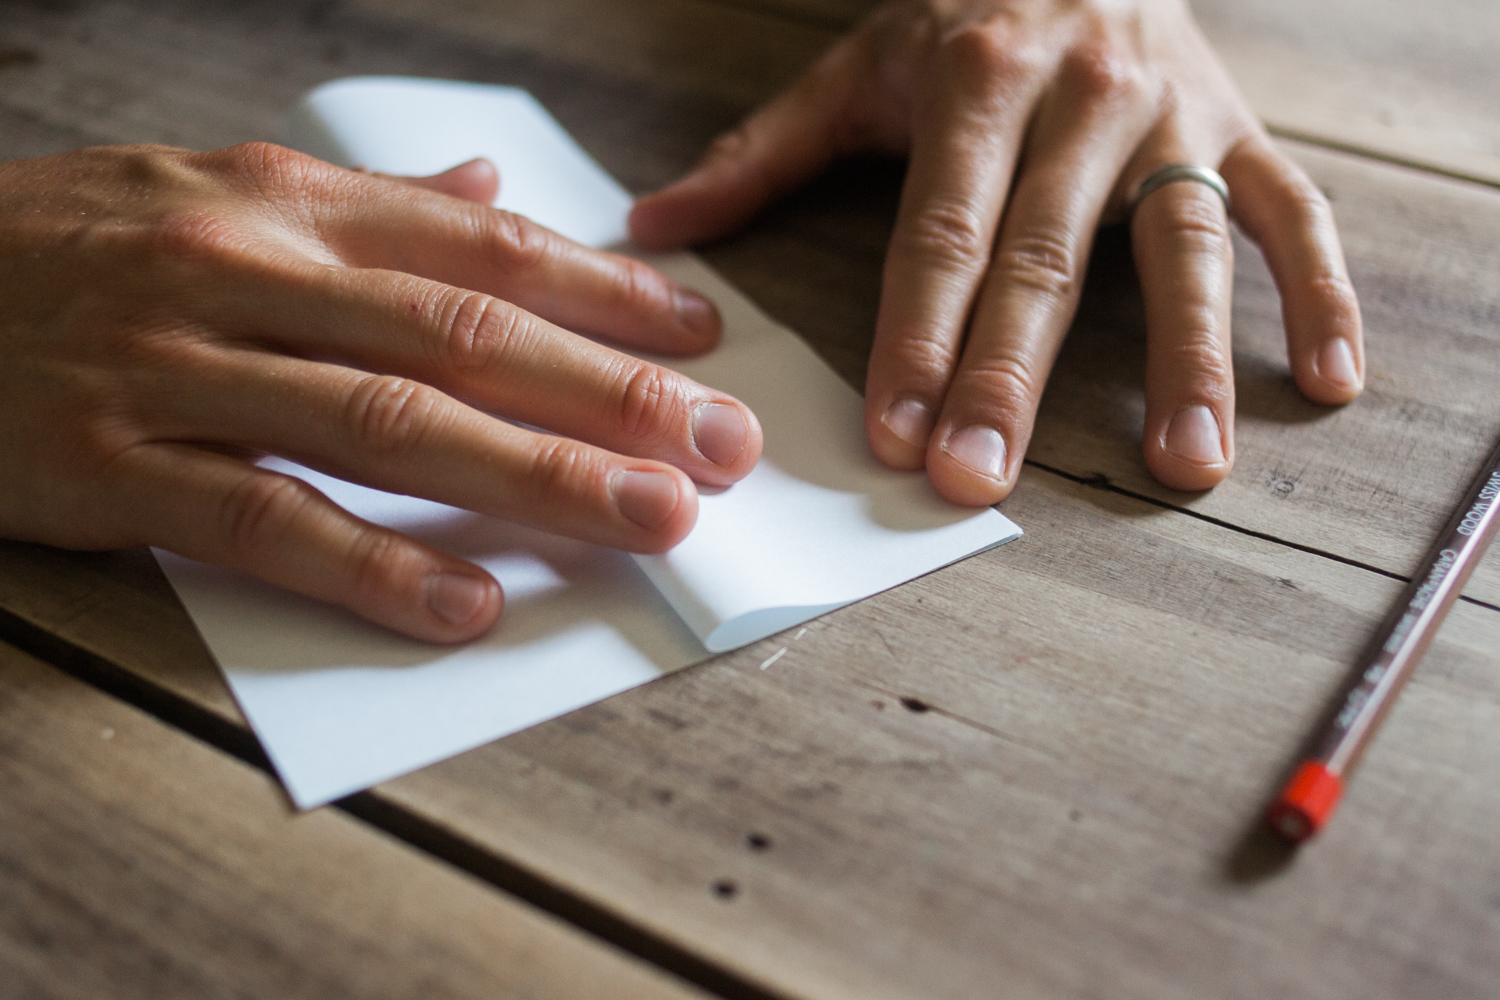
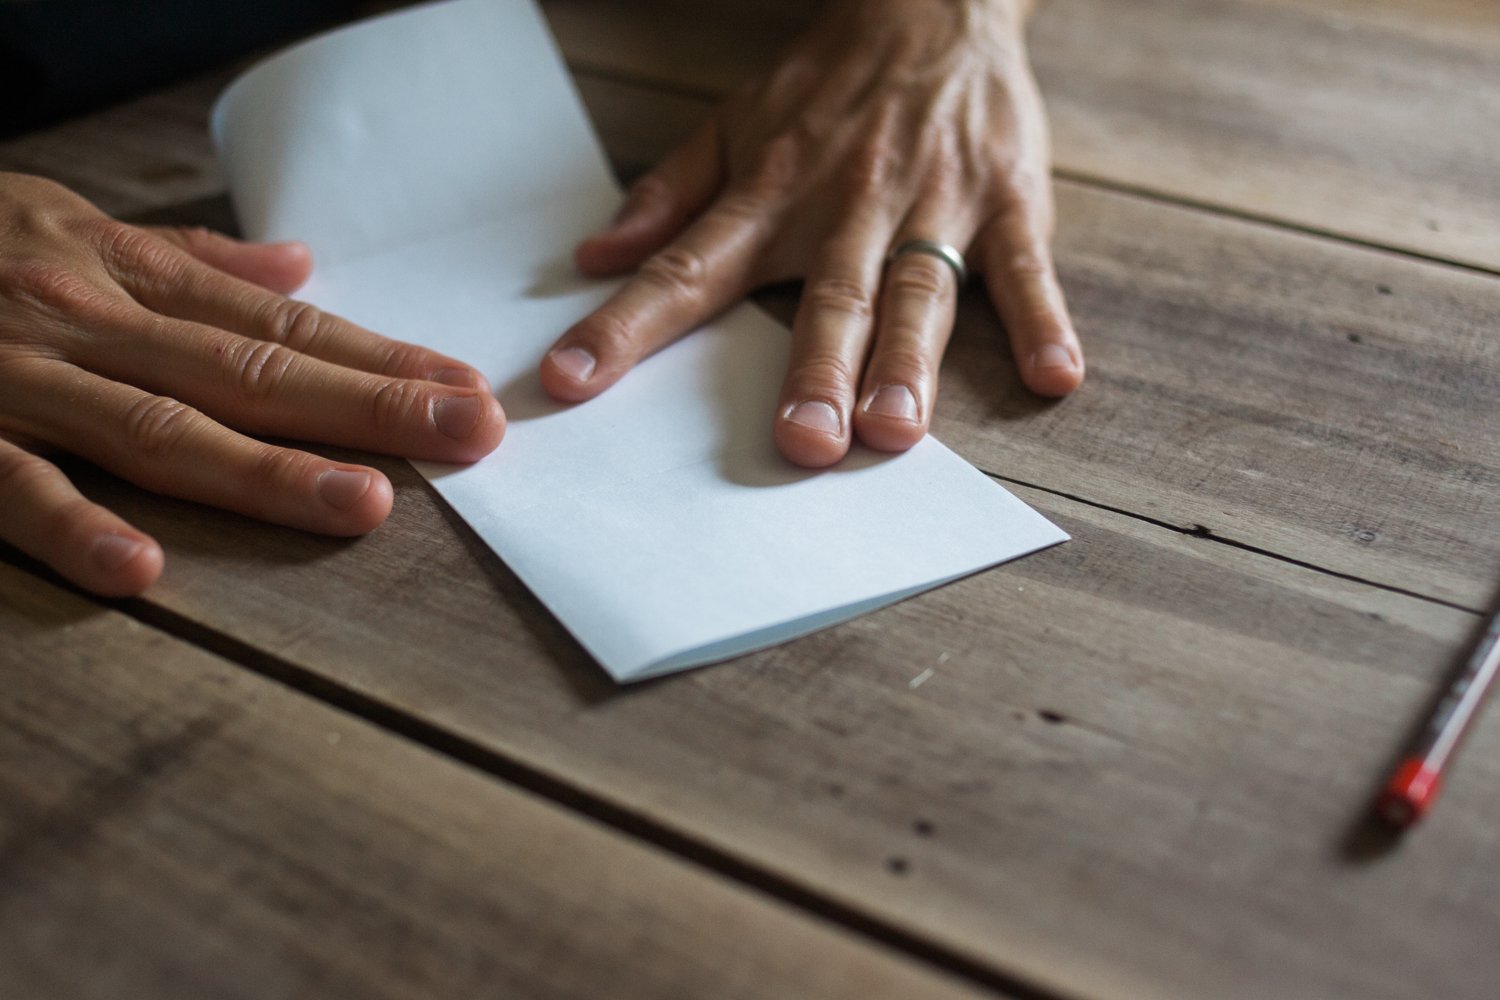
1. First, fold the paper in half shortwise by bringing the short sides together, and crease.
(I find it's easiest to crease evenly by lining up the corners, beginning the crease in the middle and sliding your finger to one end, then beginning again in the middle and sliding to the other end.)
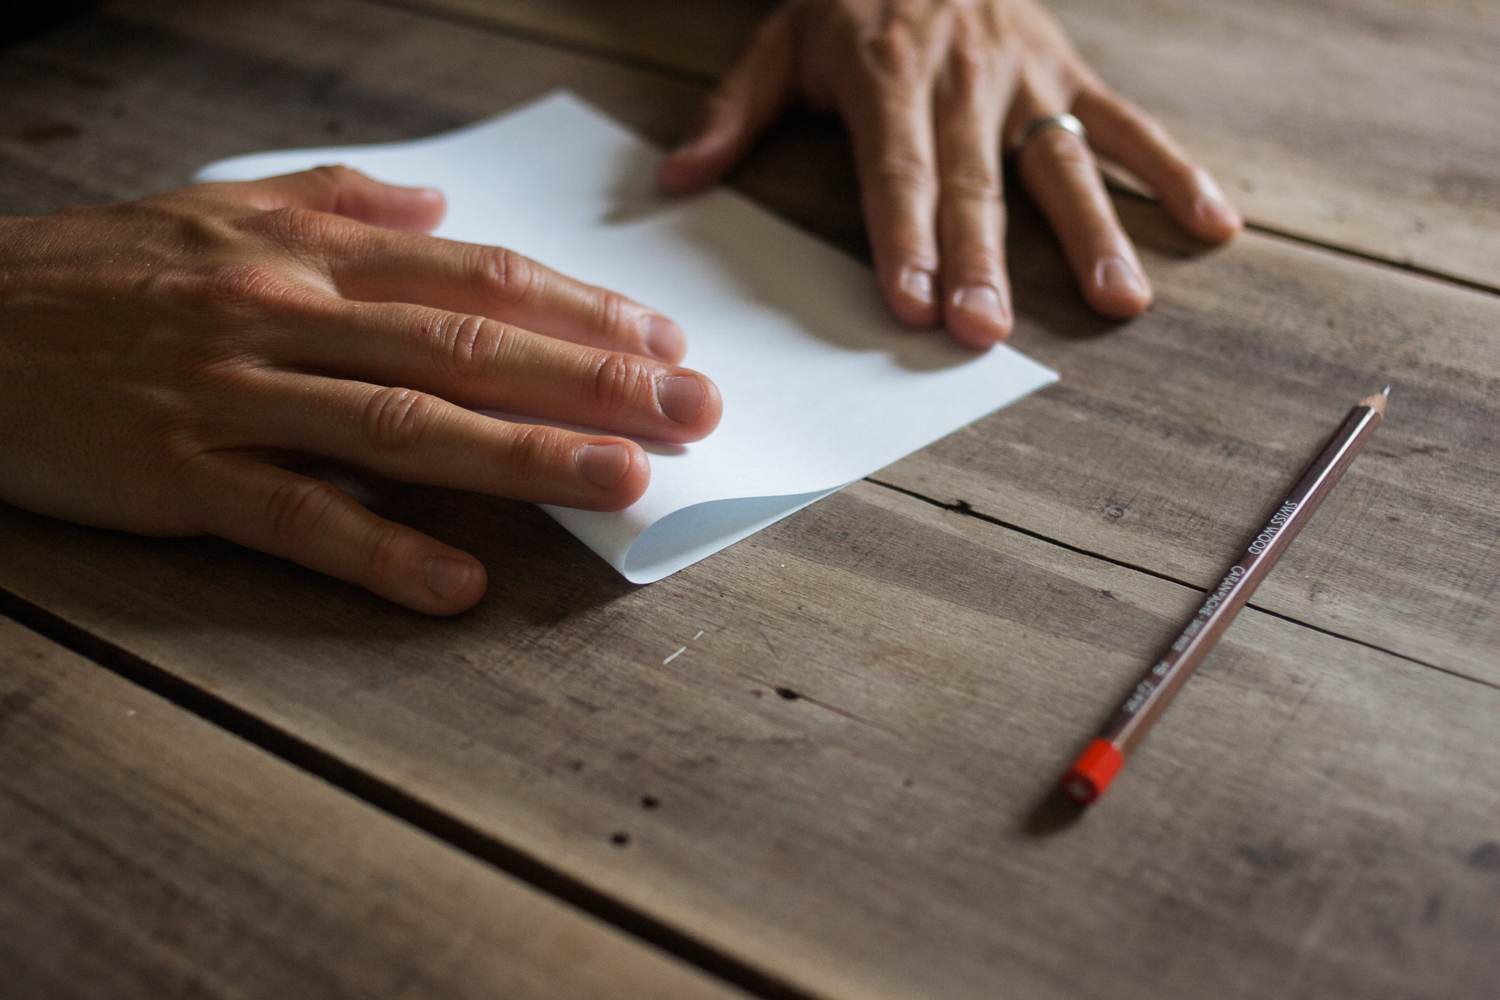
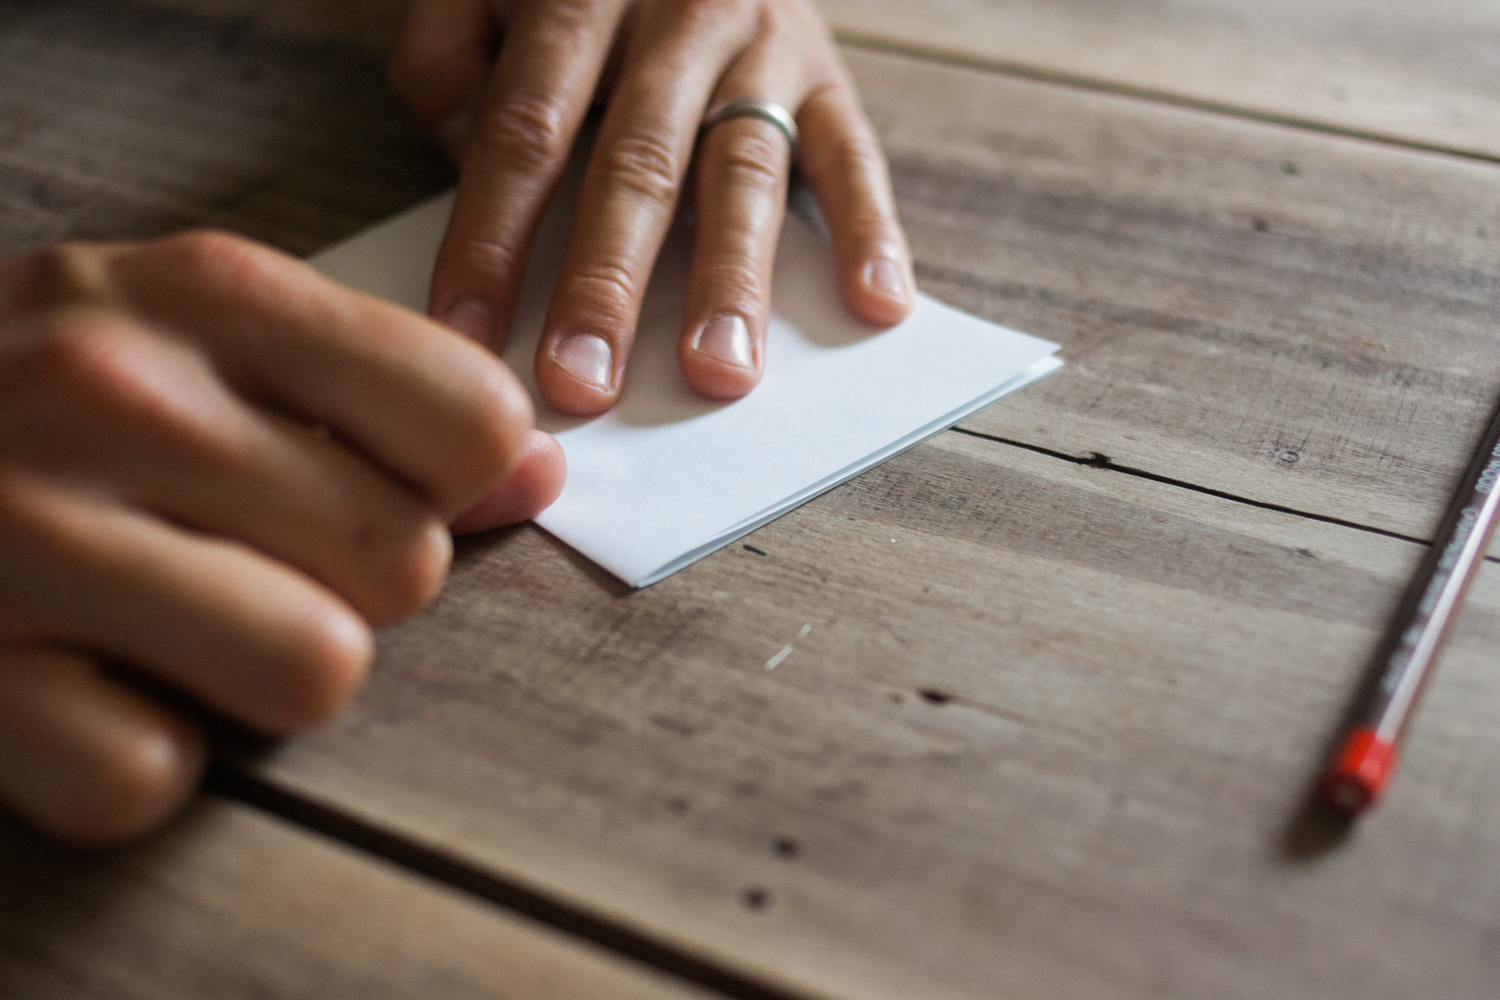
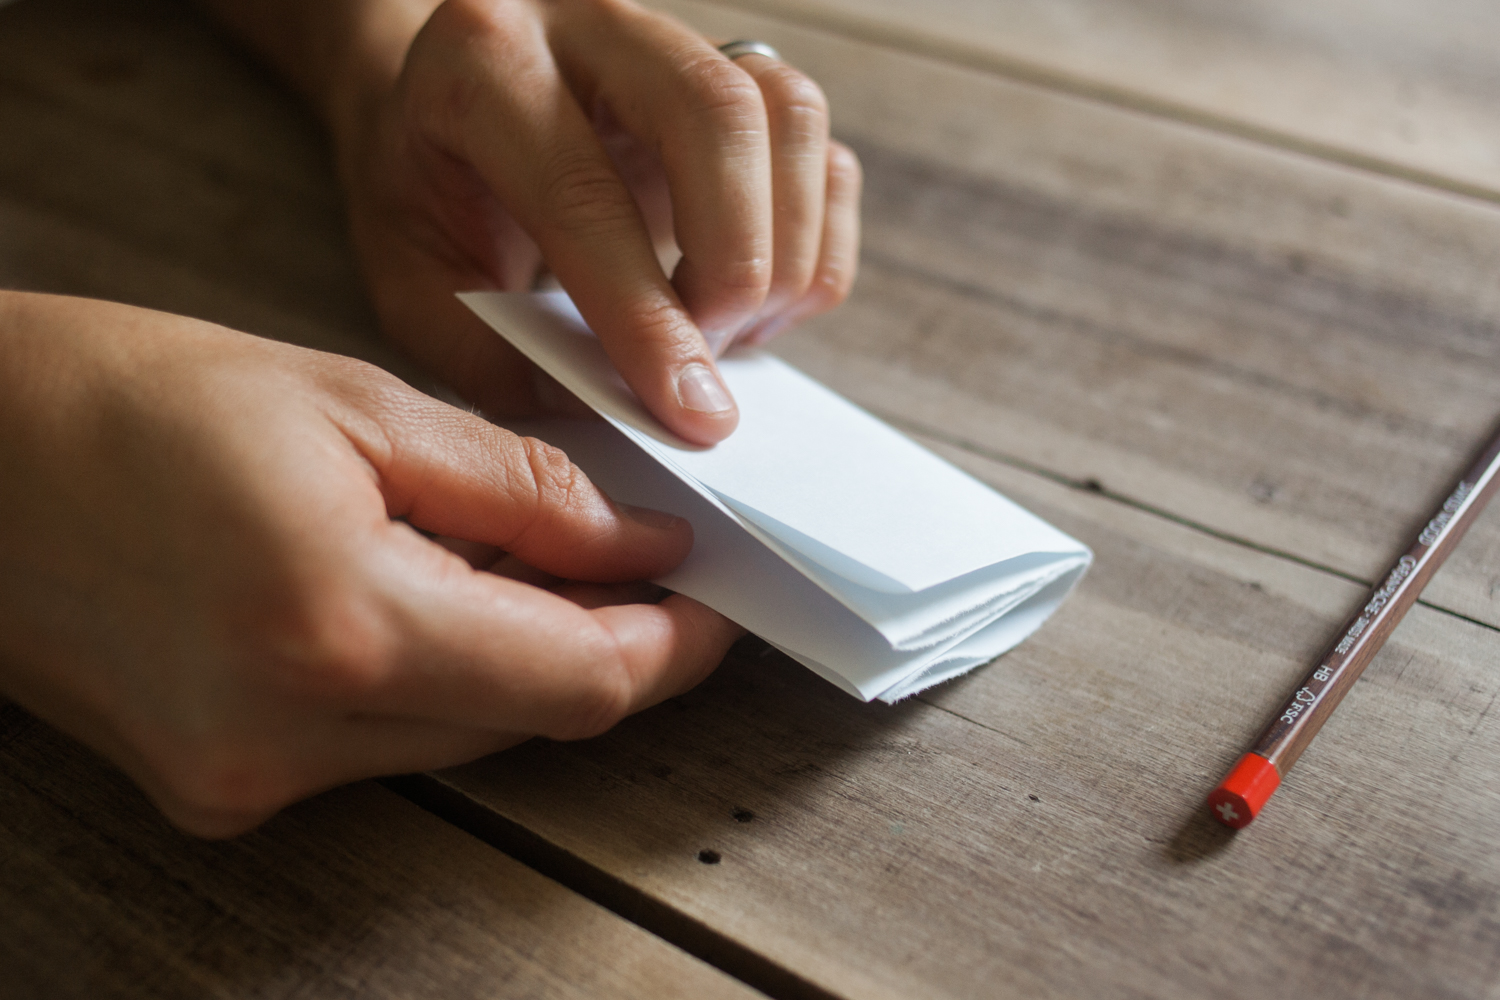
2. Take one short side and line it up with the fold in the middle, and crease. Flip the paper around and repeat.
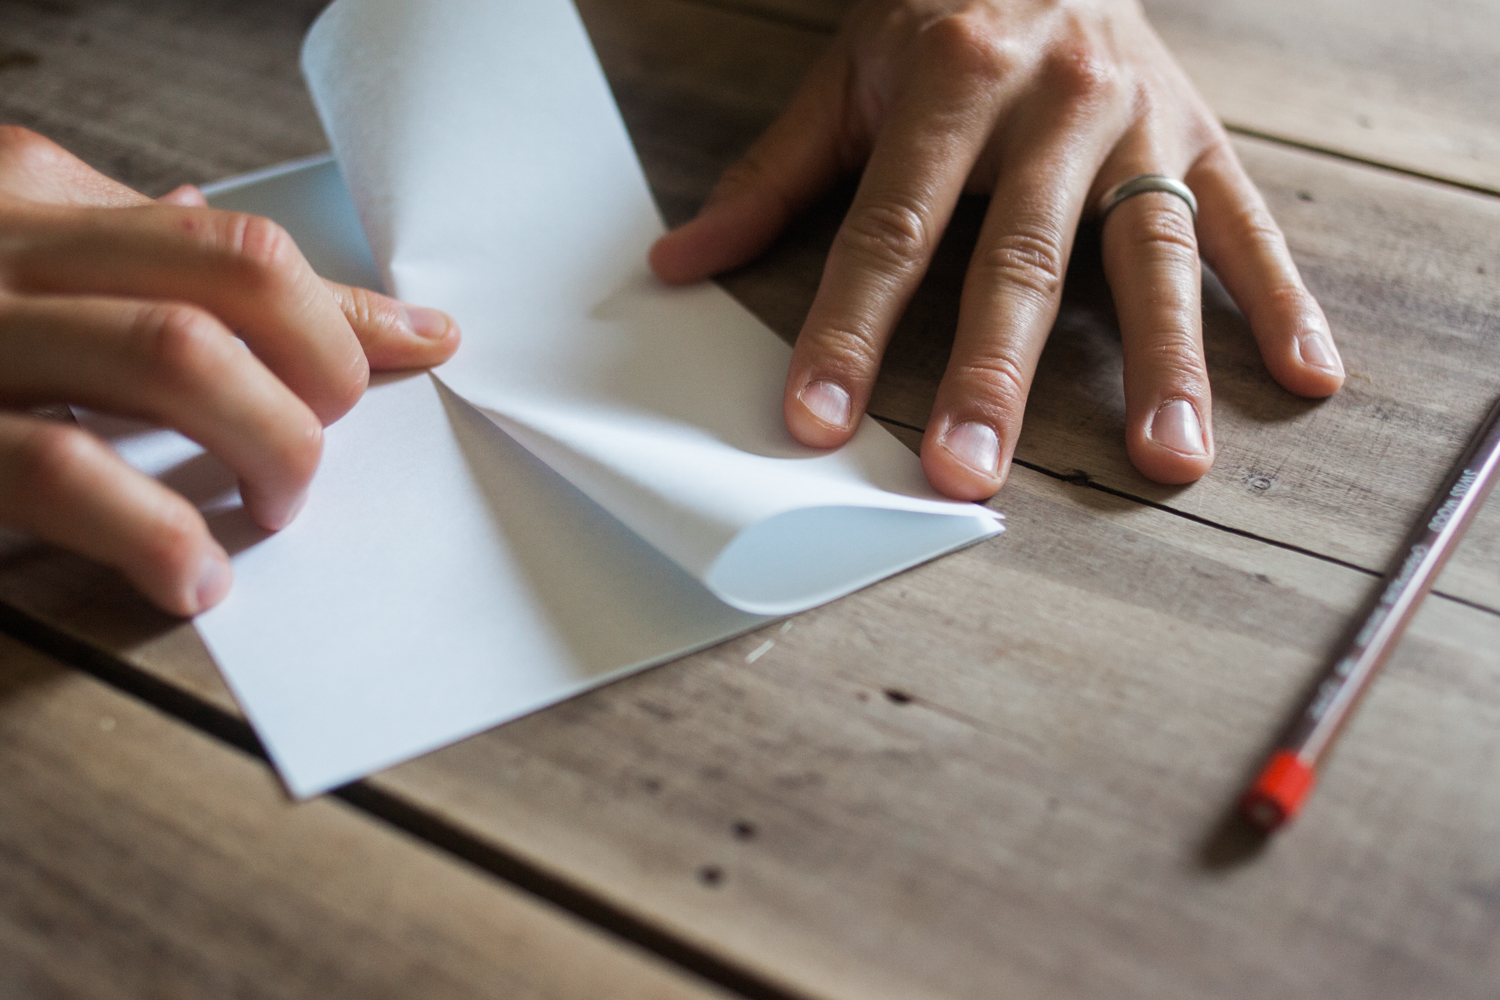
3. Unfold everything, then fold the paper in half lengthwise by bringing the long sides together. Crease.
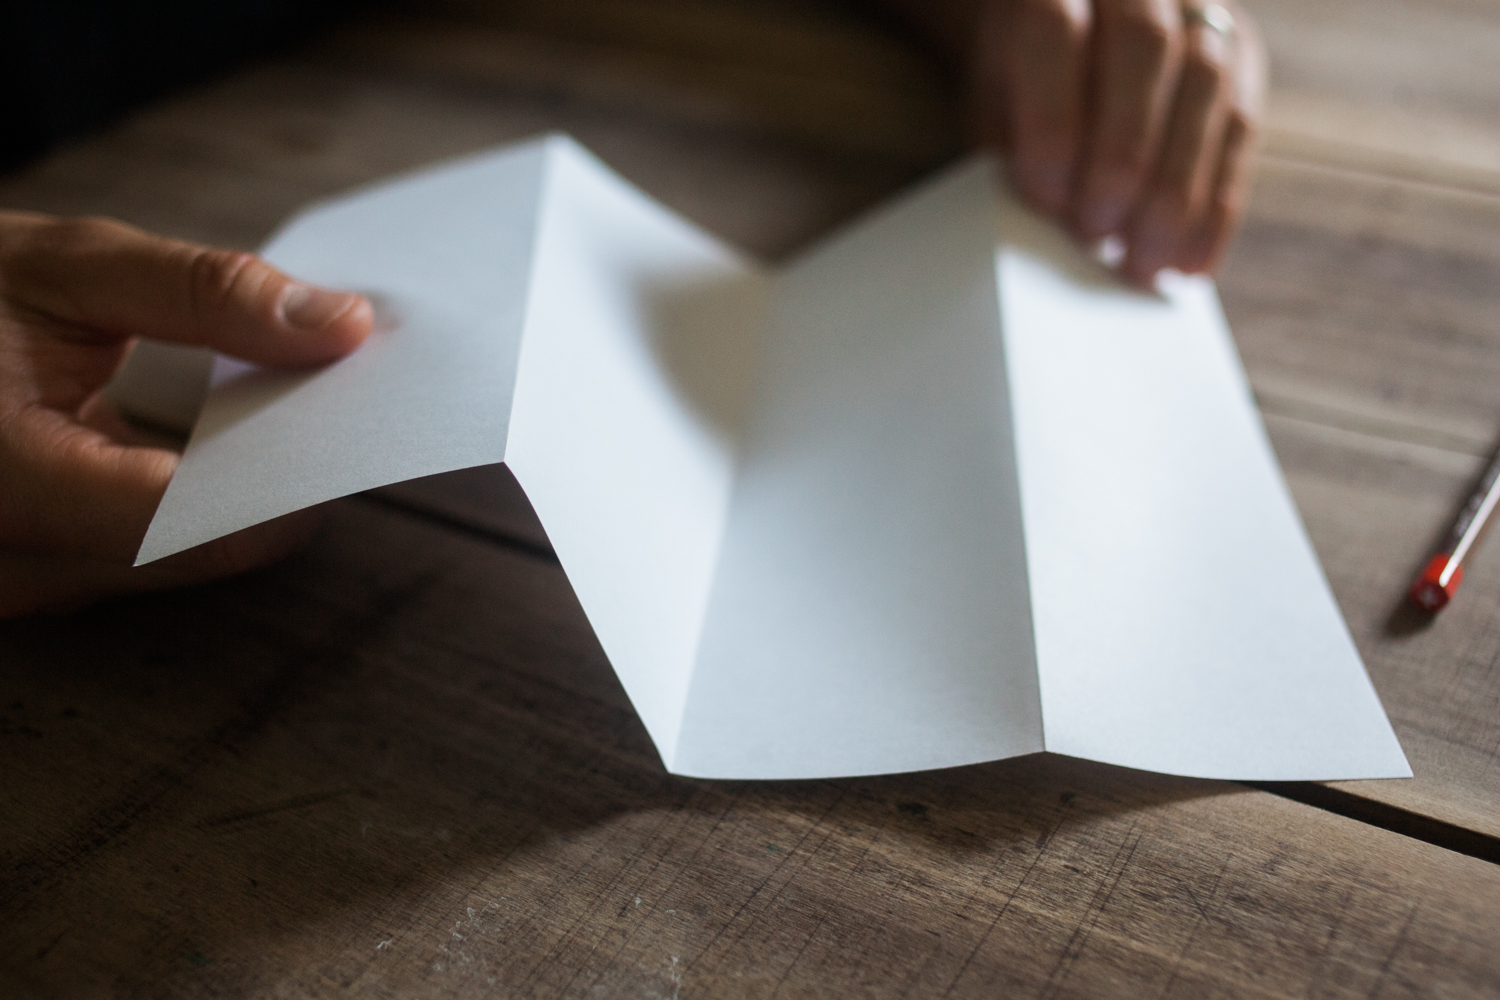
4. Completely unfold the paper again, then repeat step 1 by re-folding shortwise again. Give it a nice once-over with a fingernail to compress the crease.
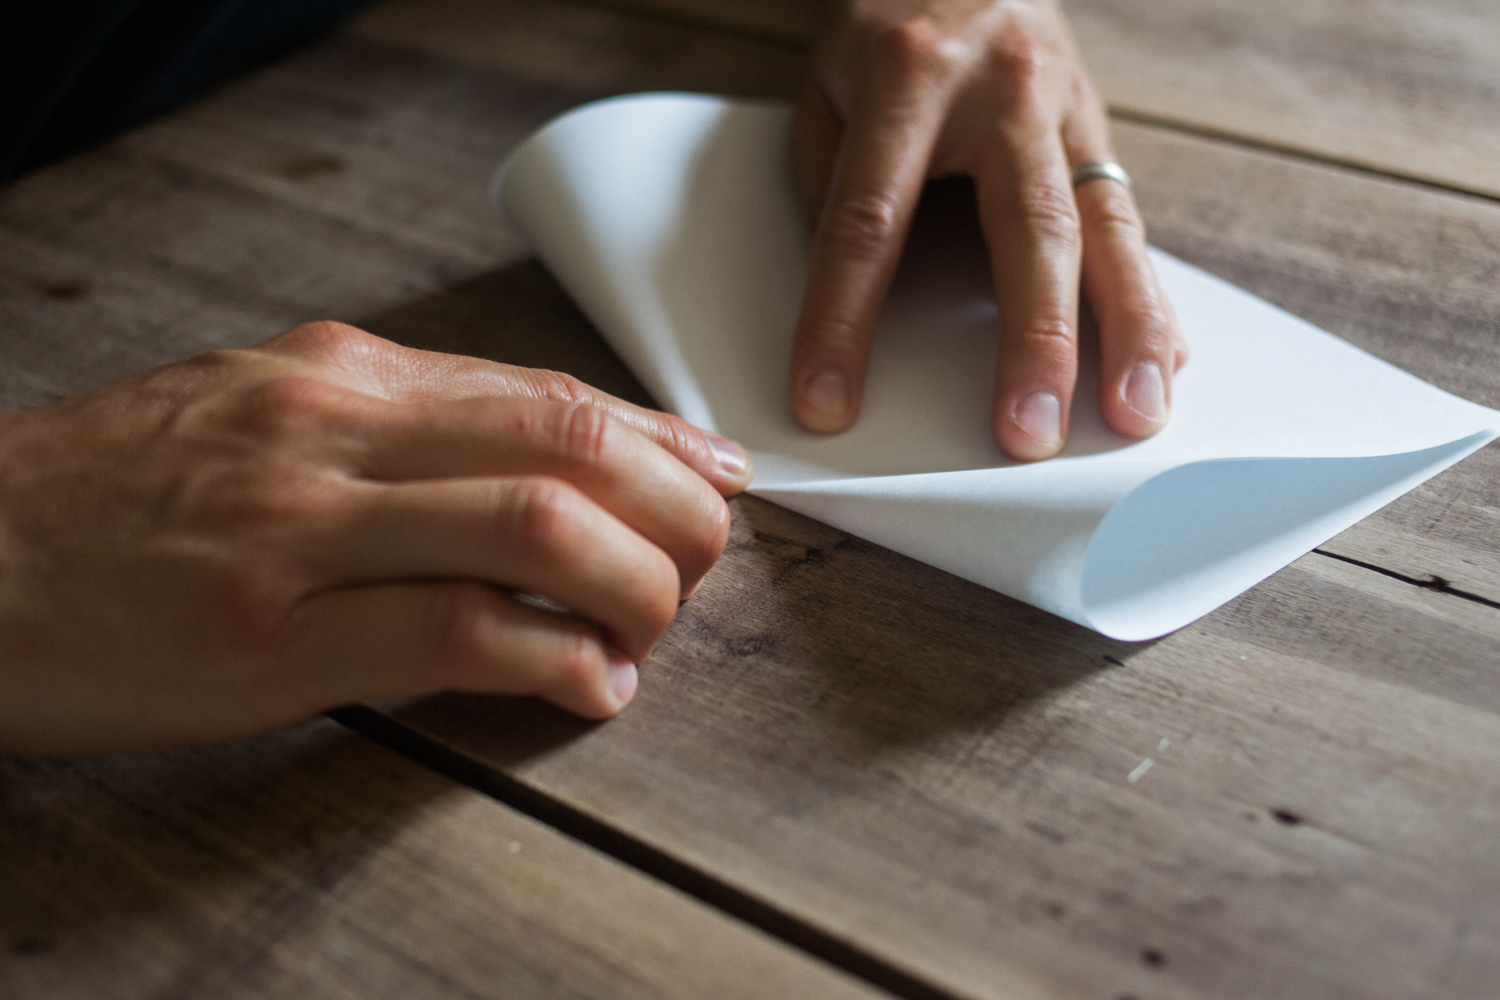
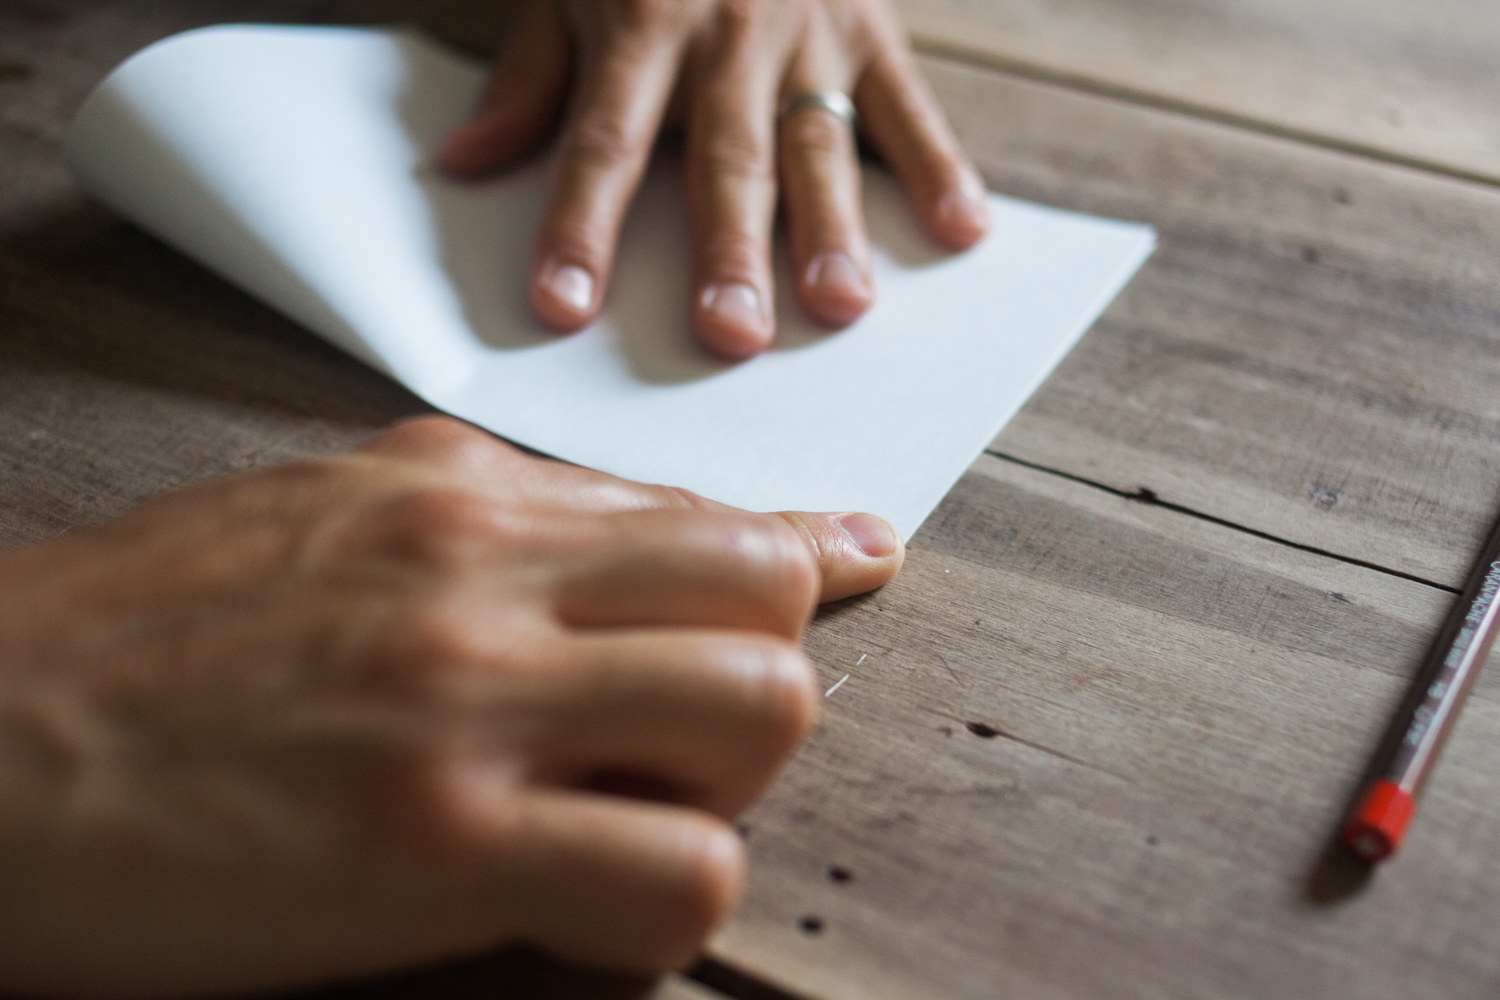
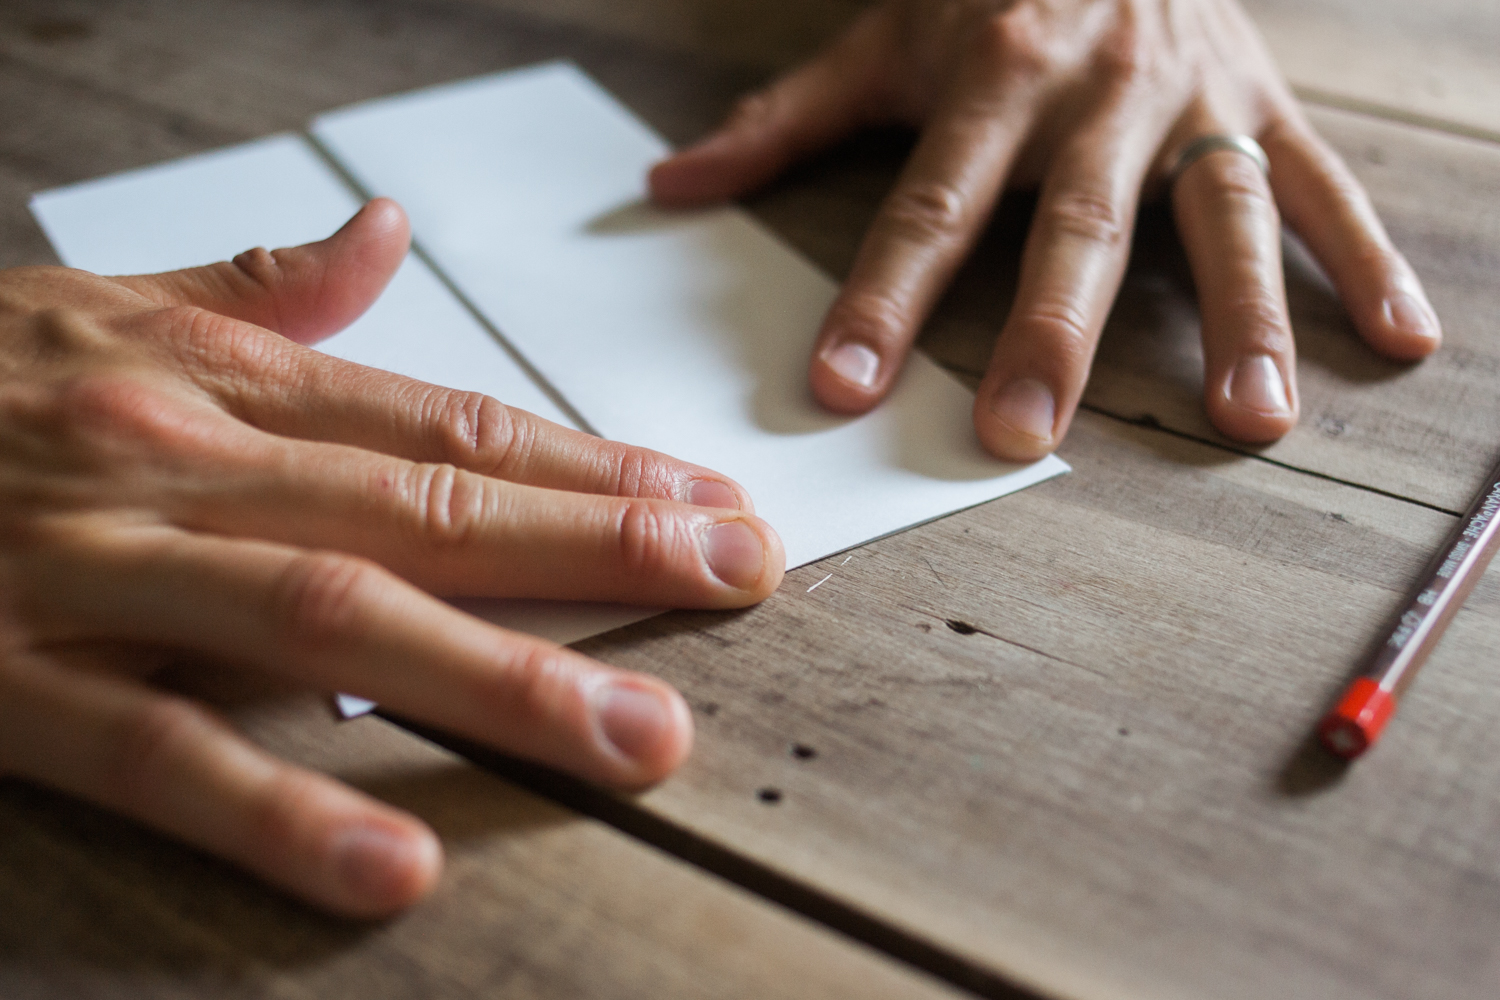
5. Carefully tear the paper along the crease in the middle, stopping halfway down the length of the crease.
(Begin the tear with your fingers close to the crease, then once you've started it, bring your fingers back to use a little more leverage.)


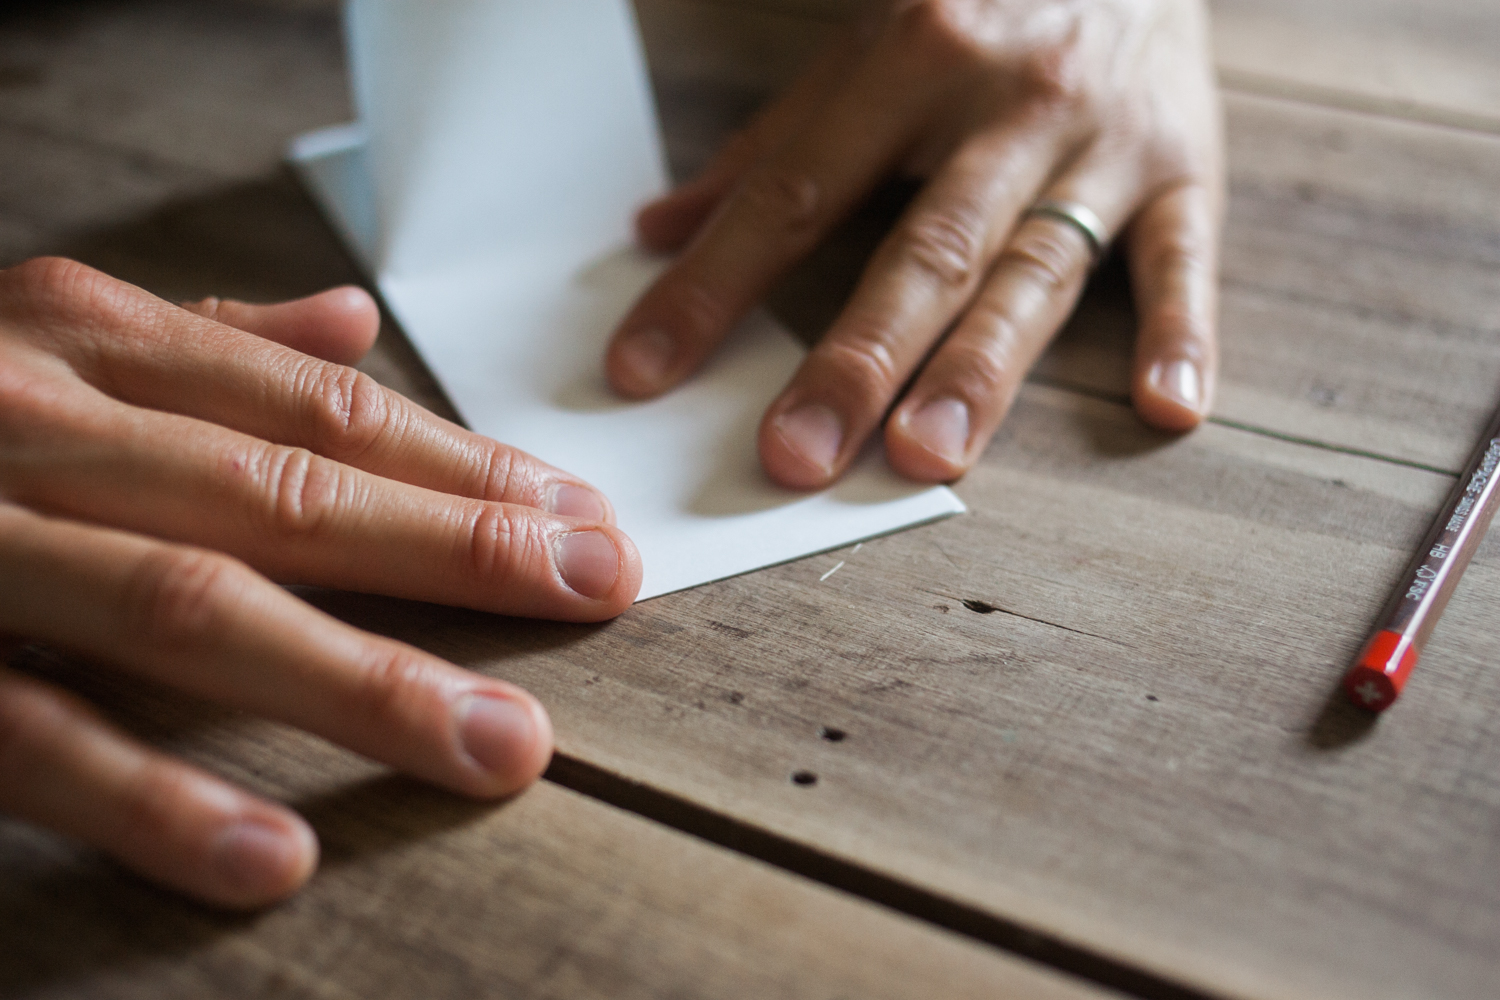
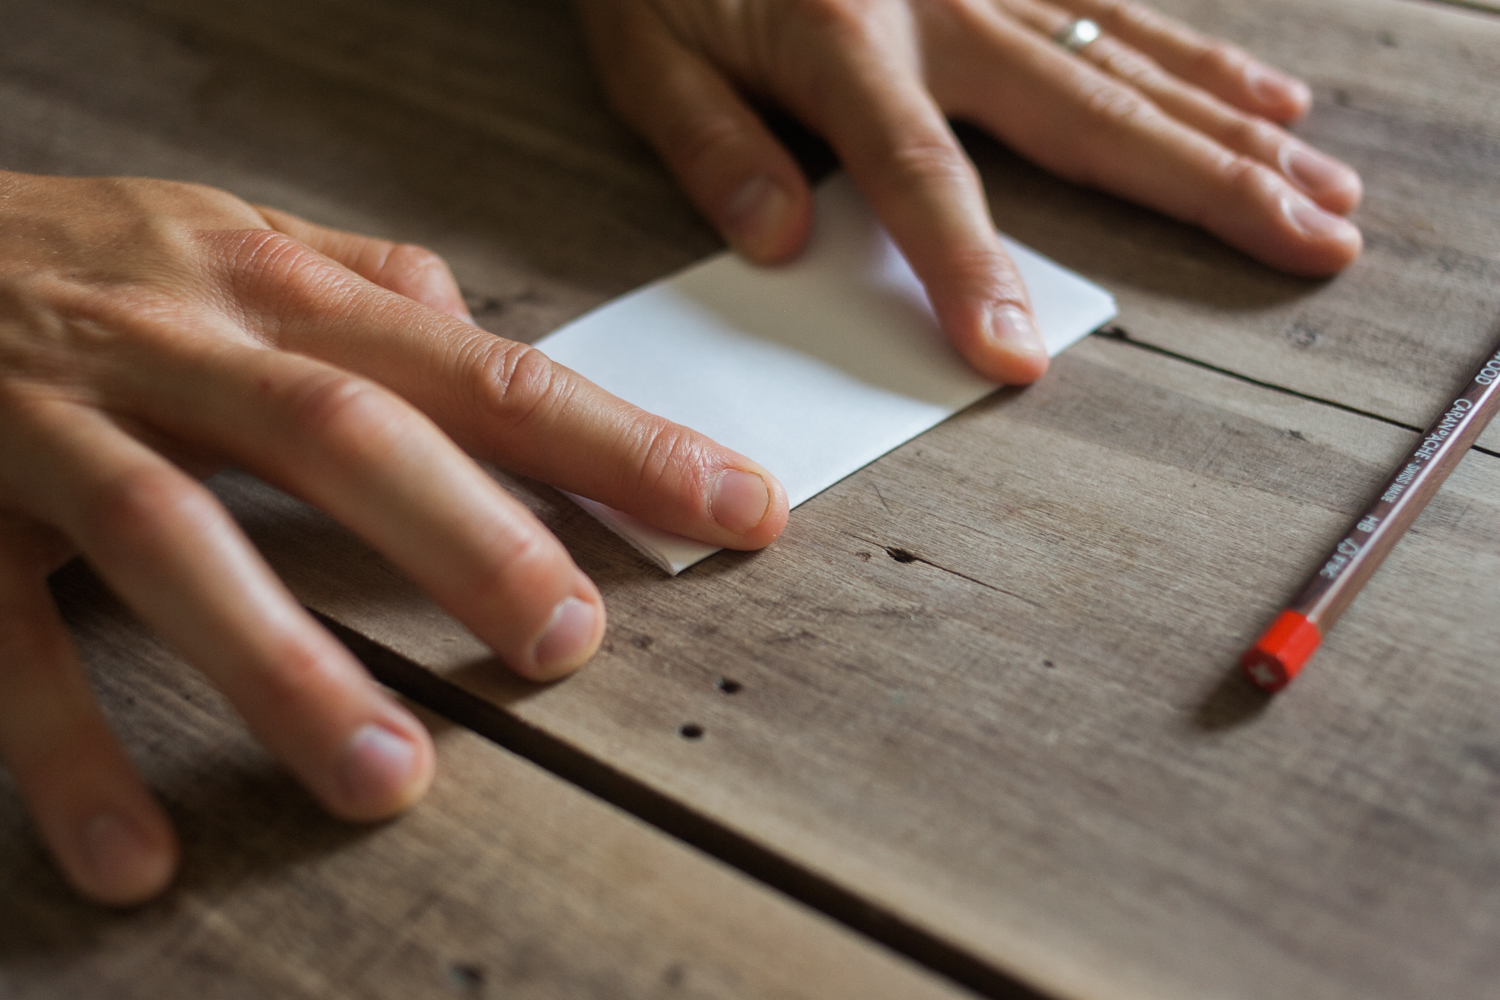
6. Unfold the paper again and repeat step 3 by refolding it lengthwise. You'll notice a diamond-shaped hole in the middle of the paper now. Push your hands towards each other to squish the diamond.
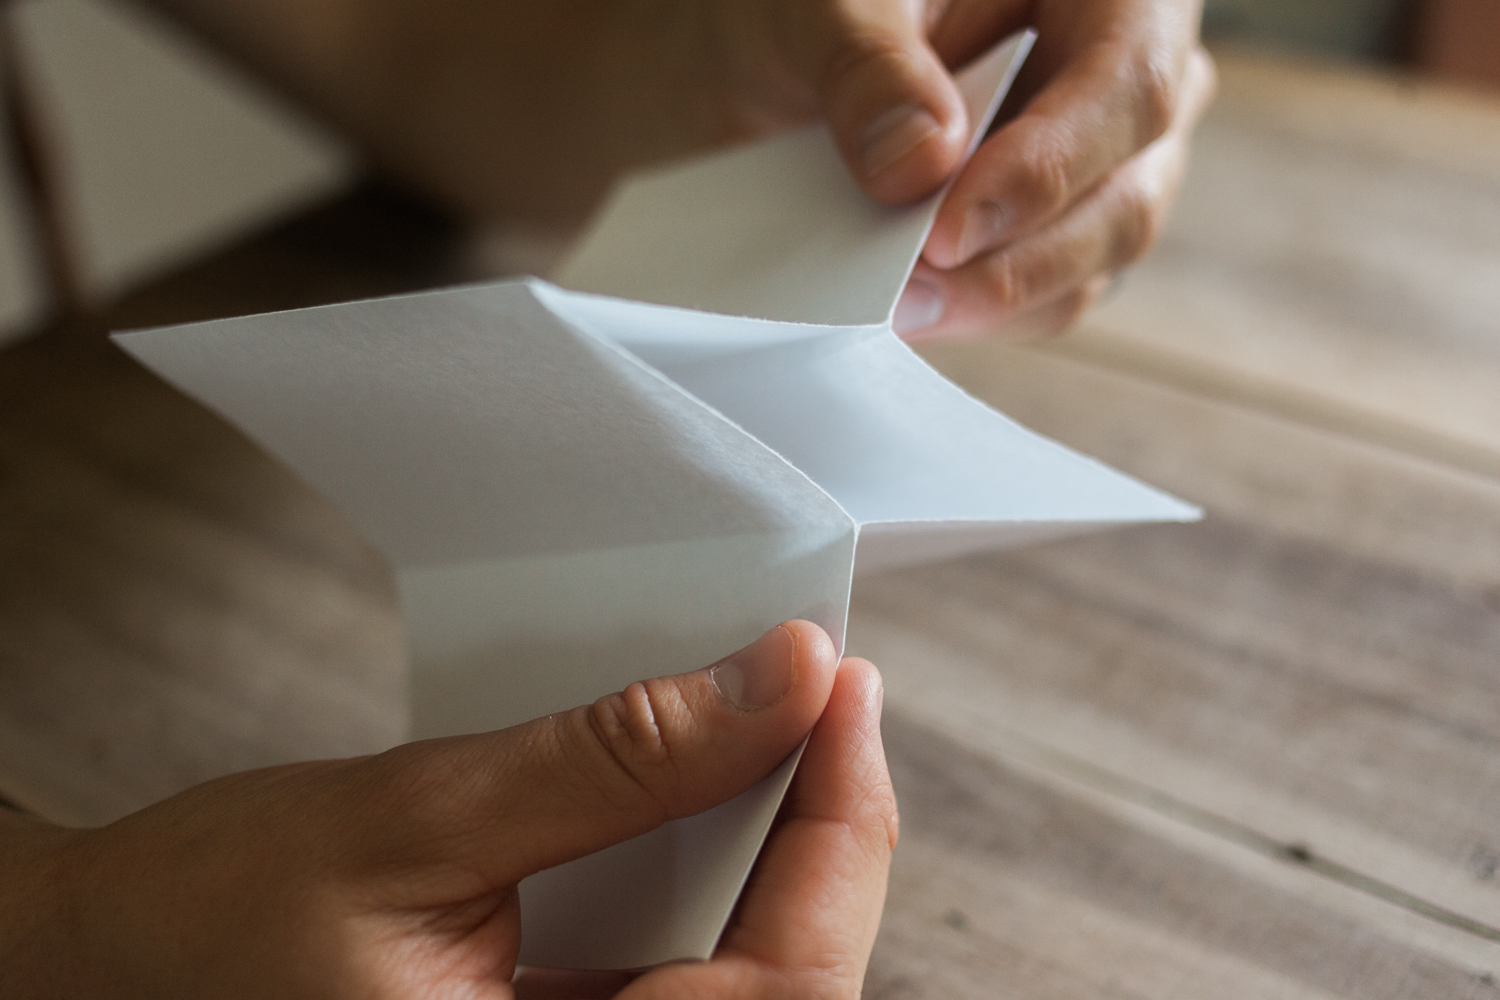
You've got yourself some pages now!

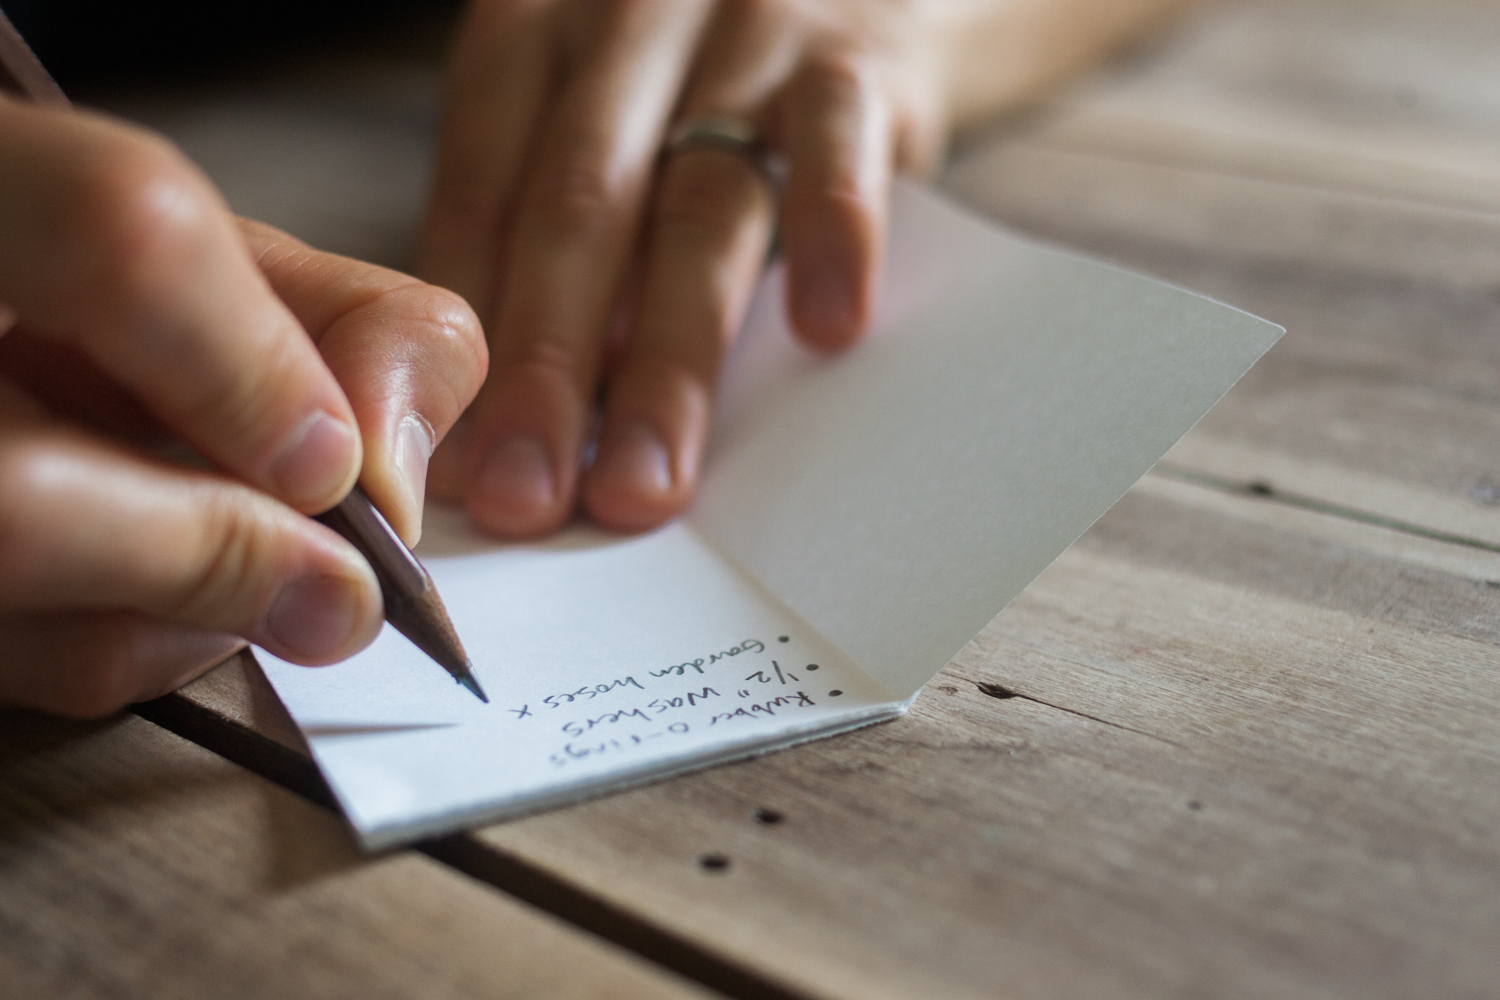
9. See the spine? Fold along it, and you're golden.

I used this particular instant book for a materials list to take to Lowe's today for a supply run.
Other Ideas for using an Instant Book
• Flash fiction piece (with my handwriting, I can get about 560 or so words into an instant book)
• Notes on the fly in the library, hardware store, bookshop, or presentation
• Shopping list for project supplies, with space for math and notes
• Go on a haiku walk
• Go full-on 90s punk and publish a zine: photocopy, fold, distribute


