How to: Carve a Simple Wooden Spoon from Any Hardwood
Look, I love making furniture. I love sourcing the materials, planning out parts, and executing the joinery. But lately, I find myself increasingly drawn to the “other” things you can do with wood. What are the smaller, craft level projects that show off the beauty of working with natural materials, but can be completed in a weekend, or even a single sitting?
Enter this new book by Austin, TX-based artist Celina Muire: The Wood Carver’s Dozen, from Princeton Architectural Press. It’s a collection of twelve introductory level projects and an overview of the tools and materials to make them. And none of them require a table saw. Heck, most of them don’t even require a drill.
The photography is lovely, and the instructions are simple and clear. Each piece can be made with the same basic tool kit, and they’re lightweight enough that you can do the work anywhere: a spare corner, your dining room table, and in some cases, an easy chair while gorging on Netflix.
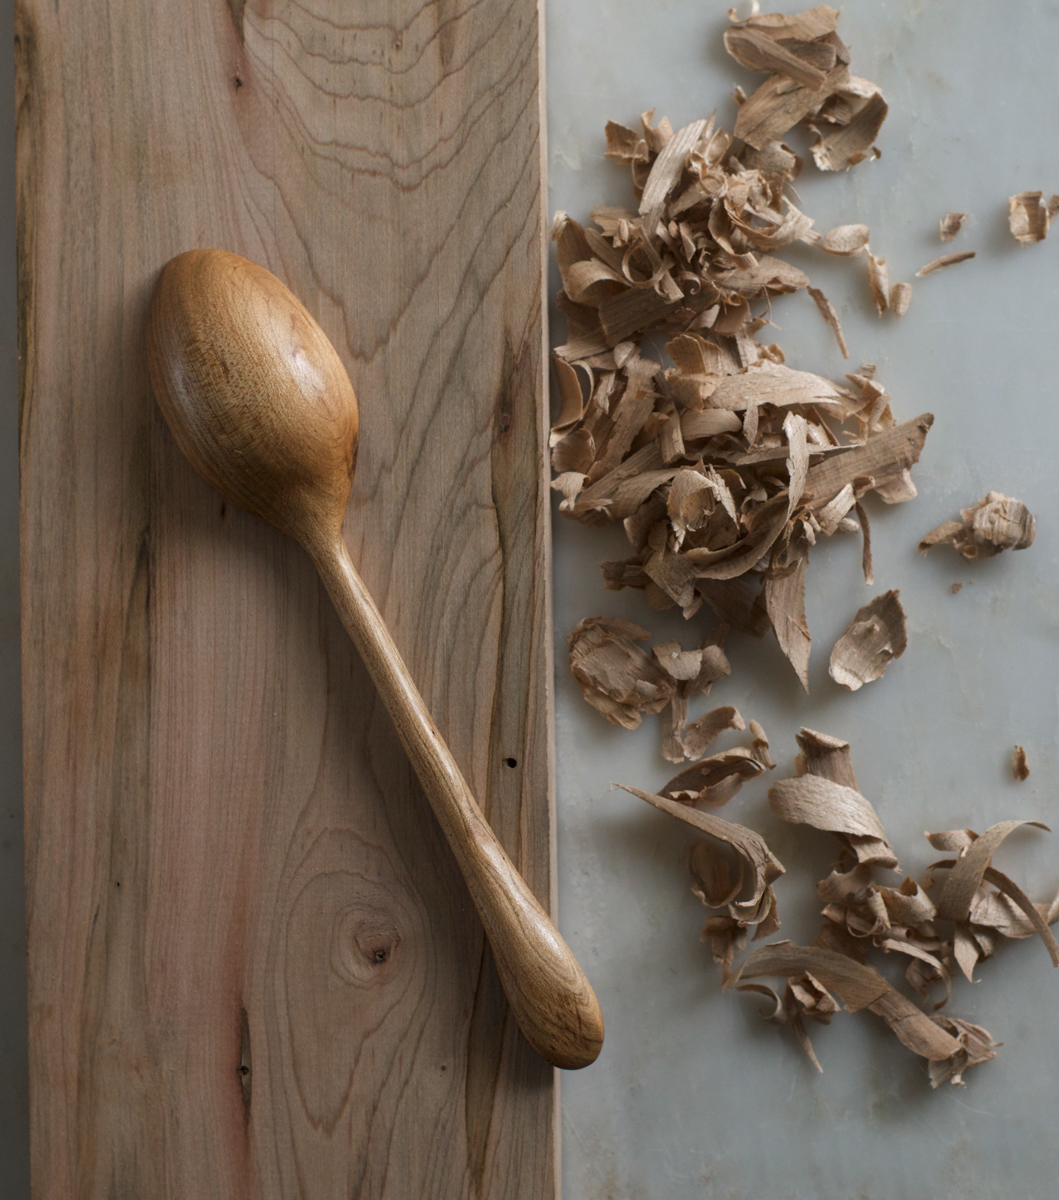
Celina and her team were kind enough to let us print a project from this book: a classic dessert spoon carved from maple using a simple gouge. If you’ve been interested in spoon carving, but the whole idea of hook knives and green wood was a little much, this is a great way to get started. You can use any hardwood you like, provided that it’s food safe. (Also covered in the book.)
So, check out the details below, and if it strikes your fancy, we highly recommend the whole book. It’s available now, and a worthy addition to your own library, or, coupled with a gouge and a block of wood, makes for an excellent gift for a creative person. Go carve stuff!
This tutorial is reprinted from The Wood Carver’s Dozen by Celina Muire © 2018 Quarto Publishing PLC. Reprinted by permission of Princeton Architectural Press. All images © Quarto Publishing PLC.
This is the classic spoon tutorial. There are many variations of the spoon, but this is the basic foundation for carving the bowl and handle.
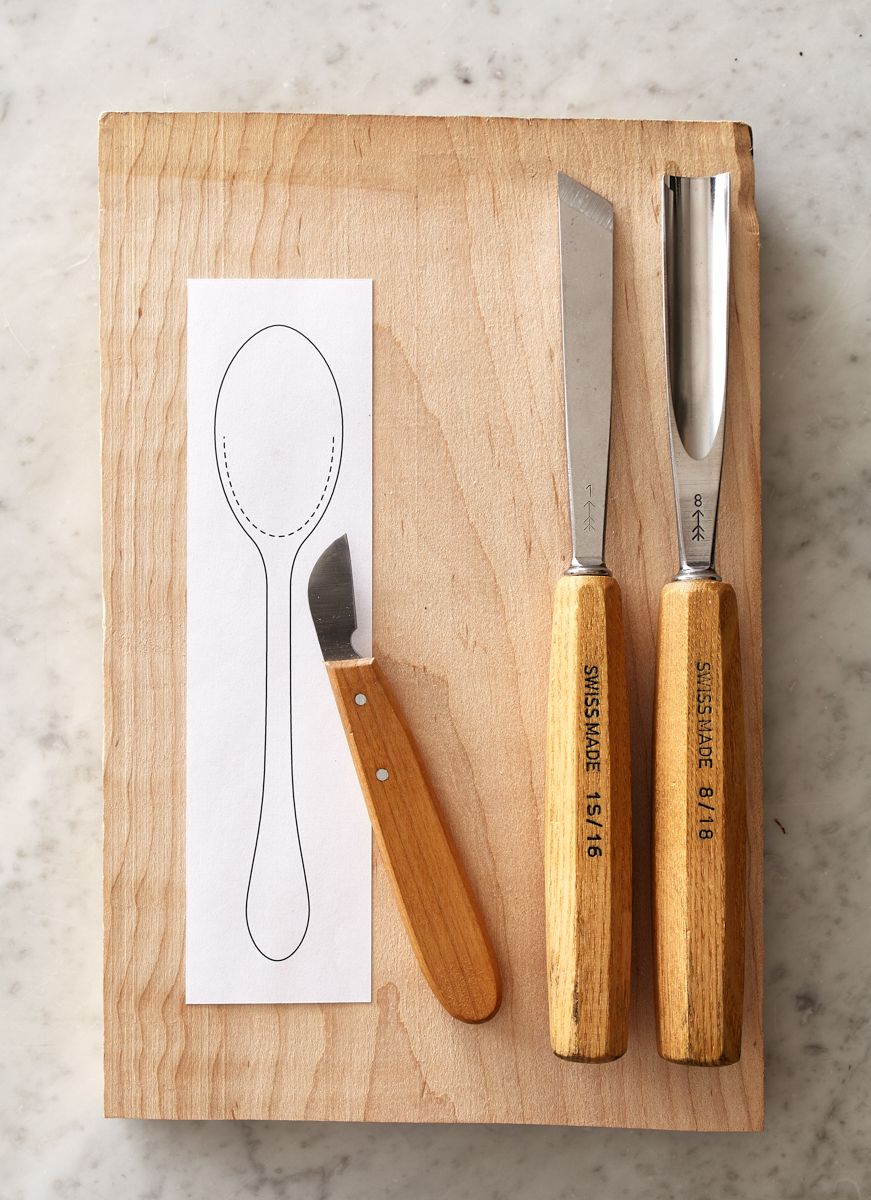
Tools and Materials:
- Hardwood: approx. 9 x 2½ in. (23 x 6 cm) and ¾ in. (2 cm) thick for one spoon; a 9 x 5 in. (23 x12.5 cm) piece of maple ambrosia was used here to make three spoons
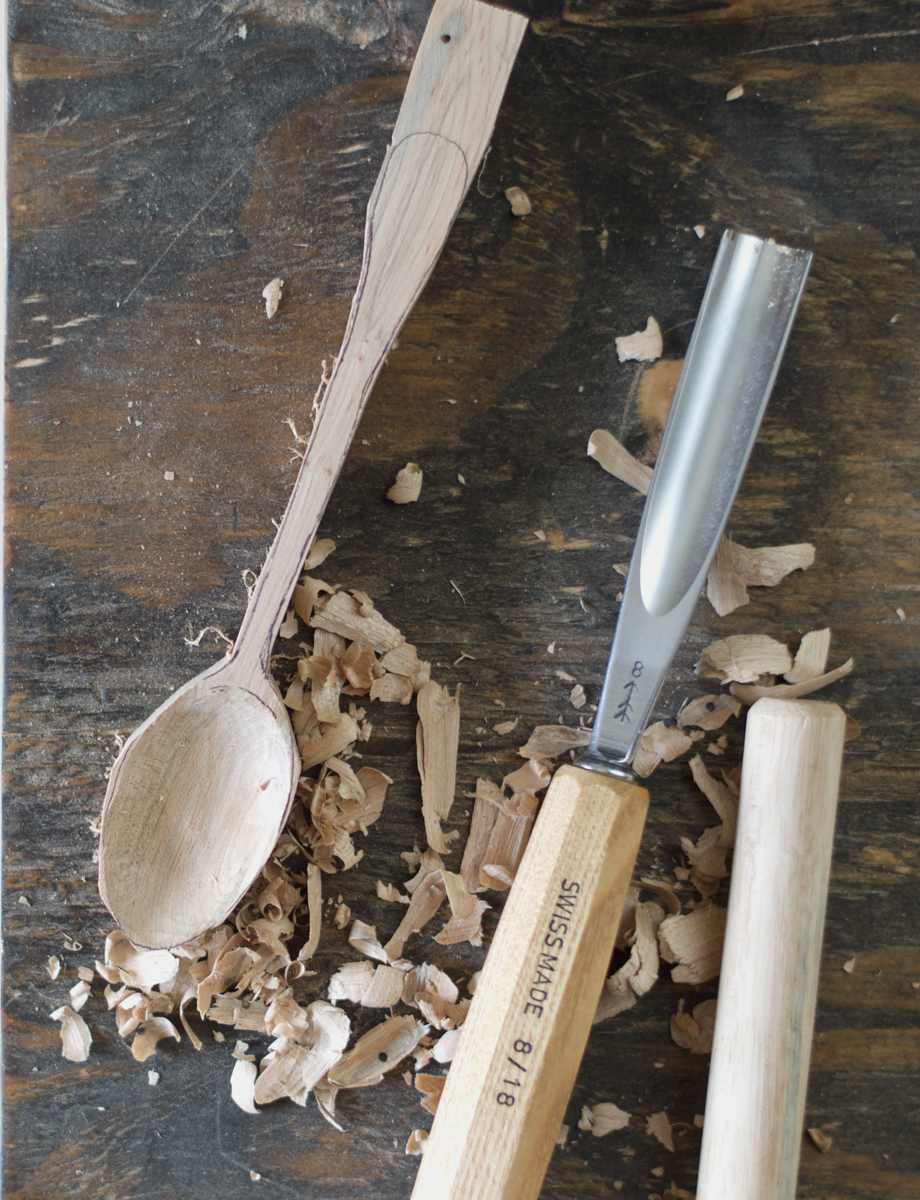
- #8 sweep gouge, 18 mm
- #1s sweep double-bevel skew chisel, 16 mm
- Basic chip carving knife
- Bandsaw or jigsaw
- Clamps
- Sandpaper: coarse (80–100 grit), medium (120–150 grit), and fine (220–320 grit)
- Food-safe finish: mineral oil and beeswax were used here
- Lint-free cloth
- Printable Template
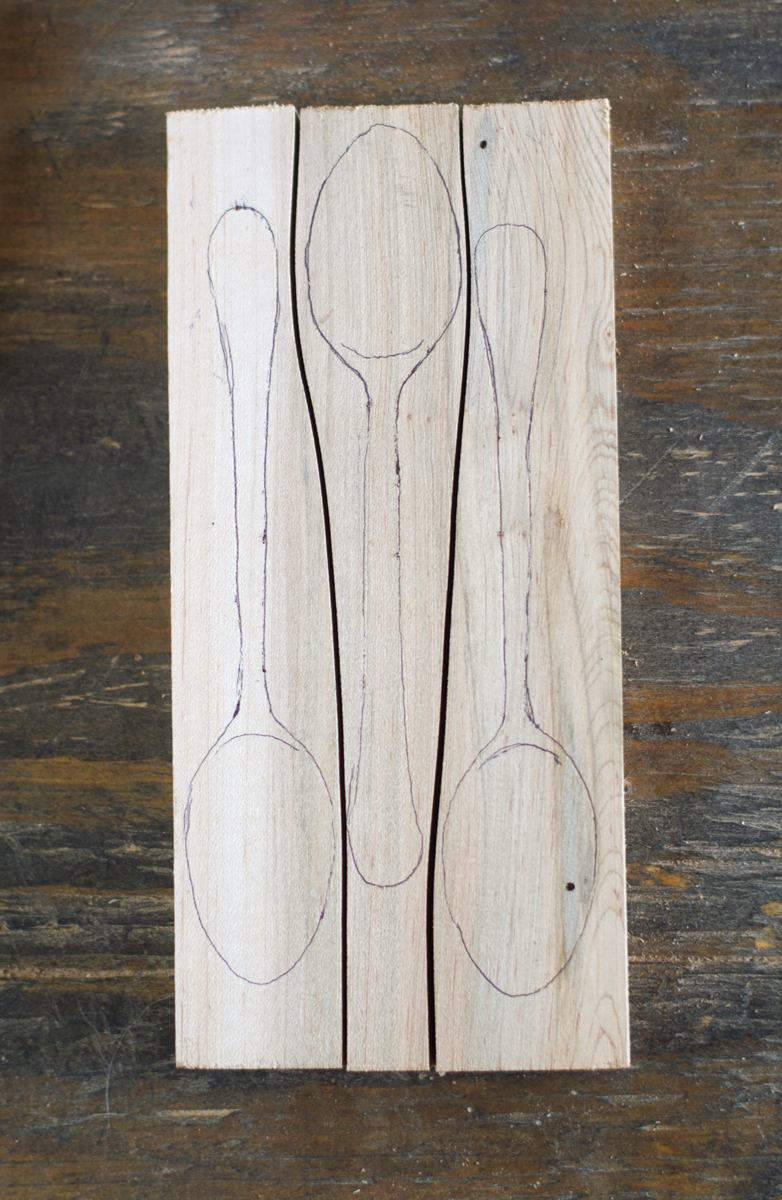
Step One: Drawing the shape
Use the template to sketch the front view of the spoon onto the wood. Position the drawing so that the length of the handle runs in the same direction as the grain of the wood. You can save space on a larger piece of wood by sketching multiple spoons side by side, bowl to handle.
Step Two: Cut the blanks If you have drawn multiple spoons on a single piece of wood, use a bandsaw or jigsaw to cut the wood into separate pieces for each spoon. Do not cut right up to the outline of the spoons, because the extra wood will be needed to support the clamp.
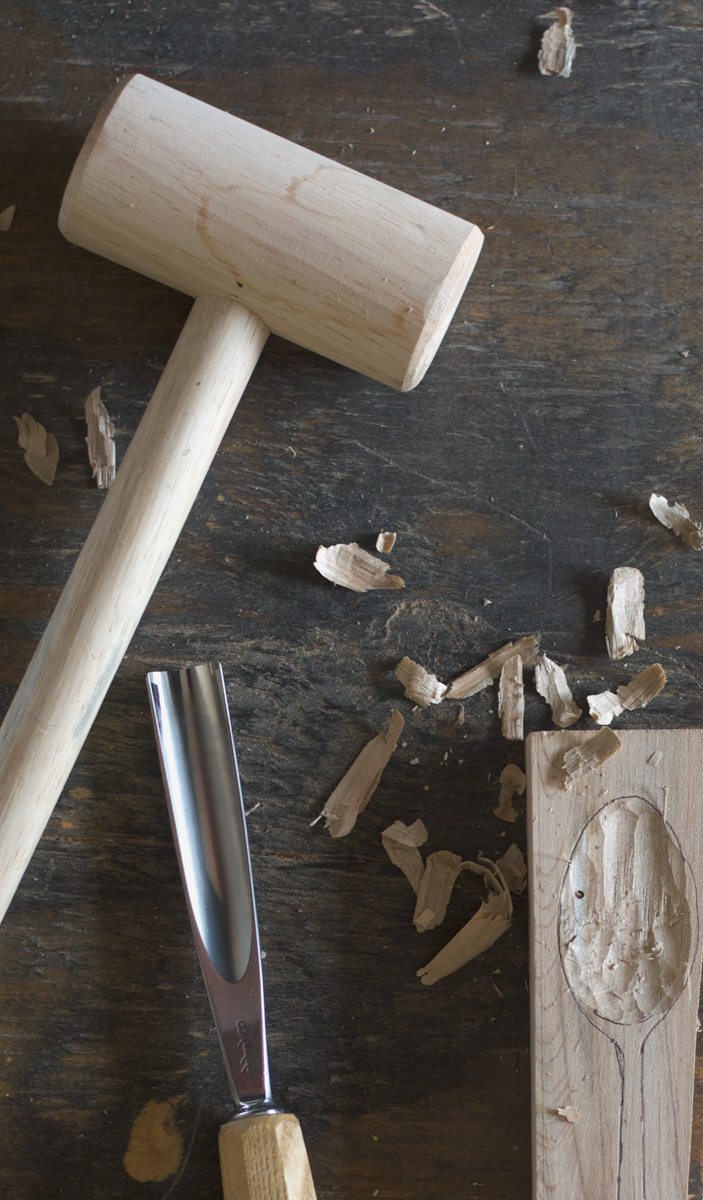
Step Three: Begin to carve the bowl
Clamp the wood to the table. Use a gouge to scrape out the wood from the bowl of the spoon, starting at the south end of the bowl (nearest the handle). Do the same on the north side of the bowl.
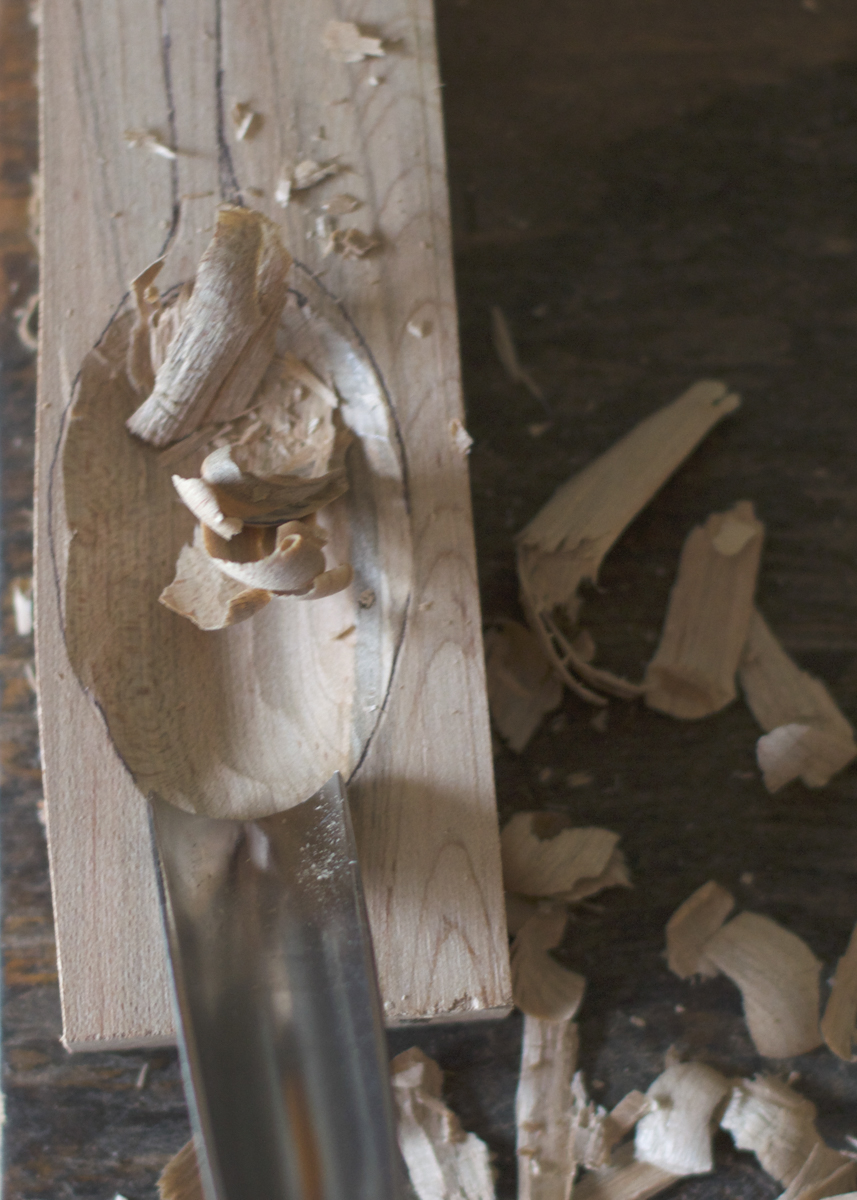
Step Four: Finish the bowl Continue gouging a shallow bowl. The bowl of a dessert spoon is not deep; it is deepest by the handle, graduating to a shallow dip at the tip of the spoon. You will know you are finished gouging when you get small, curly chips of wood.
Step Five: Cut out the shape Use a bandsaw or jigsaw to cut around the shape of the spoon, but leave extra wood at the end of the handle so you can still clamp the spoon to the table. Use the template to draw the side view of the spoon on each side of the wood. These guidelines indicate how much wood you will need to take away from the back of the spoon.
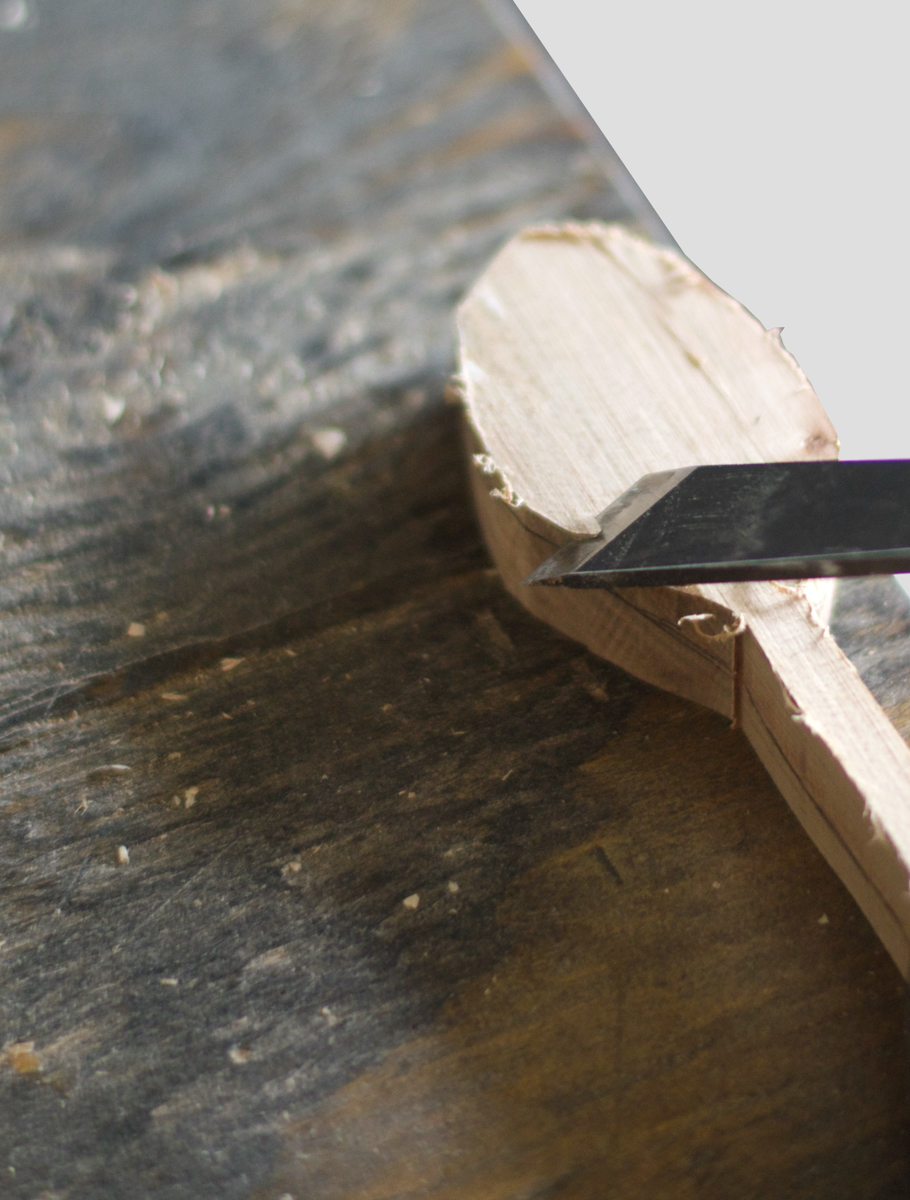
Step Six: Define the back of the bowl Clamp the spoon to the table, bowl side down. You may find it helpful to use two clamps on the handle end of the spoon to hold the wood steady for chiseling. Use a chisel to take away the wood on the sides to shape the bottom of the bowl. Start on either the left or right side and push the chisel in the direction of the grain, away from the handle. Only take away small chips at a time. The bowl is fragile in this state, and getting too greedy with the chisel can result in a cracked spoon. Be patient or you could end up with a “spork.”
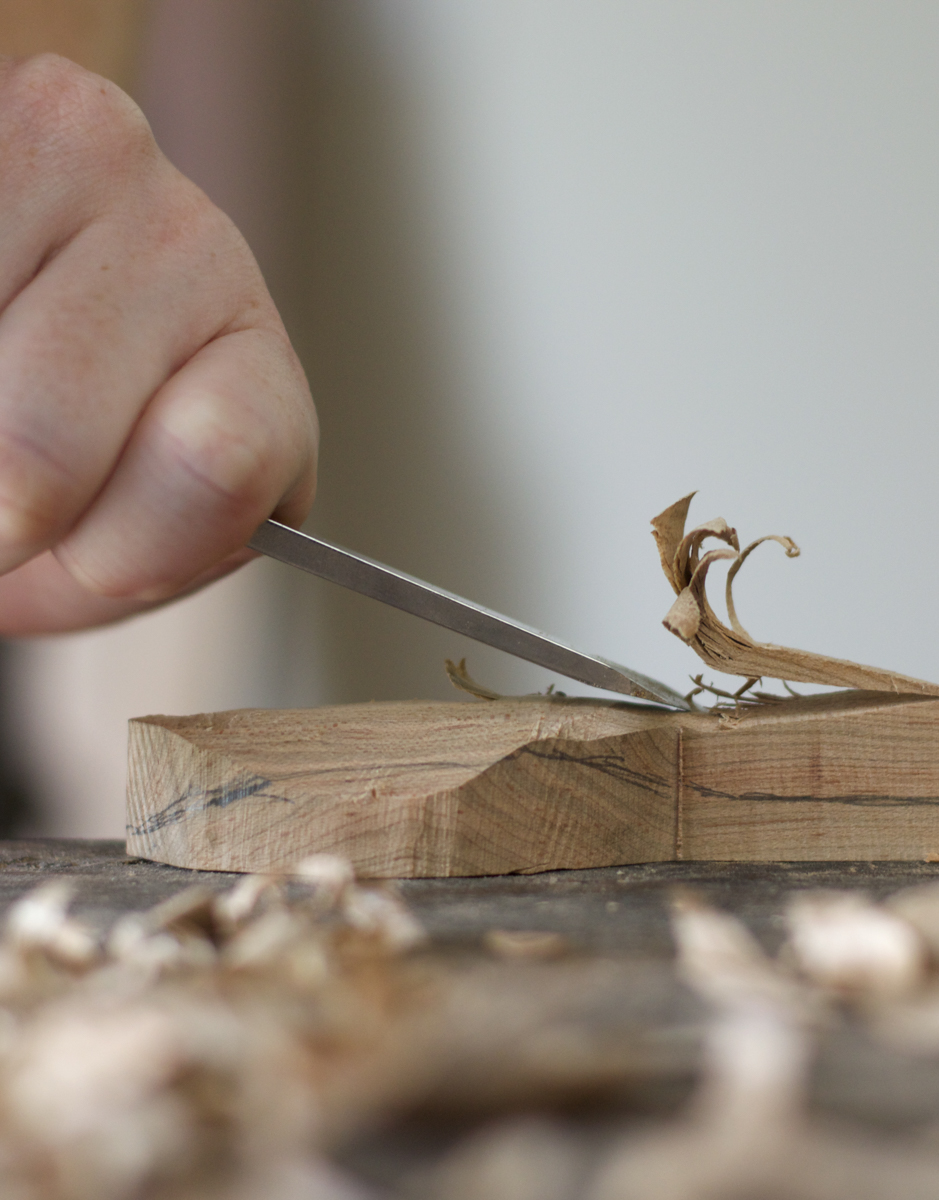
Step Seven: Rough out the handle Use the chisel to shape the tip of the bowl and the back of the handle. For the handle, start at the bowl and work toward the tail end to slim down the shape.
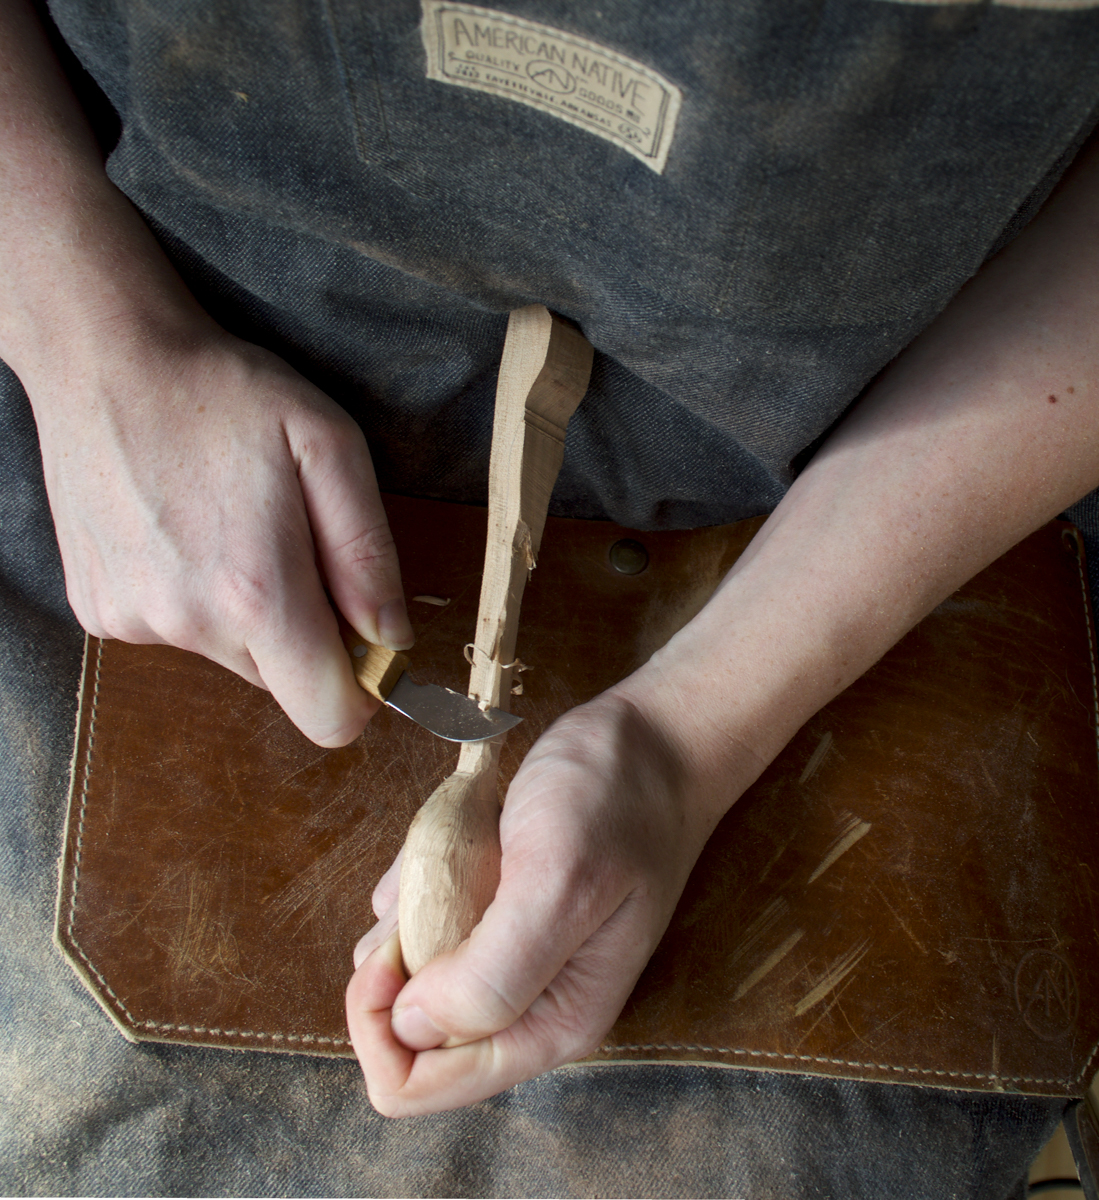
Step eight: Carve the handle Use a carving knife to refine the shape of the handle, working from the neck to the end of the handle. Holding the north end of the spoon, lightly carve away the hard edges using a sweeping motion. Don’t cut too deeply or you will risk breaking the spoon. Use this technique to round out the curves on the bowl and handle.
Step nine: Sanding Starting with coarse sandpaper, sand the shape of the spoon. Continue sanding, working your way up through medium to fine sandpaper.
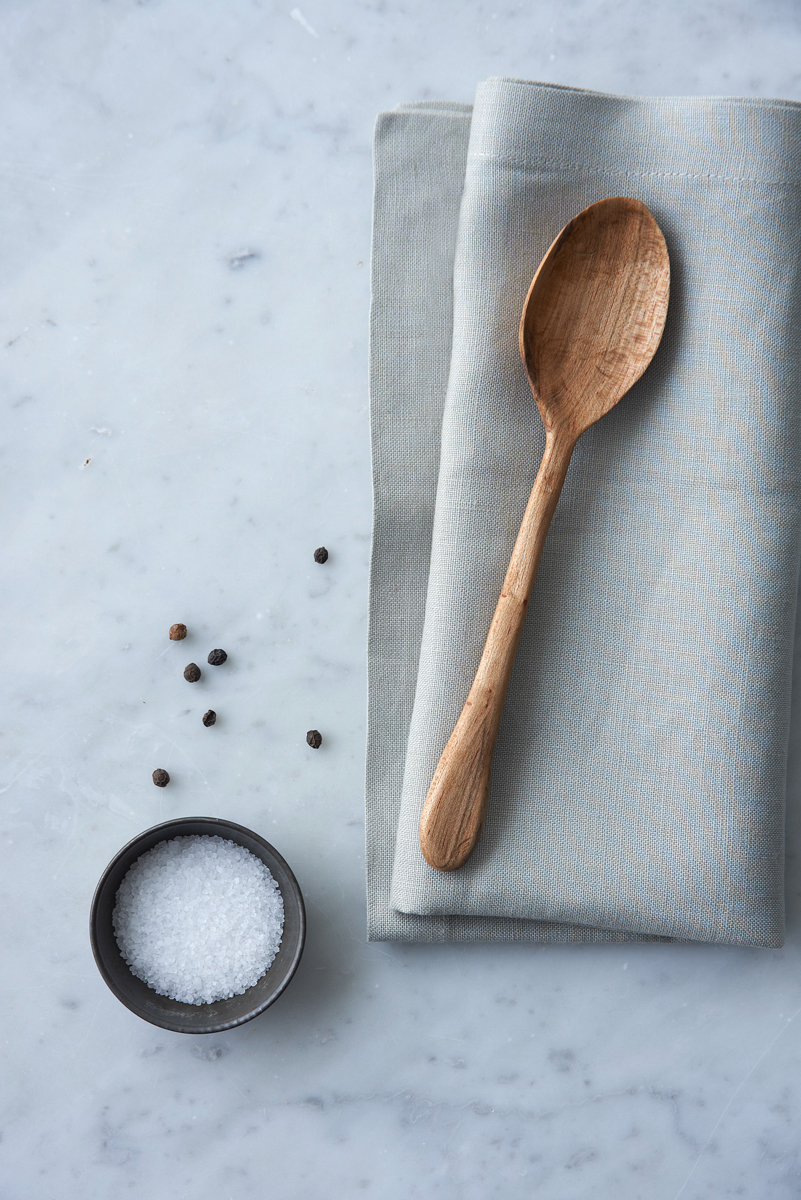
Step Ten: Finishing Remove all dust from the spoon and apply a food-safe finish with a lint-free cloth. I used a combination of mineral oil and beeswax.


