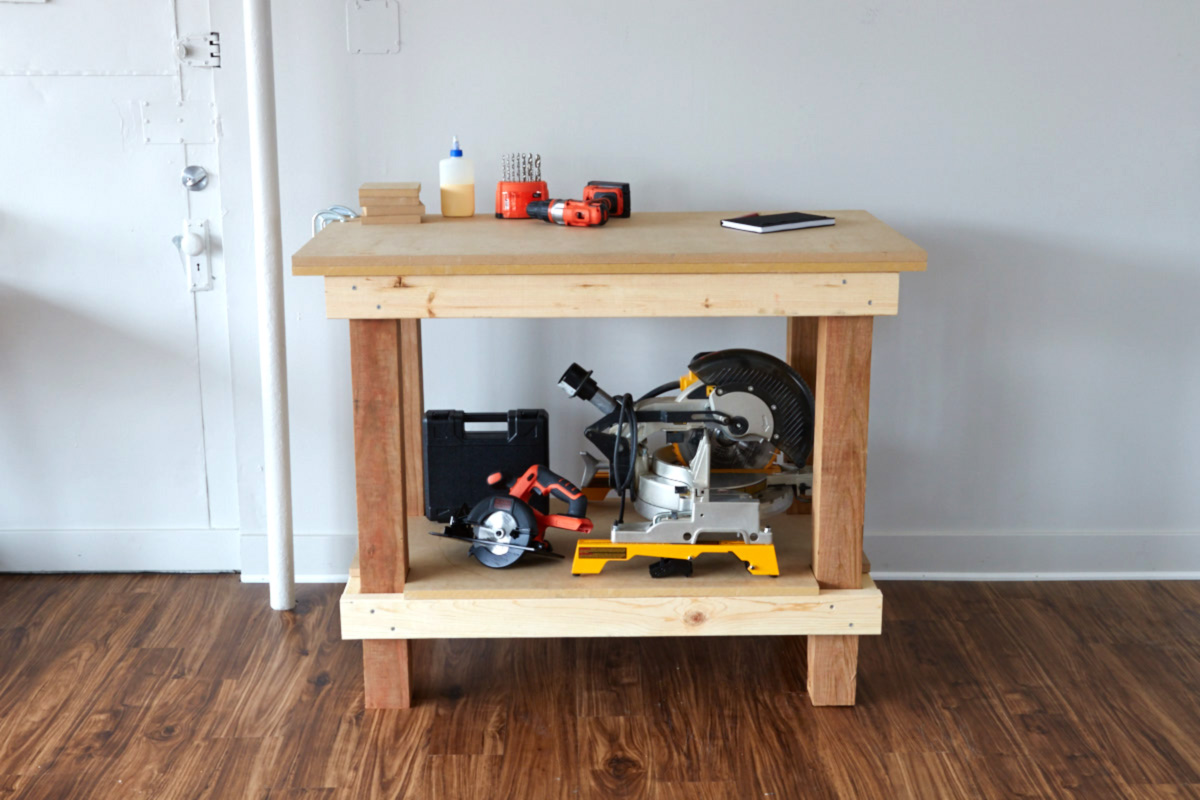
How to Build a Sturdy Workbench in a Single Day
This post is sponsored by the DIYZ® app.
A good sturdy garage workbench is one of the simplest, most useful projects any woodworker can embark upon. In fact, it's probably the first project every woodworker should embark up. And yet it tends to go by the wayside. You see people building remarkably complicated pieces on rickety, unimpressive workbenches.
There's a saying about the cobbler's shoes that goes here but I can't figure out if it works or not. Anyway, the point is, having a rock-solid work surface on which to build other things is really important. And you can make a great workbench without spending too much money or much time. Read on to find out how.
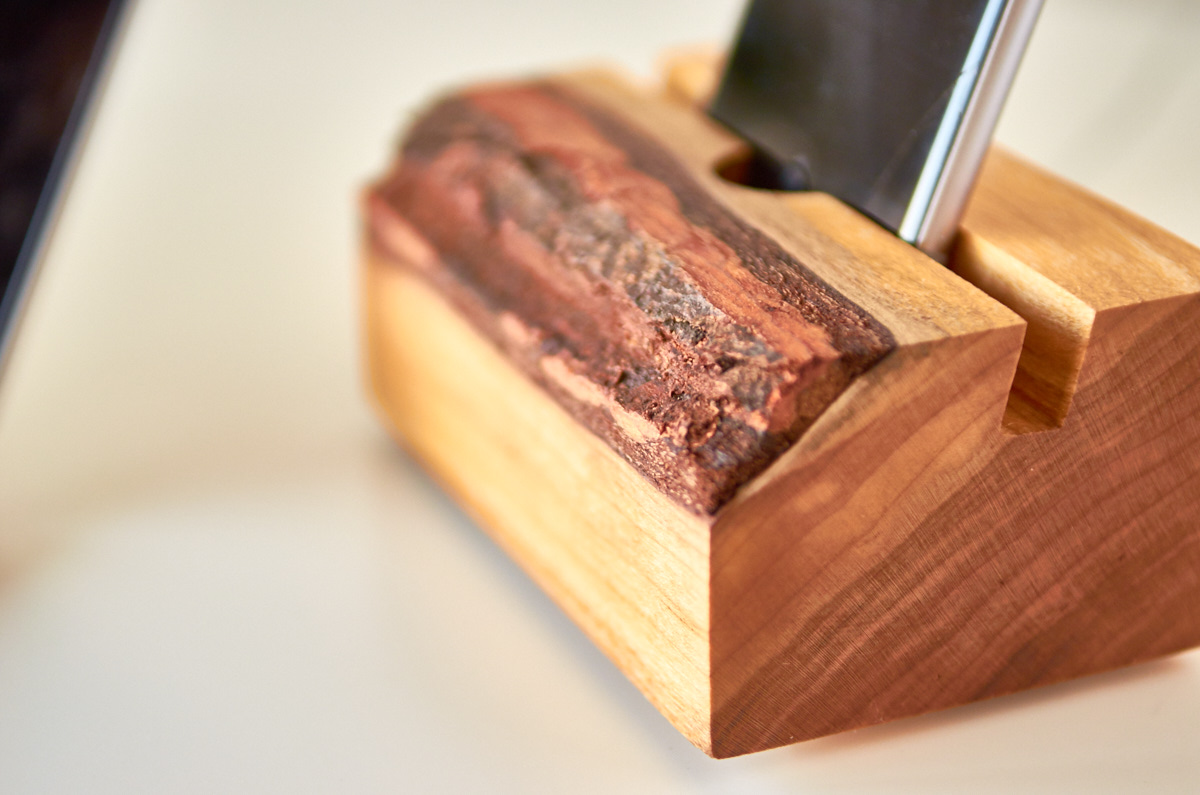
Check out the first project we did in partnership with DIYZ; its a rustic phone charging station made from a gorgeous slab of hardwood:
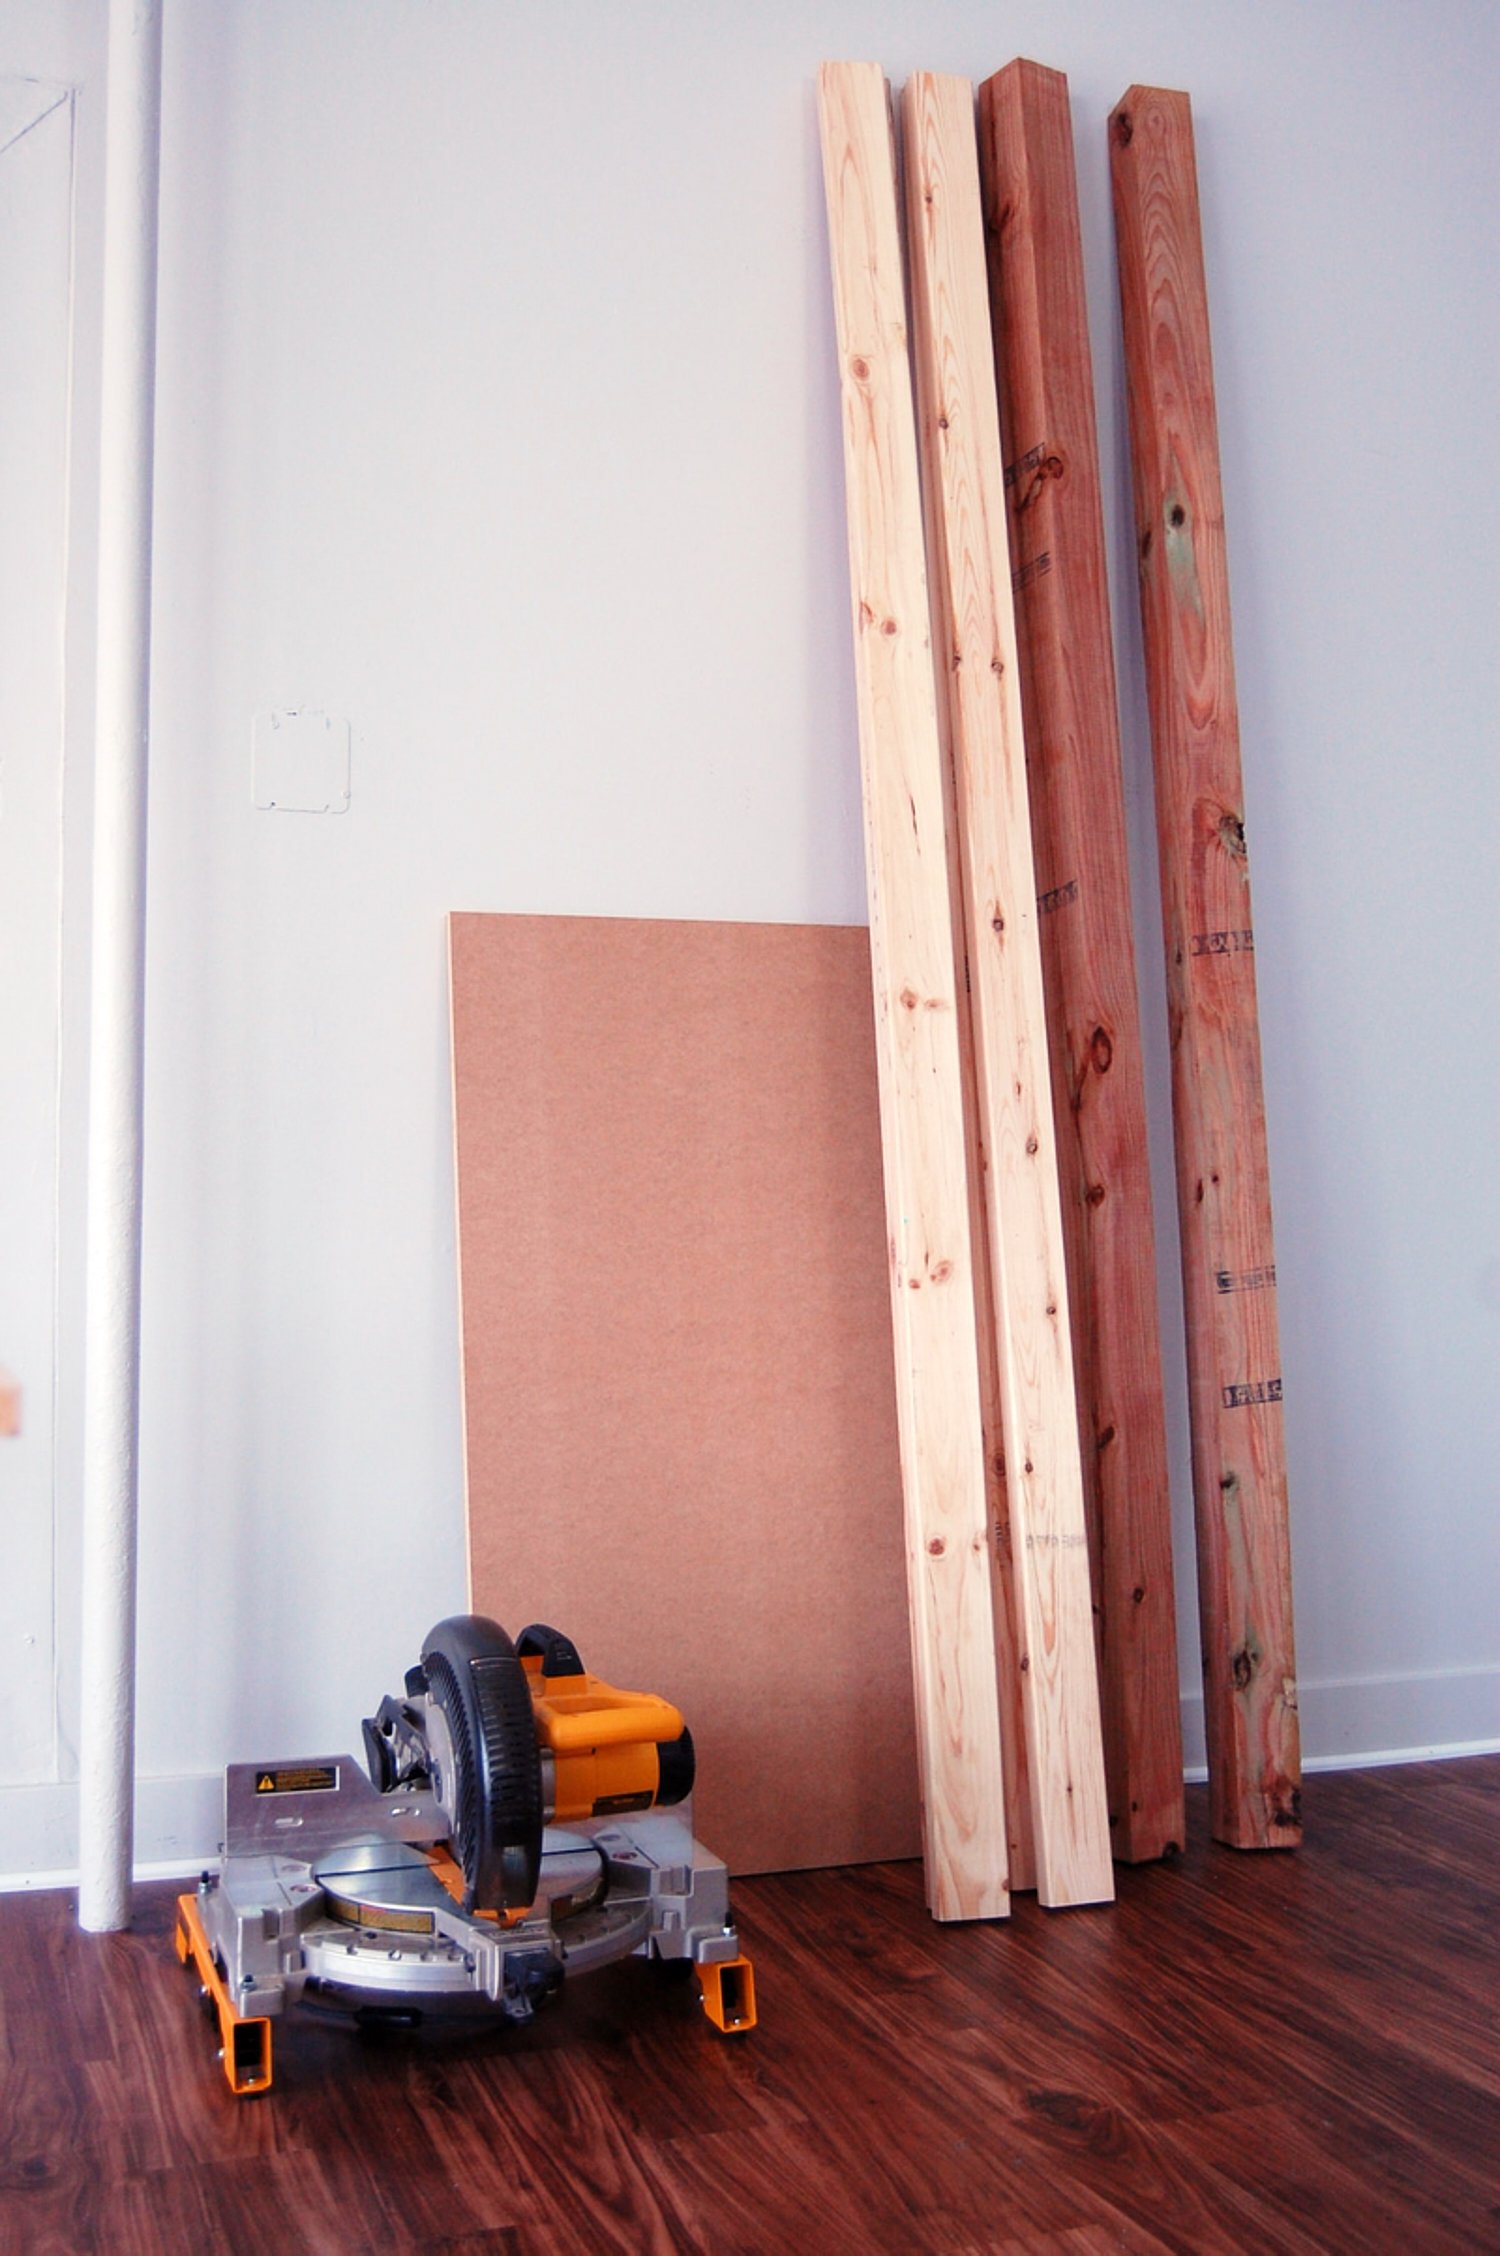
Tools & Materials
Tools:
- Miter saw or crosscut saw
- Jigsaw or hand saw
- Clamps
- Cordless Drill/Driver
- #8 Countersink bit
- 1/8” and 3/16” drill bits
- Safety glasses and hearing protection
Materials:
- Three 2×4’ plywood or MDF panels, ¾” thick
- (Five) 8-foot long 2x4s
- (Two) 8-foot long 4x4s
- Wood glue
- #8 wood screws, 3 1/2” long
- #8 wood screws, 1 ¼” long
- #10 wood screws, 4” long
- 3” foam paint roller
- 220 grit sandpaper
Step 1: Prepare the bench top
First, let's create the bench top. Then, while the glue sets up, we'll start to build the base.
You can create your top from a double layer of 3/4″ plywood or MDF to create a nice, beefy work surface. Glue or laminate the two pieces together, and use screws to hold them together while they dry.
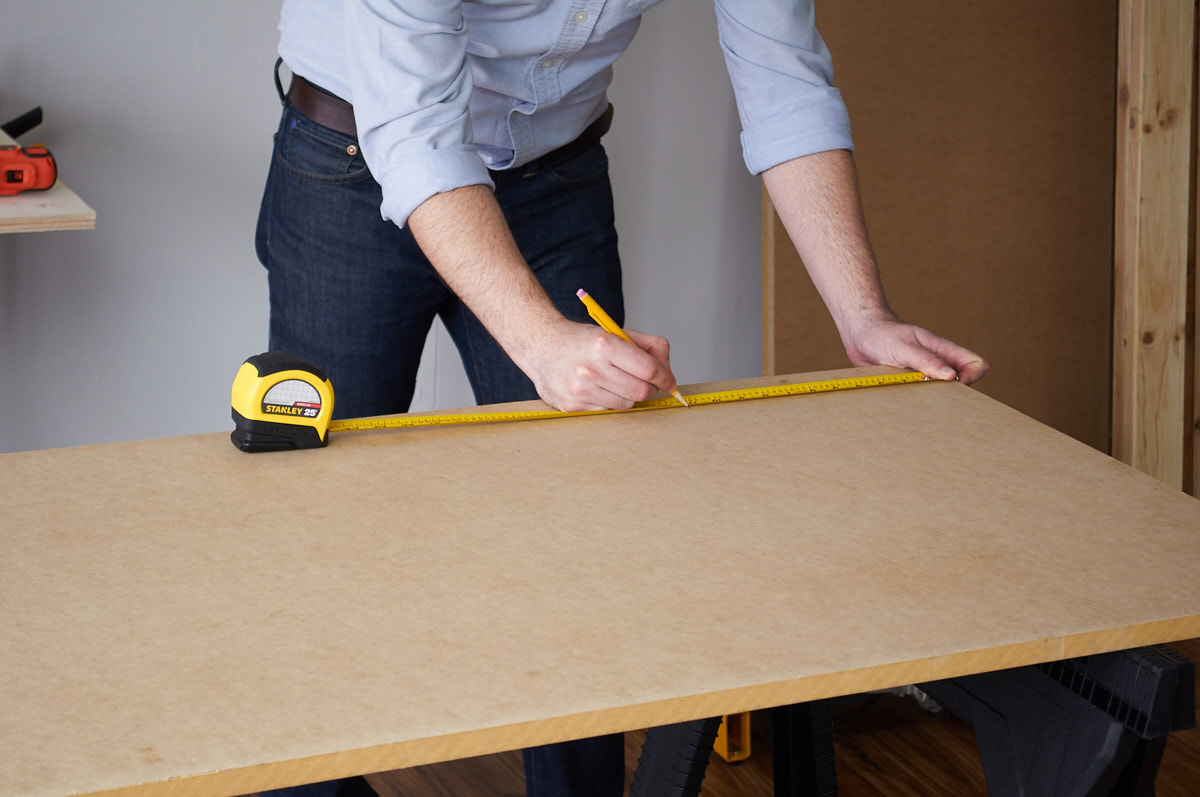
So begin by laying out a grid on one piece of plywood. Start 1″ in from the edge, and make a mark every eight inches. Repeat by making several rows and columns all over the face of the panel.
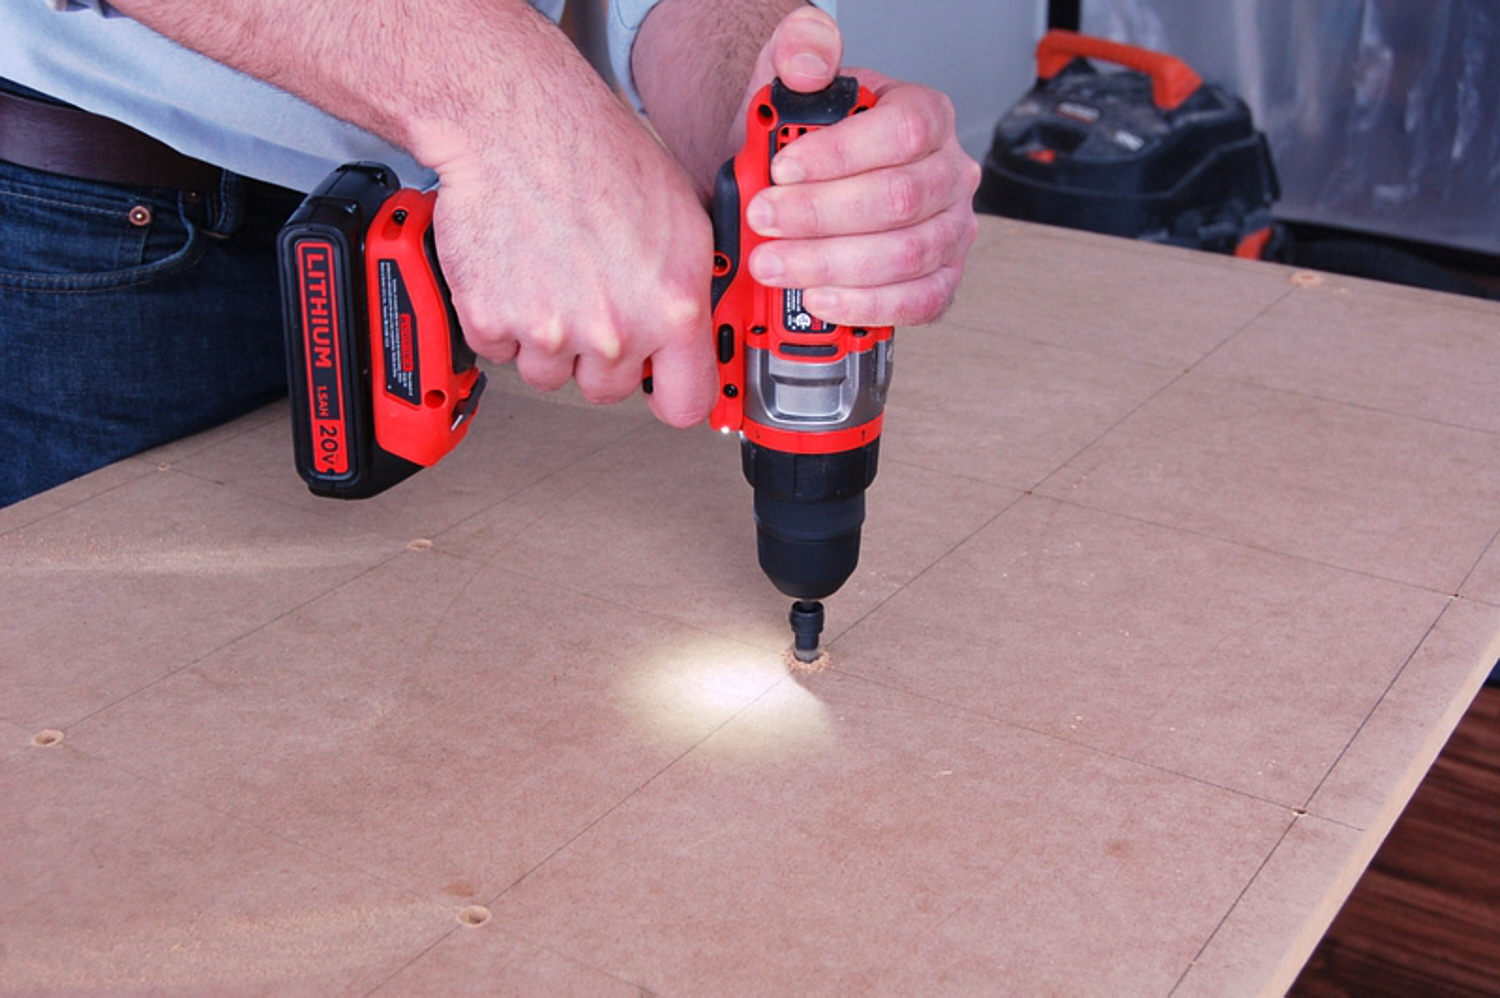
Drill a 3/16″ clearance hole at each intersecting point on the grid, then countersink each hole. Flip the panel over and sand away any imperfections to create a clean, flat surface.
Step 2: Glue up the pieces
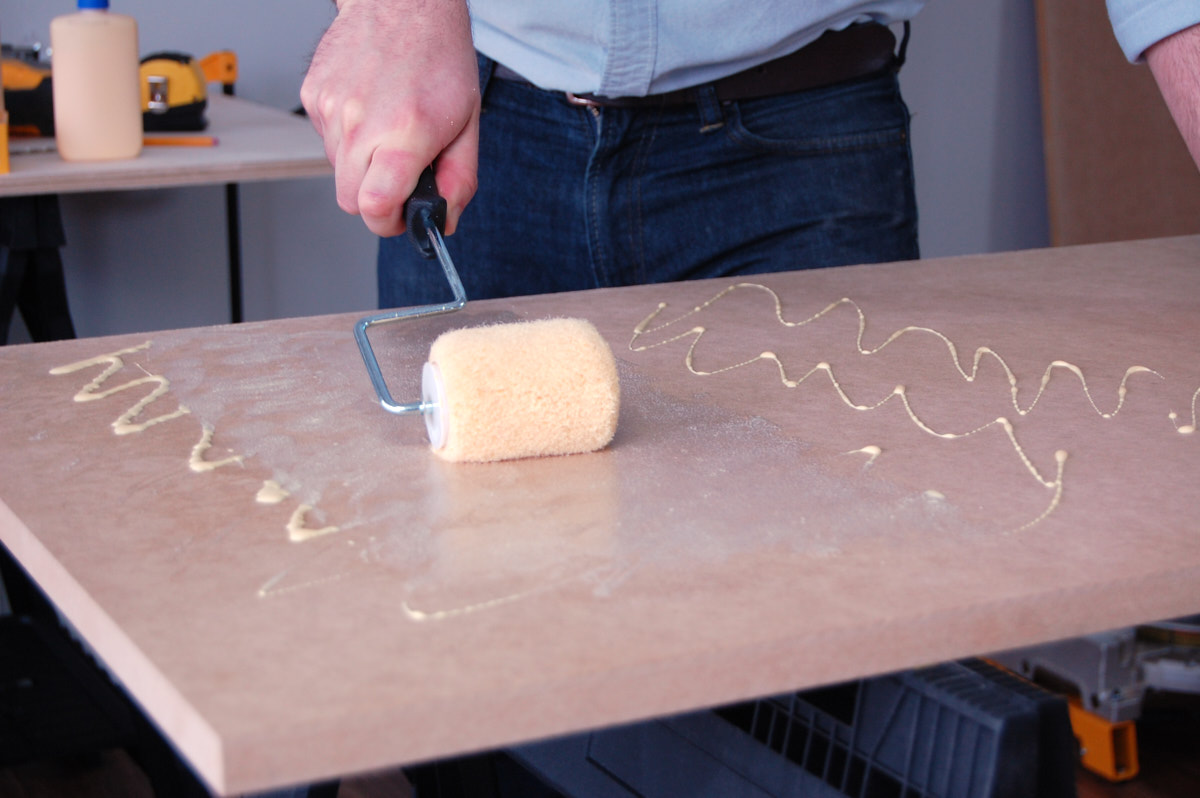
Grab a second piece of plywood, and cover its entire surface with a thin layer of wood glue. A 3″ paint roller is a great tool to get it spread in an even layer. Then, place the drilled piece of plywood on top, making sure the countersinks are facing up. Line up all edges.

Clamp it in place, and attach a 1 1/4″ screw in all four corners to lock in the alignment. Insert and attach screws into each clearance hole.
Set the top aside to dry according to the directions on the glue bottle.
Step 3: Begin building the base
Now, let's build the base. Most workbenches are 30 – 36″ inches high. One way to determine your desired height is to stand up straight with your arms at your side, and have a friend measure the distance from your wrist to the floor.
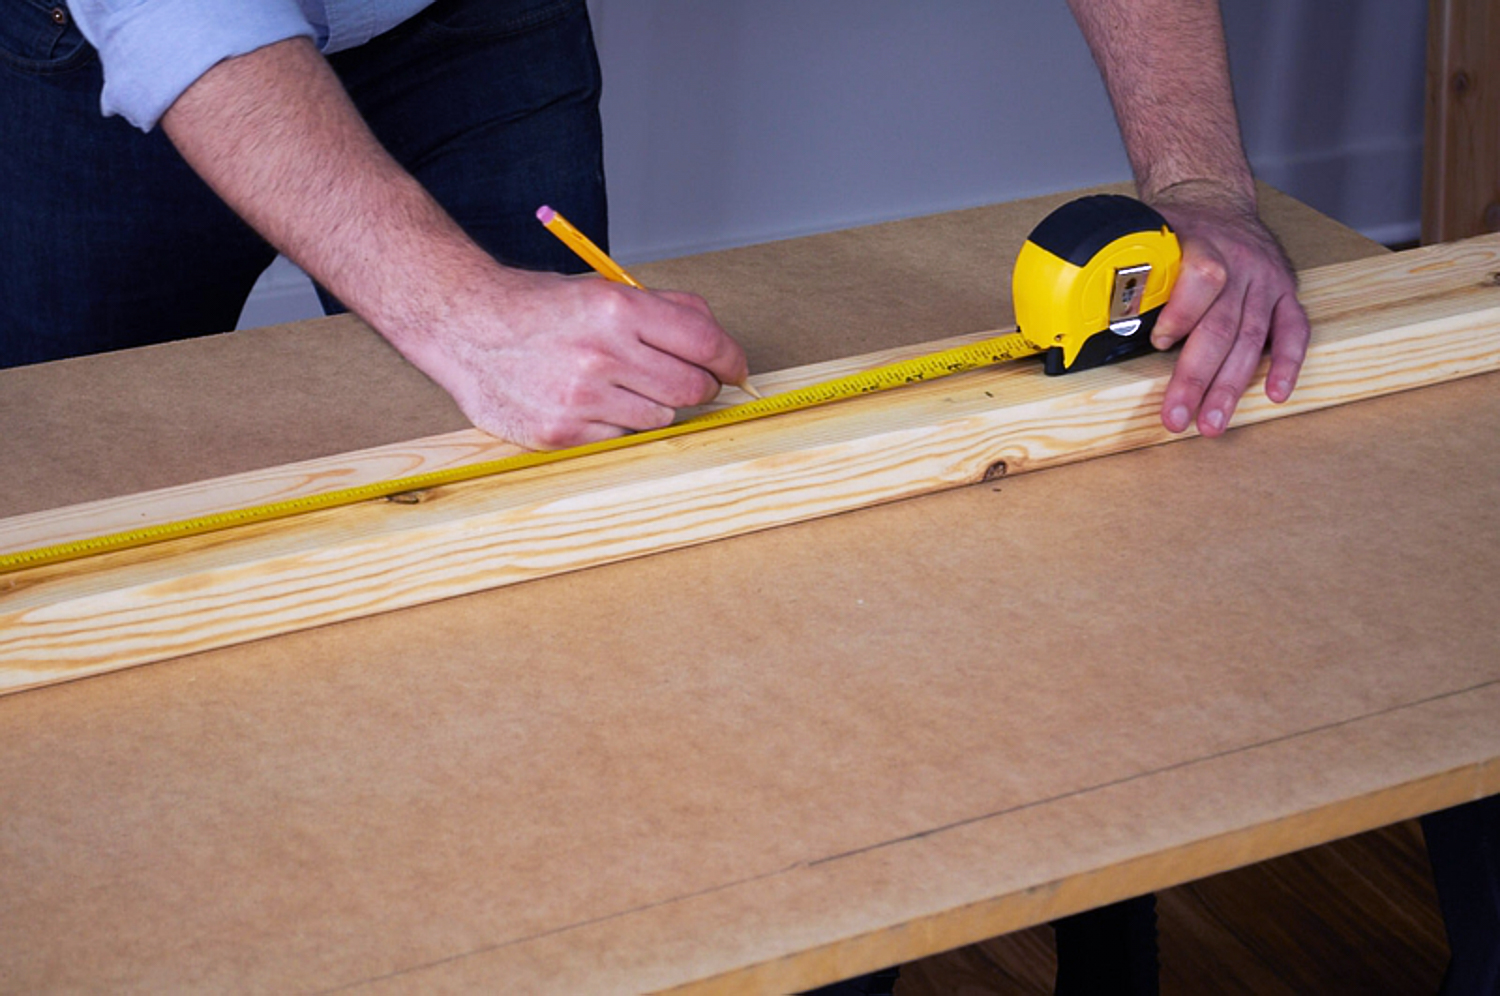
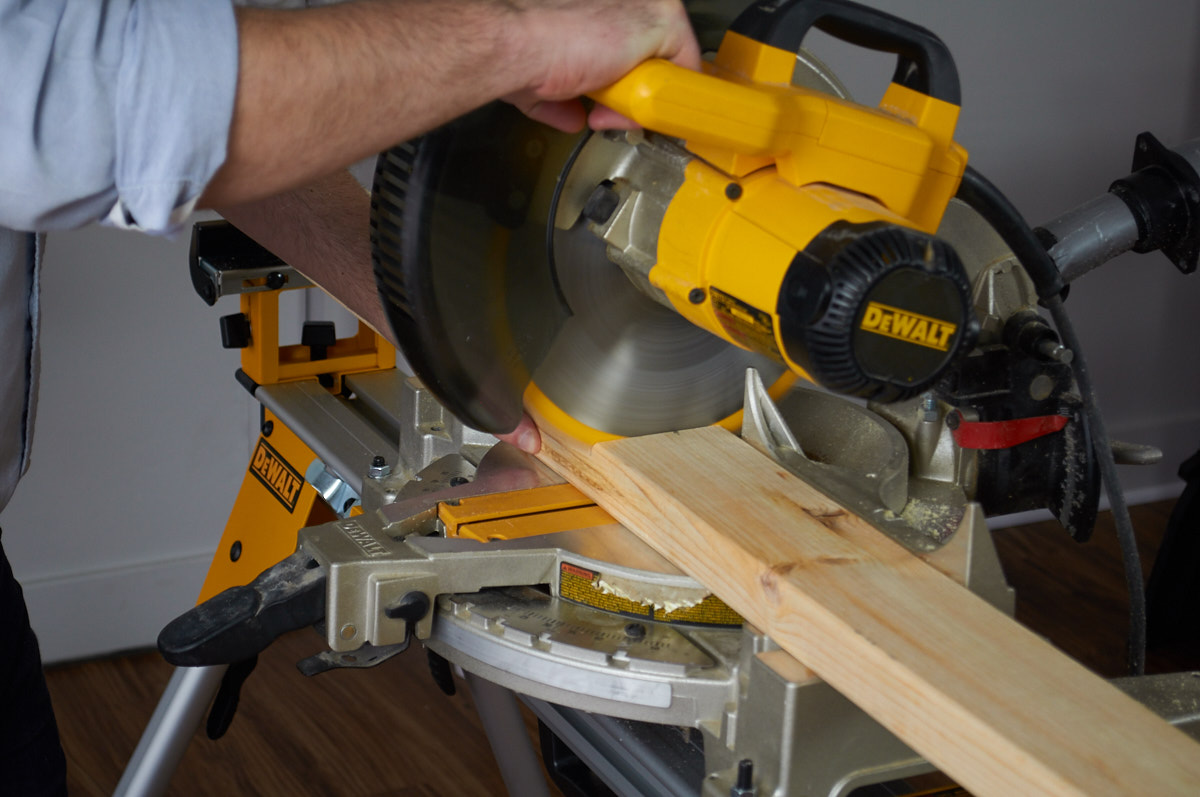
Once you have that number (ours is 33″), subtract 1 1/2″ for the top. In our case, that's 31 1/2″. Then cut four 4x4s to this length to create the legs.
Step 4: Cut the crossmembers
Cut all your crossmembers from 2x4s. You'll want four at 44″ long for the front and backs, and four at 20″ long.
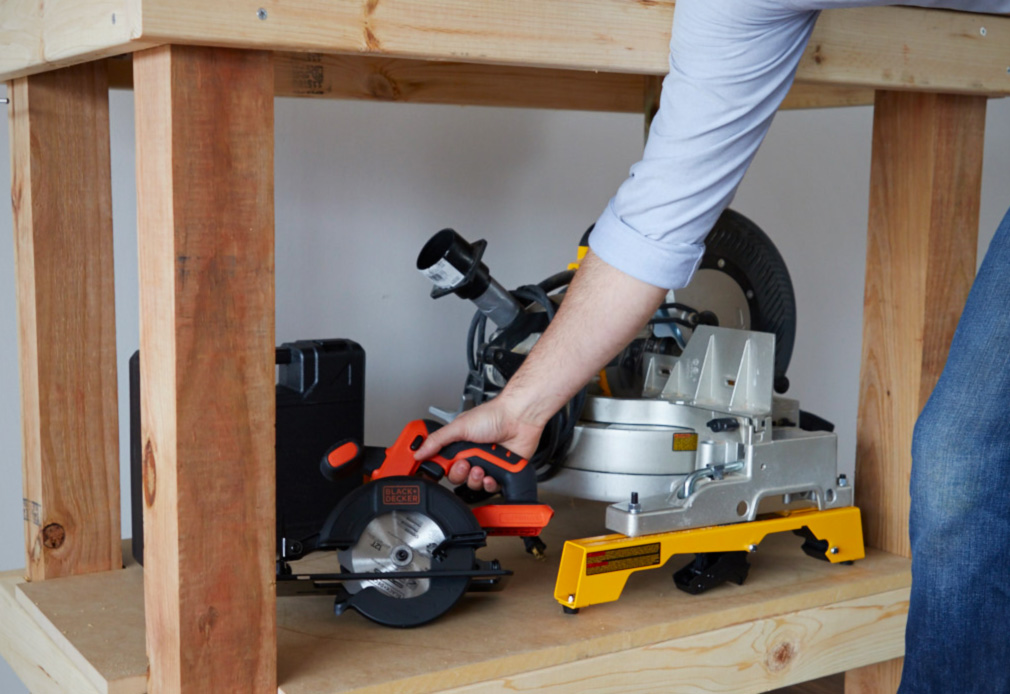
Step 5: Assemble the shelf
We'll begin to assemble the base by creating the lower shelf. This adds extra storage as well as plenty of rigid structural support. Make a mark 7″ from the bottom on all four legs. Place a 20″ 2×4 on top of this mark on two legs to make an H-shape. Attach the side rail to legs with four 3″ screws. Repeat to make the other side.
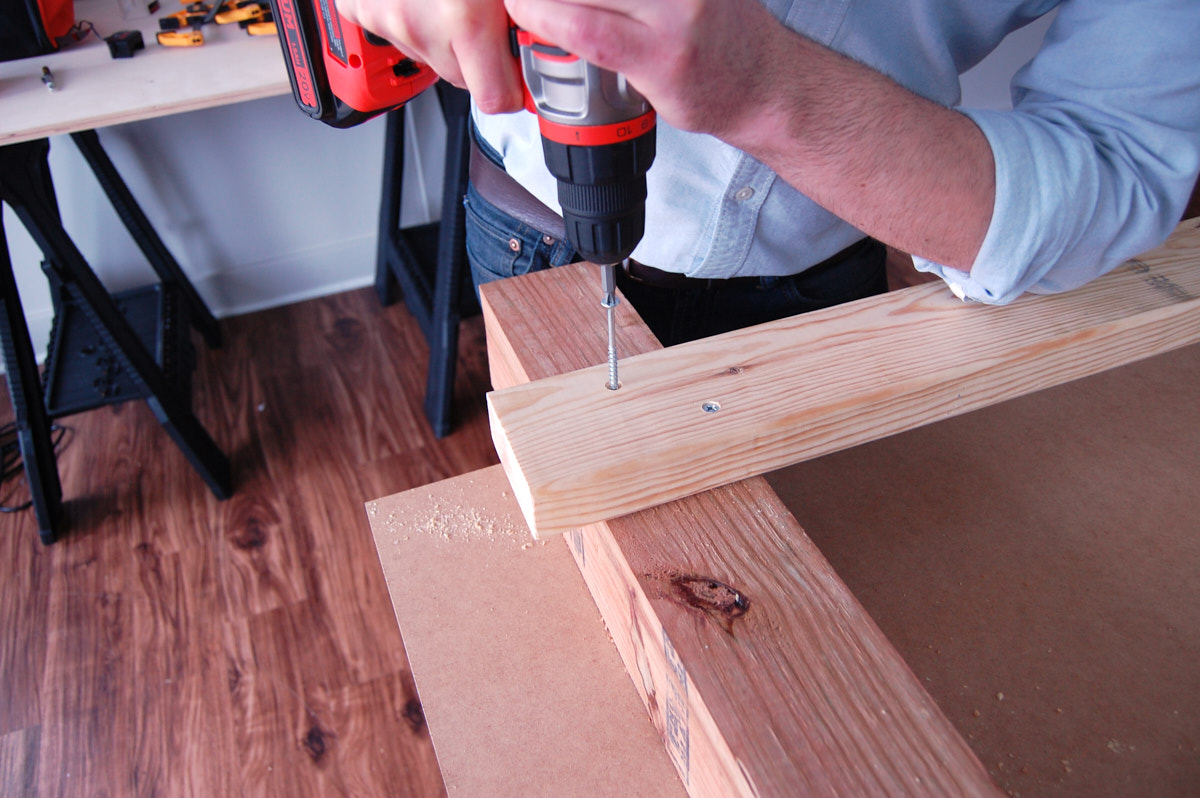
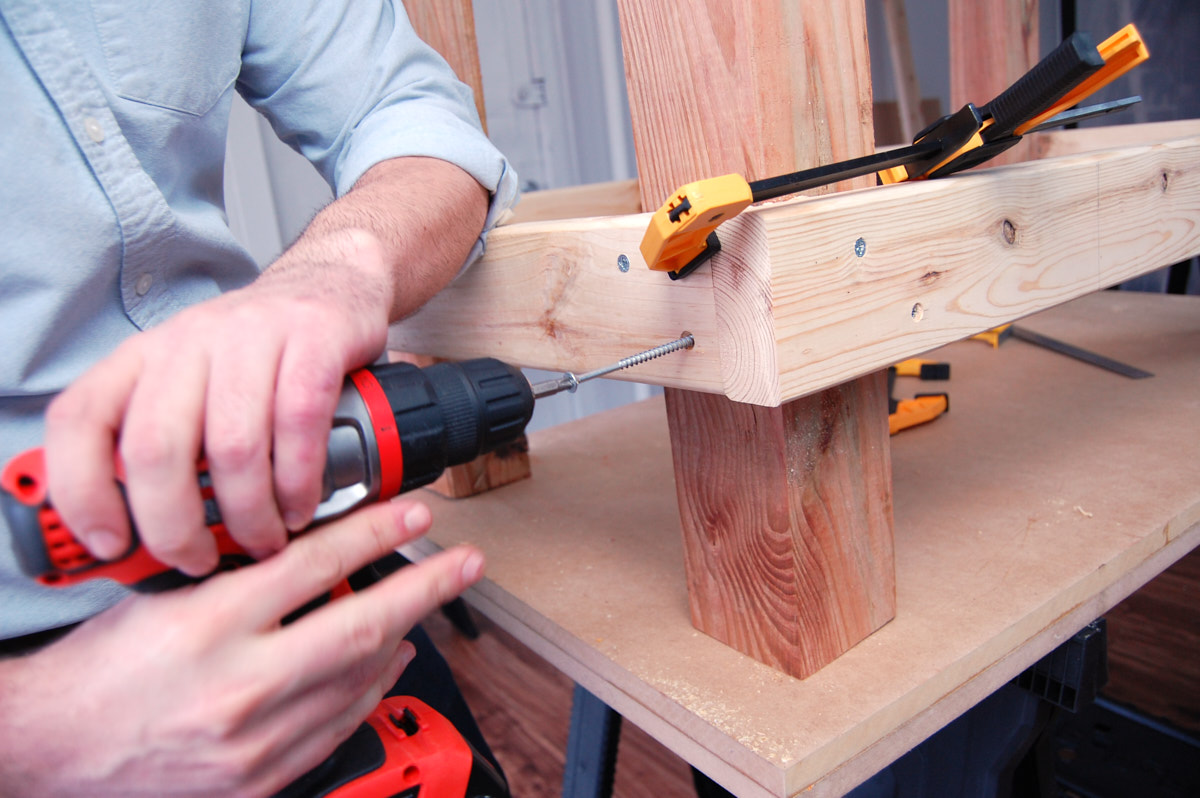
Bring the two sides together by placing one 44″ 2×4 across the front, and attach it with two screws into the leg, and two into the end-grain of the side rail. Repeat for all four sides.
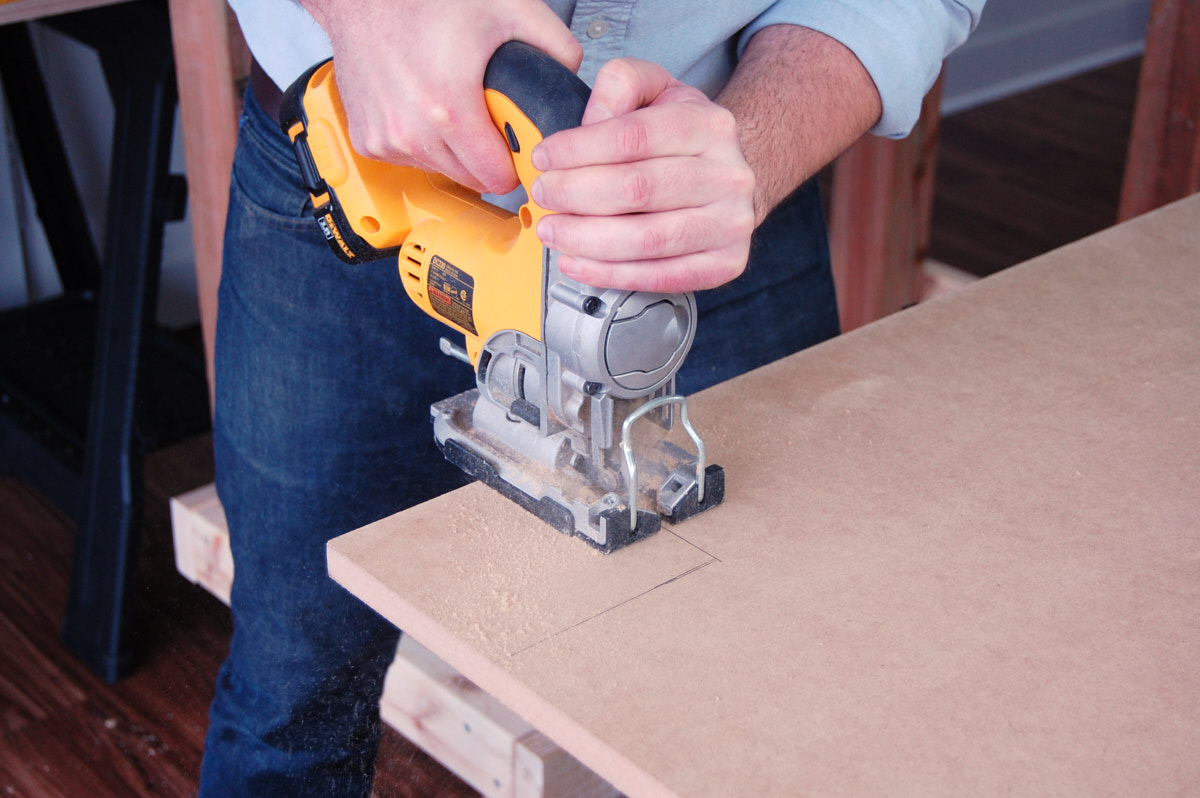
Step 6: Notch the shelf
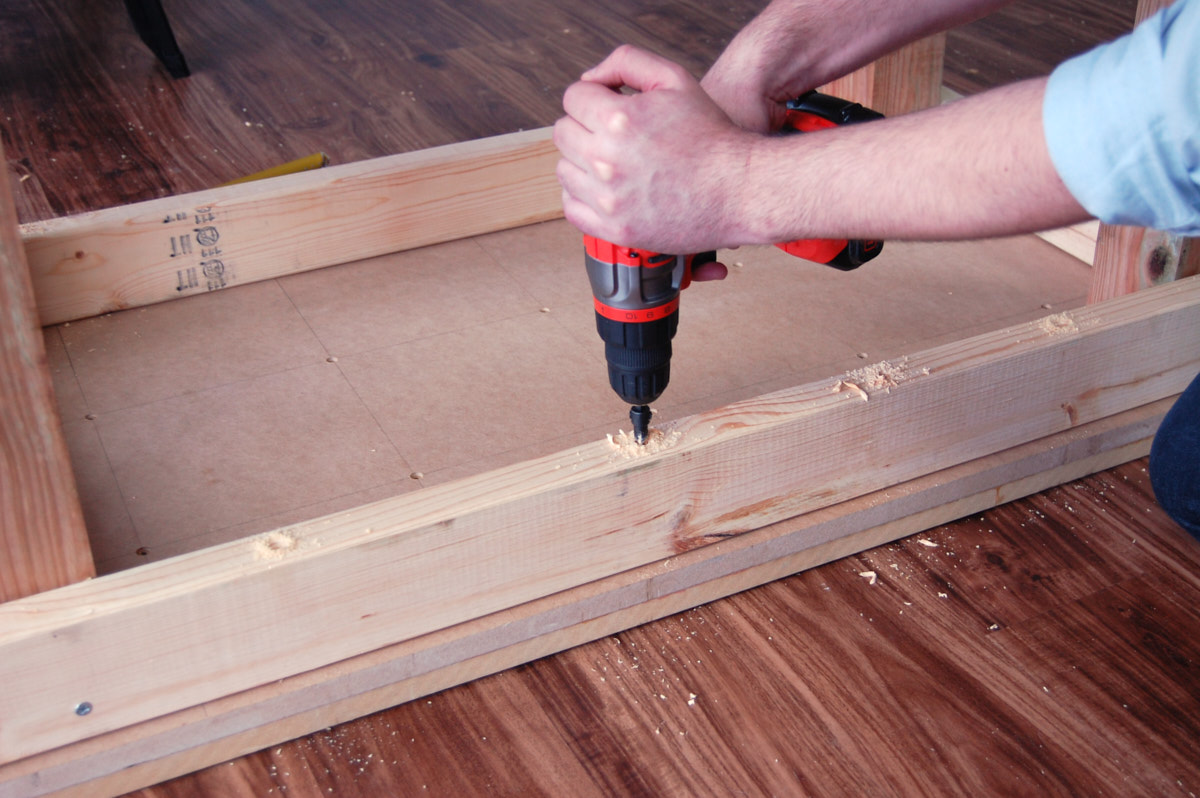
It's essential to add the shelf before the top is attached, otherwise, you'll never fit it in there. So, with the base still exposed, grab the third 2×4' piece of plywood, and notch out the corners with a jigsaw or hand saw, making sure there's enough space to fit the 4×4 leg.
Place the shelf into the base, and screw it in from the bottom using pre-drilled pilot holes and 4″ screws.
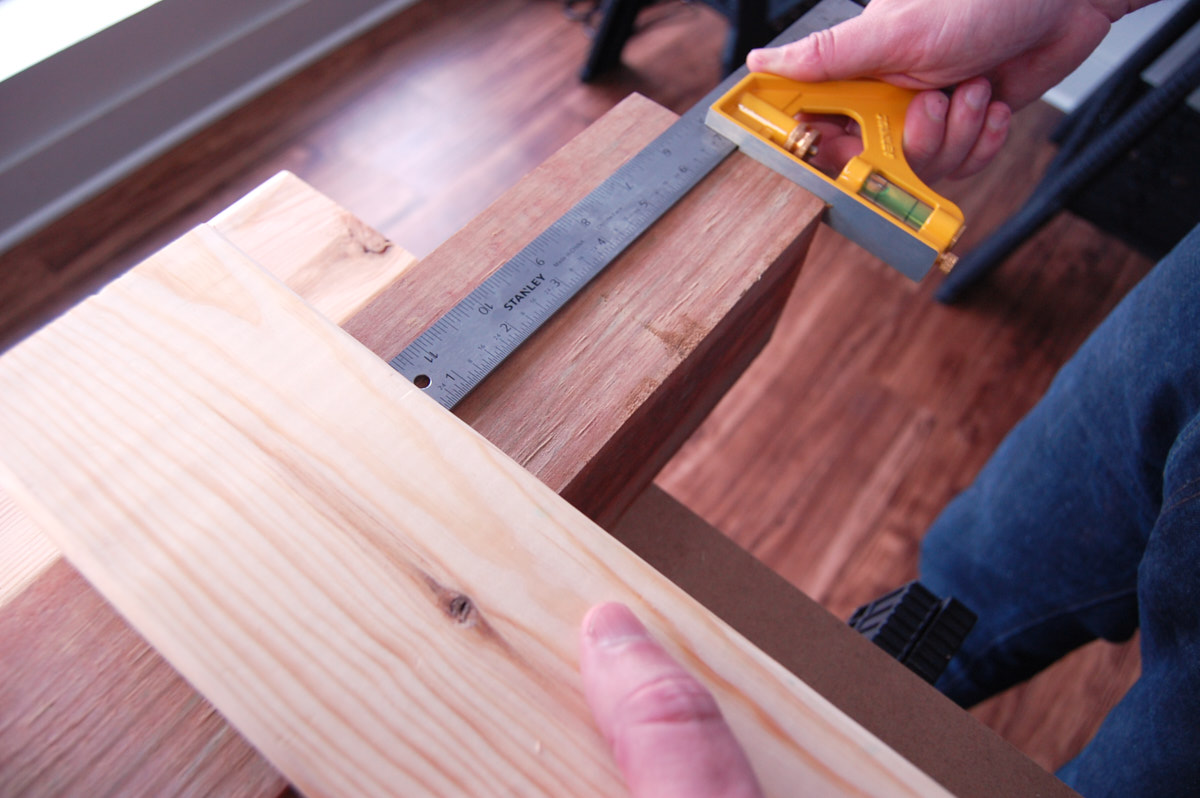
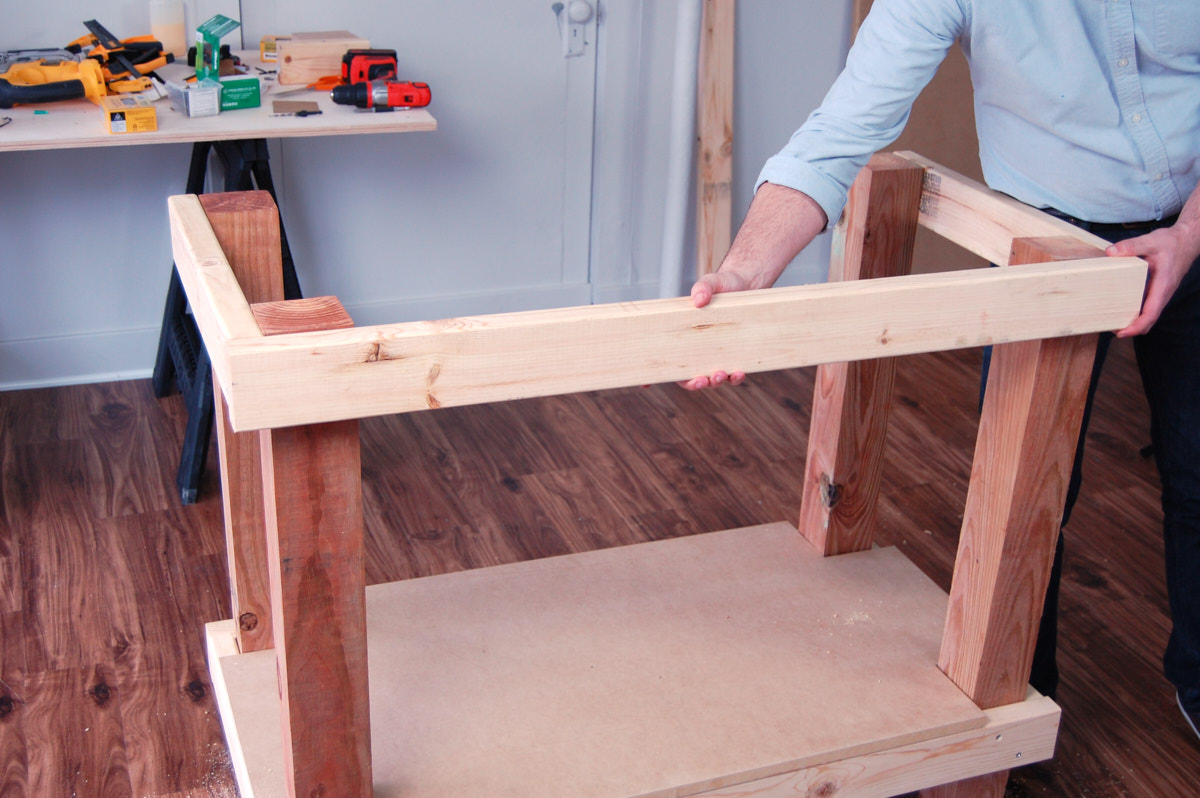
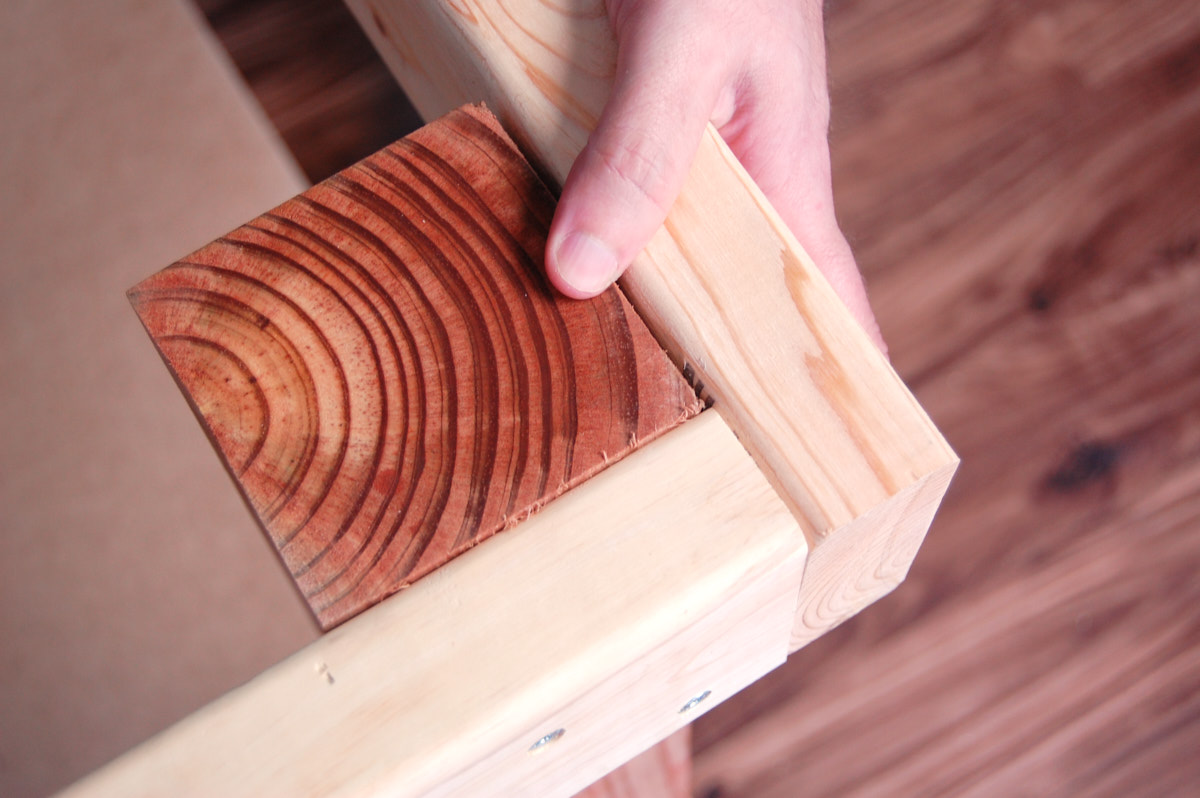
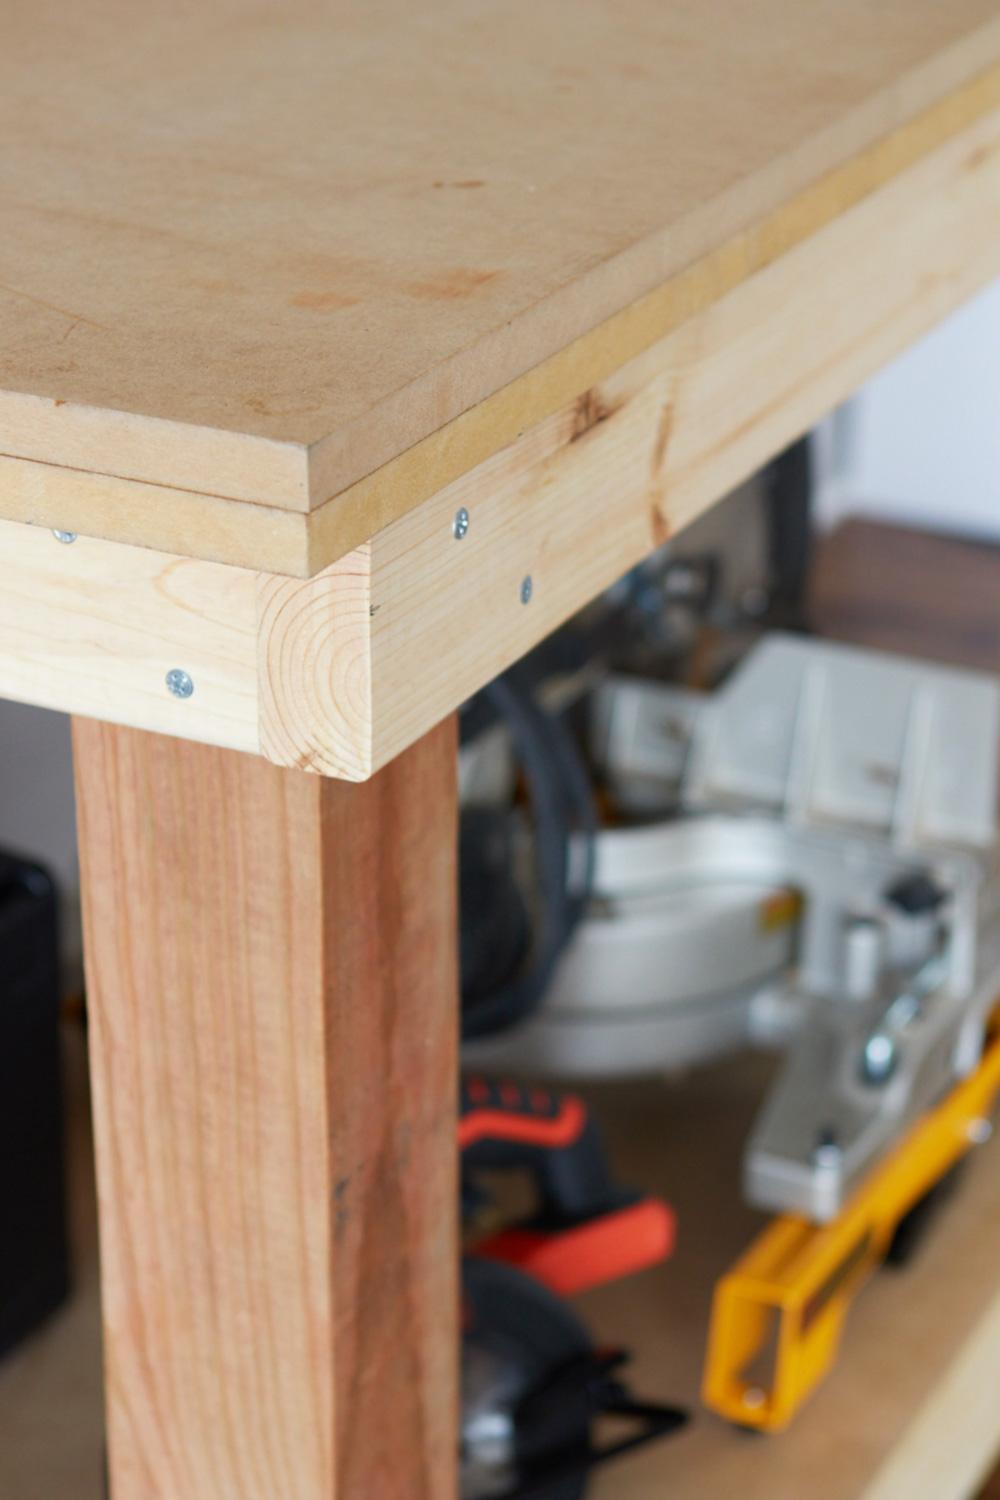
Step 7: Attach the top rails
Now, attach the top rails using the same technique you used in step 5. Make sure each crossmember is flush with the top of the legs, and use a square to ensure everything is lined up properly.
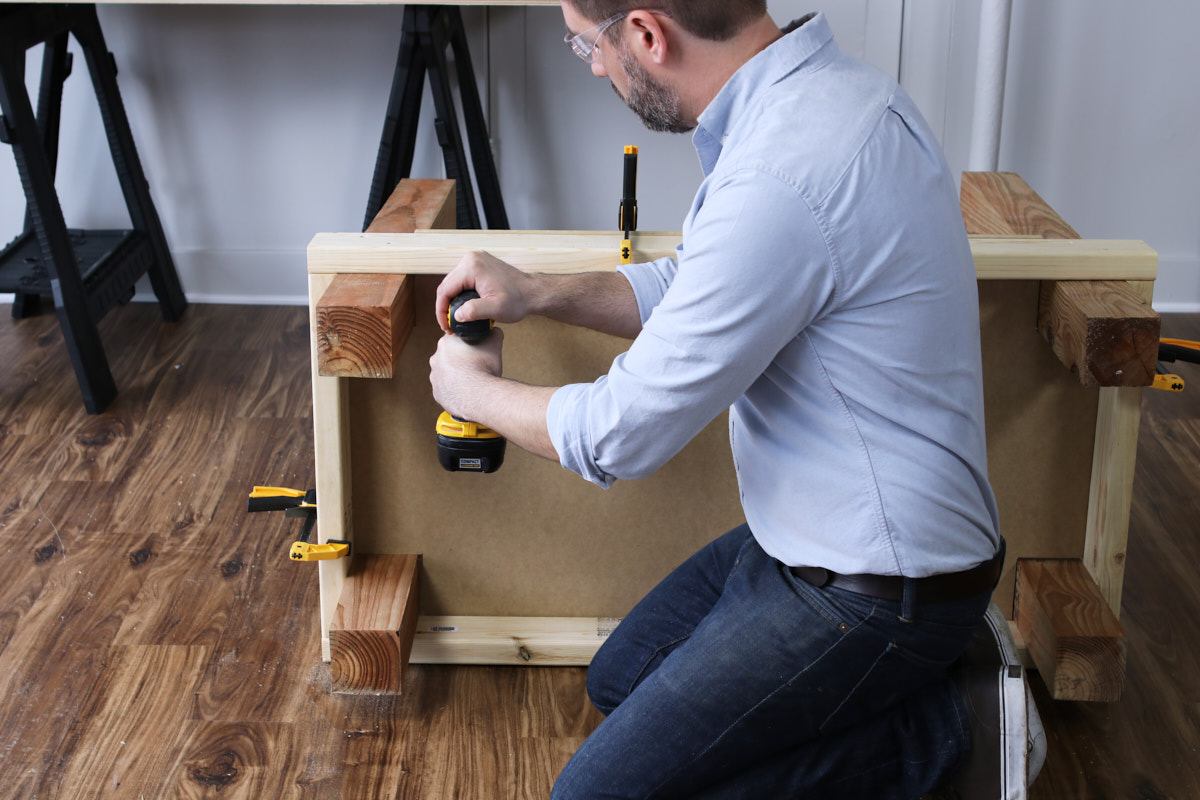
Step 8: Attach the base to the top
Lastly, attach the base to the benchtop. If you like, you can remove the screws used to glue the benchtop together. Place the top on the ground with the countersink holes facing up, and flip the base upside down onto the top. Double check your placement, then drill pilot holes and attach the top using 4″ screws.
Have a friend or two help you flip the assembled bench back upright, and you're done! Get to work making something amazing.
Looking for detailed garage workbench plans, so you can build your own? Check out this related post on Curbly.
Thanks to DIYZ for teaming up with us for this post and a series of others. We love working with sponsors who understand the power of a good DIY project. All opinions are my own, and thanks for supporting the brands that make ManMade possible.


