Making a DIY Pour Over Coffee Stand for Fun and Profit
I am in love with coffee. I'm not ashamed. I think, probably, coffee has been secretly dictating the course of human affairs for many centuries now. Think of any great woman or man, and I suspect coffee was right there, in the thick of it, driving them to get up in the morning, or work late in the evening.
Teddy Roosevelt got by on only about a gallon per day, and Voltaire downed 40-50 cups daily, which sounds great to me, if I didn't have to do anything else that day, or interact with people, or operate a moving vehicle.
Me, I enjoy just one good cup in the morning. And that's the important part: it has to be good. Like, really, really good. I mean, yeah, I can drink crappy, burnt, bitter coffee if I need do. But why? Why would I drink bad coffee, and start my day out with something suboptimal? Isn't that just setting up the rest of the day to suck?
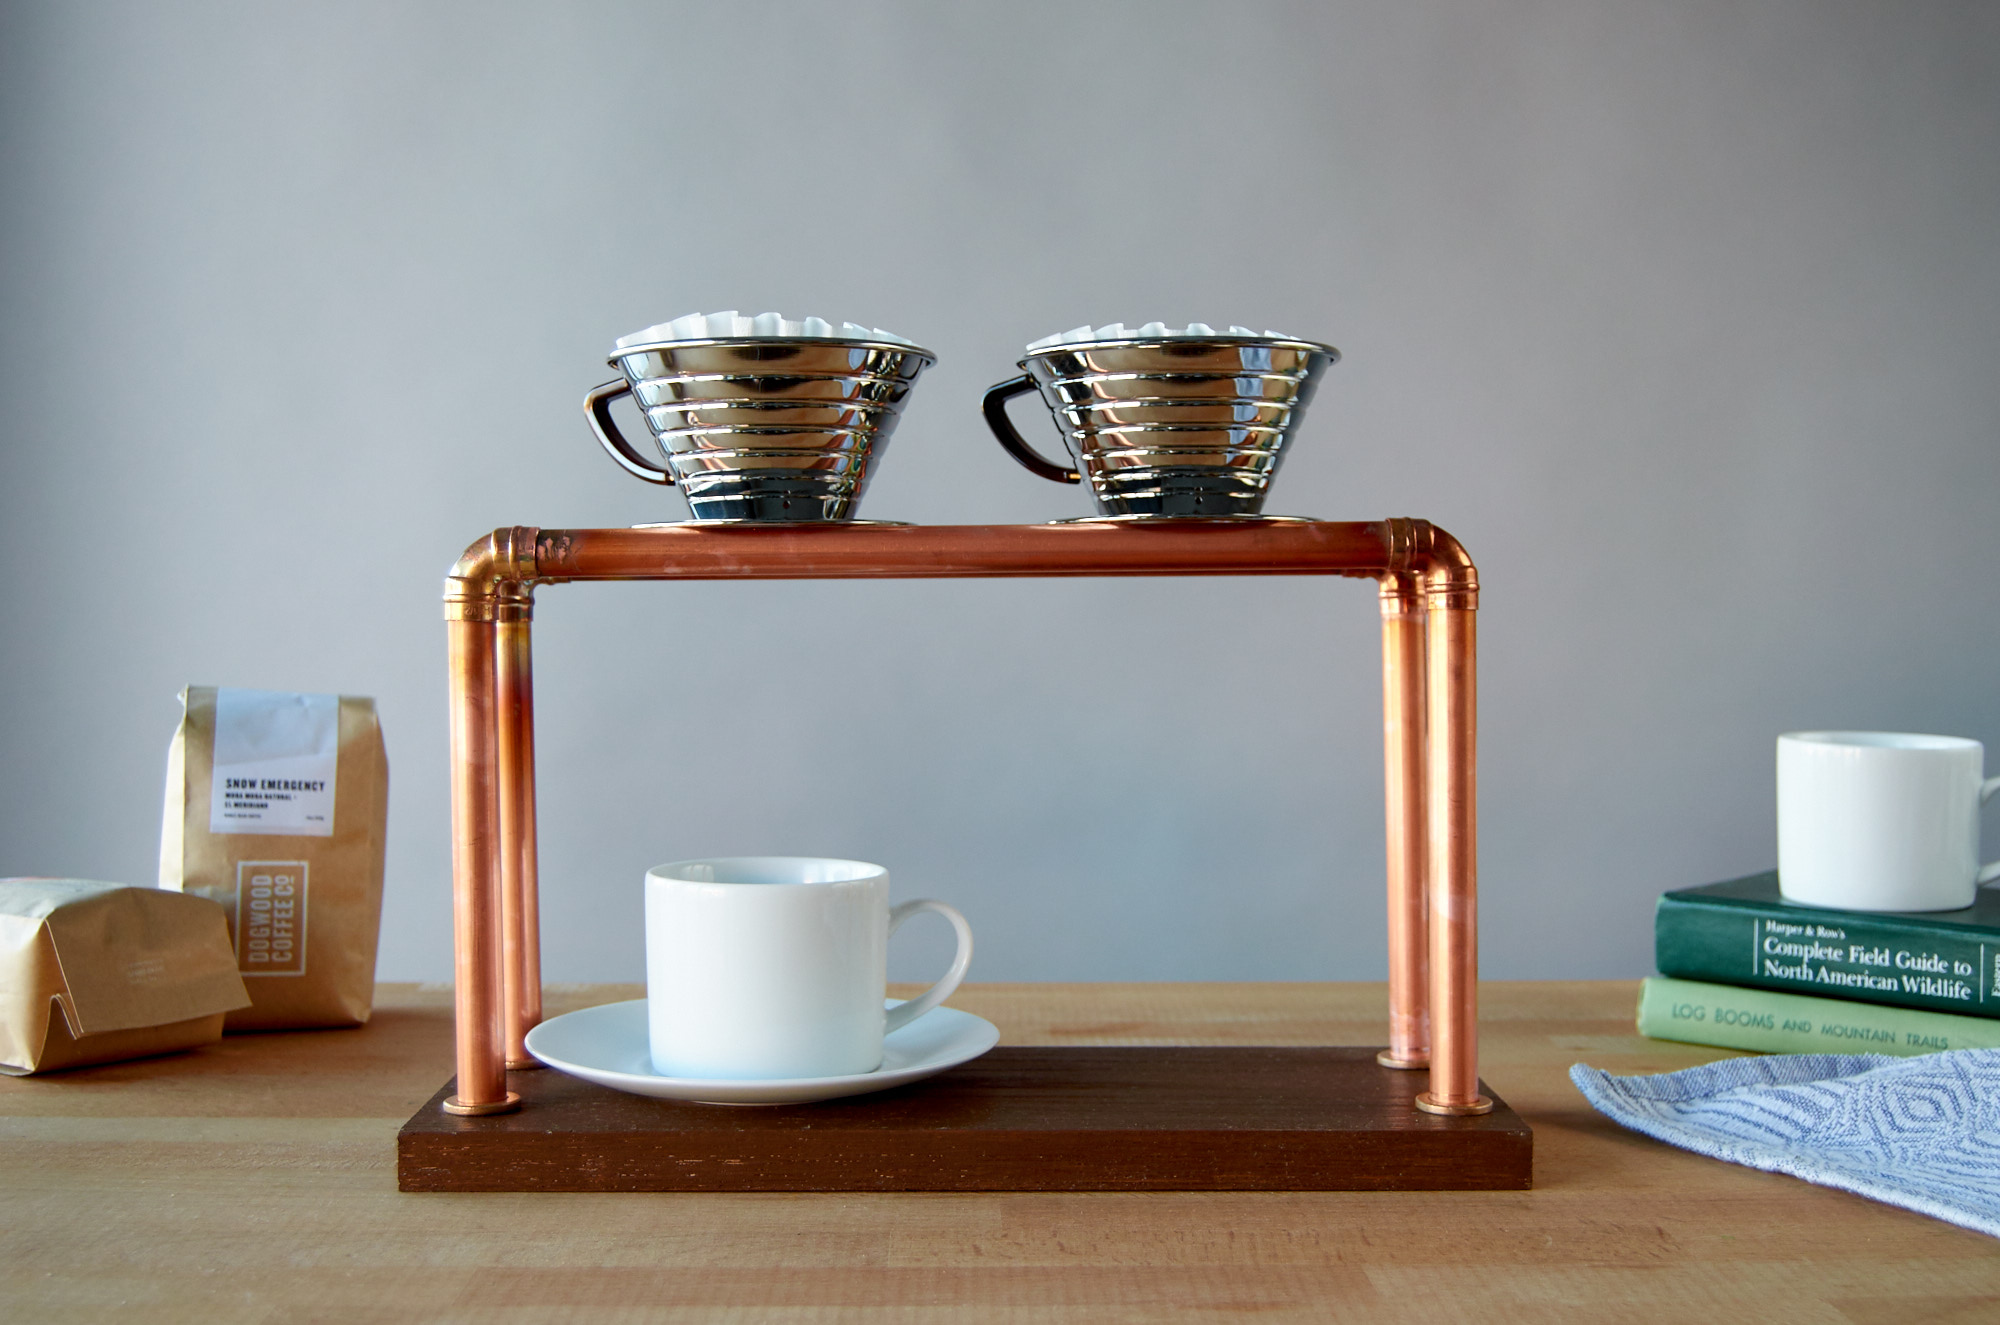
Anyway, I recently discovered pour-over coffee. I know, I know, I'm late to the game. I'm not yet totally converted; I've been an Aeropress brewer for more than four years now. But my morning routine actually involves making two cups of coffee, one for me and one for my wife, and the Aeropress is, frankly, a little putzy for making more than one cup.
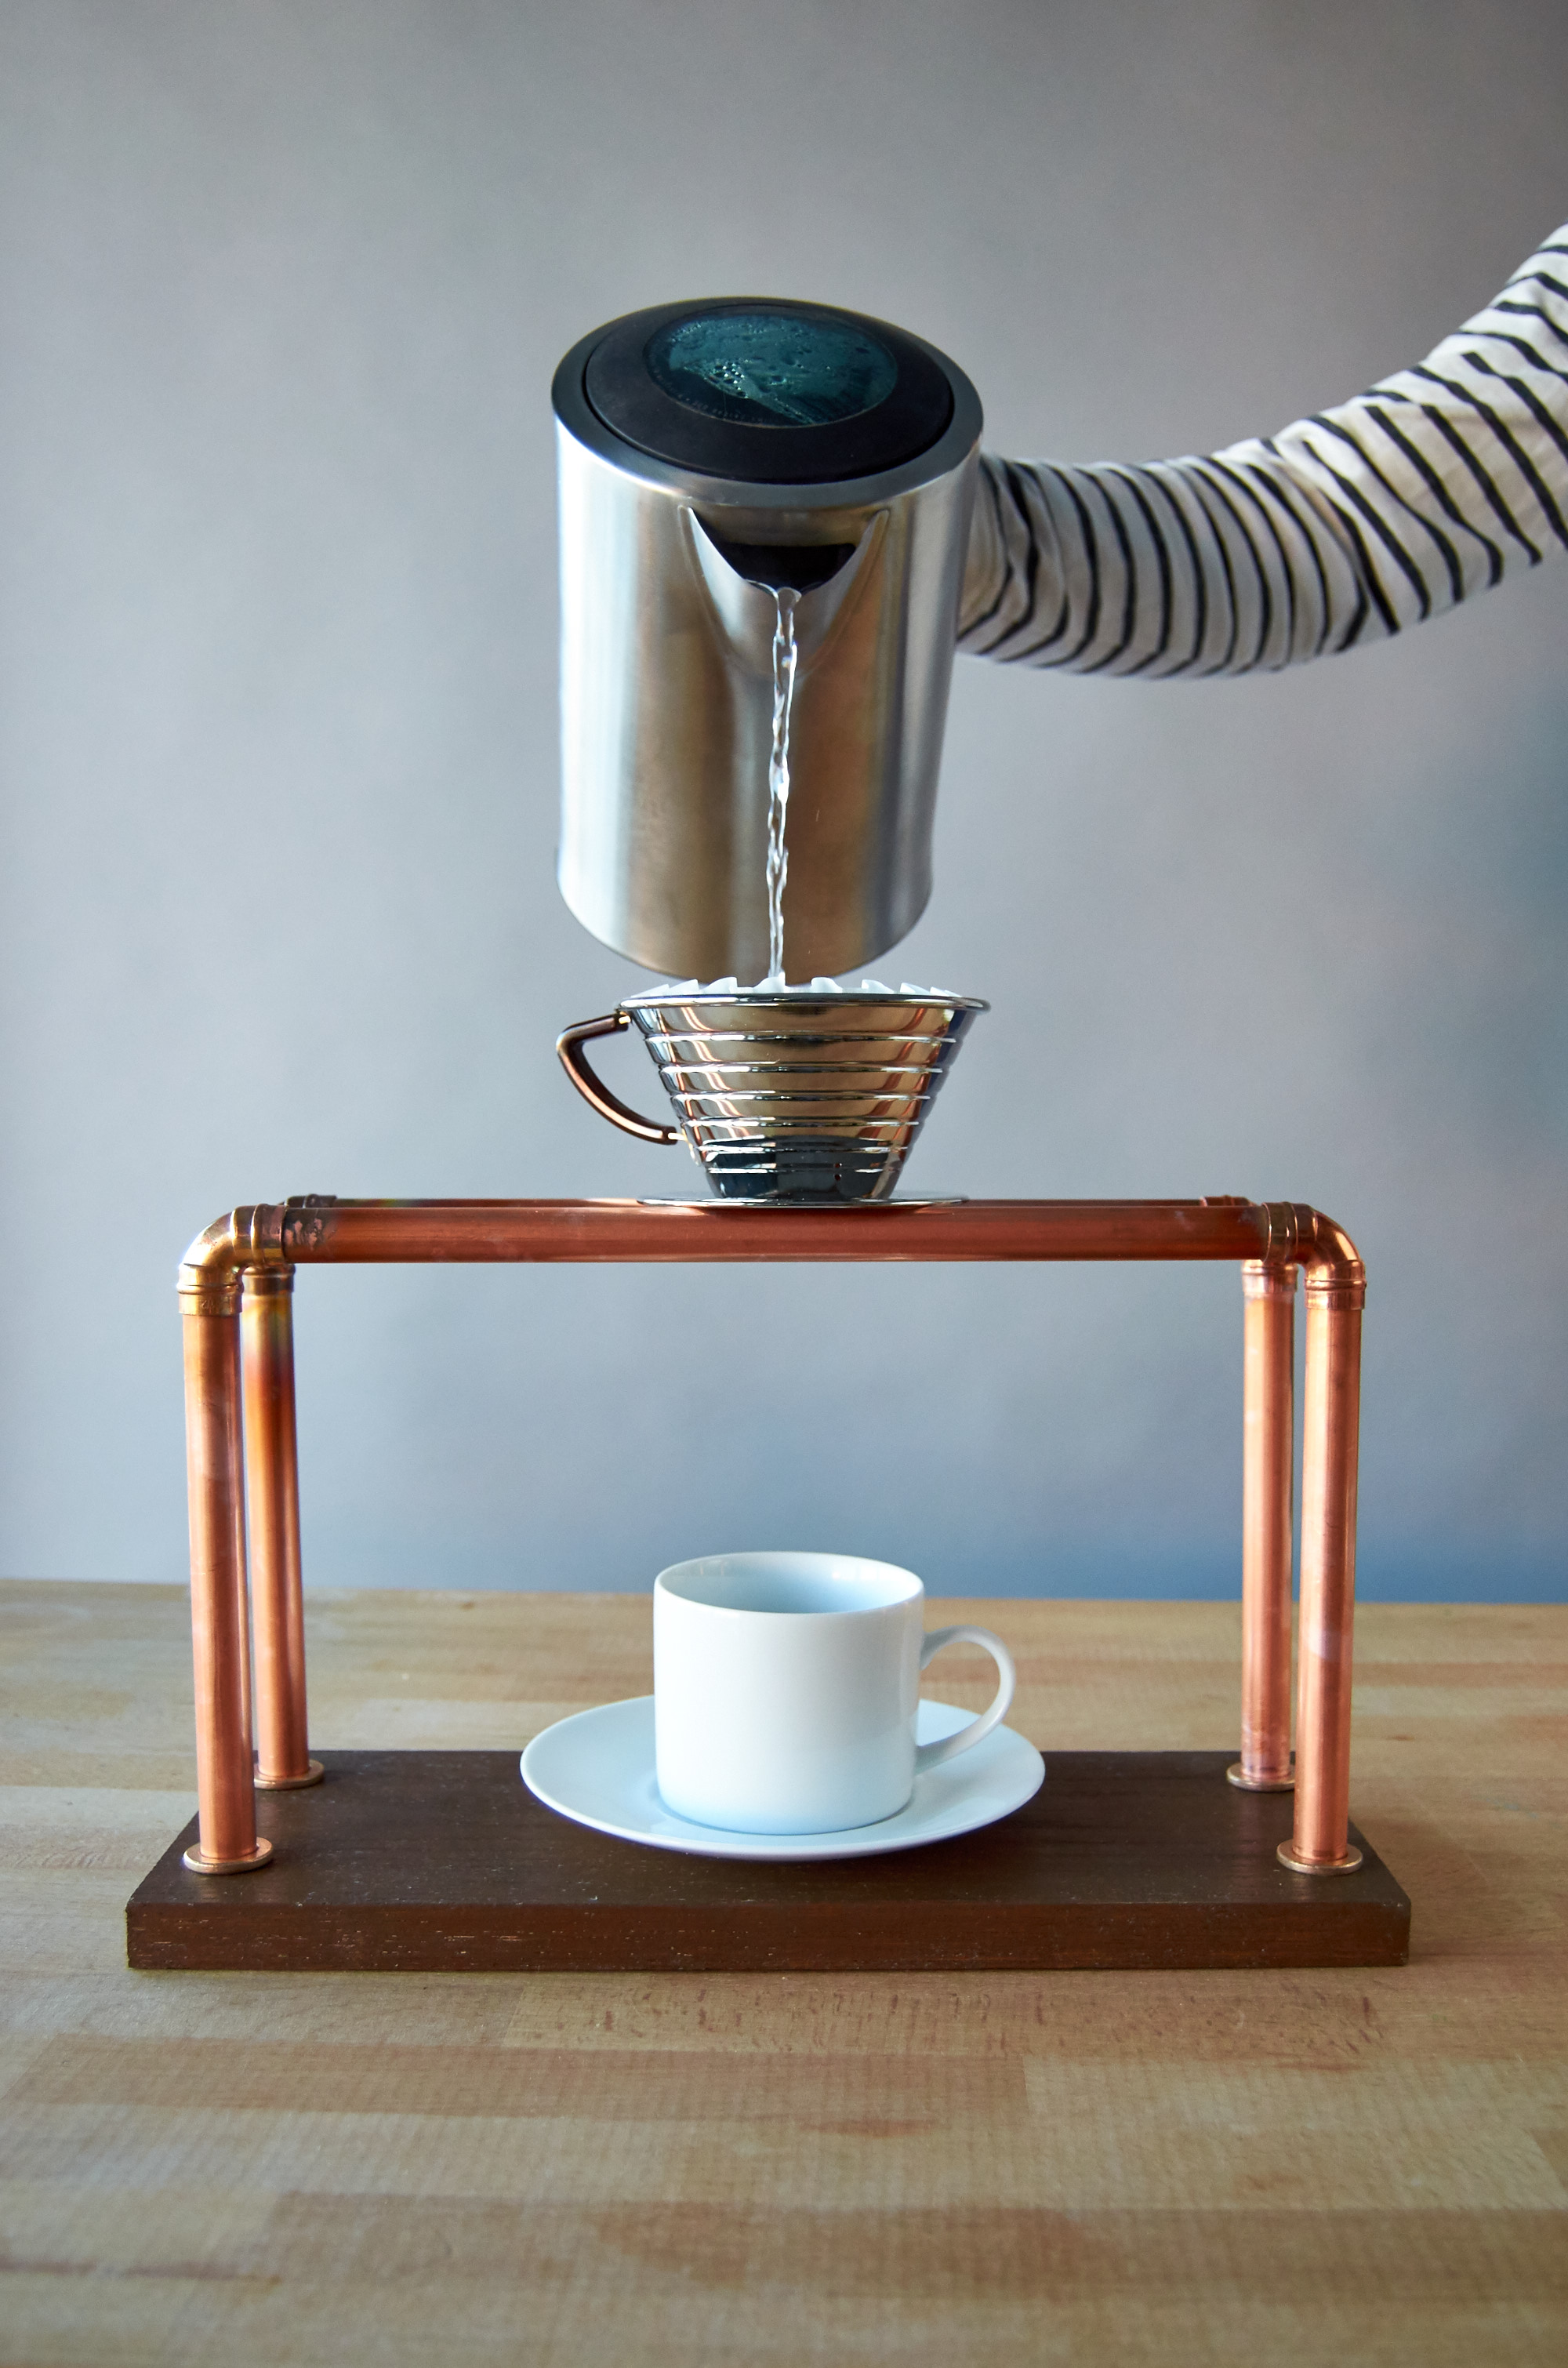
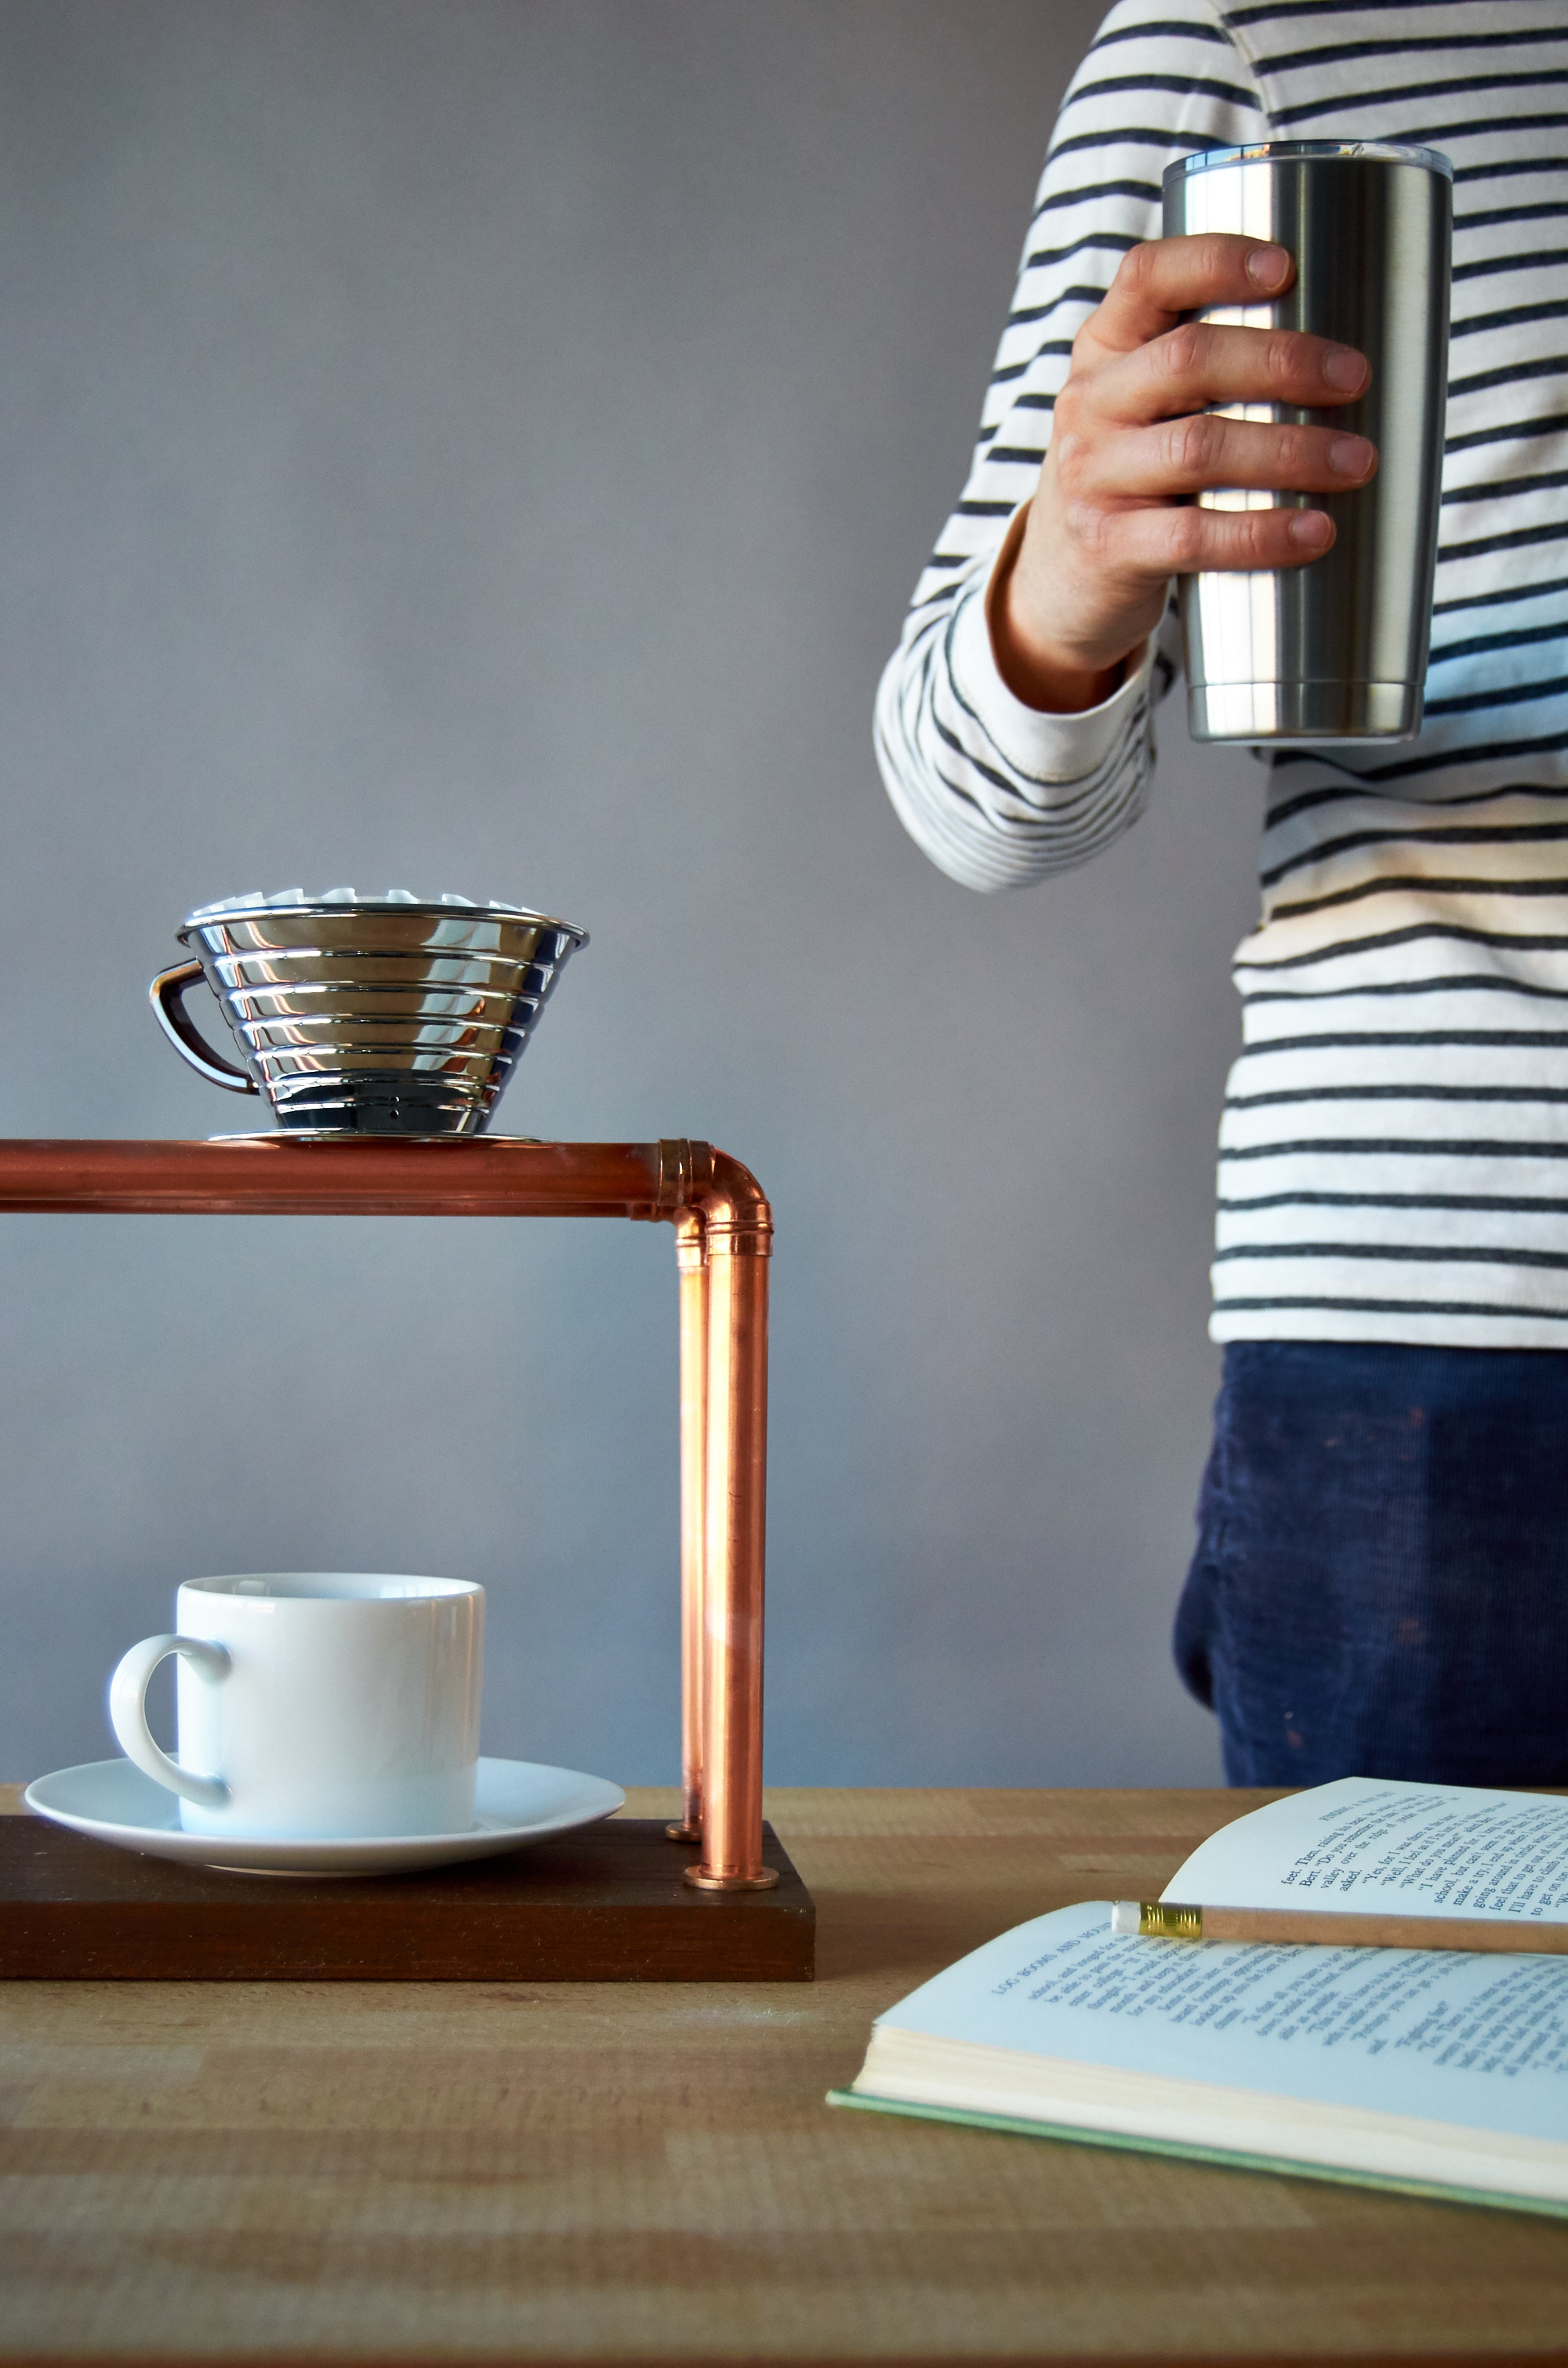
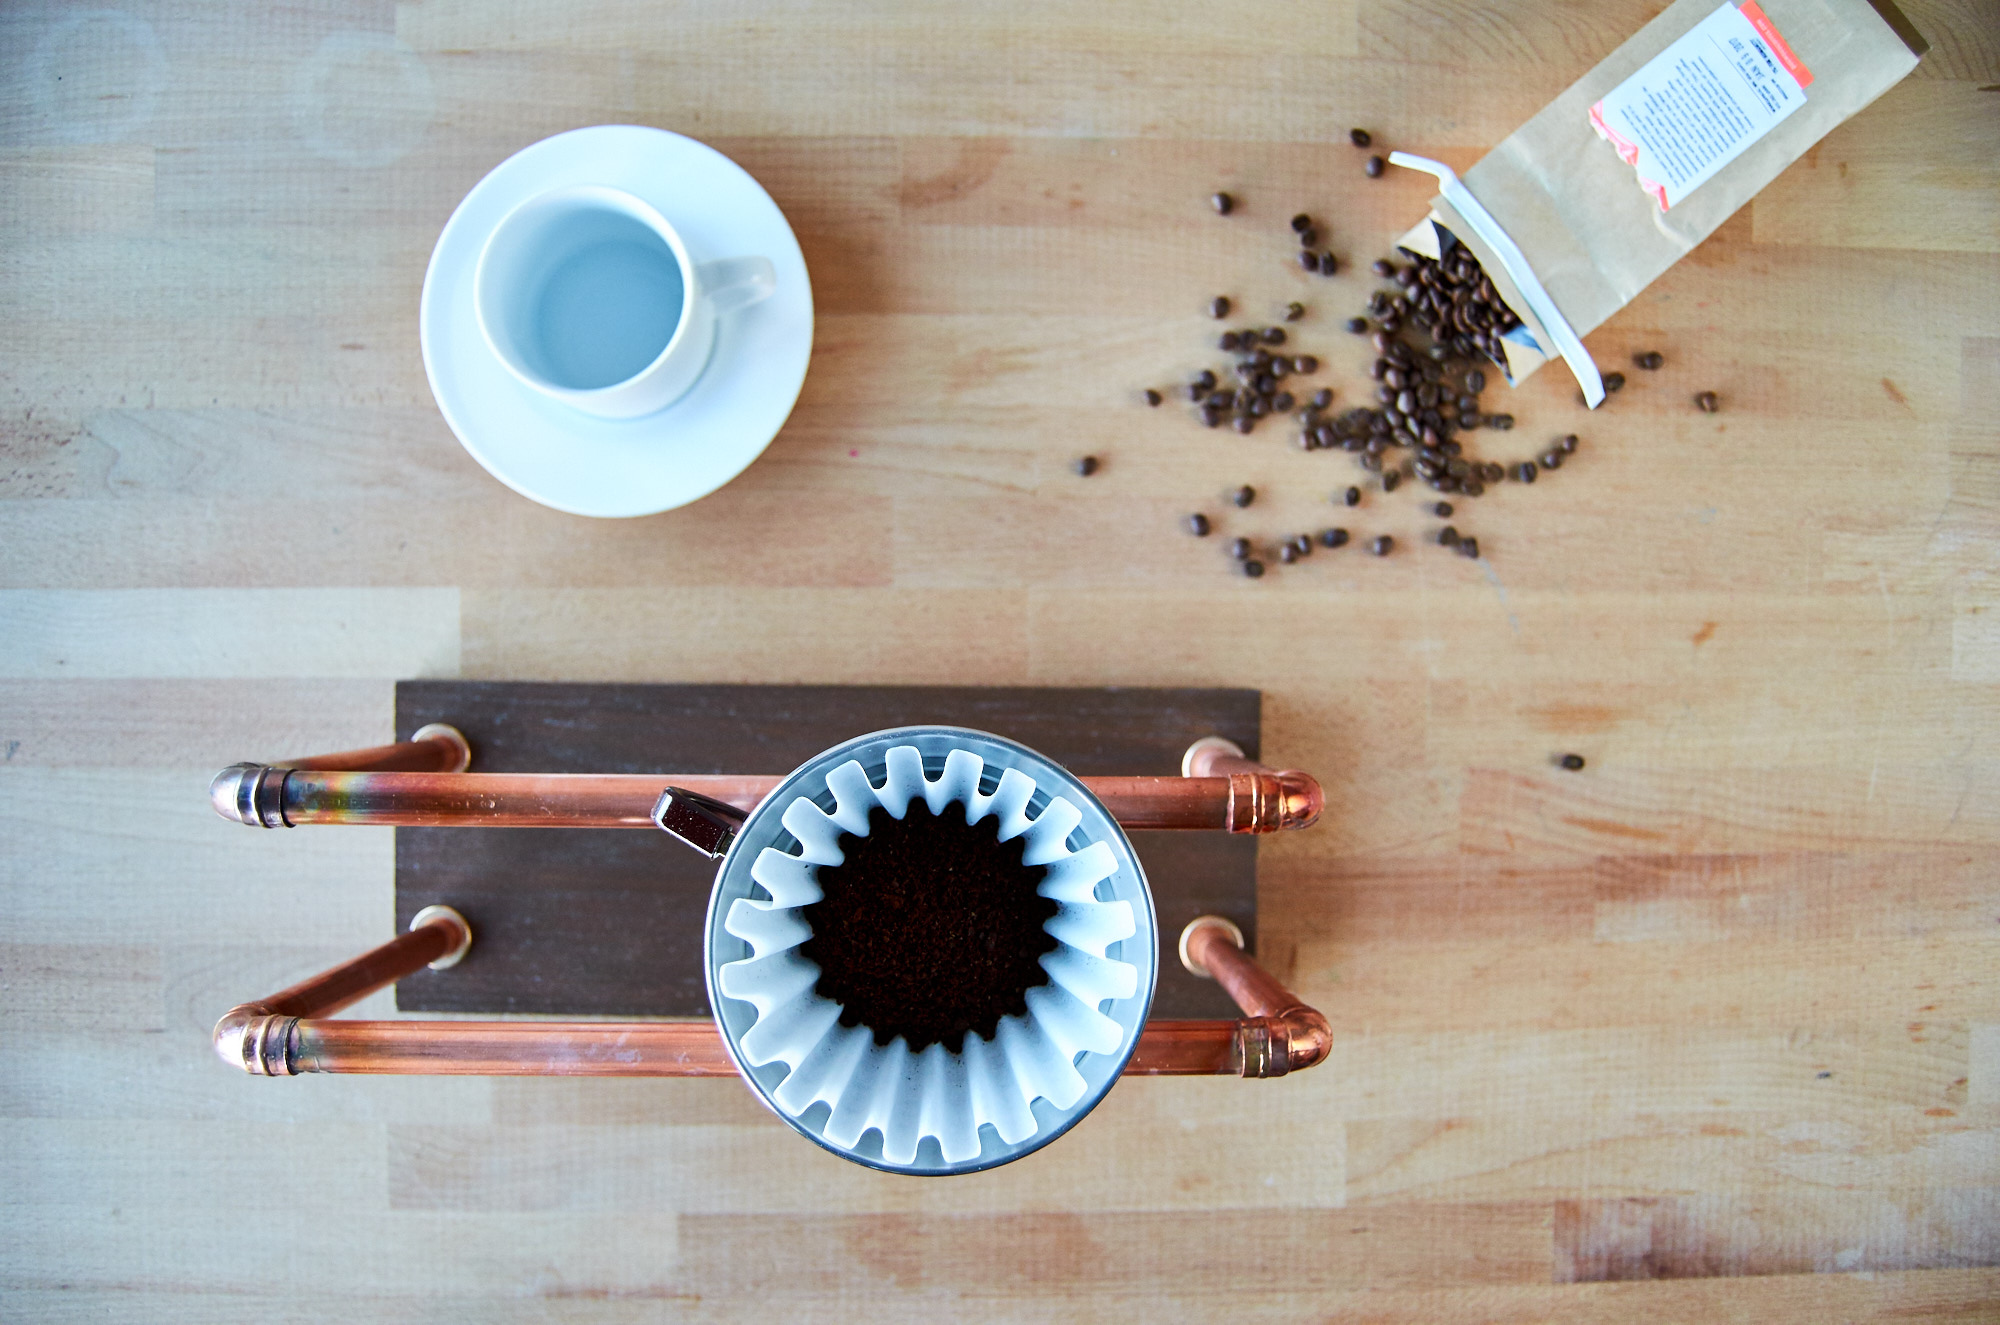
So I decided to try a new approach. The Kalita Dripper makes a perfectly nice cup of mildly sweet, delicious coffee. It's fast and easy to use, and a breeze to clean up. No wonder coffee shops everywhere like these things.
I decided to build a simple pour-over coffee station that looks nice, and helps me brew up the best part of the day for me and my wife with minimal fuss. My tool of choice for this project: the ever-essential blow torch. With a good blow torch and some shiny copper in hand, there's almost nothing you can't build.
And, just for fun, we decided to make a video of the whole process. Watch it below, then scan the tutorial for all the details.
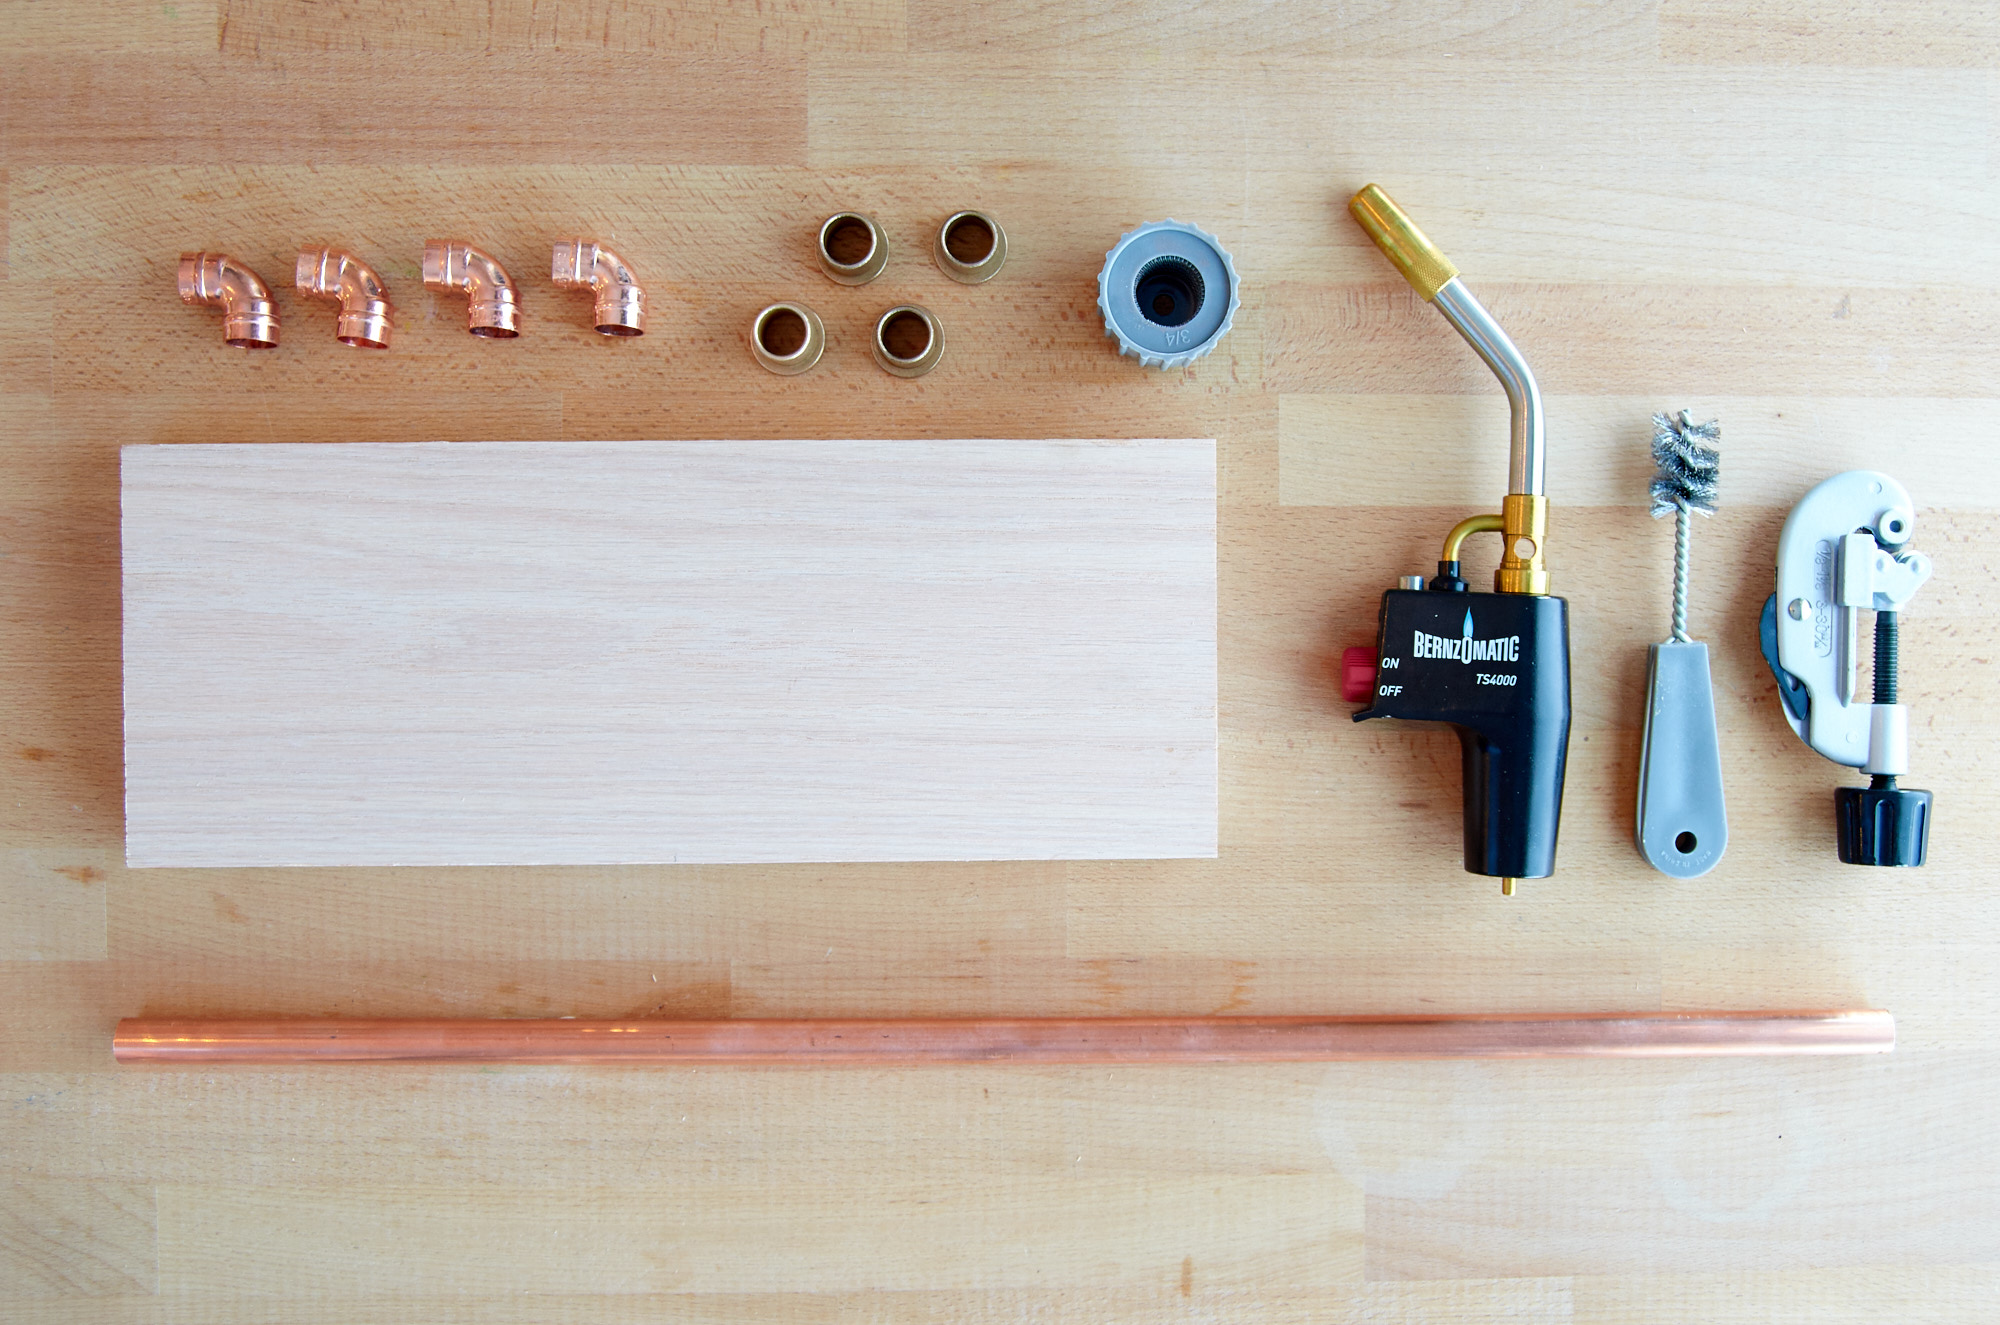
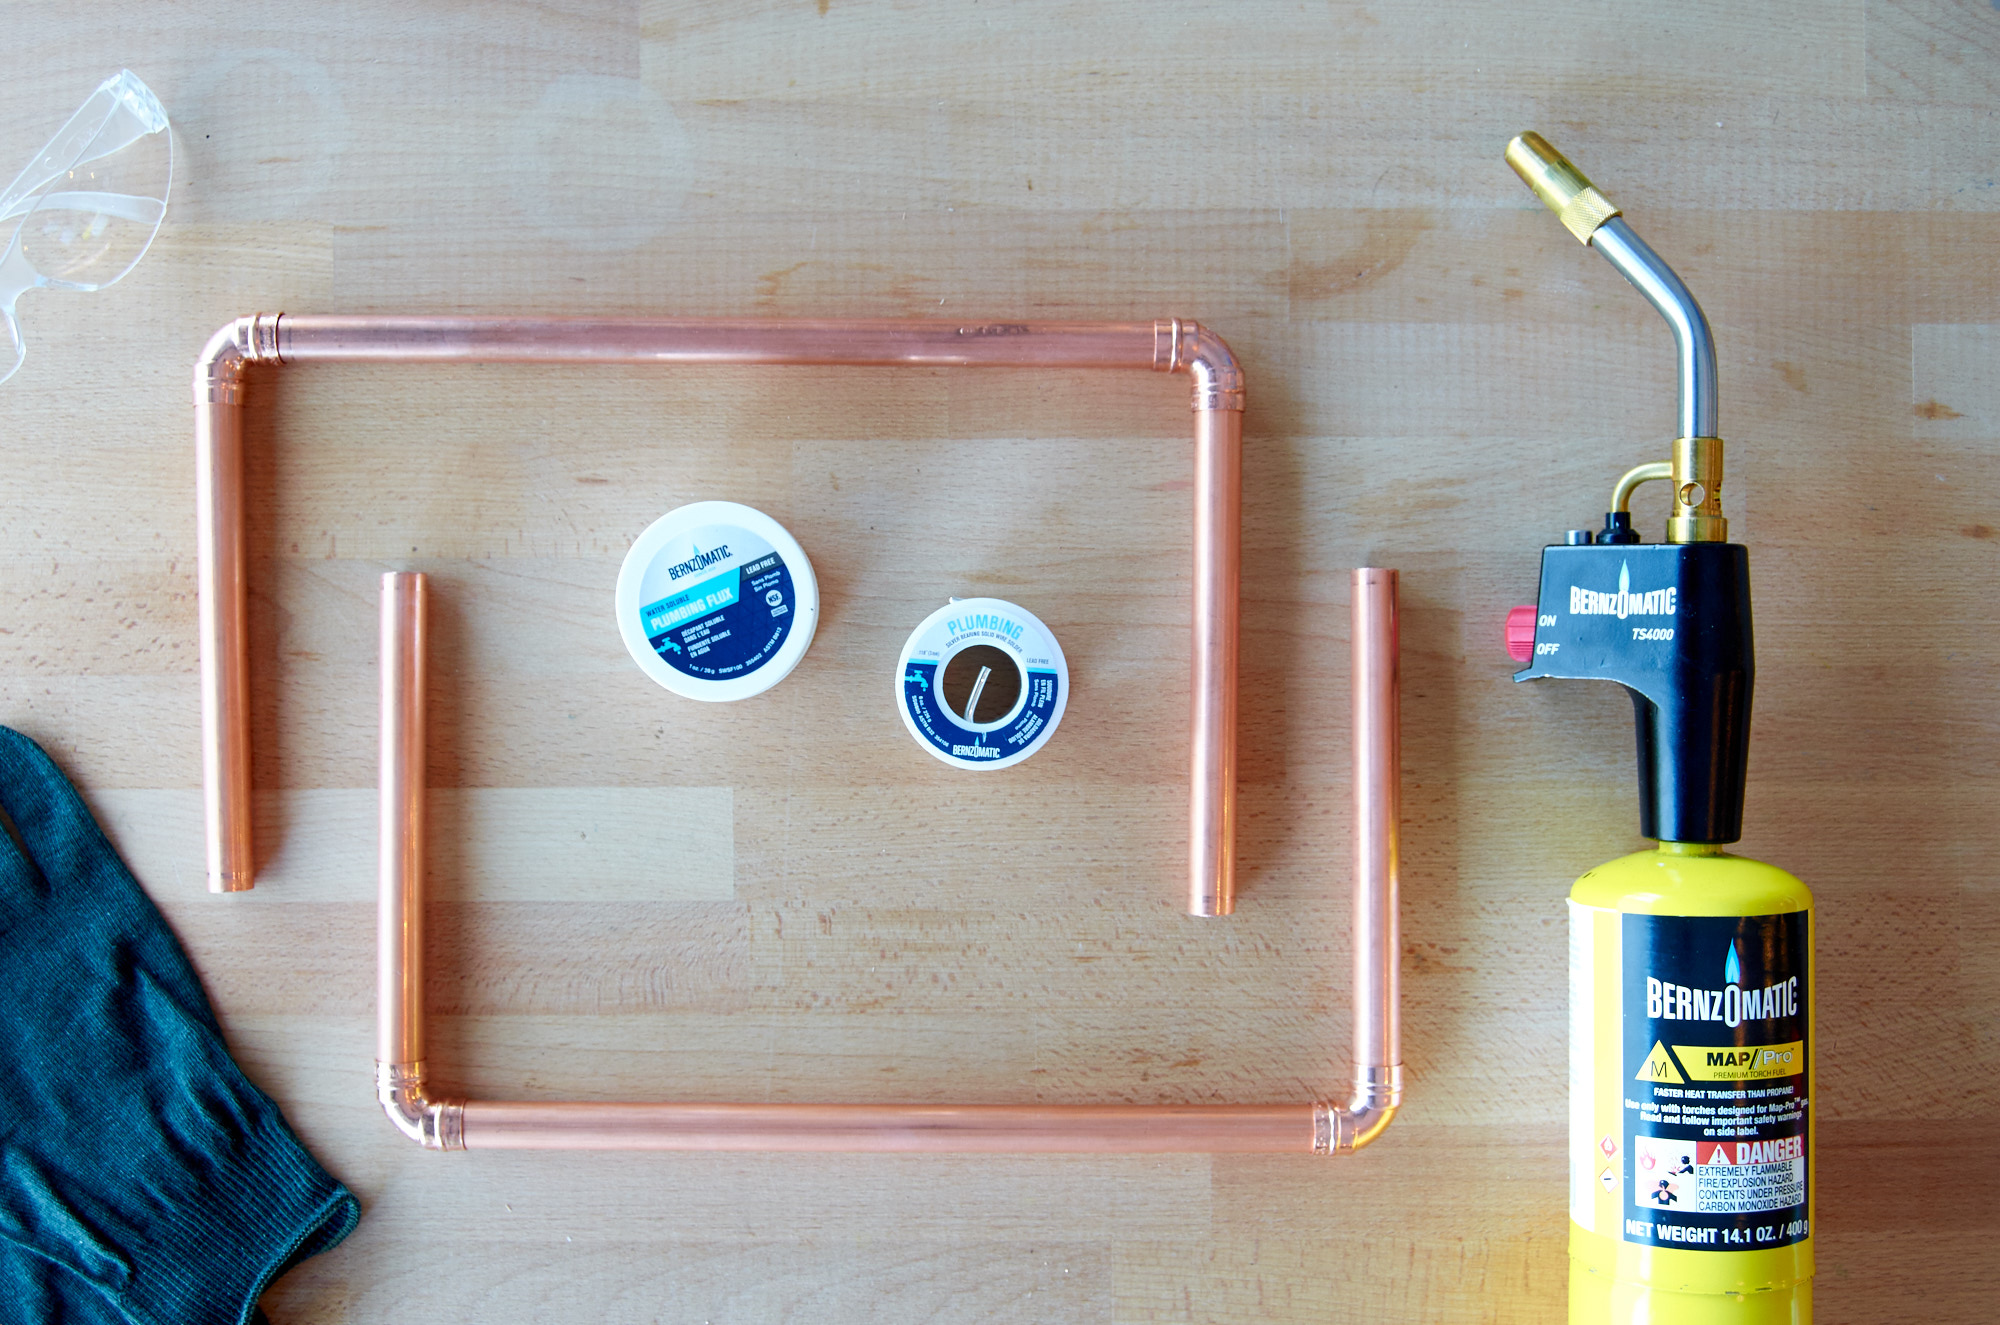
Materials
- Flux
- Solder
- Blow torch
- Copper pipe (3/4″ diameter)
- Four 90-degree elbow fittings
- Four brass collars (I found mine in the hardware section)
- A nice-looking piece of wood
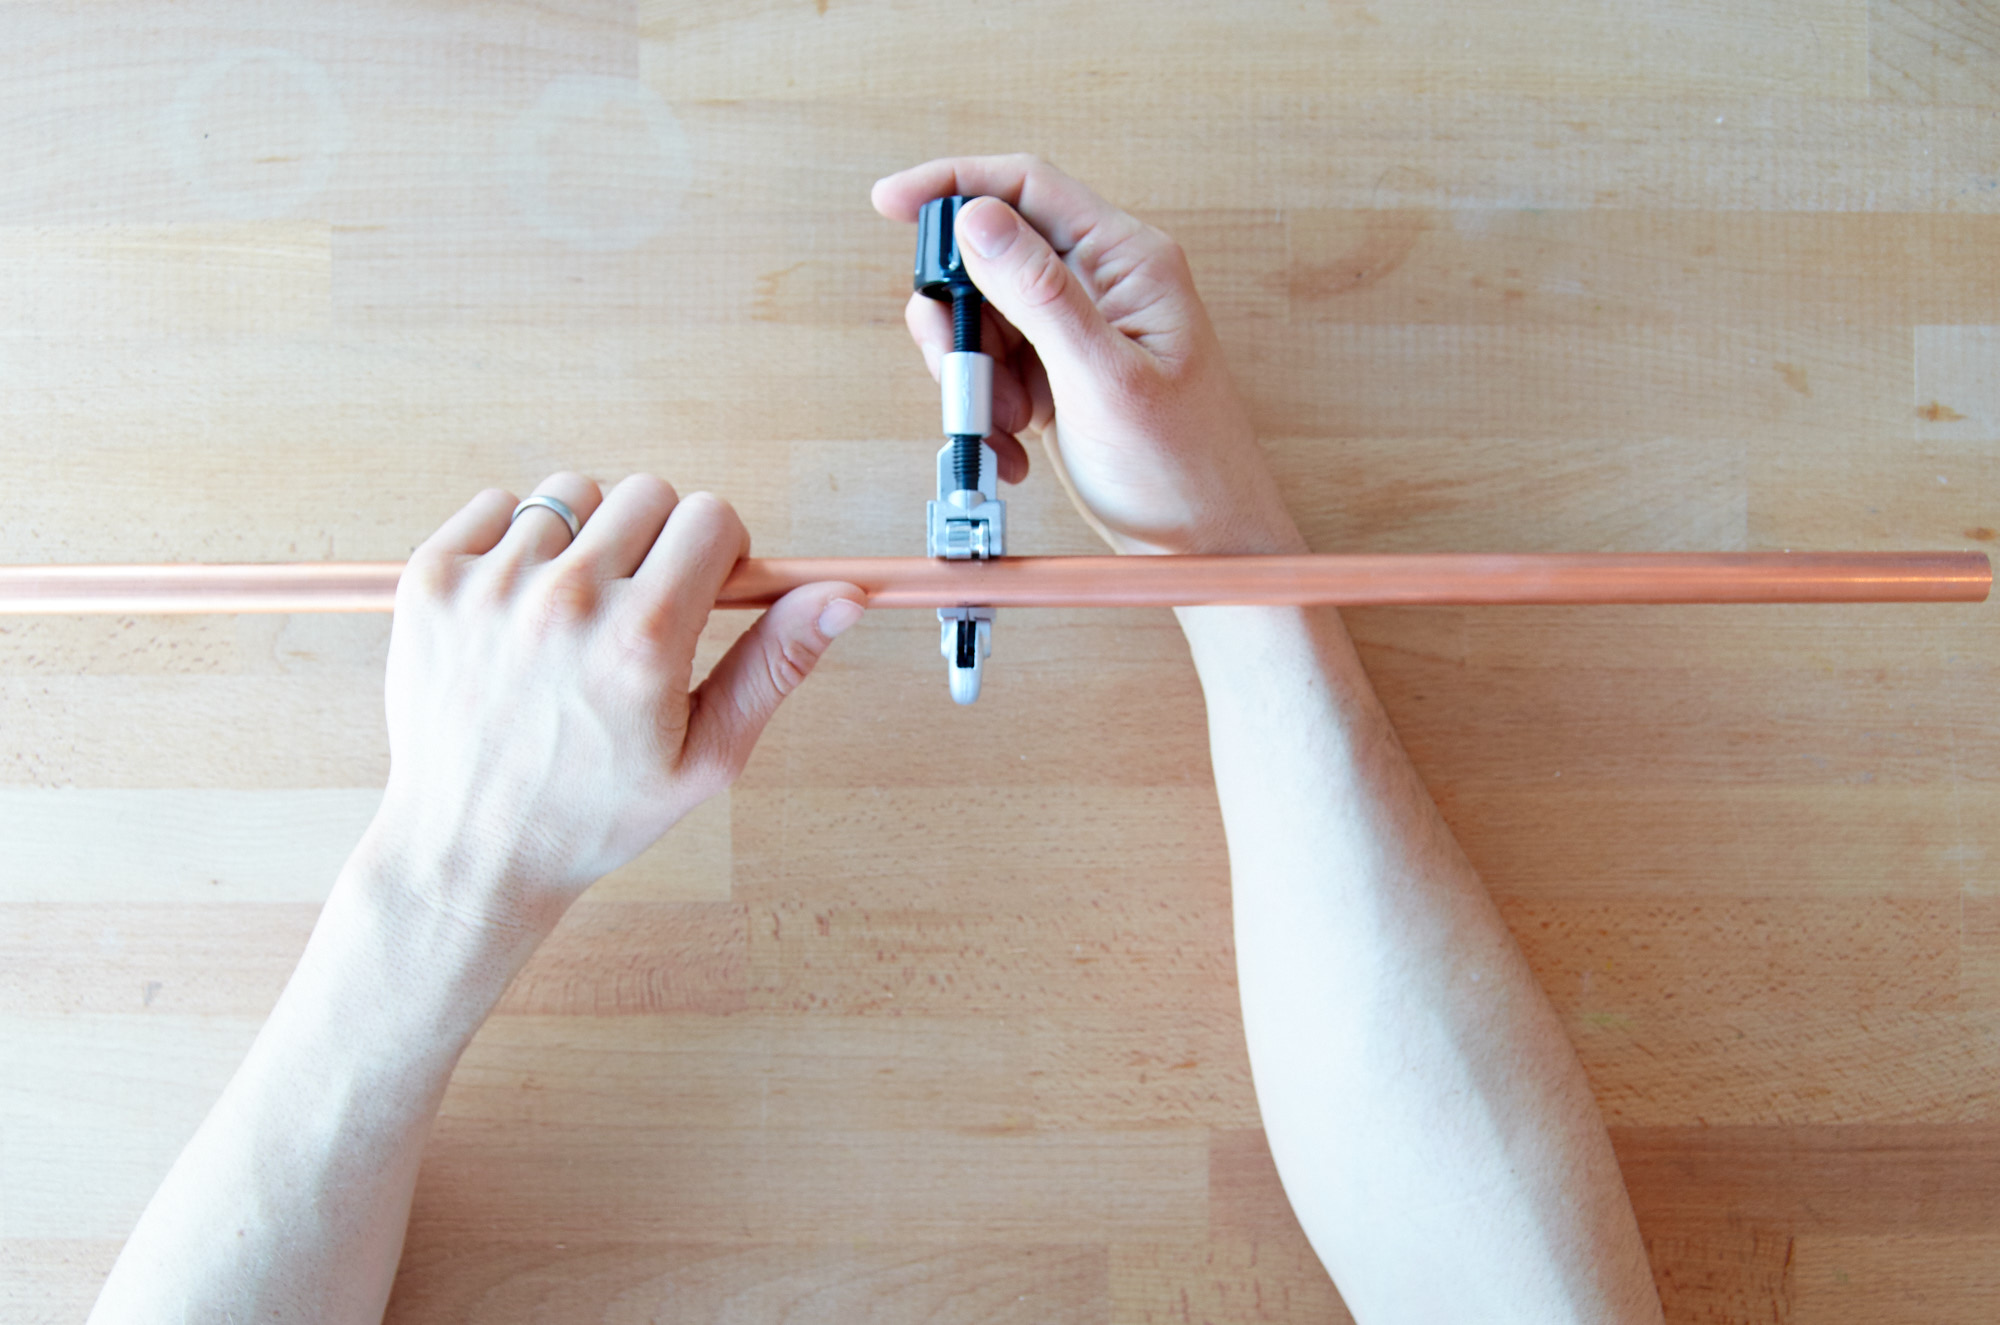
- Pipe cutter
- Sandpaper
 Step
Step
Cut your wood to size. This will mostly depend on the dimensions of your favorite coffee mugs, and the pour-over brewing system your using. In our case, we went with a 5″ x 14″ piece of one-inch thick red oak. Stain or finish the wood as you'd like. Remember that it will be in contact with lots of heat and moisture.
Step
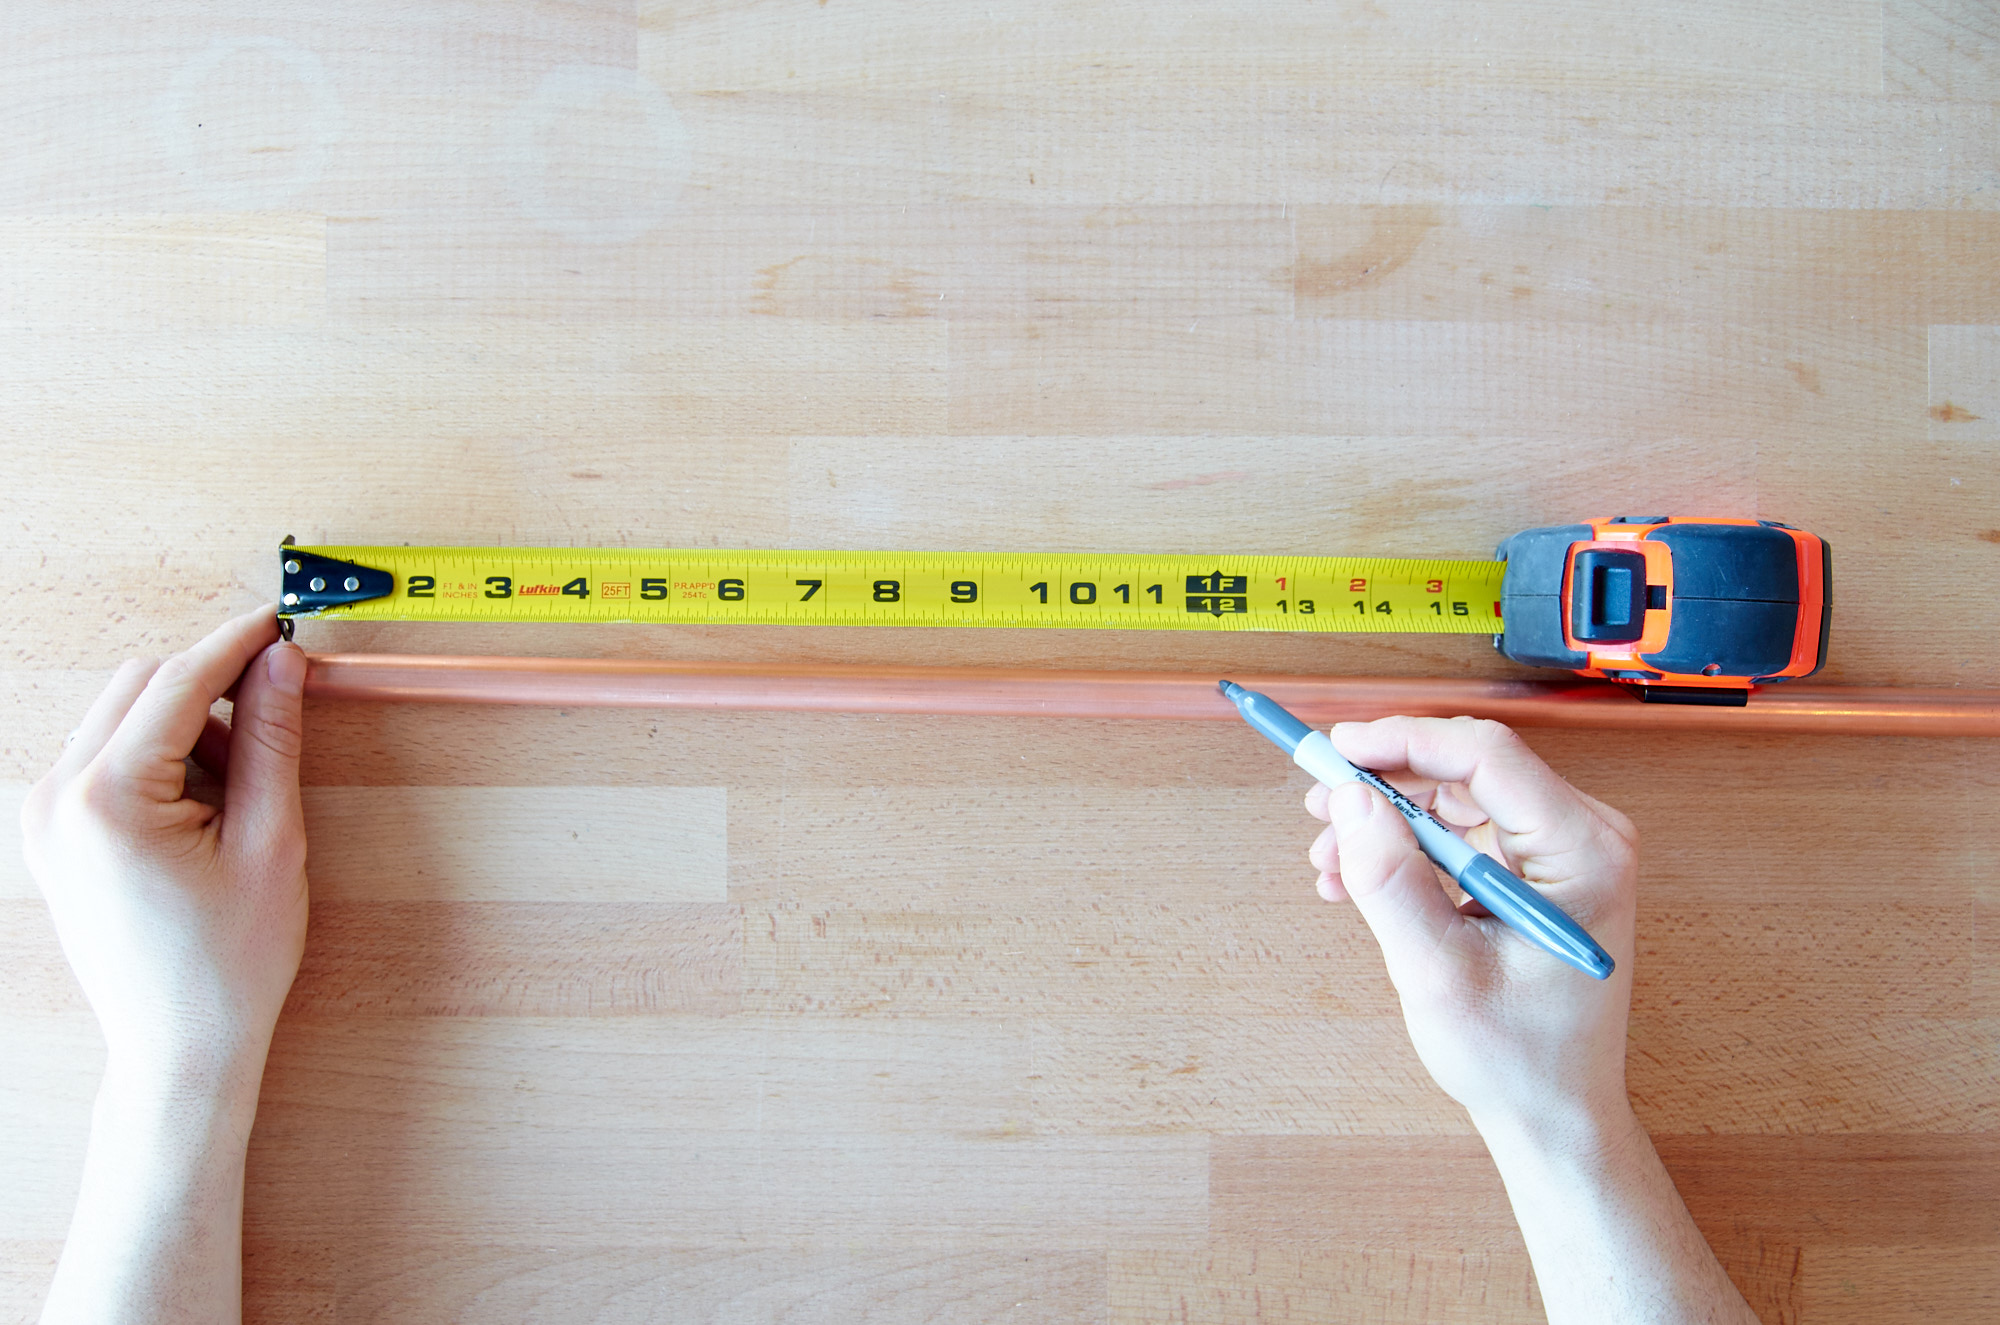
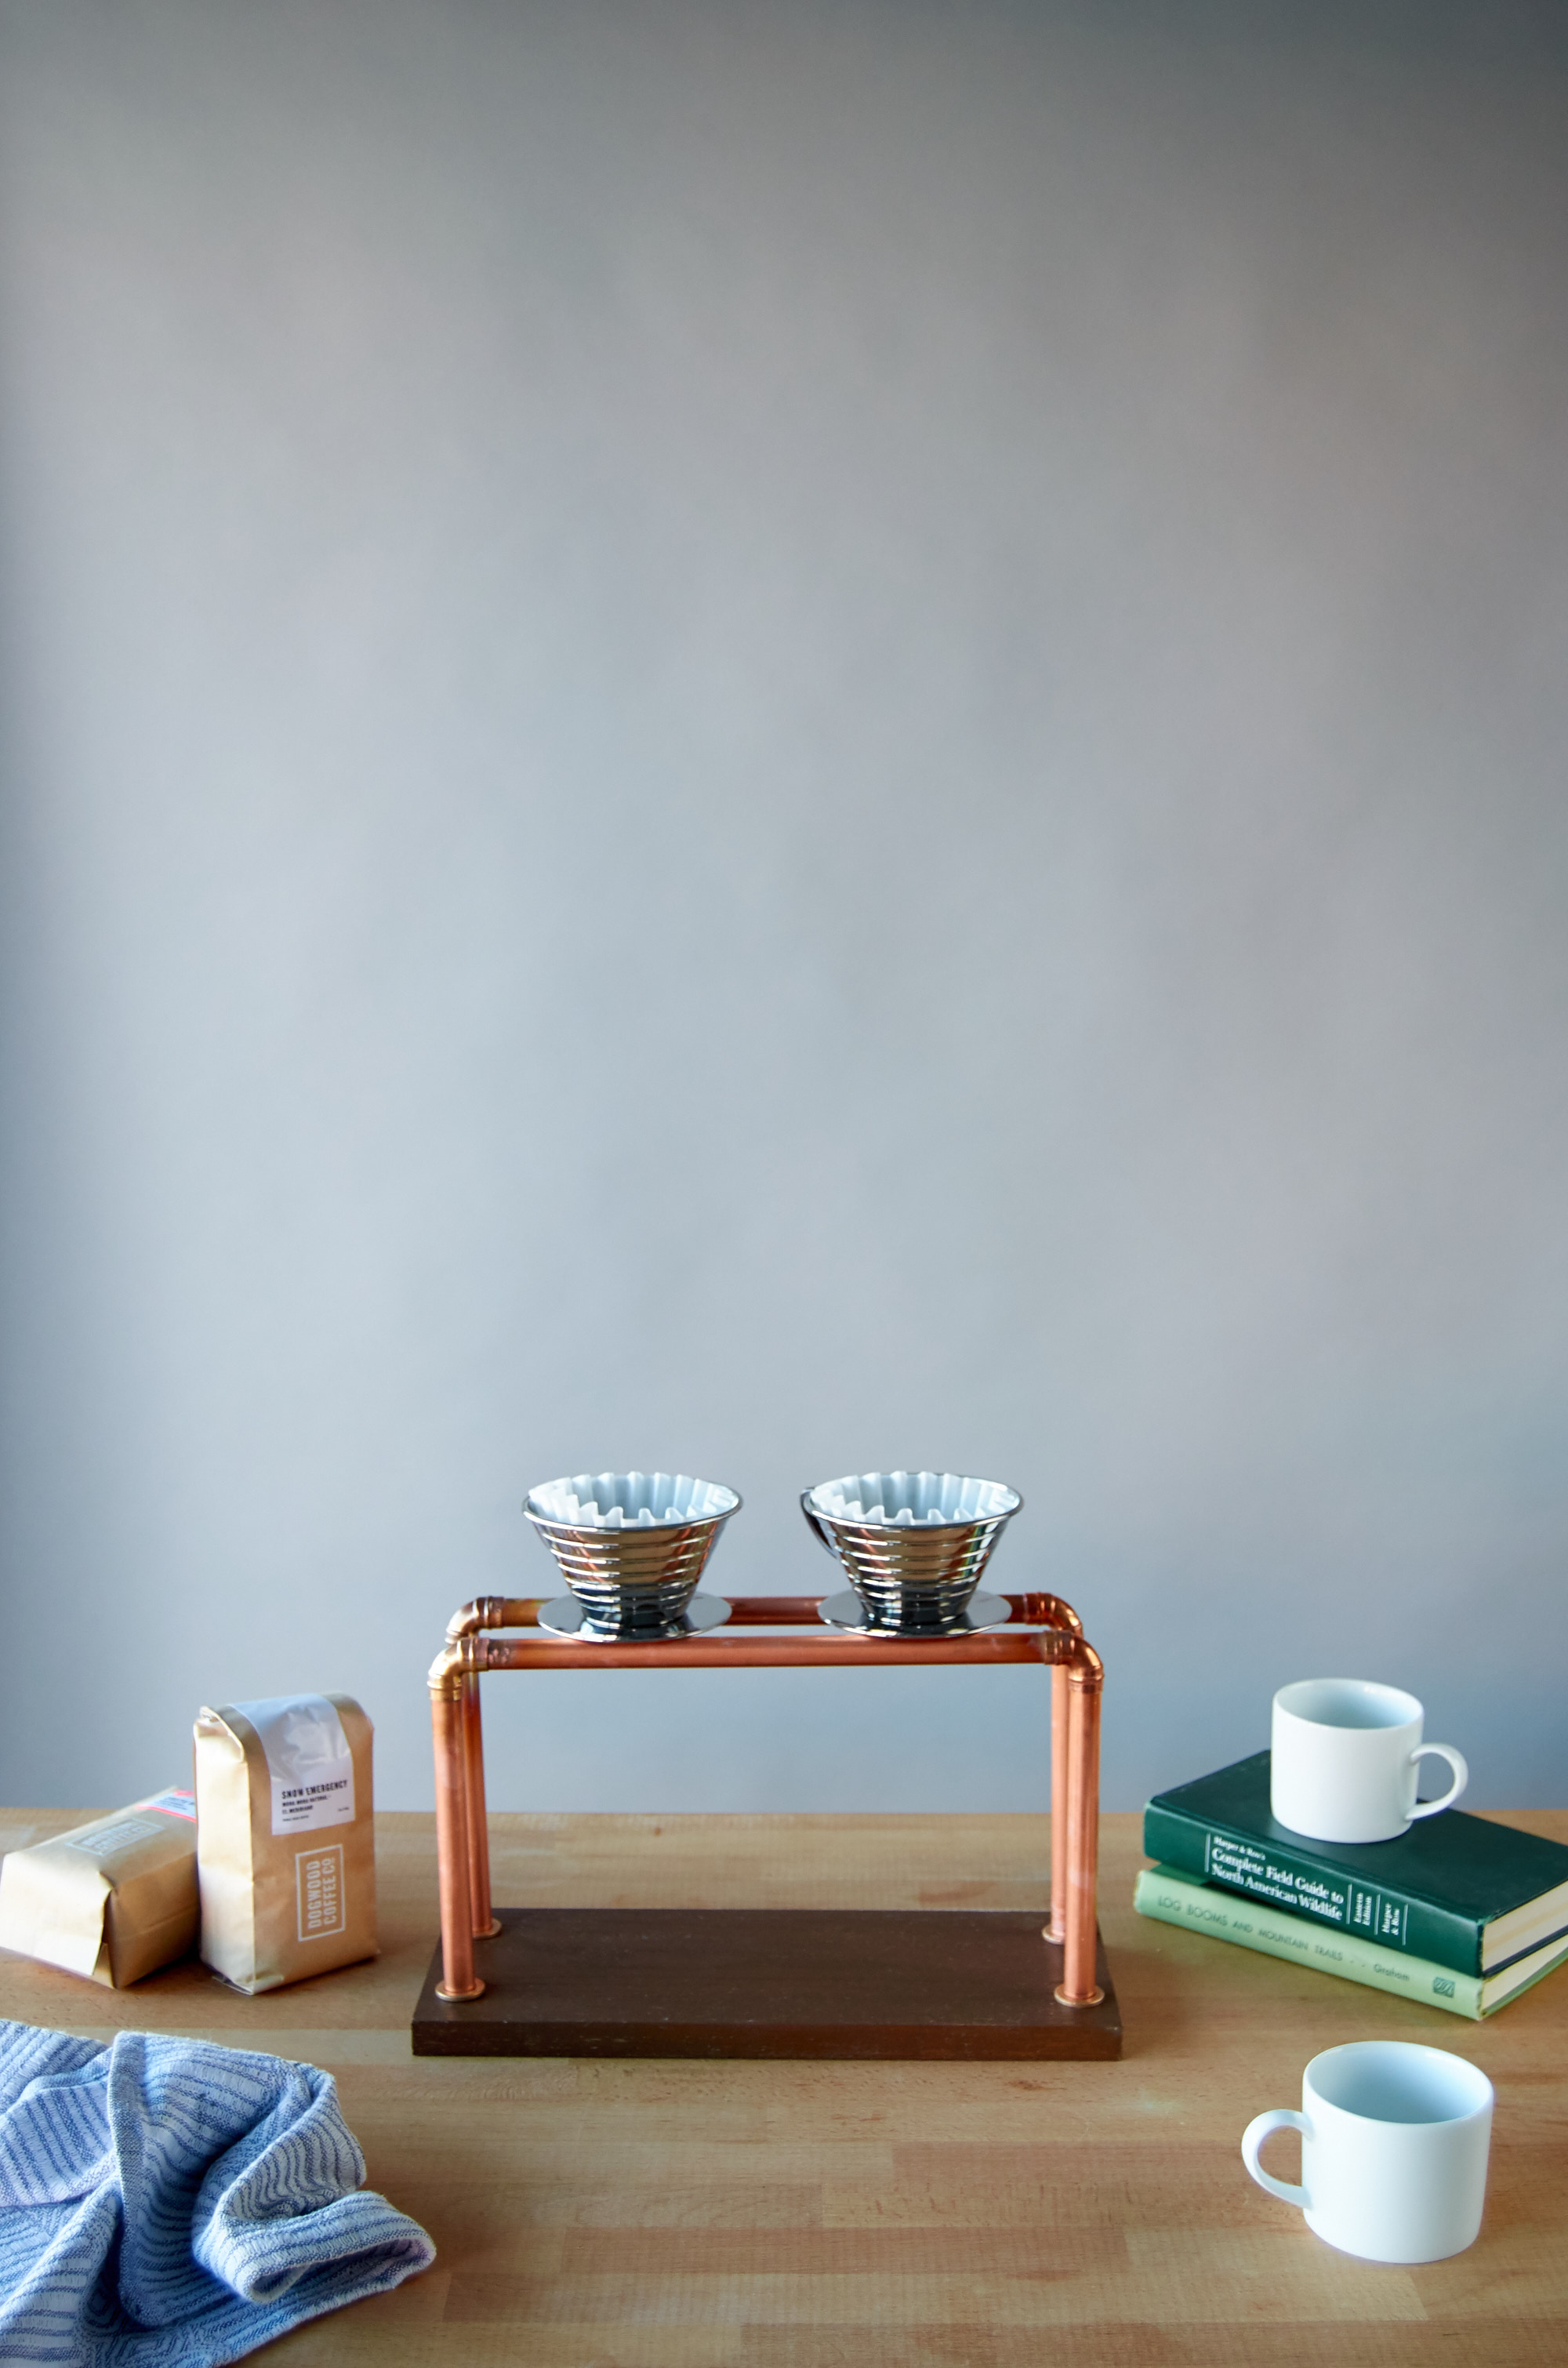
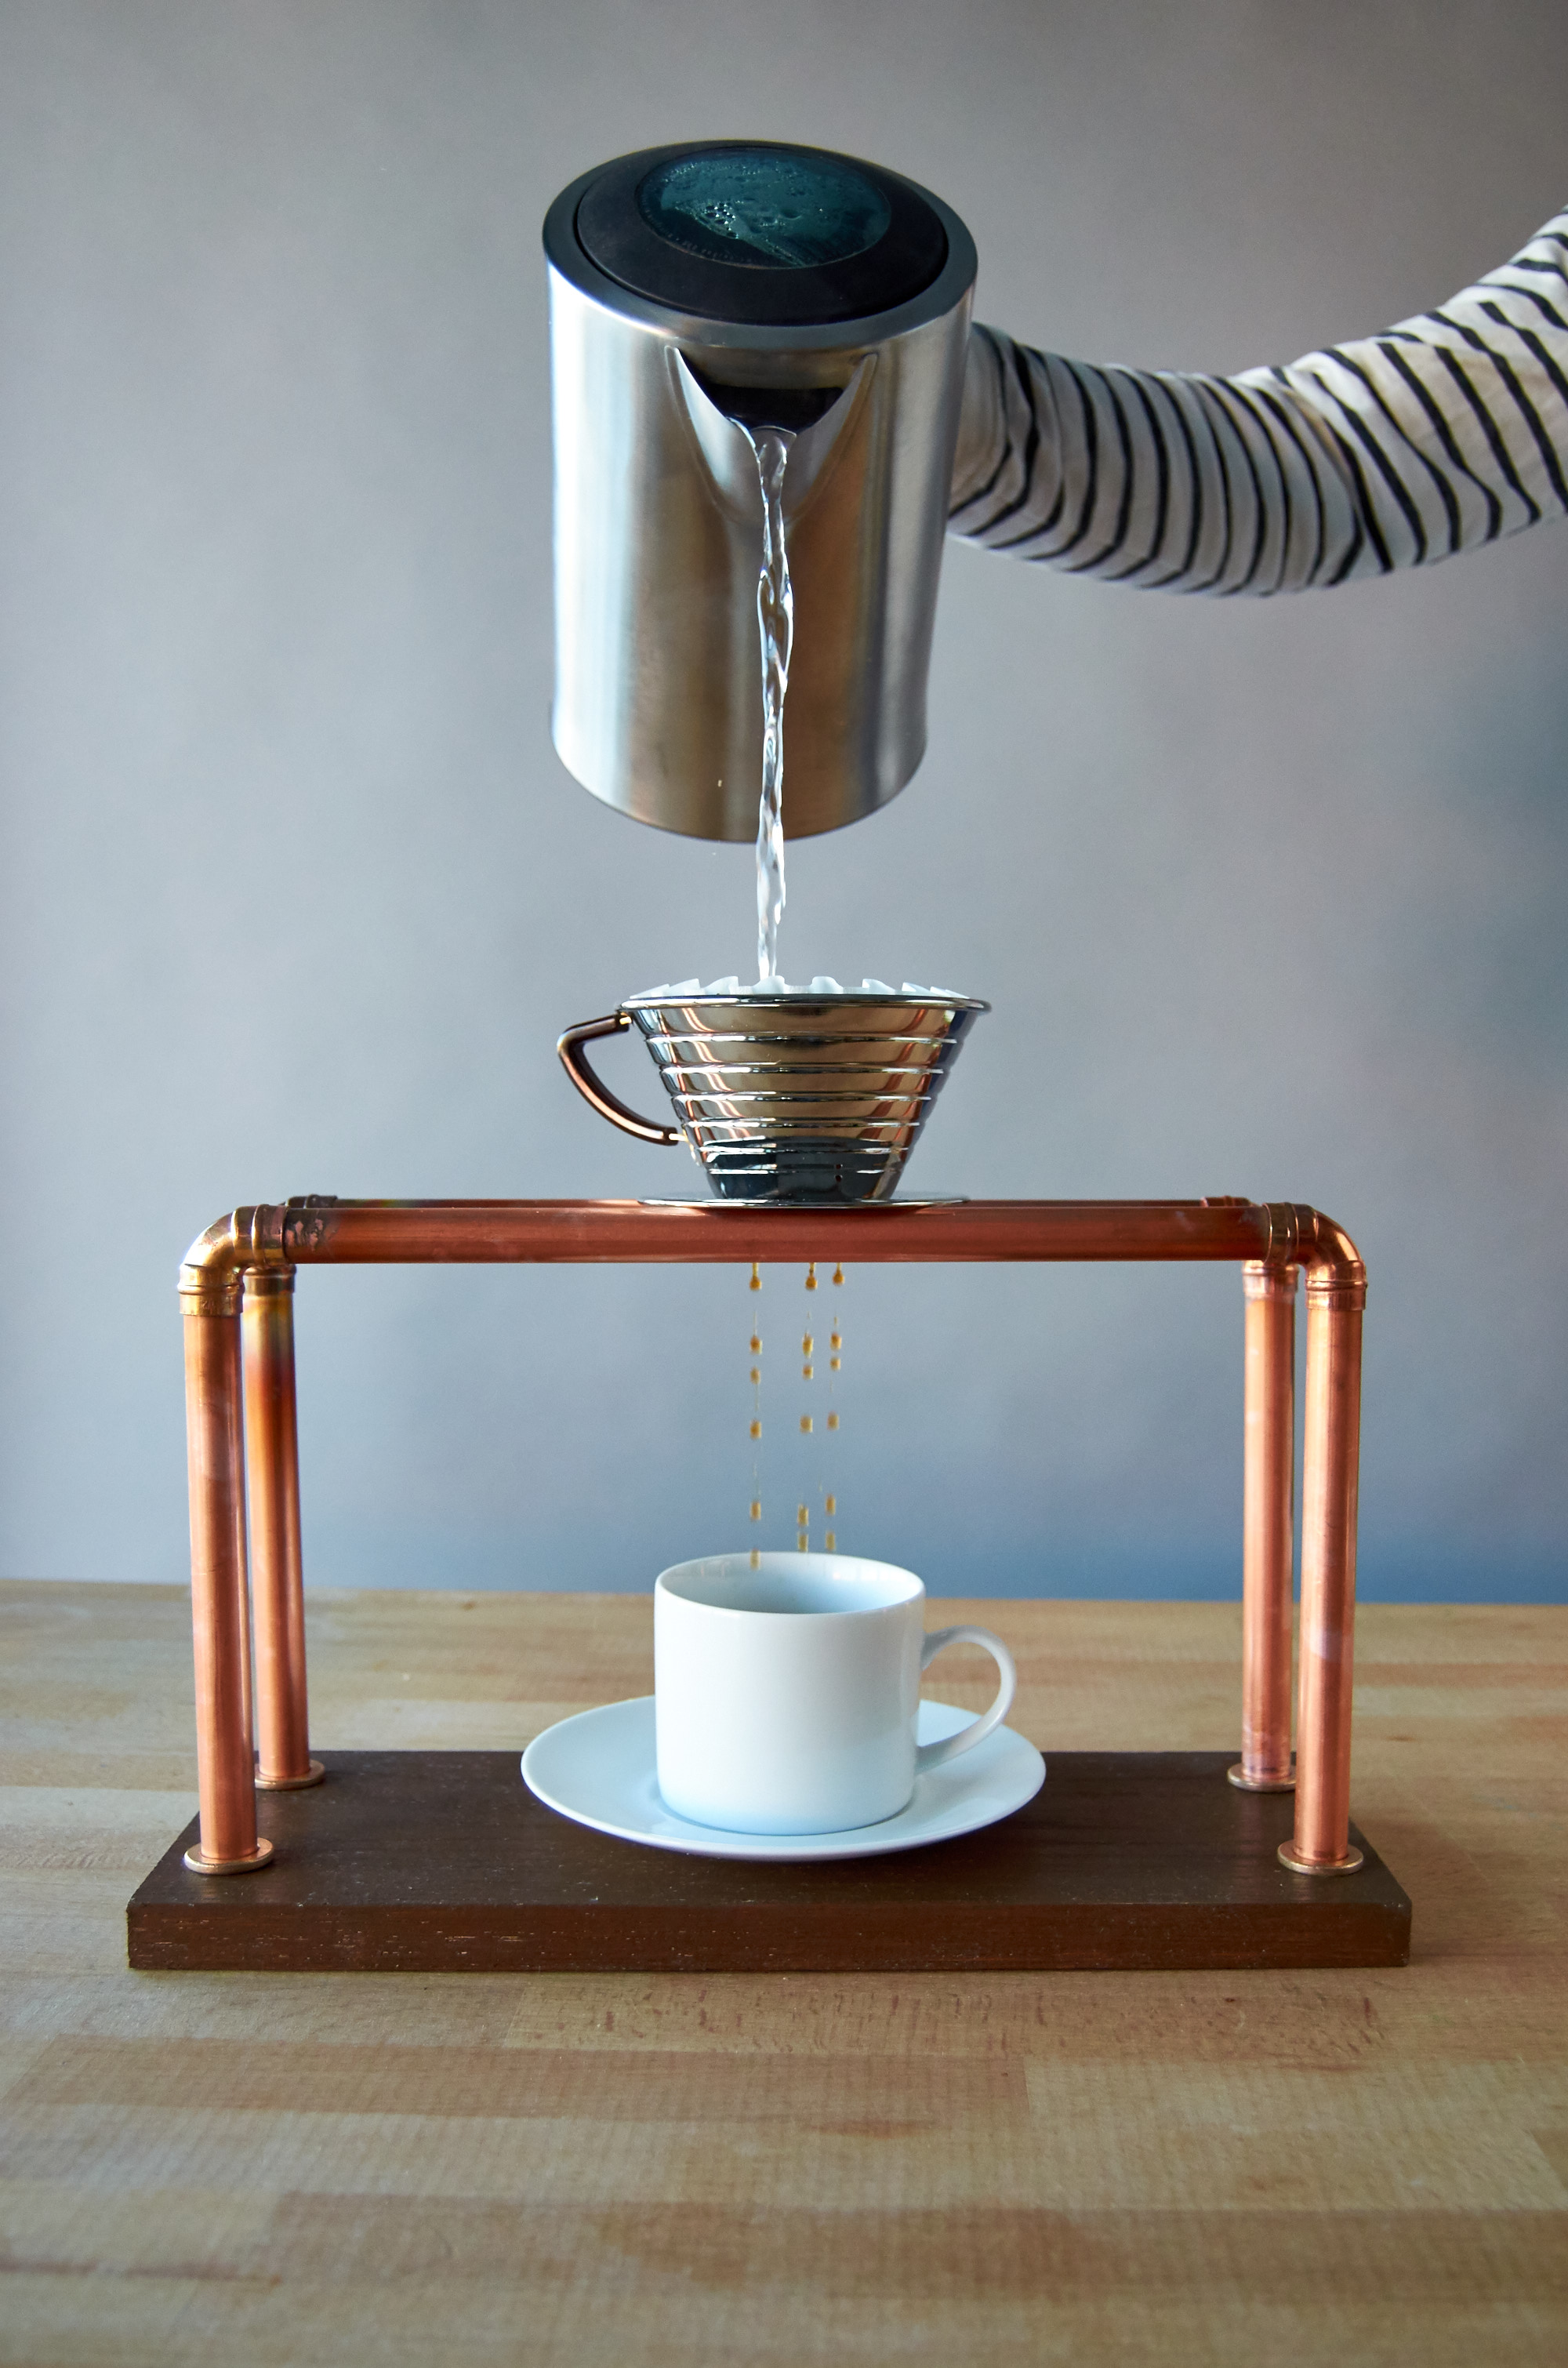
Cut your copper. Here we did four short sections (legs) at 6″, and two long pieces at 12″. The important thing here is, again, to size the height of the thing to your mugs. We ended up making ours a little too tall, so when the coffee drips down, it splashes a little much. Fortunately, the copper legs are easy to shorten, so after we photographed it, we cut them down a few inches so the dripper sits closer to the top of the cups, diminishing the splashing.
So, when sizing your parts, I'd say go for about two inches of clearance above your cups.
Step
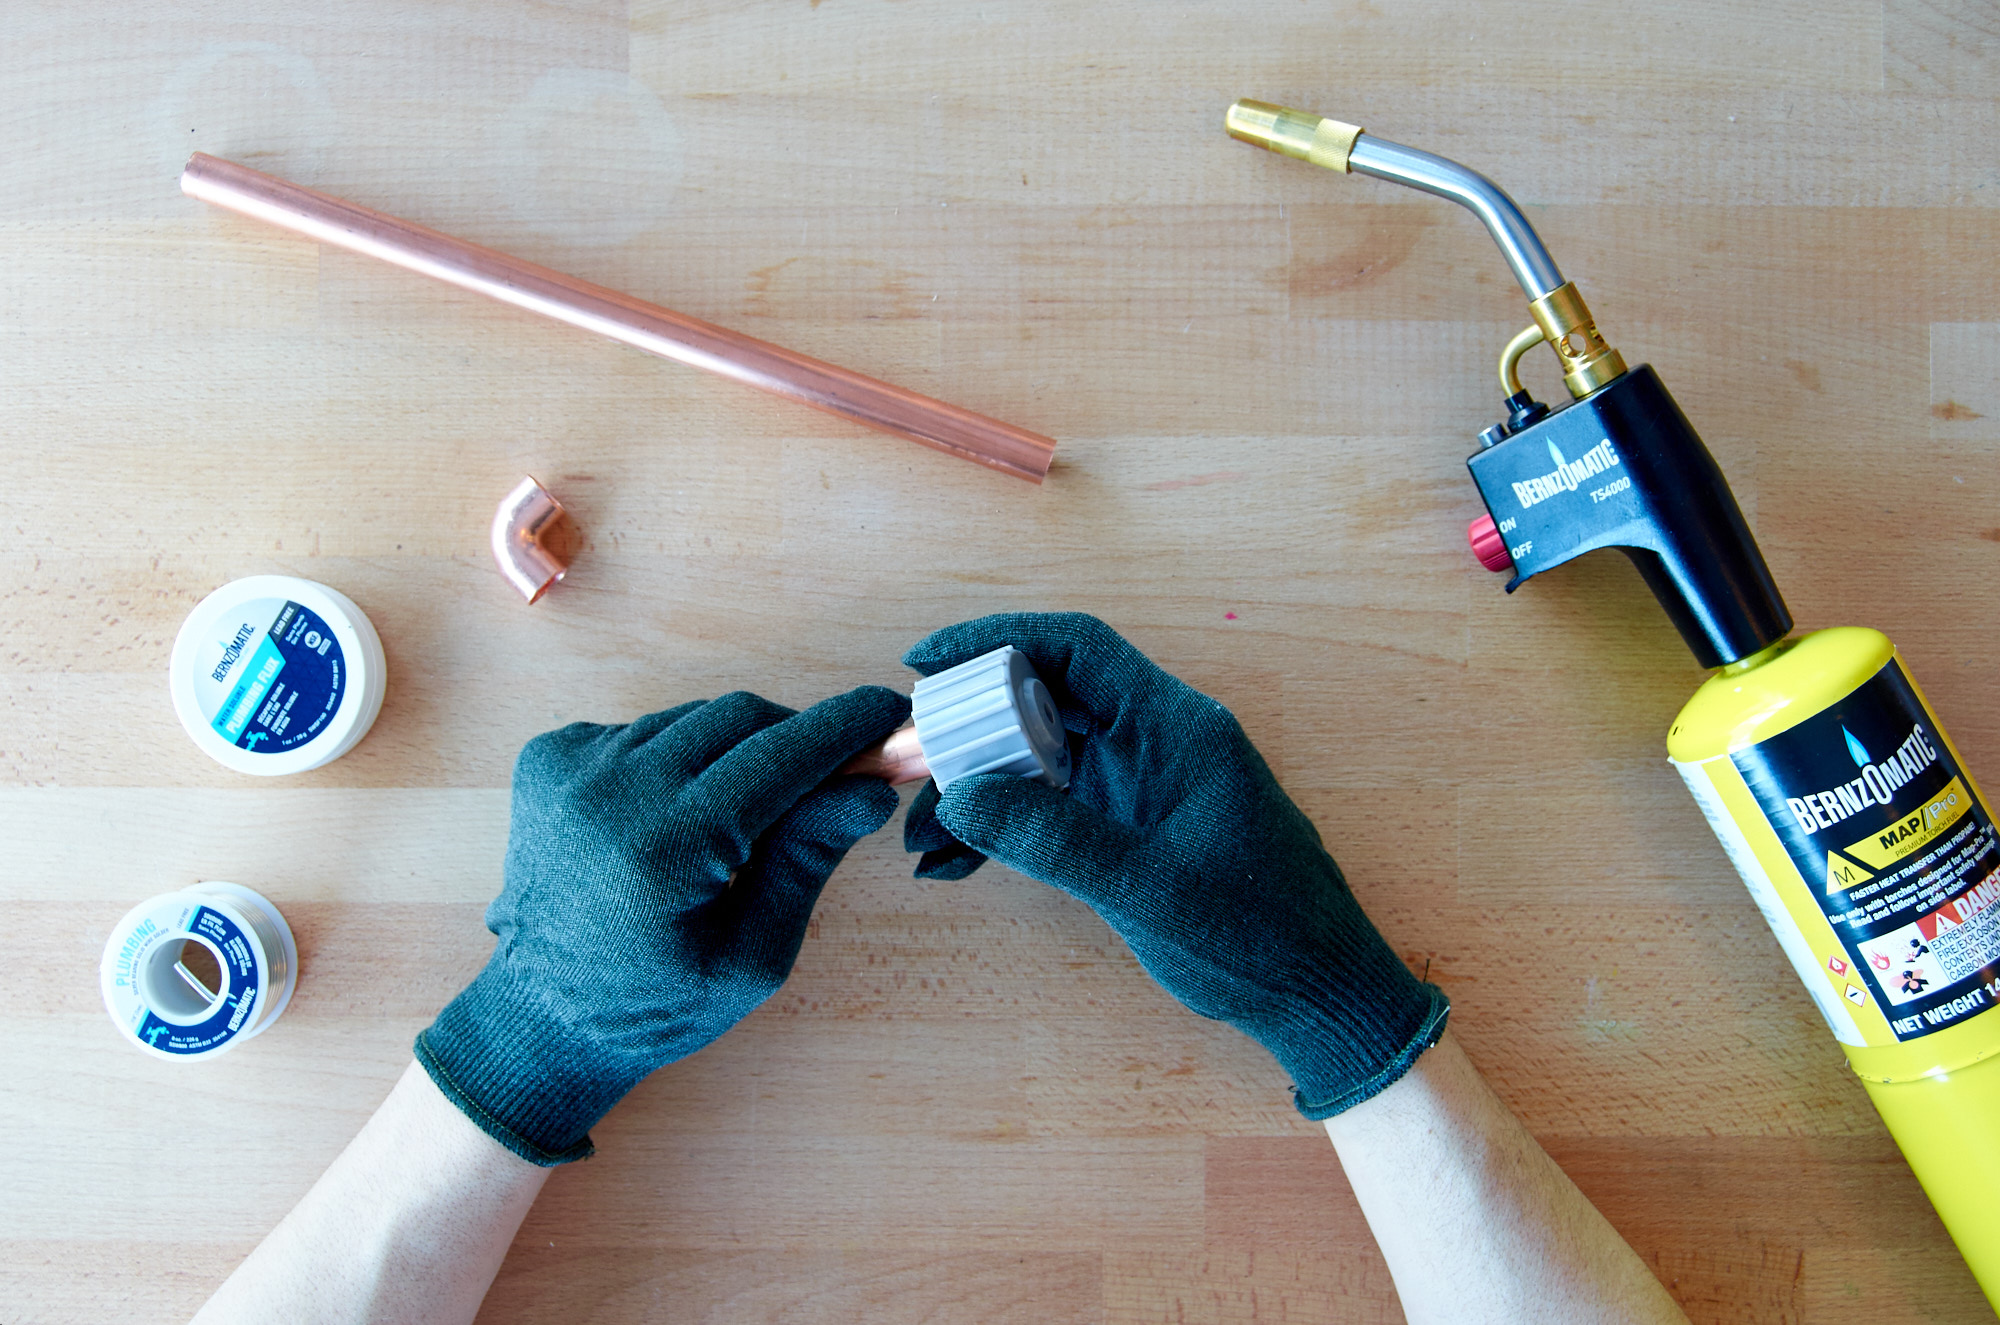
Clean all the ends of your copper pipe with sandpaper or a pipe cleaning tool (below). If you were using these for actual plumbing, this step would be more important, but since these pipes won't be functional, it's just about roughing them up a bit to help strengthen the joint.
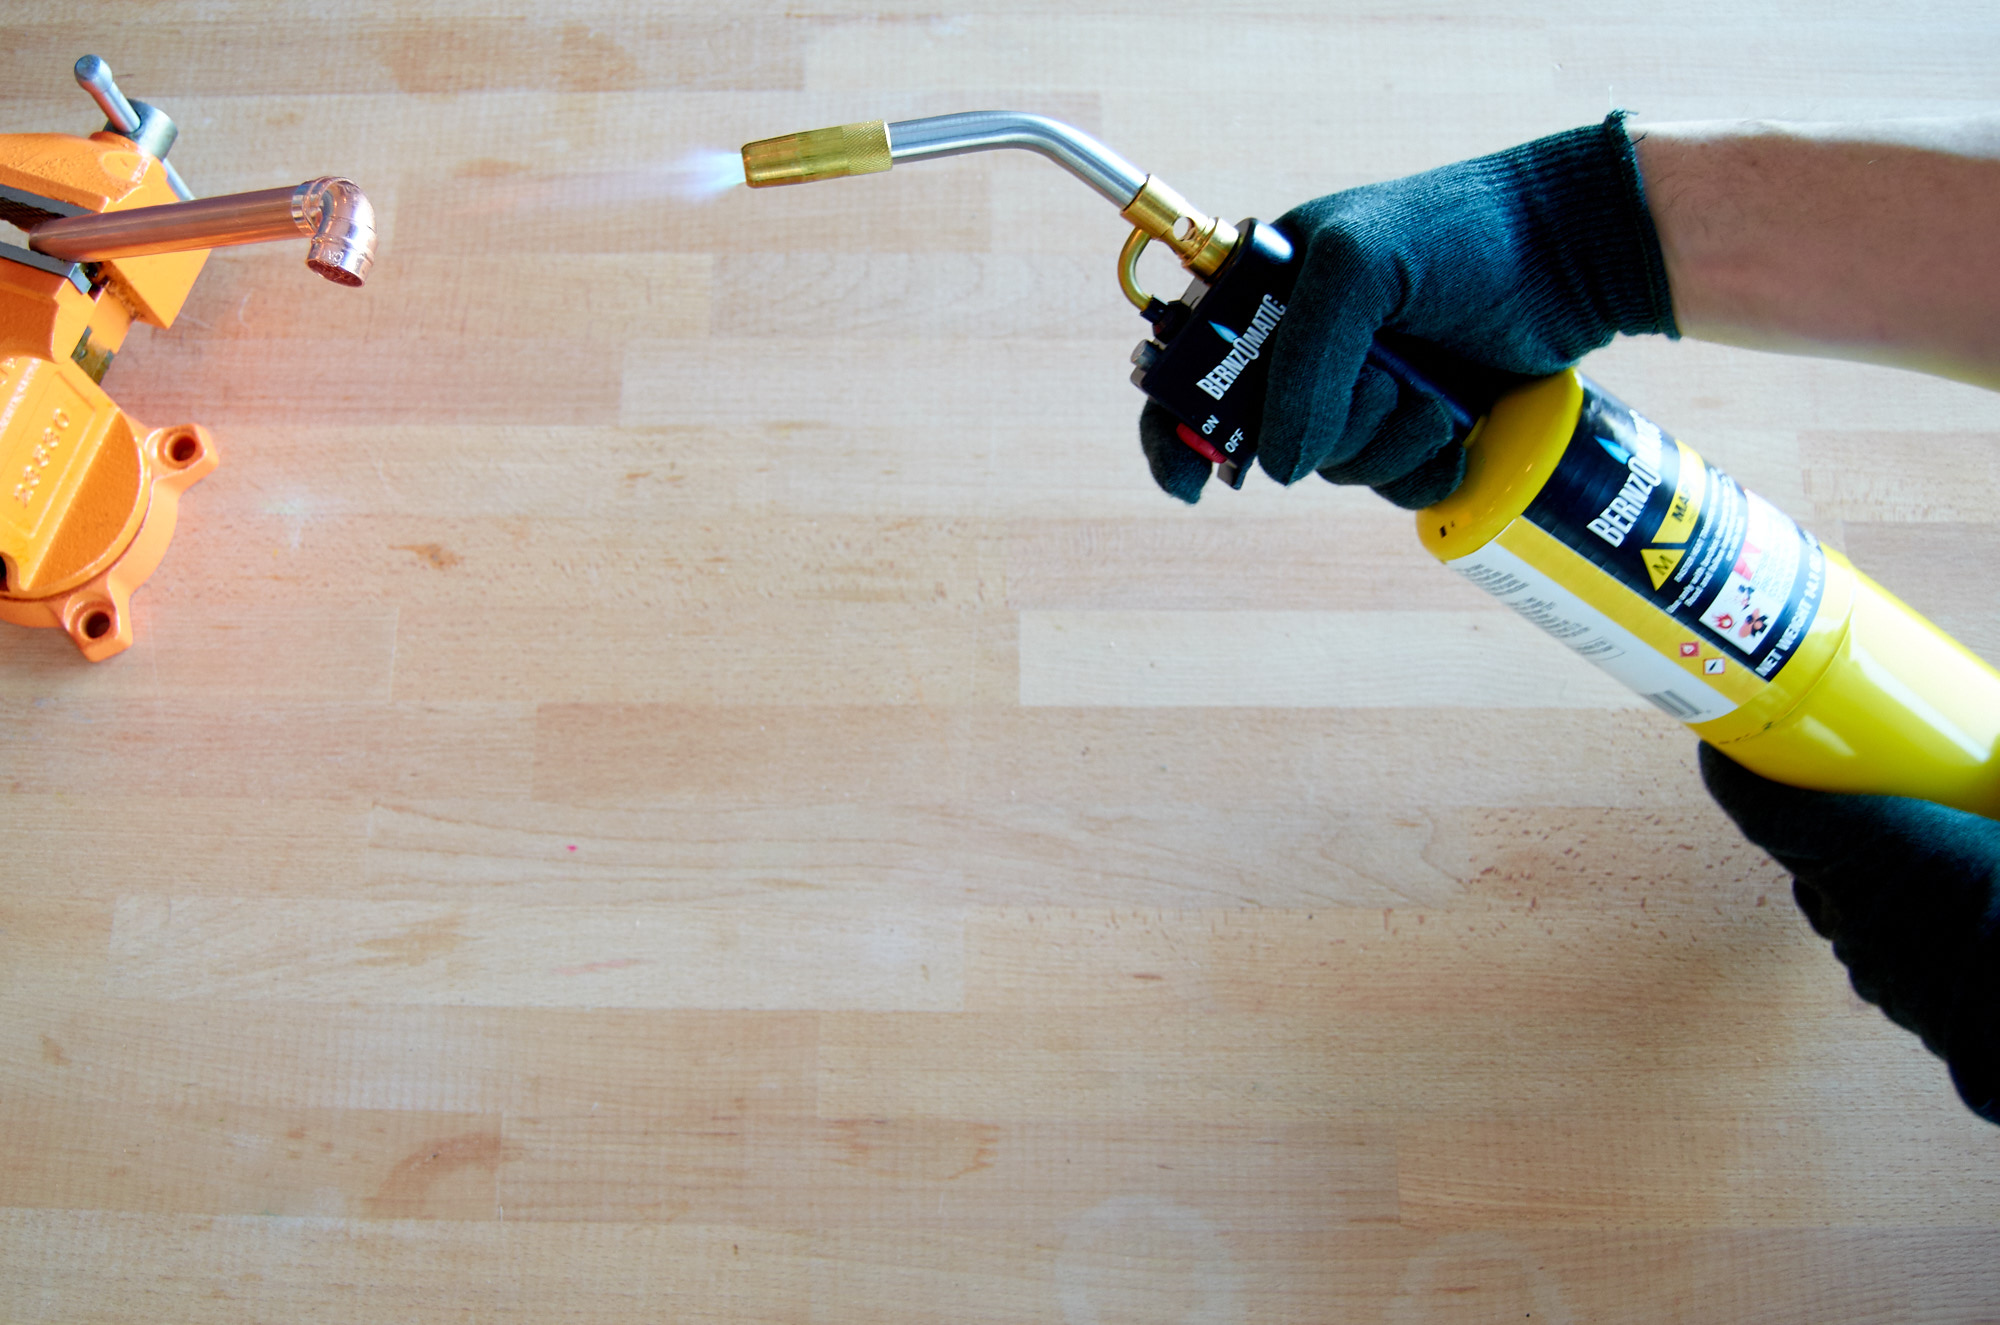
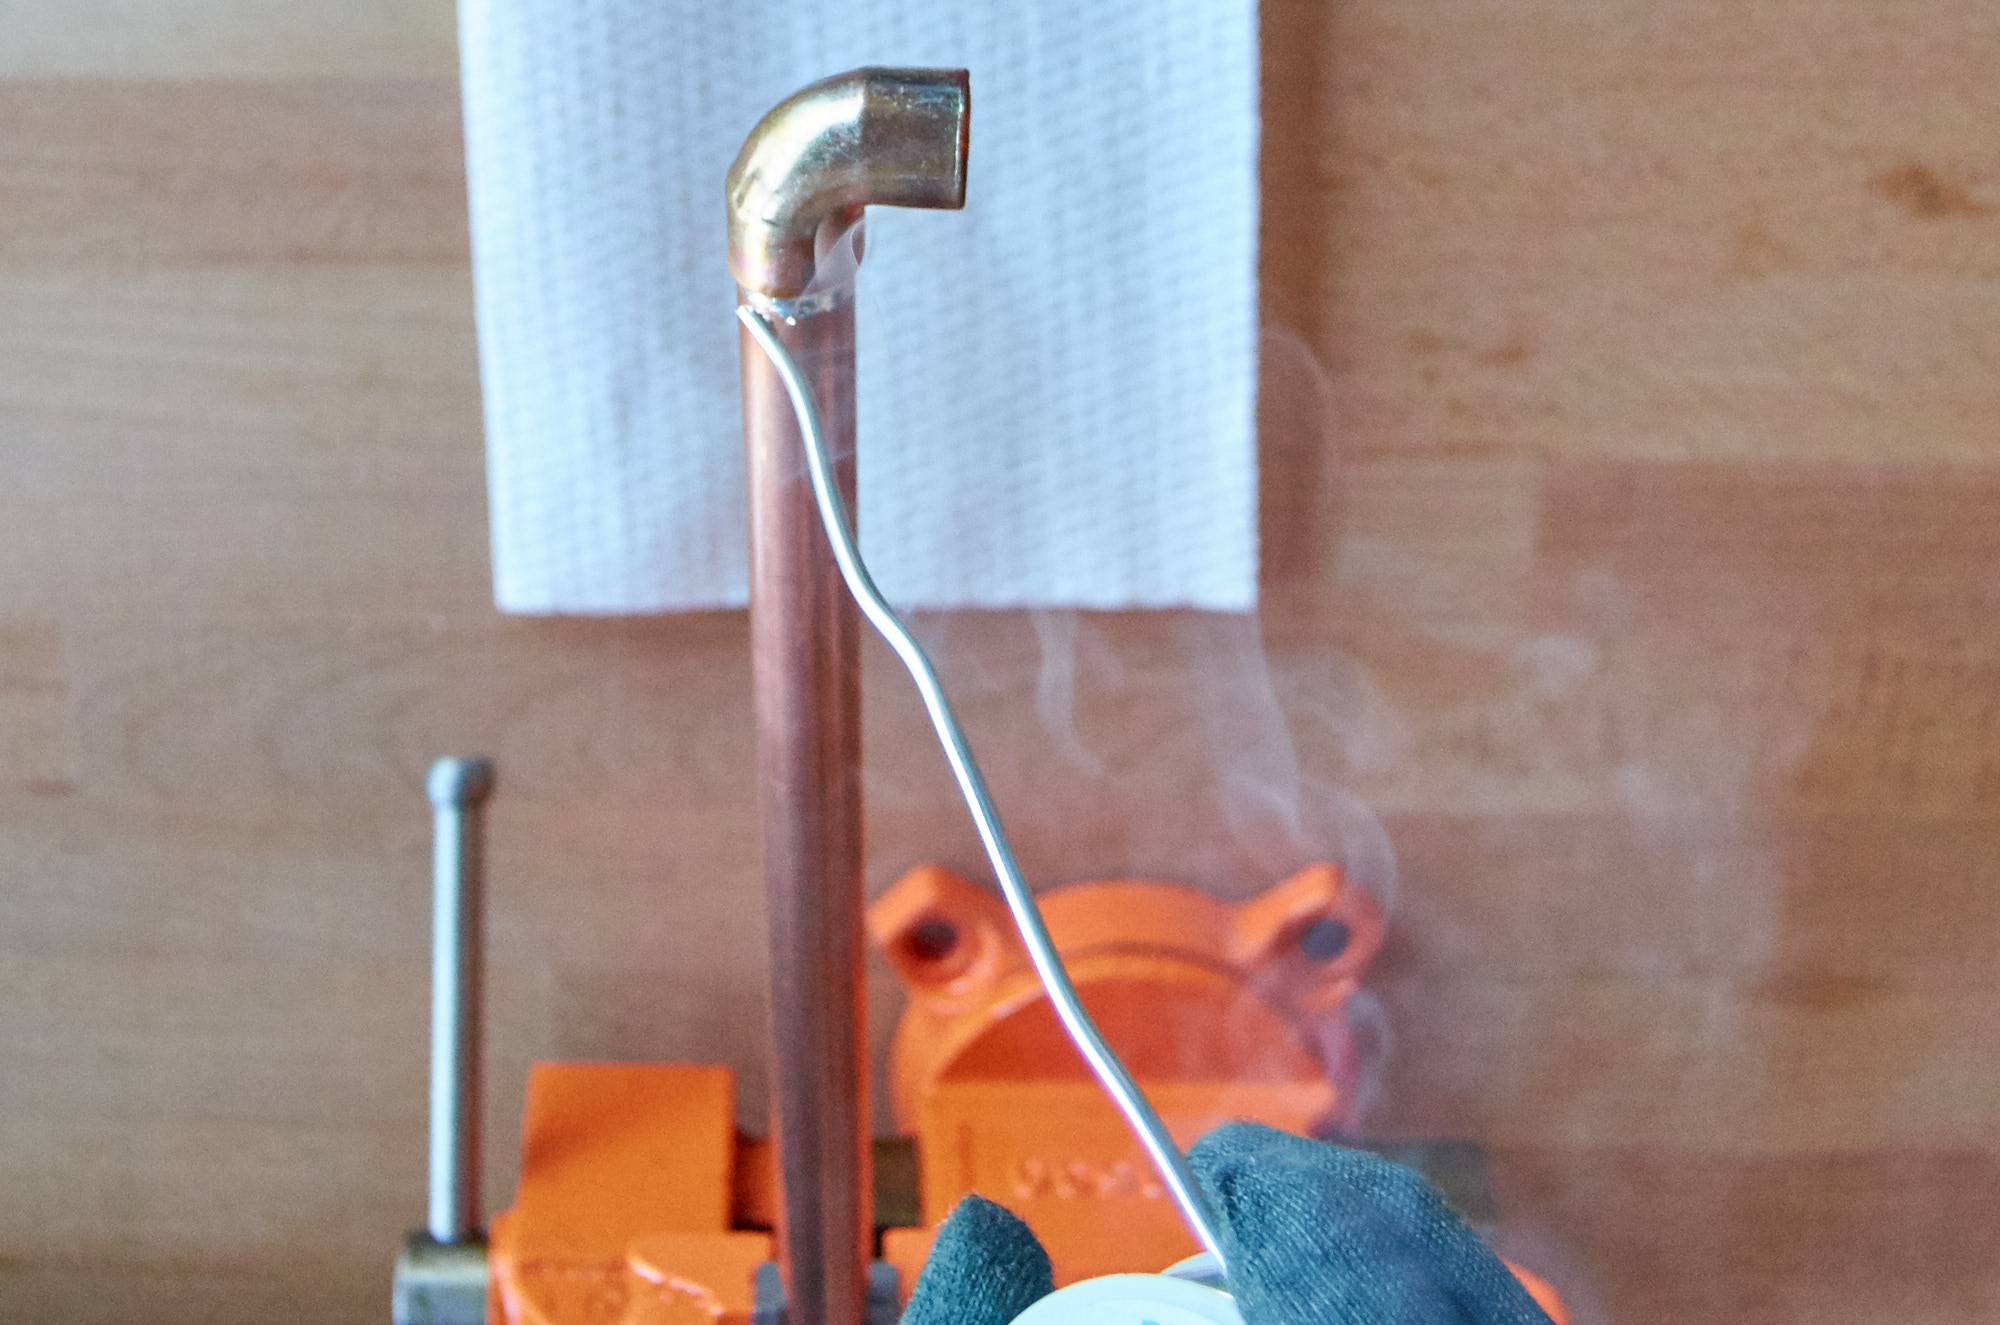
Step
Solder the pieces together. Make sure to use proper safety equipment and do this in a well-ventilated area (a garage or even outside). The solder will smoke a bit and you don't want to set off any fire alarms. Read my post from last year if you need some help with this part.
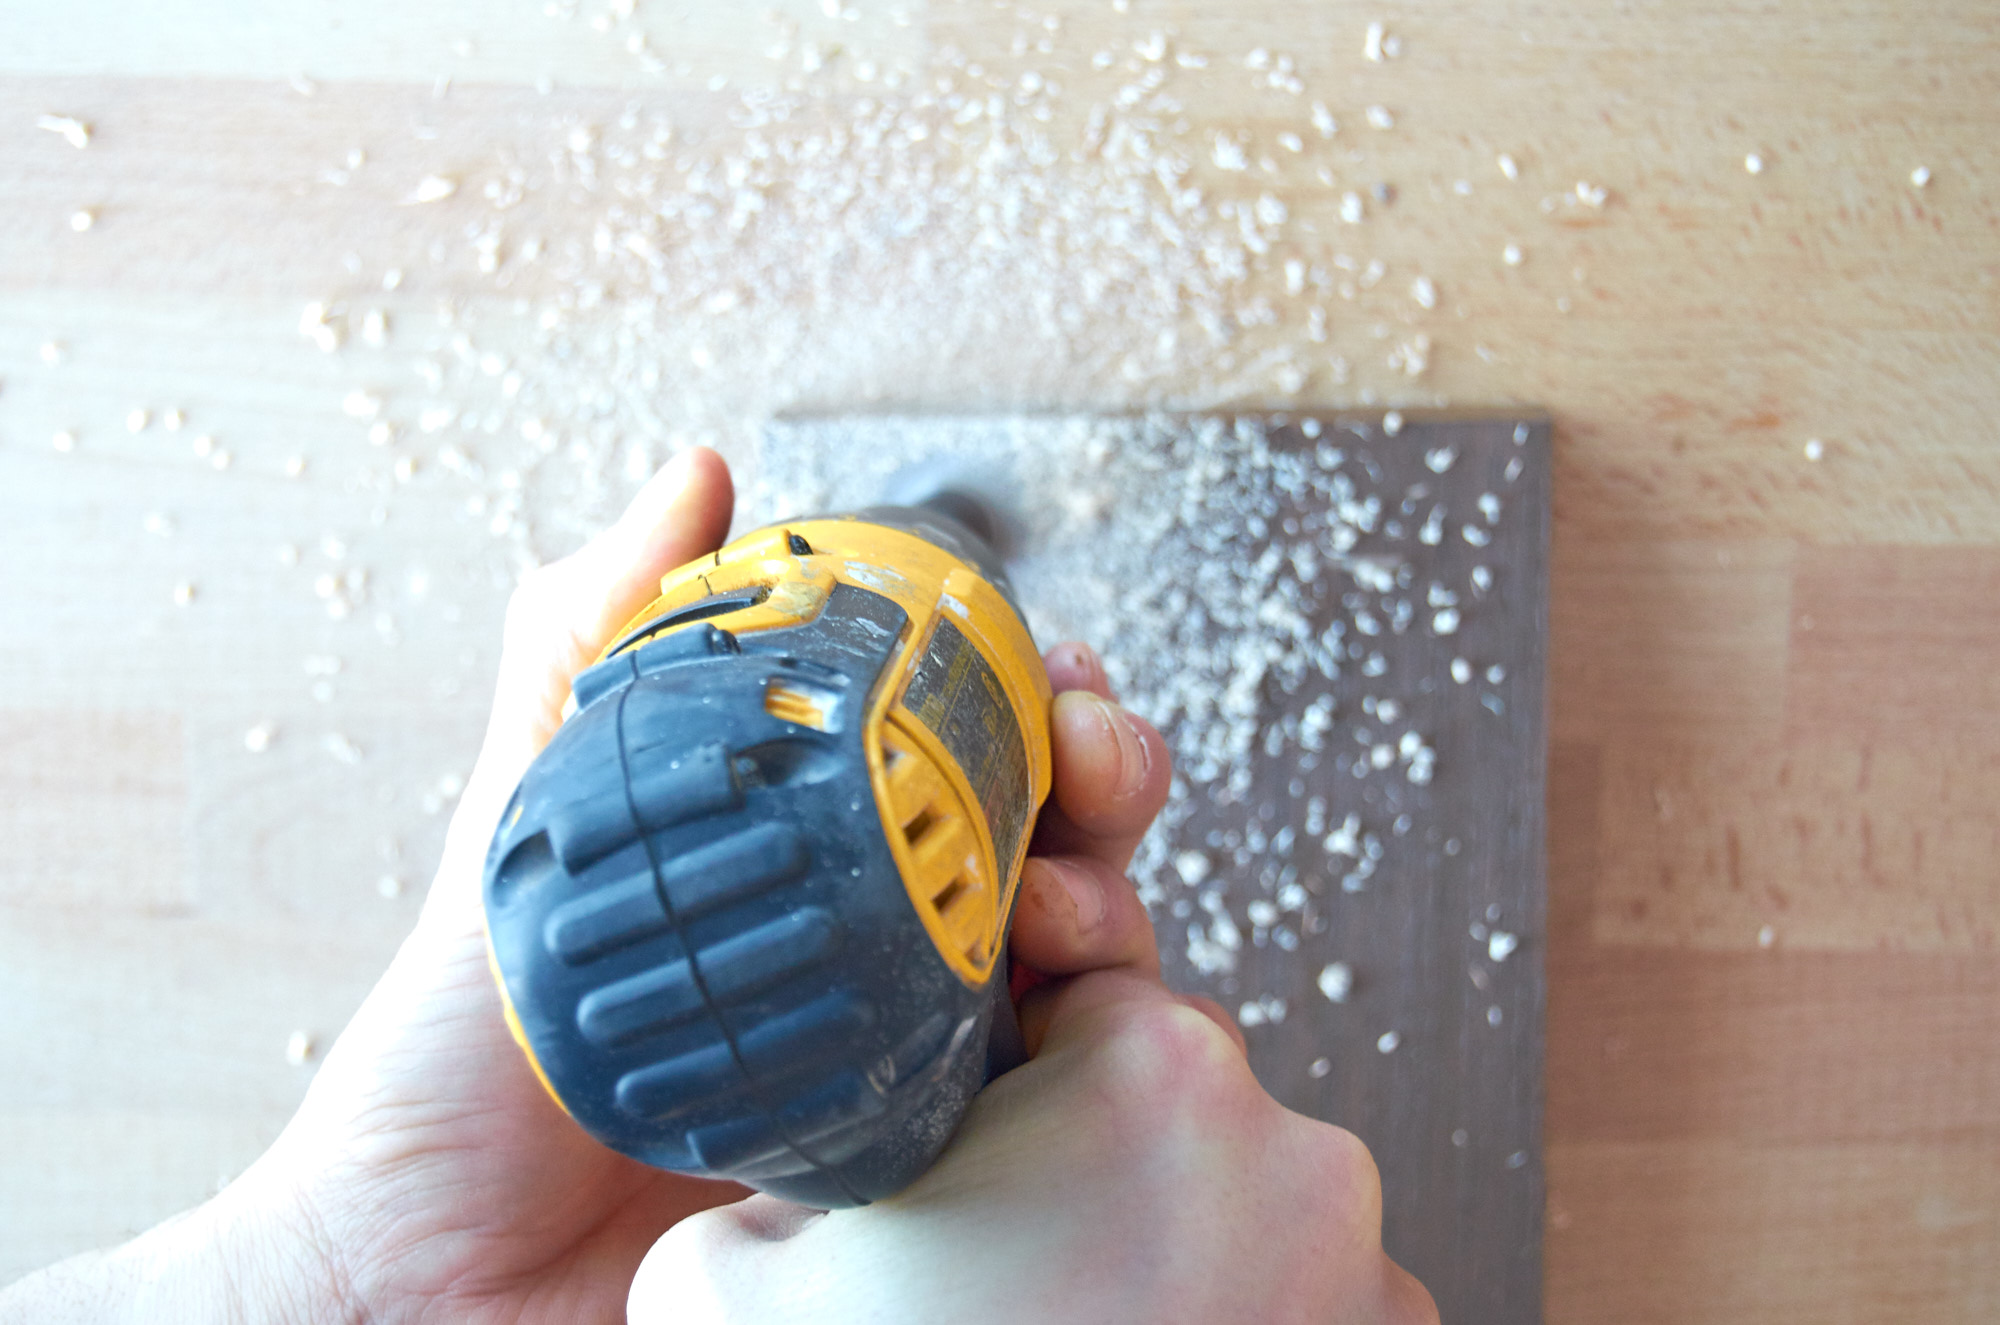
Step
Drill a hole to insert the brass collars, the same size as they're outer diameter. (Ours were 3/4″.) You can measure the positions, but the copper is a little forgiving, even when it's all soldered up, so you have a little bit of play. I just eyeballed it and marked the spots with a marker.
Step
Lastly, slide the copper structure onto the collars, and put the kettle on.
Now brew some delicious coffee!
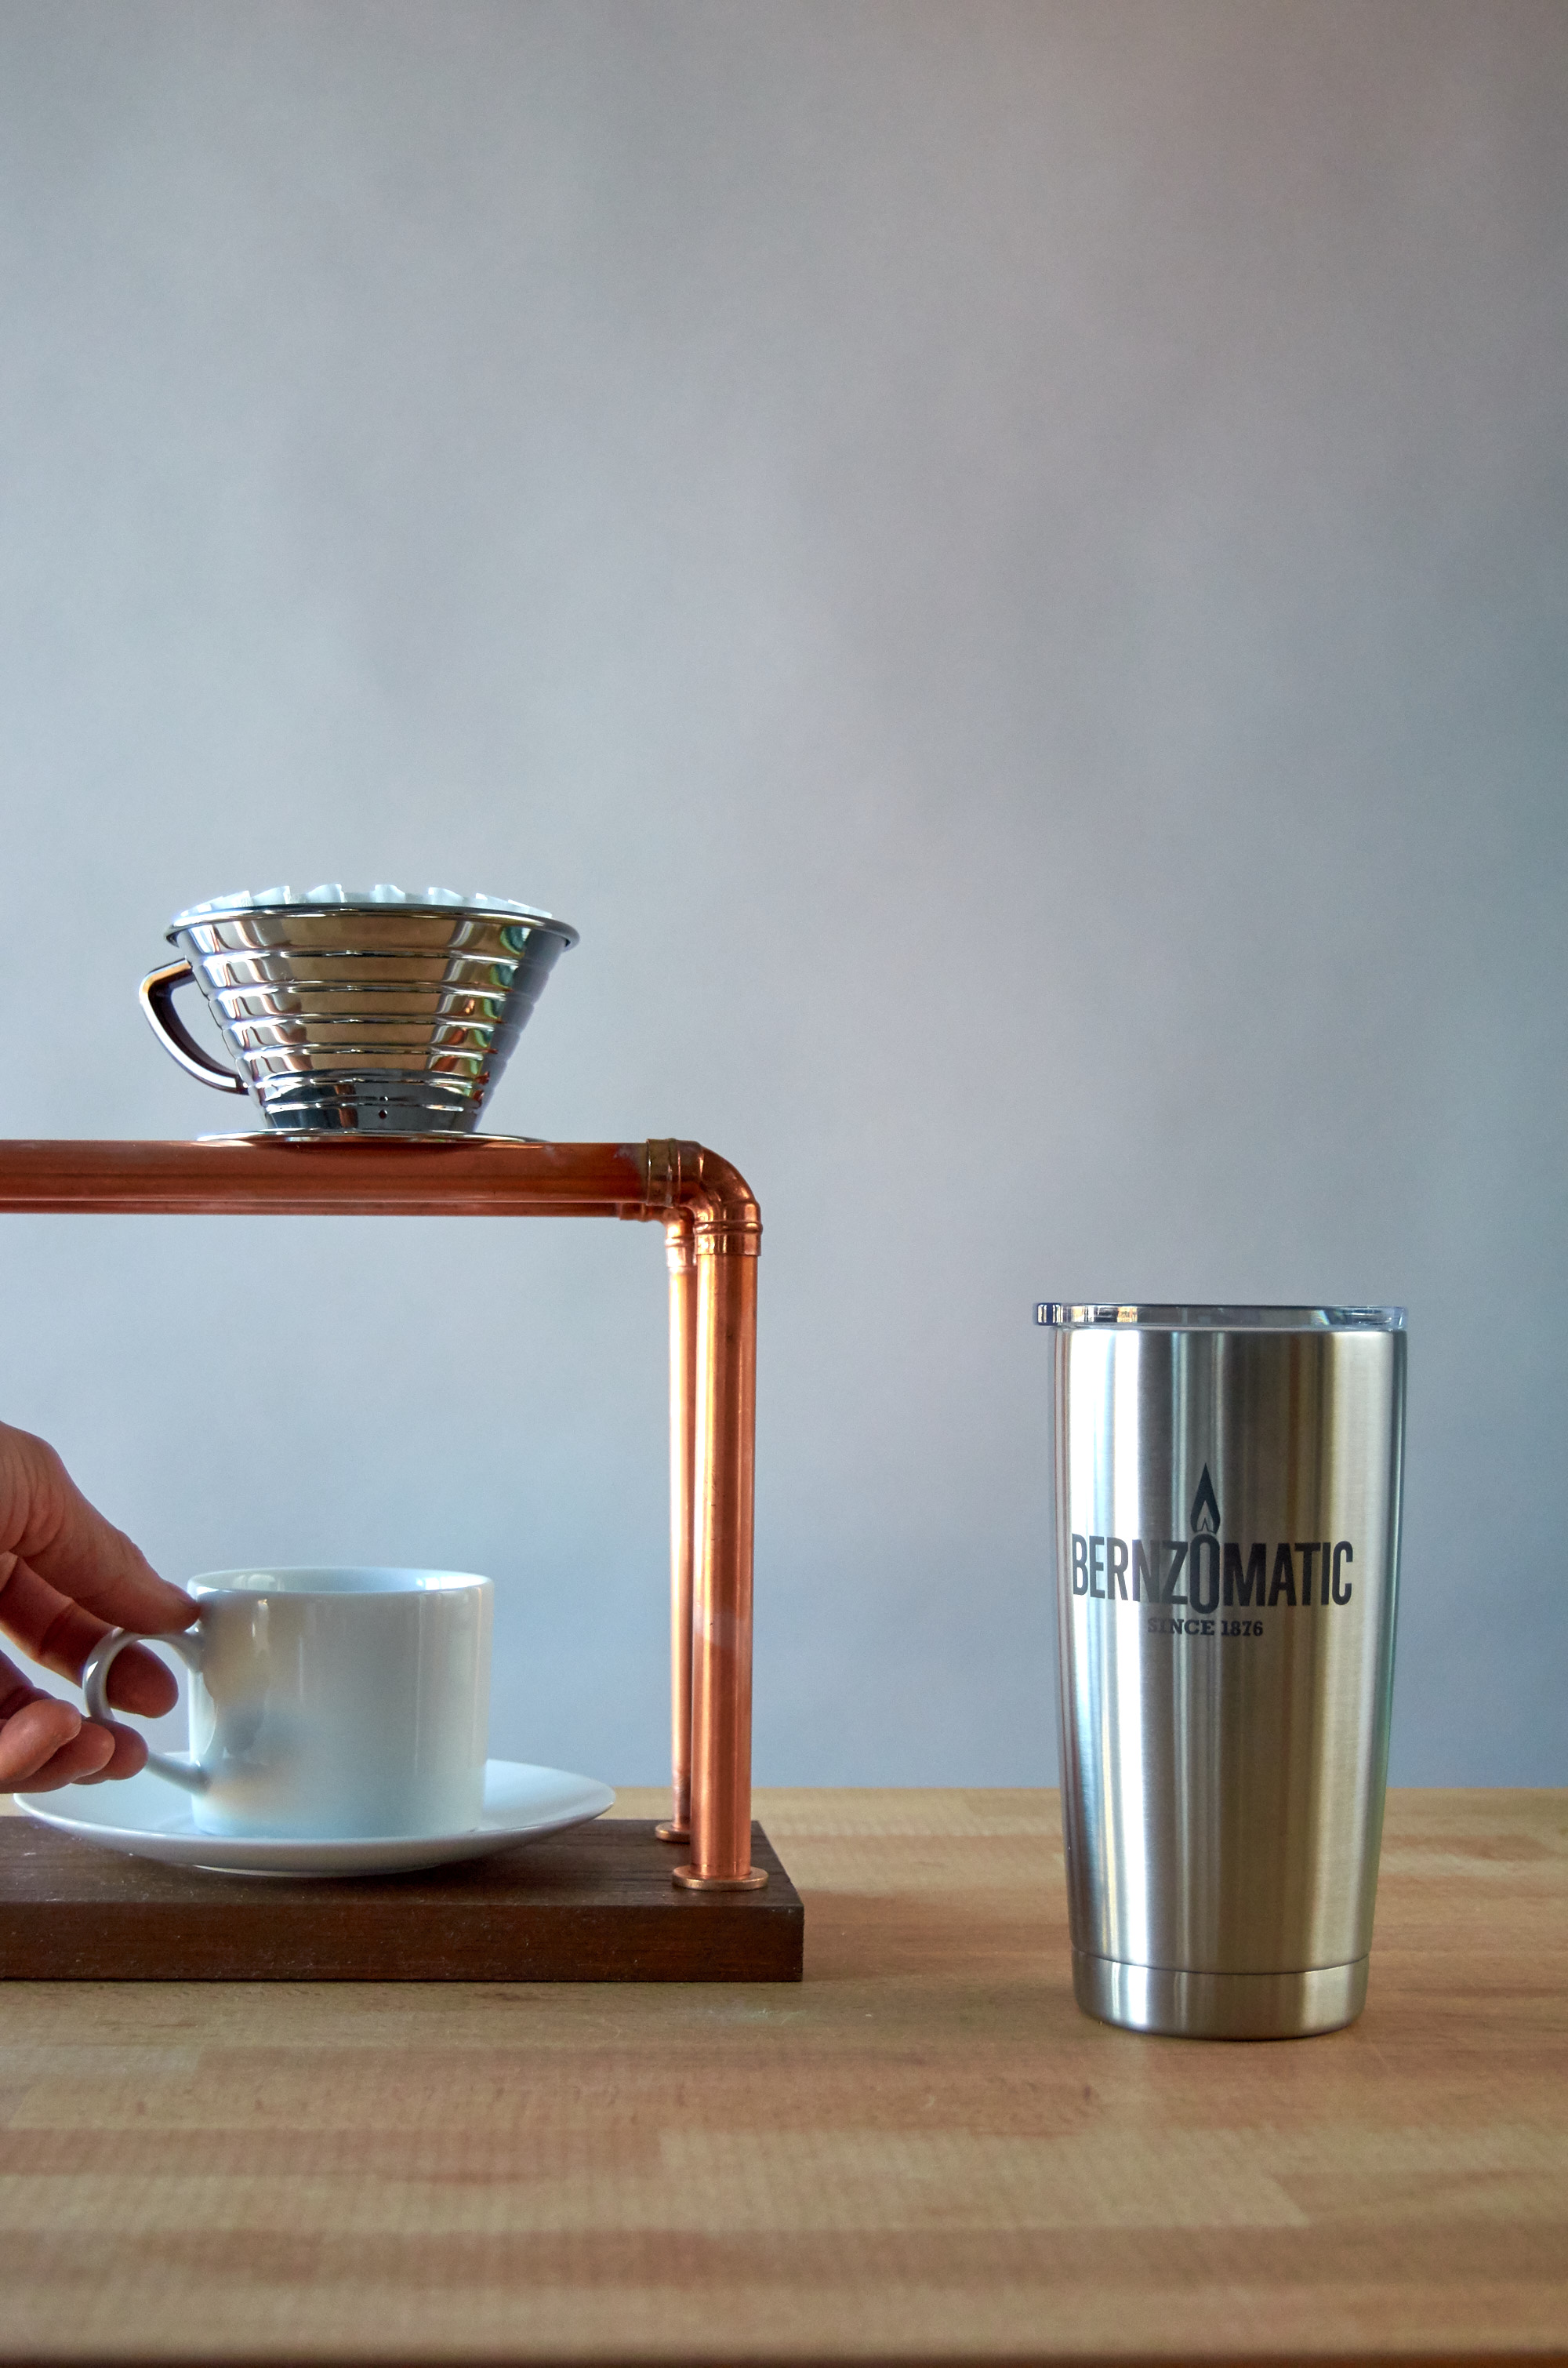
Thanks to Bernzomatic for sponsoring this post, and thanks to our readers for supporting the brands that support ManMade.