How to: Make Your Own Marking Knife
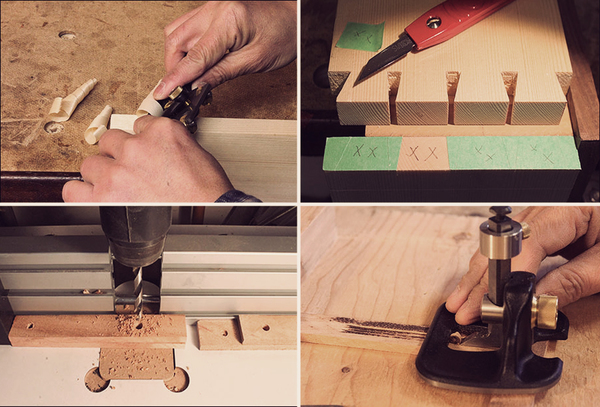
When it comes to serious woodworking, a marking knife beats a pencil for most layout tasks. And here’s why: 1) The knife’s edge is finer and flat on one side, allowing you to truly scribe a line along a straight edge, not just next to it. 2) The knife cuts the wood grain on the surface, so that when you go back to make a through cut with a chisel, saw, router bit, etc, the fibers will stay clean and crisp along the surface. 3) The knife’s indentation gives you a place to register your tools, ensuring accurate and gap-free cuts.
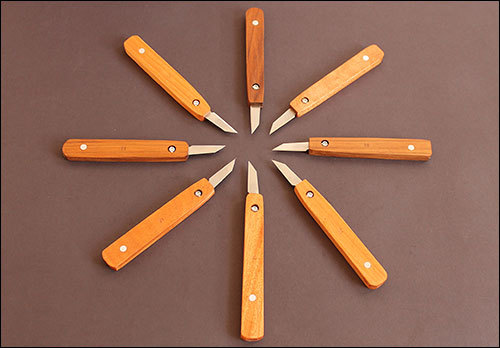
Don’t own one yet? Don’t like yours and want to improve it? Want to multiply your arsenal so you can keep one in every corner of your shop? Well then… it’s time to roll your own. Lee Valley, makers of awesome, modern woodworking tools recently shared this tutorial in their March newsletter. The cutter is sourced from a Swann-Morton® scalpel, which includes the handle and fifty (!) blades for about $20. The author uses some advanced hand tools, like a router plane, but you could easy create this which whatever cutting tools you have and a bit of sandpaper.
Of course, if you’re going to do the setup, you might as well make a whole handful at once. What do to with the whole batch? Author Charles Mak asks, “Did you just make a batch of fine layout tools or a bunch of box cutters? It depends, of course, on whether you are giving the knife to a woodworker or someone who knows little about precision tools!”
Indeed, Charles. Get his full how-to from Lee Valley: Make Your Own Marking Knife


