Try This Simple Trick Anytime You Use Wood Glue on Your Woodworking Projects
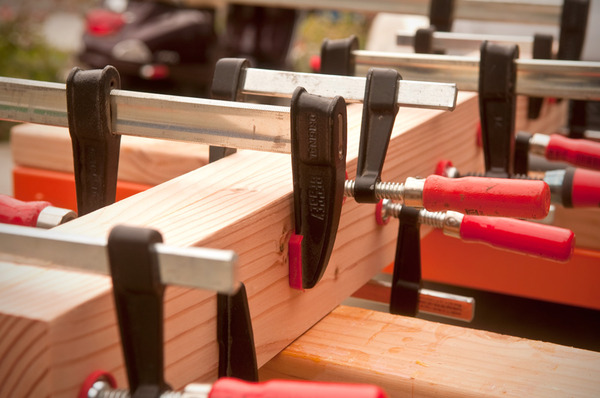
Whenever you’re working on a bigger woodworking project that involves milling and preparing stock for parts, you often have to work on several parts at once in order to maximize efficiency. For example: dimension, plane, and joint all the wood at once while the tools are set up, cut all the joinery while the dado stack is installed in the table saw, etc. One of the most important ways to stay organized and maximize your available hours is not only keeping track of parts, but knowing when its best to work on each component. Unless you’re a production shop, you, like me, only have a limited number of clamps, so glue-ups and laminations need to happen over time. Once your stock is jointed and planed, it has to be glued up and fully cured before it can be machined again.
You only need to clamp your material for 30-60 minutes, but the curing time can take a full 24 hours before pieces can be cut to size, joints added, etc. So, to make sure each piece is safe to work on, try this simple trick:
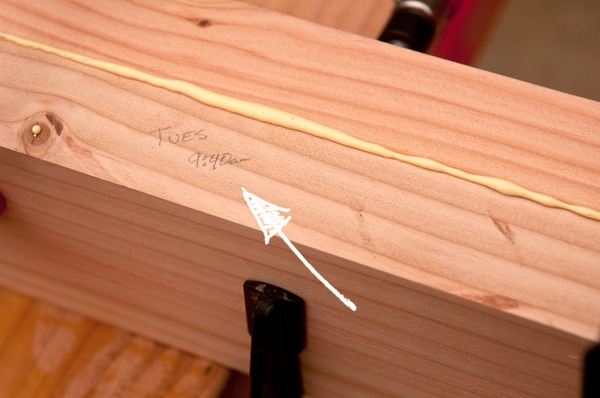
Label each piece with the day and time you added the glue and clamps. You might think you’ll remember, but with bigger projects and all sorts of setups, its easy to forget when it got slathered on. So, just label it with the day and time; the date isn’t totally necessary unless you’re a perfectionist. Anything more than a day old is safe to use, so if you don’t touch a piece for a week, it’s definitely good to go.
And of course I removed that squeeze out before it hardened 🙂
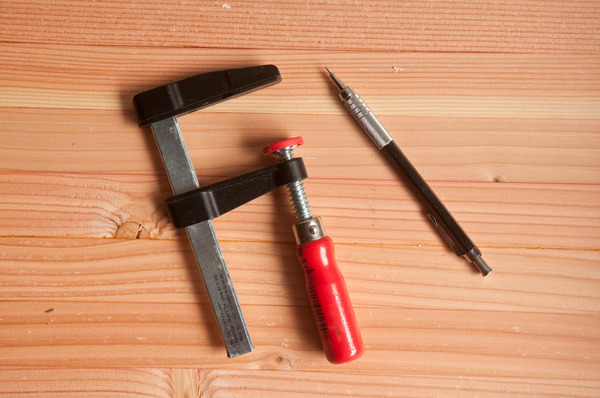
Writing directly on the part with a pencil is fine if you’re going to make additional cuts, plane it, or sand it. If you’re worried about marking up the parts, just use a piece of painter’s tape that can easily be removed.
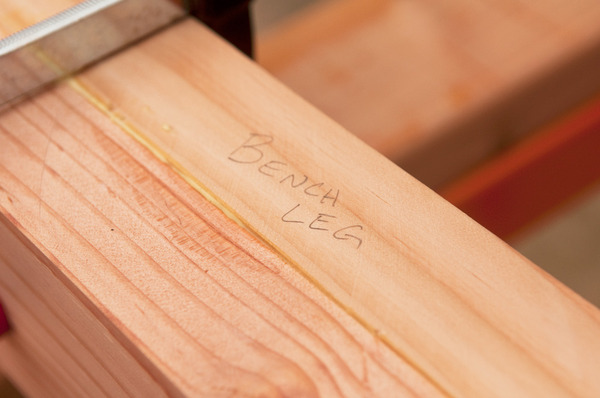
Oh, and while you’re at it, go ahead and label the part as well. Don’t risk forgetting what’s going on.
Boom. Done. Organized.


