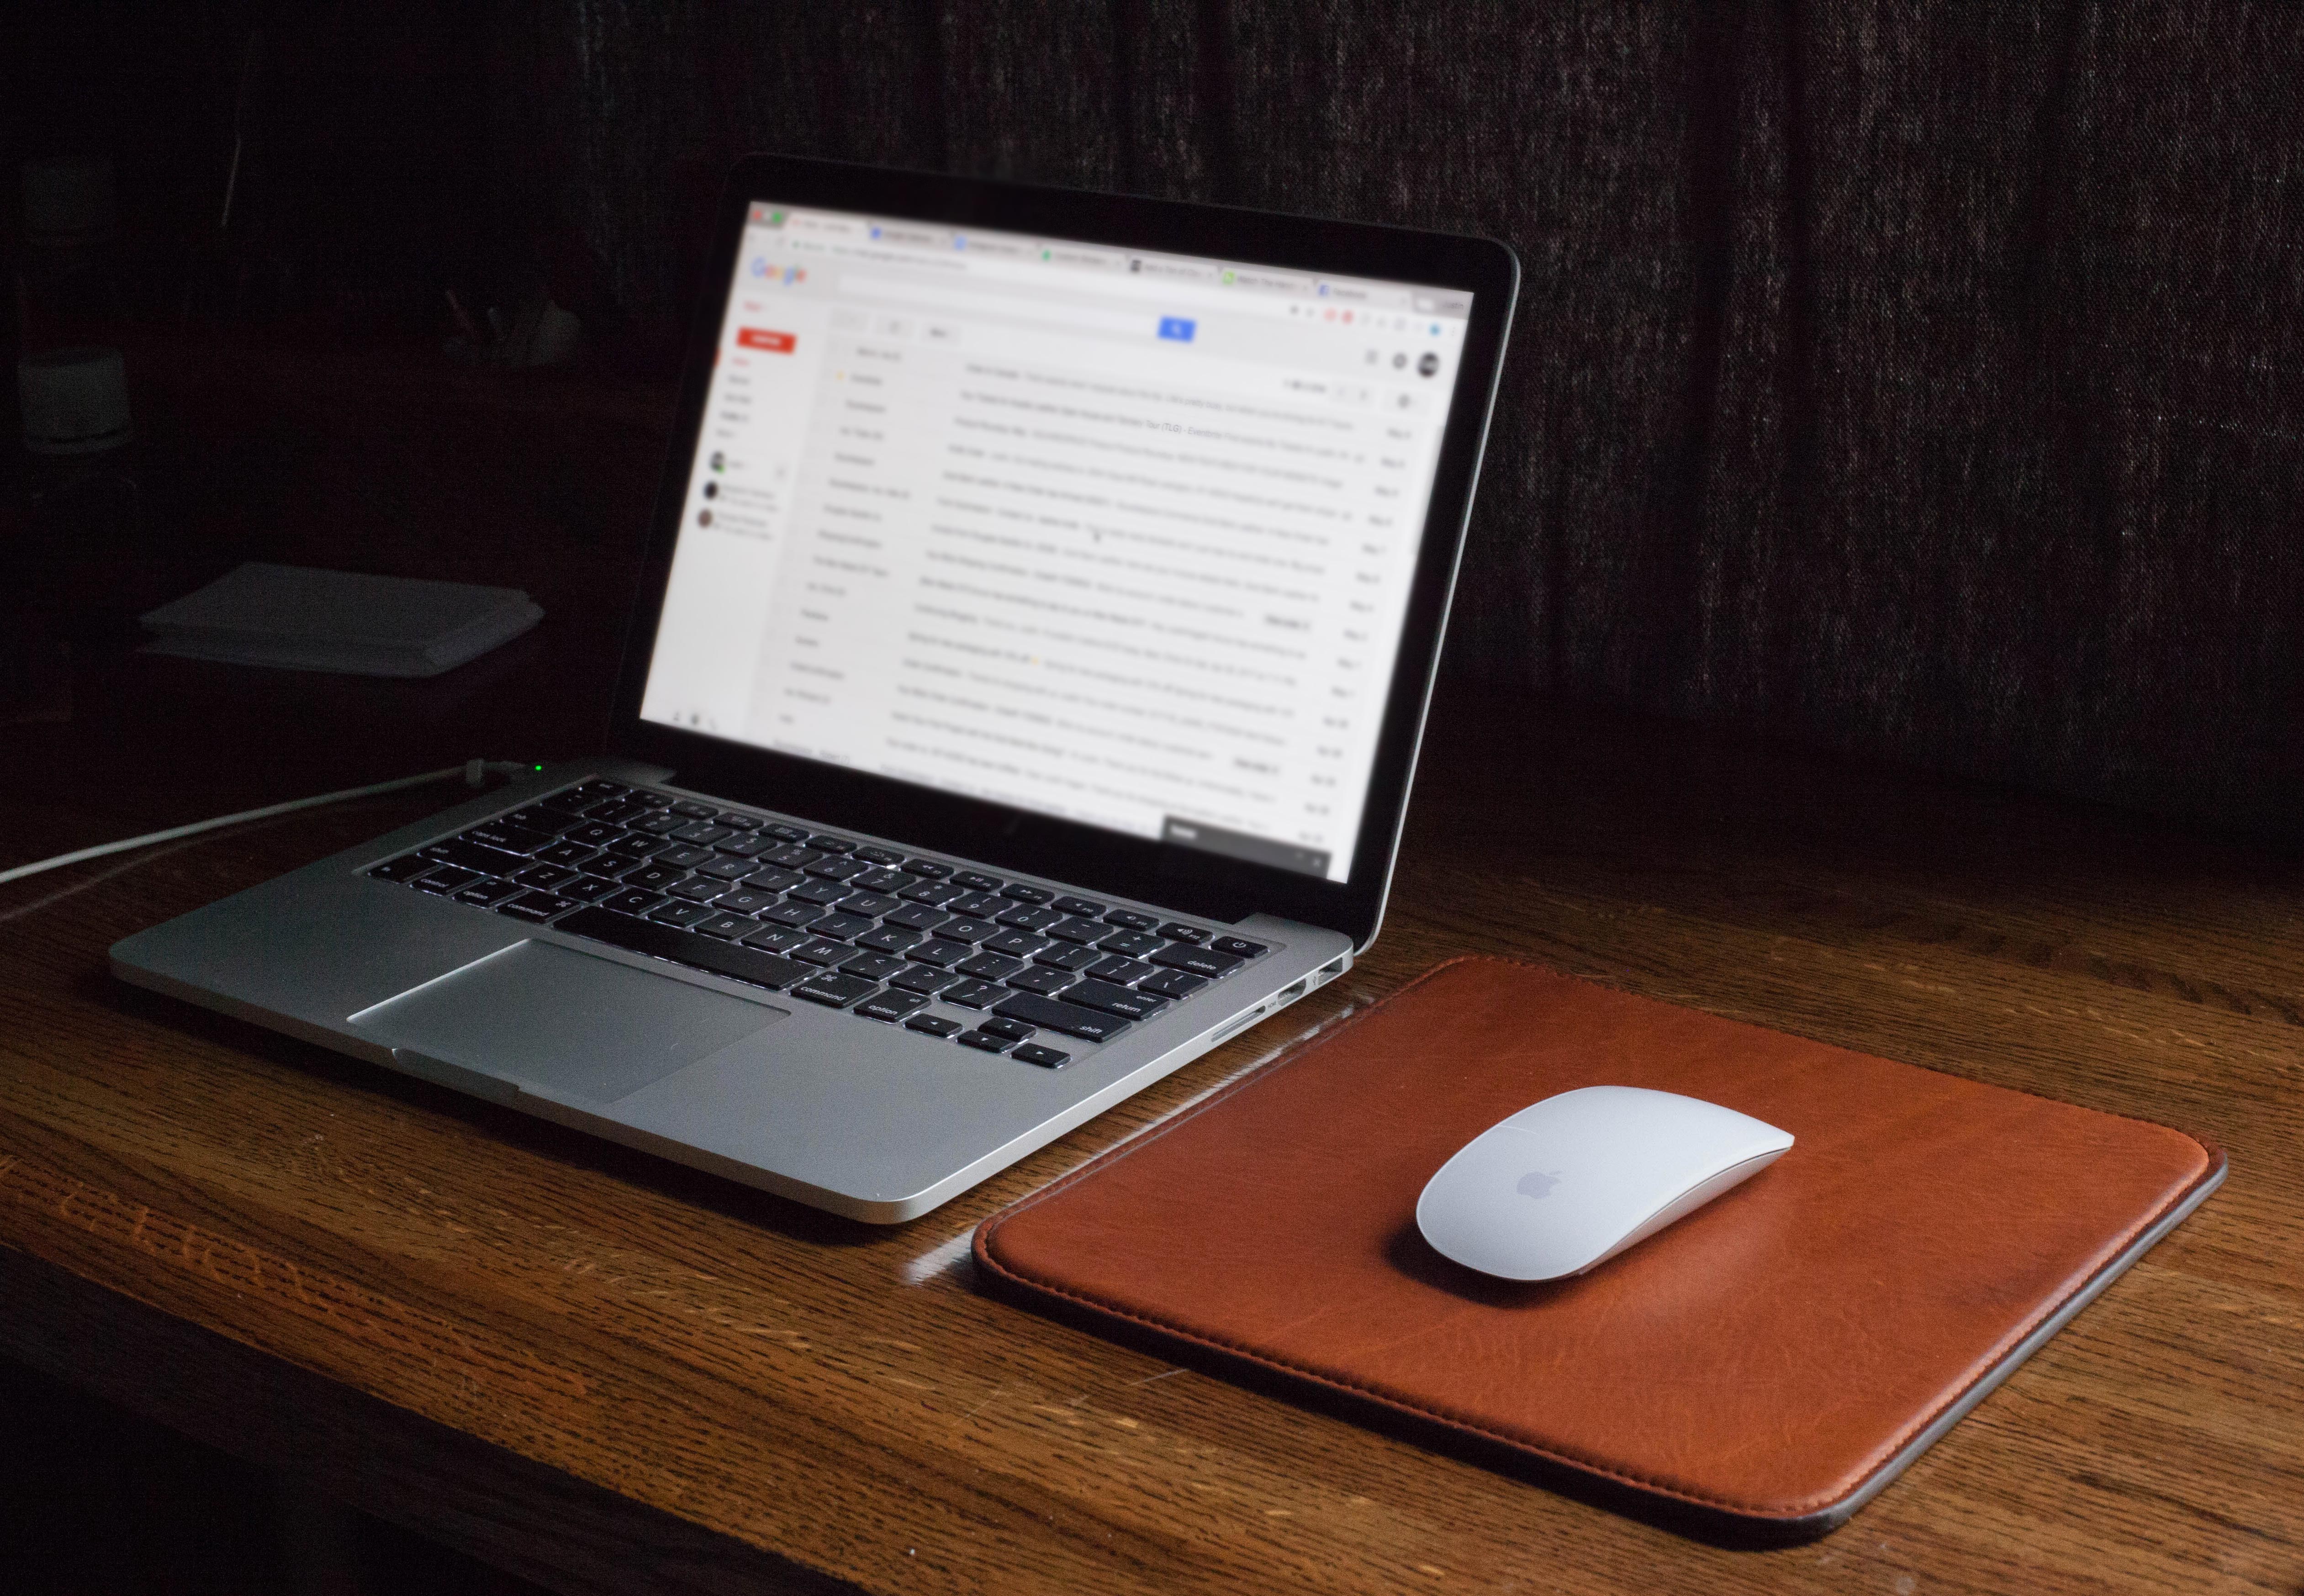
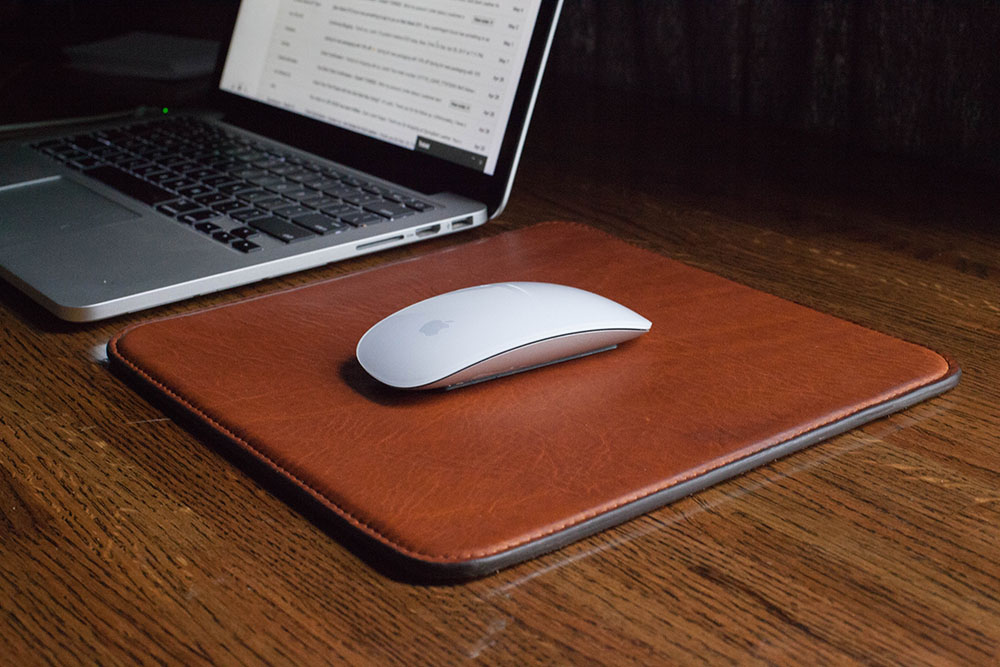
Make This: A DIY Sophisticated Leather Mouse Pad for Your Office
If you’re looking to make your leather work look a little classier, one of the easiest ways to do it is by adding padding.
Think of the watches you own or have seen that have a leather strap. Those straps will either be flat and made up of two pieces of leather glued together, or padded made up of two pieces of leather stitched around a thinner piece of leather, creating a raised looked in the middle. Almost always, the padded strap will look more refined.
This leather mouse pad is an excellent way to figure out how to add padding for the first time. And, what’s more, you’ll end up with a classy leather mouse pad to keep or give someone as a gift.
As always, if you don't feel skilled enough to pull off any of the steps below, you can check out this beginners guide to get you going.
What You Need:
- 5oz piece of scrap leather
- 3oz piece of scrap leather
- 3oz piece of quality leather (this is what will be placed on top)
- Leather glue
- Brown edge paint
- 400 grit sand paper
- Binder clips
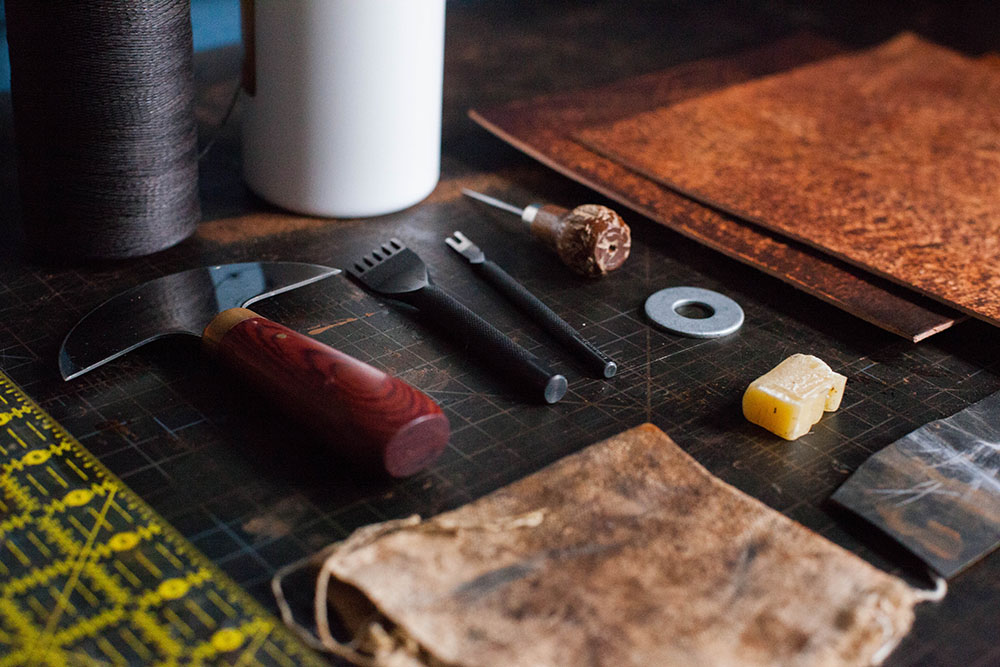
- General leather working tools, such as:
- Leather working knife
- Edge paint applicator (a roller or applicator rod will work)
- Bone folder
- Diamond chisels
- Needle and thread
- Divider
- Ruler
- Rubber hammer
- Scratch Awl
Step
First you'll need to trace and cut out the leather.
Making sure that you have the right measurements for each piece is probably the most tricky part. For this project, the mouse pad I made measures 9.5” squared.
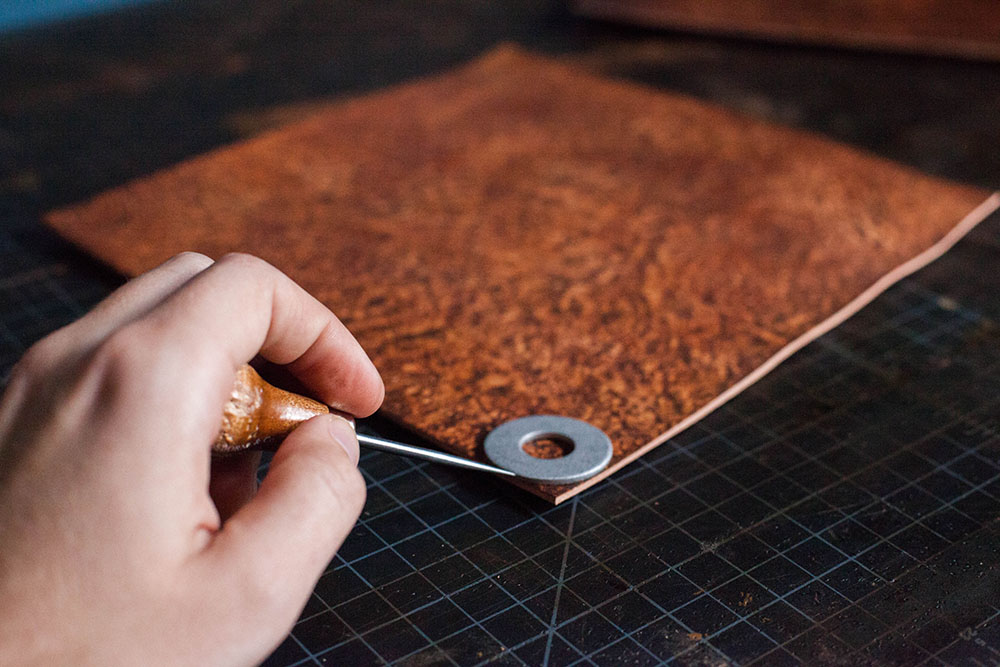
For each piece of the project, I first trace it out using a scratch awl and then cut it out using a solid ruler that won’t slide around and a sharp knife that will easily make clean cuts.
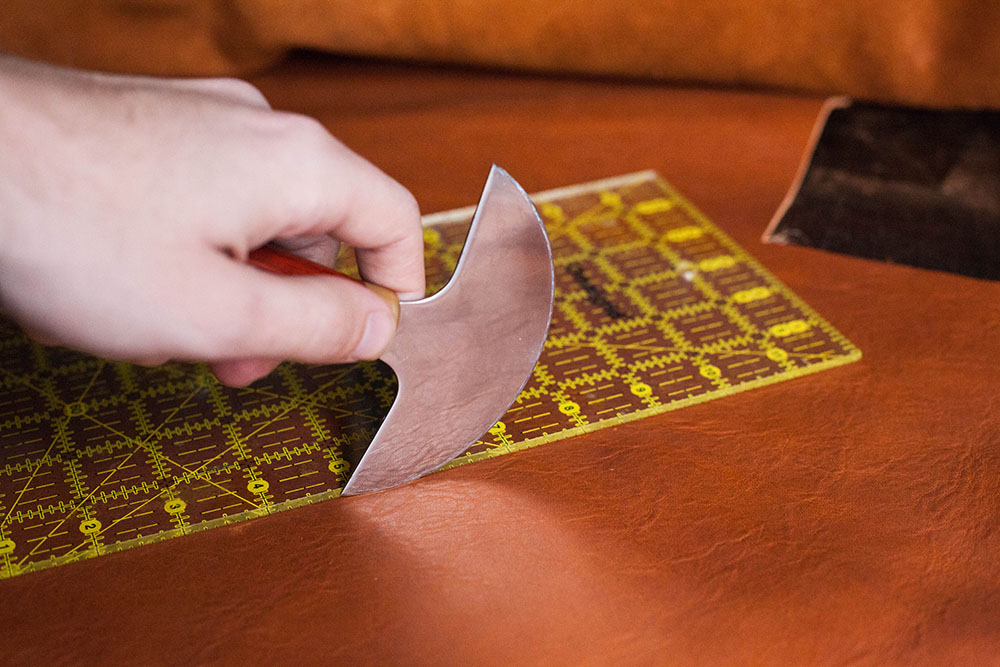
Start with the 5oz piece of scrap leather. This will be the thickest and most firm piece of leather, which makes a perfect base for your project. Since it is the base, just cut it to the exact size you want your mouse pad to be. For me, this was 9.5” x 9.5”
Once you’ve cut out this piece you’ll need to round out the corners as well. To do this I use a 1” washer and trace around it’s edge in each corner. Then cut it out with a leather working knife. There’s multiple ways to cut out a rounded edges and you can check them out here.
After that, you’ll need to cut out the padding layer from the 3oz scrap. You always want to set the padding in just about as far your stitching will be. I set the stitching at 3/16” so the padding that I cut out was 9 1/8” x 9 1/8”.
Once this piece is cut out you’ll need to round the corners out. Use the previous method to round out these edges, but use a .5” washer (or quarter) this time.
Finally, you’ll want to cut out the top layer from a nice piece of leather. This piece of leather will be set on top and stretched over the two previous layers. It’s really difficult to figure out the exact measurements needed to adequately cover the other layers, so I always cut this one to be too large and then go back and trim it. For this project, the top layer I cut out was measured 11.5” x 11.5”. You don’t need to round out these corners yet because this piece will be trimmed later.
Step
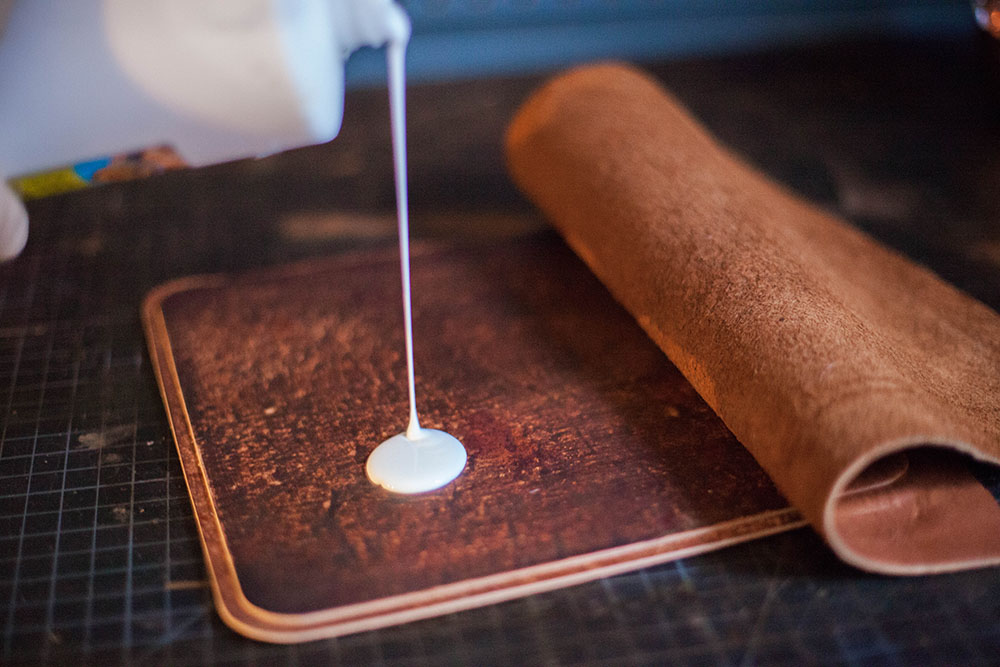
Second, you'll want to glue the three separate layers together.
Because you want to top layer to be formed to the bottom two, you need to glue the bottom two layers first.
Take the 5oz scrap piece and the 3oz piece of scrap and glue them together, applying glue to both surfaces and making sure that the 3oz piece is centered.
After giving the glue about 30 minutes to dry, begin attaching the top piece of leather. The leather I used was very stretchy. To make sure that it stretched smoothly, I glued one edge first, let it dry, and then glued the rest. This gave me the opportunity to stretch it tightly. If your leather is a bit firmer, you can just glue the whole thing on top all at once.
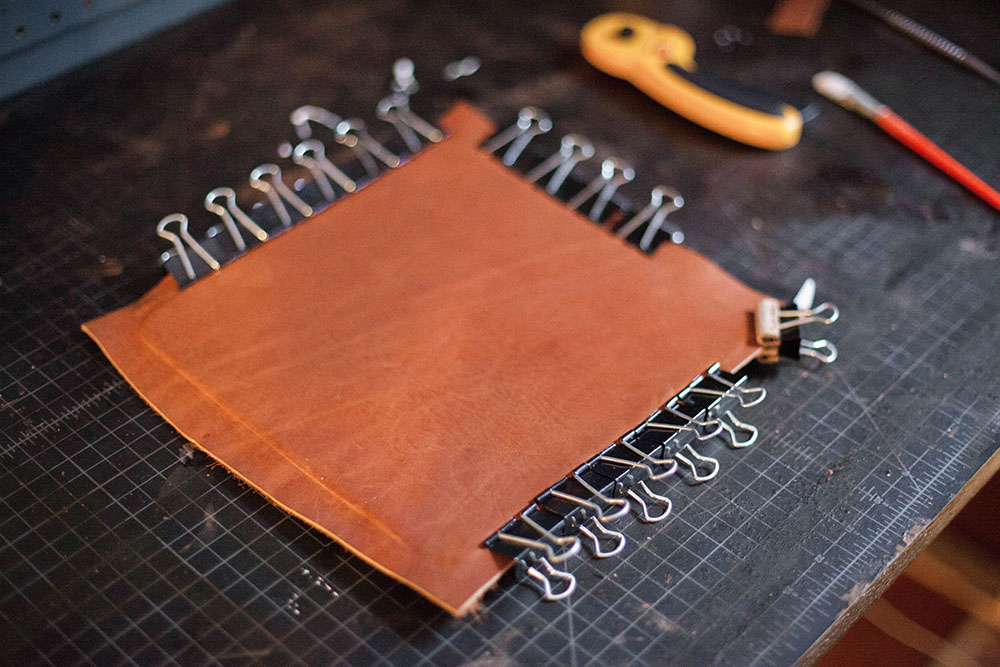
Once the top piece is in place use the bone folder and to form it around the padding. To do this, all you need to do is press the bone folder firmly into the top piece of leather in the dip created by the padding along the edges. If your leather is not staying as you do this, you can lightly wet the surface of the leather with water to aid the process. I then add binder clips to keep the edges down while the glue dries. Be careful though. If you are using a firmer leather, binder clips may leave an indent. If you're worried about this happening, just place a cloth around the leather and then put the binder clips on.
Again, allow about 30 minutes for the glue to dry and then flip the project upside-down and trim the excess from the top layer.
Step
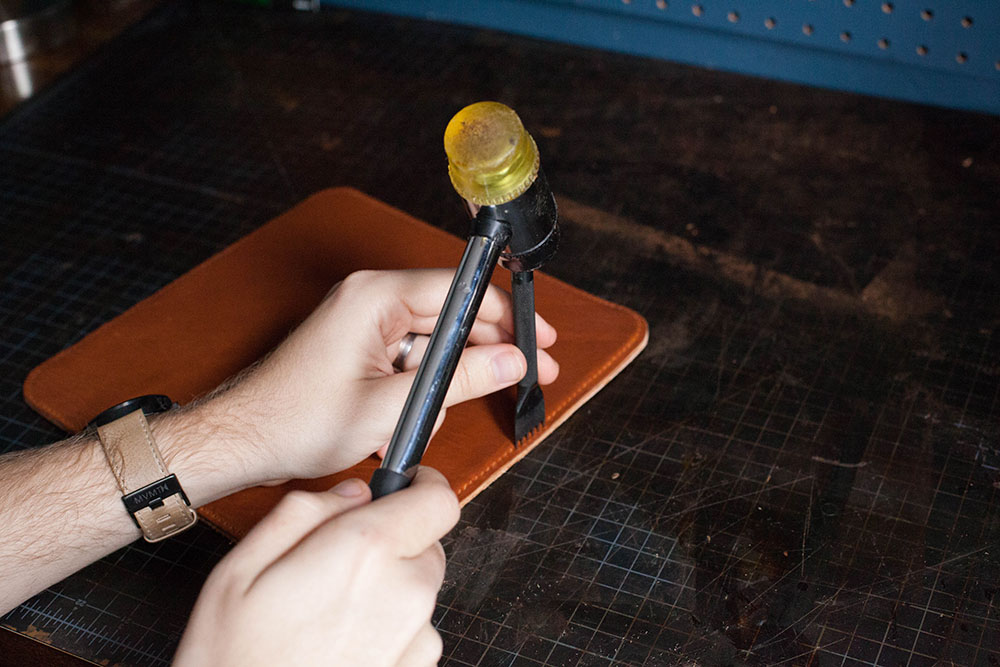
Now that the top layer has been trimmed, you can start stitching. Mark your stitching lines around the entire mouse pad by using a divider set to 3/16”. The divider should sit in the dip made by the padding.
Once these lines have been marked, use the diamond chisels to make the stitching holes. When punching out the holes, make sure that the chisel is perfectly perpendicular to the leather. If it is not kept at 90° the stitching on the back side of the project will turn out ugly.
Finally, when you get to the curves, work your way around them with a two pronged chisel.
Stitching itself is a little tricky to teach through text. So check out this video to learn how to saddle stitch leather.
Once you've finished the stitching line, be sure to backstitch. To backstitch, simply stitch in the opposite direction once you've got the the end of your stitching line, for two or three holes. Then, trim the thread, burn the end, and tuck that lose end into the stitching hole.

Step
Typically I like to burnish edges. This is a way to finish edges using friction to essentially melt the loose fibers together. That said, stretchy or supple leathers don’t burnish well. In cases where the edges to a project won’t burnish, you have two options: turn the edges or use edge paint. For this project it made more sense to paint the edges and painting edges is a typical method used when wanting to create a ‘fine’ leather working project.
When burnishing, you start of sanding, but you don’t need to sand the edges prior to burnishing, in fact it will create a worse end result.
Instead, start by applying a layer of edge paint. You can apply with a flat applicator rod or a rolling edge paint applicator. To do this, just dip the applicator into the edge paint and carefully set it on the entire edge of the project. The first layer is just about covering it and establishing a base layer. You don’t have to put on a lot, just enough to cover it. If the paint spills over the edge be sure to quickly wipe it away with a paper towel.
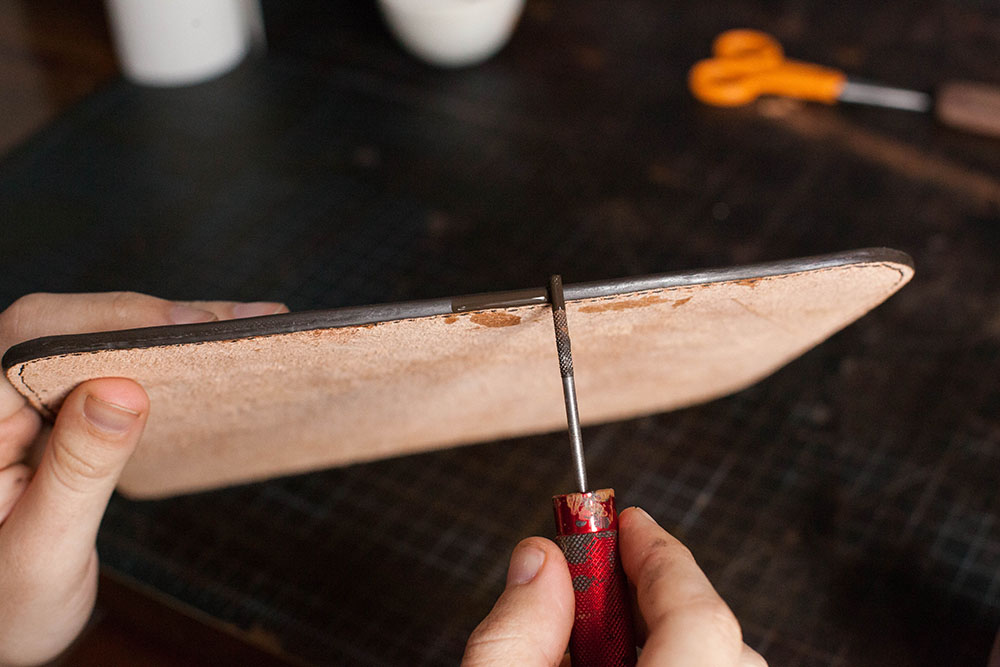
Allow the first layer to dry and then apply a second layer. Be more generous about applying the edge paint on this layer. You should be creating a nice smooth bubble of paint on the edge as you go.
Once this layer has dried, take sand paper and even the edge out. The purpose of this step is to make sure the edge is completely smooth, even if you have to sand back down to the leather, however, if you've cut the edges evenly this shouldn’t be necessary.
Apply one final layer of edge paint and let it dry. Then, lightly sand out any imperfections. If this edge painting process is new to you or you need a little more explanation, you can find a more detailed guide here.
To finish the edges, and the project, apply a bit of beeswax by rubbing a block of beeswax along the edges, and finally buff it out with a canvas cloth.
And that’s it! Enjoy your new mouse pad and new found skill that will add a ton of class to any leather project you want to apply it to.


![How To Find a Good Mechanic [6 Signs To Look Out For]](https://www.manmadediy.com/wp-content/uploads/2026/05/pexels-cottonbro-4489721-25704-scaled-1-23155.jpg?width=300&height=160)
