How to Tie the Most Useful Knot in the World
The bowline knot is not just for sailors. Nor anglers, mountaineers, first responders, or anyone else who need to know a huge diversity of knots, their strengths and weaknesses, and what situation calls for each.
This is for the rest of us. Those of us who go through normal life and its adventures, and encounter rope, twine, string, line, paracord, and the like, and when we need to secure it, say “Should I tie this like my shoes, or in a square know that I know will be nearly impossible to get off when I'm done.”
The truth is, at this point in our lives, we're probably not going to learn how to tie a complex cavalcade of knots, and even if we did, would probably not have enough opportunity to practice them in real world situations in order to commit them to long term memory.
But, still, we should all know how to tie at least one pro-level option, and so we say to you — if you're only going to know how to tie one kind of knot, let it be the Bowline Knot
Why is the Bowline Knot So Useful?
Sure, you've heard of it. Here's why it's great:
- It's the most useful knot in the world for the widest variety of applications. It's utilized in all sorts of situations that require rope, by a diversity of cultures and traditions.
- It's secure. Quite secure, in fact. It will hold when kept under tension. (Of course, don't use it when climbing, where a safety knot it required.)
- It will not slip when placed under load.
- It can be used to tie two ropes together.
- It can be tied one-handed, which is helpful when you're using your other hand to hold the thing you're tying it around.
- And, most-importantly: it's easy to untie, no matter how much weight is put on it.
See? Versatile as can be, and actually quite easy once you practice it five or six times. Here's how to tie a Bowline Knot:
You'll only need to work with one end of the rope for a bowline. If you're trying to tie two ropes together, make a bowline in one rope, then loop a second bowline around it with the other.
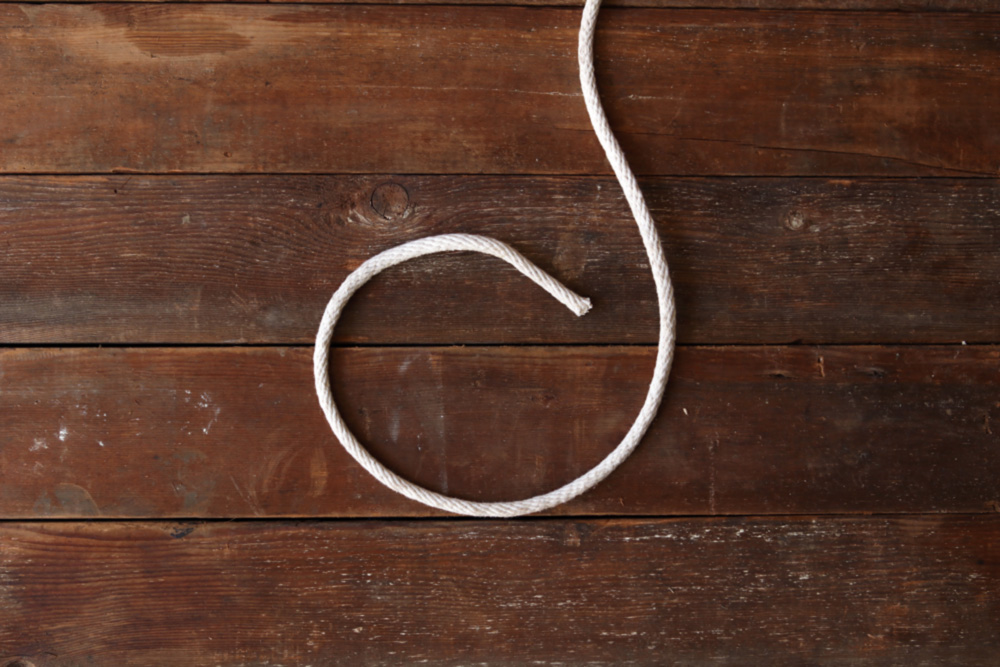
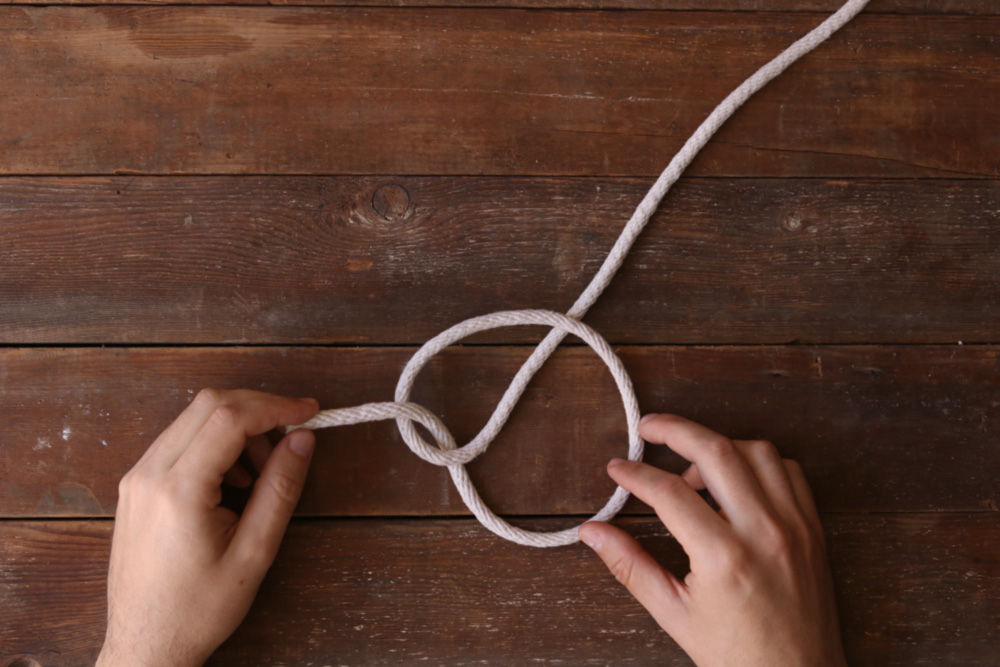
 Make a loop in the rope, leaving a bit on the end to tie the rest of the knot. The rope will pass over the top. How much excess you leave will determine the size of your loop.
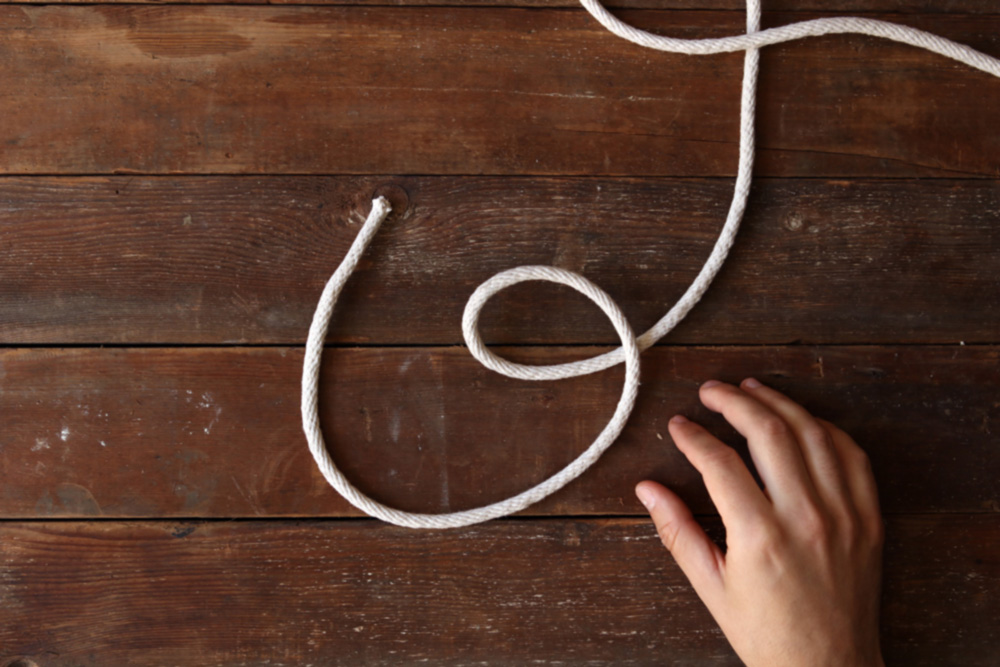
Insert the open end through the loop…
…and pull it through slightly.
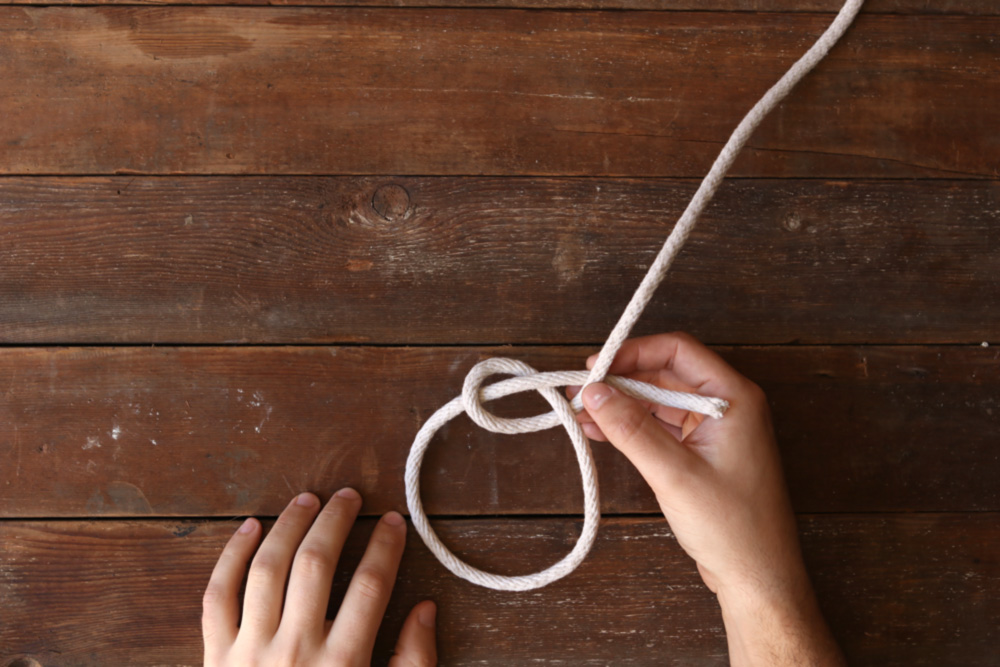
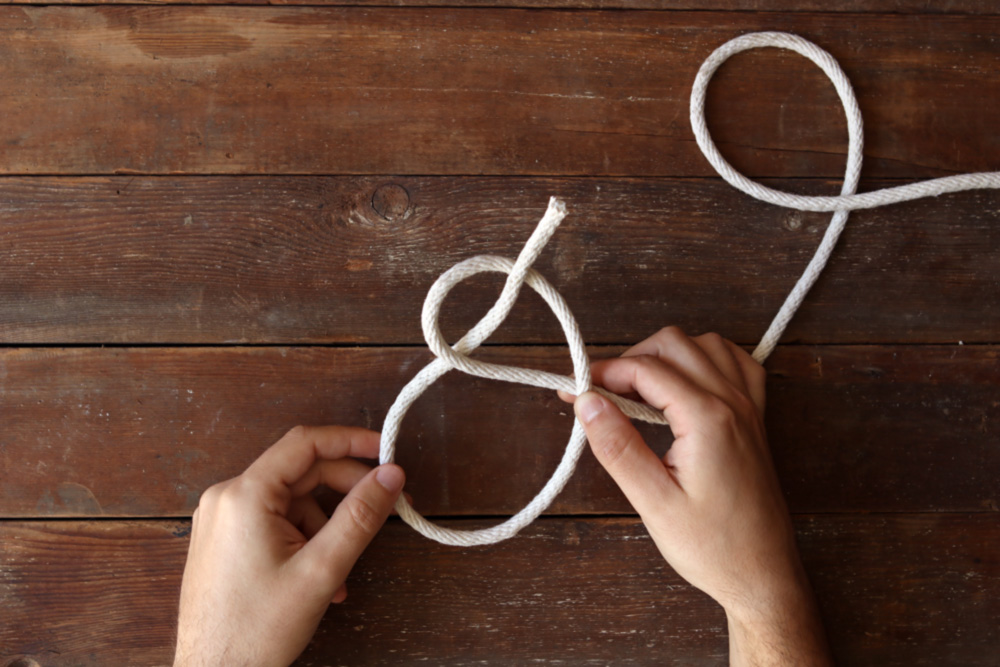
Then, wrap the open end behind the main line above the loop. This is the key to the bowline, and the most important part to commit to memory.
Then, just pass the open end back through the loop…
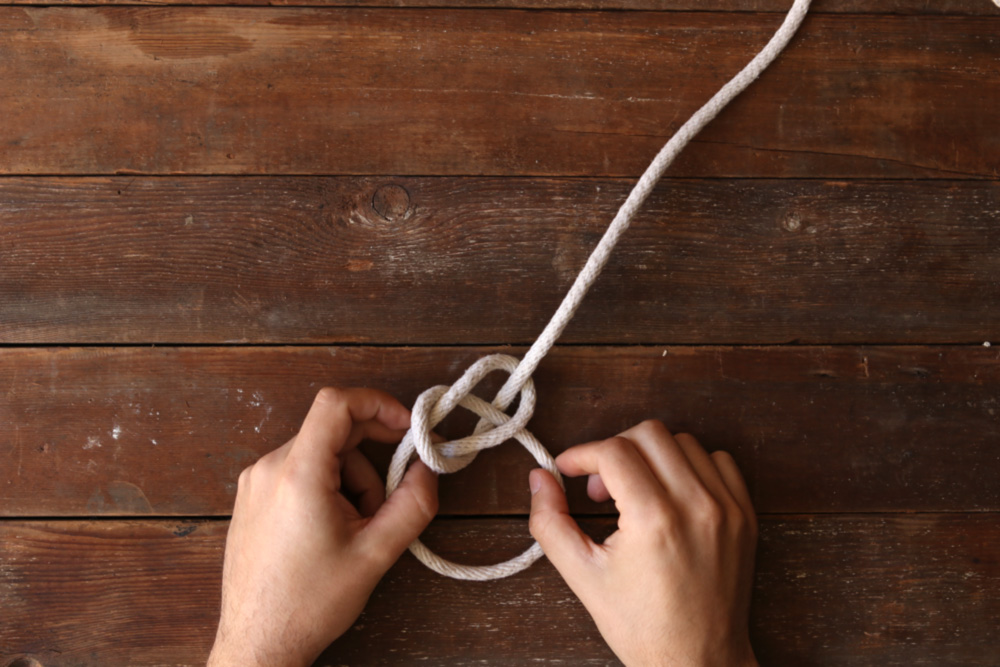
… and pull through the other side.
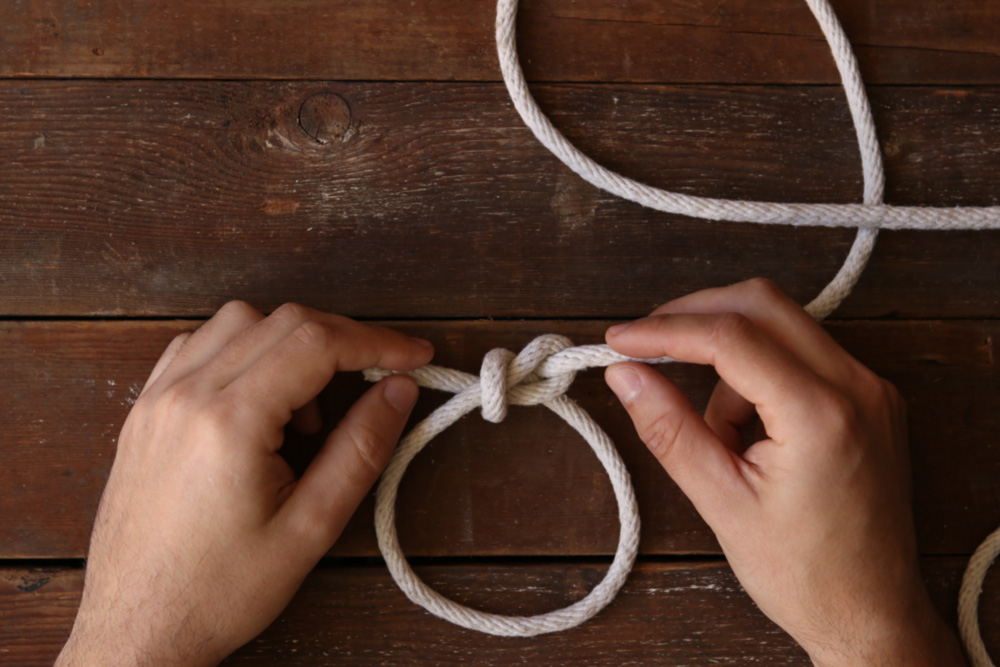
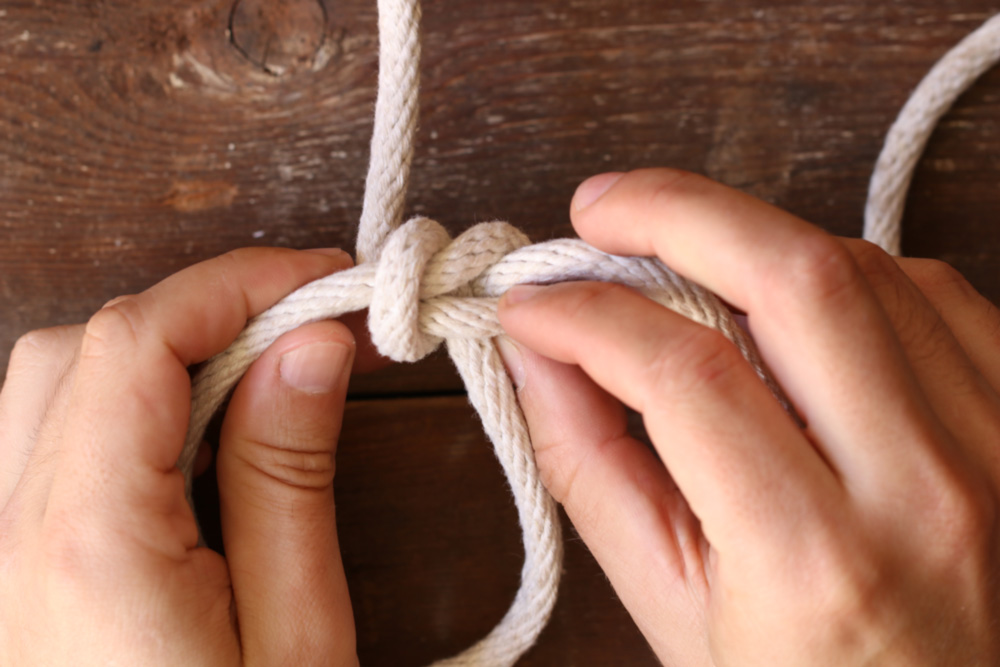
Pull it tight to secure.
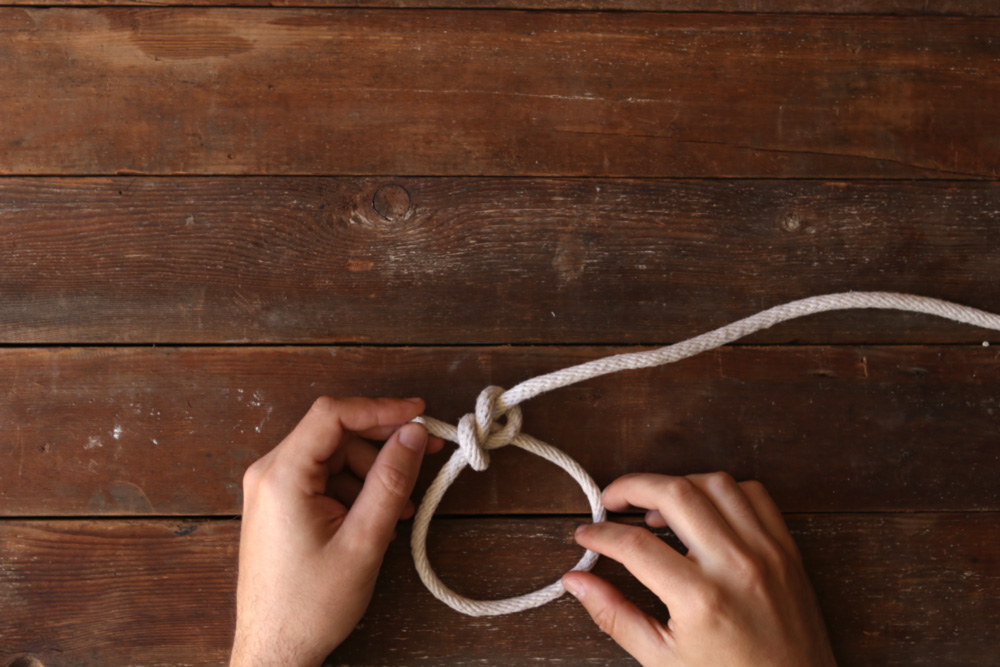
That's it! Here are the steps I say in my head to remember:
Loop over top, pull through, wrap behind and around, pull through.
Practice it fourteen times, and you'll never forget.
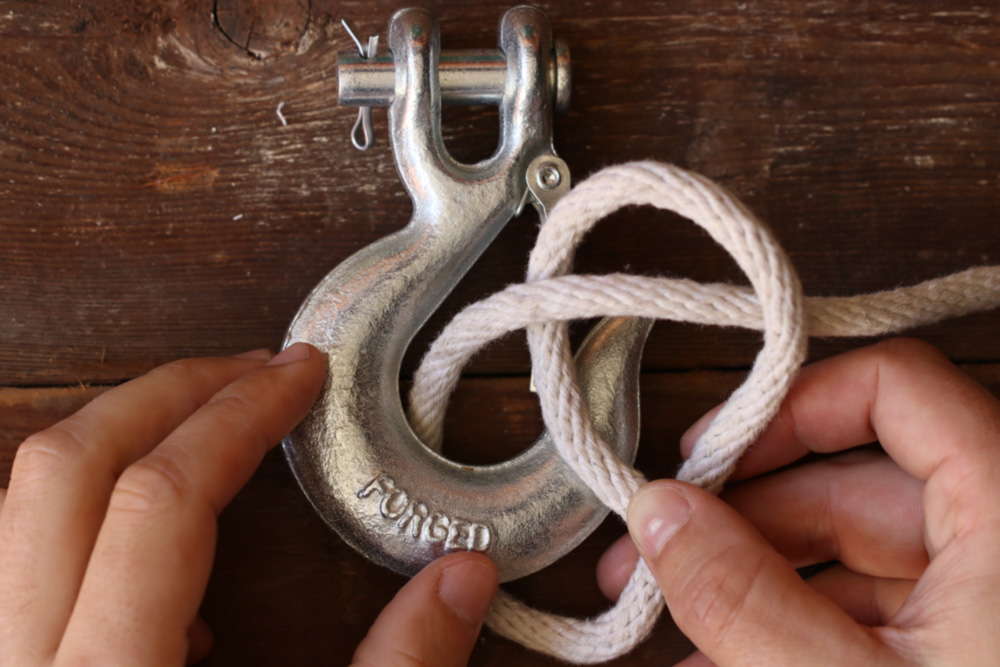
To secure a bowline around an object, just make your initial loop, and wrap the open end around the object. Complete the know on the same side as the loop, and the know will tighten around the object.
 To undo it, just grab the bowline knot where the open end has passed through the final time. This will relieve the tension, and the knot will fall apart.
Done. Remember, it's: Loop over top, pull through loop, wrap behind and around, pull through loop. Now that you know it, you'll use it all the time.
Have fun out there, and be safe and secure!


