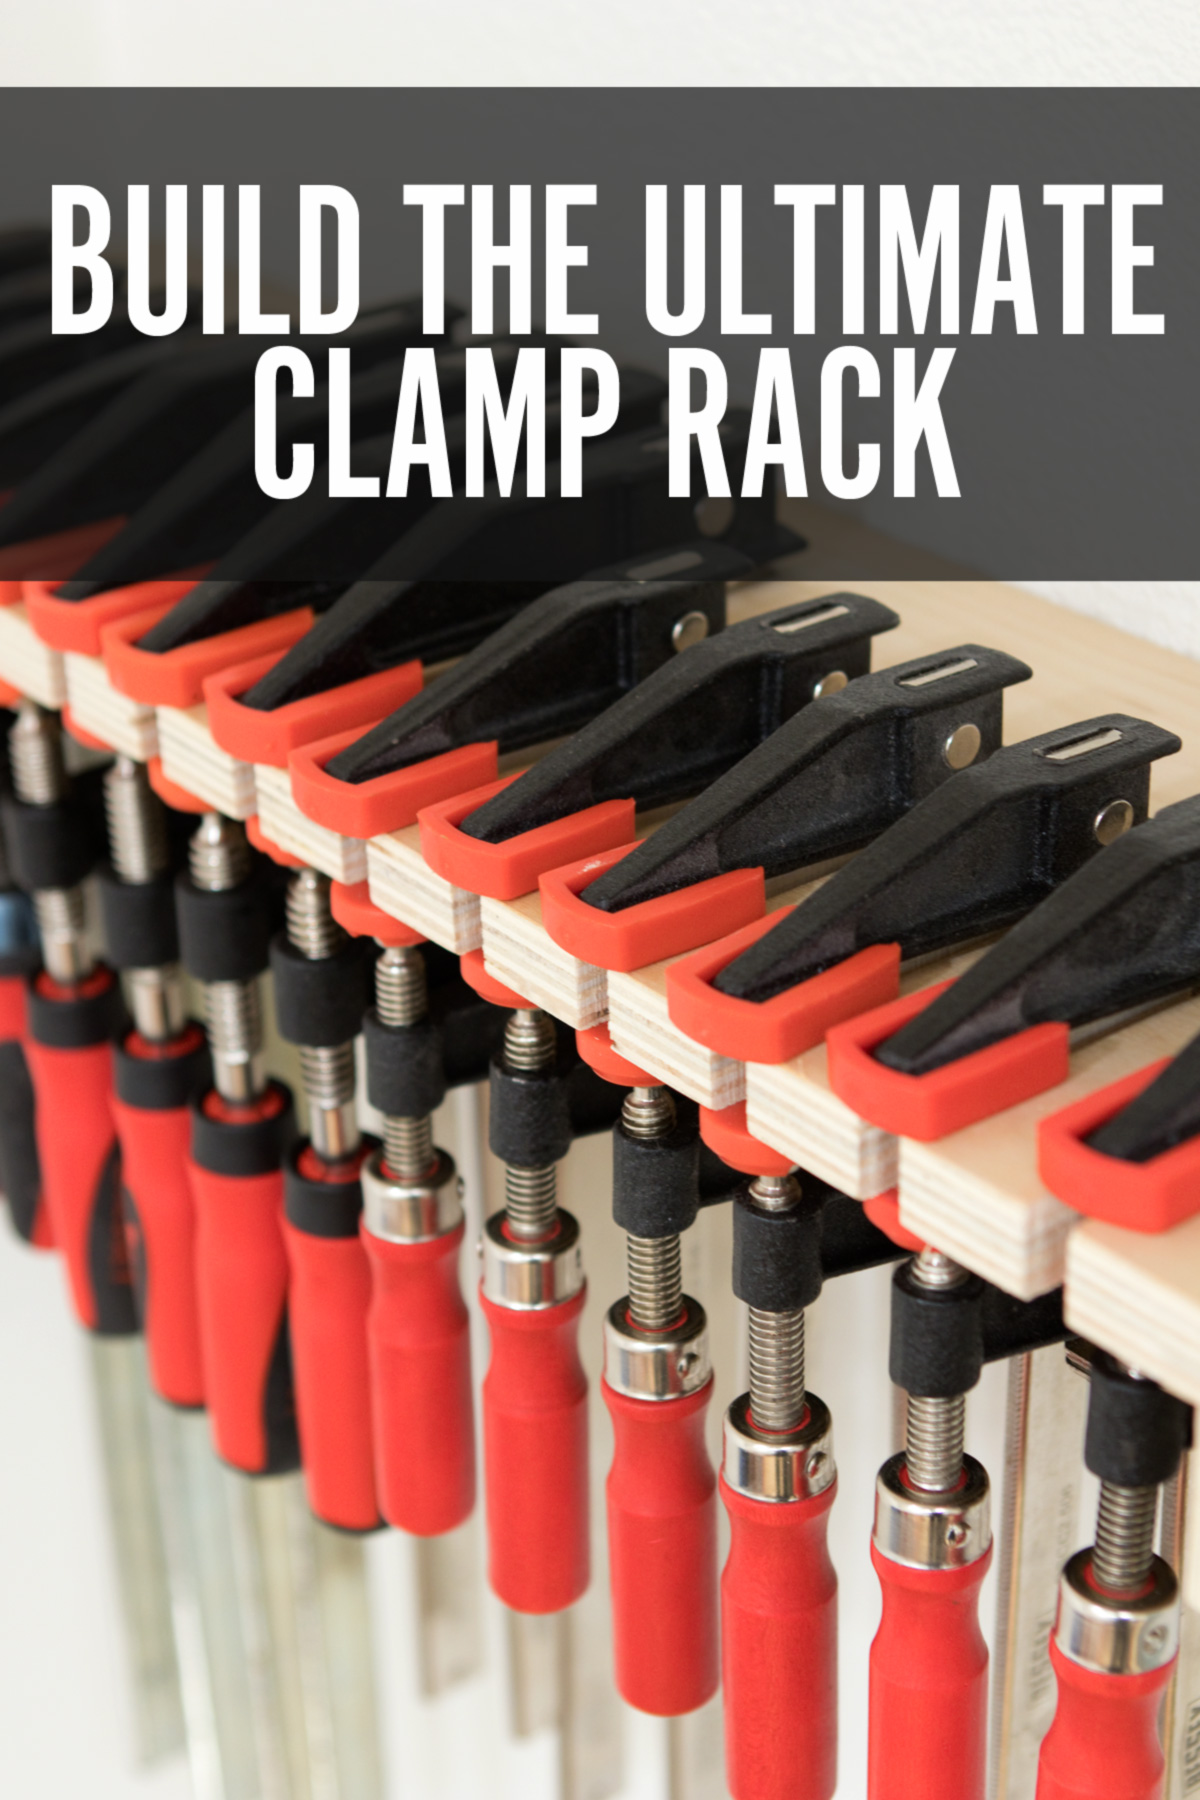
How to Make the World’s Easiest Clamp Rack

A functioning clamp rack. Every shop's gotta have one. “But, wait!” You say. “Isn't the easiest way to hold clamps just some 2x4s bolted to the walls, and maybe some holes and plumbing pipe inserted to hang the clamps on?” Yeah, perhaps. But, while that works if you have a ton of space, it's not the most efficient way to store clamps in a small shop. And I think of that as more of a “clamp hanging spot” than a proper organization system. Plus, if you already know about that trick, you certainly don't need me to give you a how-to.
Instead, I present this clamp rack design: infinitely adaptable to any scale, and able to hold almost any type of clamp. You can build the whole thing with some scrap plywood, a jigsaw, and drill, and make one – no matter the size – in well under an hour.
First, Determine Your Clamp Rack Measurements
To begin, you need to figure out three things: slot size, slot spacing, and slot length.
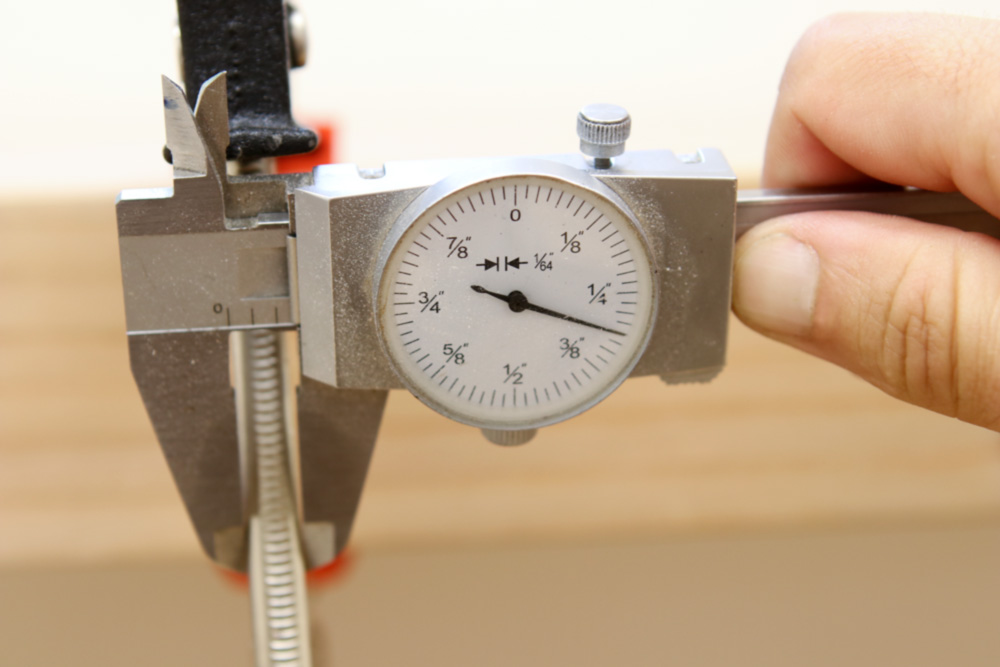
First, determine the thickness of the bar (or pipe) of your clamps. Add a bit of wiggle room and make it a nice easy number. Here, my Bessey clamp bars are 5/16″ thick, so I'll choose 3/8″ for my slot size. Let's call this Measurement A.
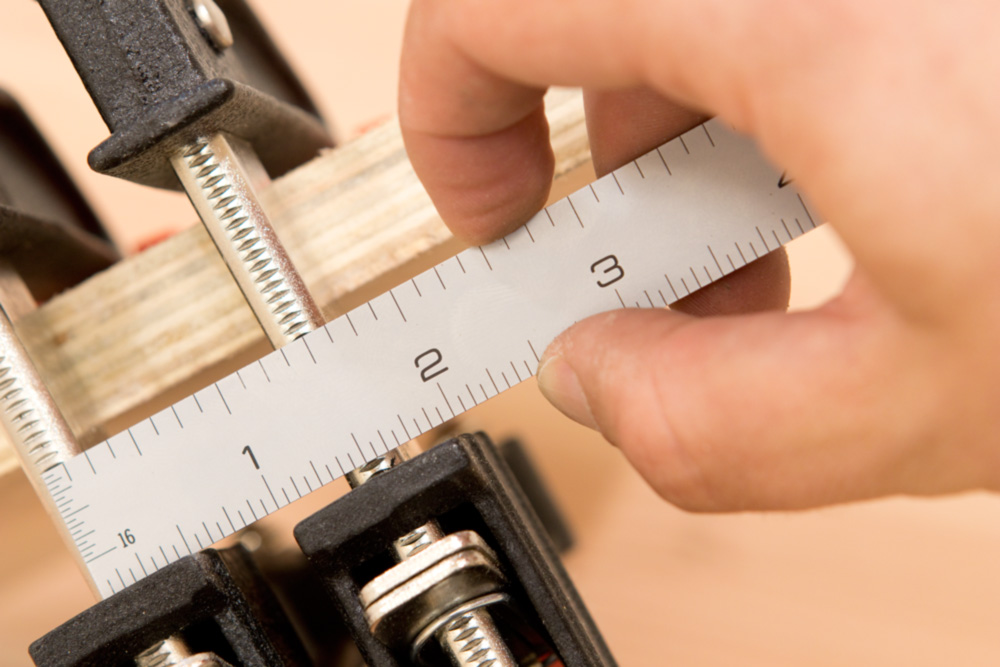
Next, attach two clamps side by side to a piece of scrap. Place them as close as you'd like them to be in your rack, and measure the distance between the CENTERS of the two bars. If you're using multiple styles and sizes of clamps, make sure you choose two of your biggest. This is Measurement B.
Here, we're right on 1 1/2″.
Lastly, measure the distance between the front of the clamp and the back of the bar (and clamp head). This is Measurement C.
Lay out the Slots for the Clamp Rack

Begin with an oversize piece of 3/4 plywood. Plywood is important here because the grain of the plys run in opposite directions, so it's strong across both its length and its width, and won't snap along a grain line with the thin tongues cut between the slots. (It's also means its dimensionally stable, and won't expand and contract as the weather changes. No stuck clamps!)
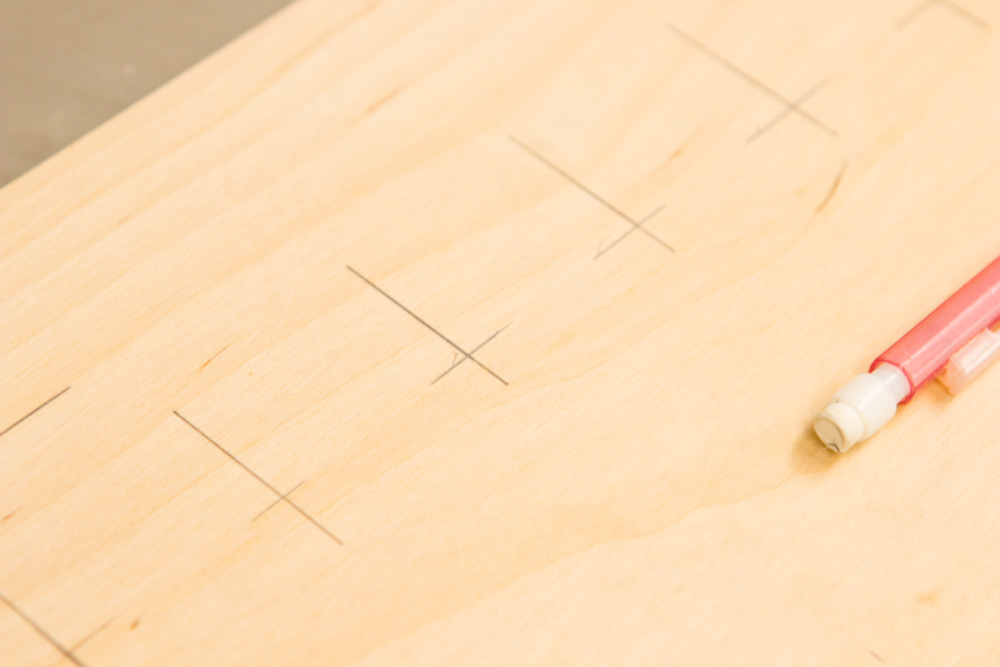
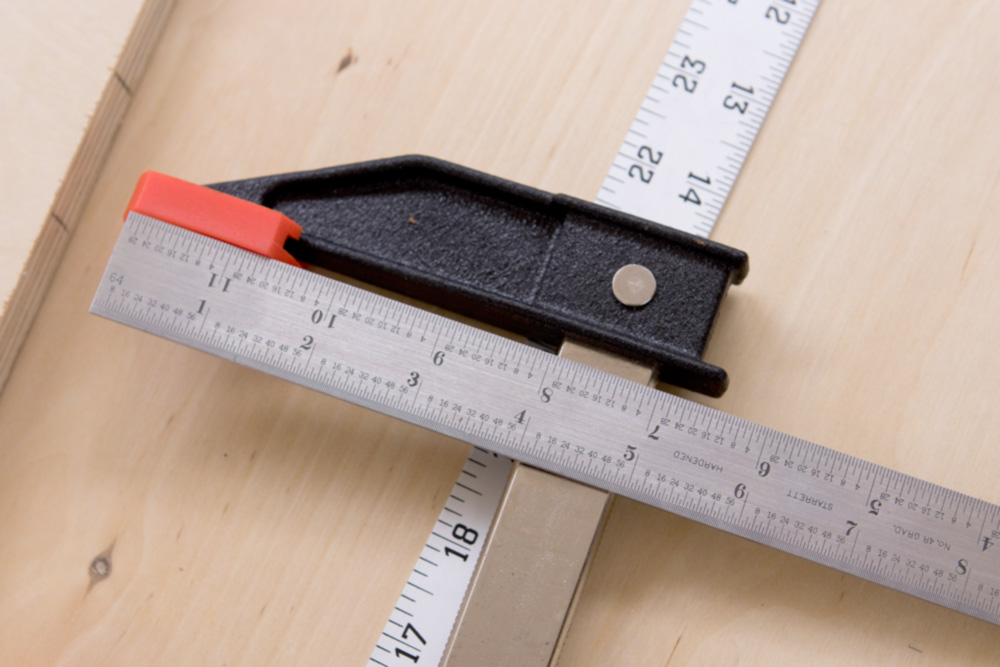
Make sure you have a nice, square edge across the front and the left side. Make a mark 2″ from the left side. Then repeat, spacing the marks according to Measurement B above. You'll want as many marks as clamps you hope to store.
Then, set a combo square to Measurement C, the distance of the front the clamp to the back of its bar. This creates a single point where you'll drill your hole to start the slot.
Drill and Cut the Slots
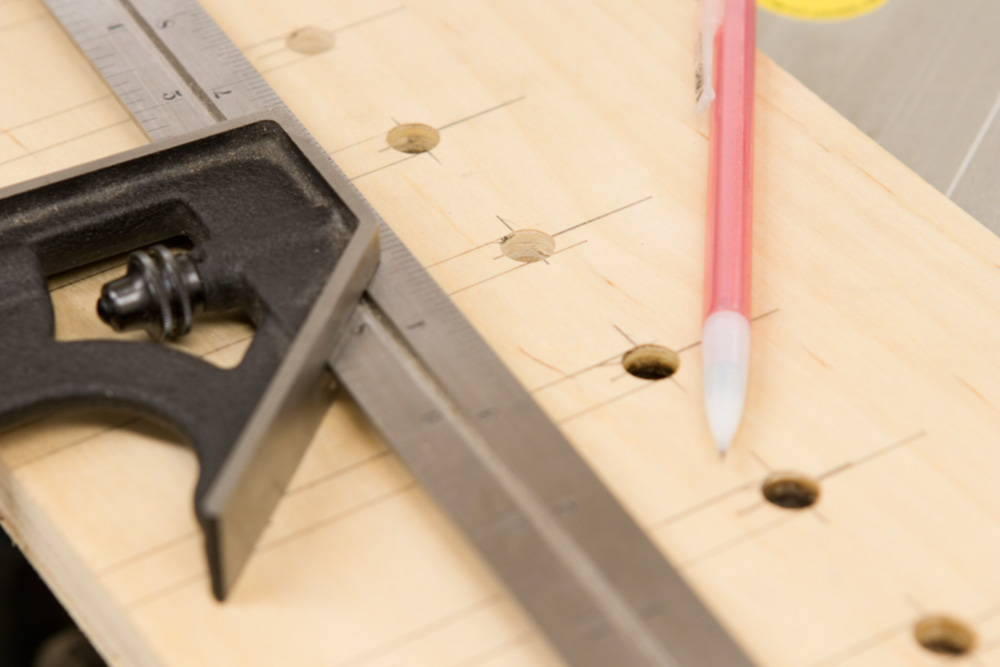
Select a drill bit that matches Measurement A above, the thickness of your clamp bars plus a 1/16″ or so. Drill out each crossmark above to create the back of your slots. You'll see now that you don't really care how much wood is in between the slots; the only thing you need to be concerned with the the distance between the centers of each slot, Measurement B.
Use a square to extend the sides of these holes to the front of the work.
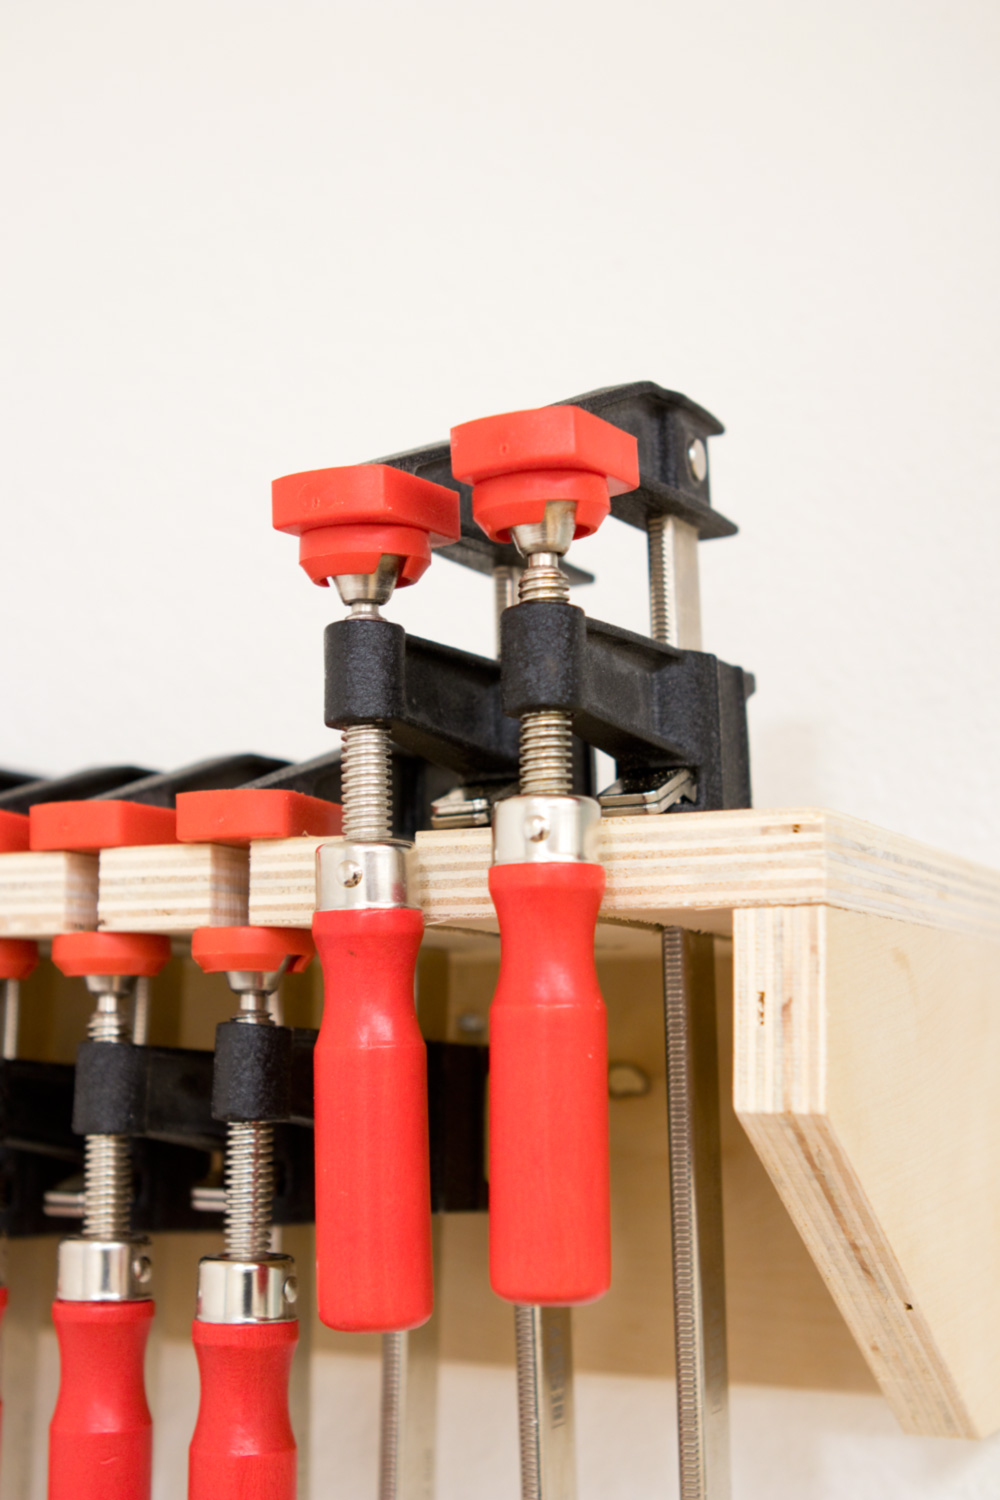
That approach wouldn't work for me, and here's why: I'm hanging my clamps next to my workbench, and I'll regularly be standing in front of them as I use my end vise. So, I want to use the clamps' built-in capabilities to secure them to the rack so they won't fall out or bounce around if I accidentally knock into them. Plus, I think all the handles lined up in a row look nice, and will encourage me to keep things neat and orderly.
If you go with the handles in front design, you can still place them bar side out any time you want. So, handles in front/longer slot is the most versatile option.
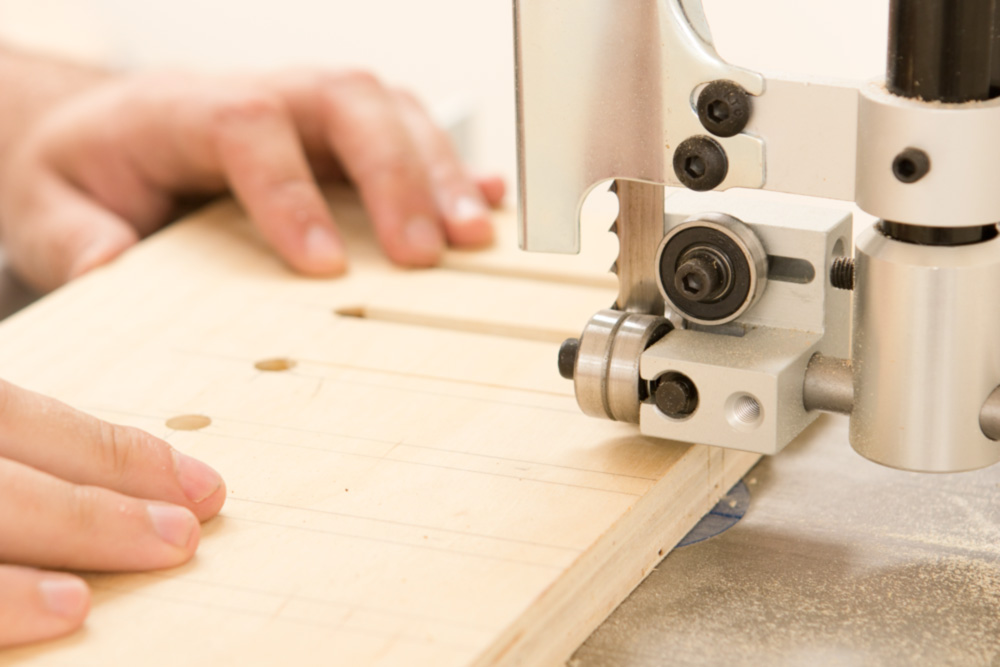
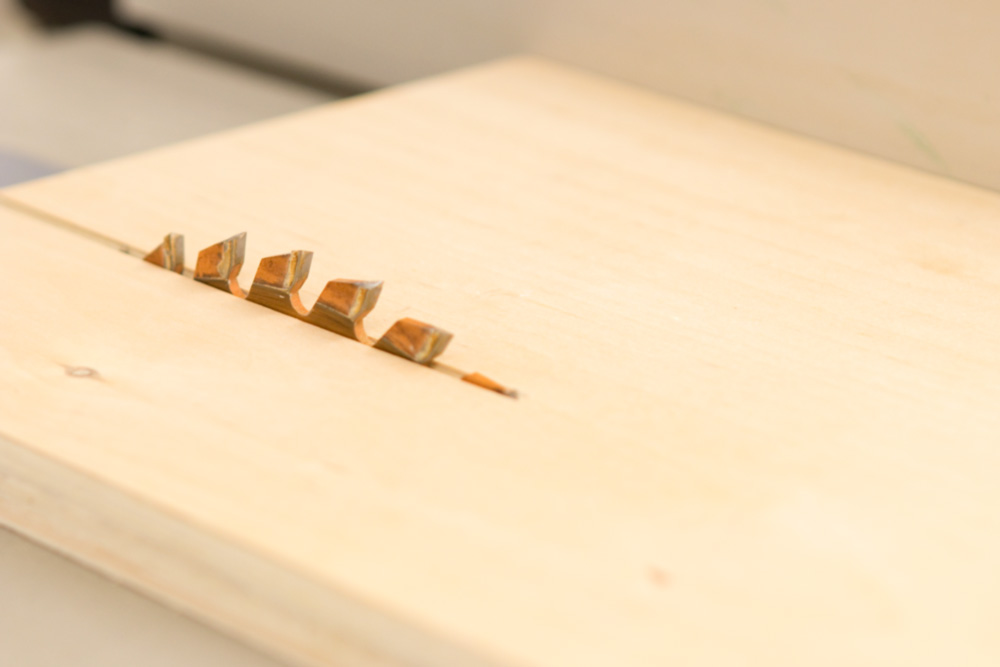
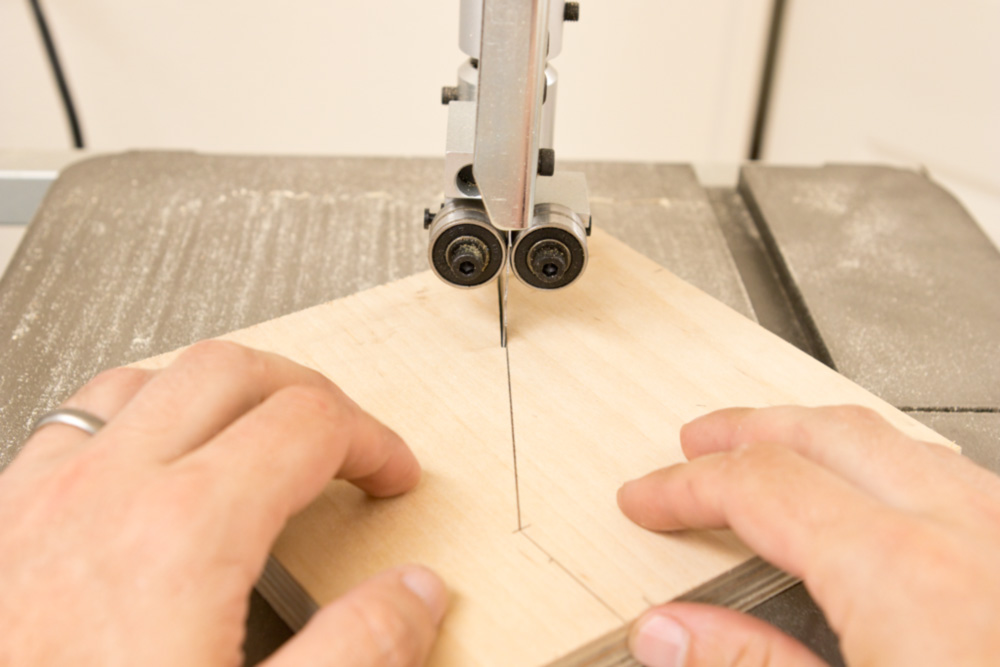
Now, use a jigsaw, band saw, or hand saw to cut down these lines and remove the waste inside the slot. If you have any excess wood in the front or back, cut it off now to determine your overall length.
Cut the back and sides of your clamp rack
Next, cut the back of the rack. This will sit under the top slotted shelf you just created, and you'll screw through it to secure the wood to the wall. It should be exactly as long as the top, and as wide as you need to keep things rigid and sink at least two screws through. You could easily make it the same size as the top. Mine is 4 1/4″ wide.

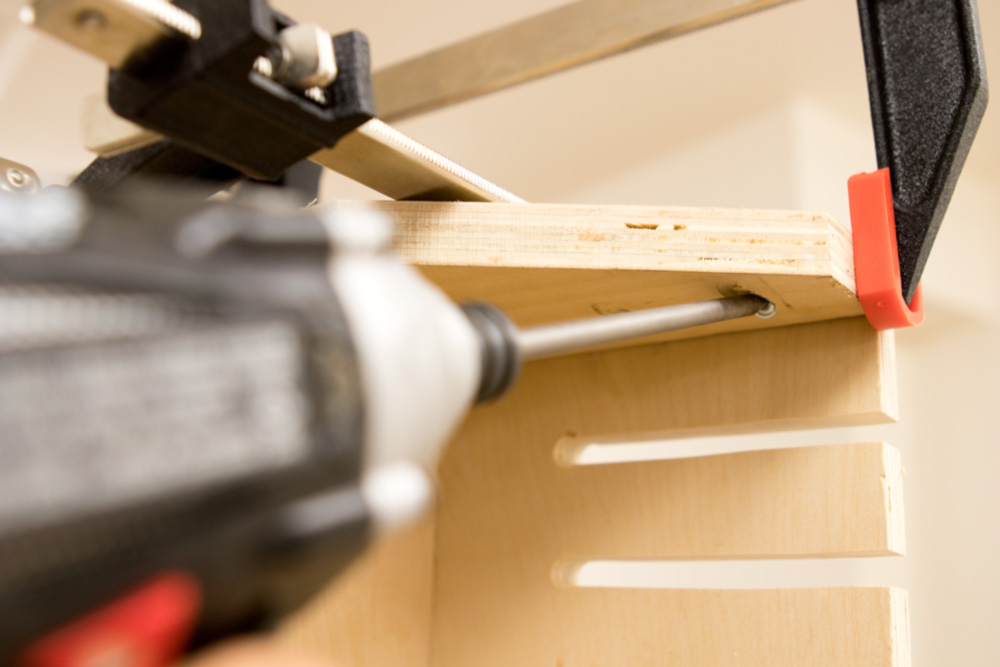
Attach the top to the back using screws. I chose not to use glue or nails here in case I ever need to take the rack apart. Just make sure the top sits on top of the back so the top is supported along its length. I went with pocket holes through the back, but you could easily just screw in from the top.
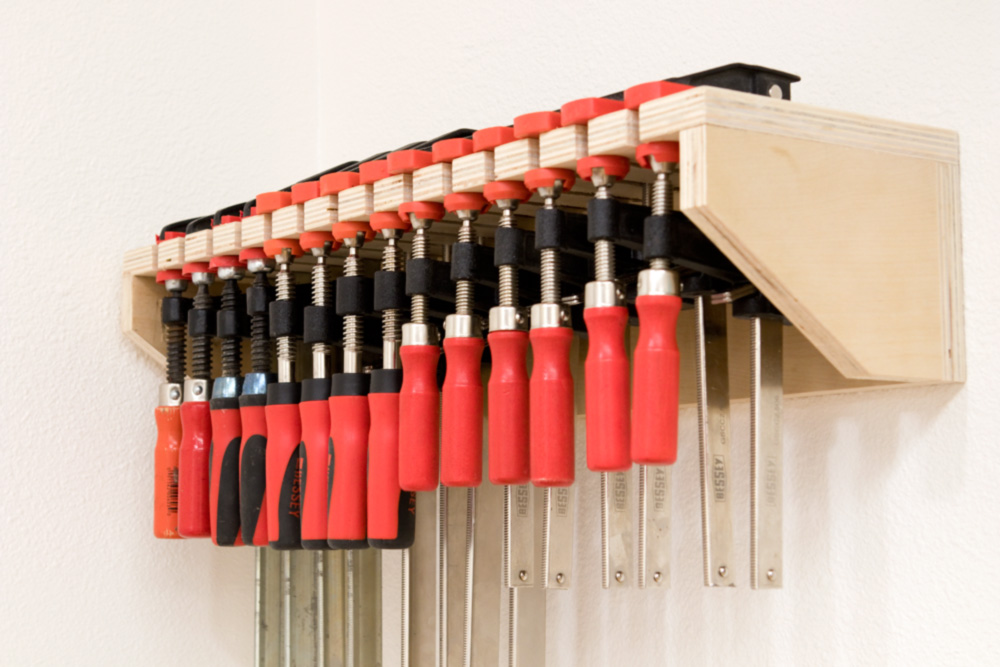
With the back attached, create the sides. These attach to both the back and the top to make the whole thing rigid. Question of the day: does that make them corbels, brackets, or simply sides? (Not a quiz: I actually don't know what to call these. Someone please share in the comments below.)
Your sides could be squares, triangles, or French curves; whatever you want. I went with a 45° angle, starting 1 1/2″ in from each side, to lighten the visual weight and provide better access. I just held up the piece to the sides of the clamp rack and traced my marks, then cut it out on the band saw. Then I flipped it, traced the shape, and cut the other side.
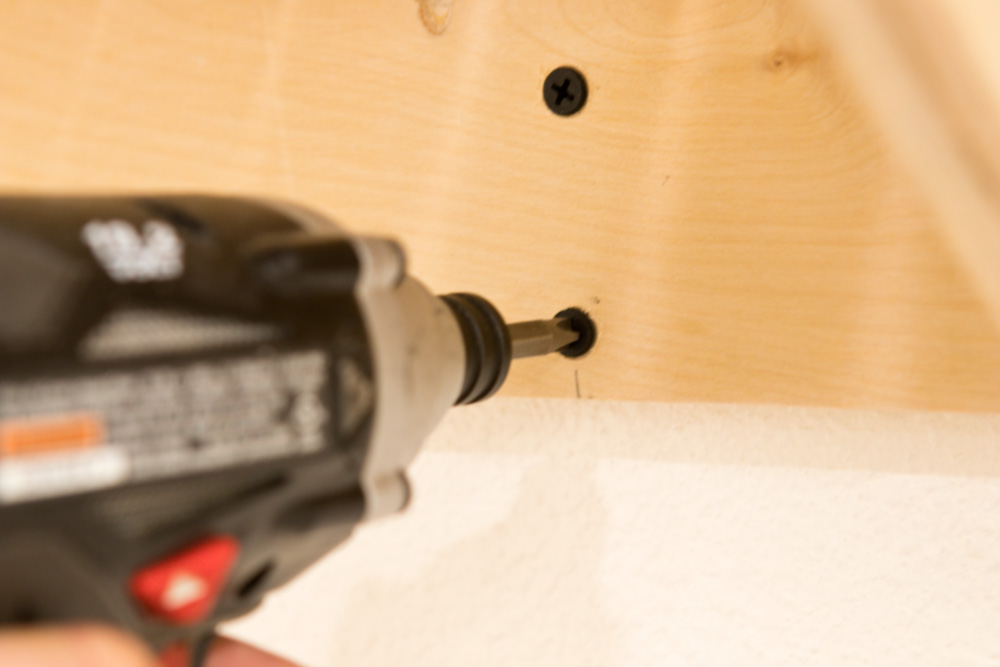
Attach the sides to the inside of the rack with more screws.
Hang it up!
Find your wall studs, or use appropriate anchors, to hang the clamp rack up, screwing through the back. Use at least four beefy screws, and more if you can. If you're hanging heavy pipe clamps, you may want to counterbore and use some lag bolts to get into the studs to support the extra weight.
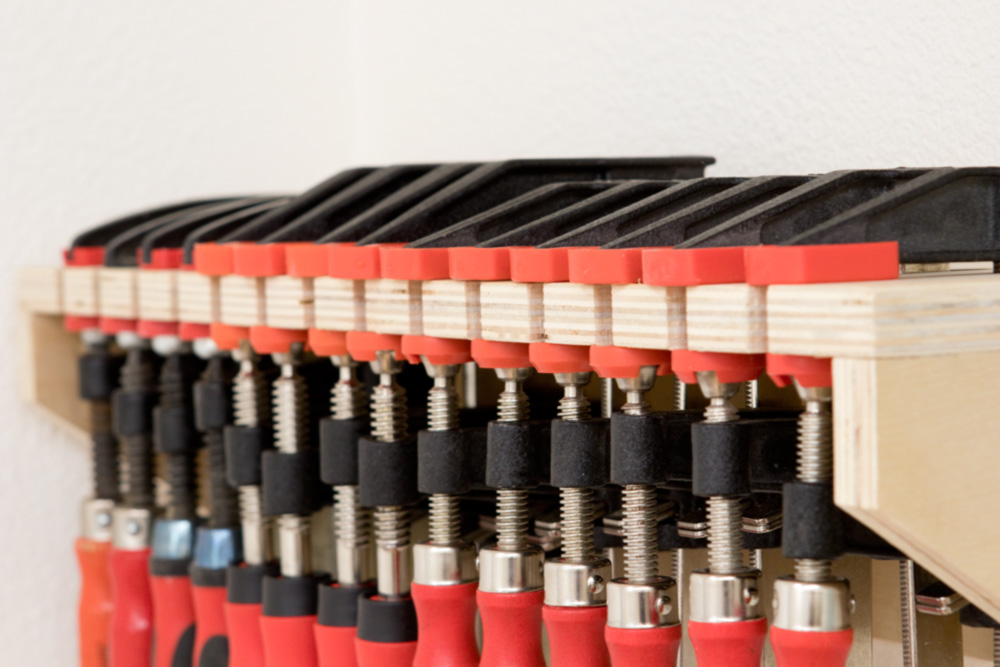
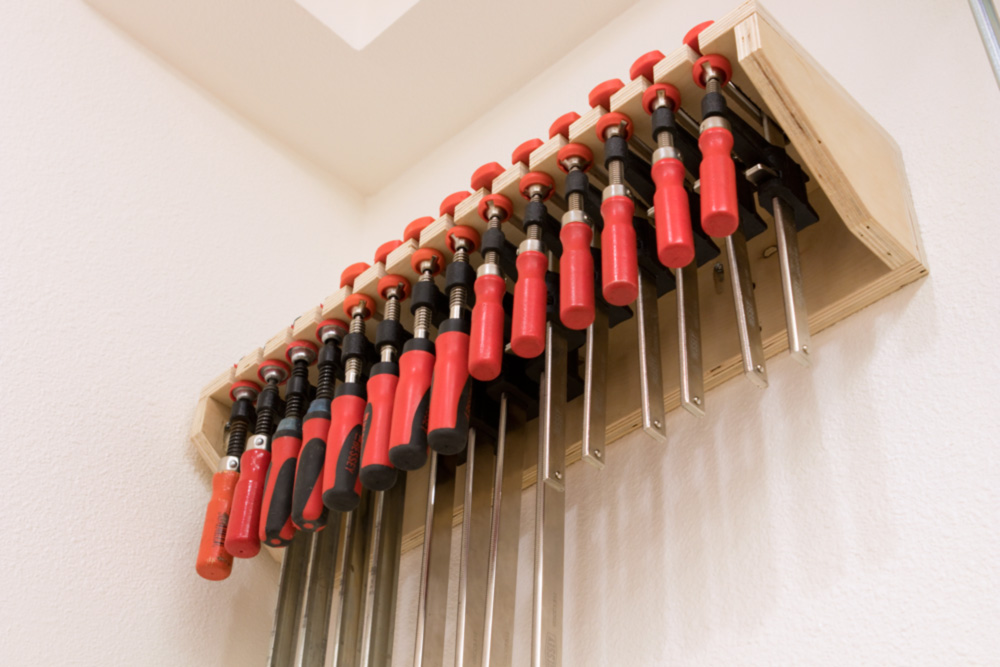
Add your clamps, and you're done!
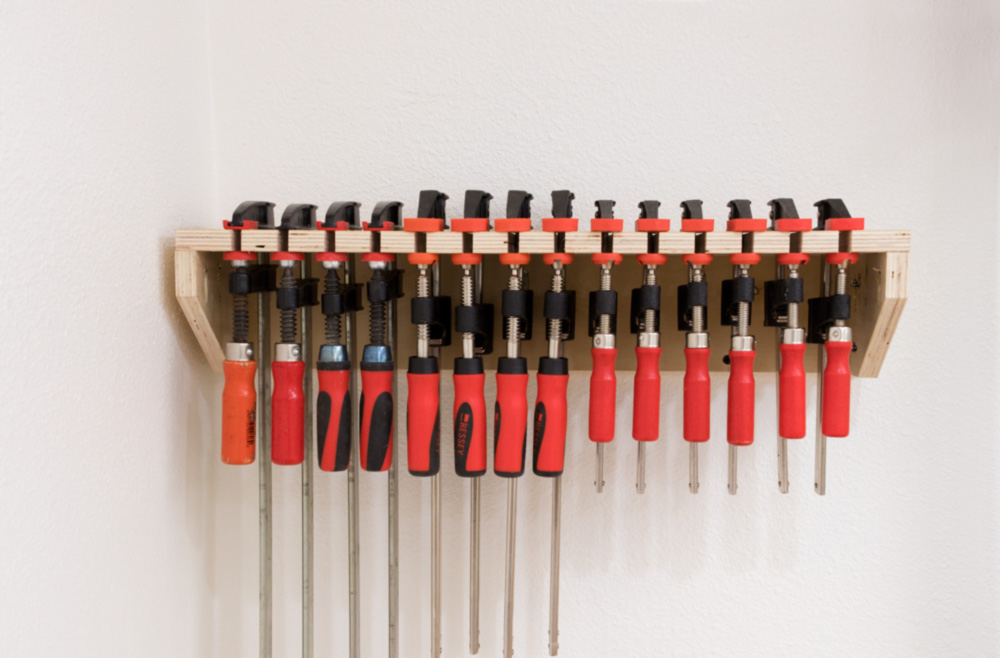
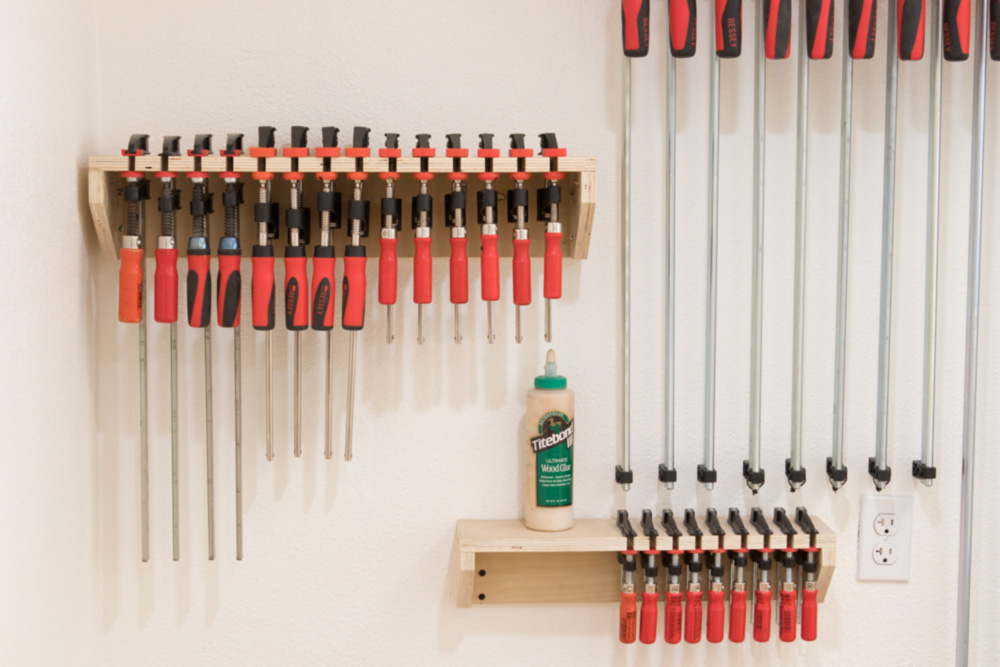
Once its on the wall, you can see the number of ways you can place the clamps in the rack. You can clamp them in, placing the rack between both jaws, put them handle side first and just let them hang, or rest them on the bottom jaw, as above. This is great when you're using them frequently, but don't want them to clutter up your workbench.
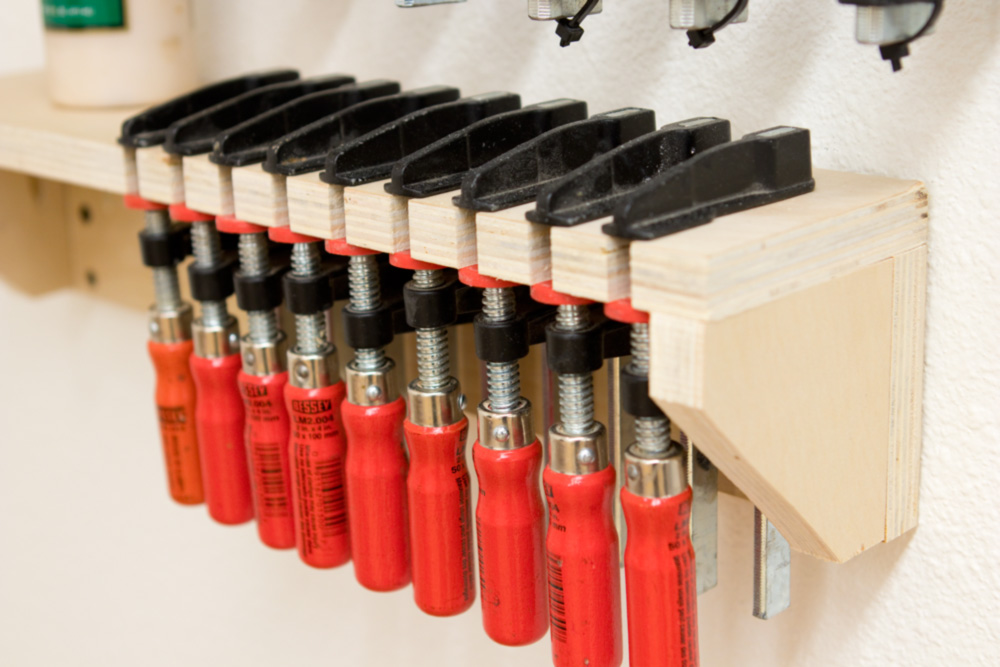 Here's a second rack made with the same design to house my smaller clamps. I made the clamp rack longer than I needed, and shifted the clamps to one side. This was necessary in order to hang it from two studs, but also used otherwise wasted space on the wall to make a shelf for storage more quick-grab items.
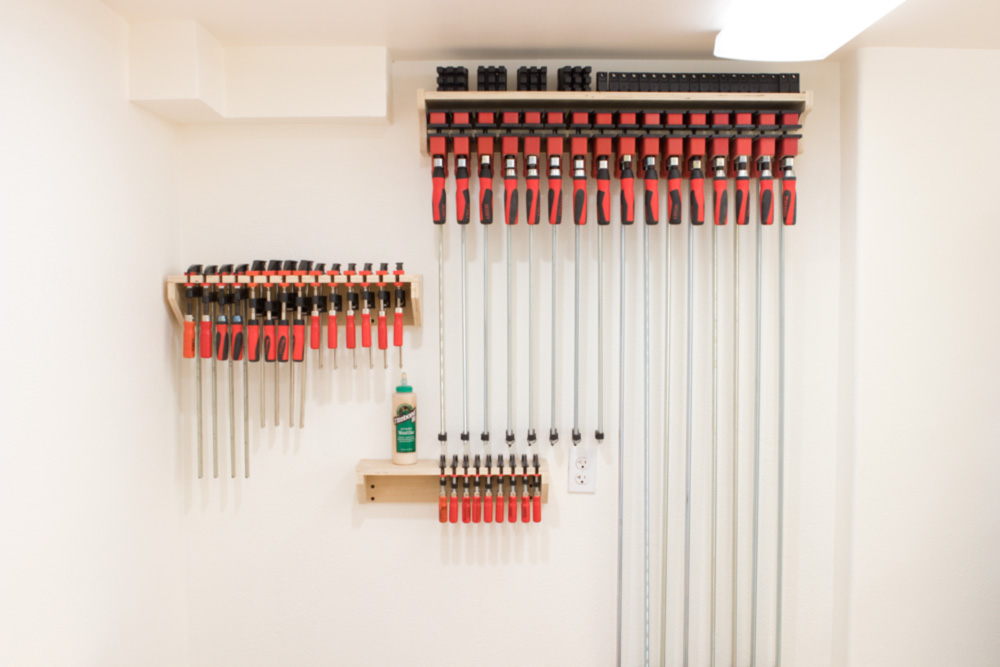
My clamp wall is almost complete. If you're interested, check out the tutorial for the parallel jaw clamp storage system I made. Next up: a way to store my wooden hand screws. Stay tuned.