How to Mount a Vise to Workbench Without Drilling: A DIY Guide to Mounting a Vise
My first “workbench” was a simple table-style surface. 2×4 legs, 1/2″ plywood top, held together with black drywall screws. I built it in my first apartment when I was twenty-two, with my first (and only) power tools: a circular saw and a drill.
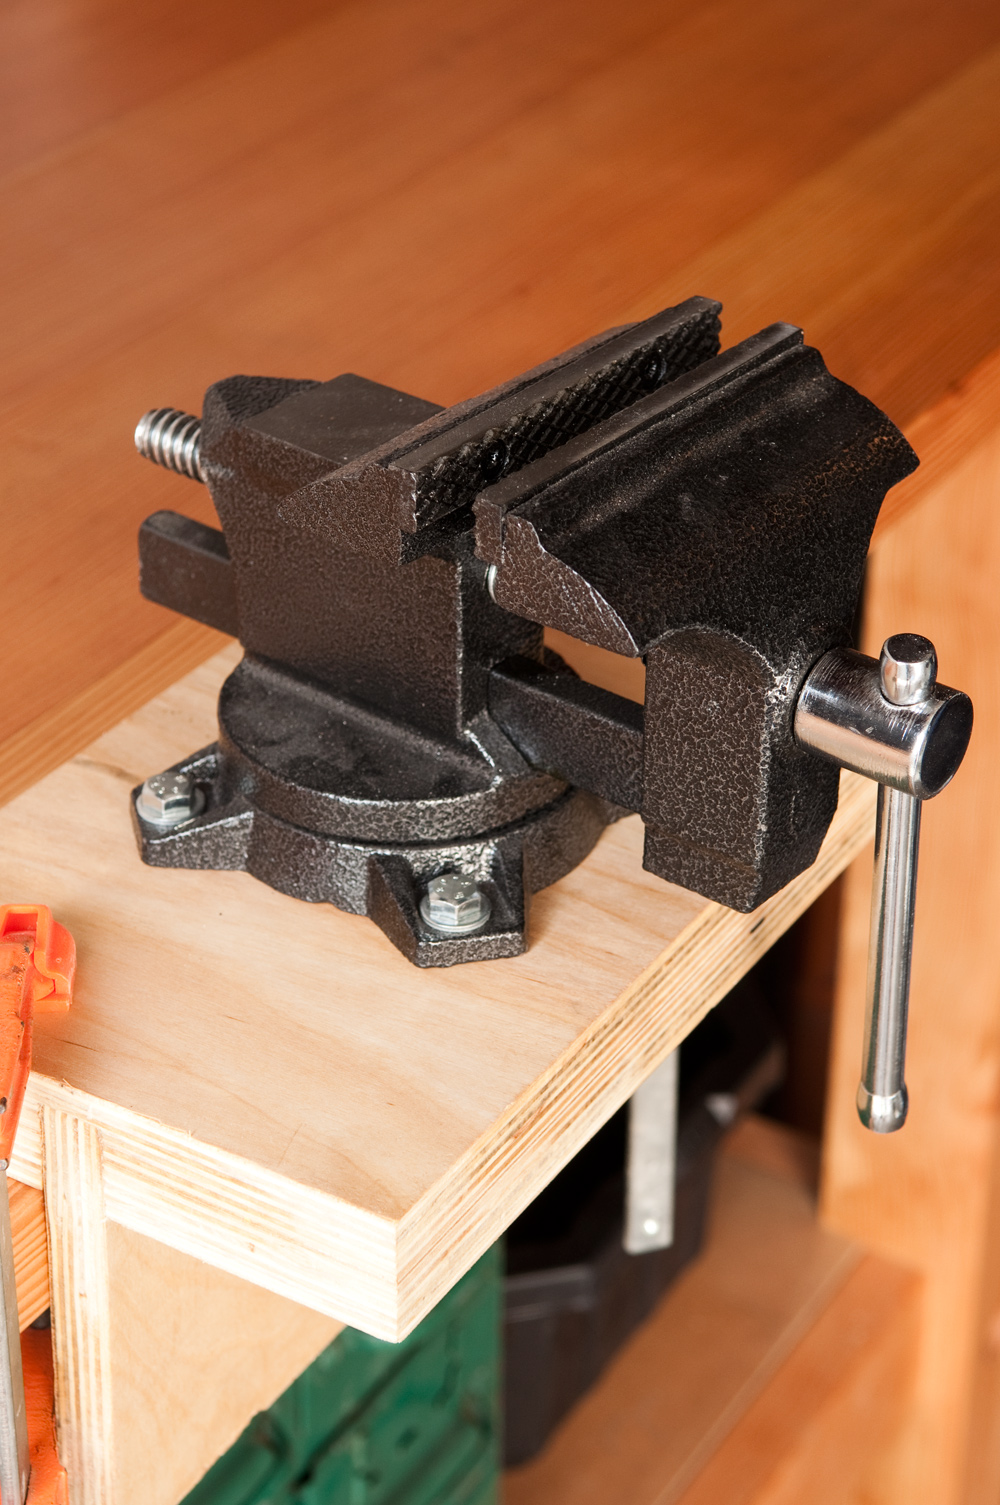
In the back left corner, I mounted a shiny, new, bright blue Irwin swiveling bench vise. It was awesome to have it there when I needed it – holding metal stock and angle iron for cutting, helping me bend rod and pipe, even keeping dowels and small wood parts in place while working on them. Unfortunately, these activities constituted a very small amount of the projects I was doing, and mostly, the vise just got in the way during the other 97% percent of tasks.
So, for the past few years, that vise has just been in a storage crate, and I get it out and try to hold it in place when I need it. Which, in case you can’t guess, does not work. Ever. So, I wanted to come up with a solution that would allow me to install a machinist’s style swiveling benchtop vise, without having to permanently install it, or drill holes in my benchtop and have to thread and tighten nuts and bolts every time I use it.
The Design
I have two workspaces and benches – one in basement wood shop, and the other in my garage for around-the-house stuff: repairs, gardening, working on bikes, etc. I wanted to come up with a plan that would allow me to use a general purpose, metalworking benchtop vise in both places, when I needed it. This design uses a L-shaped support glued into a dado, which takes advantage of the holding power of my woodworking bench’s front vise — I just insert the machinist’s vise support into the front vise, and tighten. But I would recommend this design even if you don’t have a front vise; because vise work often involves heavy twisting and pressure for bending, having the additional edge pressed against the front of the bench allows the force to go into the benchtop and uses its weight to your advantage, making less work for the downward pressure of the clamps.
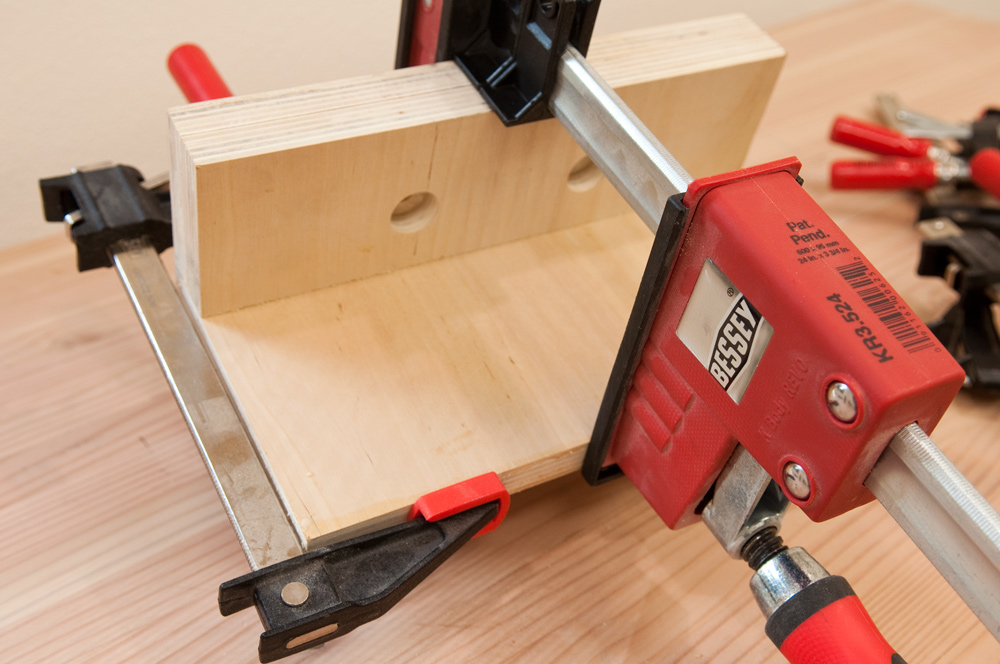
Step One: Begin by making a plate to mount the vise. I’m using a double layer of 3/4″ plywood here, since it’s dimensionally stable and strong in both directions, and can be easily cut to larger sizes without milling and gluing up panels. I went with a 10 3/4″ long piece, because I had it lying around my scrap pile, and cut two 7″ widths. Because I was cutting across the grain, I scored the line first to prevent tearout.

Step Two: Cut two matching layers of plywood to the same size.
Step Three: Cover one side of each piece with glue, then sandwich them together and clamp to allow the glue to dry. This makes one 1 1/2″ thick plate.
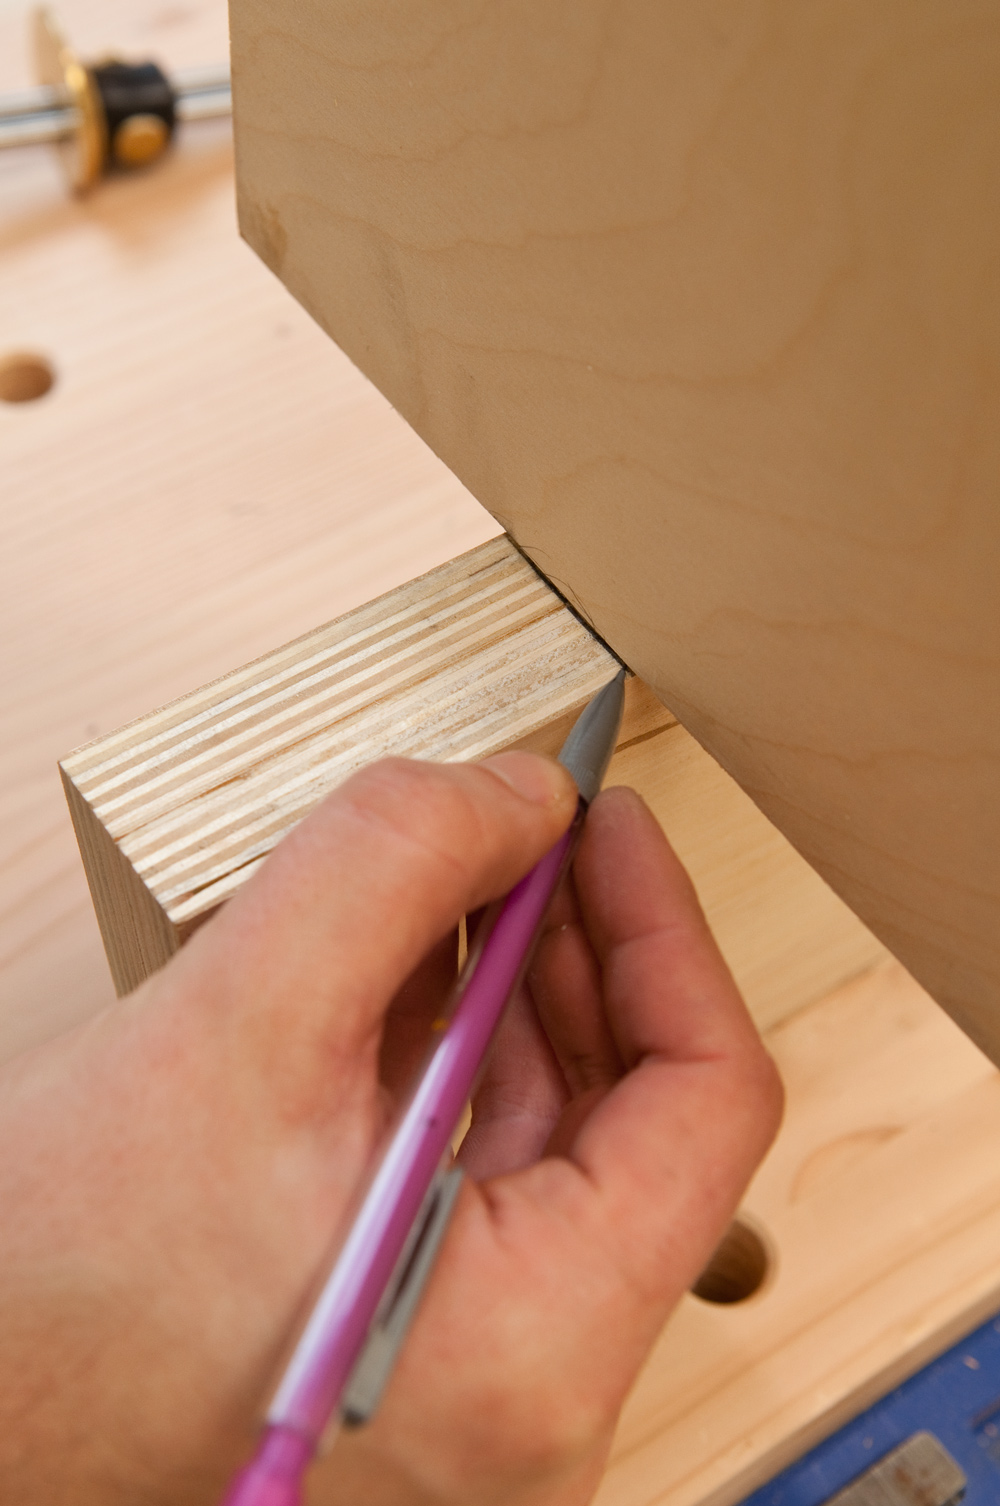
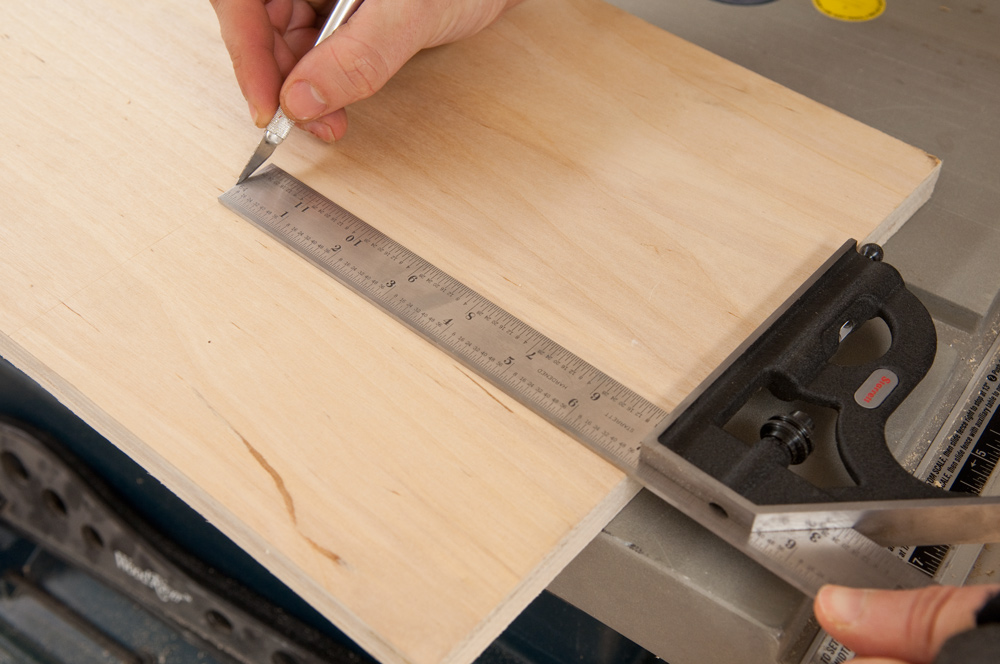
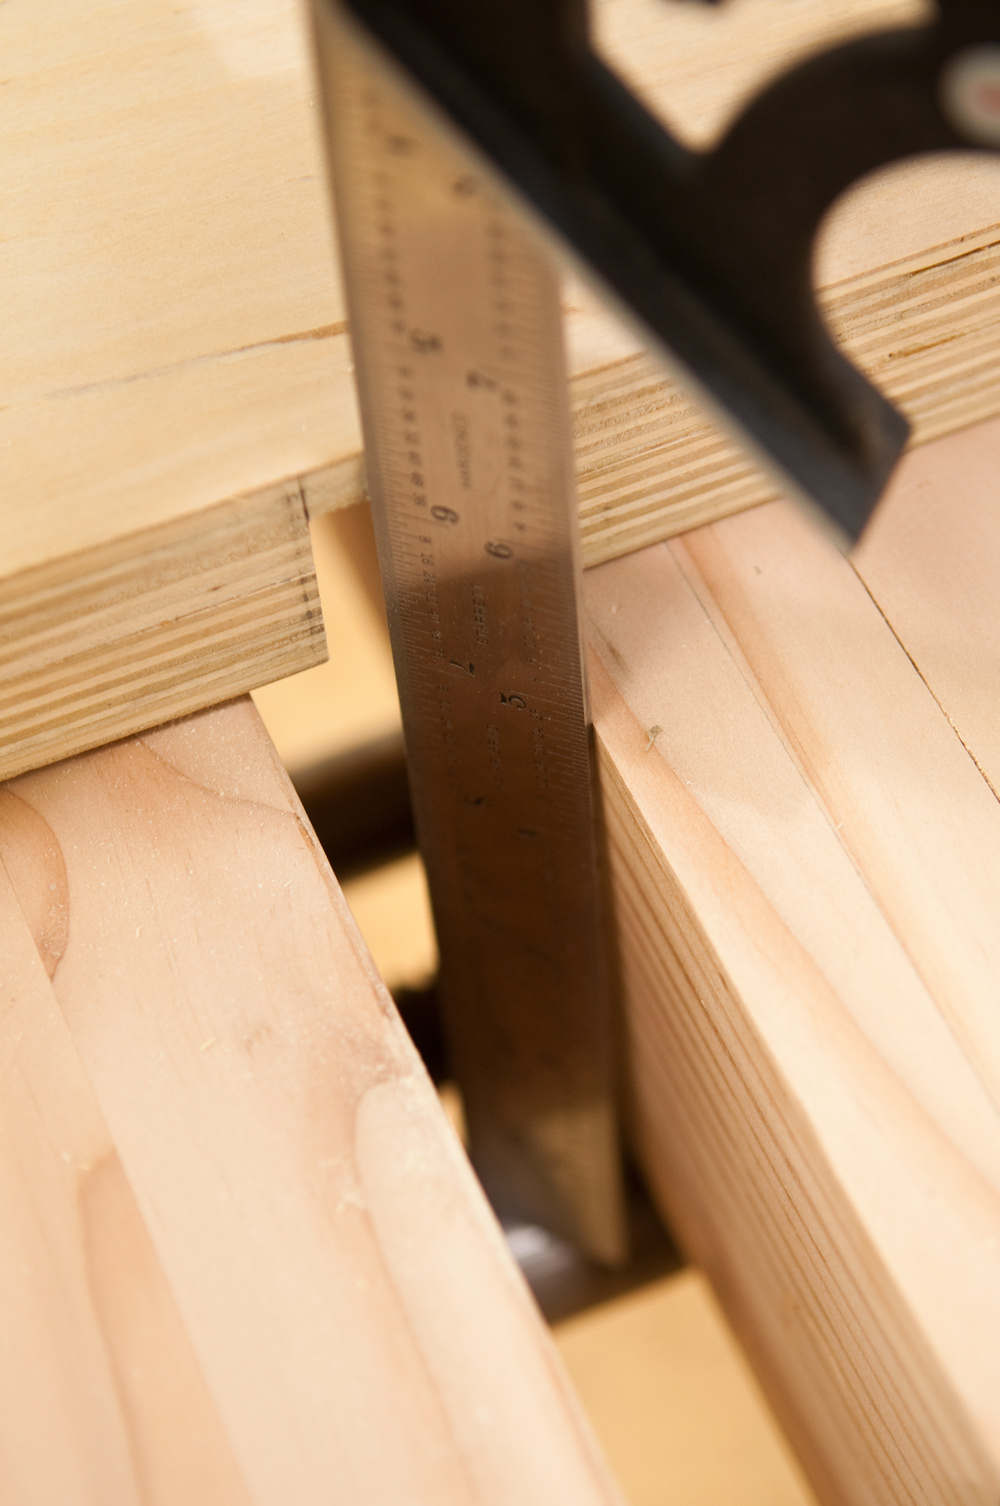
Step Four: Now, determine where you’d like to mount your vise, and how far over you might want it to hang from the edge, for clearance etc. Dead center was good for me, but you can adapt as needed. Mark the thickness of your plywood here. Don’t just measure with a ruler; it’s probably not a true 3/4″.
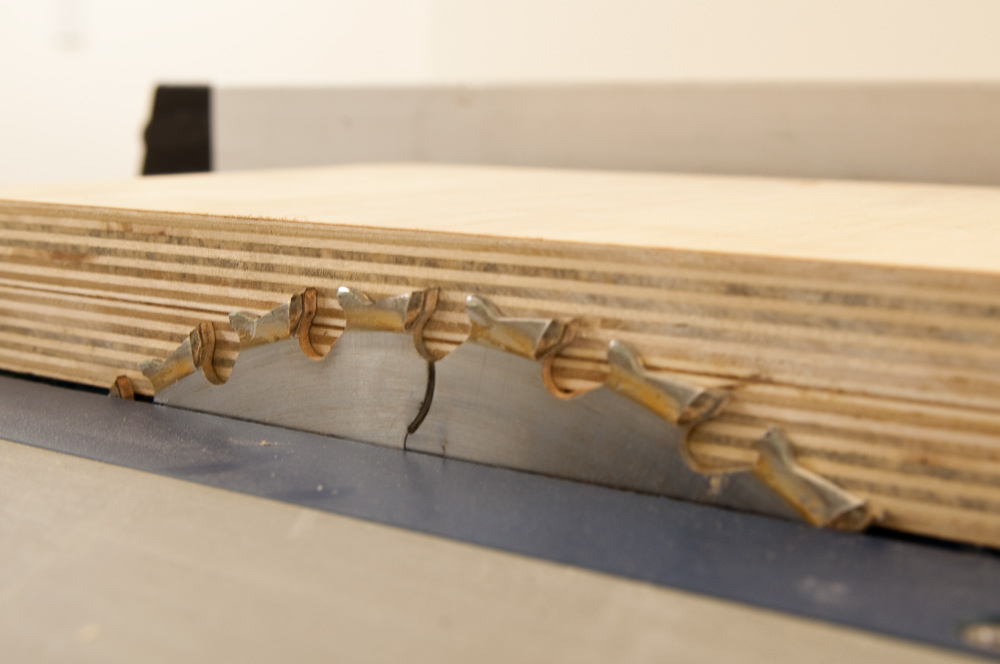
Step Five: Making sure you have a flat-top rip blade in your saw, set the blade so it goes all the way through the first layer of plywood and about halfway into the second.
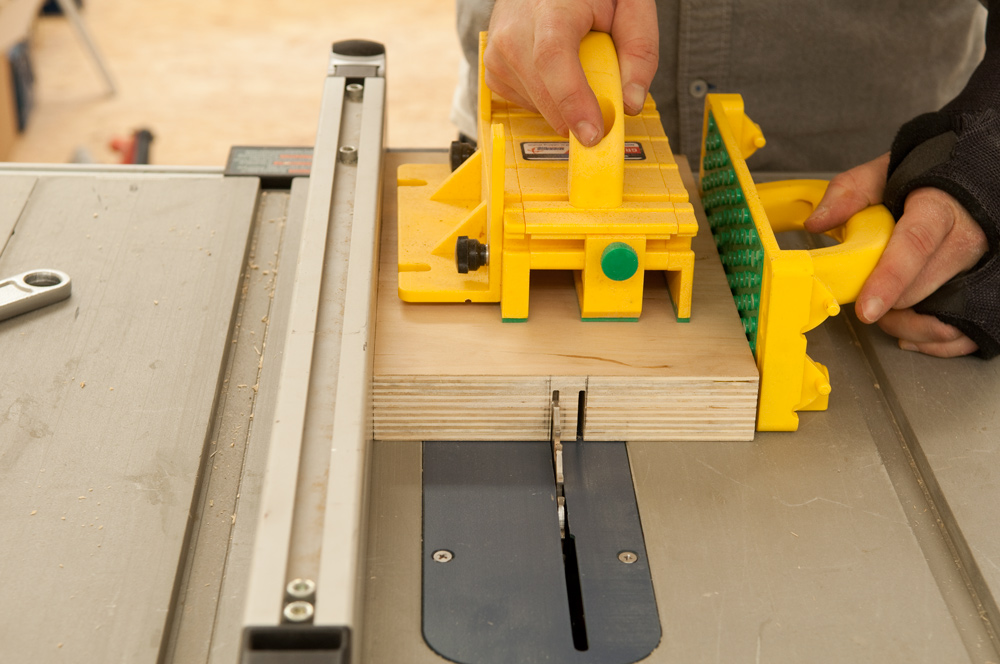
Then, cut out this thickness down the length, creating a dado. Start on one side, then the other, then make overlapping passes to clear out the waste in the middle. Keep it a bit tight at first, checking it with your plywood, then make small cuts to fit.
If you don’t have a table saw, you can do this with a circular saw or even a handsaw. Just make sure to mark a baseline, and keep everything secure.
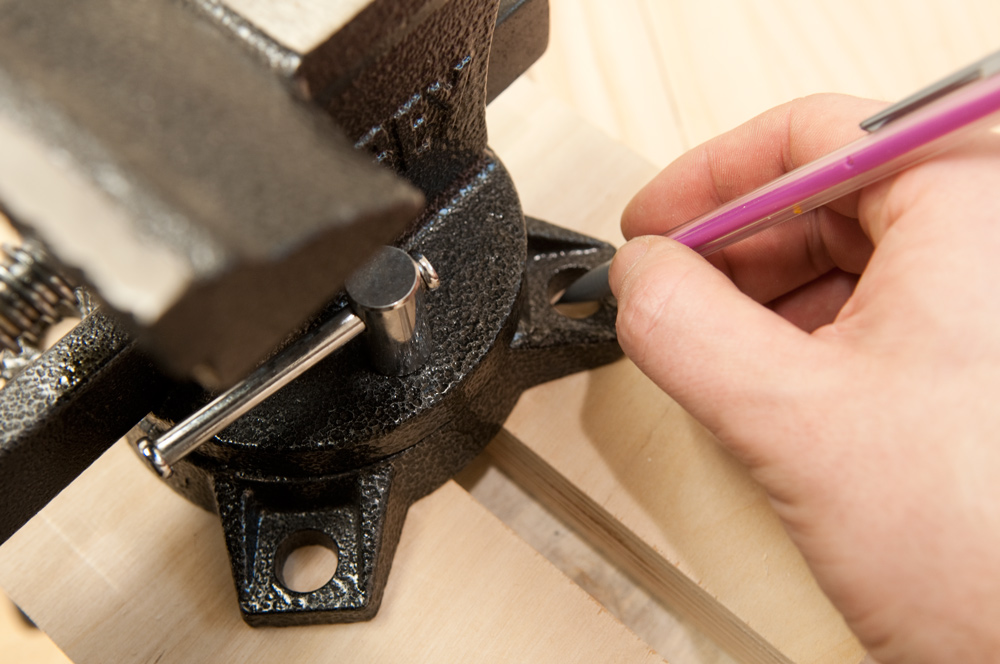
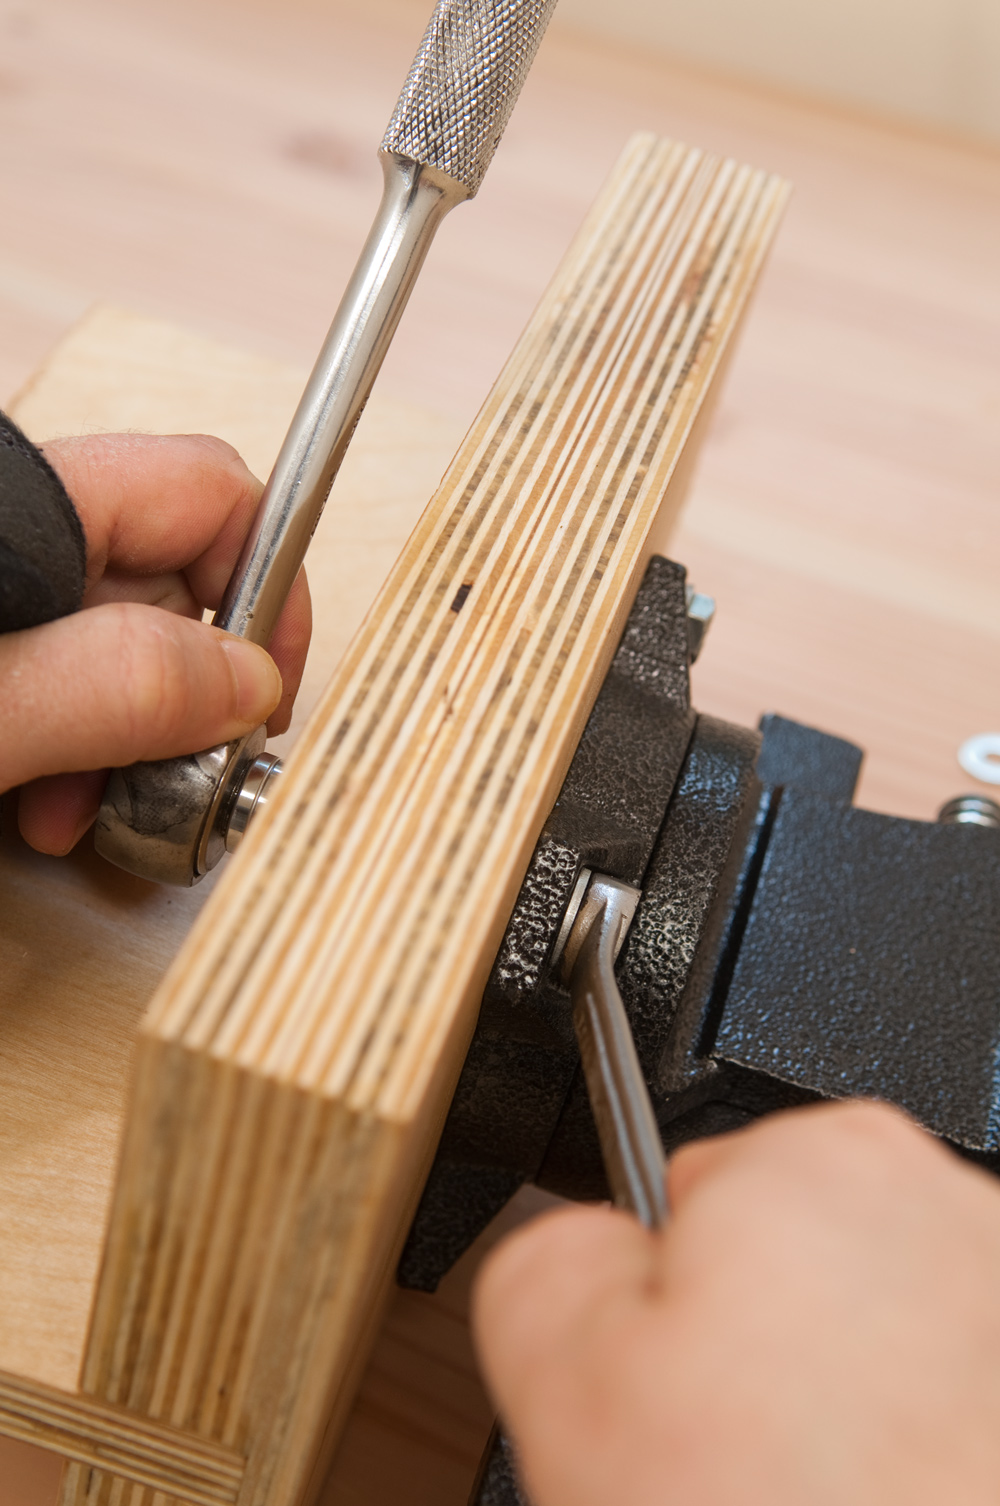
Step Six: Now, lay out the mounting holes on the bottom of your top plate. Trace the outlines, then find the center.
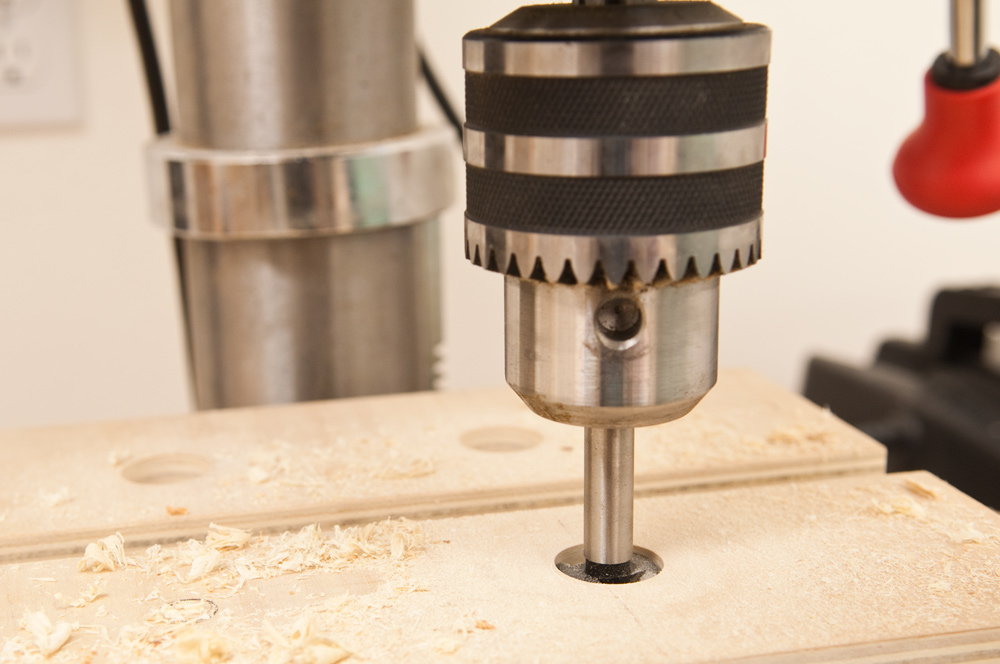
Drill out counterbores on the bottom, wide and deep enough to accept the nut and washer. I used a 7/8″ Forstner bit here. The width is not determined but the nut, but by the outer diameter of the socket wrench you’ll use to tighten it. (Mine was 3/4″ OD)
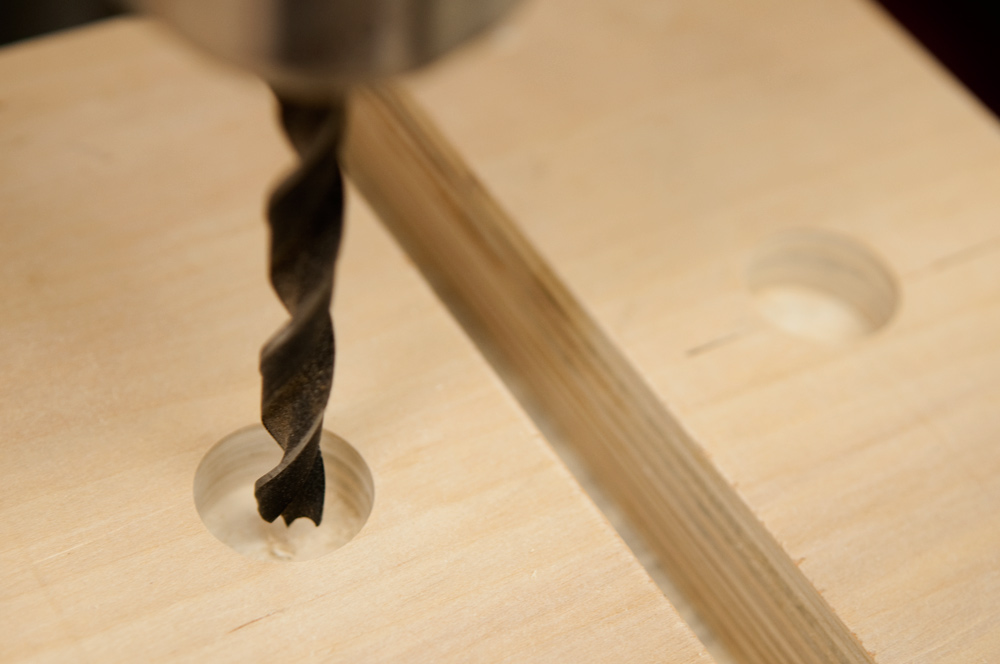
Then, using the brad point hole of the Forstner bit, drill through clearance holes wide enough to accept your bolts.
Step Seven: Determine the length of your L-shaped support by checking any screws from your front vise, your bench thickness etc. This isn’t super important; just make sure it’s not going to hit anything before gluing it in. Once you have a number (mine was 5 3/4″), cut it to size.
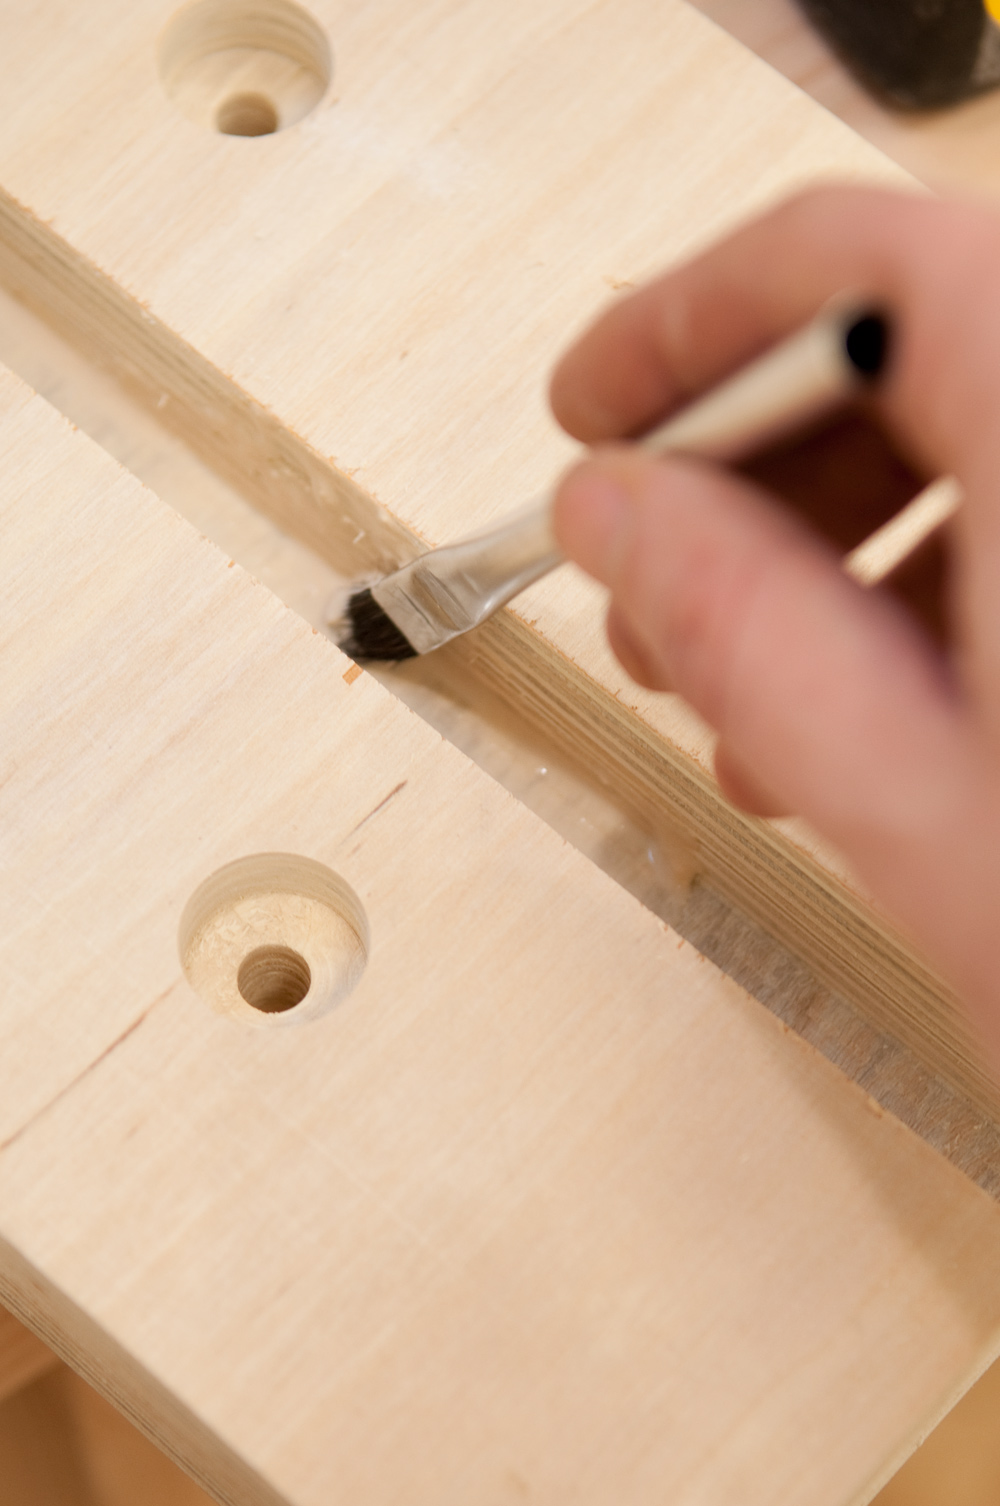
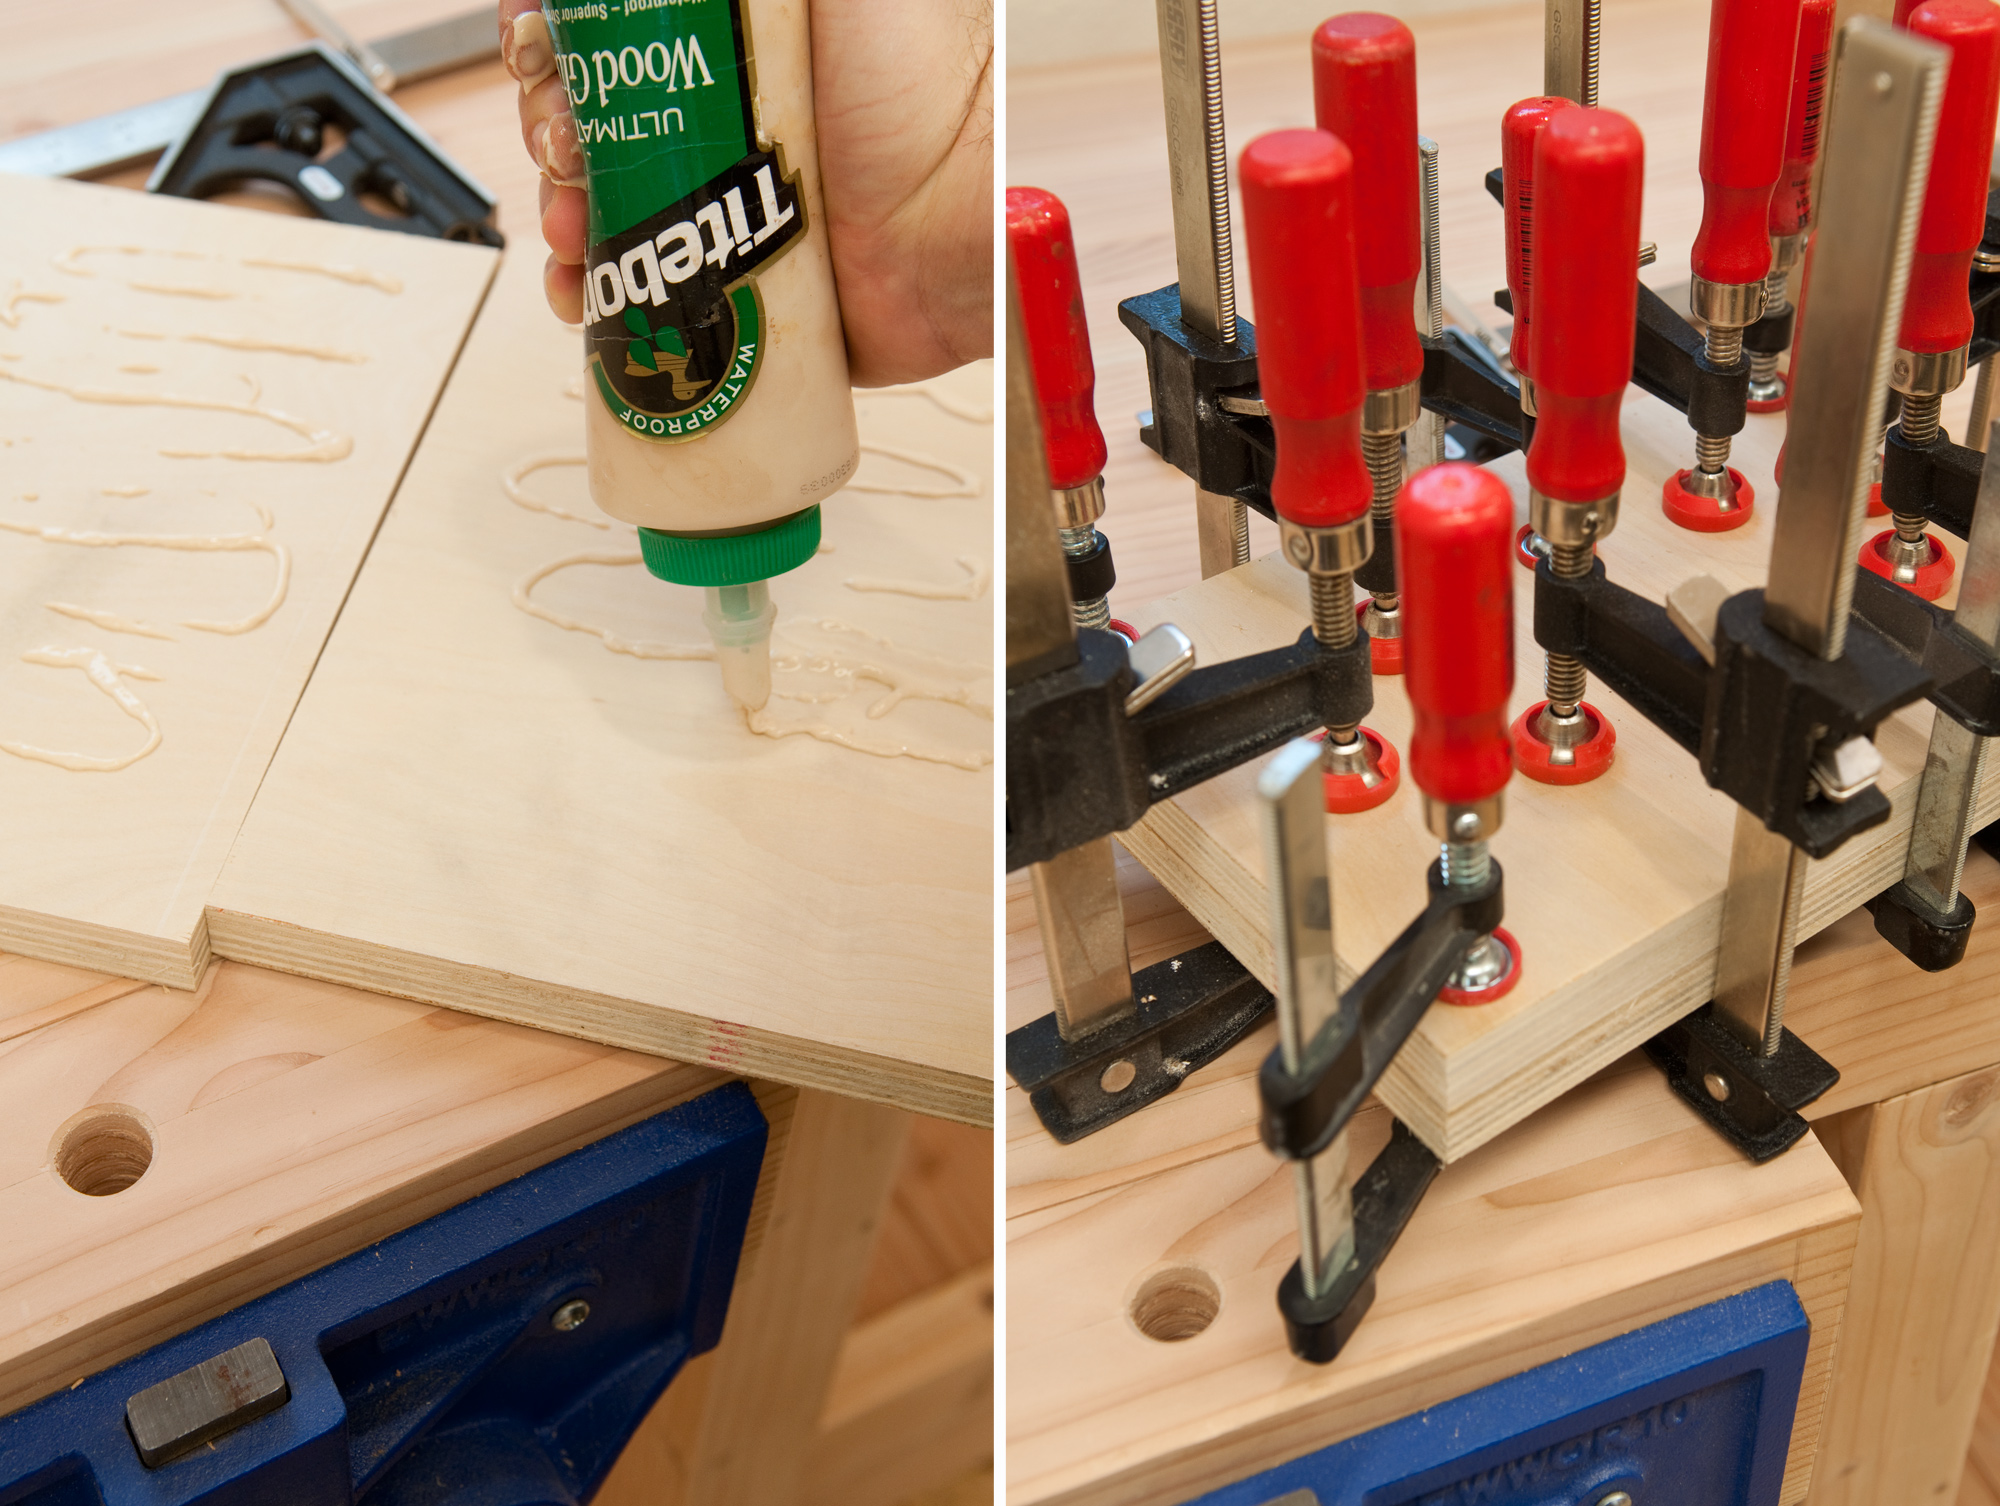
Apply a thin layer of glue in the dado, and insert the piece of plywood you just cut.
Allow the glue to cure. You could reinforce this dado joint with screws or dowels if you want, but with this much contact and the dimensional strength of the plywood, I think it’ll stand up to any force I can apply with my hands. Also, at this point, I wiped on a coat of Danish Oil.
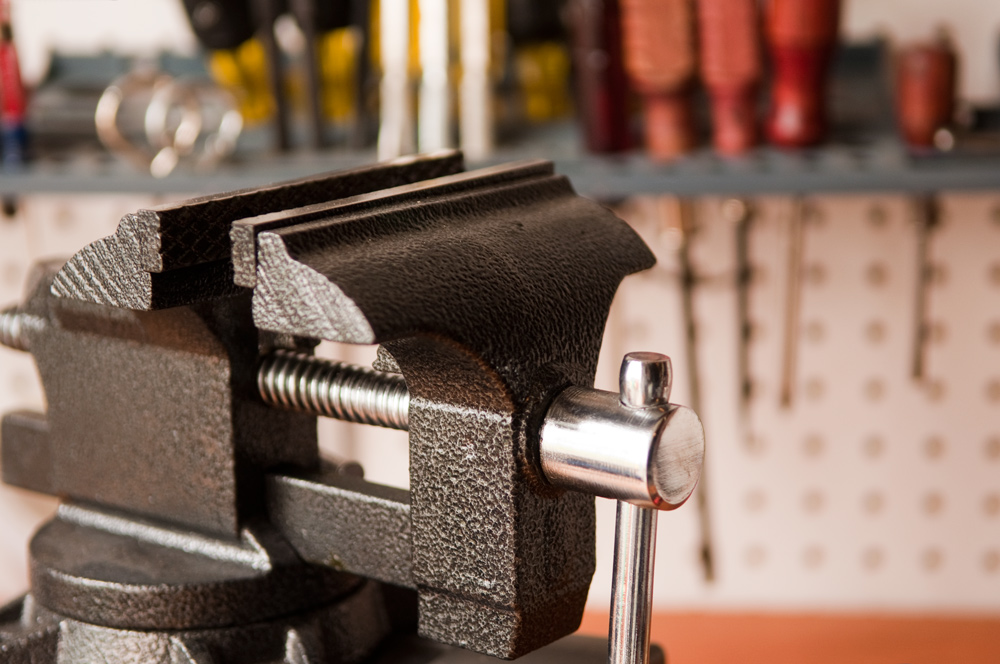
Step Eight: Now, use two wrenches to attach the vise to the plate with bolts, nuts, and washers on each side. I used the following hardware sizes:
- (Four) 5/16 – 18 bolts, 1 3/4″ long
- (Four) 5/16 – 18 lock washers
- (Eight) 1/2″ OD washers, 3/8″ hole
You’ll want to double check the hardware with your vise’s thickness, mounting holes, etc. Mine was small and light enough, I just carried into the hardware store with me.
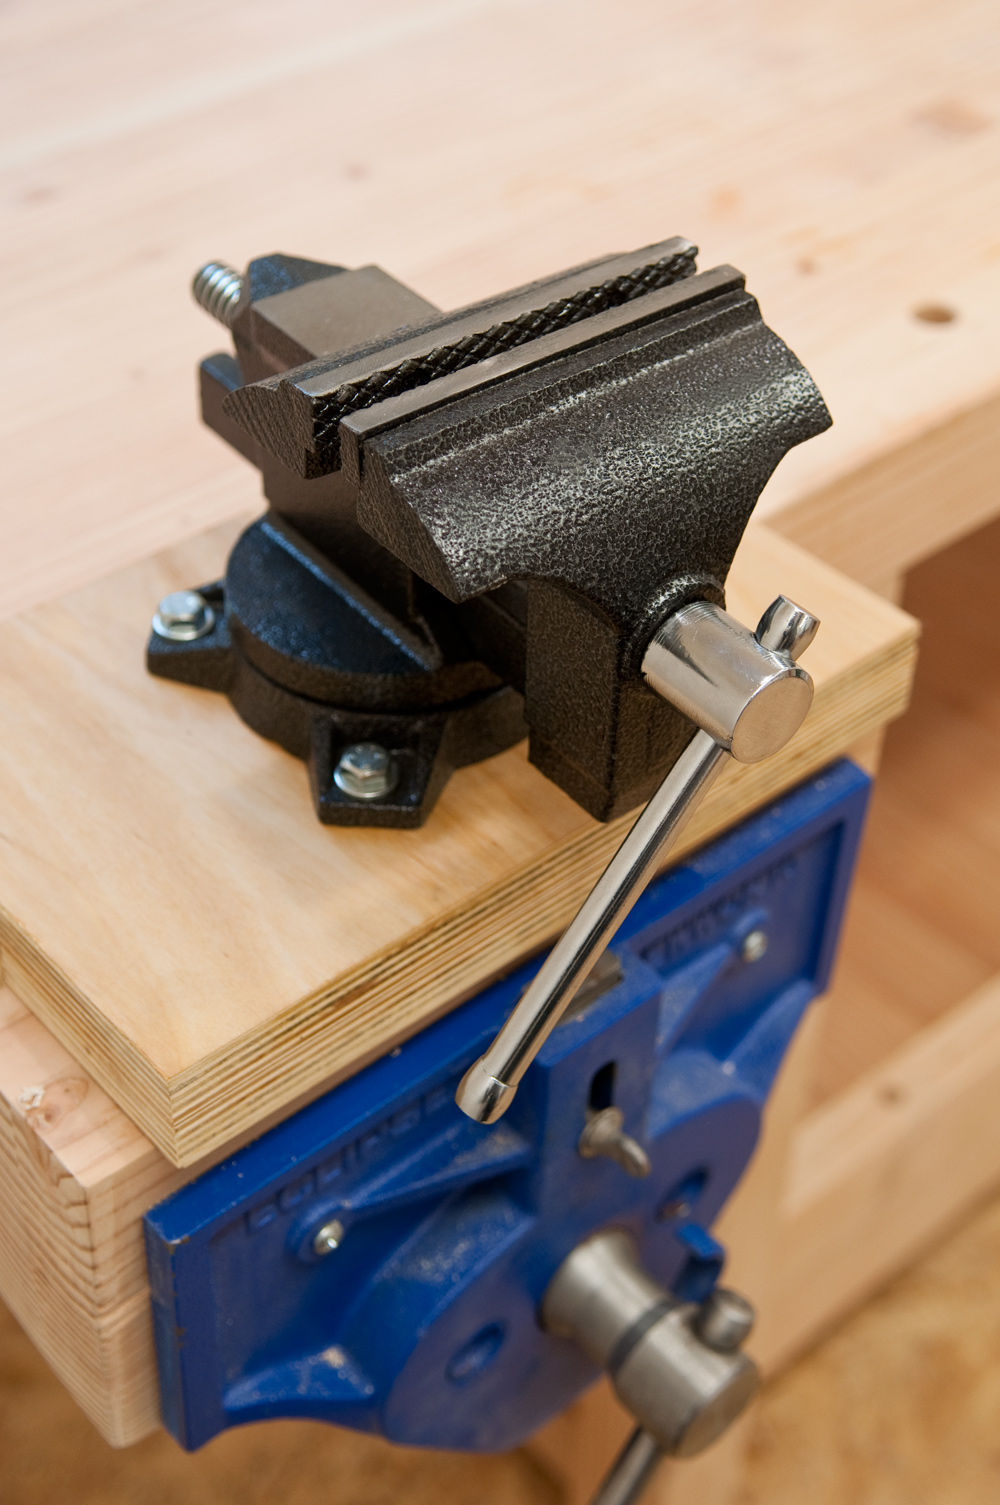
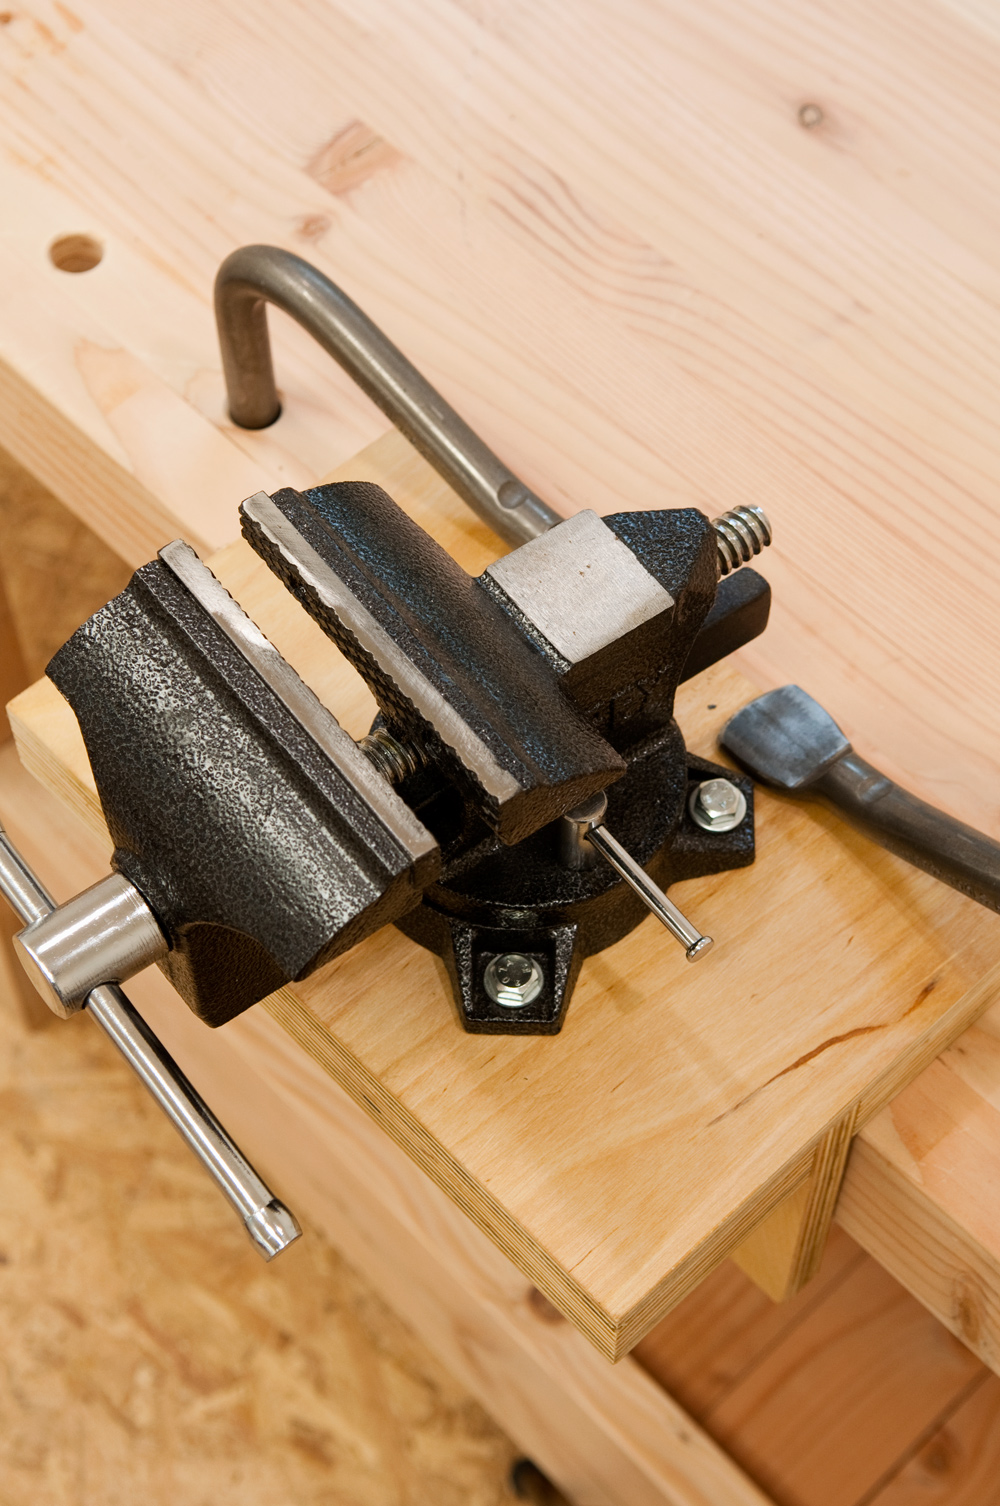
Tighten everything up, and you’re done. Here’s what it looks like installed in my front vise.
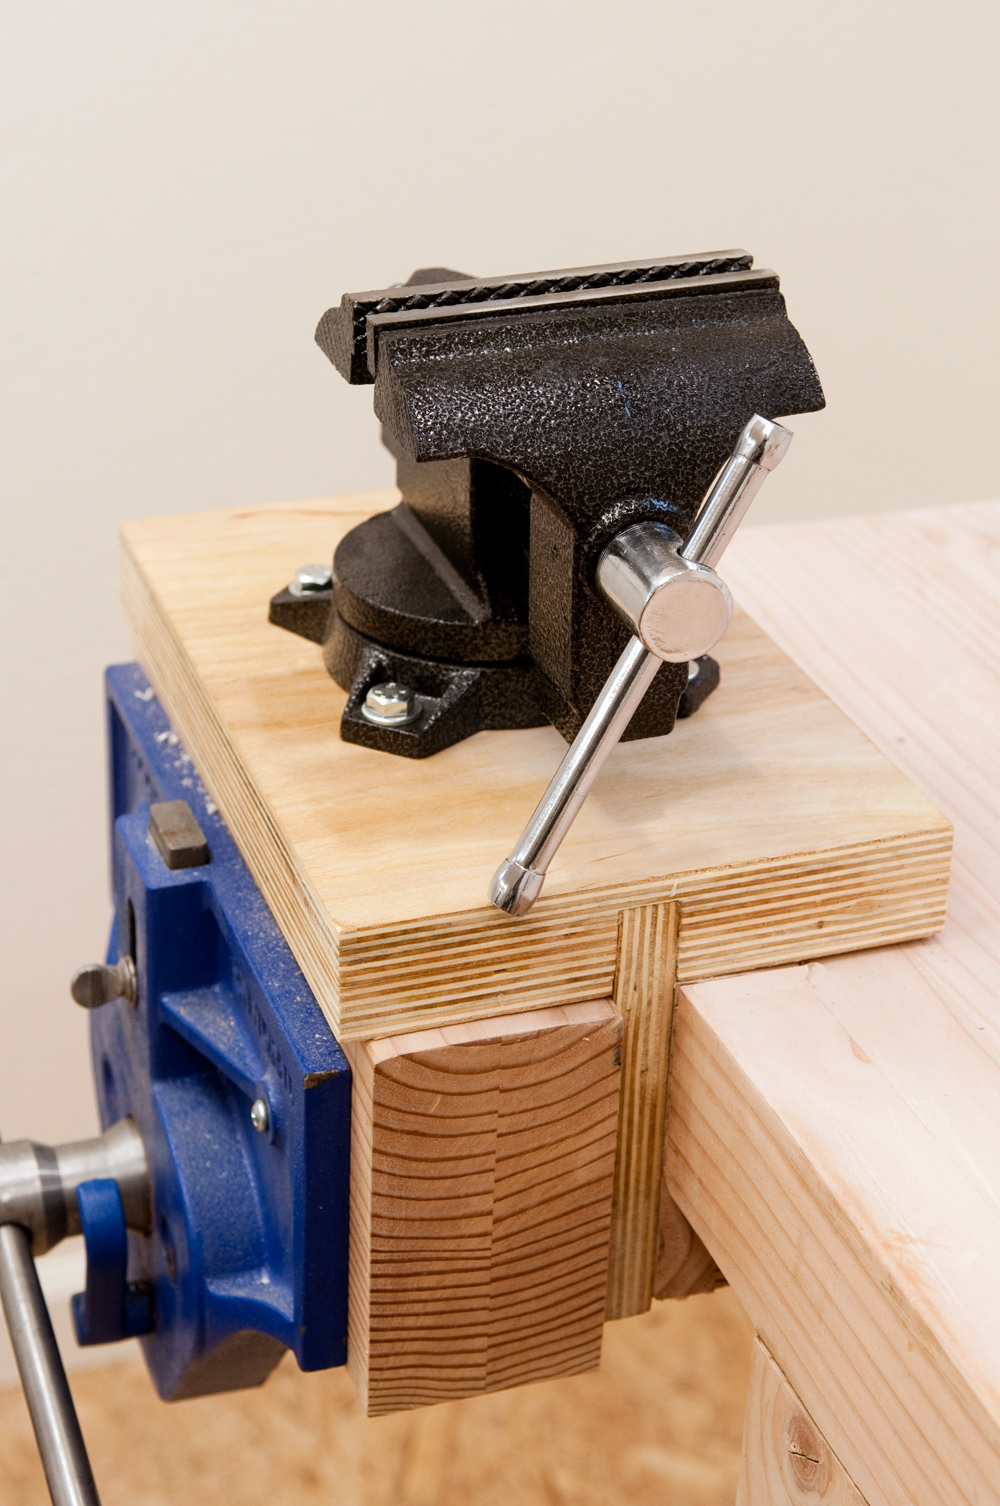
Open the quick release, tighten, and – boom! – installed in under two seconds.
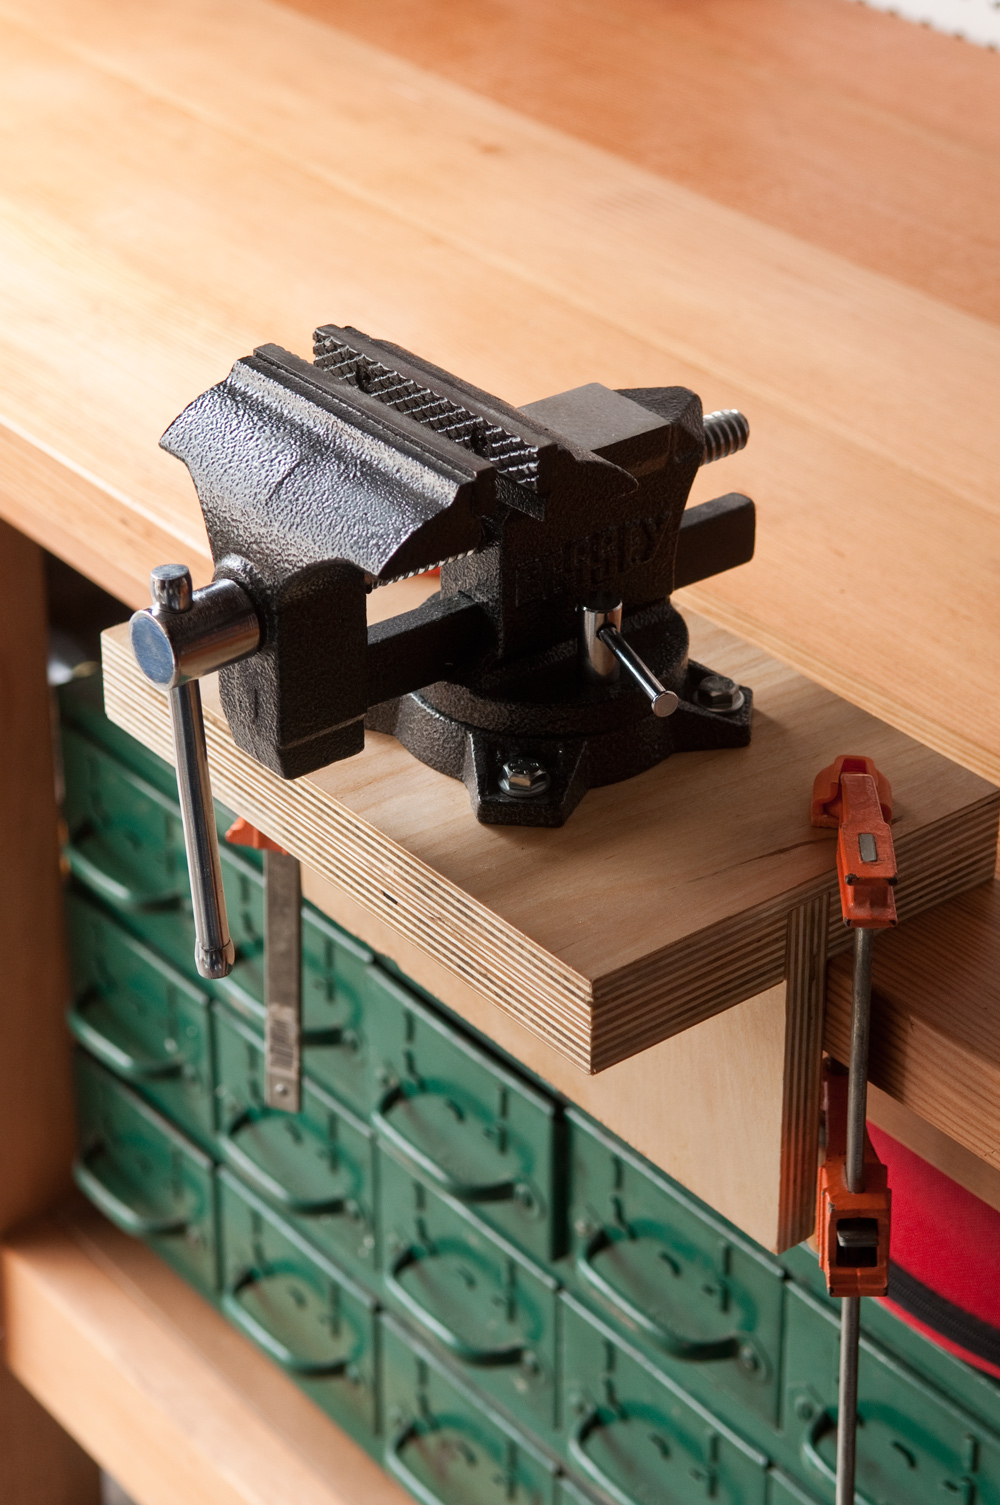
It also attaches anywhere along the bench using holdfasts and my row of benchdog holes. This might be useful in the future if I’m cutting something quite long and need the side-to-side clearance and support in the middle. This took about 6 seconds.
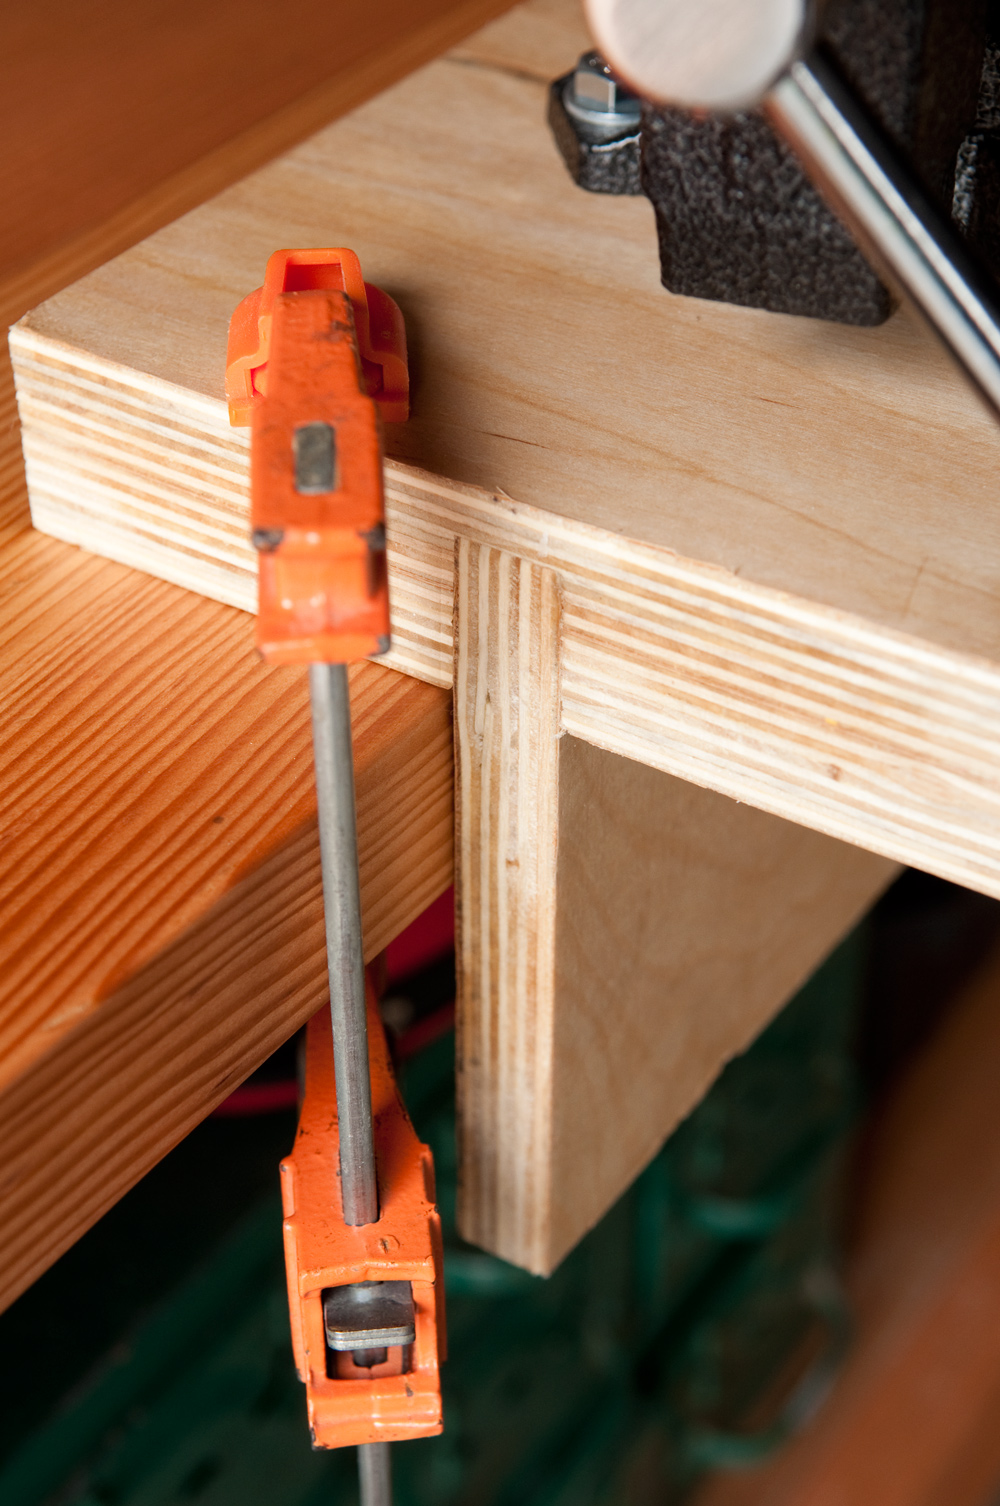
To install without a front vise, just use two small but heavy-duty clamps on either side, making sure to butt the vertical piece right against the edge of your bench. This approach secures the vise in under ten seconds.
Obviously, if you’re doing a lot of metal working or bending, you’ll want a heavy duty vise that’s securely bolted to heavy duty table. But for a middle-of-the-road vise like this one for general work, this is a super versatile, easy-to-secure solution. Which means that next time I need to cut a lenght of aluminum with a hacksaw, I’ll take the 10 seconds to secure it properly, instead of wasting ten minutes cursing it for jumping around.