How to: DIY Metal Inlay in Wood
I've always loved the feeling of contrasting materials, especially metal and hardwood. Metal is the yin to wood's yang: cold, crisp, and unforgiving, while wood offers smooth, supple, and organic patterns. When I really want to make a piece stand out, I'll put a bit of effort in mating these unlikely partners to play off each other for visual interest and a little bit of “how did they do that?” My youngest turns 5 this month, and I have been building a keepsake box that I hope she'll have for the rest of her life — an heirloom piece that I want to stand out as timeless, personal, and familiar. I decided a metal inlay of her initial would be a great way to make it her own. Adding a metal inlay to a project is easier than you think, with just a few simple tools, I used a rotary tool, Bernzomatic TS8000 blowtorch, and a cast iron ladle. The metal ingots were available online for about $30 each which is more than enough for a few inlay projects.
Wondering why you might need a blowtorch in your shop?
A blowtorch is a truly versatile tool. We talked about six unexpected uses for them last year, showed you how to make a simple blowtorch forge, and even why a blowtorch is our favorite way to light a grill. Yep, we think it's an essential tool.
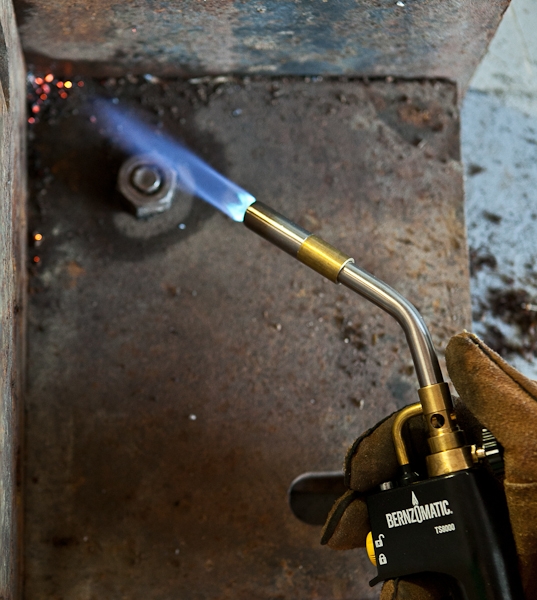
The Bernzomatic TS8000 produces a large, optimized swirl flame provides maximum heat output. The auto start/stop ignition lights and extinguishes with the push of a button, and an adjustable flame control knob makes it easy to size the flame for different applications. The run-lock button keeps the torch lit for continuous use.
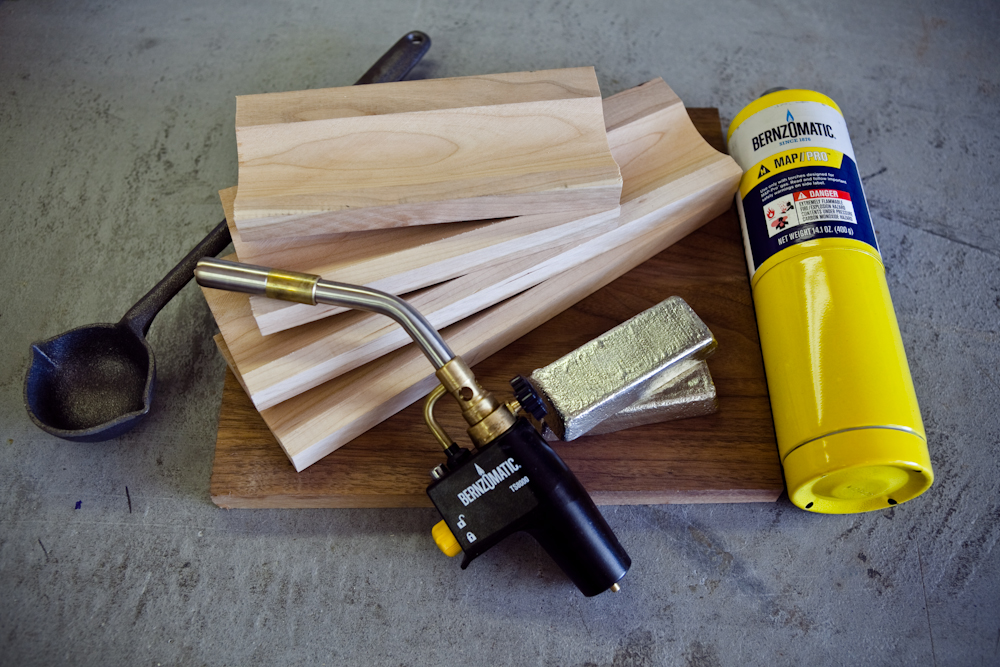
Tools and Materials
- Wood project (I'm using the lid of a keepsake box).
- Torch (I'm using Bernzomatic's TS8000)
- Cast Iron Ladle
- Lead Free Metal Ingot
- Handheld Router and/or Rotary Tool
- Assorted Sanders (I'm using a belt and random orbit sander)
- Safety Gear (Glasses, Leather Gloves, Fire Resistant Clothing)
Step 1: Build your project
I'm making an 8″ x 12″ keepsake box with cherry coved sides and a solid walnut top. The silver metal really stands out on the dark walnut top. I put together everything and cut off the top, then sanded square, flat and smooth up to 800 grit. The top of the box gets a little less attention at this point as we will be taking a layer off to get the metal flush. The box was essentially done at this point with the exception of the top and a good layer of finish. I set everything else but the top aside and got to work on the prep.
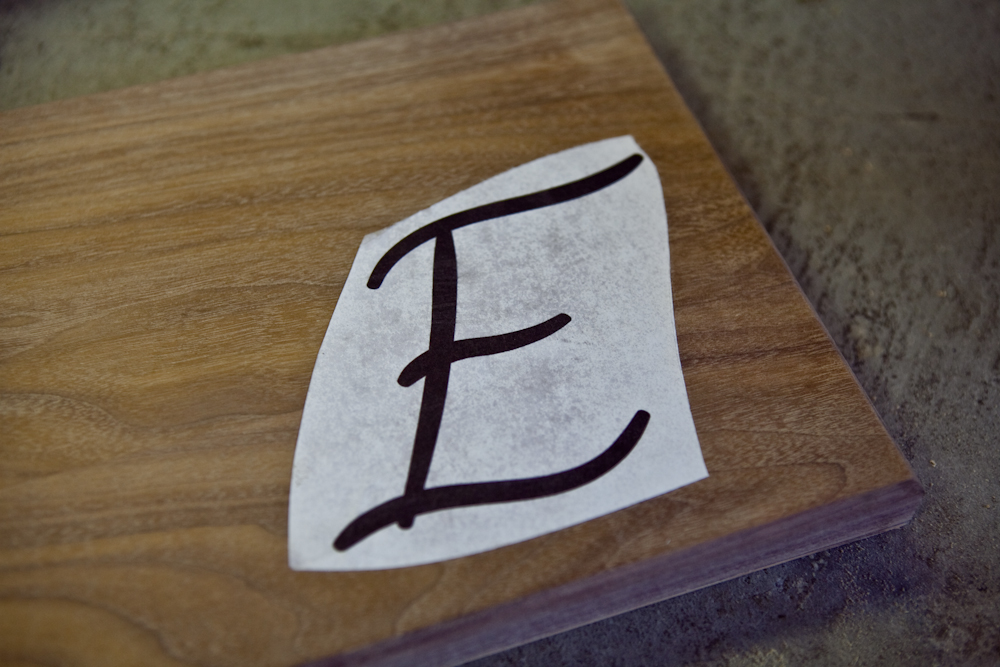
Step 2: Lay out your design
Once the box was built, I measured out the size and location of the inlay then printed it out on paper. With molten metal inlays, avoid too much detail or thin areas that the heat might burn out. Besides, simple is classy right? I sprayed some adhesive on the paper and stuck is carefully where I wanted it. Once it was stuck well, I carefully smoothed it with a plastic card to get out any air or wrinkles. At this point, really double check your work. This is the moment of no return so a few breaths before you dive in are worth it.
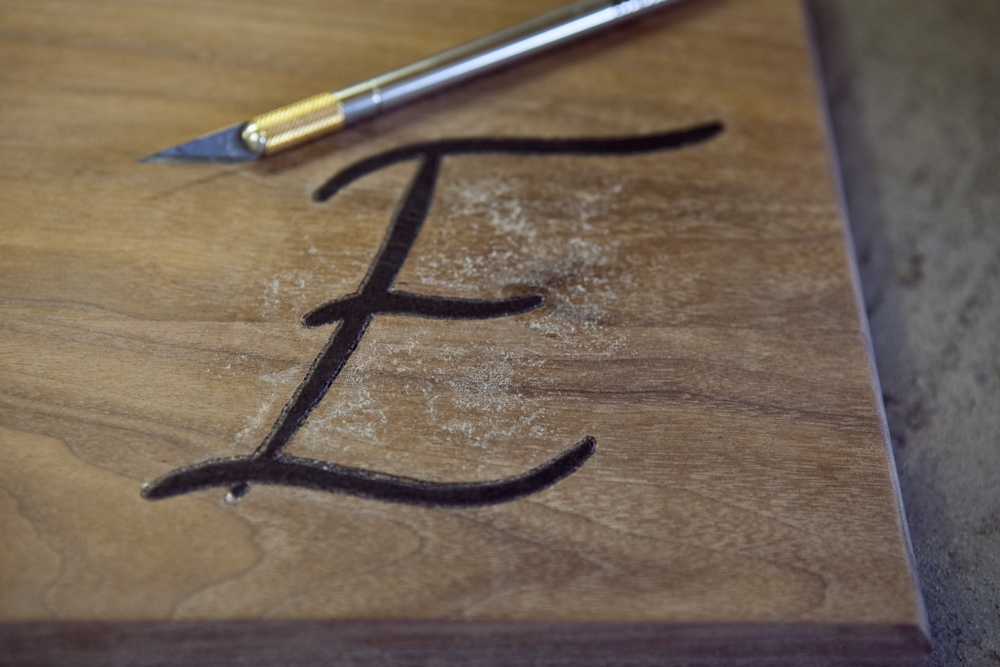
Step 3: Trace and scoring
I use a sharp razor knife to carefully score the wood in an outline on the design. Be sure to get every angle. Once it is fully scored, tear up the design and trace the outline with a permanent marker to get a dark silhouette to work with. Be very certain of the lines, as it's easier now to make the adjustments than once you start cutting.
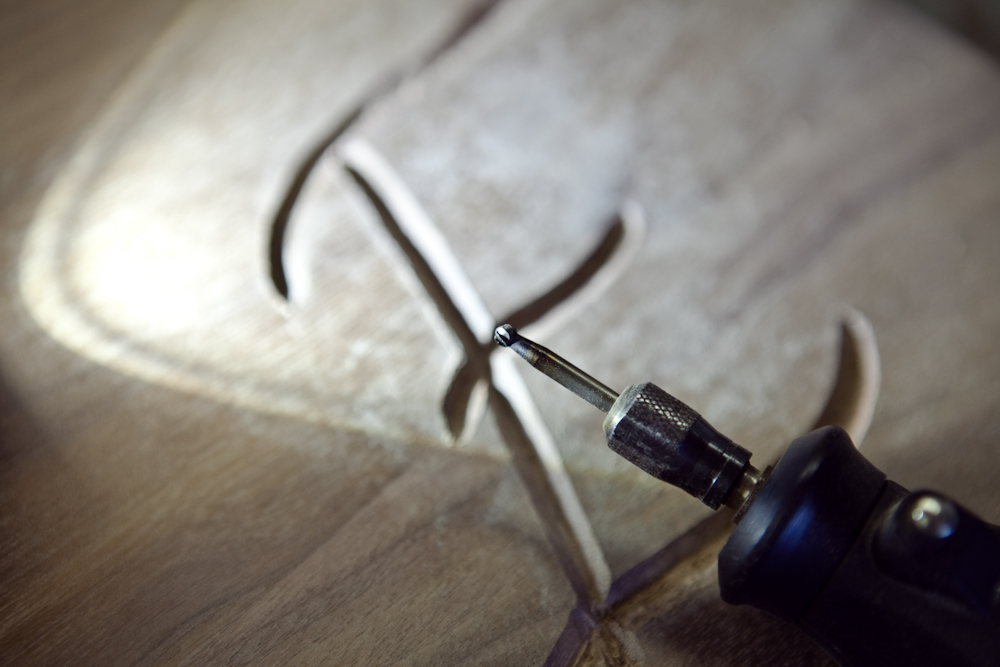
Step 4: Remove the wood
I used a triangle point bit on my palm router to take the bulk of the wood out of the design. Don't worry about getting everything, you can clean it up later with a smaller more controllable rotary tool. Watch your depth, the goal is to only go about halfway through the piece of wood, but at least 1/8-“1/4” for good holding power. Once the center is out, you should have a good depression that you can undercut with a small keyway bit on the rotary tool. This is to be sure that the metal holds in to the wood under the surface and won't pop out with wood movement or use. I drill carefully down, then put a slight angle in the depression and remove the wood. Take it slow and if it's smoking a bit back off and let the wood cool a bit.
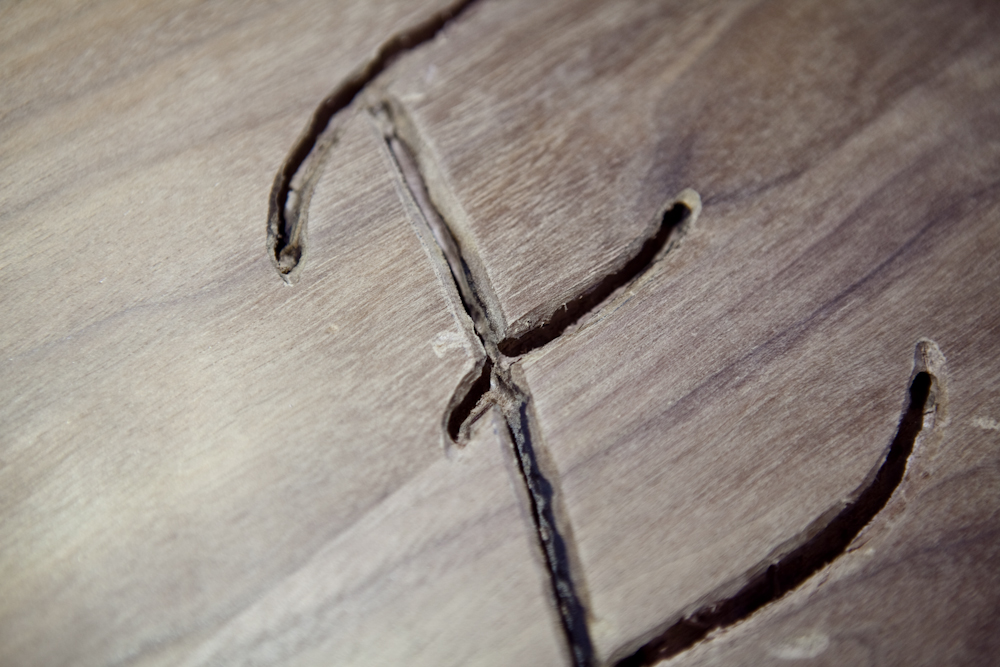
Step 5: Fine tuning
At this point, take a good look at the top edge of the outline and clean up any rough or jagged points. Take a look at the undercut areas that they are deep and wide enough to provide enough holding power. I also removed the adhesive and any remaining paper from the pattern.
Step 6: Prepping the area
Once we're ready to make the pour, take a minute to properly prepare the area. Molten metal belongs on your workpiece, not on your foot. I cleared all flammable materials away and made sure the workpiece was stable on the bench. I open up the doors, and made sure the ventilation was going to clear the air, but not blowing directly on the workpiece. I also made a plan on where to set the hot torch, and the heated ladle once I was done with it. I also planned where to start the pour to expedite the flow of the molten metal.

I sliced off a good chunk of the ingot that fit into the cup of the ladle. I used a bandsaw, but you can use a hacksaw, or just melt off the end into the ladle cup.
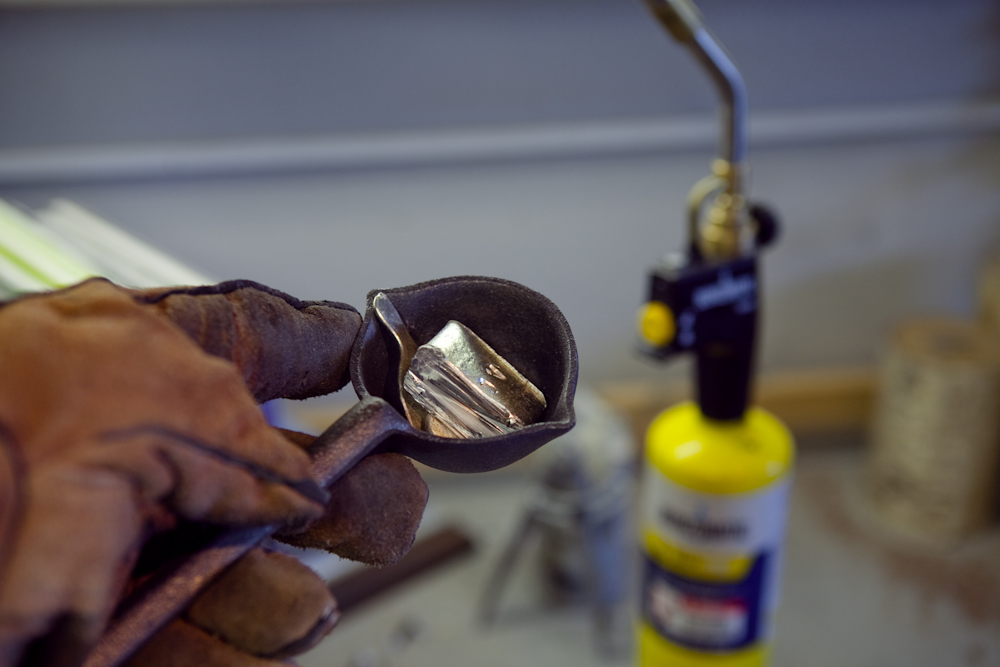
Step 7: Pour the metal
I slowly melted the metal by applying the flame directly to the ingot. The melting temperature is about 460 degrees fahrenheit, so it melted in just a few seconds.
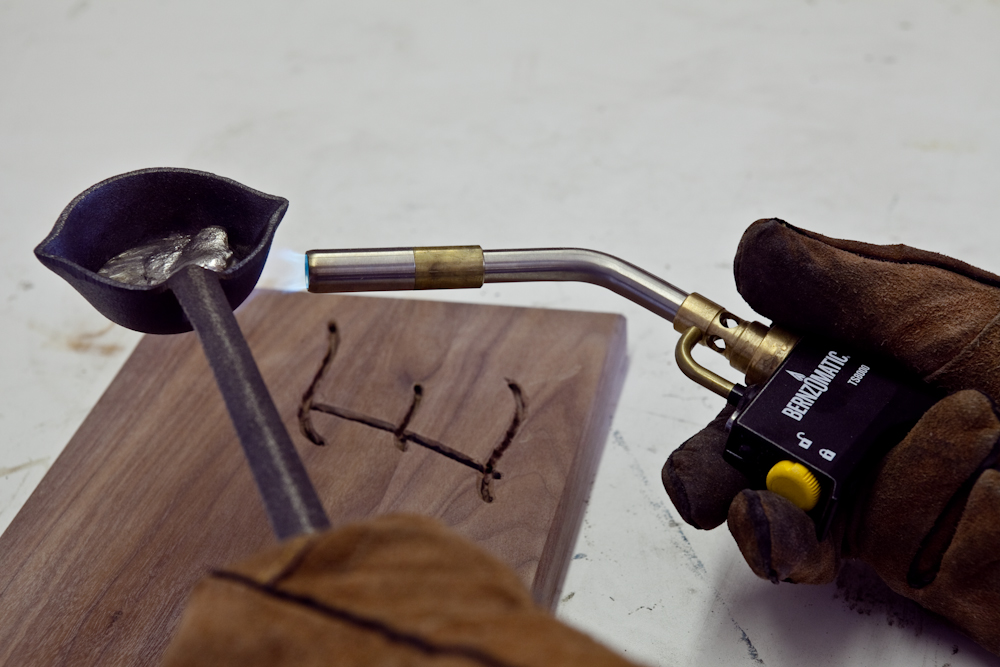
Be sure it's well heated before pouring to avoid premature hardening in the workpiece. I started the pour a few inches above the start of the channel, and let it flow forward to the end.
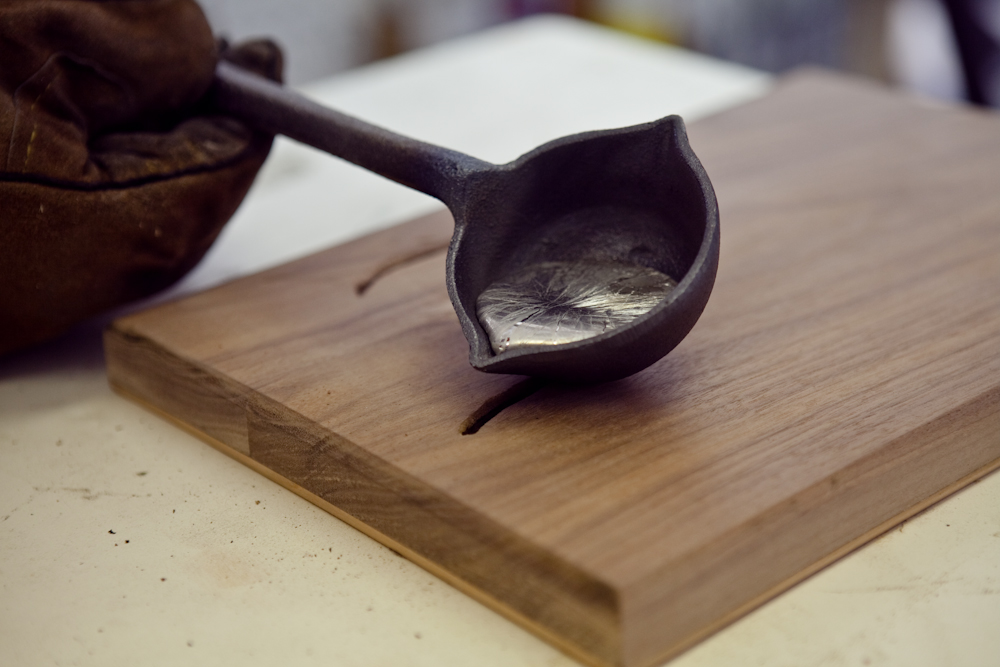
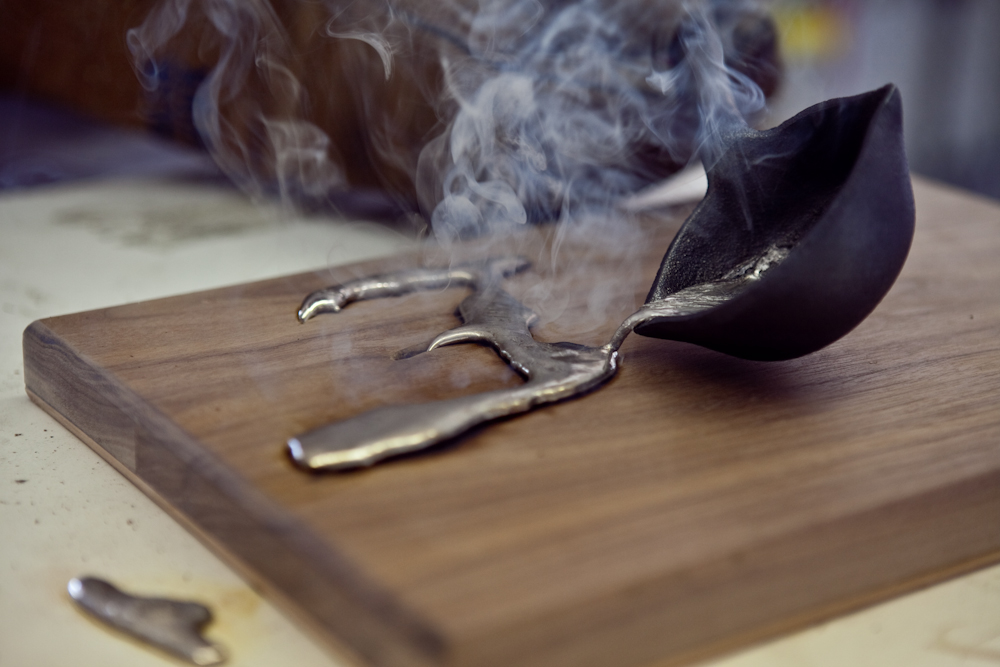
It's important to put enough material into every area of the inlay before it starts to cool and set up. The wood smokes immediately, but don't be too worried, it will sand out.

I used a metal probe to be sure it got into every little edge. The material migrates a bit outside of the outline, but it can be sanded off so let it cool and don't try to move much while it's cooling or fractures might occur.
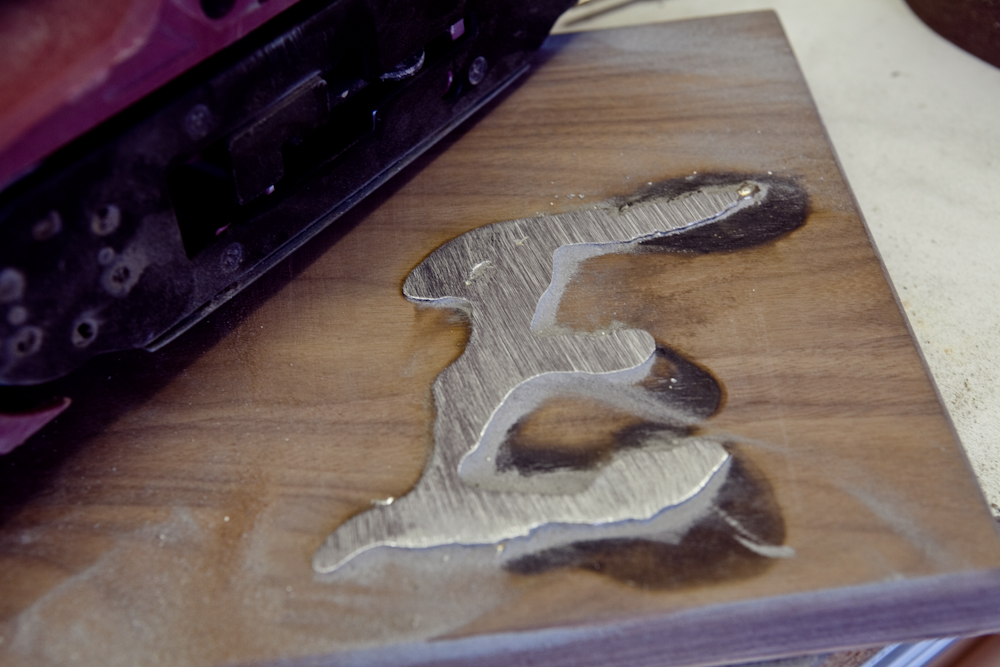
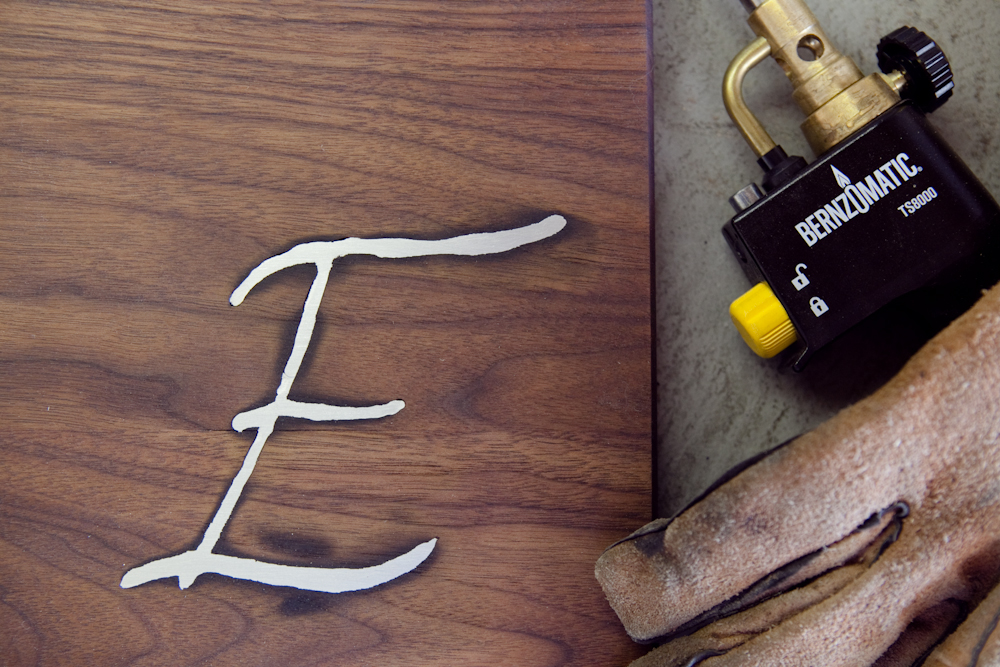
Step 8: Finishing up your metal inlay project
The metal can be sanded off once it is cool enough to touch. I used a belt sander for the bulk of the material, and an orbital sander up to 800 grit to really polish it up. I wiped on a layer of polyurethane to seal and protect it. Now it's ready to be handed off to the next generation to hold a collection of special memories as it grows into a treasure of it's own.
Things to consider when working with molten metal and wood
– Stay safe. This is molten metal and it will definitely burn anything it touches. Keep hands and other skin covered with a flame resistant material like leather gloves and apron. Also be sure that all pieces are stable and won't tip when heating or transferring the metal.
– Make sure to angle the edges in a bit to make sure the metal doesn't pop out of the wood when movement occurs.
– Keep it simple. Complex designs will be hard to complete with this type of work, the thin wood will burn or chip out when sanding. The box top is made from Walnut, so it is a hard wood that stands up to the heat pretty well. stay away from using soft woods as they tend to burn out with the heated metal.
– Use LEAD FREE metals, and work in a well ventilated area to avoid breathing in the fumes from the melting metal. I used a 97% tin, 2.5% Antimony and .5% bronze mix for my ingots on this project.
This post is sponsored by Bernzomatic, but all opinions are mine alone. Thanks for supporting the brands that help make ManMade possible.