How to Turn Your Grill into a Smoker
With the temps warming up, it is most certainly time to get mouths a-watering for barbecue season. Whether gas or charcoal, most of us have a backyard grill, but a dedicated smoker can be a luxury. They take up space, can cost a lot, and while they make sense for true smoked food fans, might not be necessary for the average grill fan.
In fact, they're not necessary at all. Cause with a little creativity and DIY ingenuity, you can turn the grill you already own in a smoker that can turn out tender, fall apart food fused with the flavor of fire.
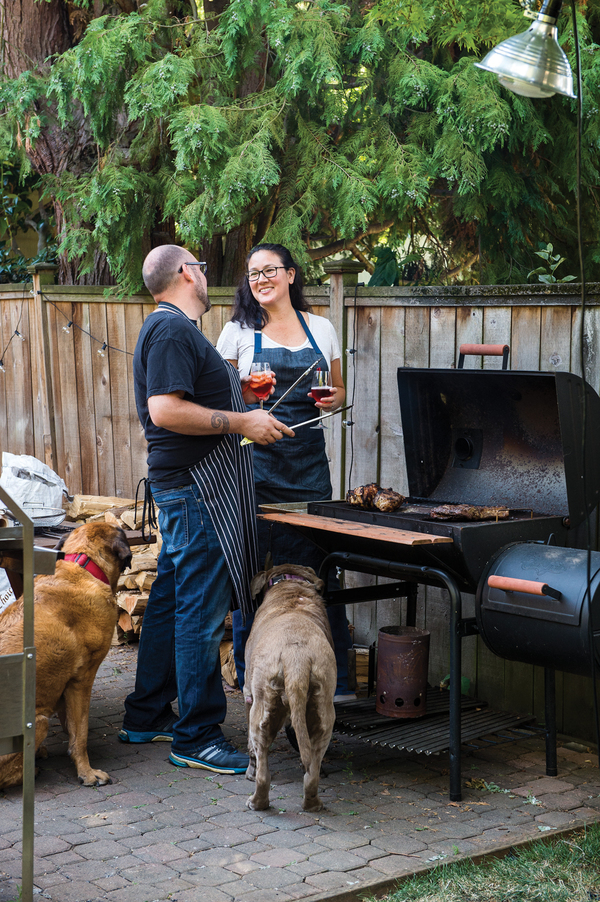
This technique comes from Greg Denton and Gabrielle Quiñónez Denton, husband & wife and co-owners of Portland’s beloved OX. (I've been there. It's amazing) They live their life around the grill, but know the importance of a smoker and are happy to share their DIY hack. It comes from their new book, Around the Fire, which shows readers how to re-create the signature flavors of open fire cooking at home. Can't argue with that.

How to Turn Your Grill into a Smoker
This method is intended for a standing charcoal grill or kettle grill with a fitted lid. If you have a gas grill, you can light one side of the grill and place your soaked wood chips directly on top of the grate (the lit side) in a perforated grill basket or in the wood chip box that comes with many models, then close the lid.
Step 1 Soak several cups of wood chips in water for at least 30 minutes. For a longer duration of smoking time, scale up the amount of chips as needed. You will need about 1 cup of wood chips for every 30 minutes of hot smoking, and about half that amount for cold smoking.
Step 2 Remove all grates from your charcoal grill. (At this point, be sure the small grate is relatively clean—you may be using it later to hold food.) Make sure the bottom airflow vents are open on the grill. Bundle up several sheets of newspaper or a paper bag and place it in the bottom of the grill barrel, pushing it off to one side. This will be used to light the coals in future steps.
Step 3 Place the small grate over the paper, then add a small pile of charcoal directly above where the paper sits, off to one side of the grill.
Step 4 Create a barrier between the two halves of the grill, with the goal of keeping the heat source out of direct contact with whatever food you are smoking. To do so, build a small wall down the center of the grill using a few bricks or a rectangular metal lid. If you have a small foil tray, stand it up lengthwise against the “wall” and secure it in place with another brick on the charcoal side. (Be sure the tray is not so tall that it gets in the way of your closing the grill lid.)
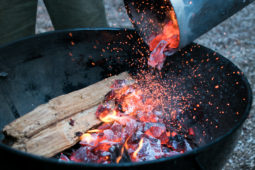
Step 5 Light the paper to ignite the fuel, then wait until the charcoal is largely covered with ashes, about 20 minutes.
Step 6 Add a small handful of the soaked wood chips to the ash pile, then place a few more pieces of fresh, unlit charcoal on top of the wood chips. You should perform this step at least every 30 minutes to guarantee that the wood chips continue to smolder.
Step 7 On the side opposite the charcoal, place your ingredients directly onto the small grate, or use a small grill basket to hold them on the small grate.
Step 8 Cover the grill, making sure right away that the vents are open and will be situated over the side opposite the fire. (If the vents lie over the fire, all of the smoke will go up and out.) Replenish with wood chips every 20 to 30 minutes as needed, then with charcoal, always in that order (regulate the temperature by using more or less charcoal). Remember never to let the charcoal completely die or the wood chips completely turn to ash without replenishing. Smoke until the desired effect is achieved.
Hot versus Cold Smoking
Time, moisture level, and temperature will determine the flavors and intensity of smoked foods. In hot smoking, where temperatures register between 115°F and 185ºF, you will cook and flavor foods at the same time. Cold smoking uses a gentler, lower heat (between 90°F and 115°F) and is intended for times when you don’t want to cook a food (or intend to cook it later) but seek to infuse smoky flavor into it. Many proteins that are cold smoked have also been salted or cured.
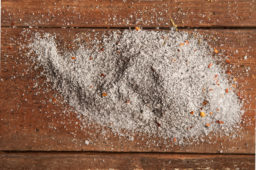
To cold smoke, follow the same steps for setting up your grill, but use a minimal amount of charcoal. Place the food atop a metal pan filled with ice, then cover the ice with kosher salt, which will lower its temperature to below 32°F, maintaining a colder smoke for longer.
Regarding Crosshatching and Grill Marks
Crosshatch and grill marks can look attractive on food and can be functional for keeping track of timing, such as when you’re organizing multiple pieces of meat being grilled to different doneness levels. But those classic television-ready grill marks on steaks and burgers are overrated from a skill and taste point of view. Caramelization, resting, and proper seasoning of the meat are truly what matter most.
————-
Greg and Gabrielle Greg Denton and Gabrielle Quiñónez-Denton are redefining our understanding of grilled cuisine at their aptly named Ox Restaurant, where the menu is defined as “Argentine-by-way-of-Portland.” Their debut cookbook Around the Fire will similarly open readers’ eyes to the wonderful possibilities of the backyard barbecue. Inventive, flavorful, and achievable recipes showcase unexpected cuts of meat, seasonal produce (proving that grill-centric parties can be surprisingly vegetarian-friendly), and plenty of starters, salads, desserts, and drinks to round out your next indoor or outdoor feast.
Get your copy at Amazon or Powell's Books
All photos by Evan Sung
“