How To: Dig a Garden Patch Using Only a Shovel
I’ve always been a big fan of eating good food. But I also can’t leave well enough alone, so eating led me to cooking, and cooking led me to gardening.
Originally a means to an end, now there are few things that give me greater happiness than stepping out the back door in the middle of summer and walking across my backyard to the roughly 20′ x 30′ patch of dirt full of rows of tomatoes, cucumbers, okra, squash, and greens.
When I first bought my house and decided to transform the patch of grass into our home garden, I didn’t own a rototiller, but I did have a $20 shovel, an internet connection, and a spare can of elbow grease. After compiling the ideas from several gardening sites and testing it out on my half-acre slice of North Carolina, I had myself a beautifully productive vegetable garden.
Here’s a brief primer on how you can hand-dig your own patch using the time-honored technique of “double digging.”
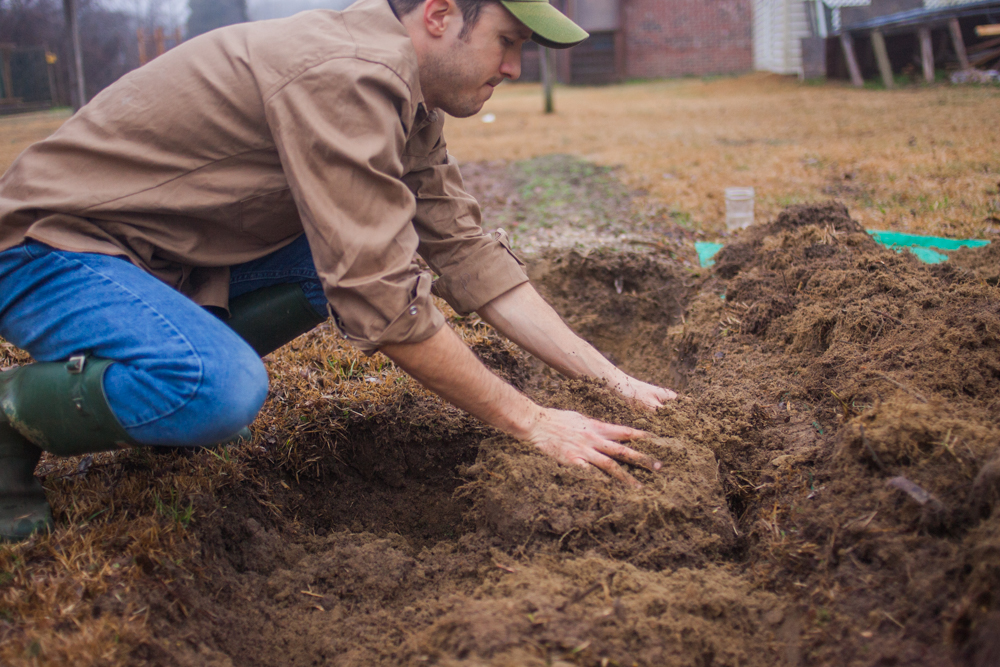
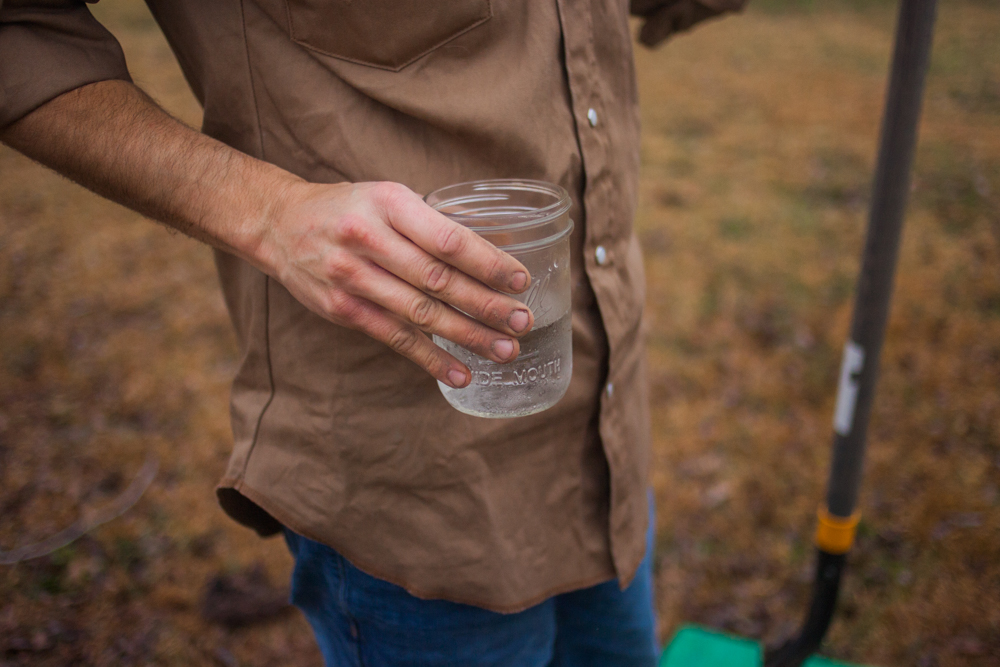
For this tutorial, I’ll be hand-tilling an expansion to the existing garden that you’ll be able to see in the background in its winter phase.
First, let’s run through the basic steps:
How to hand-dig a garden with only a shovel and elbow grease
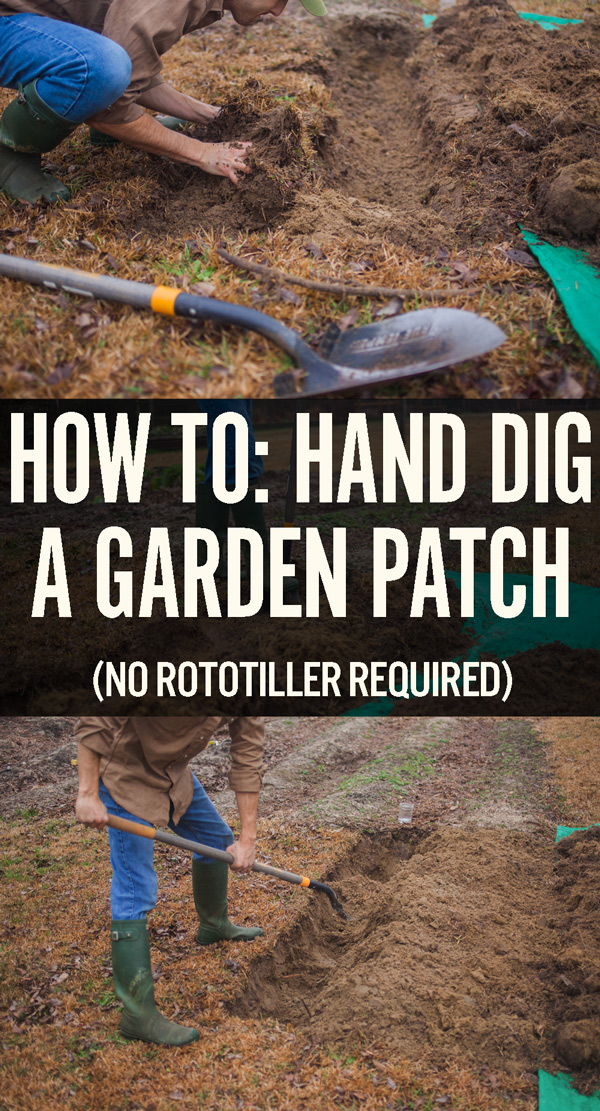
1. Mark out your garden dimensions. (I eyeballed a rectangle and staked it out using a couple of sticks, but get as technical as you like—you could mark it out with string tied to stakes.)
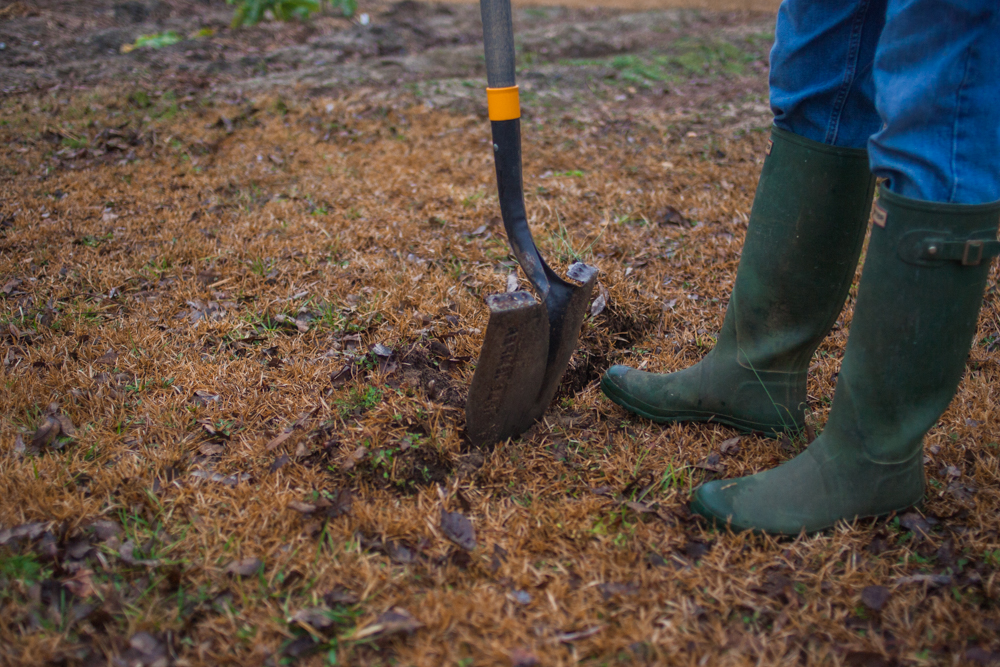
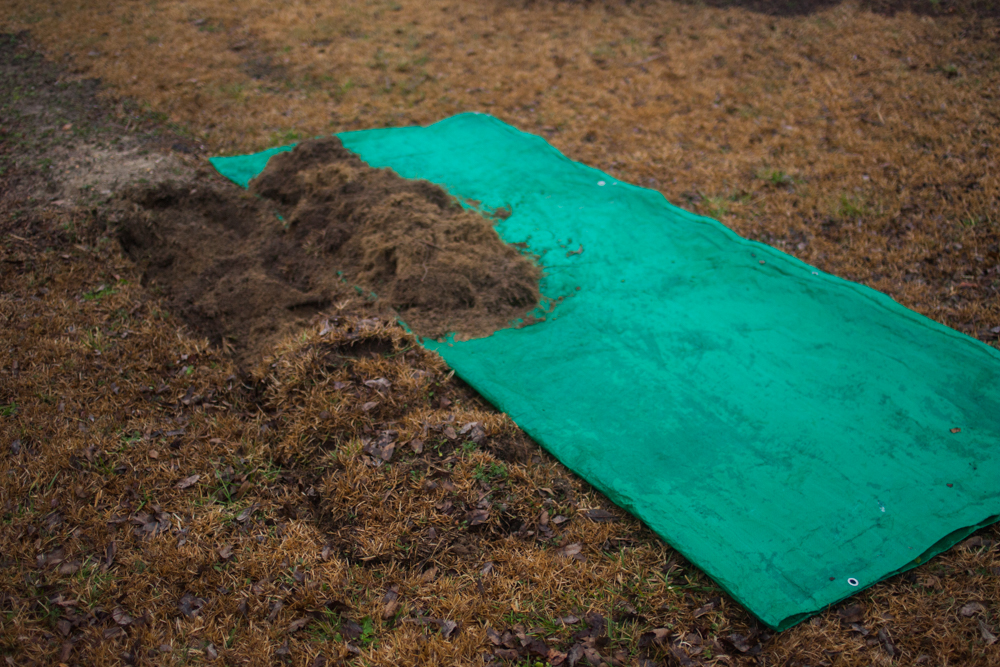
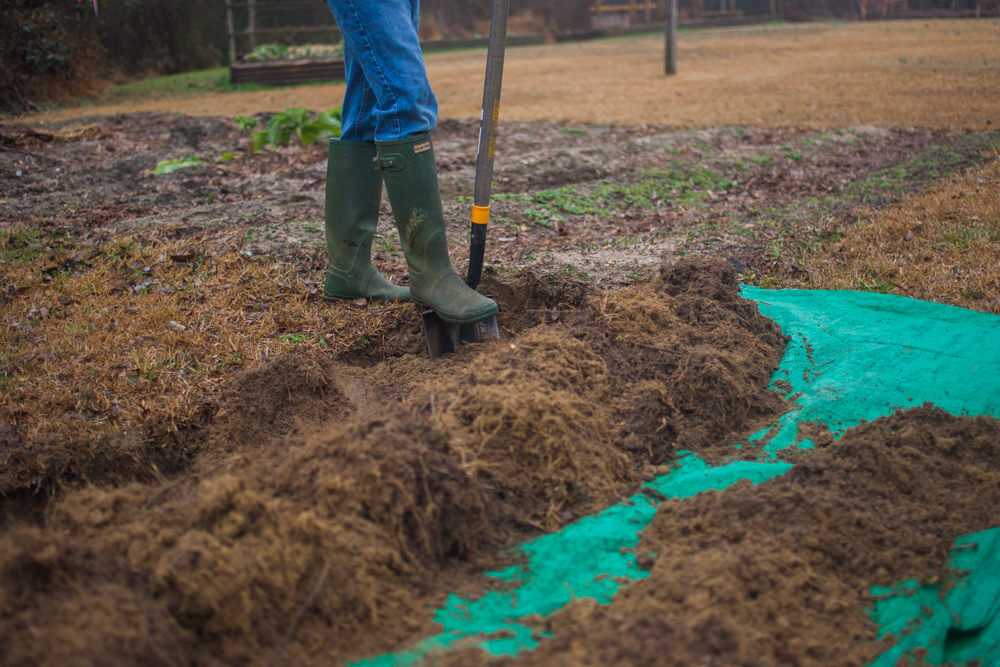
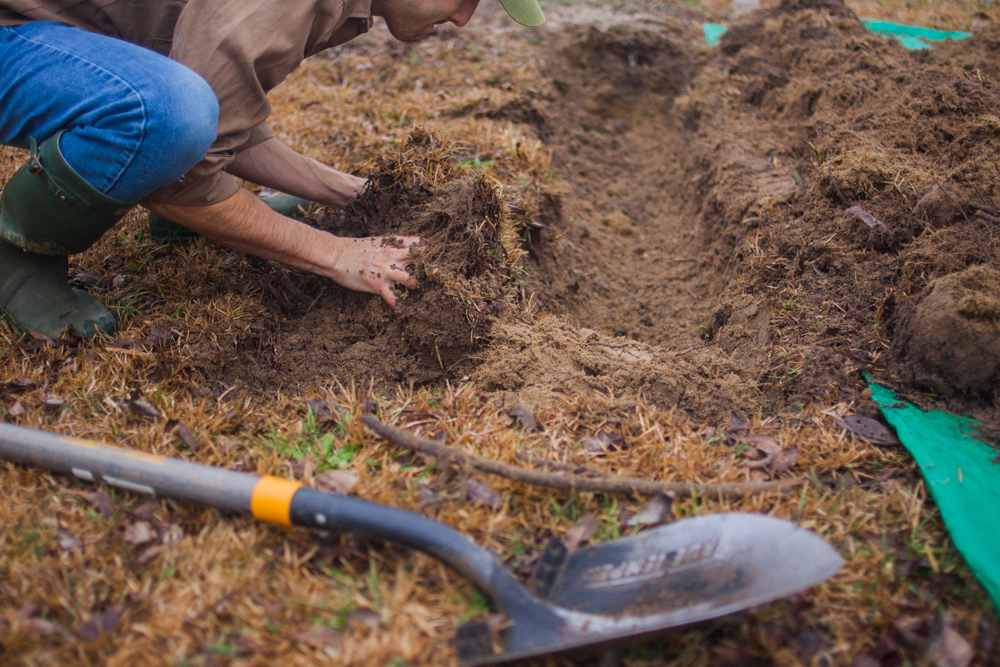
2. Dig out Trench 1 on one long end of your rectangle. You do this by perforating a roughly 1′ x 2′ rectangle of soil with your shovel, pulling the soil up by the grass, and turning it over, grass side-down. Set it aside next to your trench. (I used a tarp to keep tidy.)
3. Dig out another layer of soil in Trench 1, about 6 inches down into the trench. Set the soil aside, in a line, next to your top layer of soil.
4. Dig Trench 2 next to Trench 1. As you pull up the top layer of soil in Trench 2, turn the soil over and plop it, grass side-down, into Trench 1.
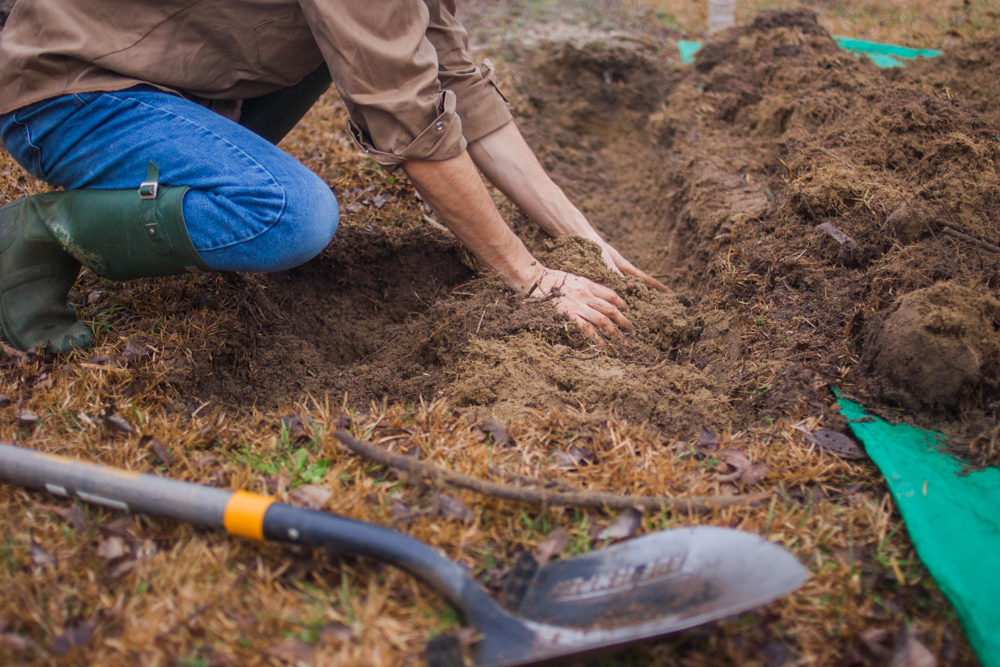
5. Just like in step 3, dig out another 6-inch layer of soil in Trench 2. This time, instead of setting the soil aside, use it to cover up Trench 1 completely. Trench 1 should be totally level with the ground now.
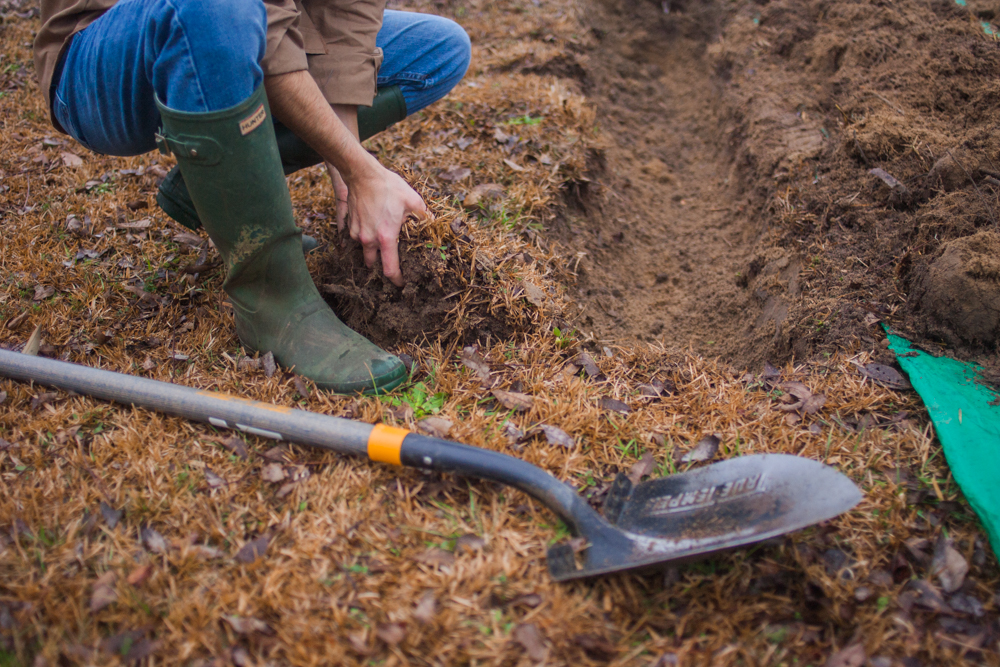
6. Dig Trench 3 next to Trench 2, placing the top layer of soil grass side-down into Trench 2, and transferring another 6-inch layer of soil from Trench 3 to level out Trench 2.
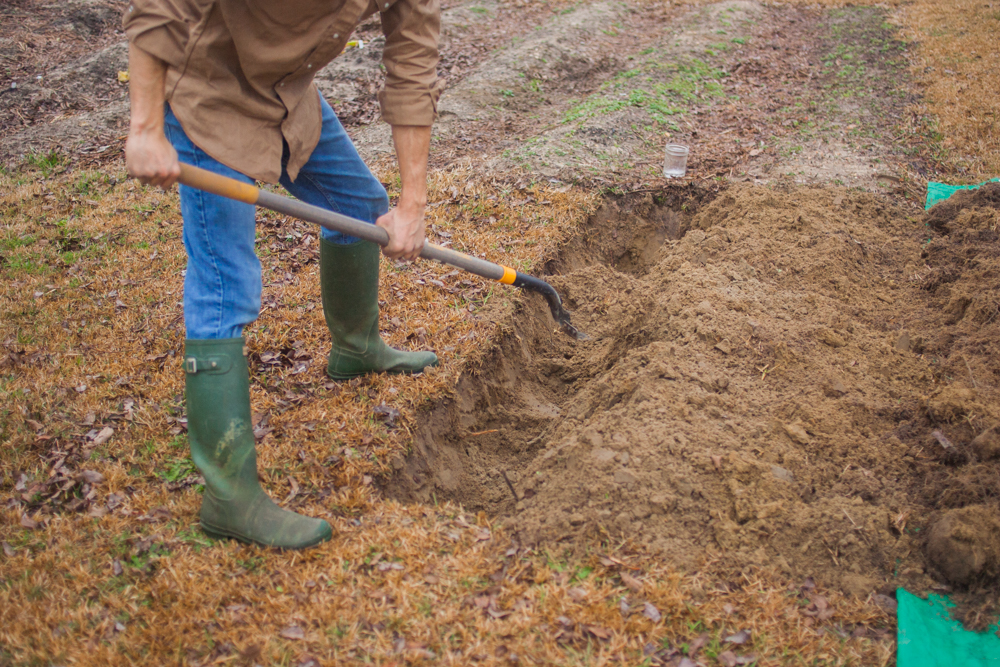
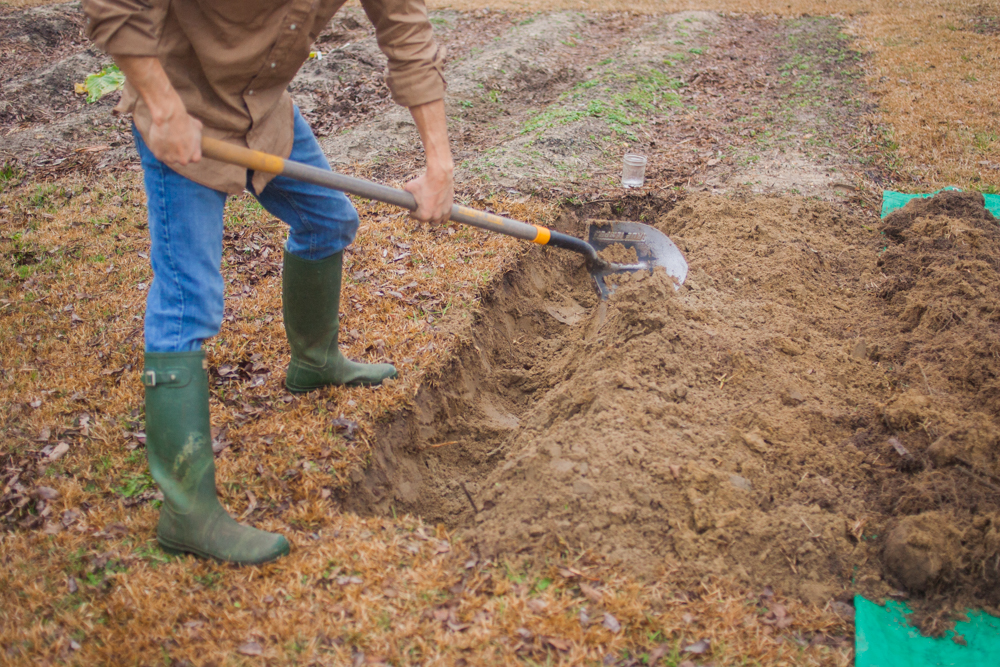
7. Continue to dig trenches, in the soil-turning pattern, until you dig the final trench at the far edge of your garden. Now take the top grass layer of trench A and plop it, grass side-down, into your last trench. Level out your last trench from trench A’s 6-inch layer of soil.


Is this a lot more work than using a rototiller? Of course it is. That’s the nature of hand-powered tools. But I’ll attest that there’s nothing quite like getting up close and personal with your own dirt to make you appreciate it, as well as the intense swell of satisfaction that you get when you look over a huge patch of dirt that you dug out without a machine.
Now… get outside!