Soldering 101: Don’t Sweat It. Well, Actually, Do
Most homes theses days have a fair bit of copper piping in them, and knowing how to make simple repairs (or installs) is worthwhile. Plus, soldering (aka 'sweating') pipe is one of those skills that's actually really easy to learn, and pretty hard to mess up (badly).
Here's the thing, though: soldering pipe can be dangerous, because it involves using a blow torch at high temperatures to heat the copper. Plus, you'll almost always be doing it it indoors, which is not my favorite place to use an open flame. So do it safely:
- Keep a working (recently-inspected) fire extinguisher on hand
- A bucket of water, or a spray can, is useful too (if you're working on your plumbing, chances are your water will be turned off).
- Keep a wet rag nearby
- Use proper safety equipment: eye goggles of other eye protection, and work gloves. Long sleeves isn't a bad idea either (Oops: I shot the photos below in short sleeves! Don't be like me!)
The most common way of joining copper pipe is by soldering (it's called 'sweating' mostly in the U.S., probably because the pipe 'sweats' as it heats up). A soldered copper joint is called a 'capillary' or 'lap' joint (see more here), because the fitting overlaps the tube end, leaving a capillary space between the two pieces. That space then gets filled with solder; heated, liquid metal, which cools to seal the gap. Brazing is basically the same process, put performed at a higher temperature (if the soldering metal melts above 840 degrees, the process is called brazing).
Flux is used to prevent oxidation in the copper when the heat is applied, and to 'wet' the metal, allowing the liquid solder to flow more easily into the joint. Charcoal was used as one of the earliest forms of flux. Pine rosin is also used as a flux in soft-soldering (electronics). Learn more.
Step
Measure your pipe to the correct length. Make sure to account for the size of the couplings that you'll be using).
Step
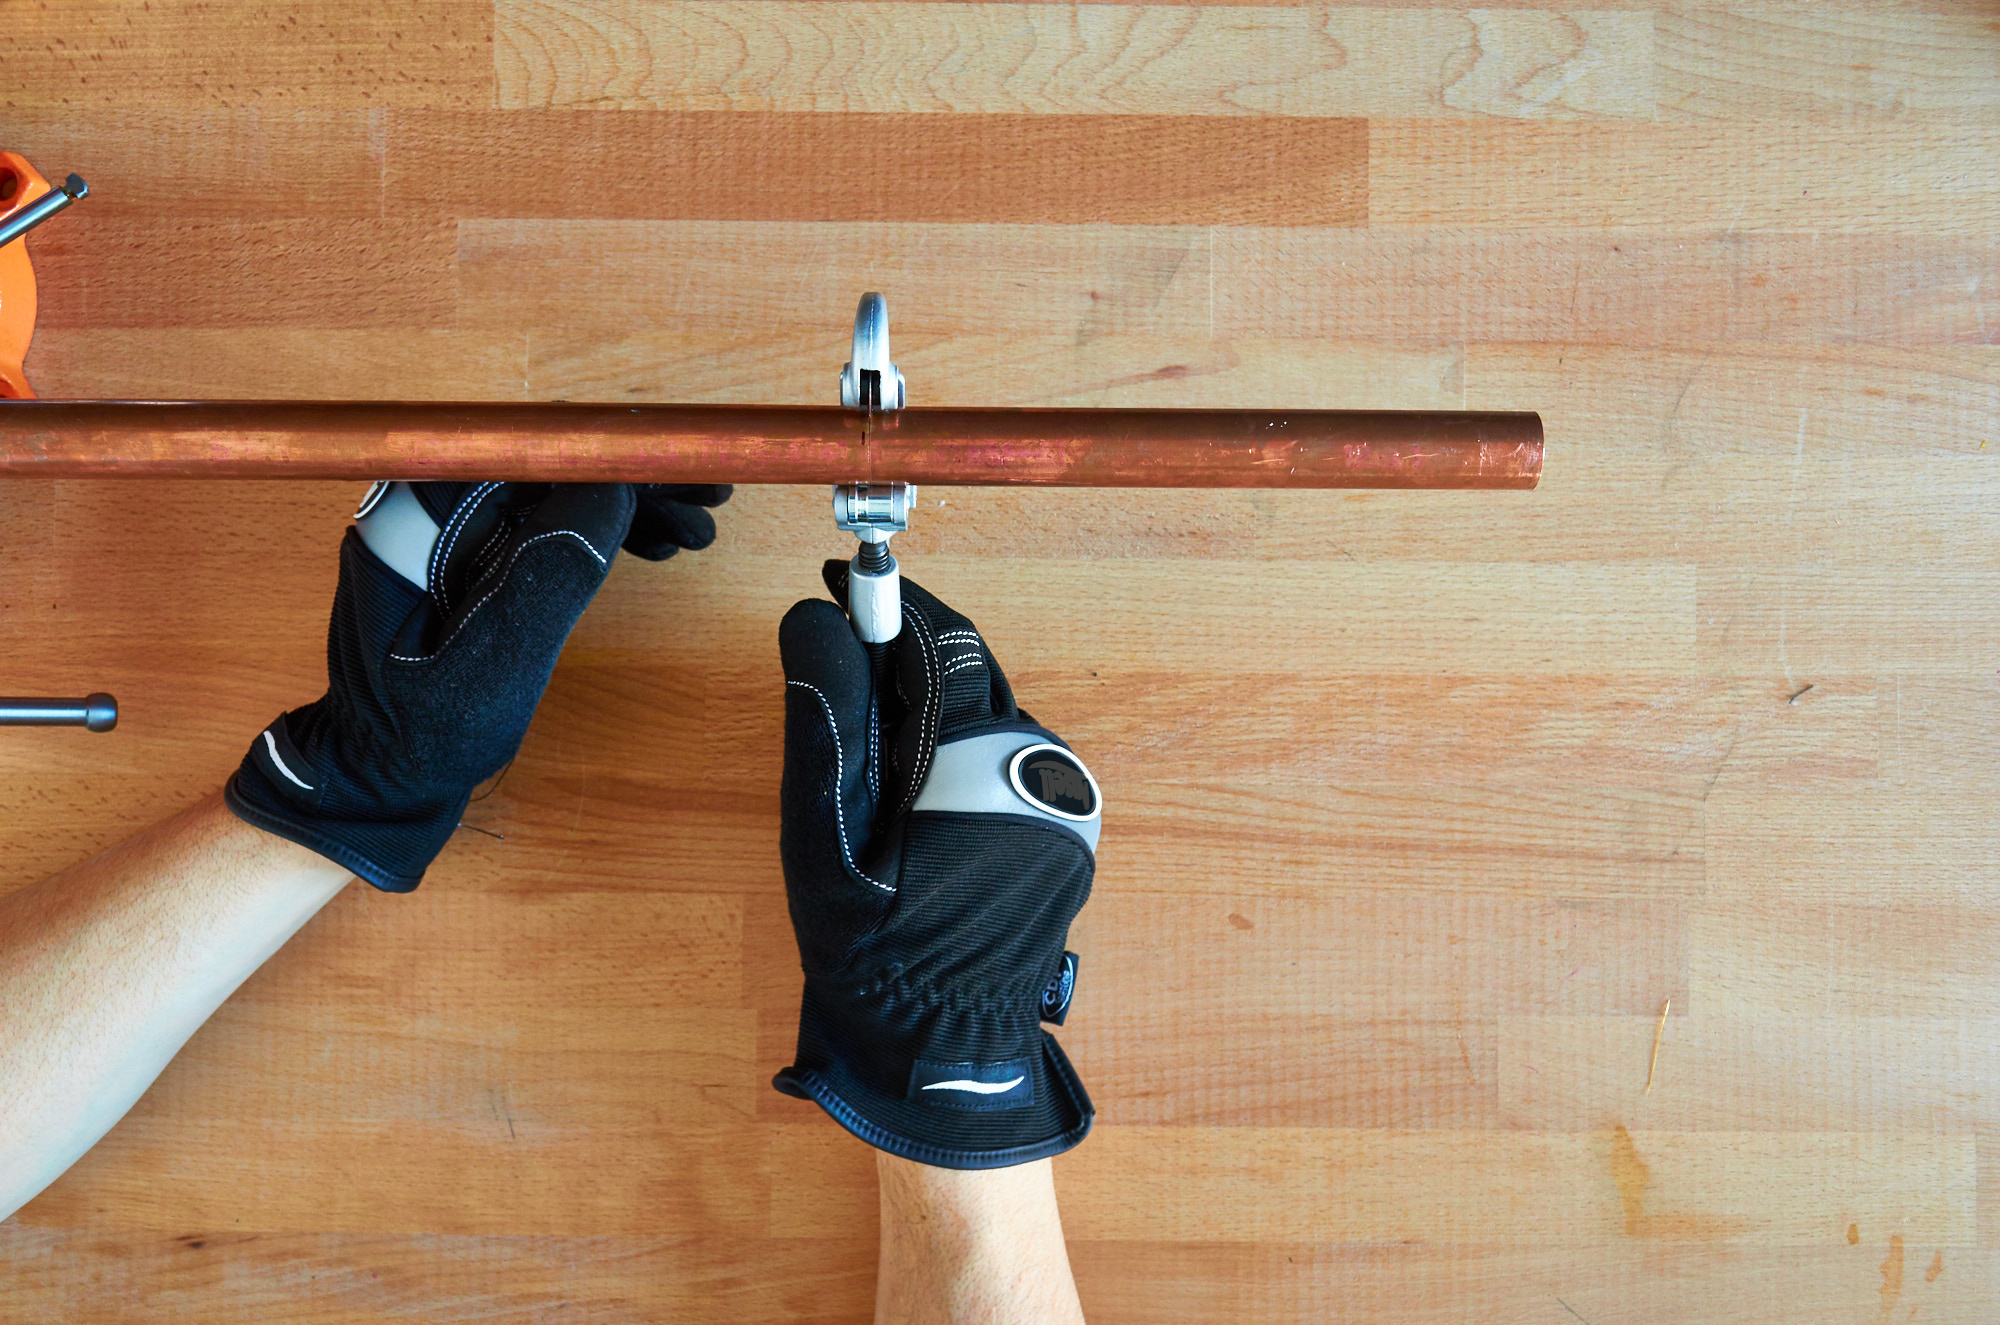
Cut the pipe to length using a hacksaw, or (better) a dedicated pipe-cutting tool. The pipe cutter makes a cleaner cut, and is safer and easier to use.
Step
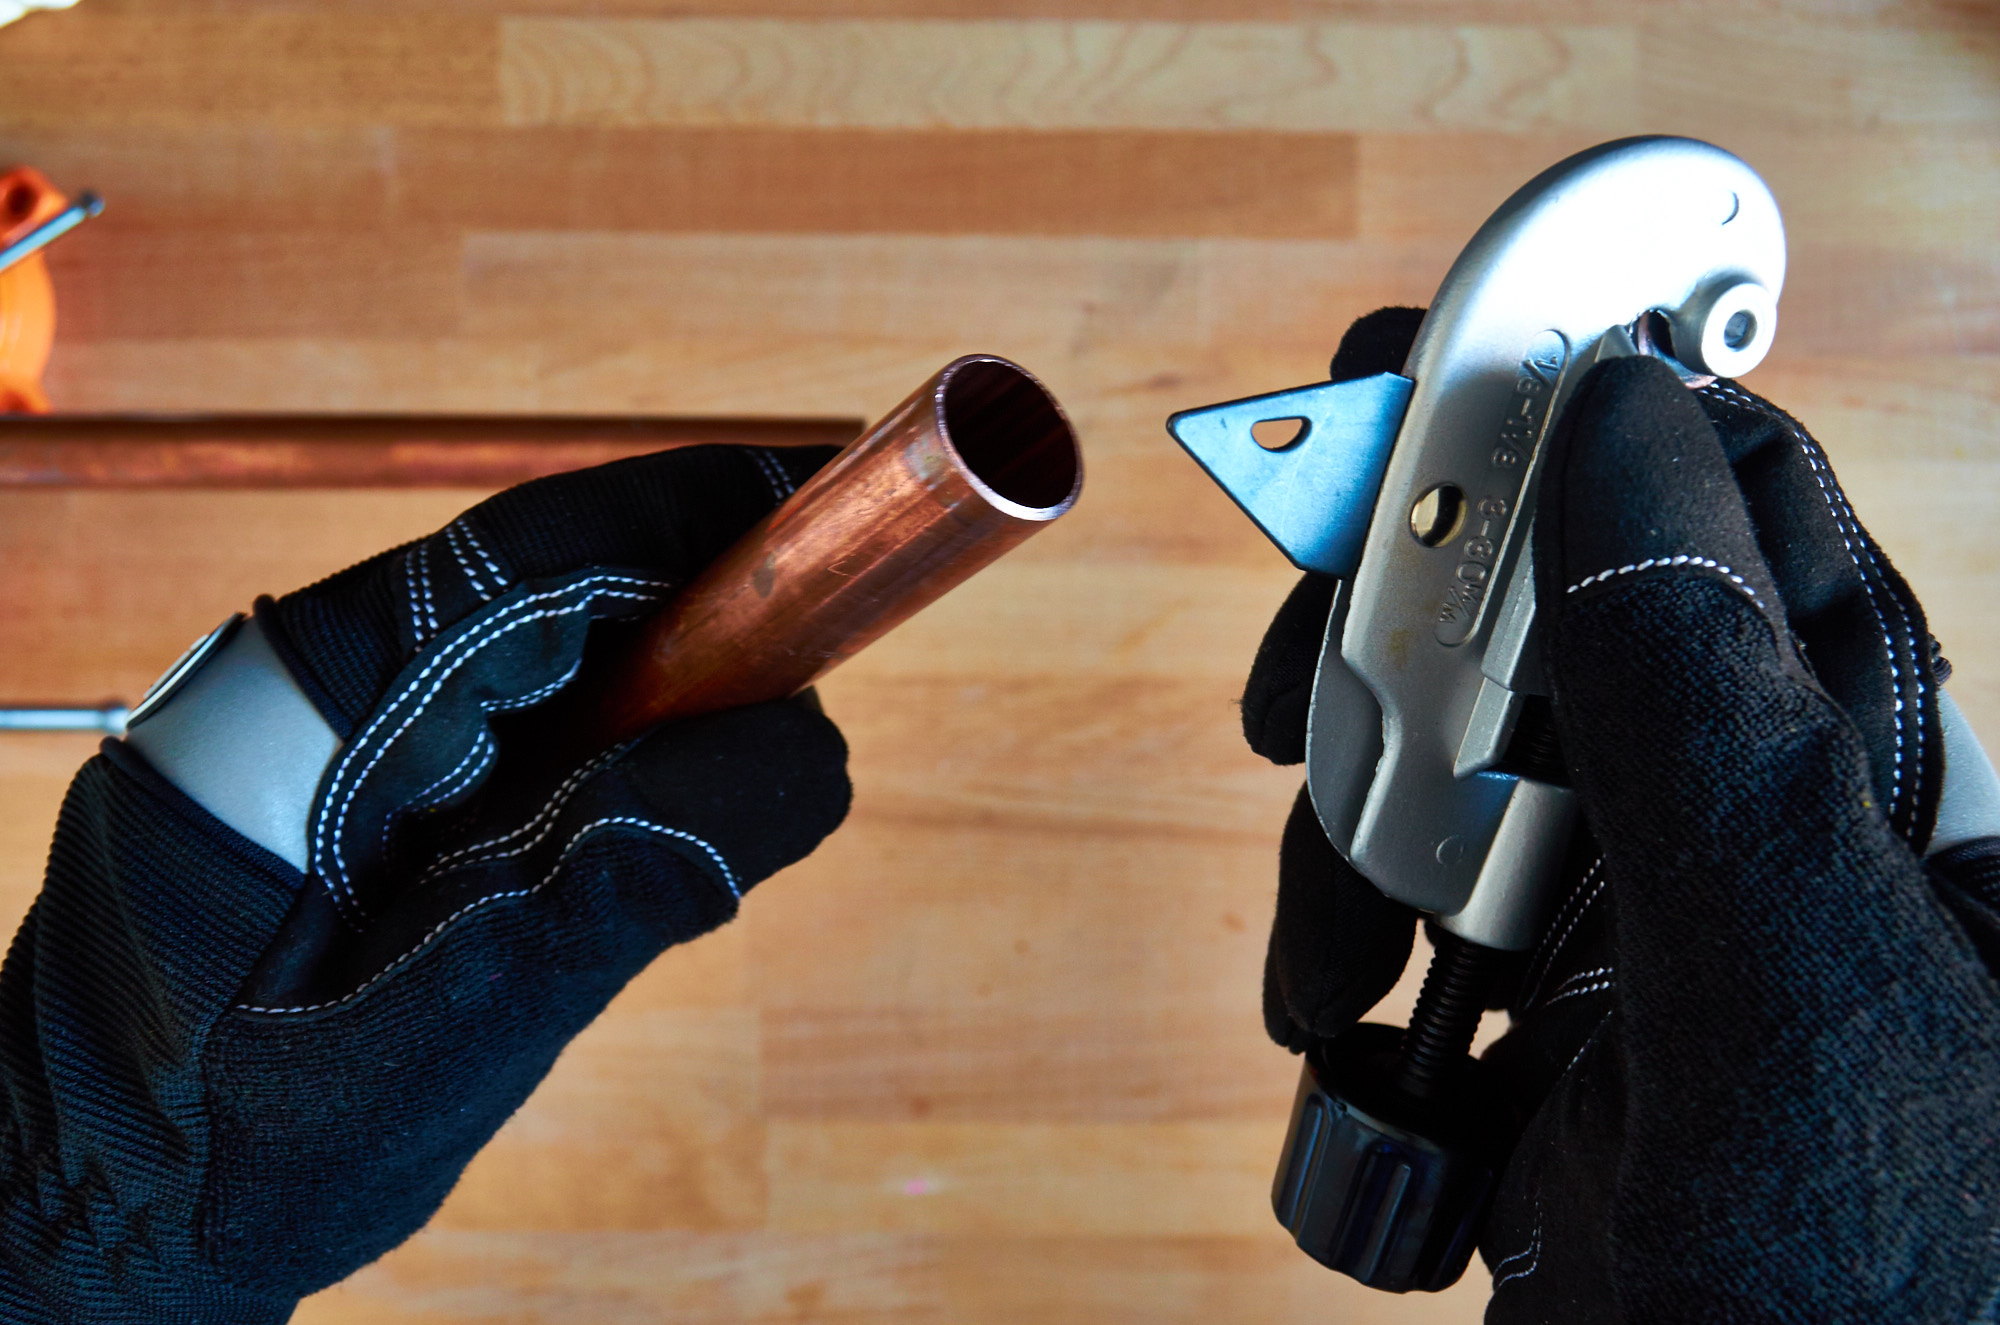
Ream out the inside of the pipe. You want the inside surface as clean and smooth as possible to prevent pitting, build up, and the potential for pinhole leaks.
Step
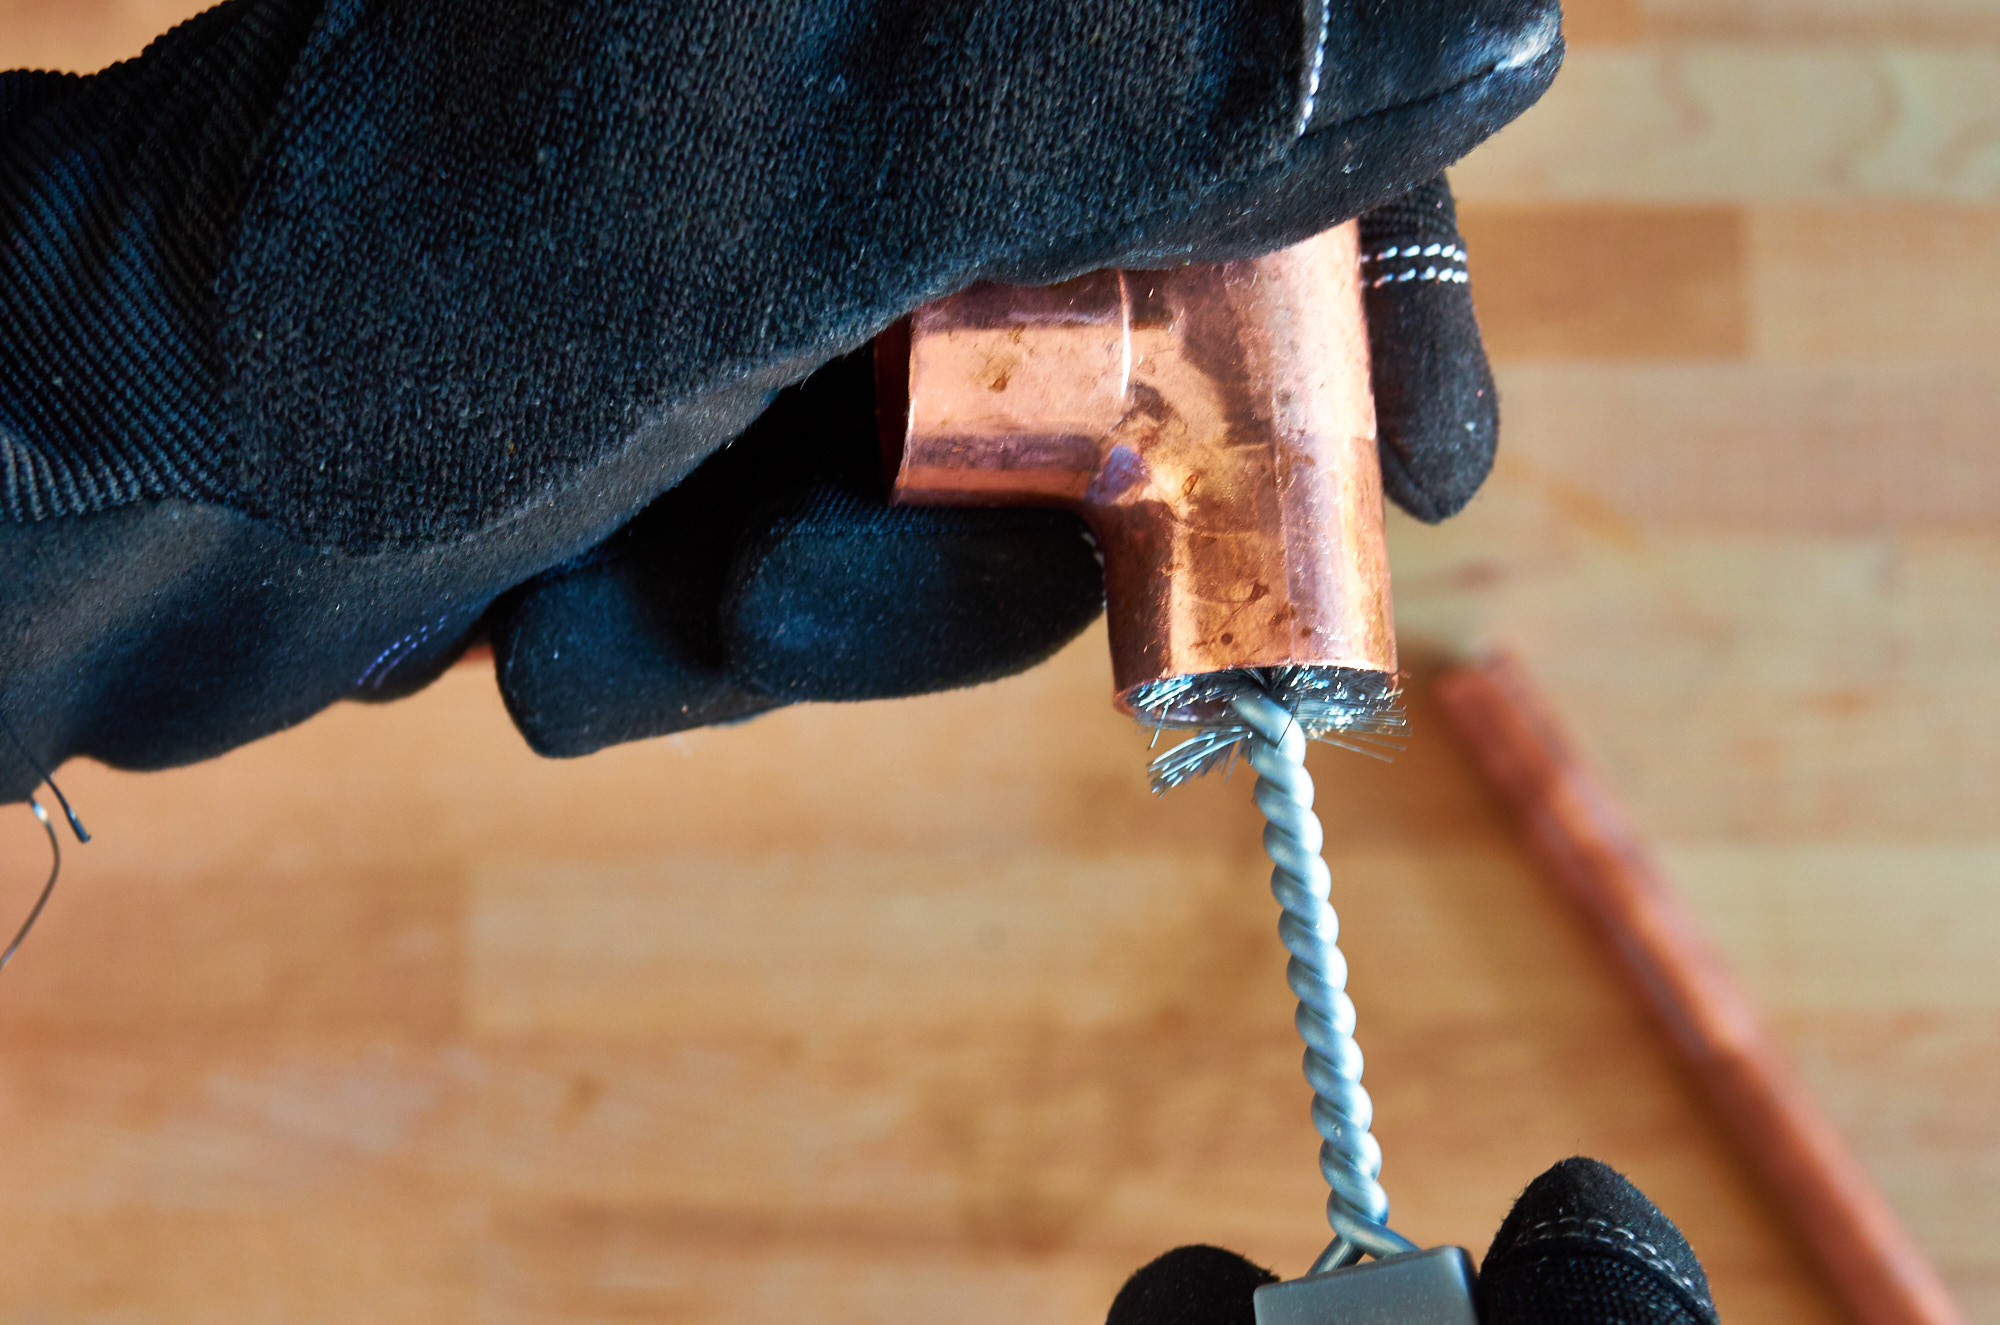
Clean the inside and outside of all the copper pieces (include the couplings).
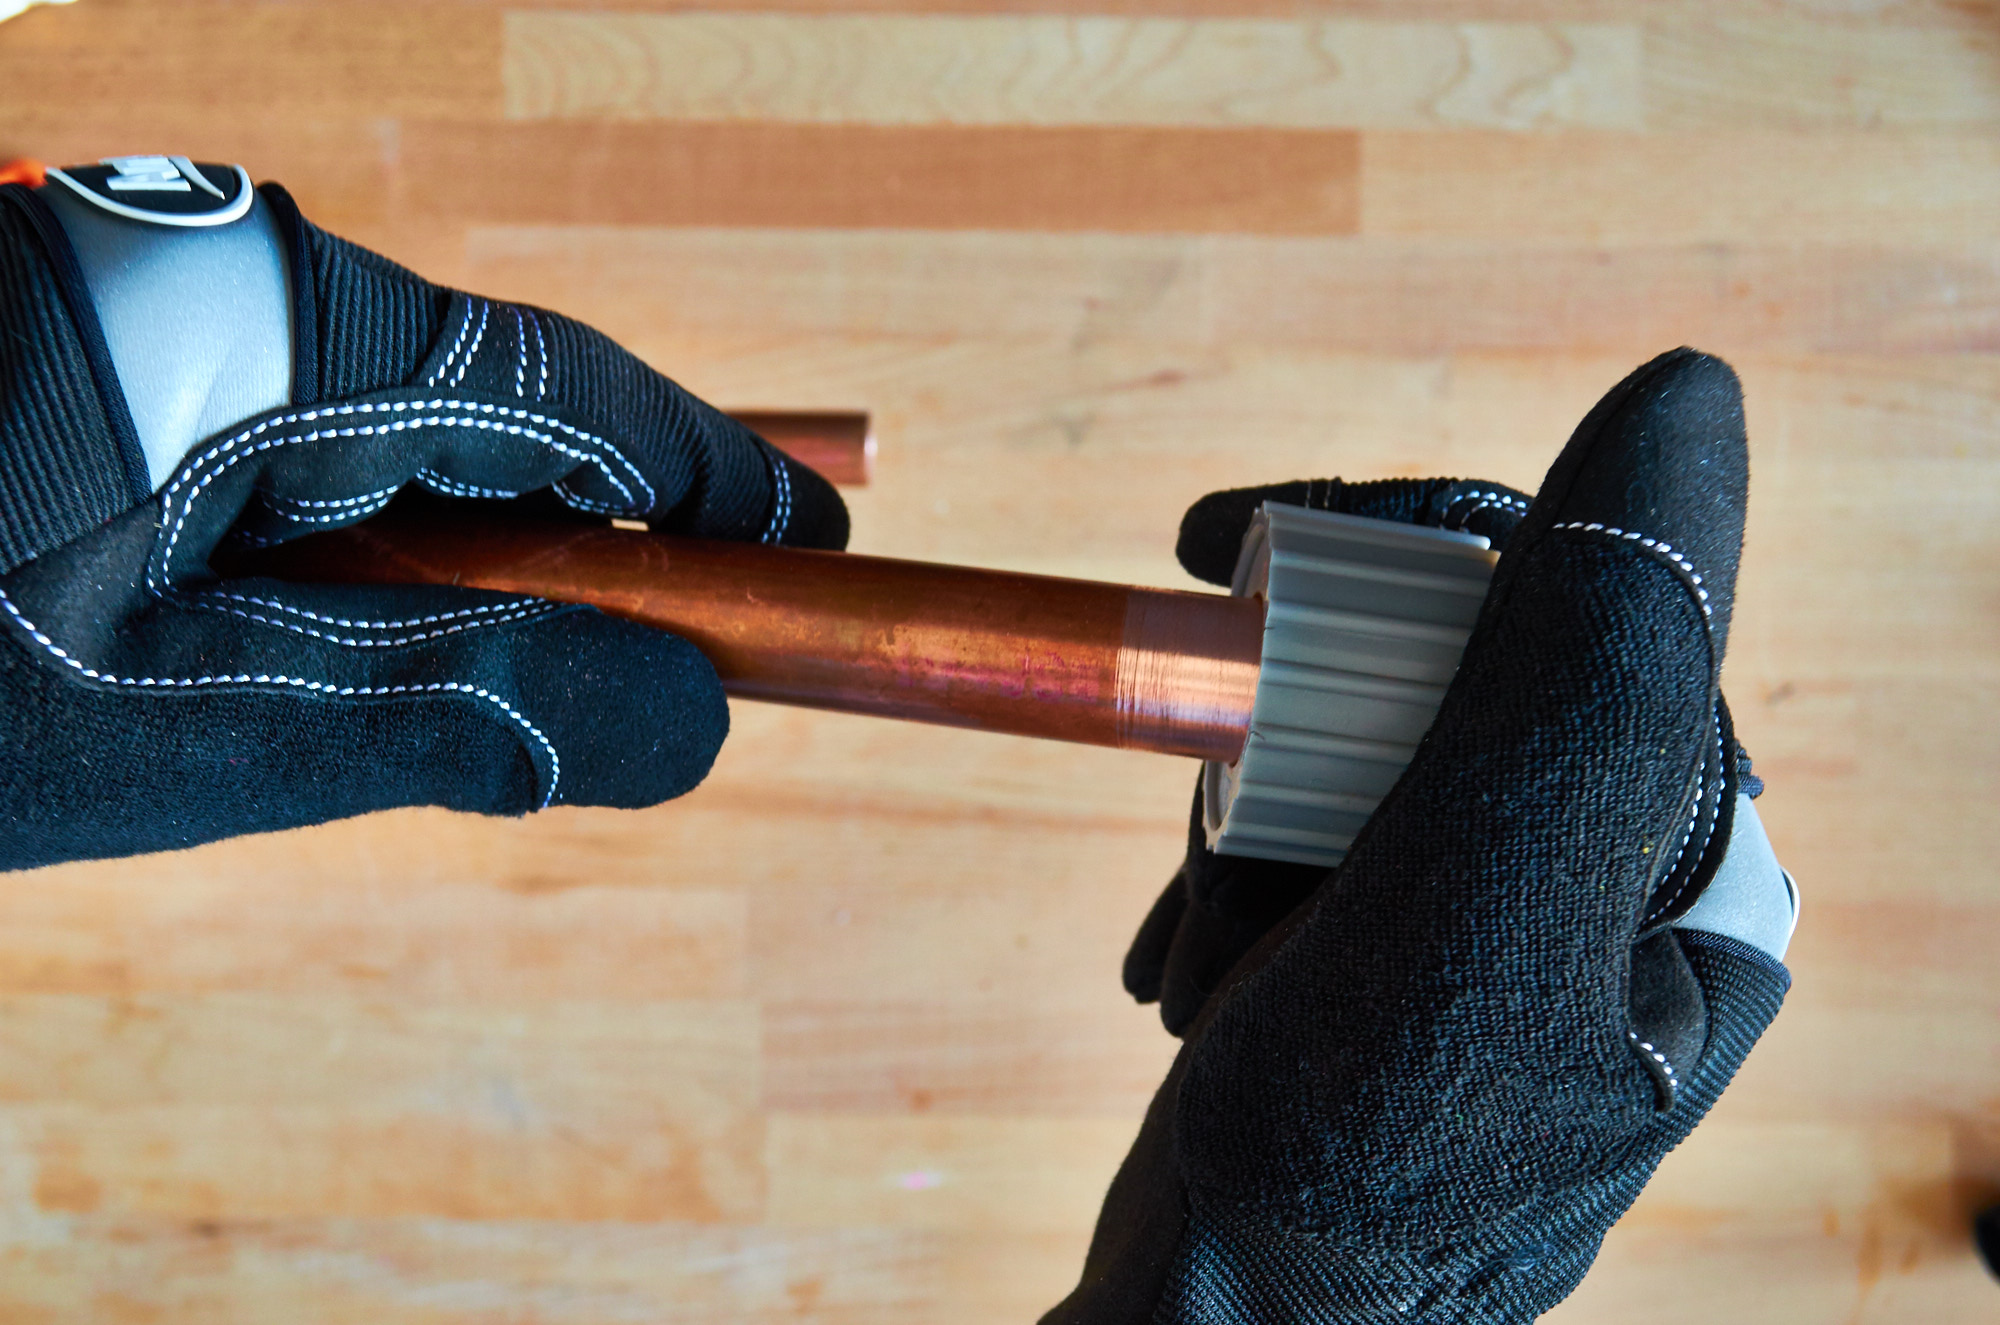
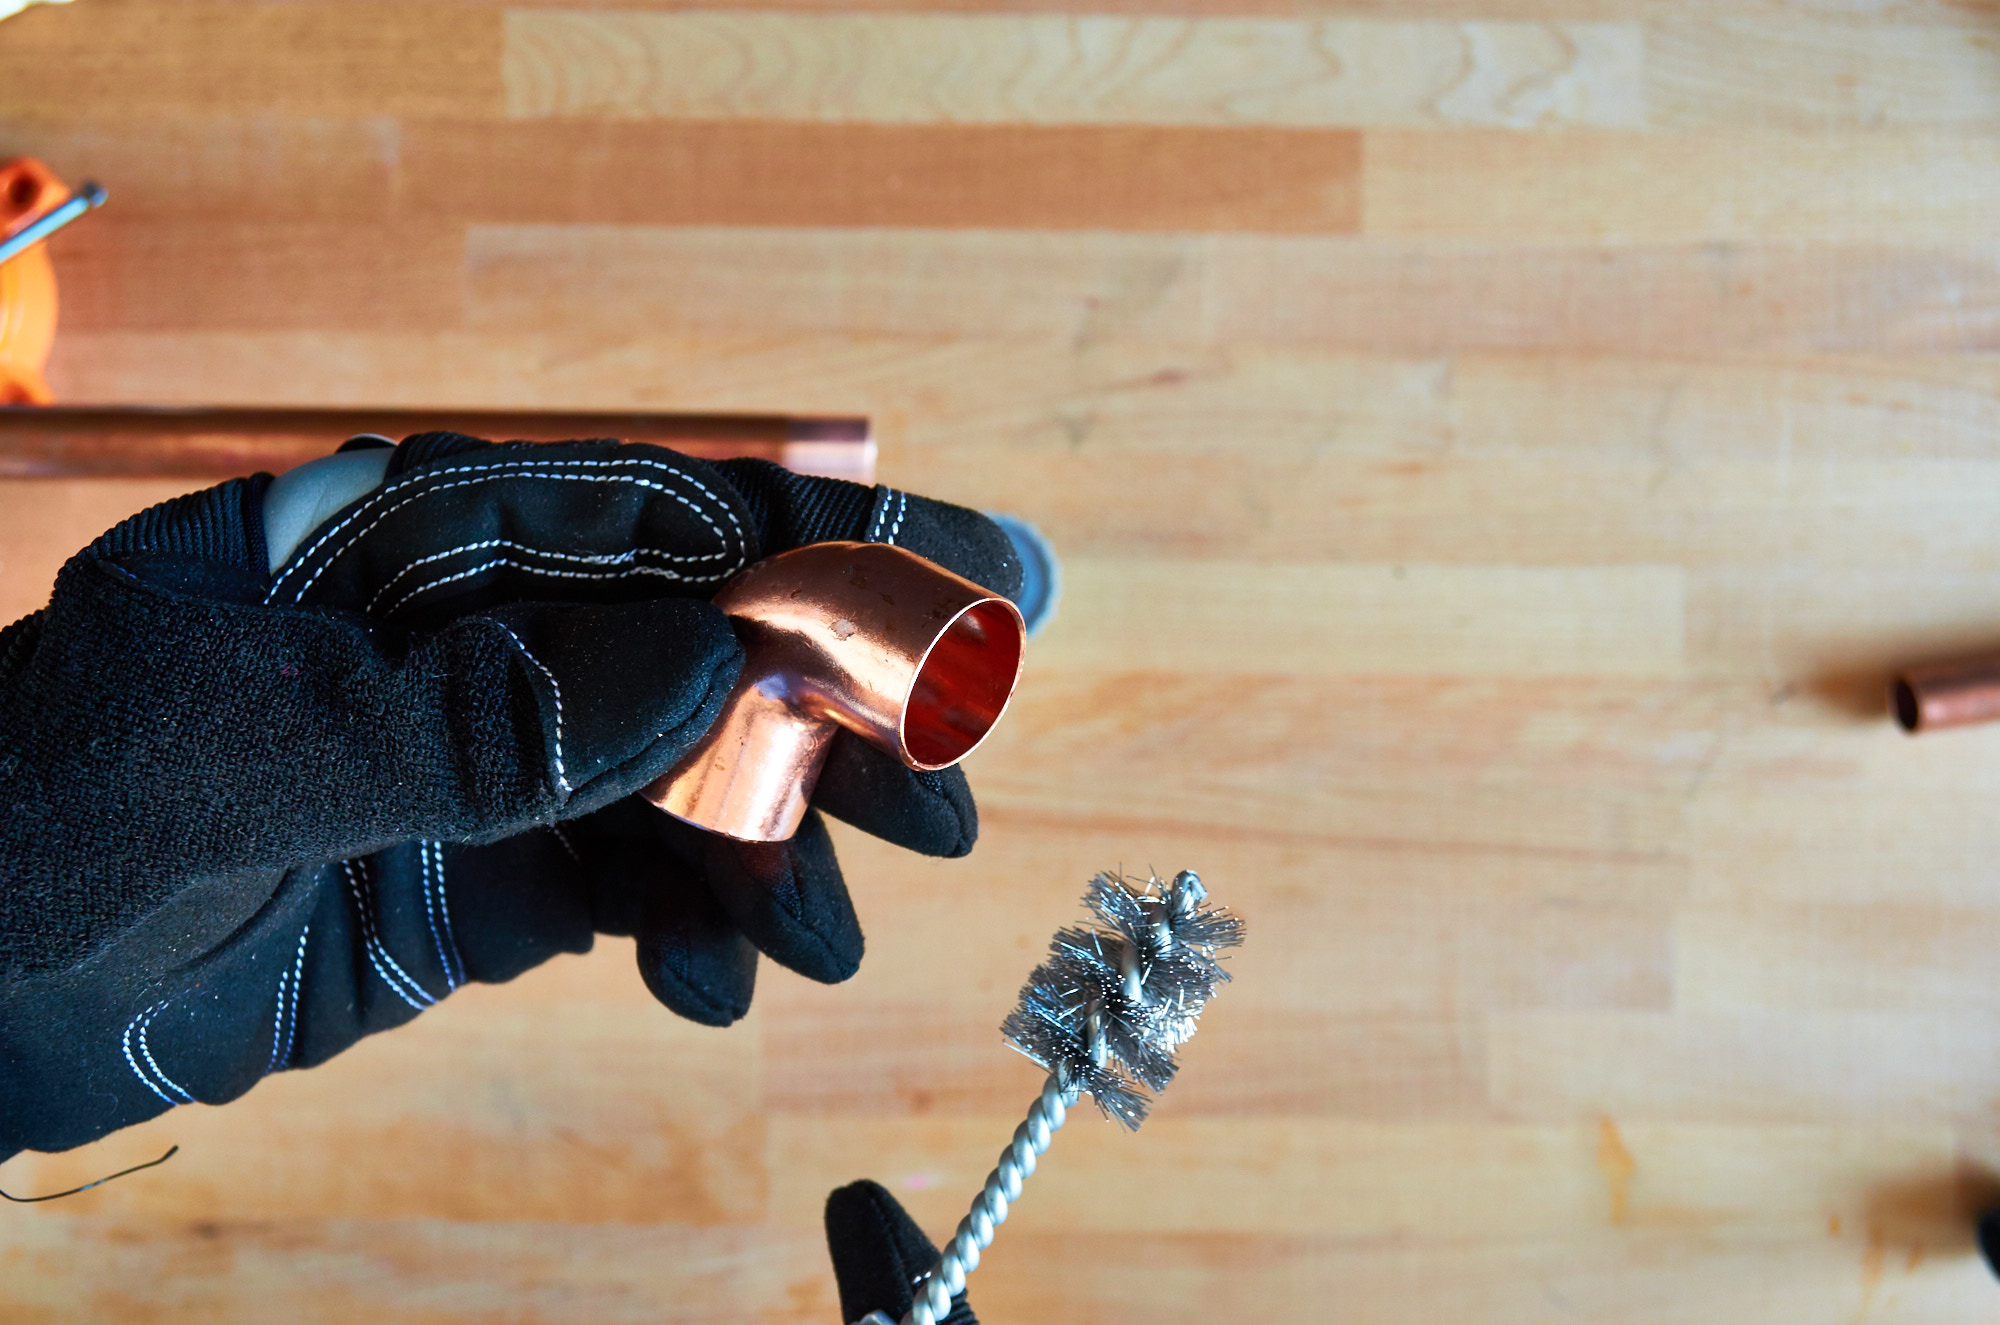
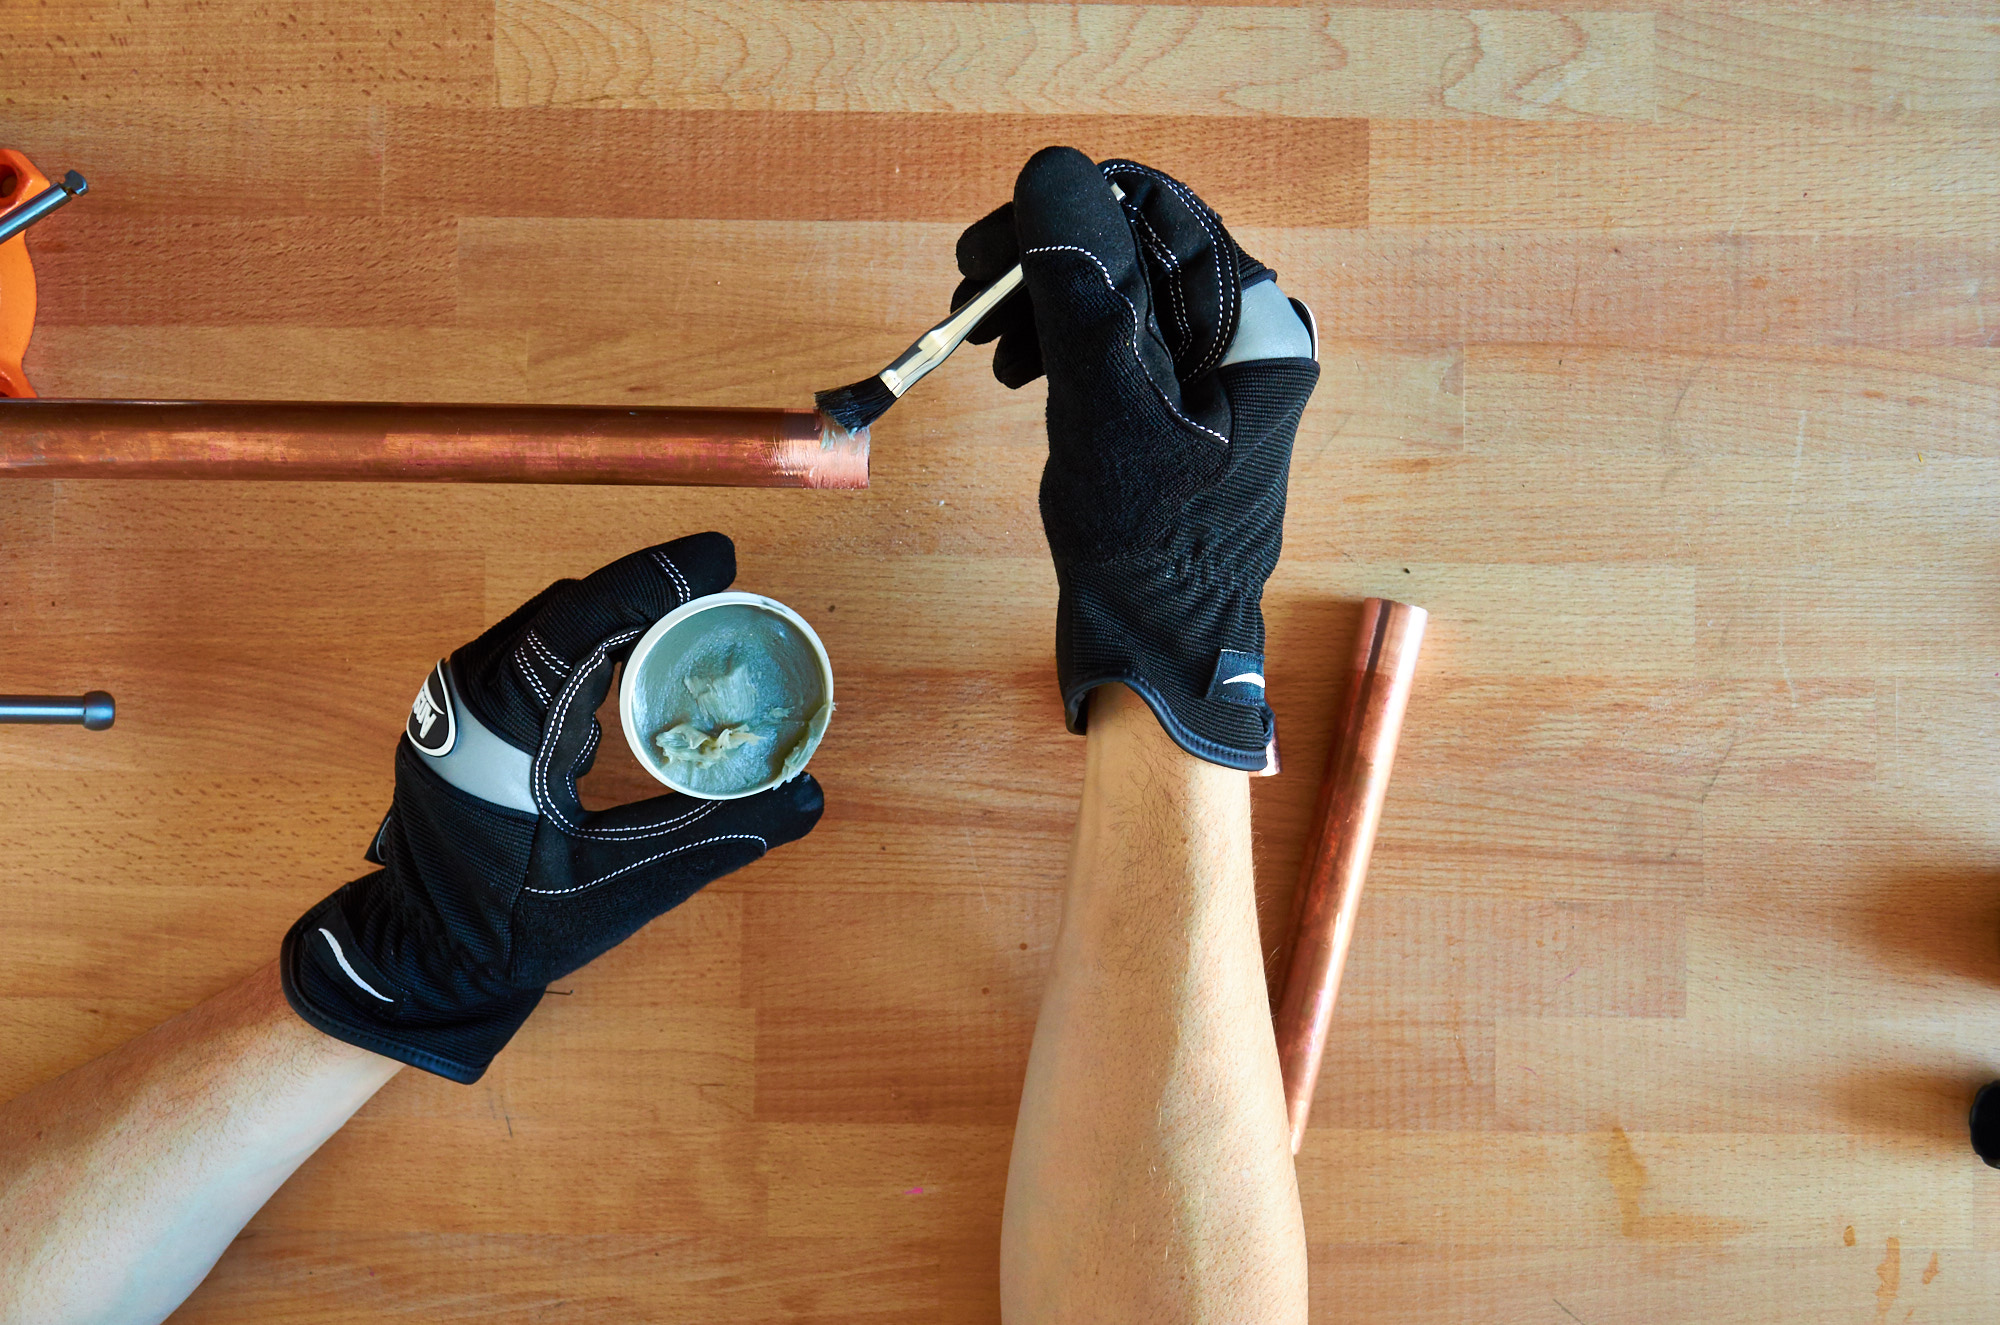
Step
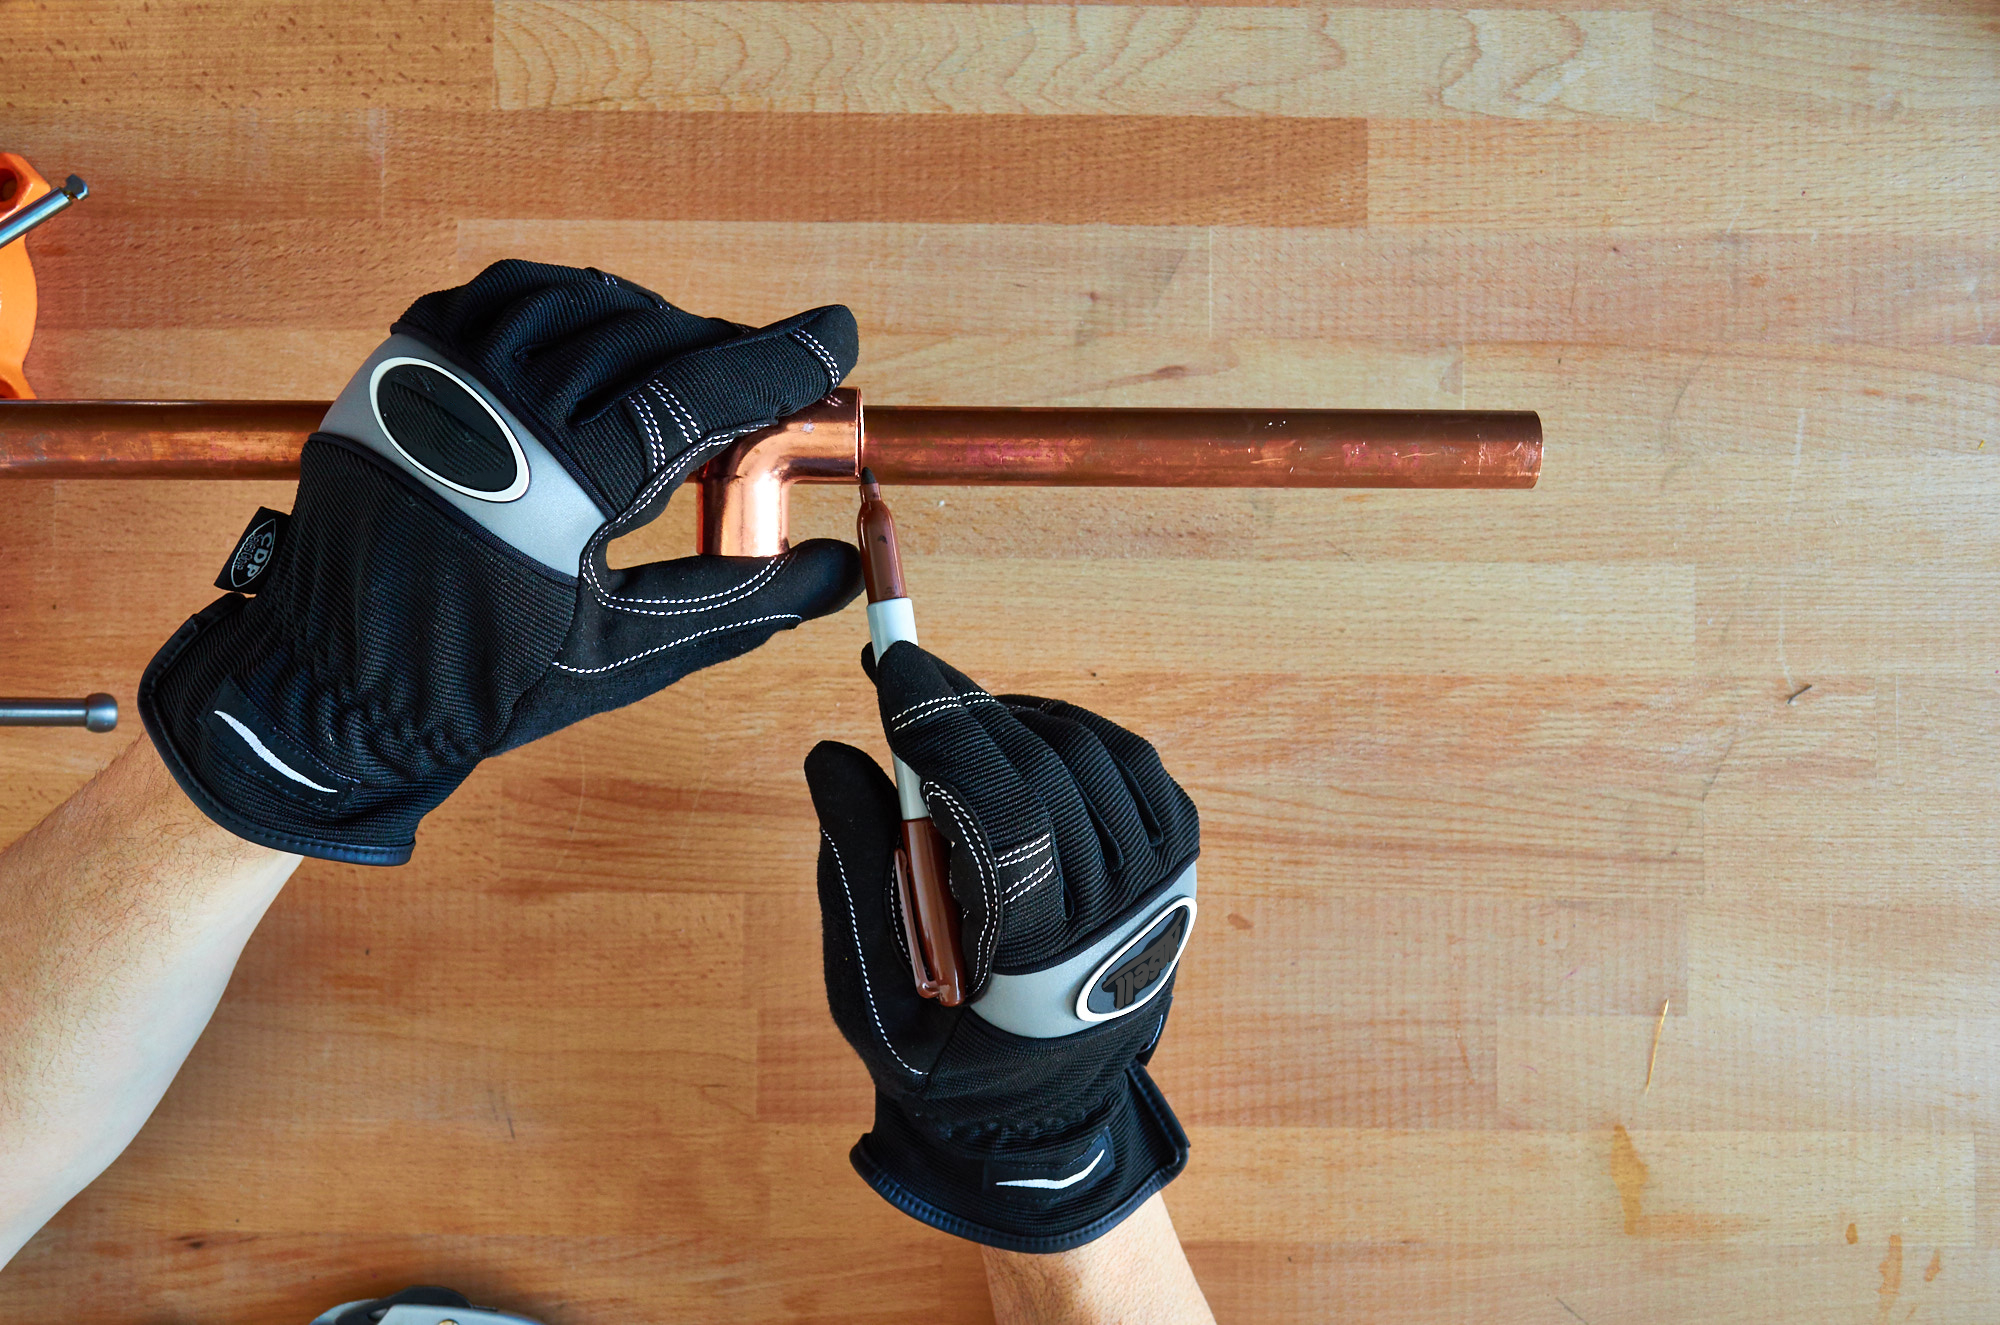
Apply a minimal amount of lead-free flux to the outside of the pipe and the inside of the coupling. Don't overdo it; you don't need a lot.
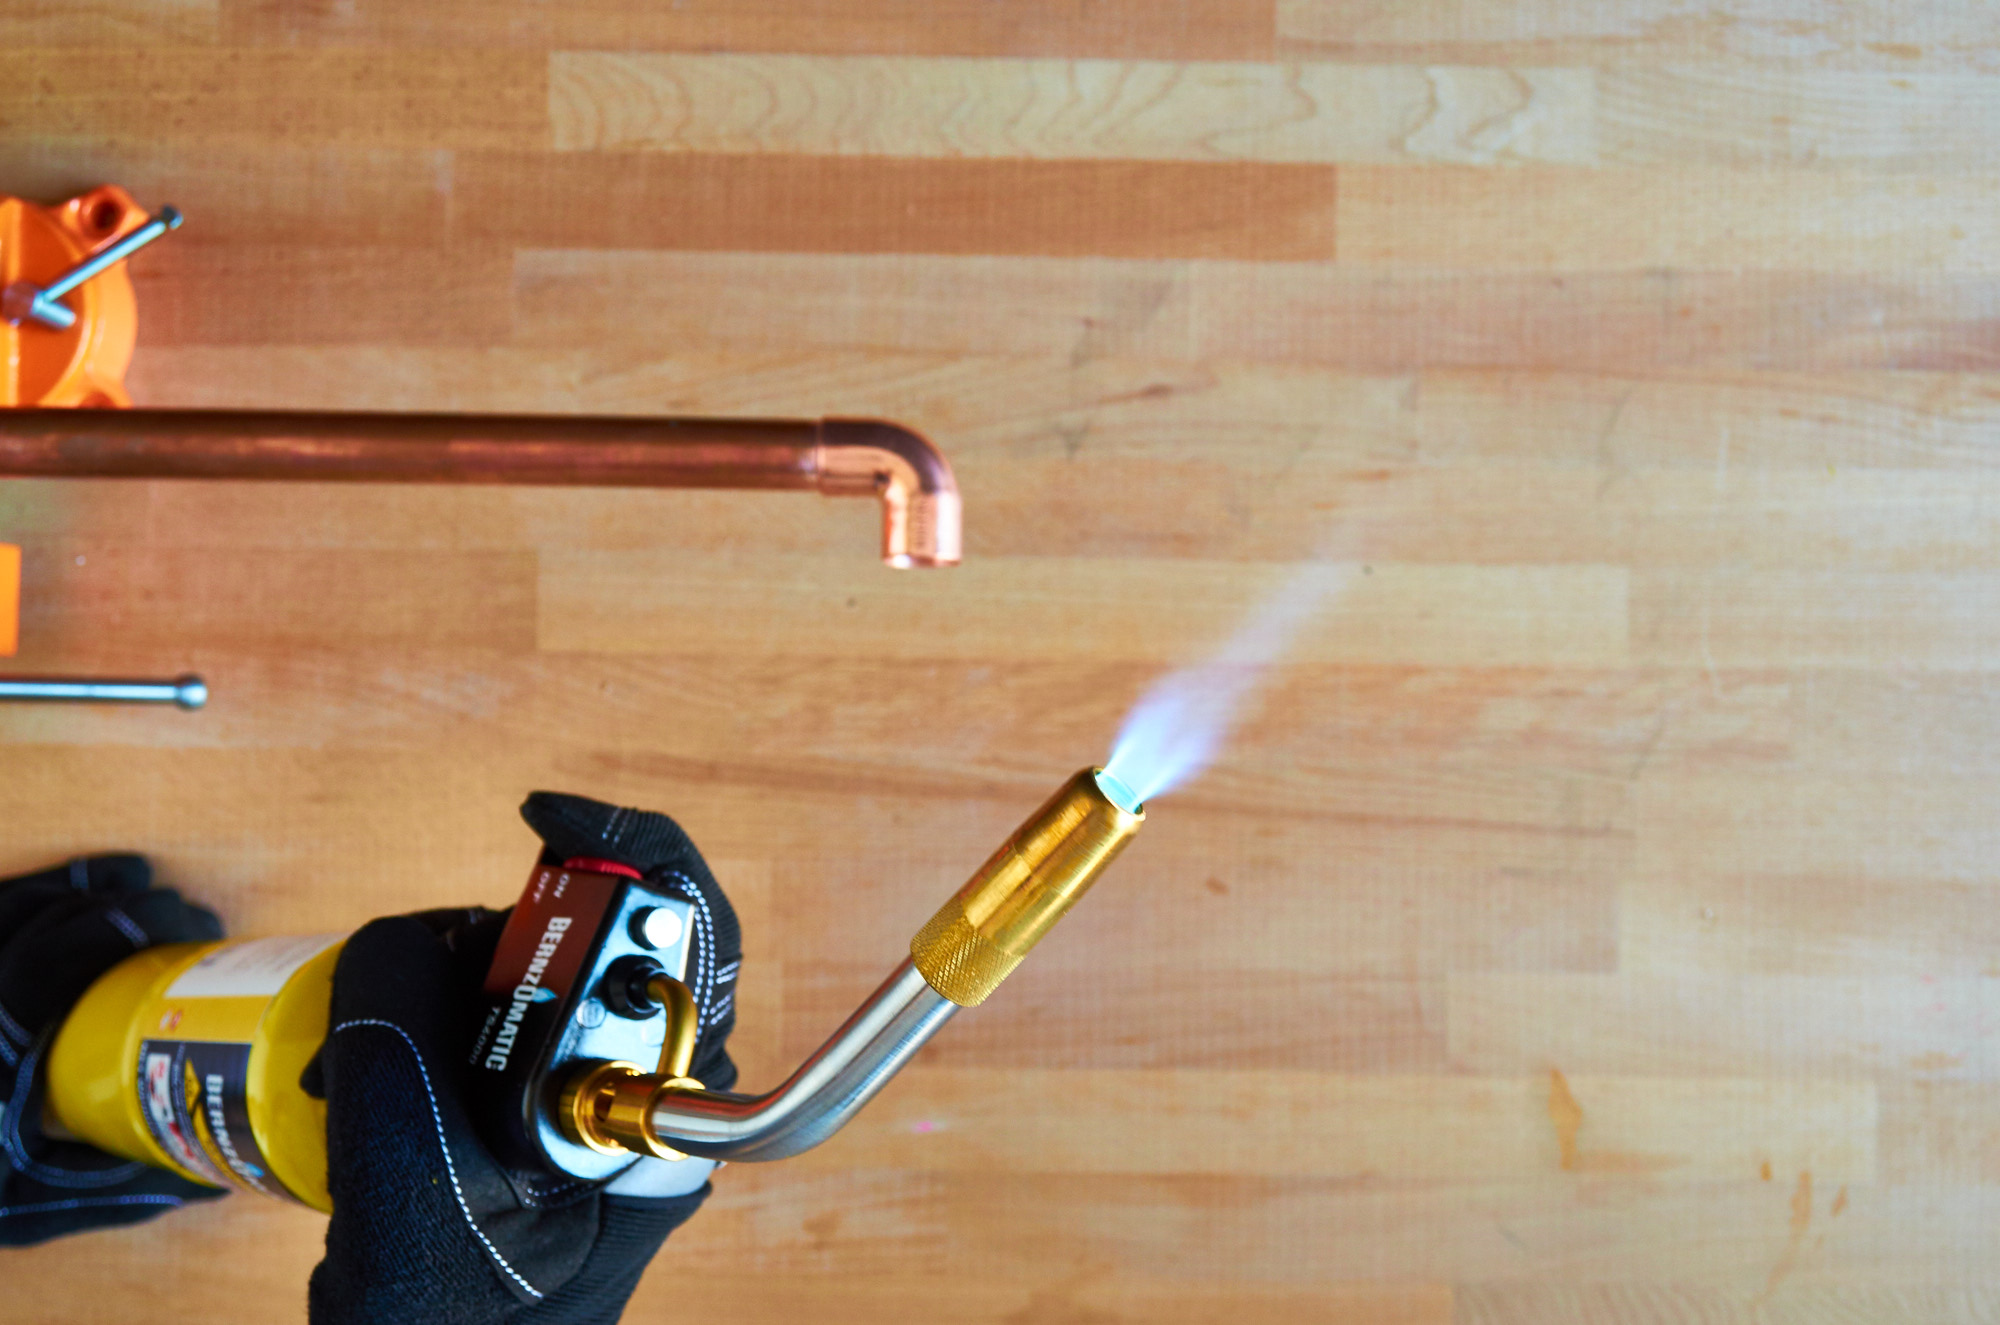
Step
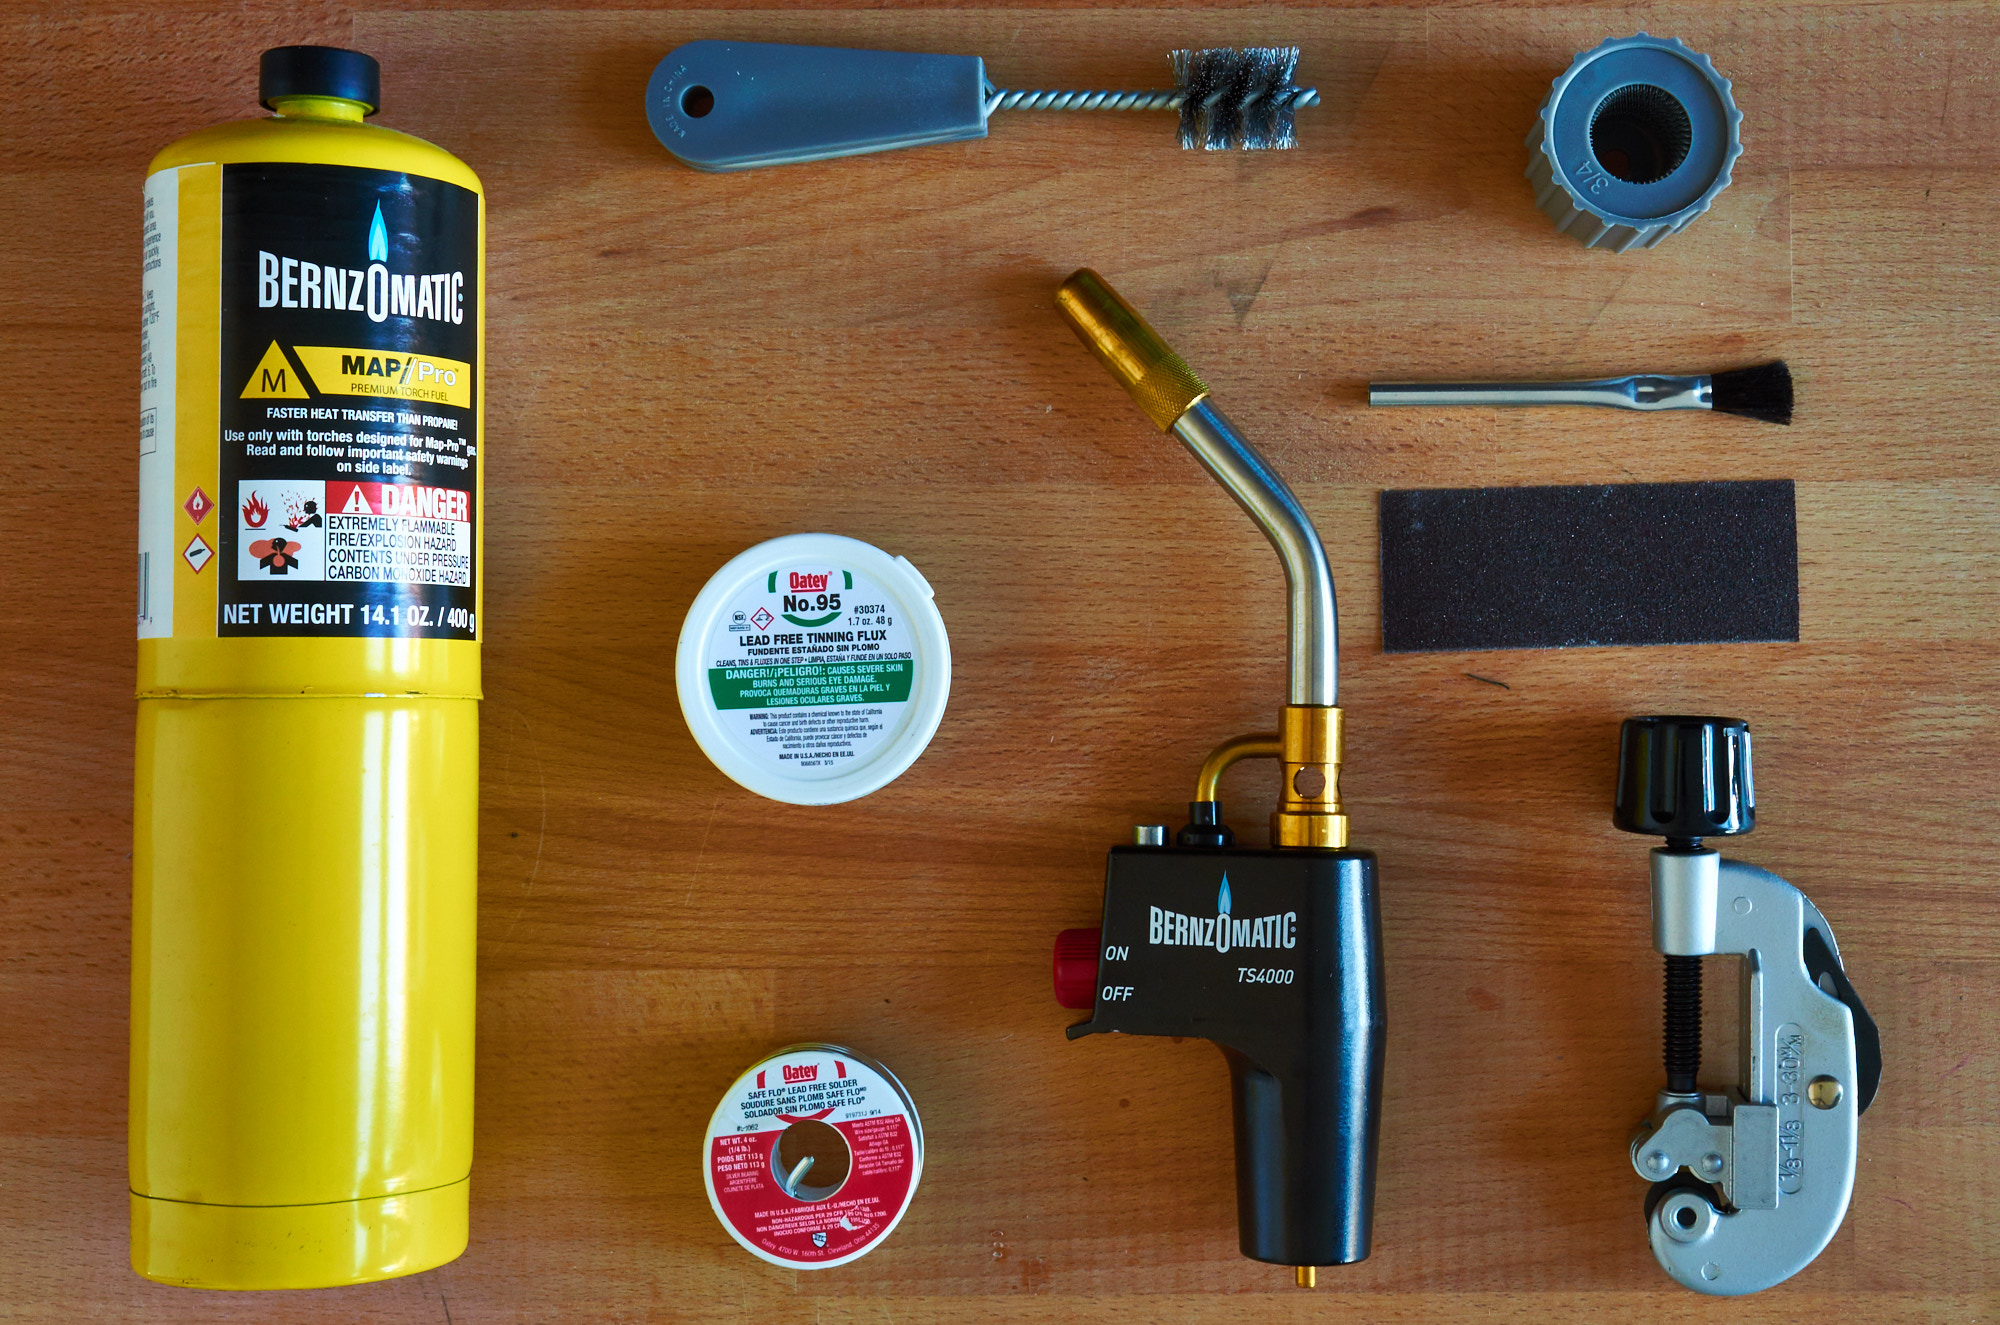
With the pipe secured firmly in place, and your work area clear of flammable objects, begin heating the copper about an inch below and above the joint. I used a MAPP-fueled torch because it burns hotter, and heats up the metal faster. The Bernzomatic TS4000 is the right tool for this job; it's super easy to light, with an auto-start/stop ignition. Just press the button and it goes on. Which is also why you should keep it disassembled when stored, and out of reach of children.
Step
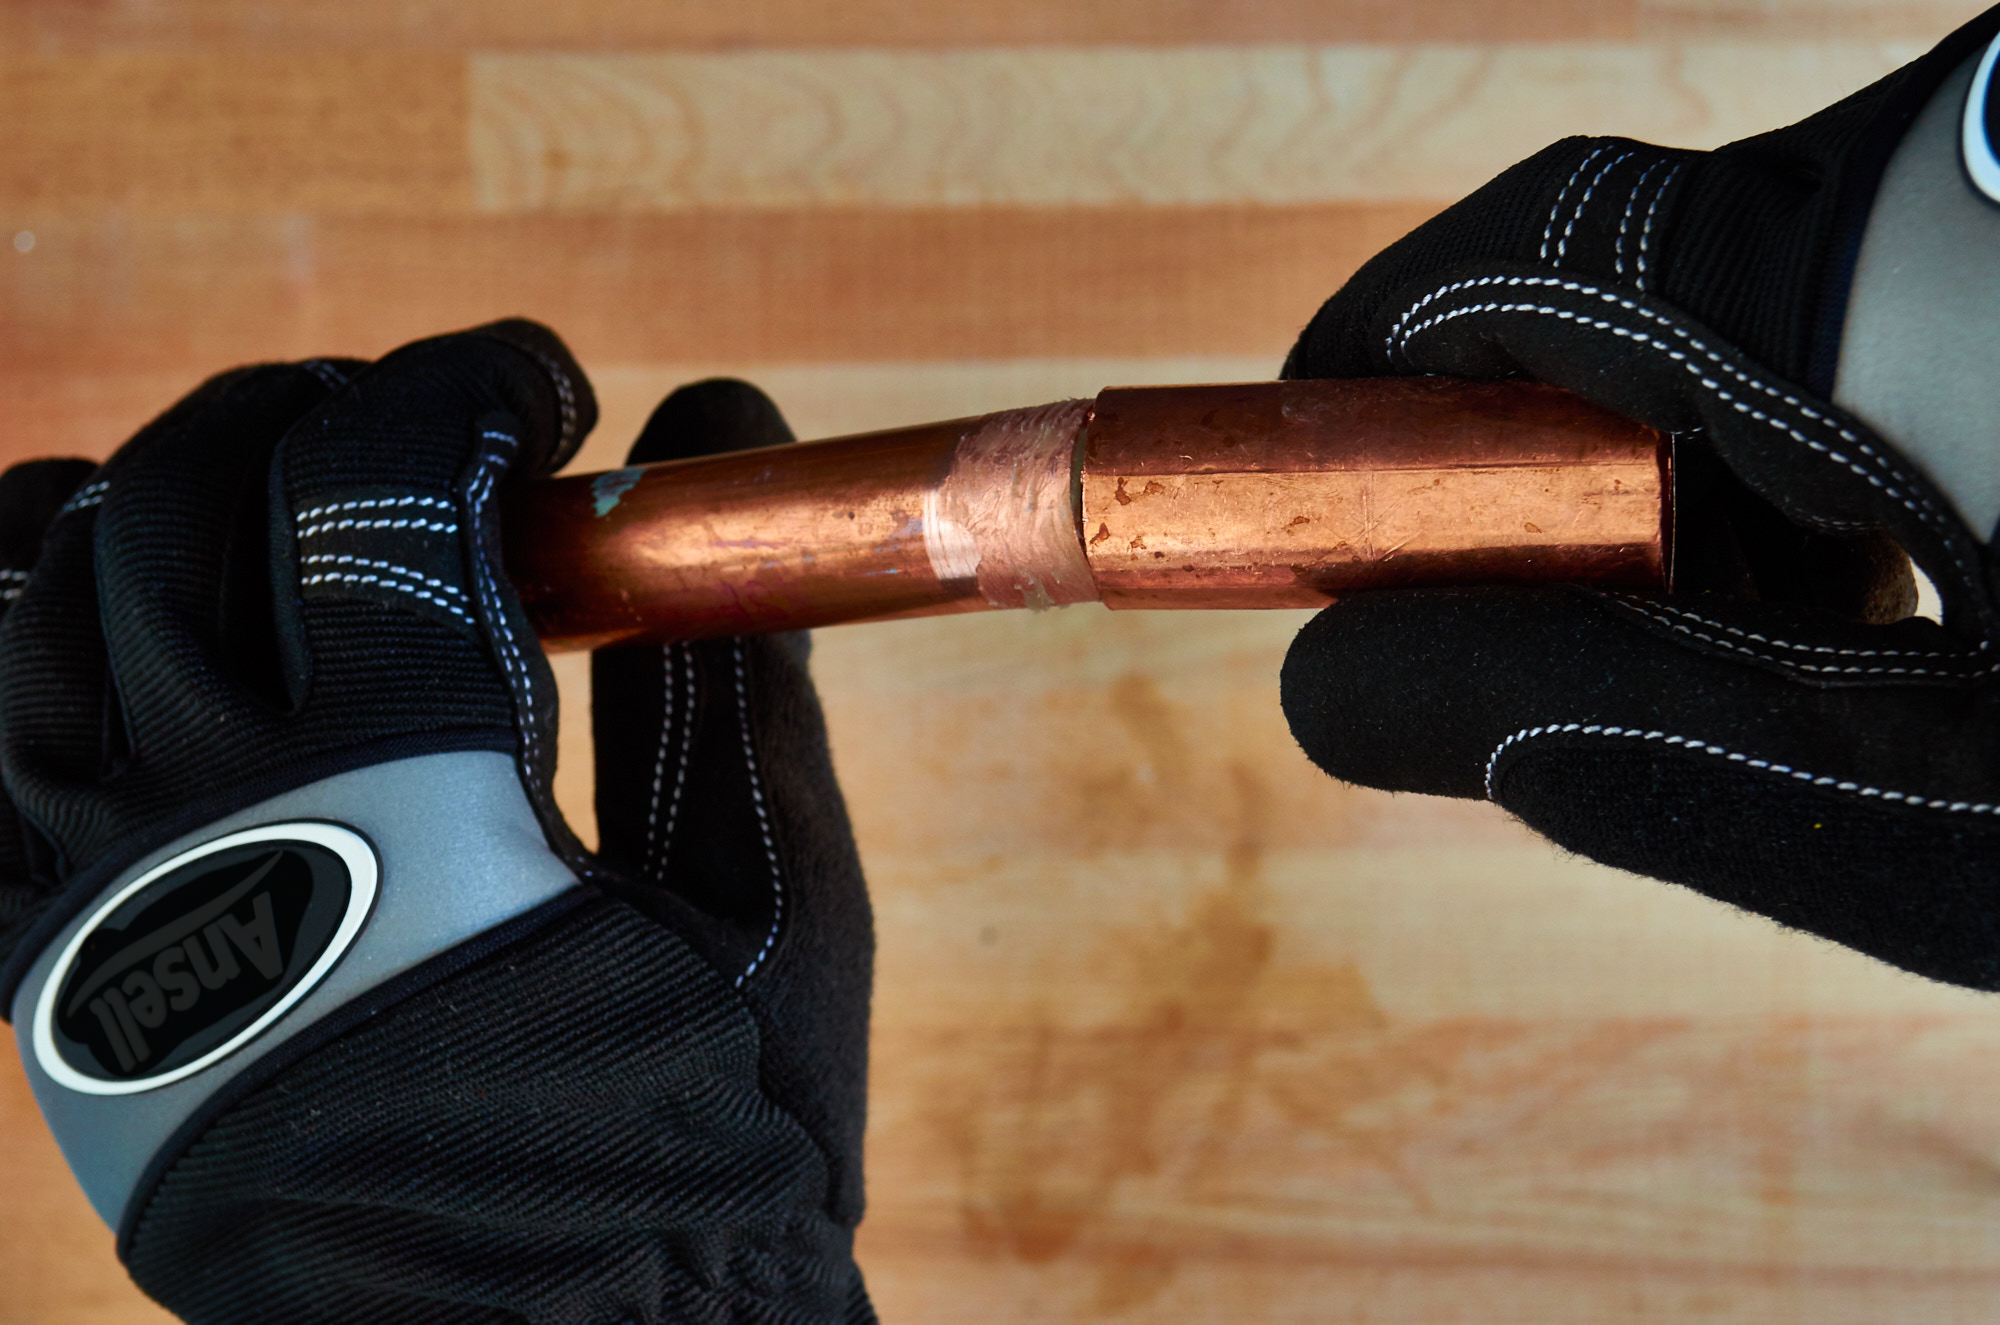
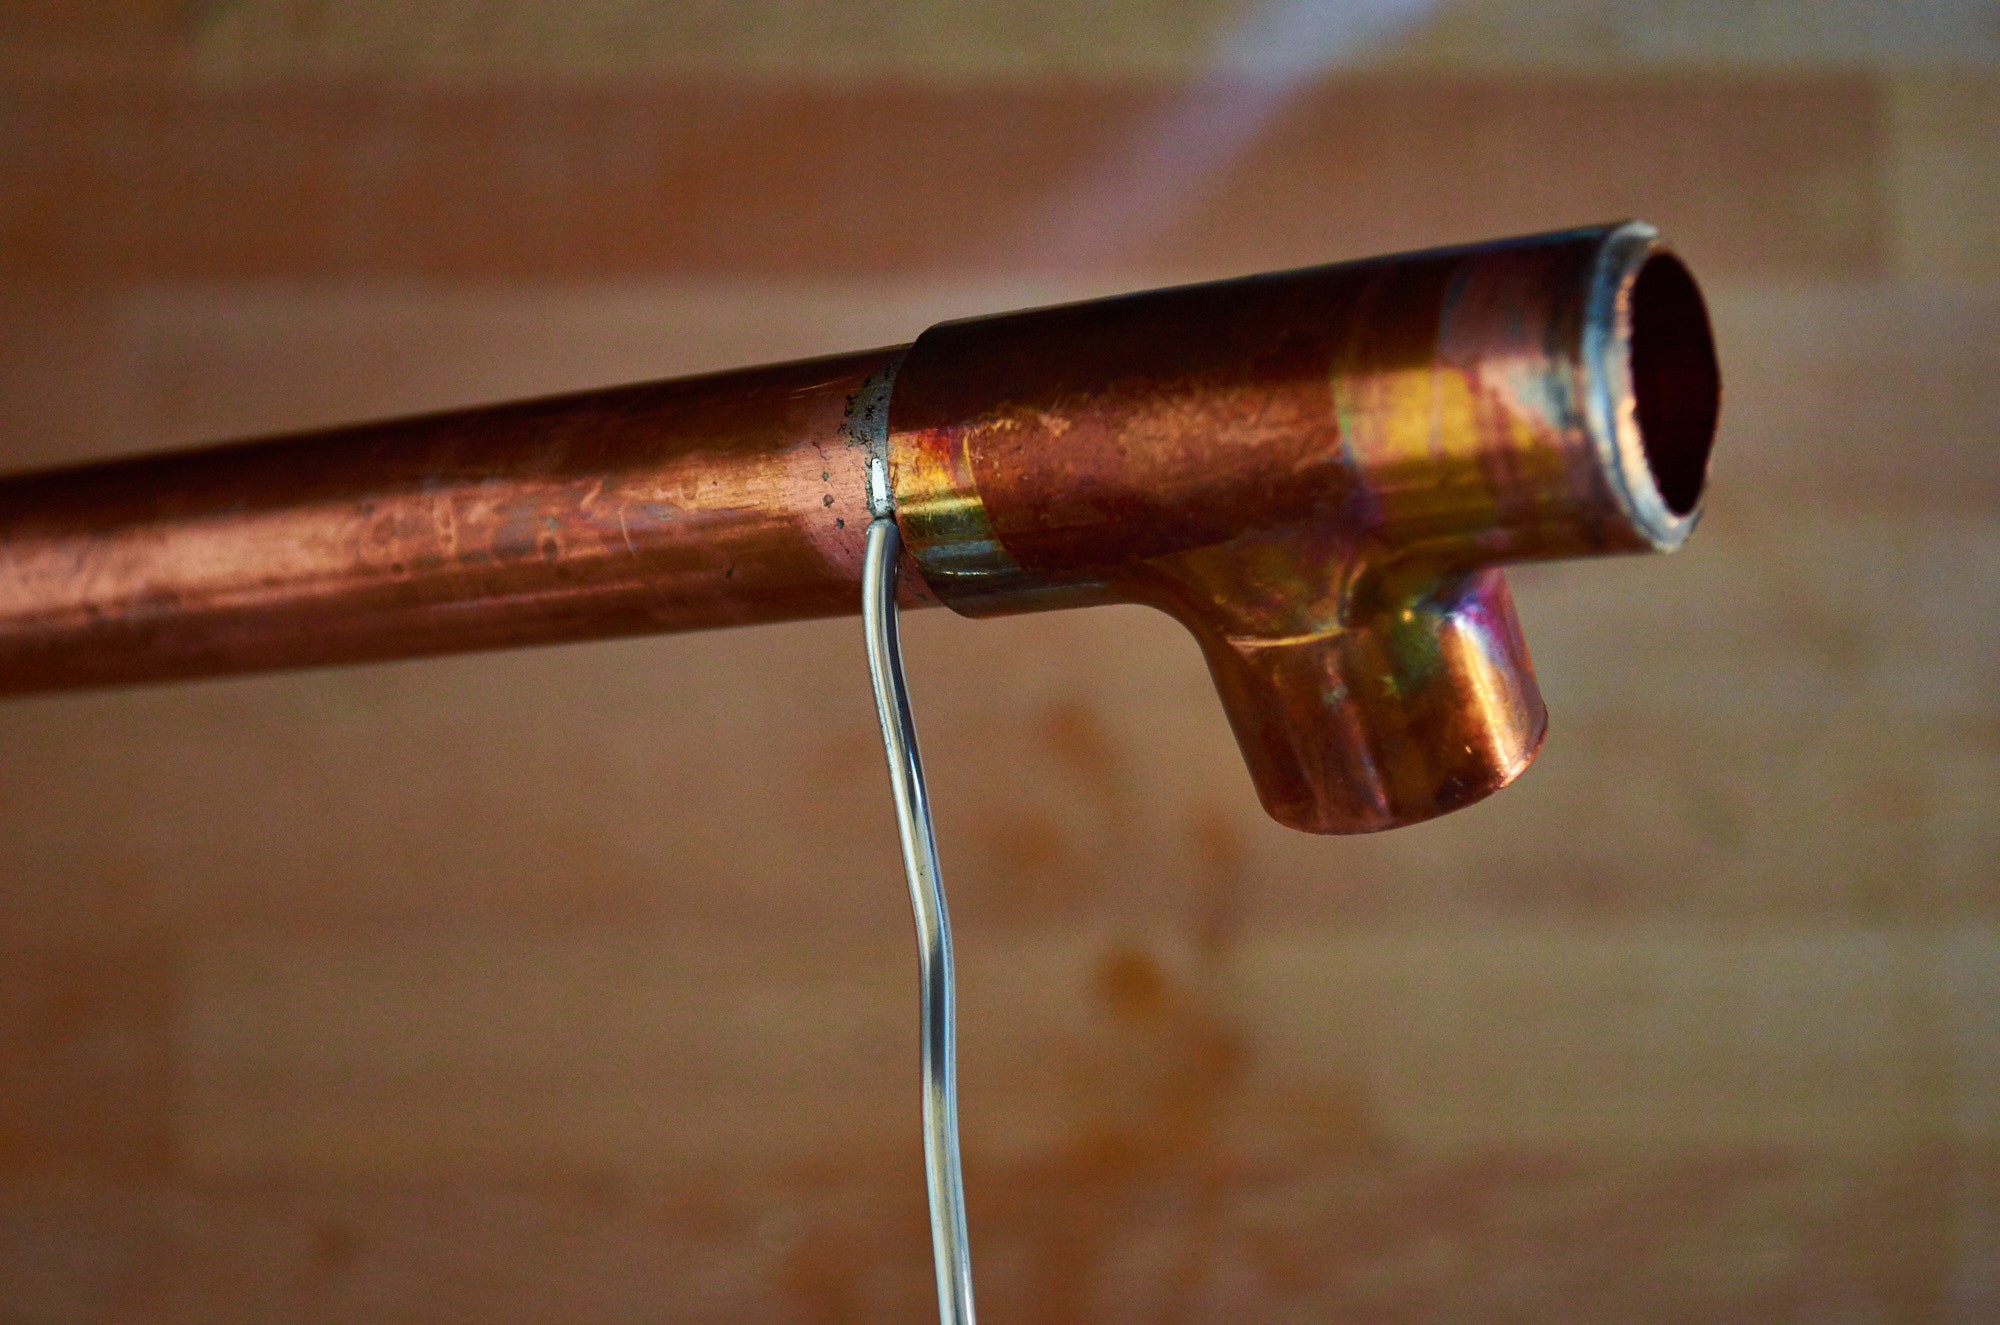
Begin heating copper, about an inch away from the joint. As you're heating the joint, keep touching the solder to the joint repeatedly. As soon as it starts to melt on contact, you're ready to go. You want to make sure you keep get the solder in there as soon as the metal reaches the correct temperature; if you overheat the copper, you'll see it start to discolor, which means it has been overheated, and has started to oxidize (and that could cause it to seal improperly).
Quickly apply a moderate amount of solder to the entire joint. Starting at the top on one side and working down, then repeating the other side. Keep the flame on the opposite side from the solder. The solder should follow the heat from the torch into the joint.

Here's a close up view of that whole process again:
1. Clean all the fittings.
2. Apply flux and fit the pieces together.
3. Touch the solder to the metal opposite the flame. As soon as it starts melting on contact, remove the flame and continue filling the entire joint with solder.
Step
While the solder is still hot, wipe any excess off with a damp rag. Remember, copper conducts heat really well, so even parts of the pipe that are far removed from the join could be hot. Handle with caution.
And that's it! Not terribly complicated, and easy to pick up if you make sure you're safe. There's a little art to it, and your first joints aren't going to be perfect or pretty (I ended up with more excess solder than I would've liked). But you'll get the hang of it in no time, and before long you'll be fixing pipes and even making stuff using your newfound skill. Which, by the way, is exactly what I'll be doing later in this series: making a DIY project (not plumbing) out of soldered copper tubing.
Stay tuned!
This post was sponsored by Bernzomatic, but all opinions are mine alone. Thanks for supporting the brands that support ManMade.