Everything You Need to Know Before You Build Your First Workbench
One of the great conundrums of woodworking is this simple fact: you need a workbench to build a workbench.
In fact, in order to build a proper workholding system replete with vises, rock-solid joinery, and a sturdy wood top, you also need a complete shop full of power tools to mill the wood to size, a fleet of clamps to laminate the top, and tons of experience to know how to use all that stuff in the first place. And to build it from hard maple or other appropriate wood, it’ll cost at least $700 for the lumber alone.
I’ve seen so many woodworkers trying to get their shops together, and their first project is, naturally, a workbench. (Because how else could you possibly build your second project?) And they read books and get all excited about leg vises and dog holes and special joinery, and, understandably, have no idea what they’re doing. And that will where they get stuck, and that will where they stay. Forever trying to build that bench, instead of building the actual projects that inspired them to take up woodworking in the first place.
So, here’s the thing: your first workbench really shouldn’t be a woodworking project at all. Rather, you need to think more like a construction worker.
1) Your first garage workbench should be something you can make in a weekend.
You need to get started making things before you can actually figure out what your dream workbench will be. And for that, you need a place to learn.
So, your first workbench will not be some Roubo-inspired behemoth. It will not be an heirloom you pass down to your grandkids. It will not have any dovetails nor a single mortise or tenon. It will be held together with screws and bolts, because using a wrench or cordless drill/driver doesn’t require a learning curve.

2) Use construction-grade materials
Until you know what you’re doing, do not spend you money on 8/4 rock maple or other nice cabinet woods. You’re going to make mistakes the first time around, and this is the place to learn.
Dimensional lumber – the kind they sell at the home center – is completely appropriate for a first workbench. Yellow pine or Douglas fir make a great base, and you can glue things together for increased mass. Instead of money, invest your time sorting through the stacks to pick out the best boards. If you have a table saw. or access to one, opt for 2x10s and rip them down yourself. They’re normally clearer and straighter than 2x4s. (Though, you’ll need to make sure they’re dry enough to work. Depending on where you live, larger lumber is often sold as “green” with up to 30% moisture.)
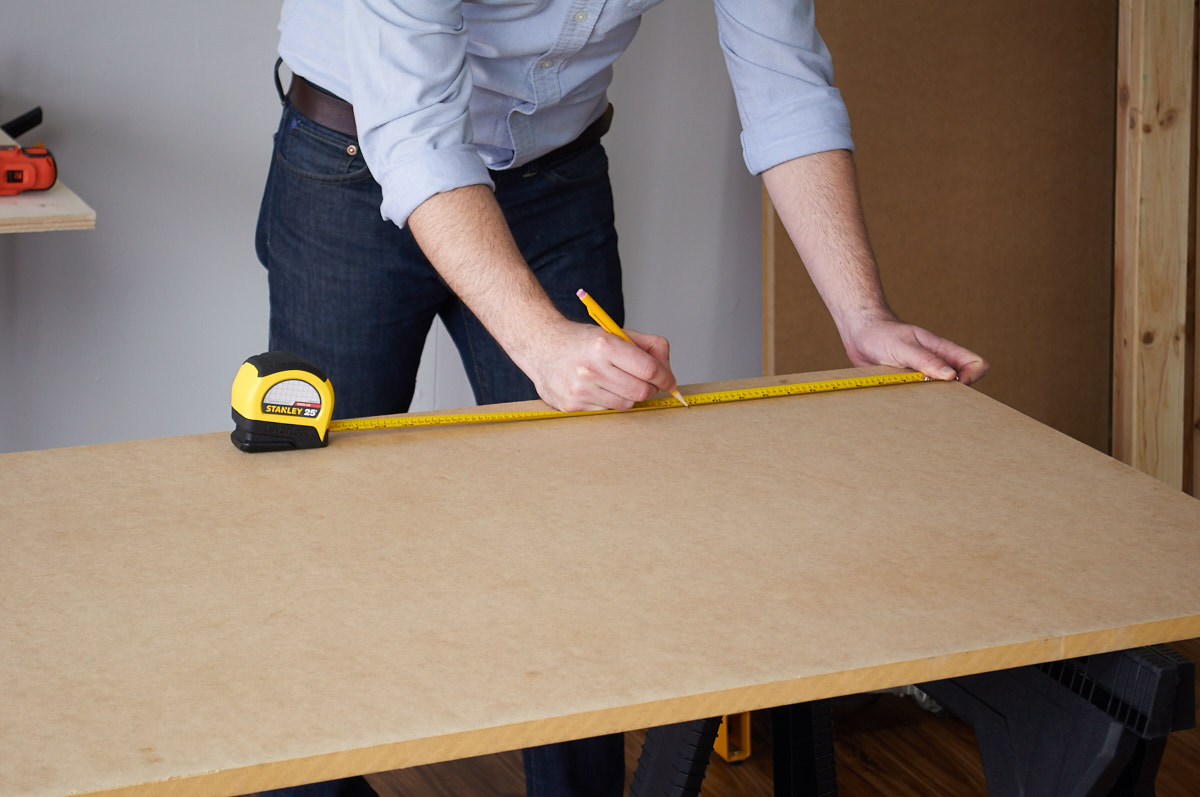
3) Consider MDF for a top…
No, it’s not a pretty as a long-grain hardwood, but MDF is rock hard, super flat, and makes for a really nice workbench top. You can stack the layers and glue them together easily. Go for at least two, if not three or four if you don’t need to move it regularly. (MDF’s superior density also makes it quite heavy.)
The edges can be fragile, but you can either surround them with wood, or just replace them as you need to. (It will take years for them to wear down.)
4) Or buy a pre-made benchtop
If you really want a solid-wood bench, you can bolt together a base from pine or fir, and buy a premade maple top for your bench. Purchased new, they cost around $200-300 for a 24 x 60″ slab, but this will allow you to have an all-wood bench in a weekend using just a circular saw and a drill. You can also search Craigslist, etc, for butcher block countertops to get a good deal. Just make sure yours is of high quality. (FYI – IKEA does sell these, but I can’t speak to their longevity.) Then, you can reuse the same top once you build your “dream bench” down the line.
5) Your workbench should be as long as possible, but only 20-24″ wide
Unless you have a particular craft or material that would require a wider bench, two feet is the max. This is wide enough to support nearly any project, and since you have length to help bear the load, with the length, you work on something with a depth larger than 24″. If you need more space, just pull the bench away from the wall.
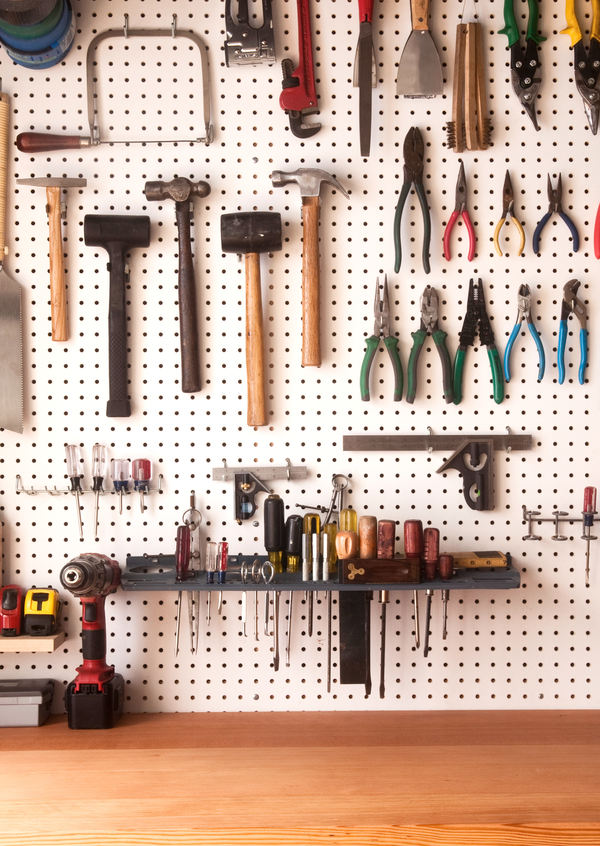
6) If you’re a woodworker, you will want a front vise
In order to use sharp things like chisels, planes, and saws, you need to safely secure your work without limiting access to it. Clamps are great, but can often get in the way. You can buy a (relatively) inexpensive front vise at woodworking supply shops, or get the Eclipse quick-release vise from Amazon. (This is what’s on my bench, and I think its great). Cast iron vises bolt onto your bench, so they can be installed in a hour. Don’t worry about getting the rear jaw flush with the rest of the top; that can come later. Just add some wood or leather jaws, and get to work.
A traditional machinist vise that you mount to the top of your bench is handy for non-woodworking tasks. Here’s our technique for attaching to your bench without permanently mounting it, so it won’t get in the way when working on large projects.
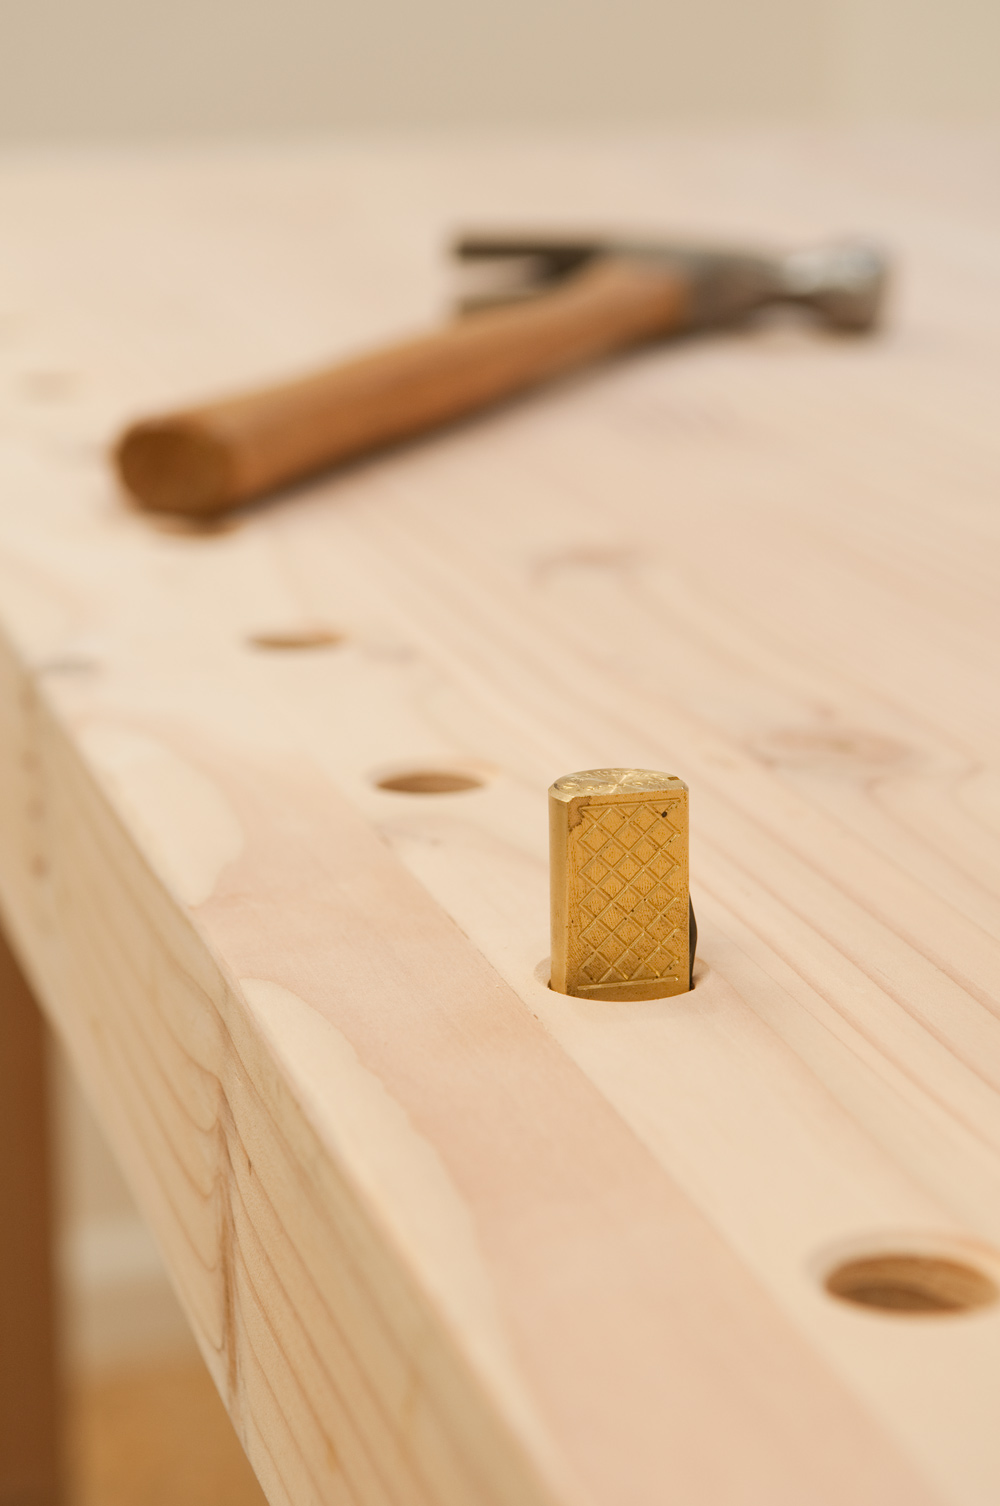
7) Bench dog holes are amazing, and free
You, no doubt, have seen traditional woodworking benches with a bunch of holes in the top. These are standard 3/4″ bench dog holes that can not only house bench dogs (little pop-up stops), but all kinds of wonderfully gadgetry like holdfasts, shopmade stops and fixtures, or the mighty Veritas Wonder Dog. The best part is: if you have a drill and the right bit, these holes don’t cost anything but time, and will greatly improve the functionality of even the most basic of benches.
Here’s our guide to drilling these in an existing benchtop.